The Avada Dashboard
Last Update: March 8, 2026
You will find the Avada Dashboard from the WordPress sidebar, under Avada > Dashboard. From this central dashboard, you have quick access to all parts of Avada, from Registration and Setup, to Options, Prebuilt Websites, Avada Studio, maintenance options like the Avada Patcher, Plugins, System Status and Support, as well as links to Layouts, Icons, Forms, Avada Sliders, and the Avada Library. Read on to discover how to get the most out of this central dashboard for all things Avada, and watch the video below for a visual overview.
Welcome & Registration
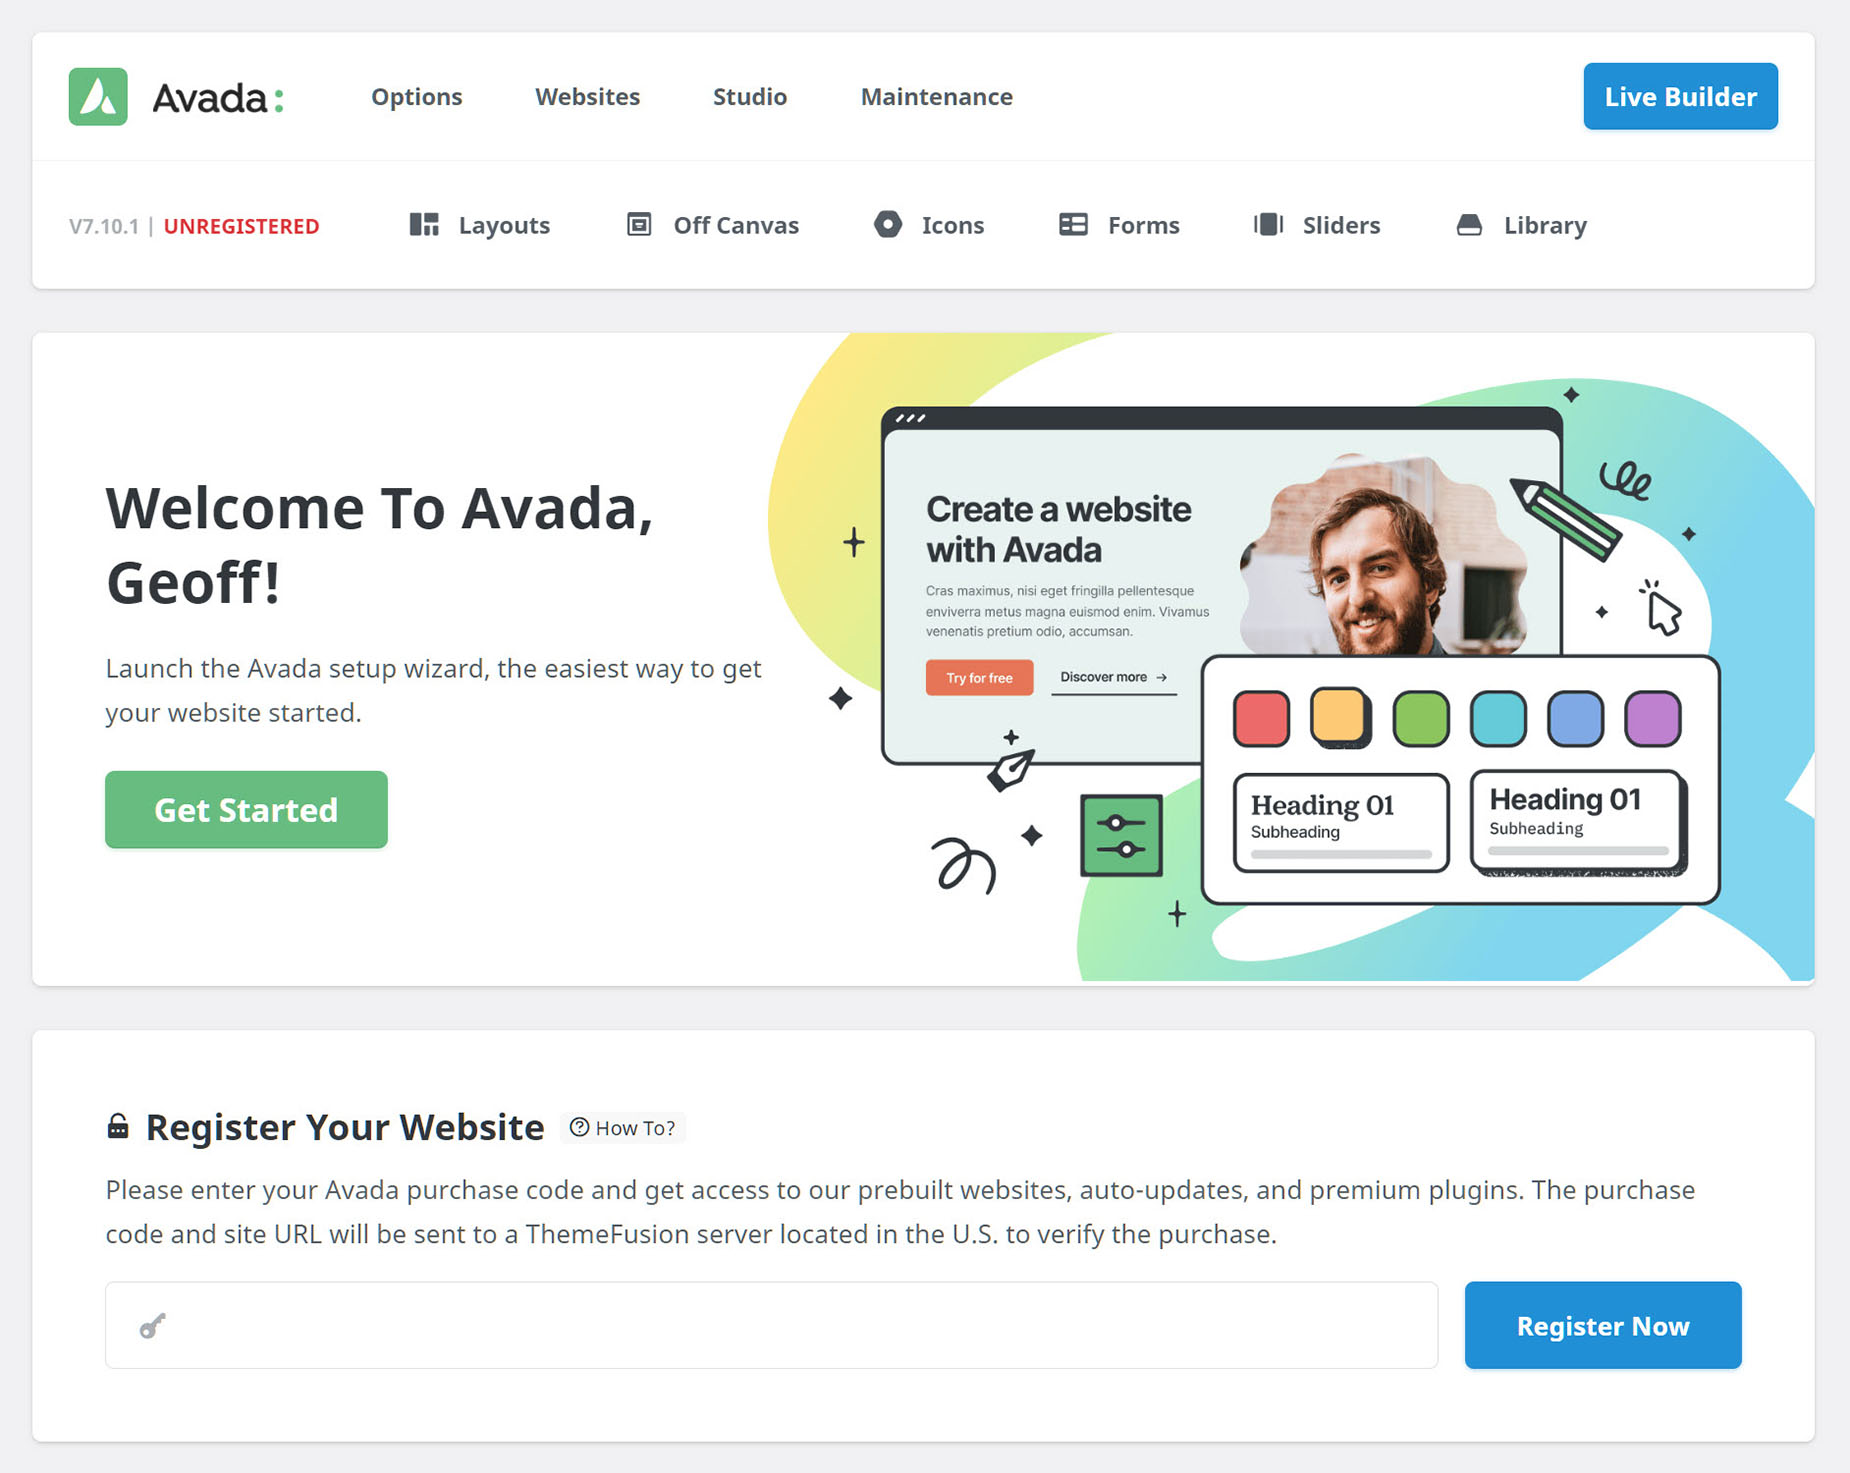
When you first open the Avada Dashboard, you will see the Navigation area at the top, followed by the Welcome area and the Registration field.
Here you can register Avada using your purchase code. Just click the How To? link for full instructions, or read the How To Register Avada document for more details. Once you have your purchase code, just paste it into the Registration field and Click on Register Now. You will then see a Green Registered notice at the top of the screen. Registering Avada will allow you to access auto updates, Premium plugins and updates, and importing of the Avada Prebuilt Websites.
You can also register your site as part of the Avada Setup Wizard, and that will autorun on a fresh install.
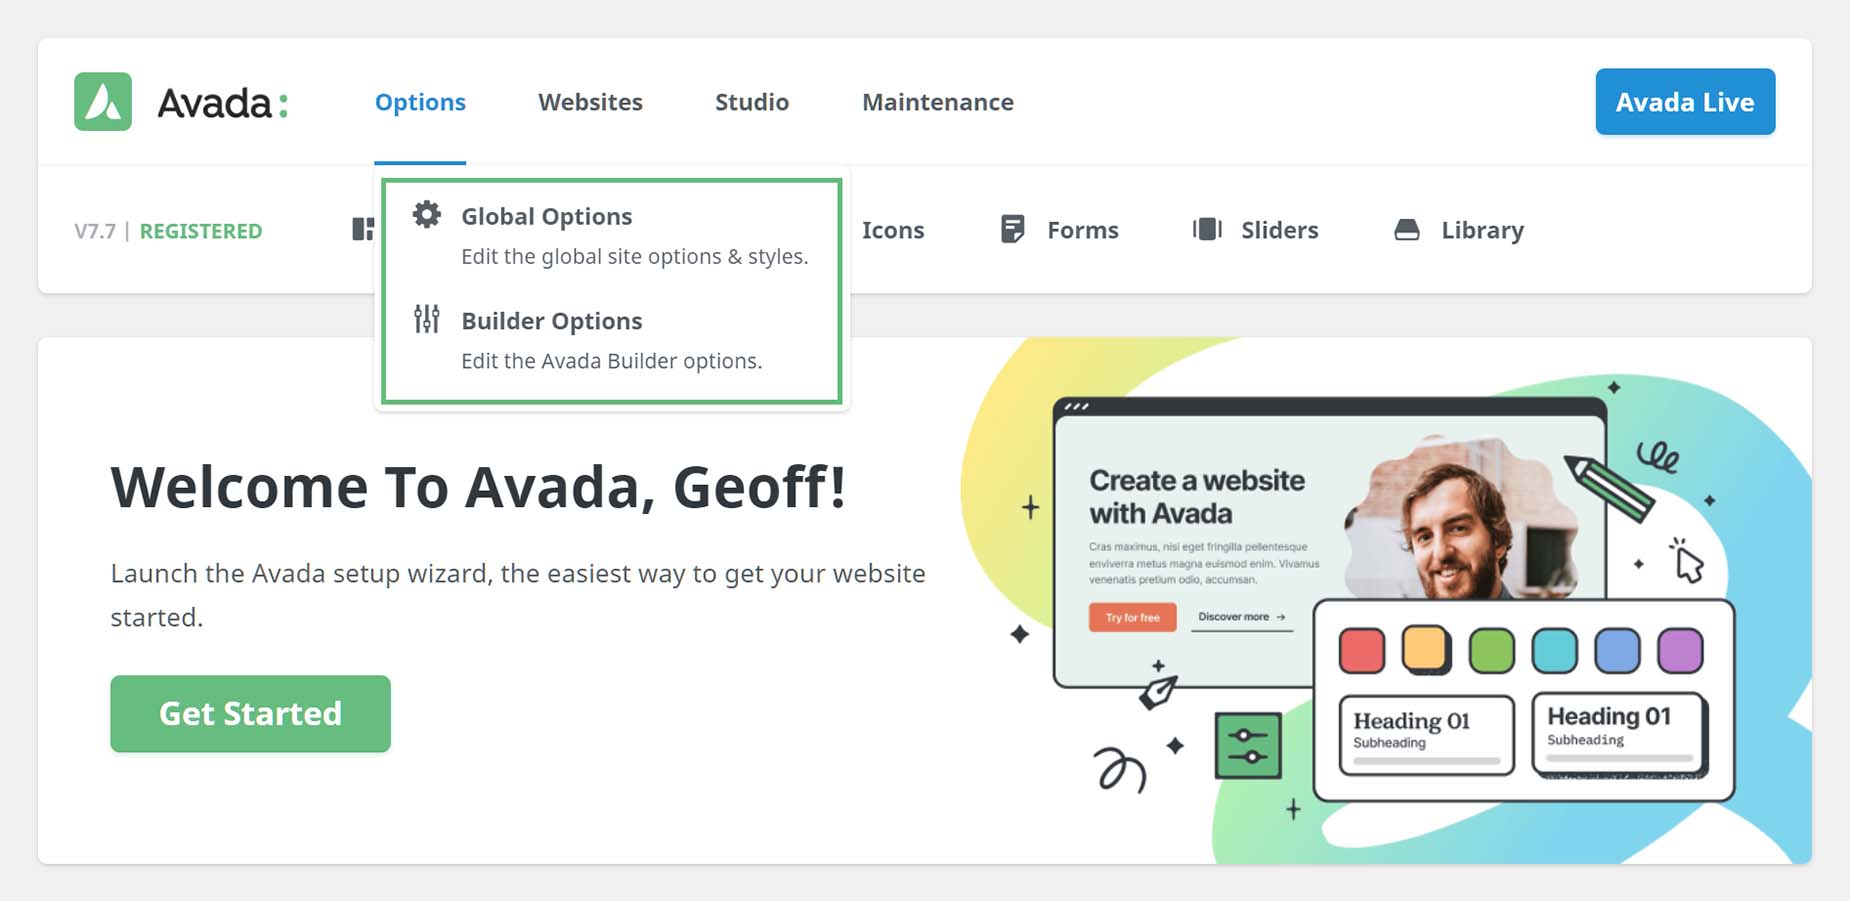
At the very top of the Dashboard, you will find the Avada menu. This remains on all Dashboard pages, and from here you can access every area within Avada that you need. The main links are also available in the WordPress Menu, under Avada. Let’s systematically go through all the links available here.

Prebuilt Websites
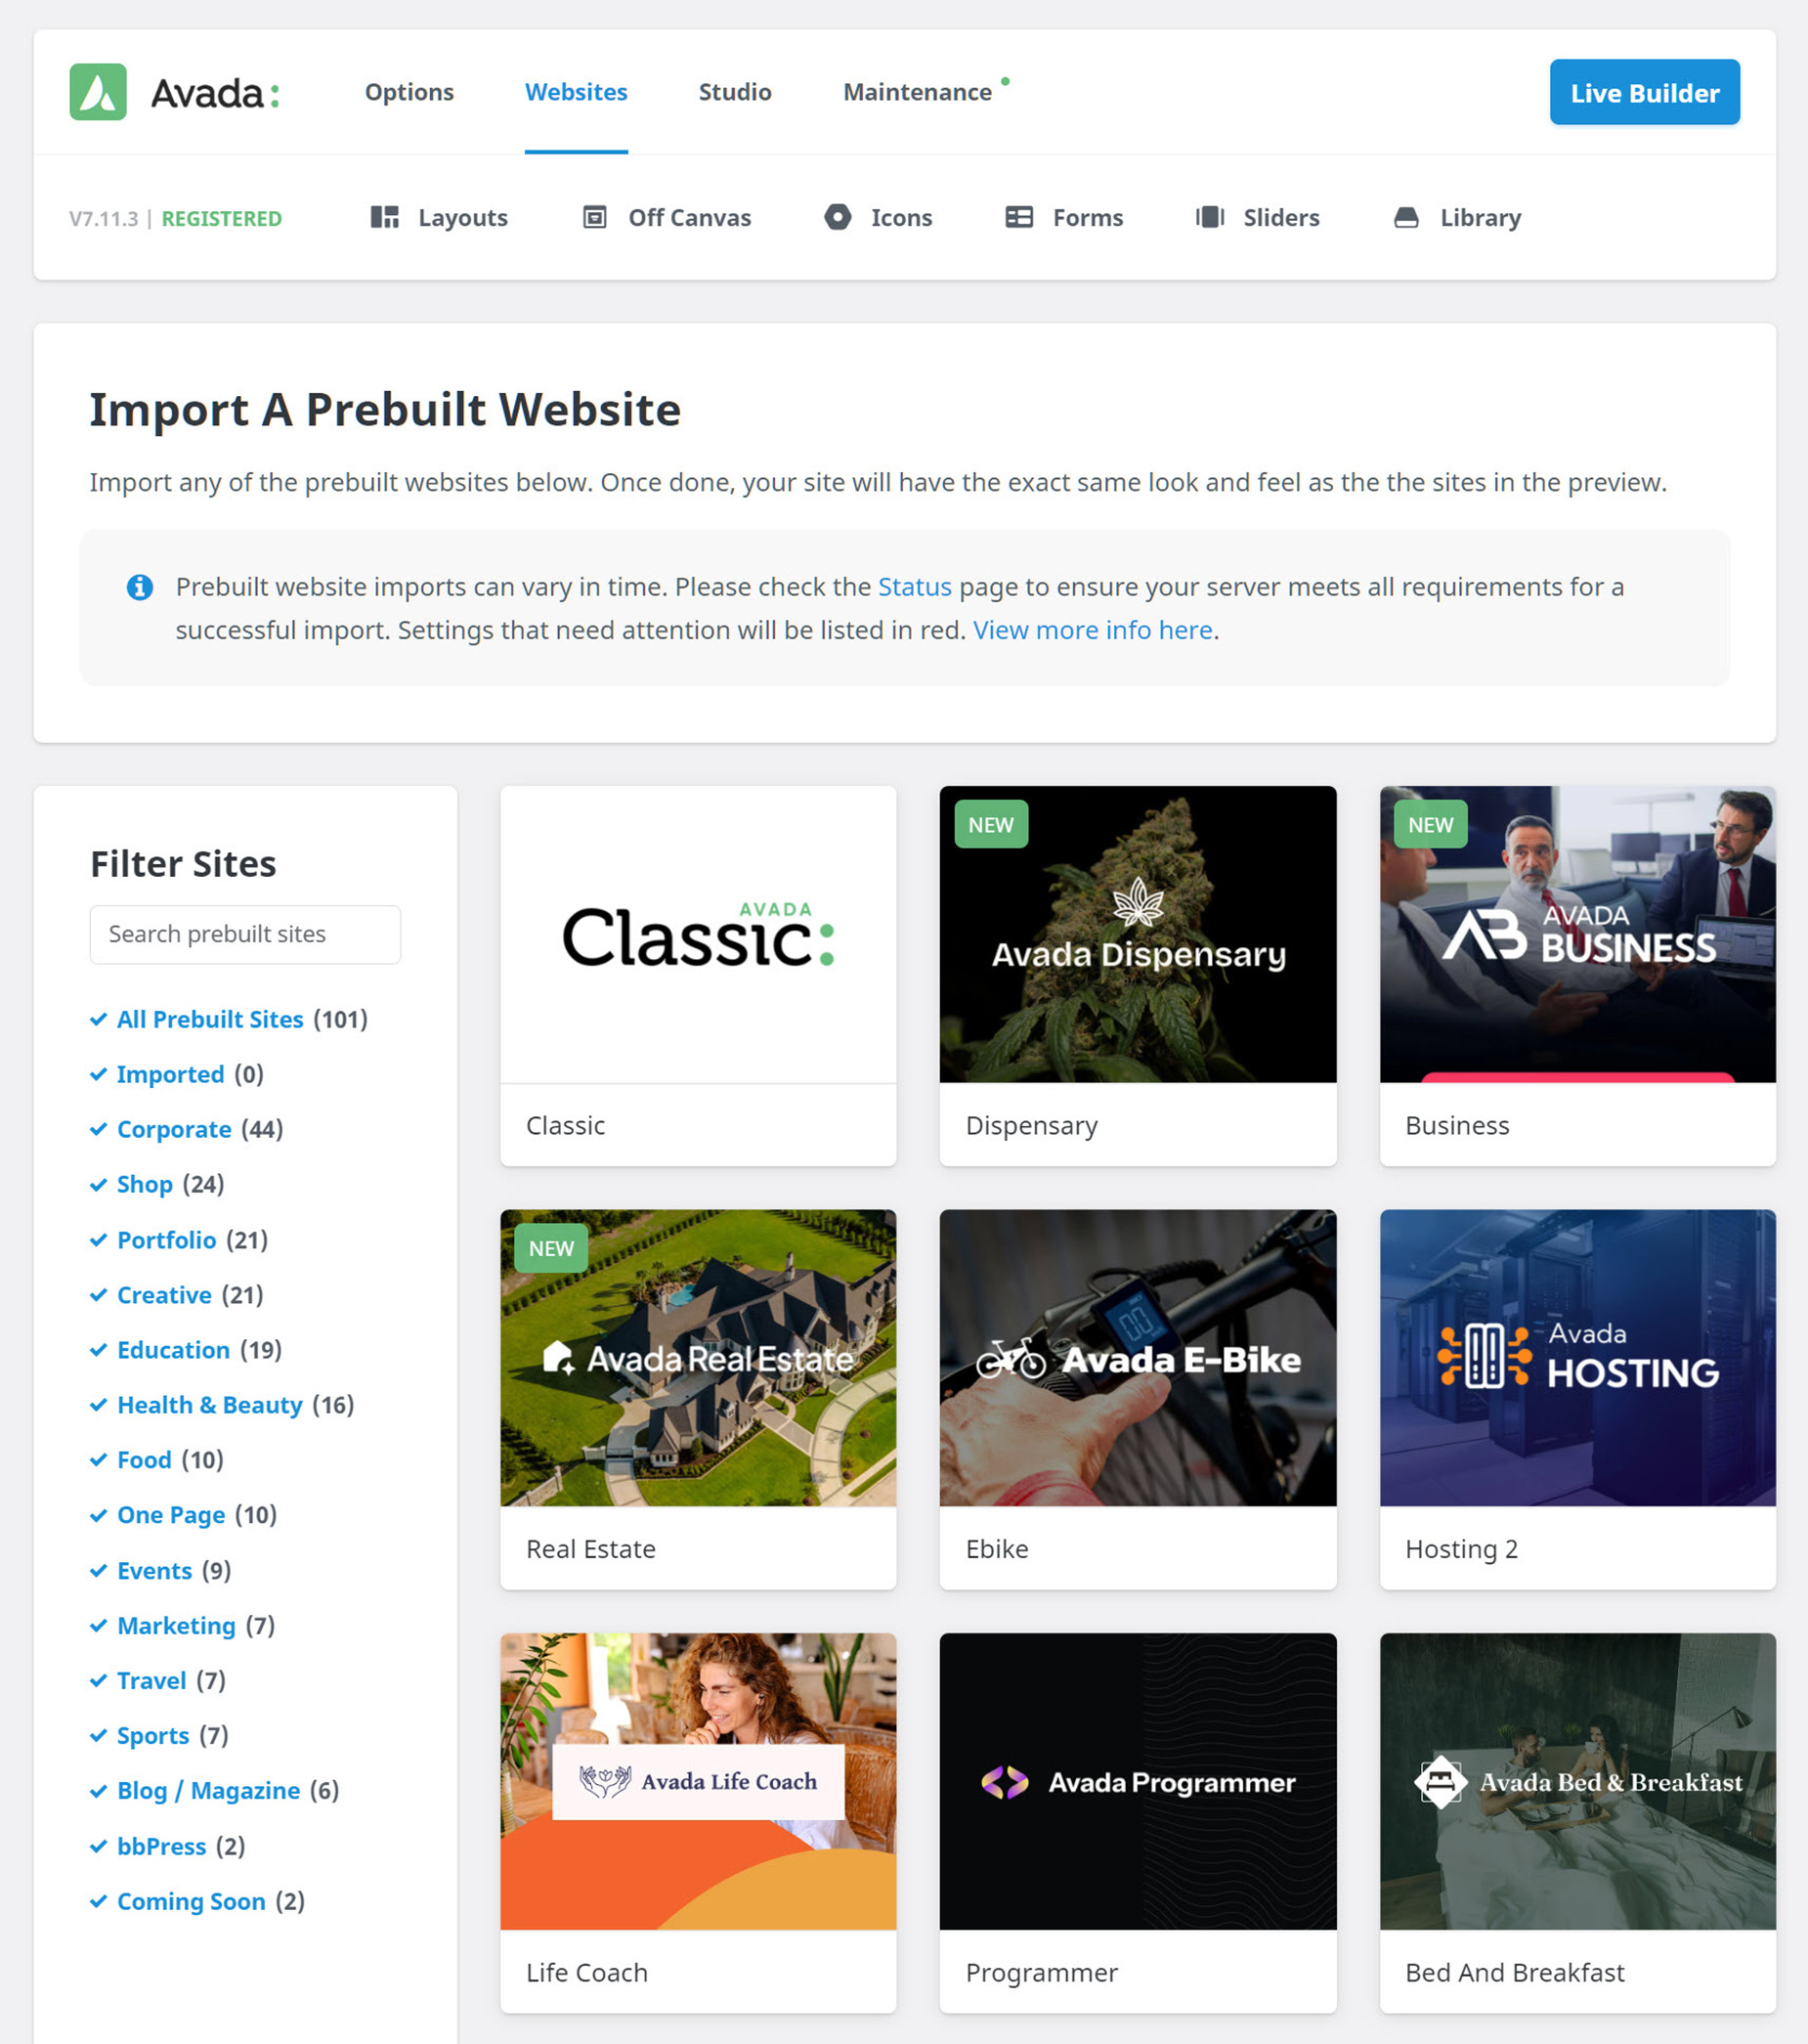
Follow the Websites link, and you will find over 100 professionally designed Avada Prebuilt websites, which our designers have created to get you started quickly with Avada. New websites are also constantly being added.
You can use the Filters or Categories on the left hand side to help narrow down your search, and you can preview each website before importing, by clicking the Preview button that appears when you mouse over an individual website. Before you can import a prebuilt website, you need to register your purchase. Also, before importing a Prebuilt Website, please make sure there are no red items under System Status, and that all required plugins are installed and activated.
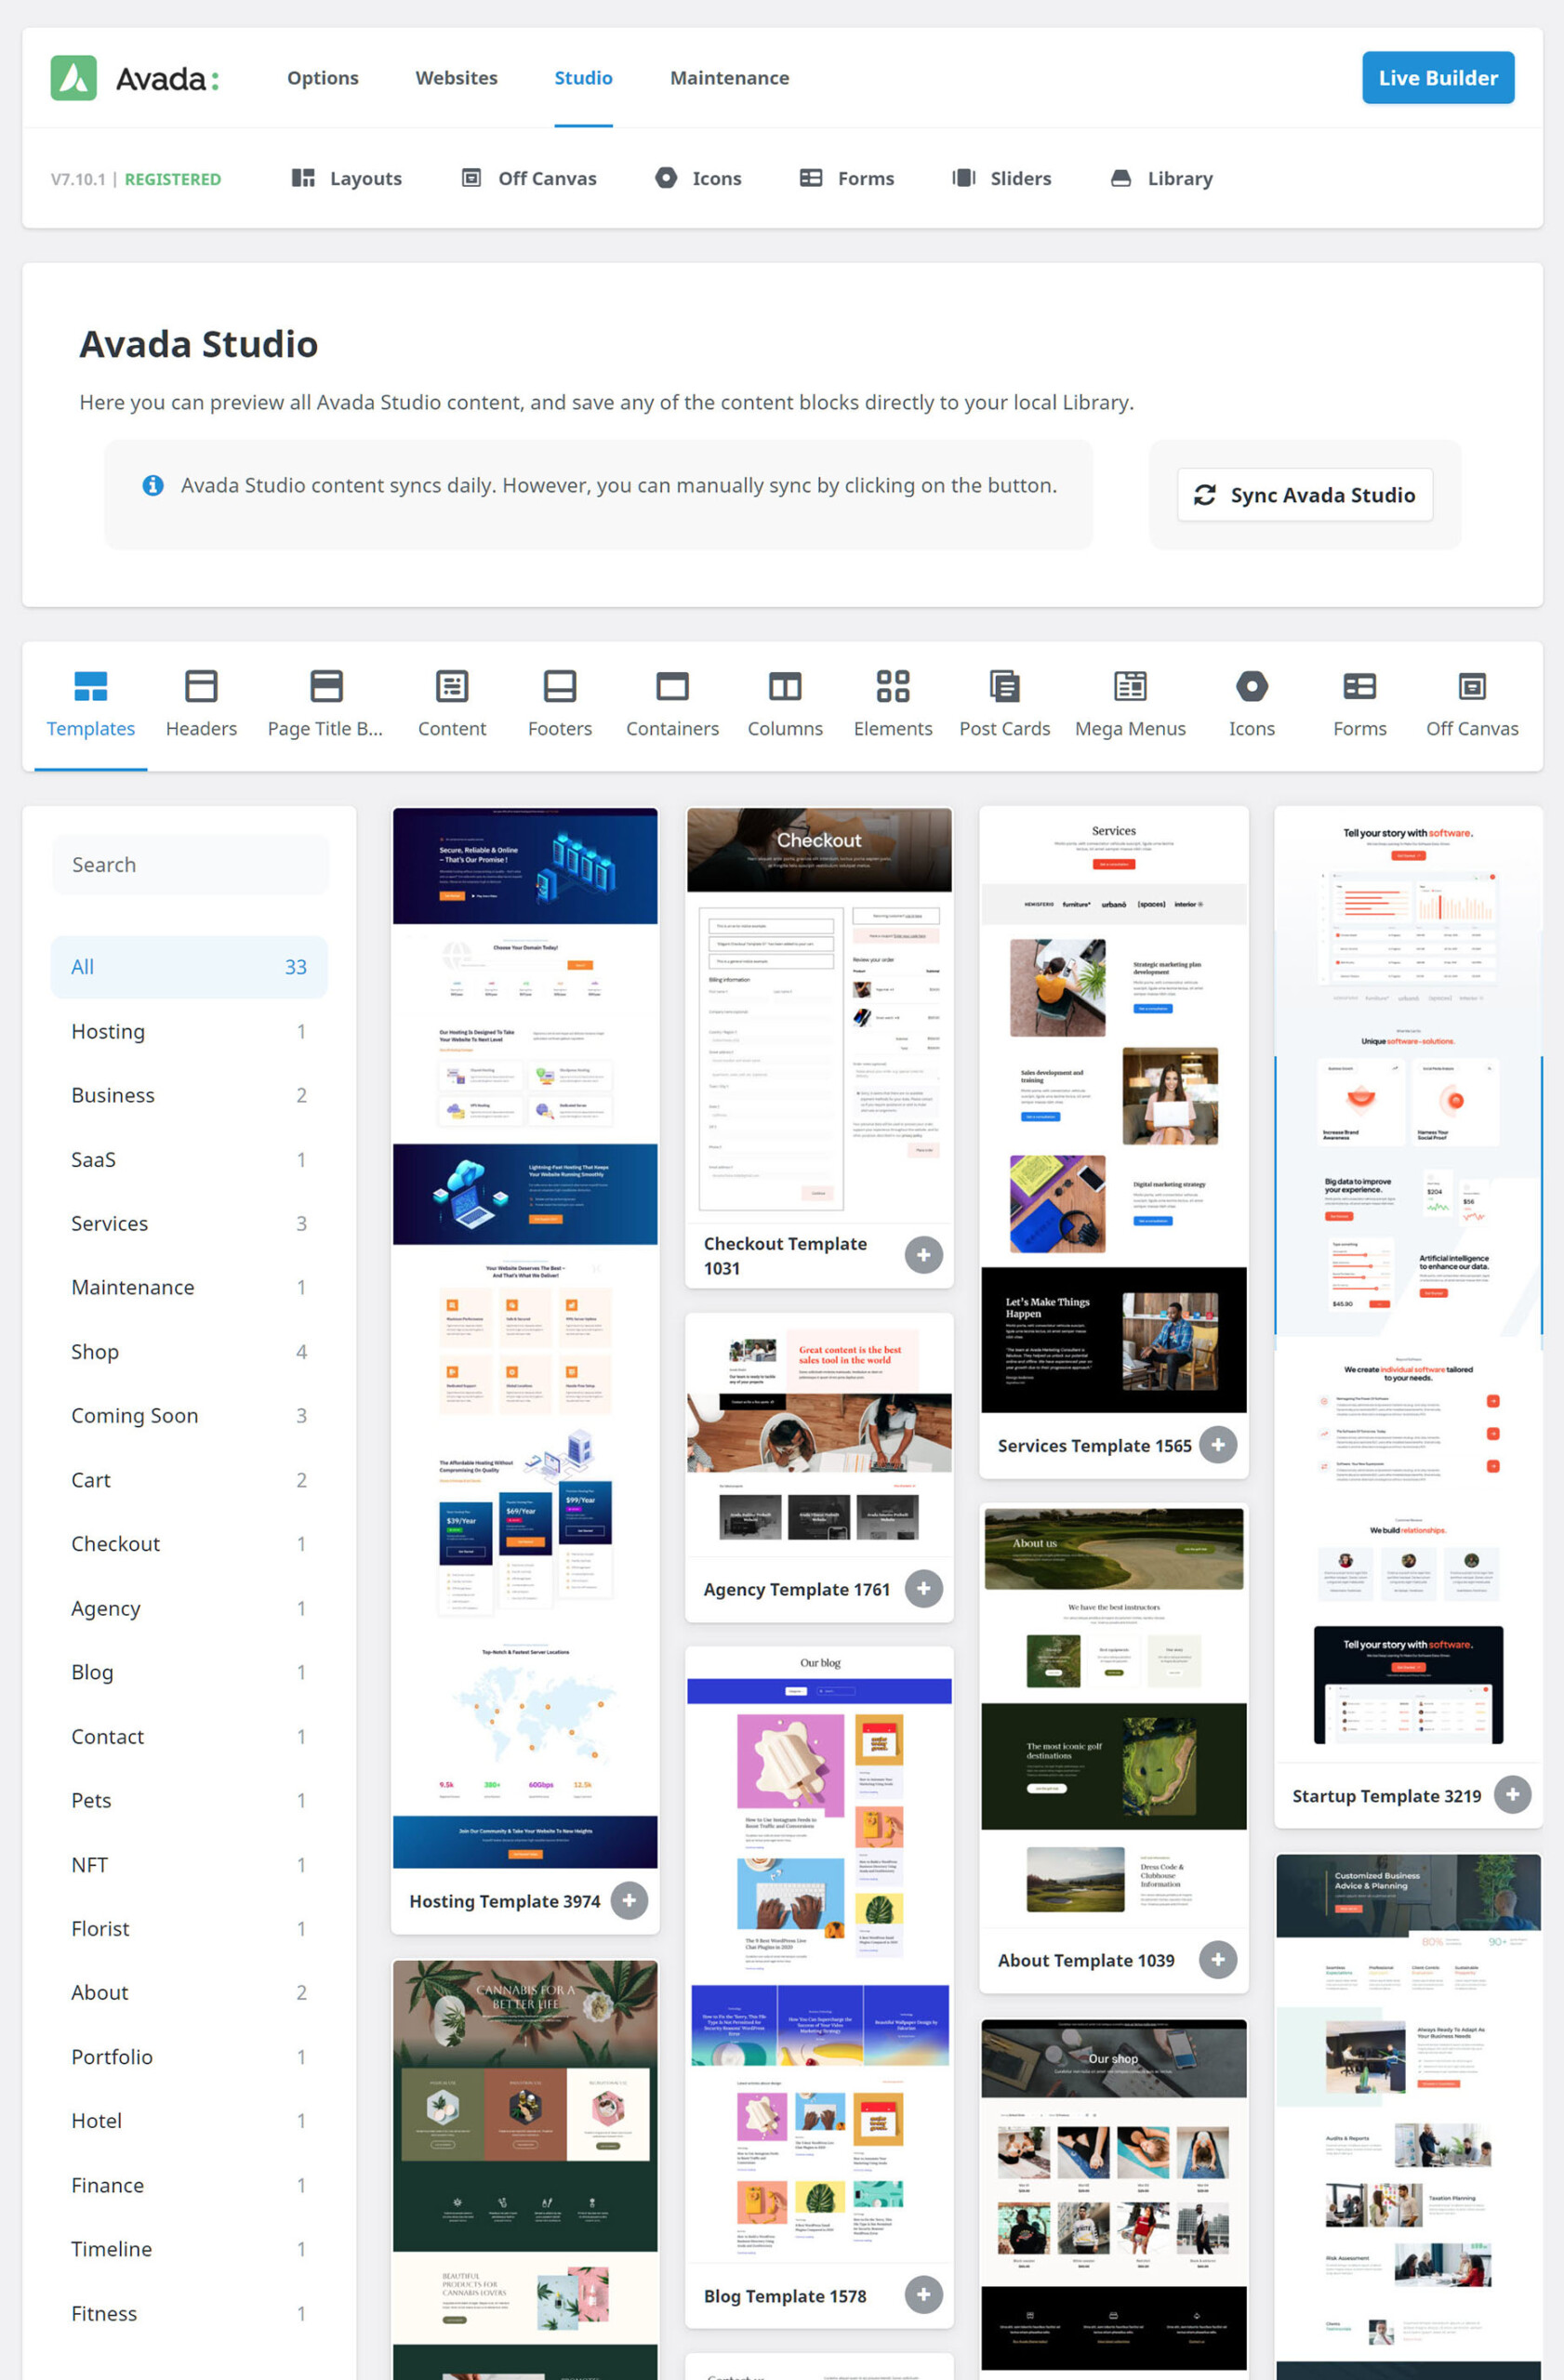
Studio
The Avada Studio page is the home for Avada Studio content within your installation. Here you can browse, filter and preview all of the Avada Studio content blocks, as well as being able to save any of them directly to the Avada Library for later use. See the How To Use Avada Studio doc for more details on how to use this game changing feature.
Maintenance
Under the Maintenance item, you will find links to a variety of tools to help you keep your Avada website up to date and ship shape.
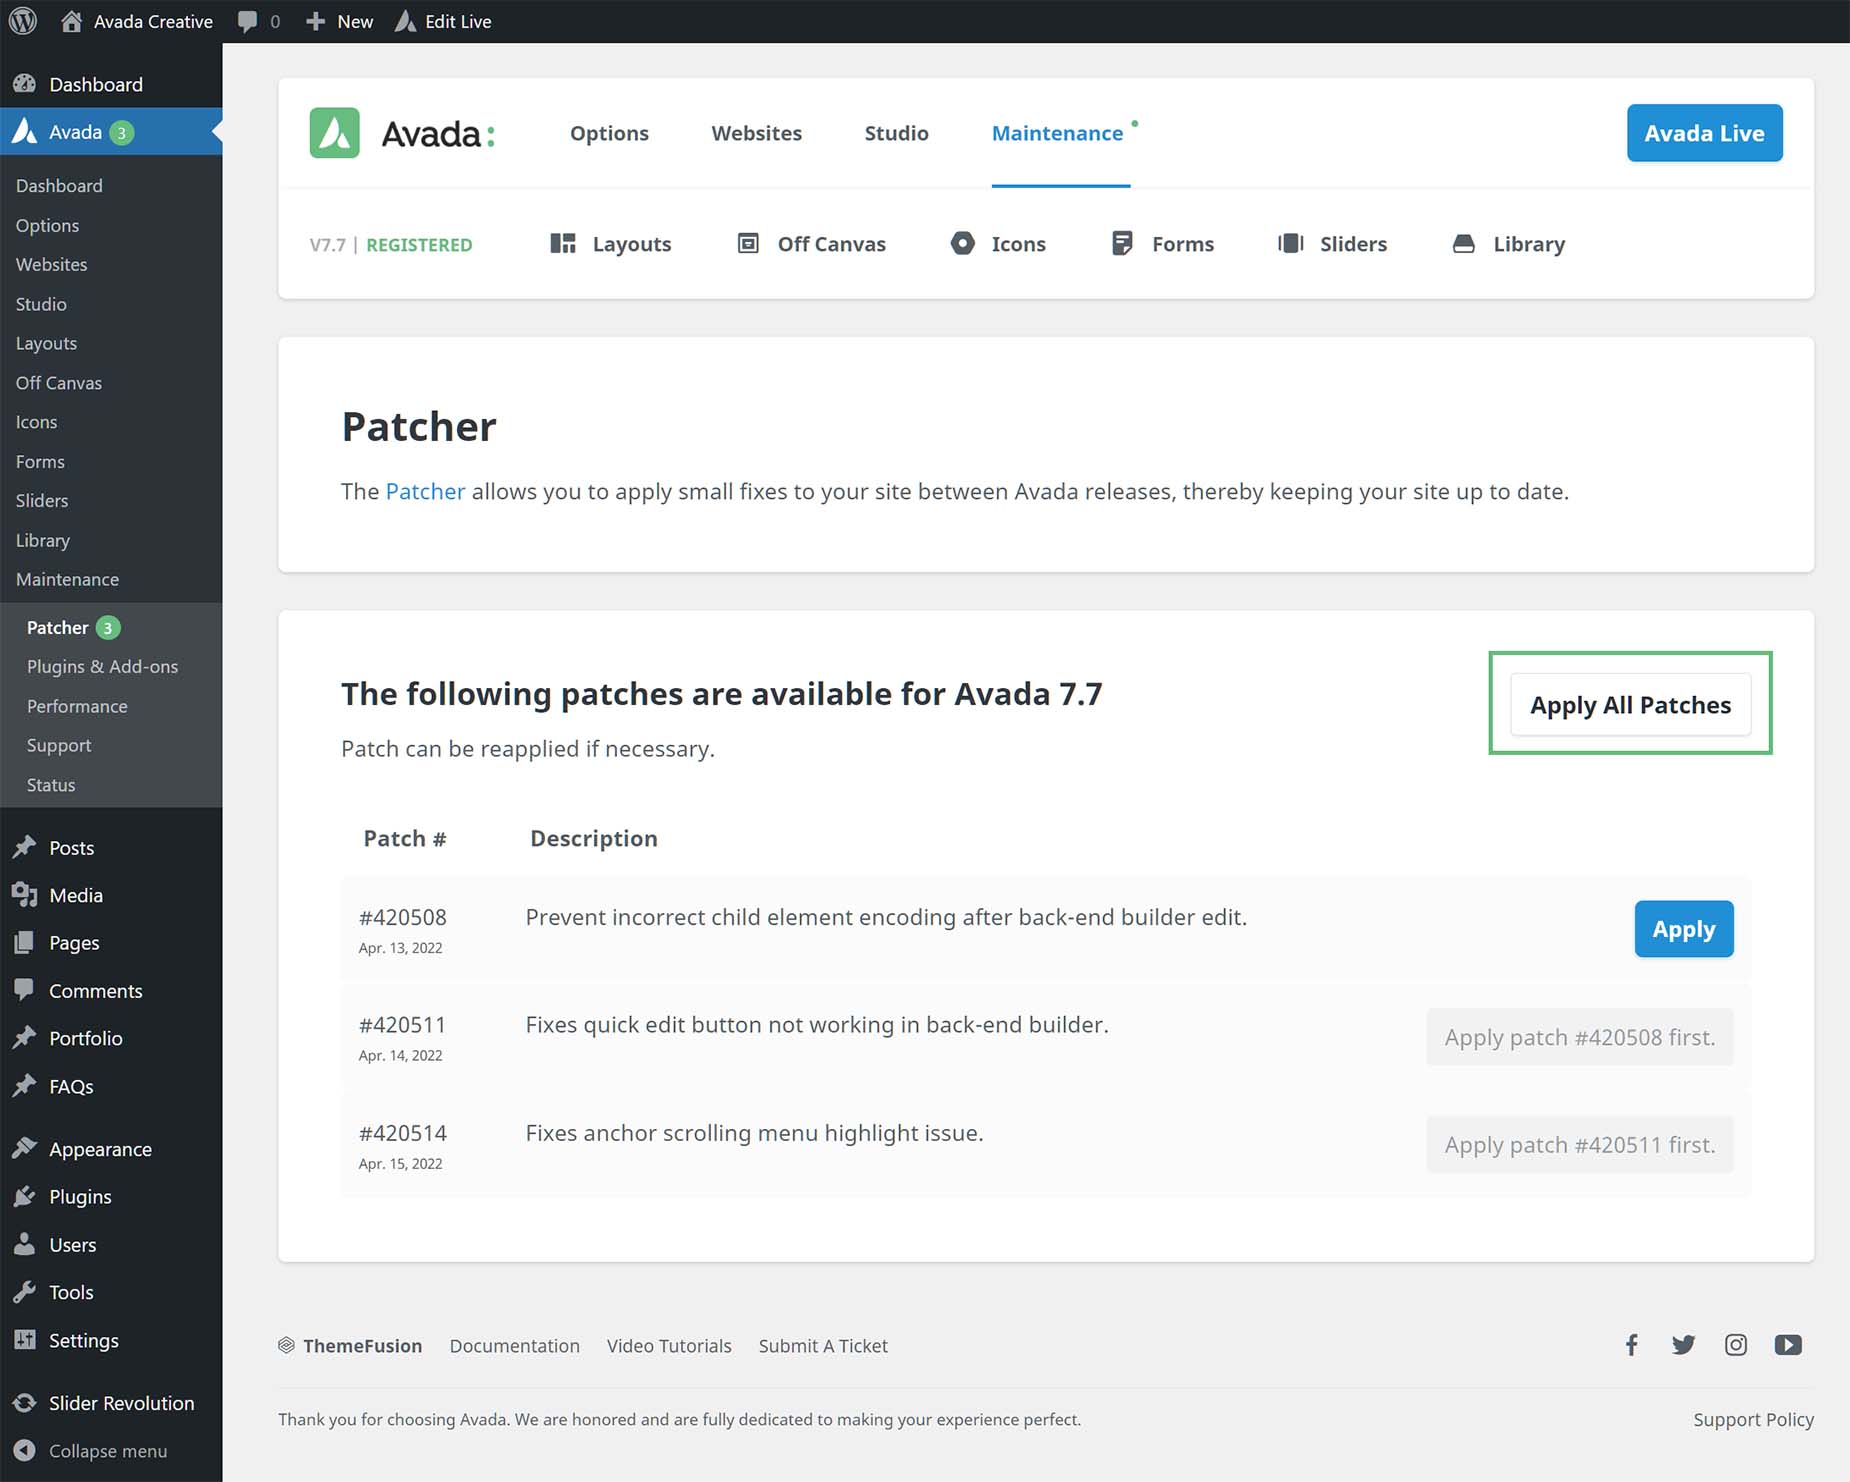
Avada Patcher
This innovative tool allows our development team to deploy fixes and improvements without the need for our team to prepare and release a full Avada update. Any patches that are available for your install will show here, and you simply apply them to keep your site fully up to date. See the Avada Patcher doc for more information on this tool.
Plugins & Add-ons
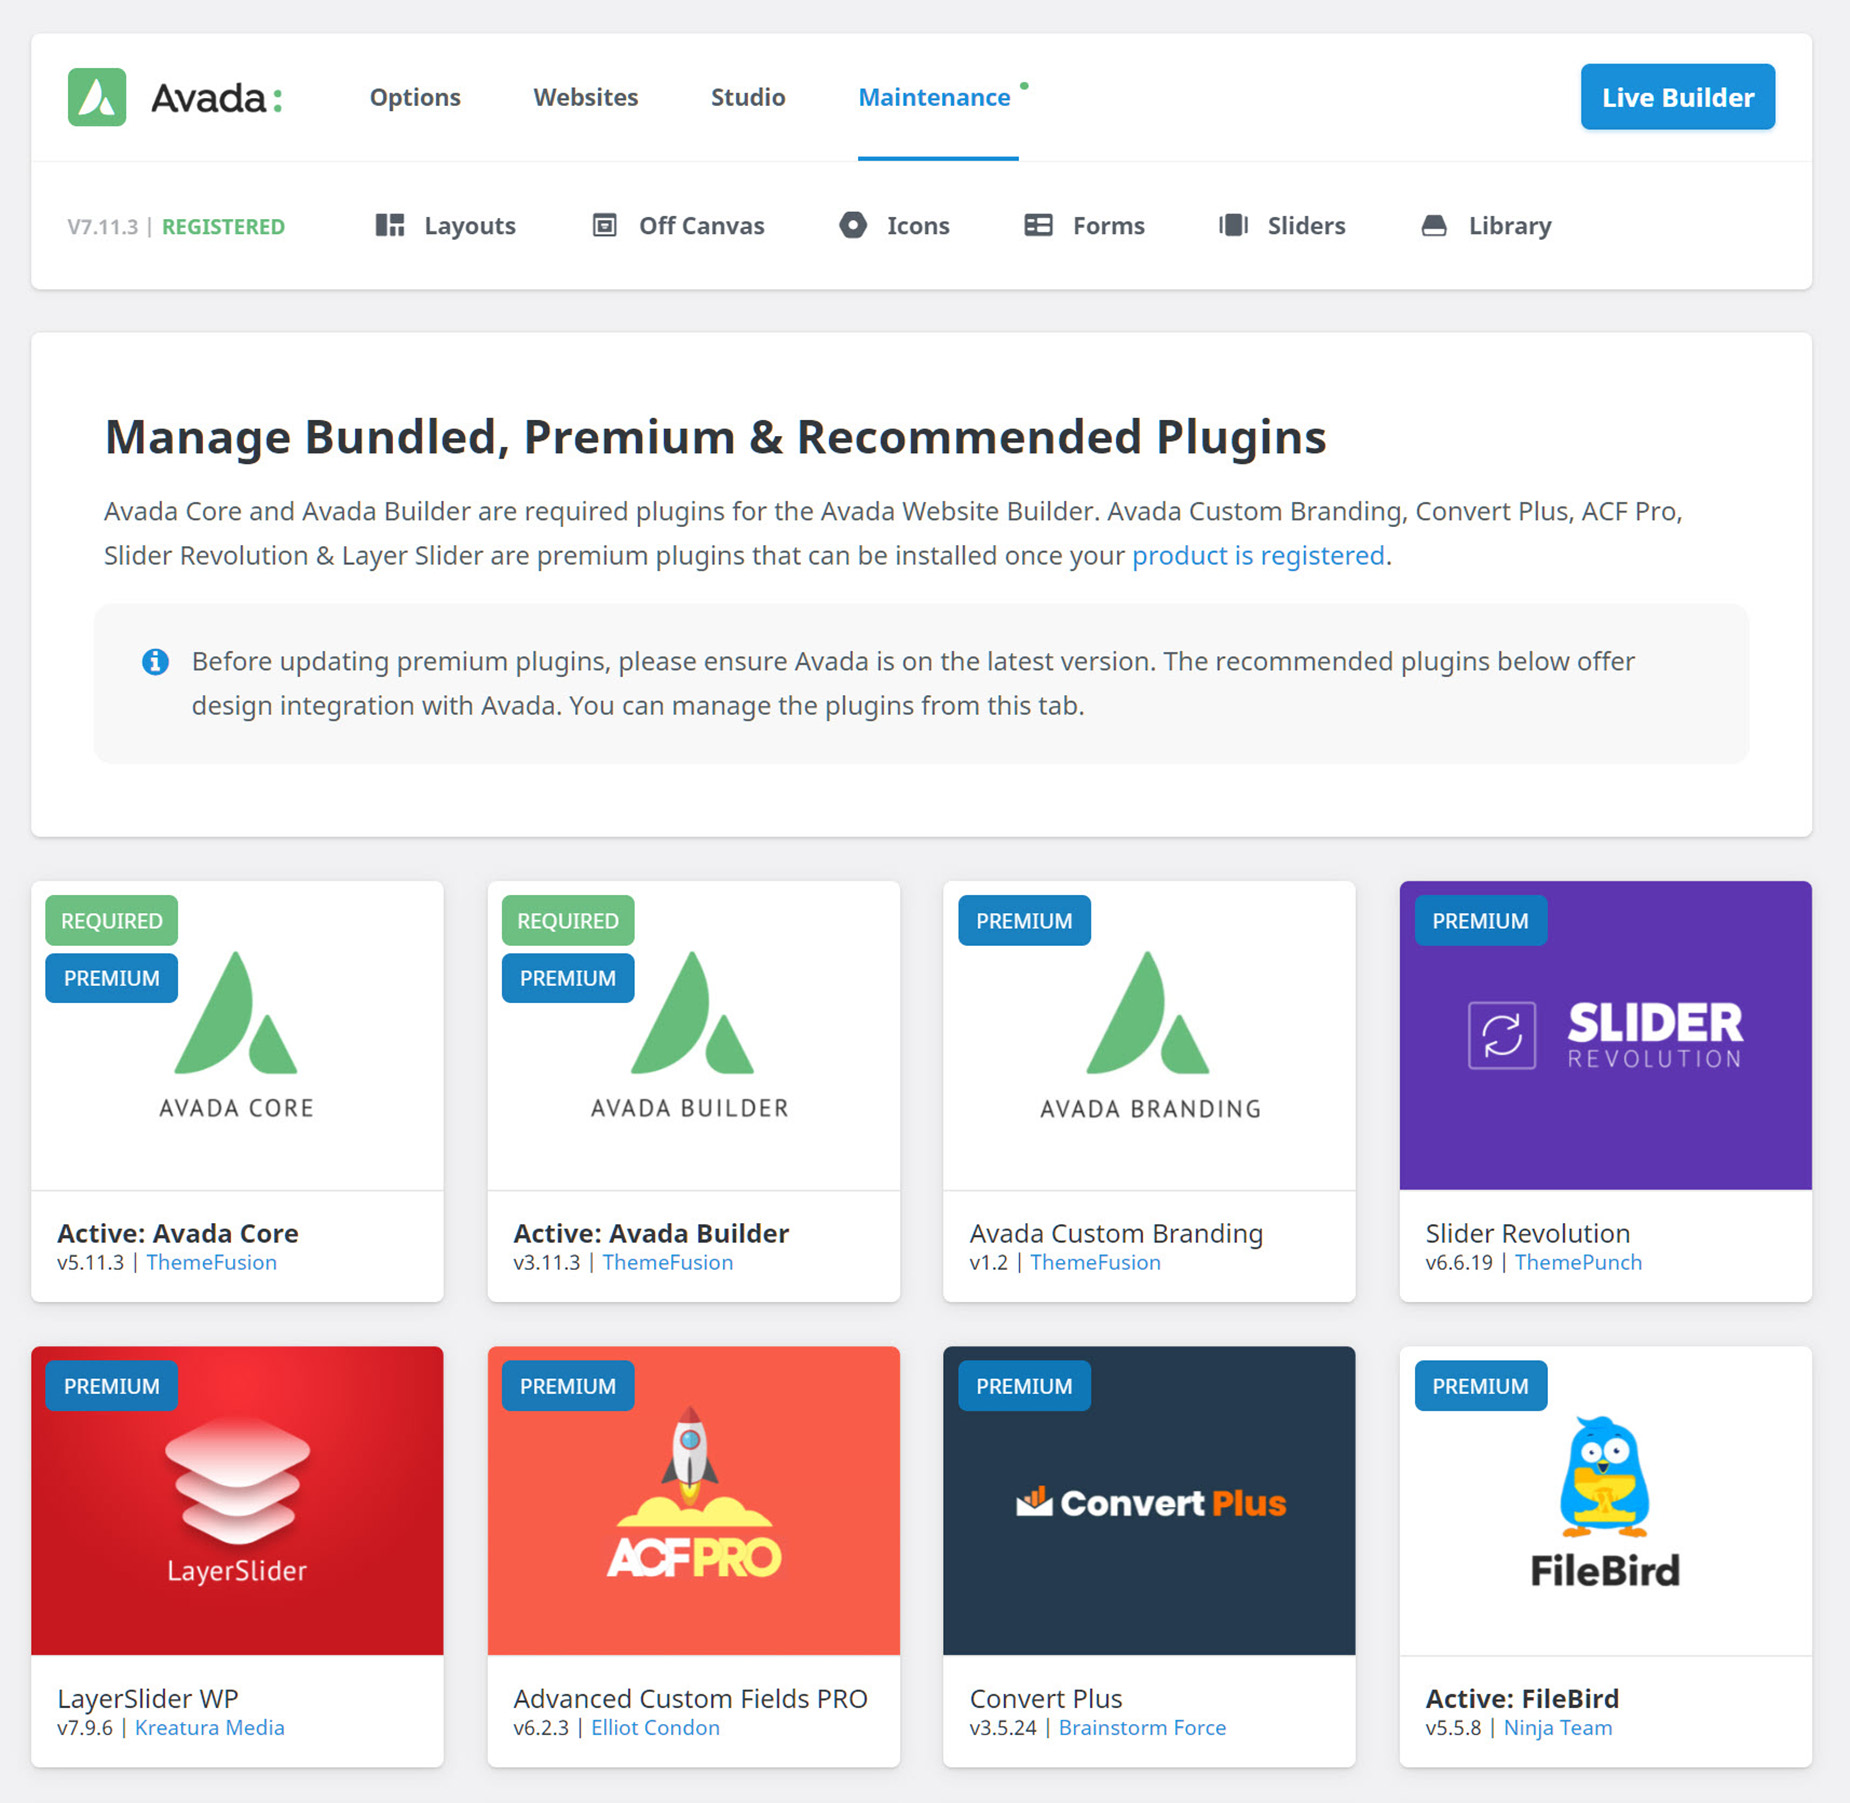
Under the Plugins & Add-ons tab you will find a range of Required, Premium and Included plugins. Avada has two required plugins; Avada Core and Avada Builder. These two plugins need to be installed and activated for the theme to work properly.
After these are our Premium plugins: Avada Custom Branding, Convert Plus, ACF PRo, Revolution Slider and Layer Slider. You’ll need to register your purchase via Token Registration to install any of these premium plugins.
You can also install and activate Avada’s recommended plugins here such as PWA, WooCommerce, bbPress, etc. You don’t need to register your purchase to install these.
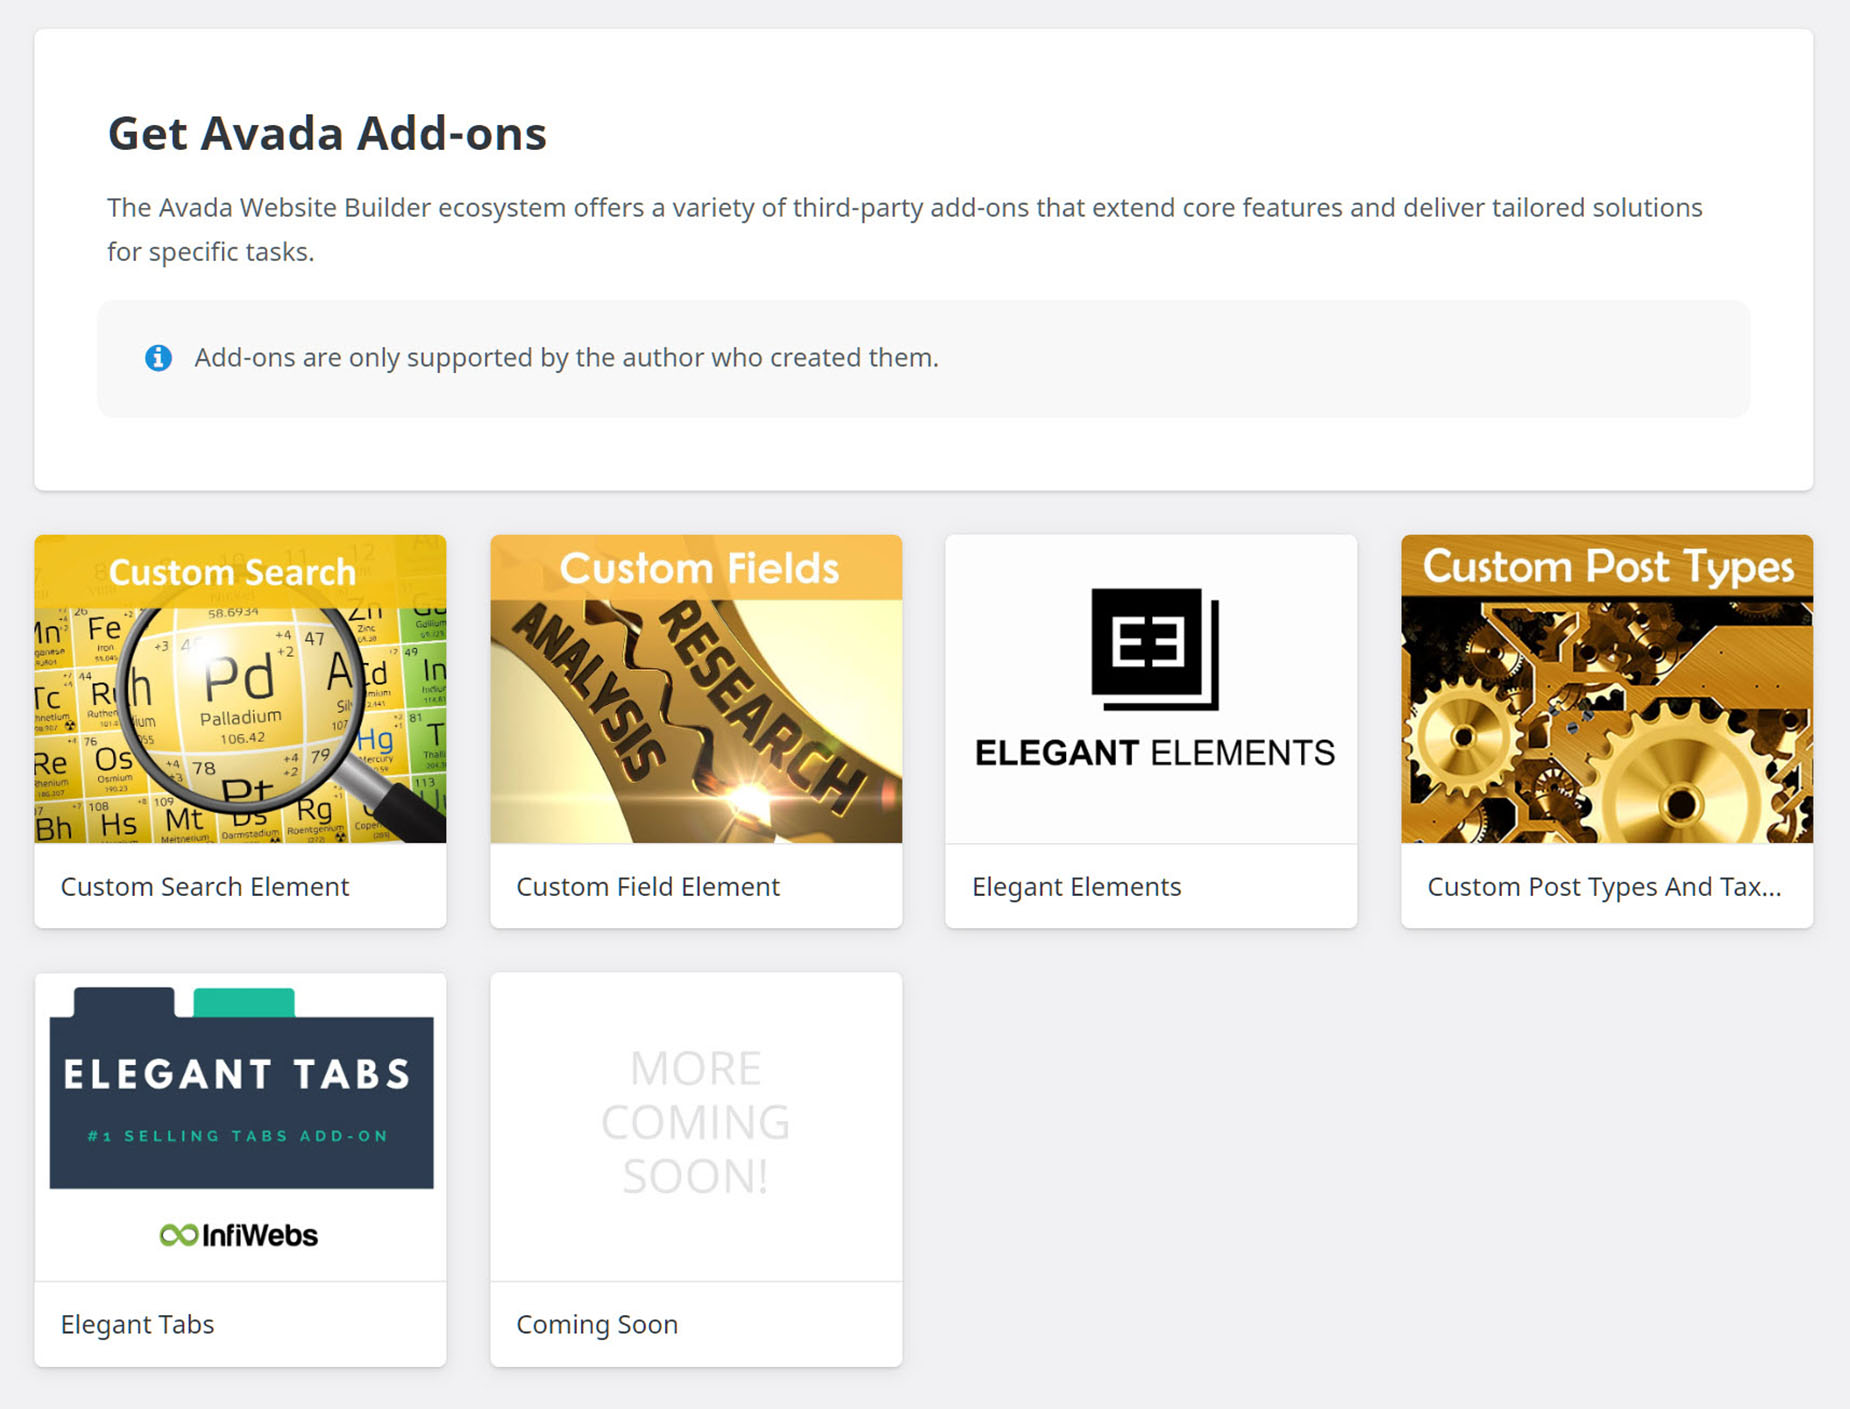
Under the Plugin section you will find the Get Avada Add-ons section. Here, you can see a range of third-party add-ons to the Avada Builder, that extend core features and deliver tailored solutions for specific tasks.
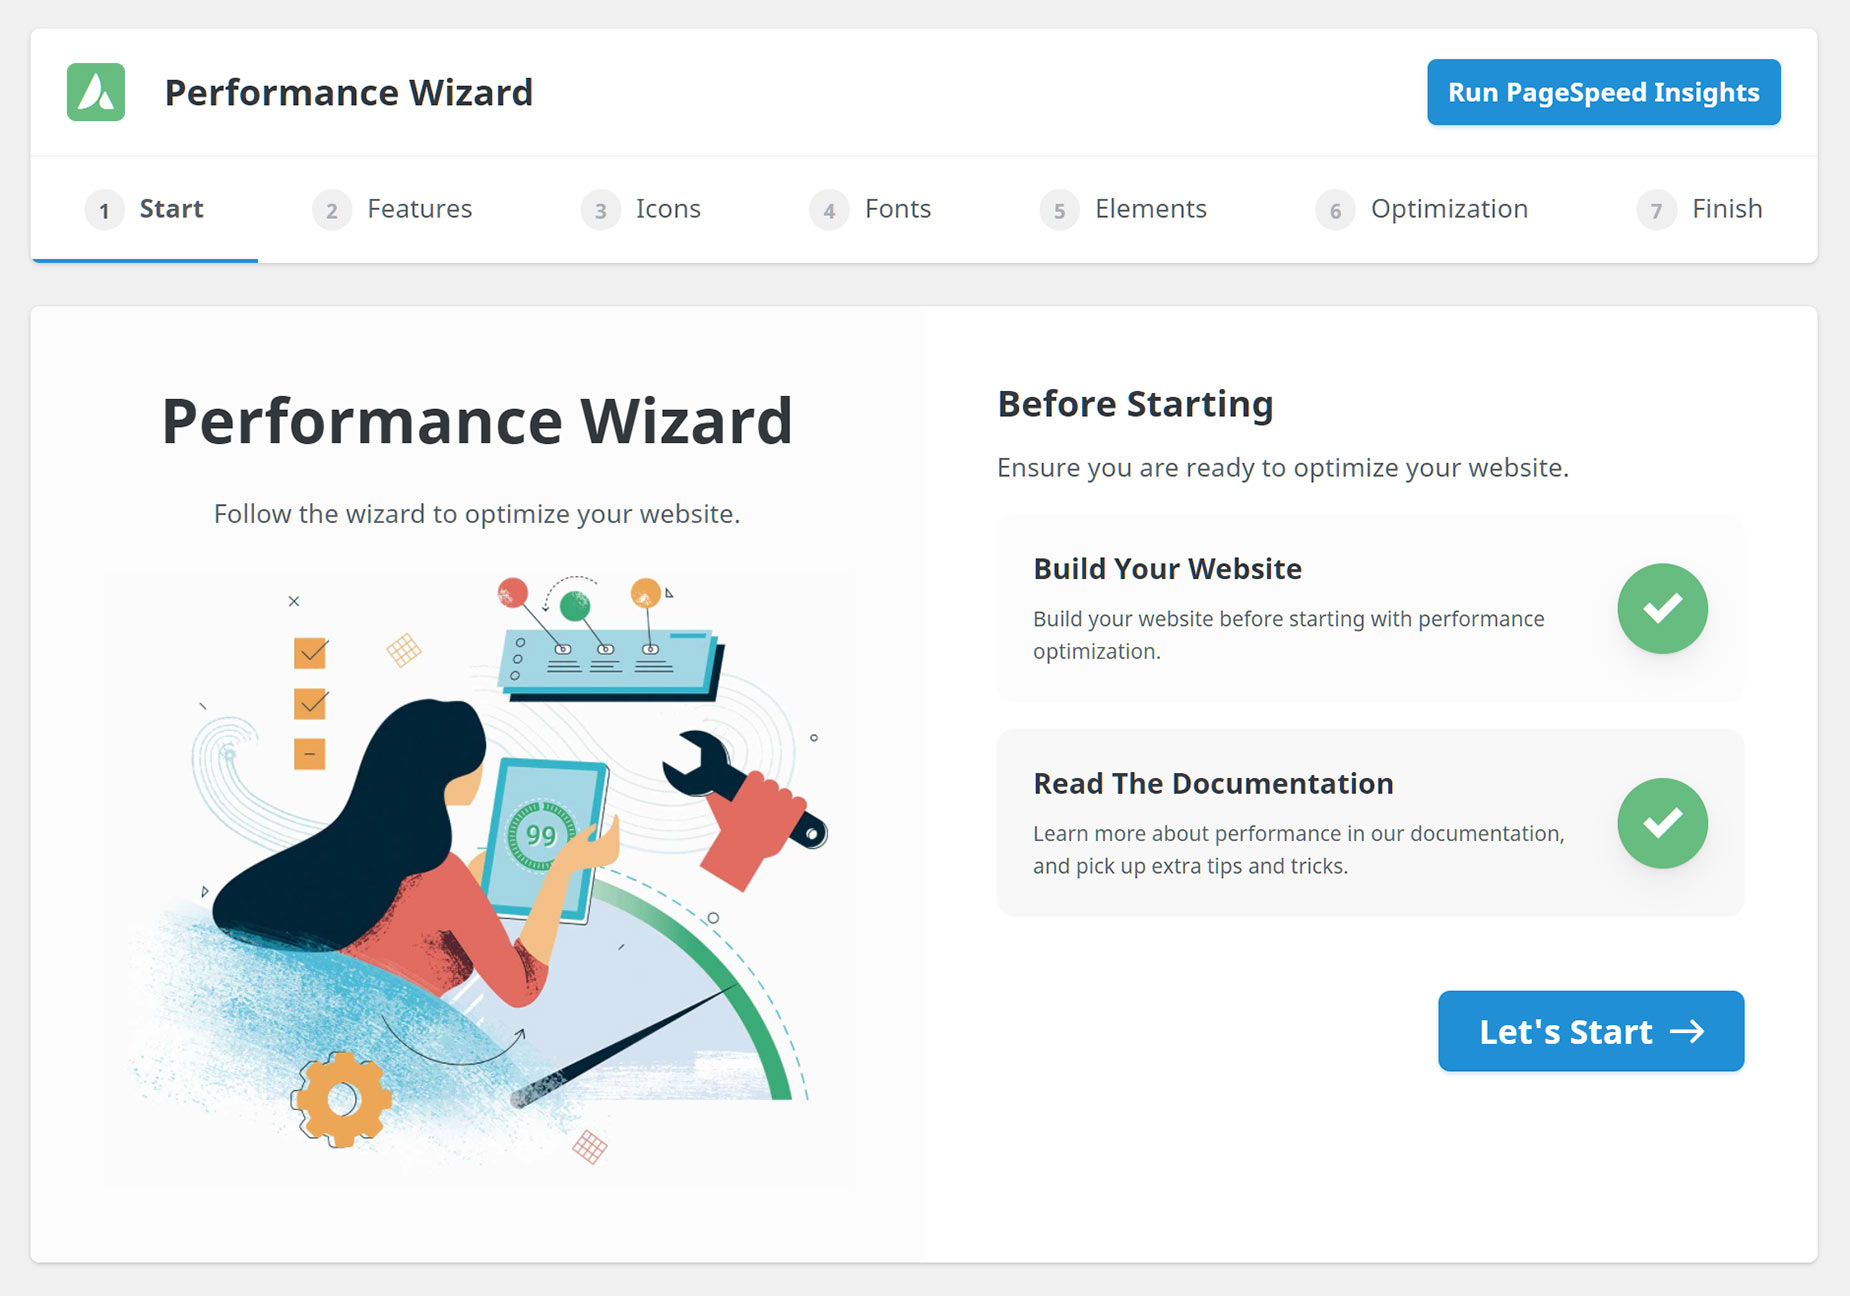
Performance Wizard
The Performance Wizard allows you to step through a wizard to help optimize your website for page load speed. Please see the How To Use The Performance Wizard documentation for further details.
Critical CSS
Here you can manage critical CSS for your pages and posts. Critical CSS is the CSS necessary for above the fold styling. When critical CSS is available, the rest of the styles are deferred – leading to a faster render time. See How To Use Critical CSS for more details.

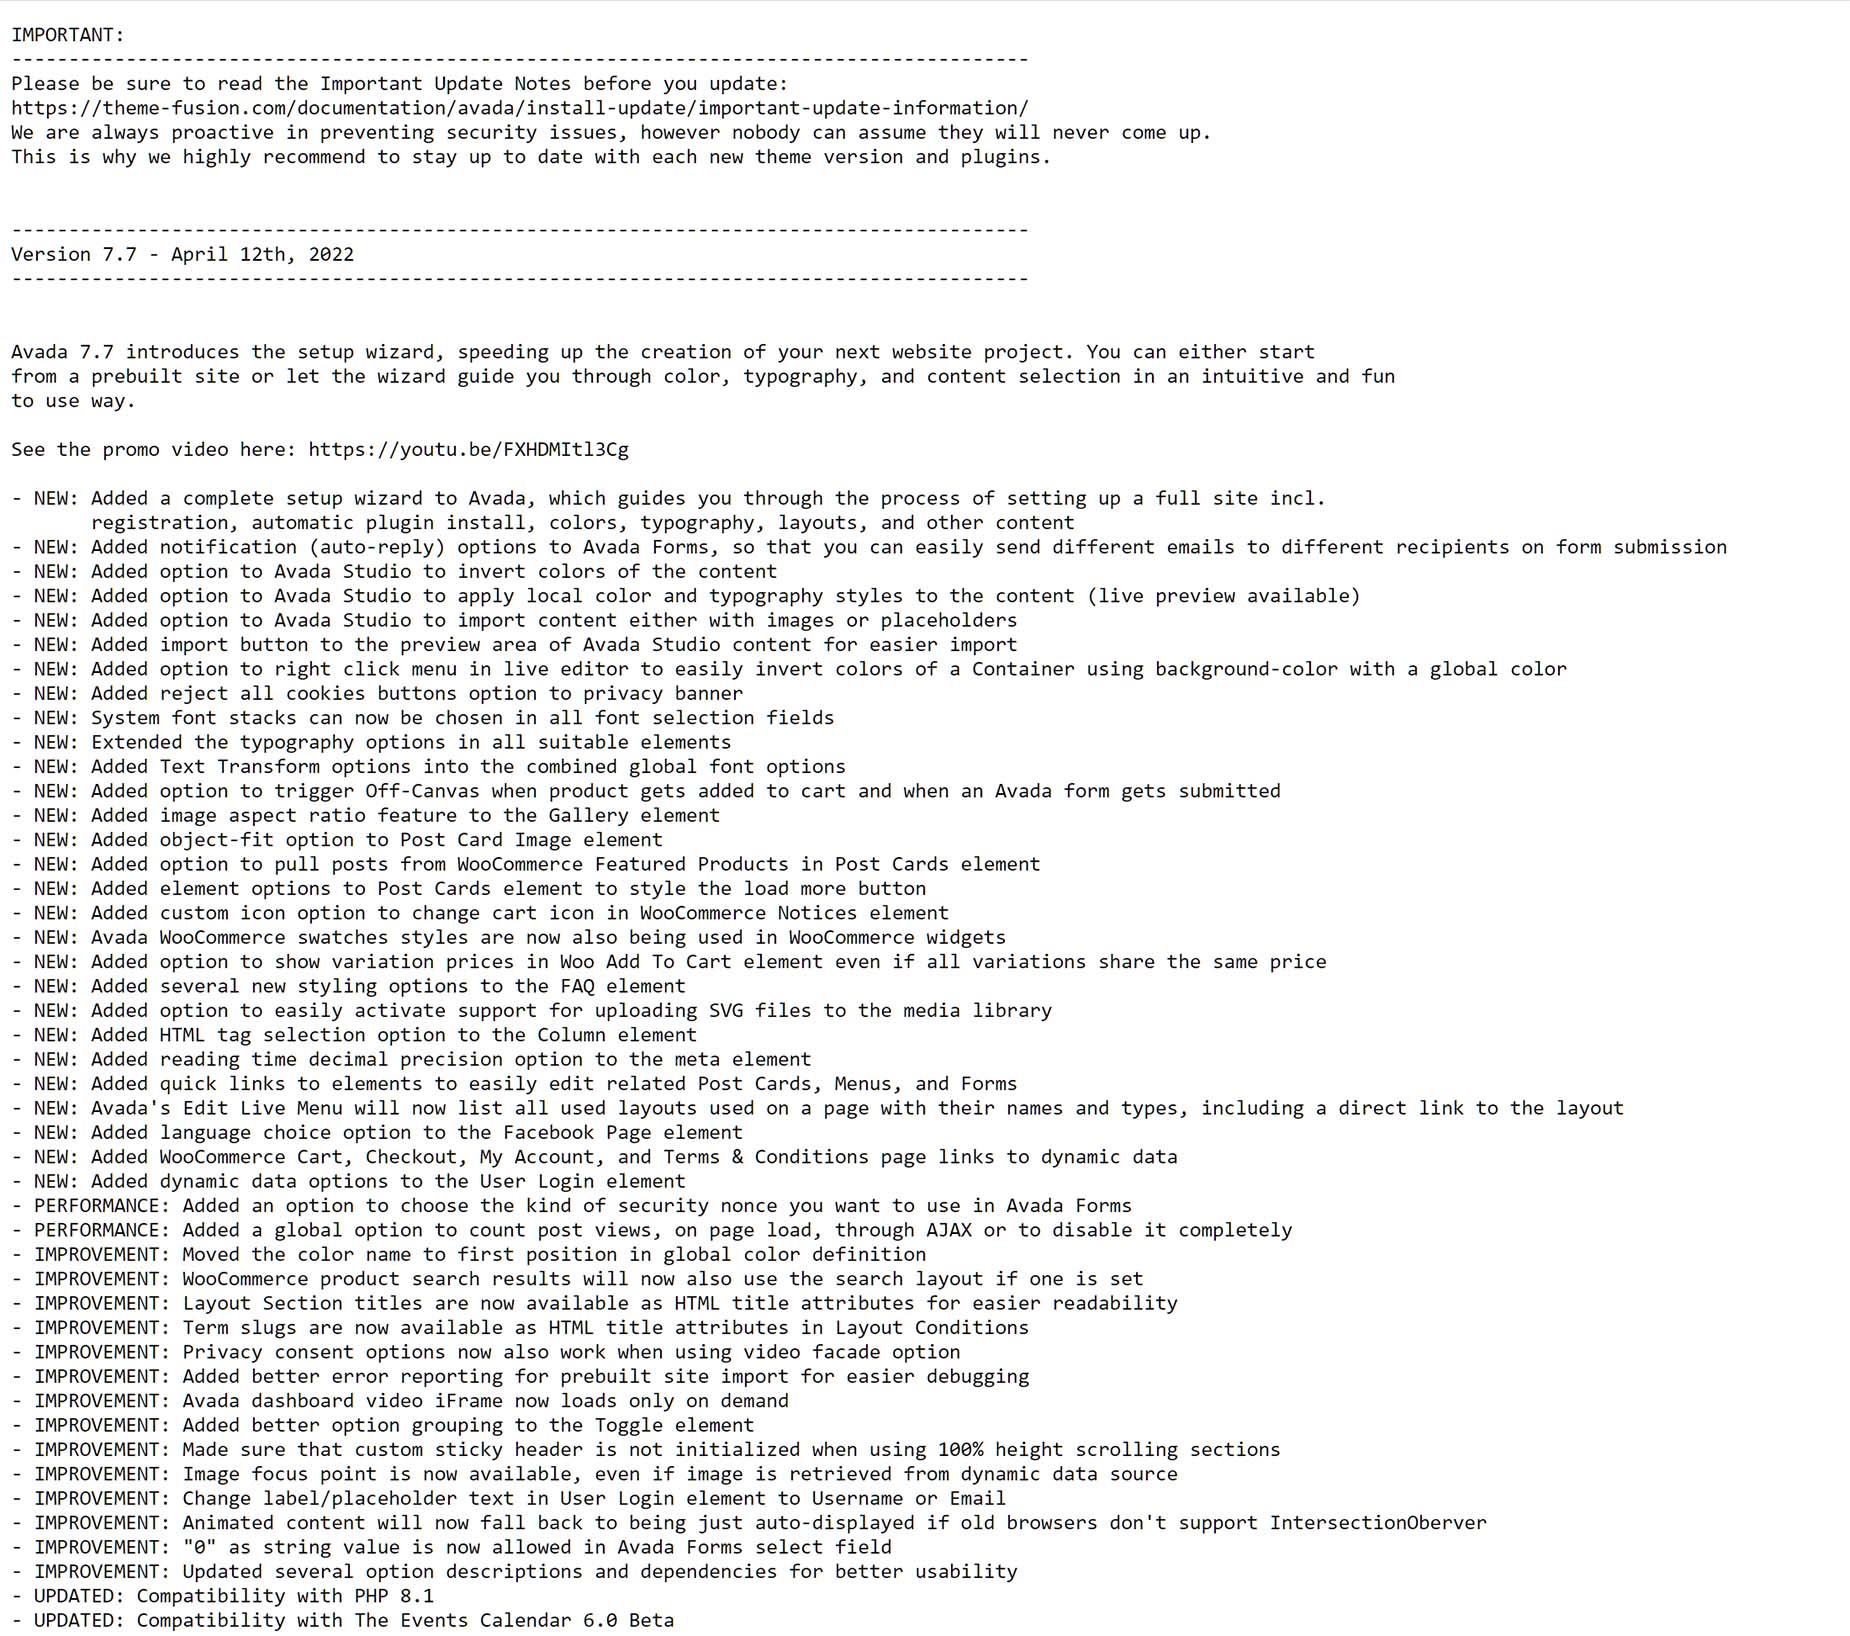
Changelog
From the Changelog link, you can quickly bring up the most up to date Changelog, showing exactly what changes have occurred with Avada, with each release. This is particularly useful to check after any update, to familiarize yourself with the most recent additions, changes and improvements to Avada.
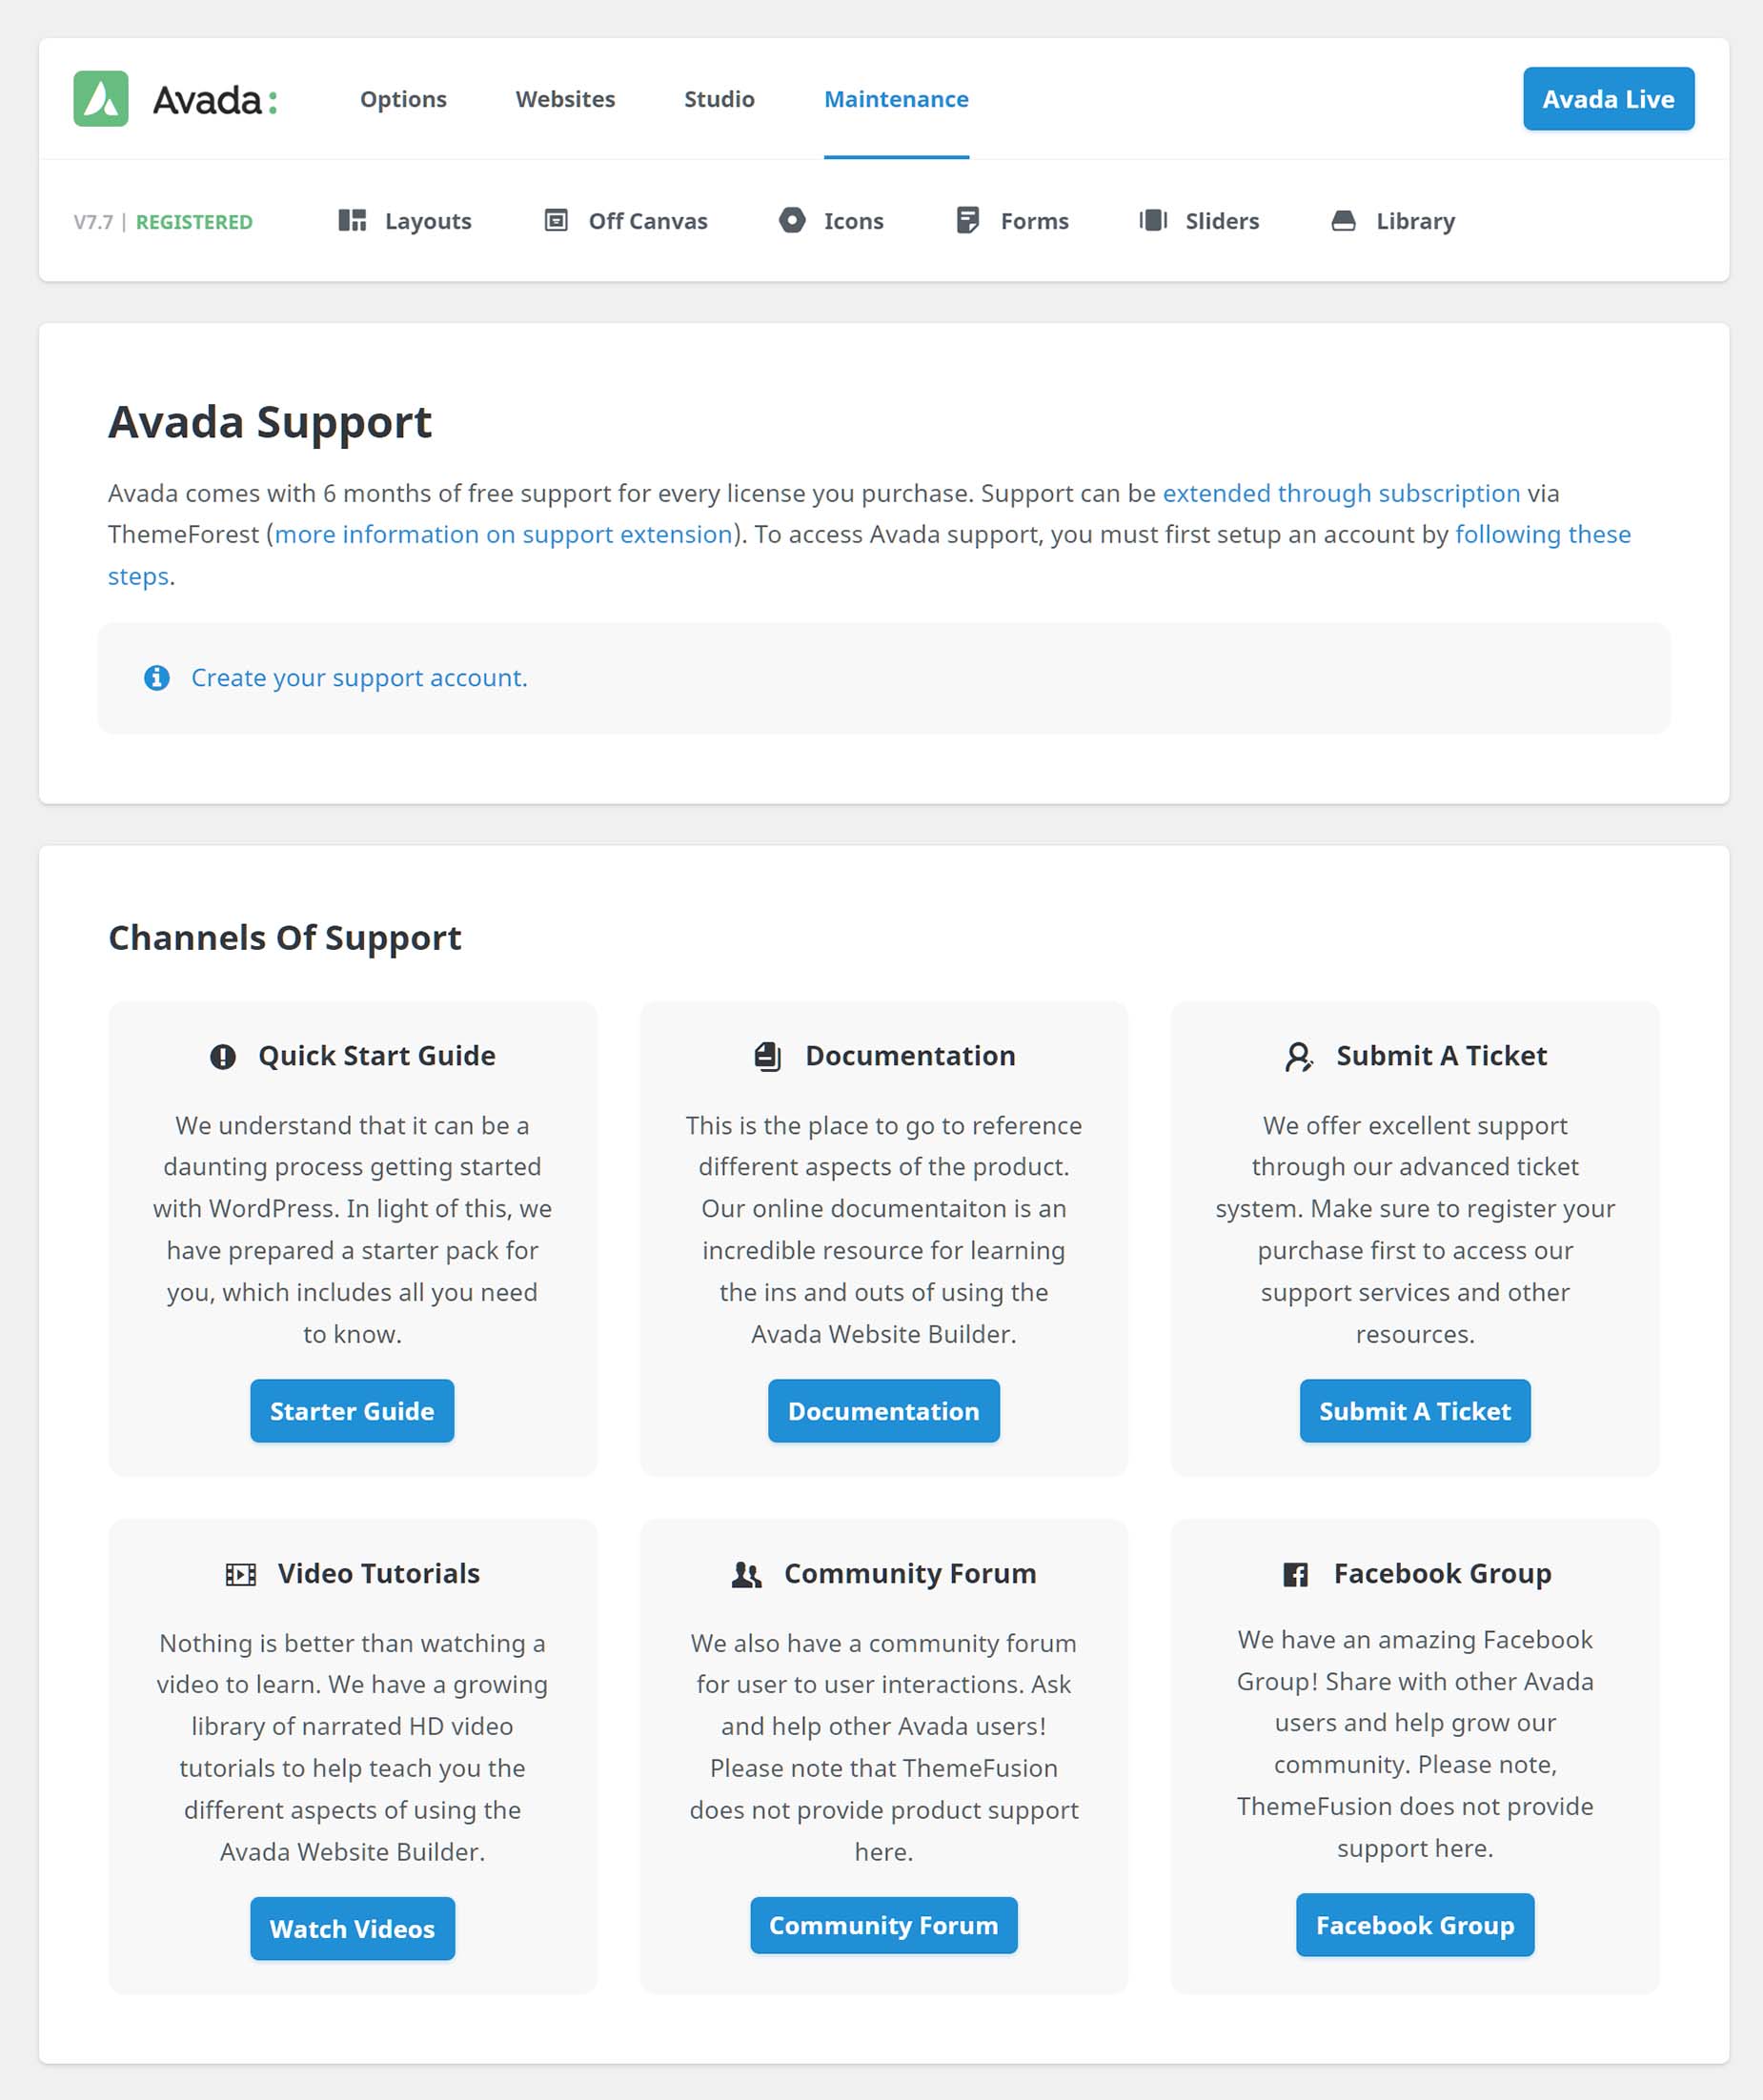
Support
Under Support, you will find information on how support works, and links to our main support channels, which will help you learn more how to get started with Avada, how to solve issues you might run into, and of course, how to submit a ticket directly to our awesome Support Team. There are also links to our popular community resources.
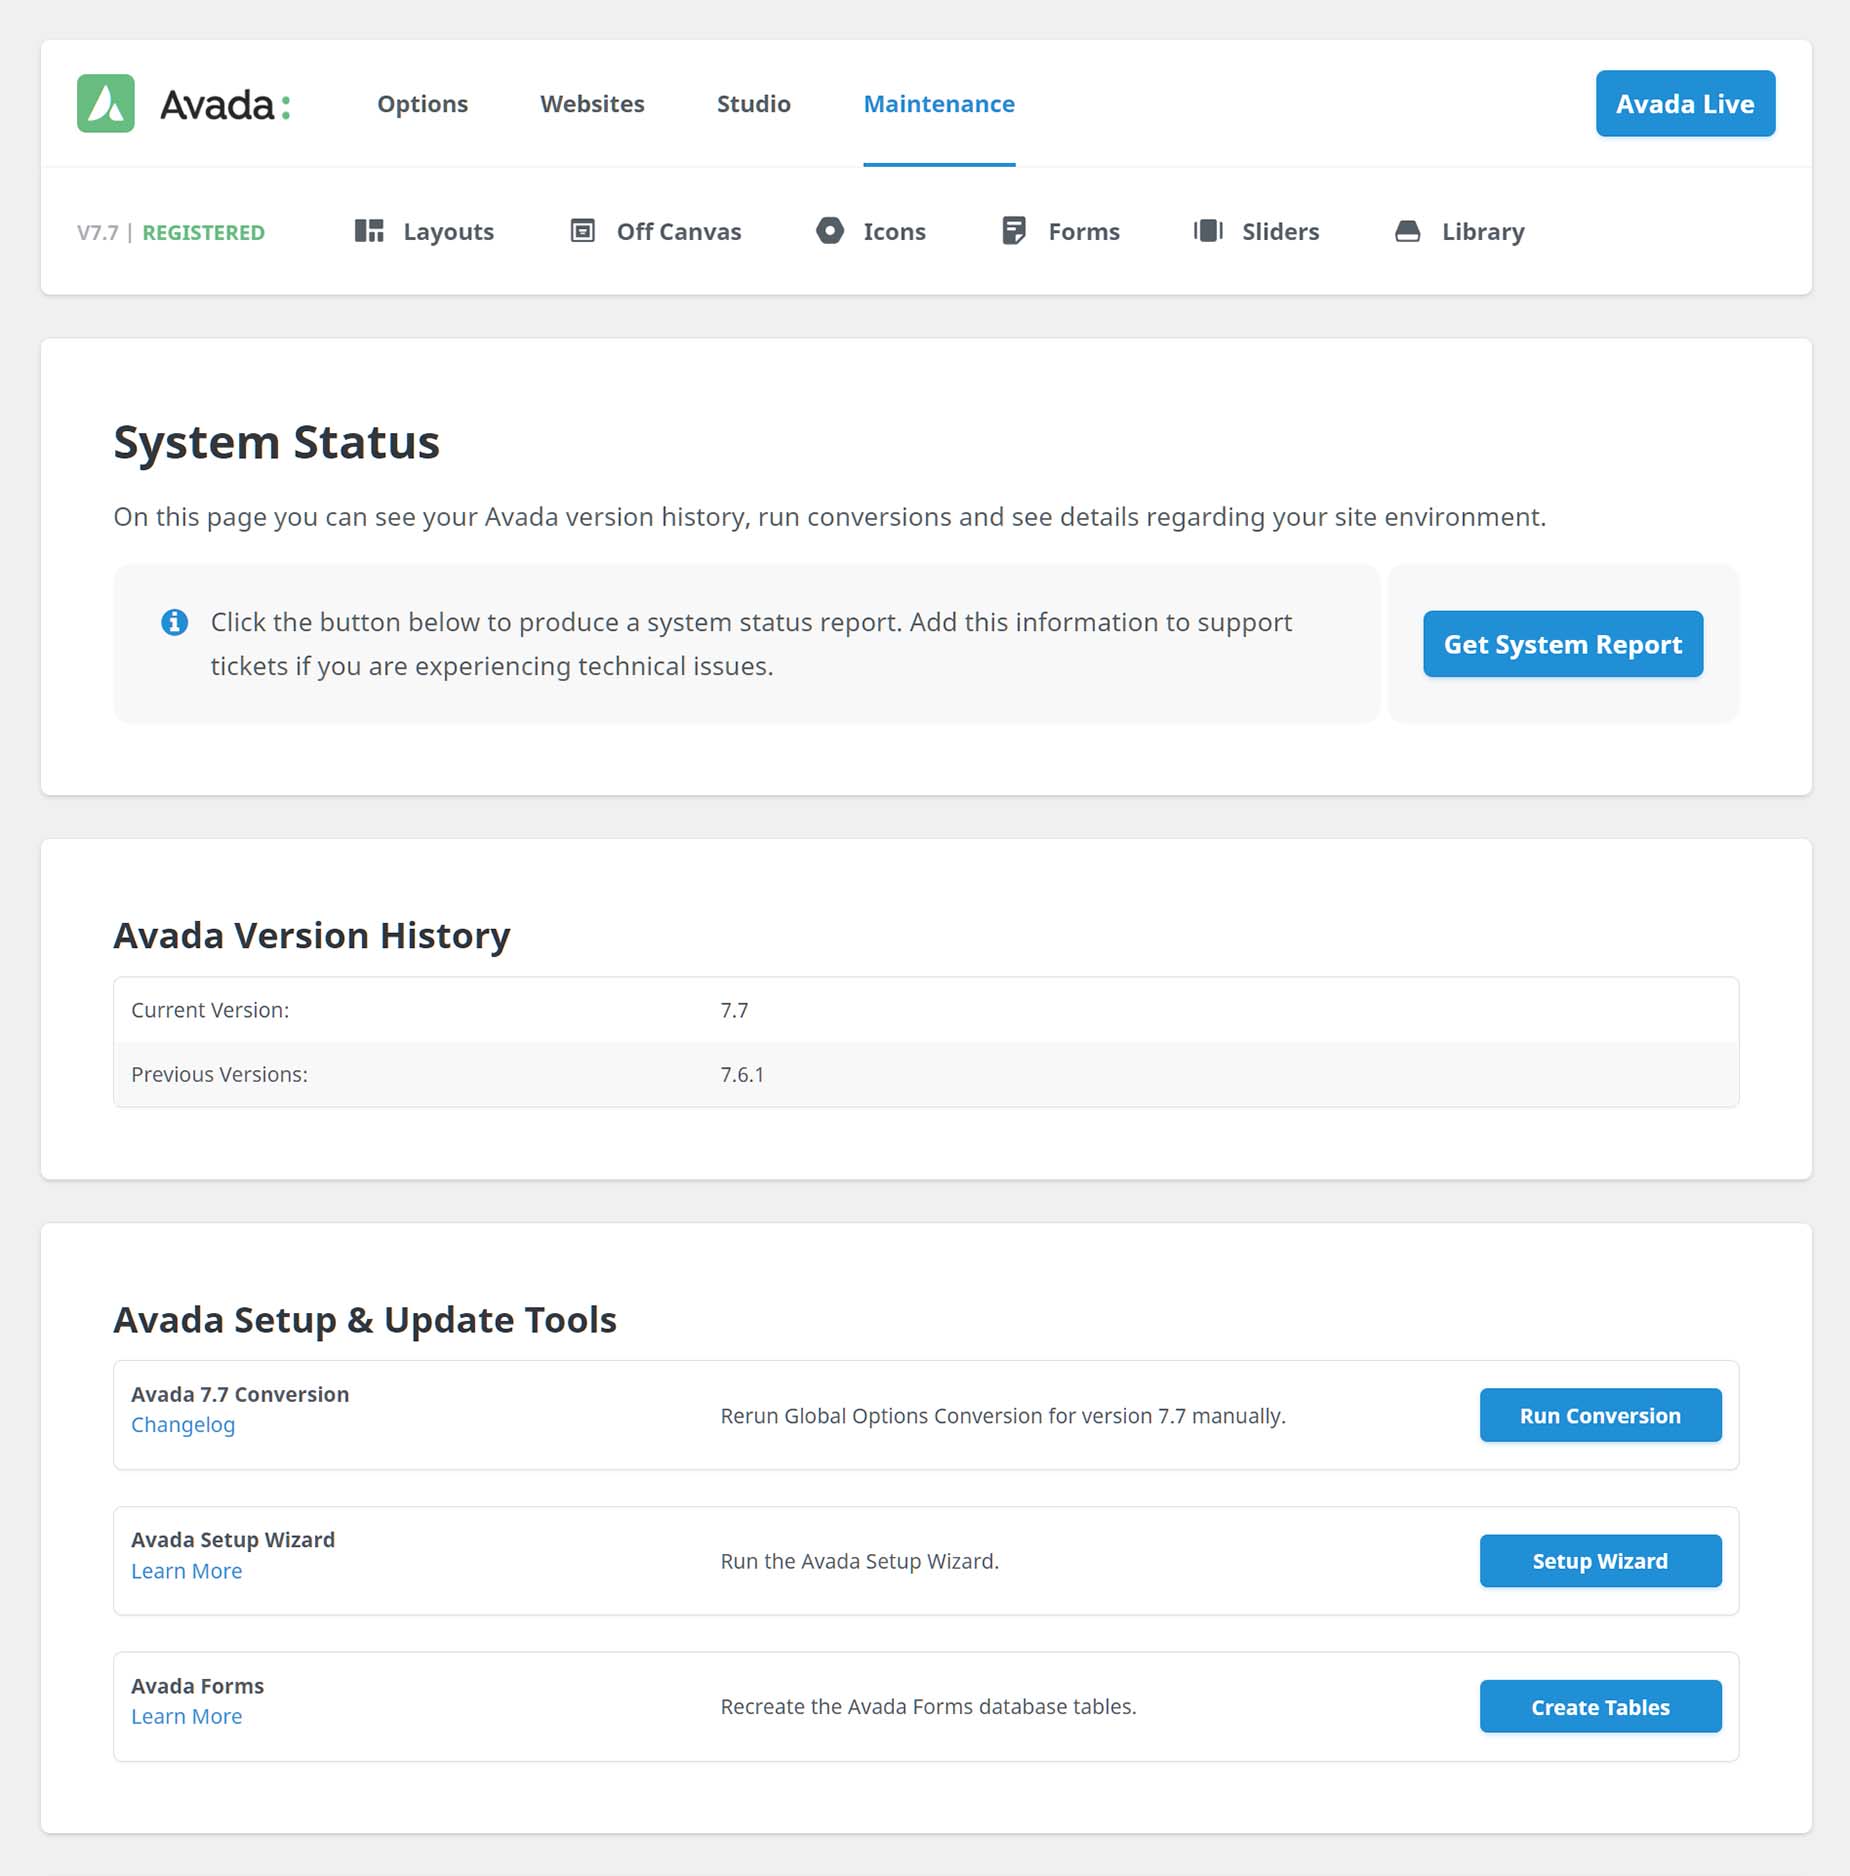
System Status
Under the Status tab, you will find the System Status page, with your Avada Version History, Avada Conversion Controls, a link to run the Avada Setup Wizard, and the current settings of both your WordPress and Server environment. You can also generate a System Report here, which will give you a full summary of your System Status information. You can also choose to copy this report and include it in any support tickets. This can help our support team if you are having any issues.
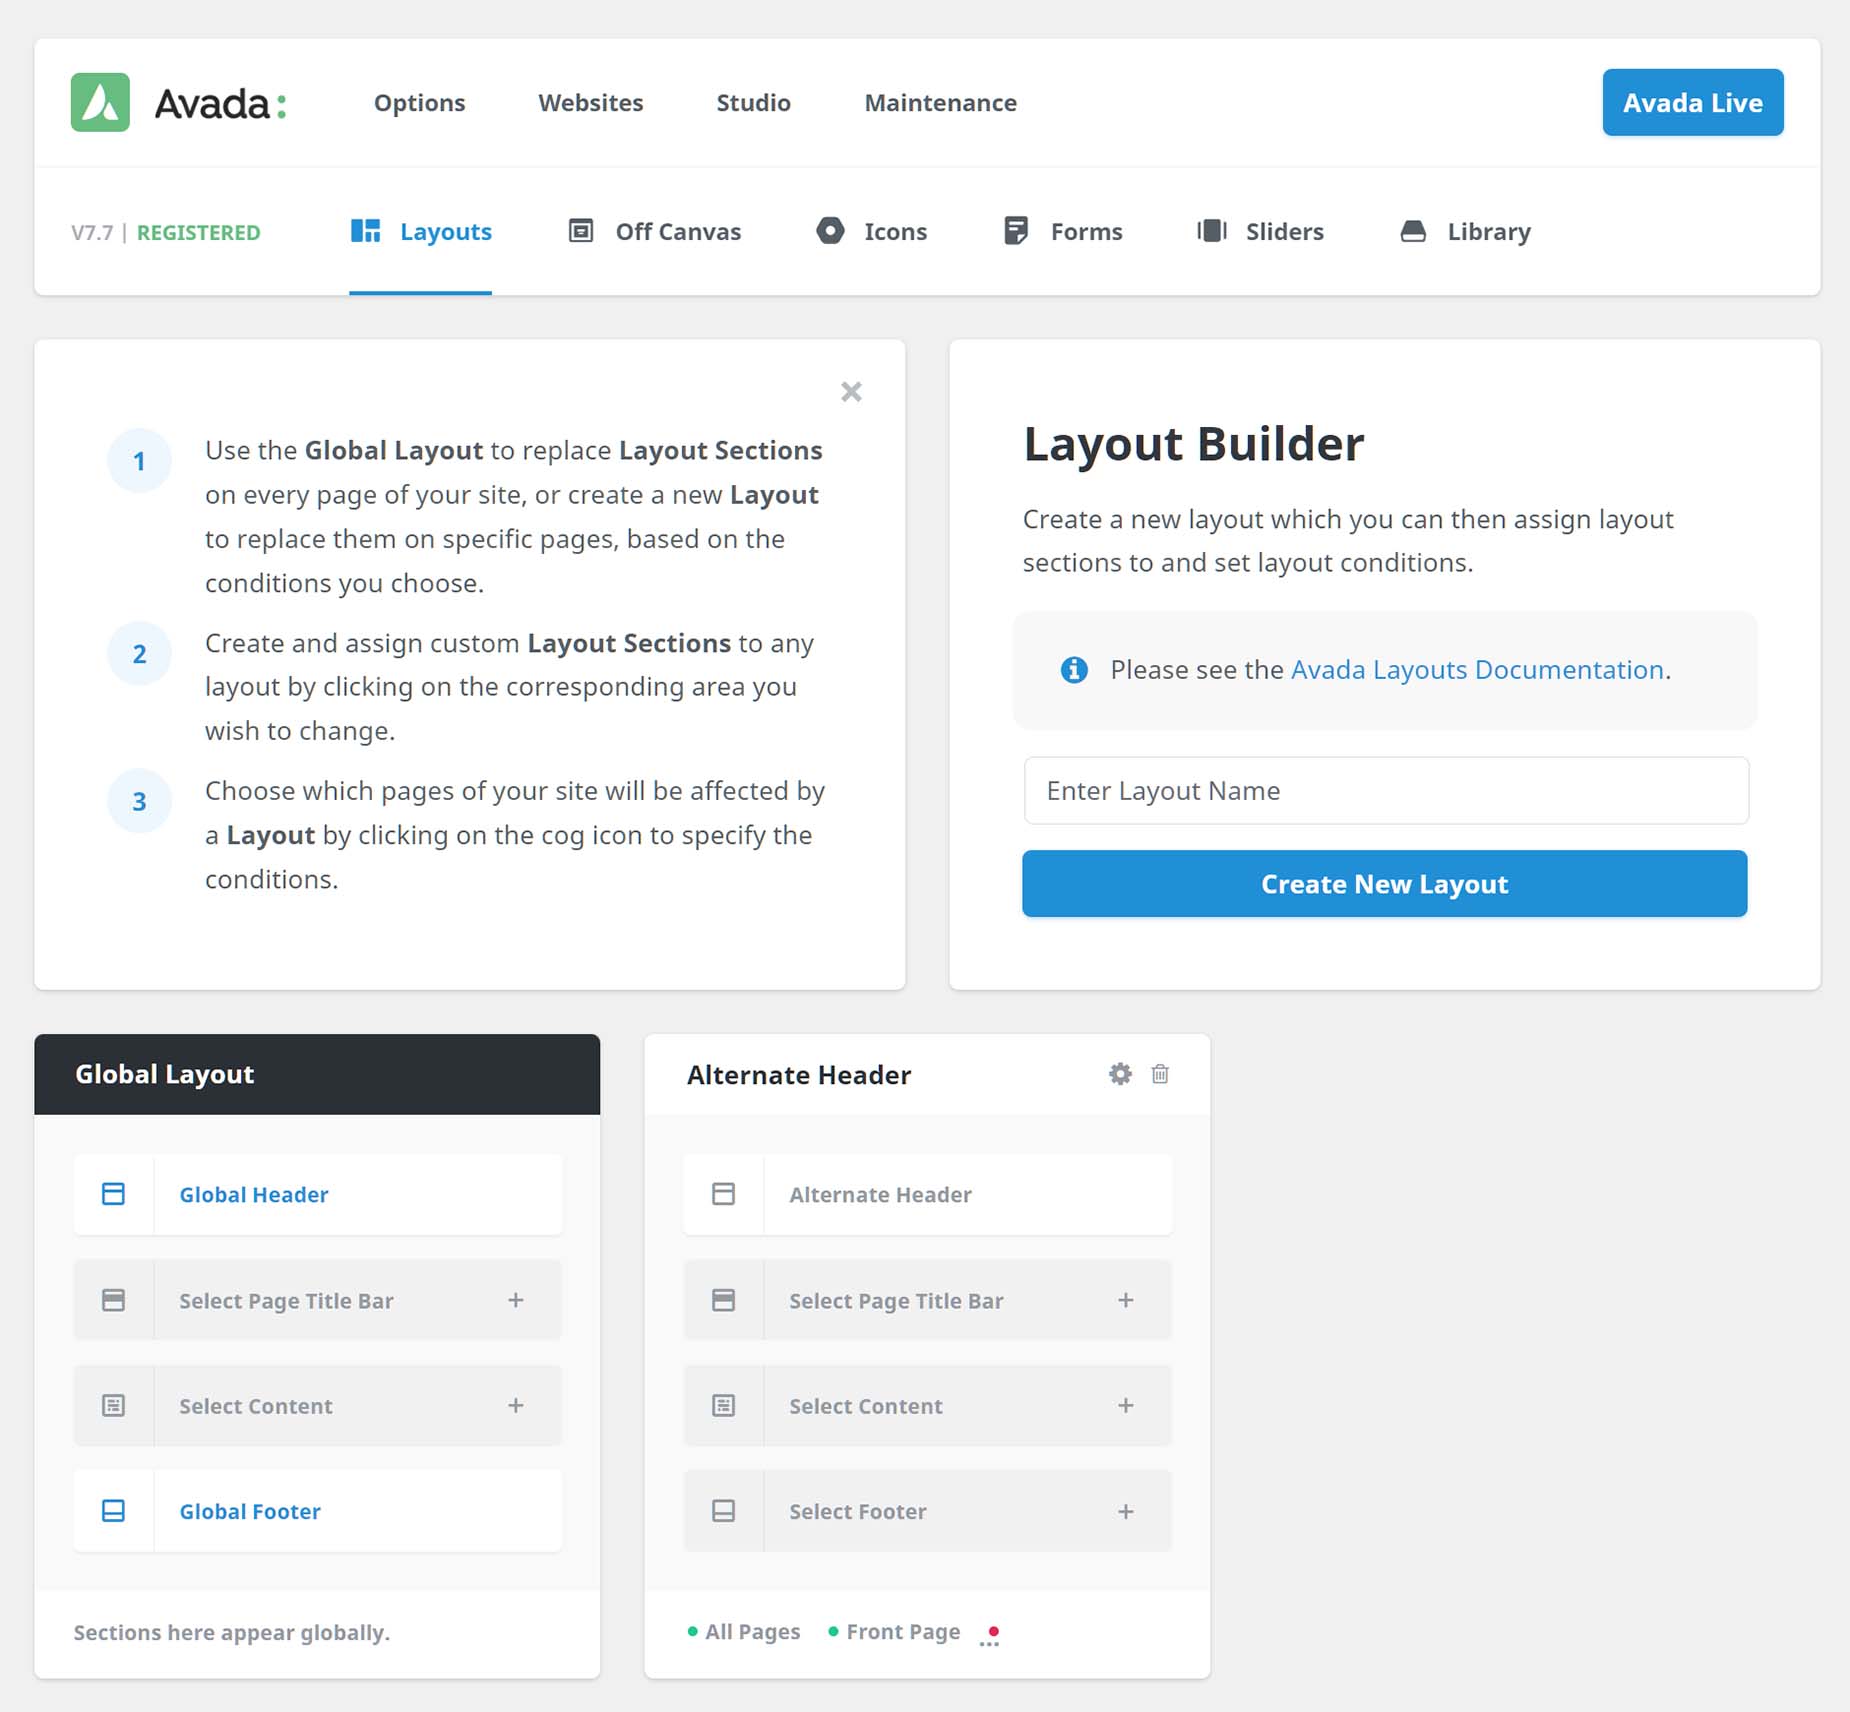
Layouts
This is where you can build custom layouts for your website. Here you can access both the Layout Builder, and the Layout Section Builder. Please see the Avada Layouts documentation for a full rundown on this amazing custom layout system.
Icons
This is where you can upload Custom Icon Sets to Avada. Avada comes with Font Awesome, and the full range of free icons it provides. For ultimate flexibility, you can now also upload your own Custom Icon Sets from IcoMoon, or import a custom icon set from Avada Studio.
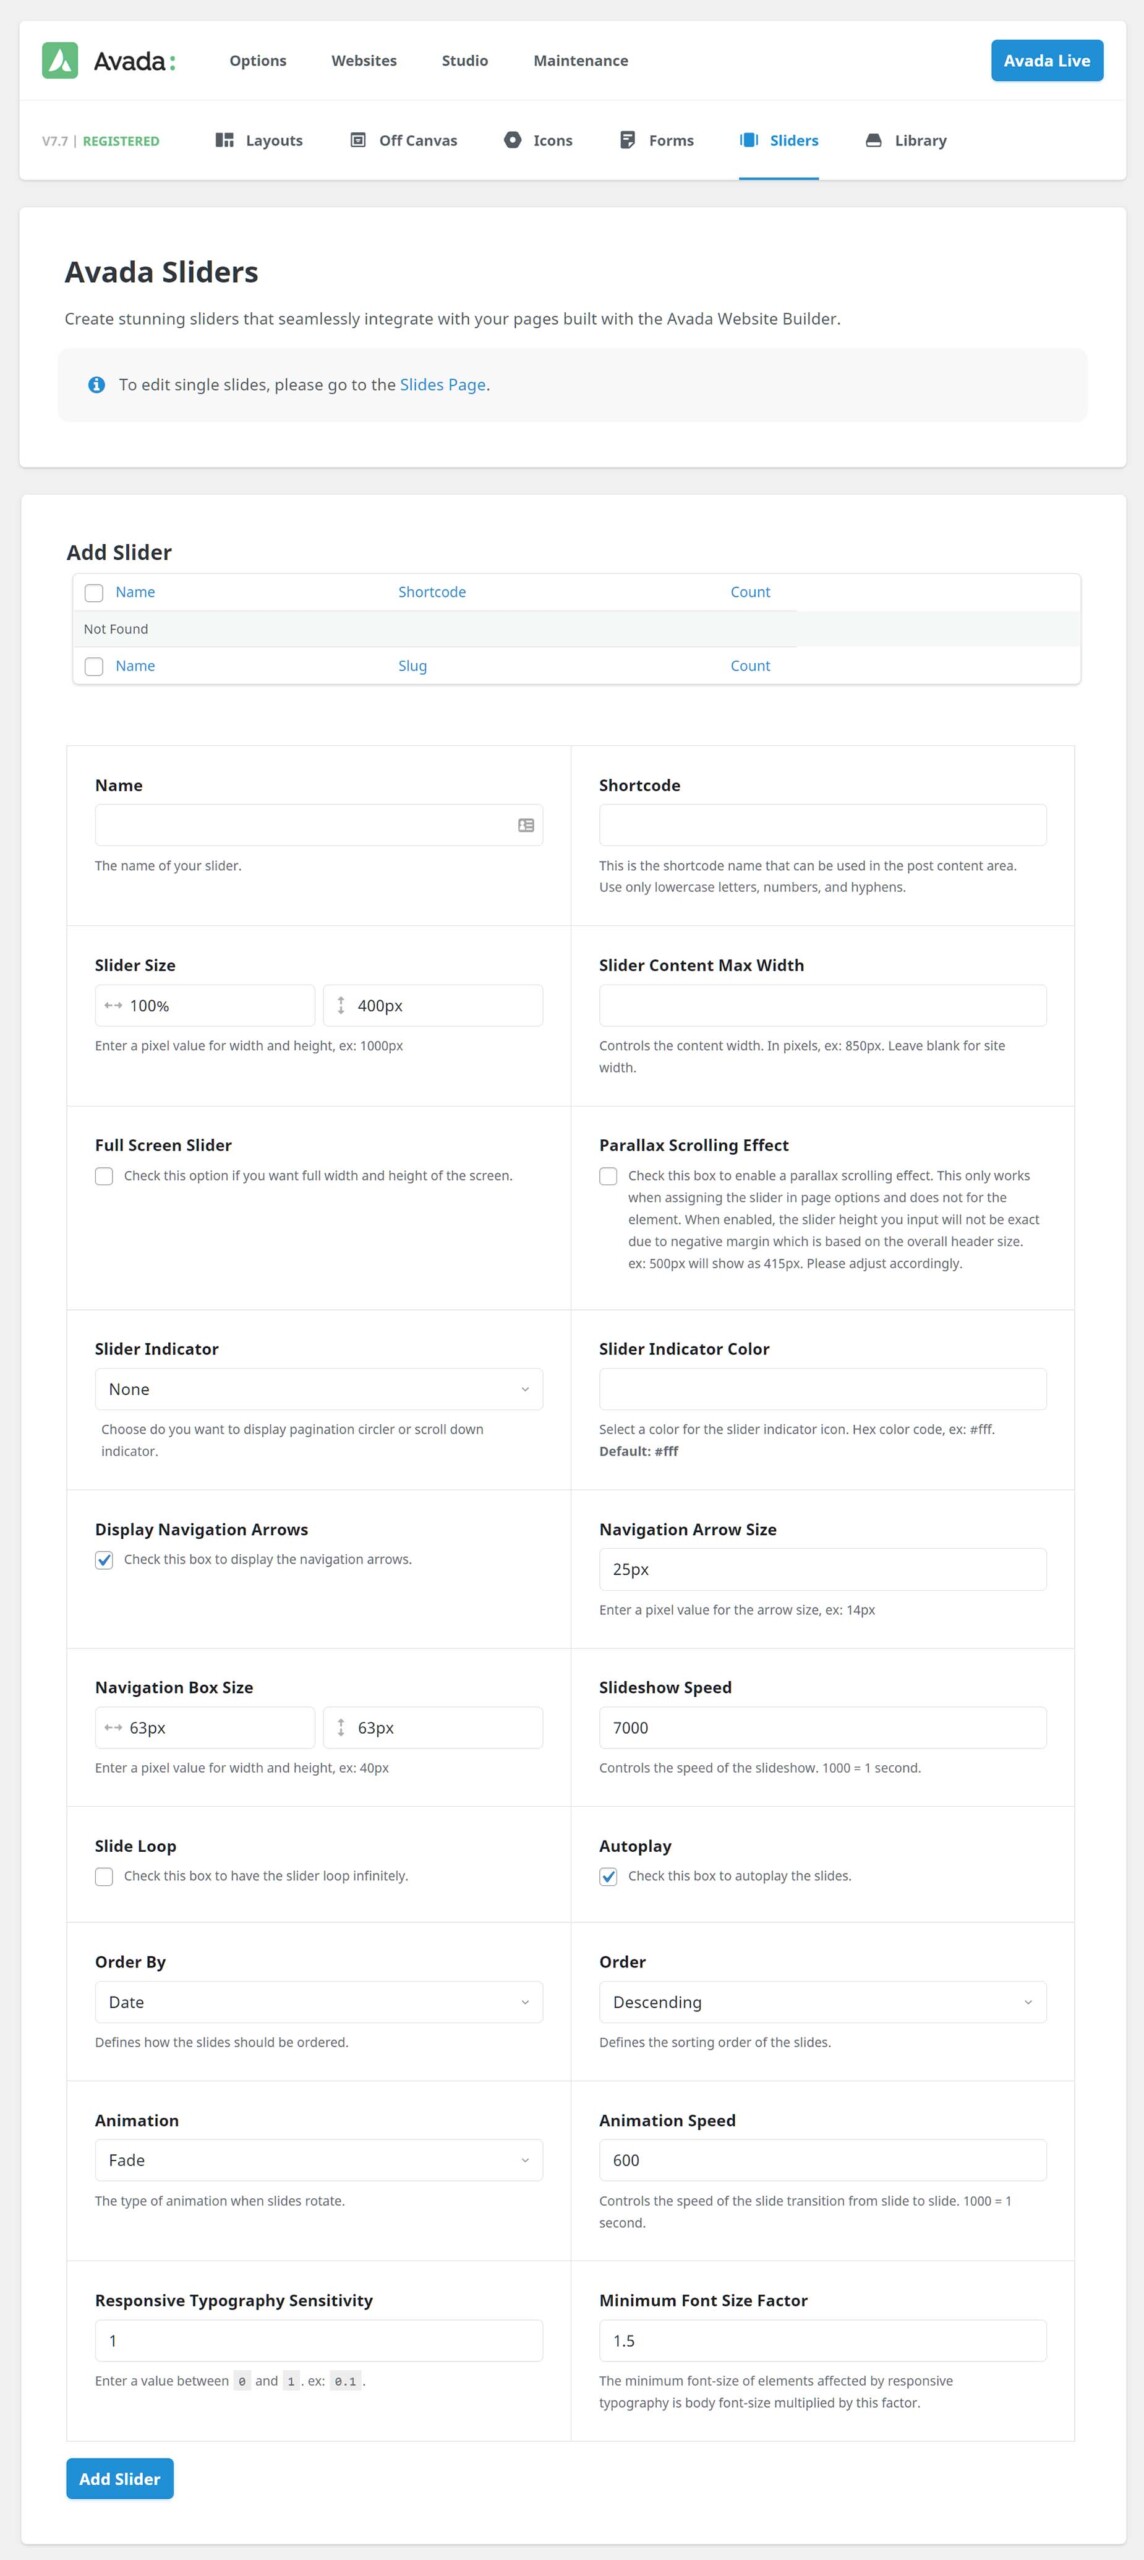
Avada Sliders
The Avada Slider is a beautiful and lean slider, developed especially by ThemeFusion, that produces stunning results. The slider has amazing flexibility, and is 100% responsive, giving you full control over width and height to easily create fixed, full width or full-screen sliders. From the Sliders Menu item, you can edit your Avada Sliders, or your Avada Slides, or Export / Import your Avada Sliders.
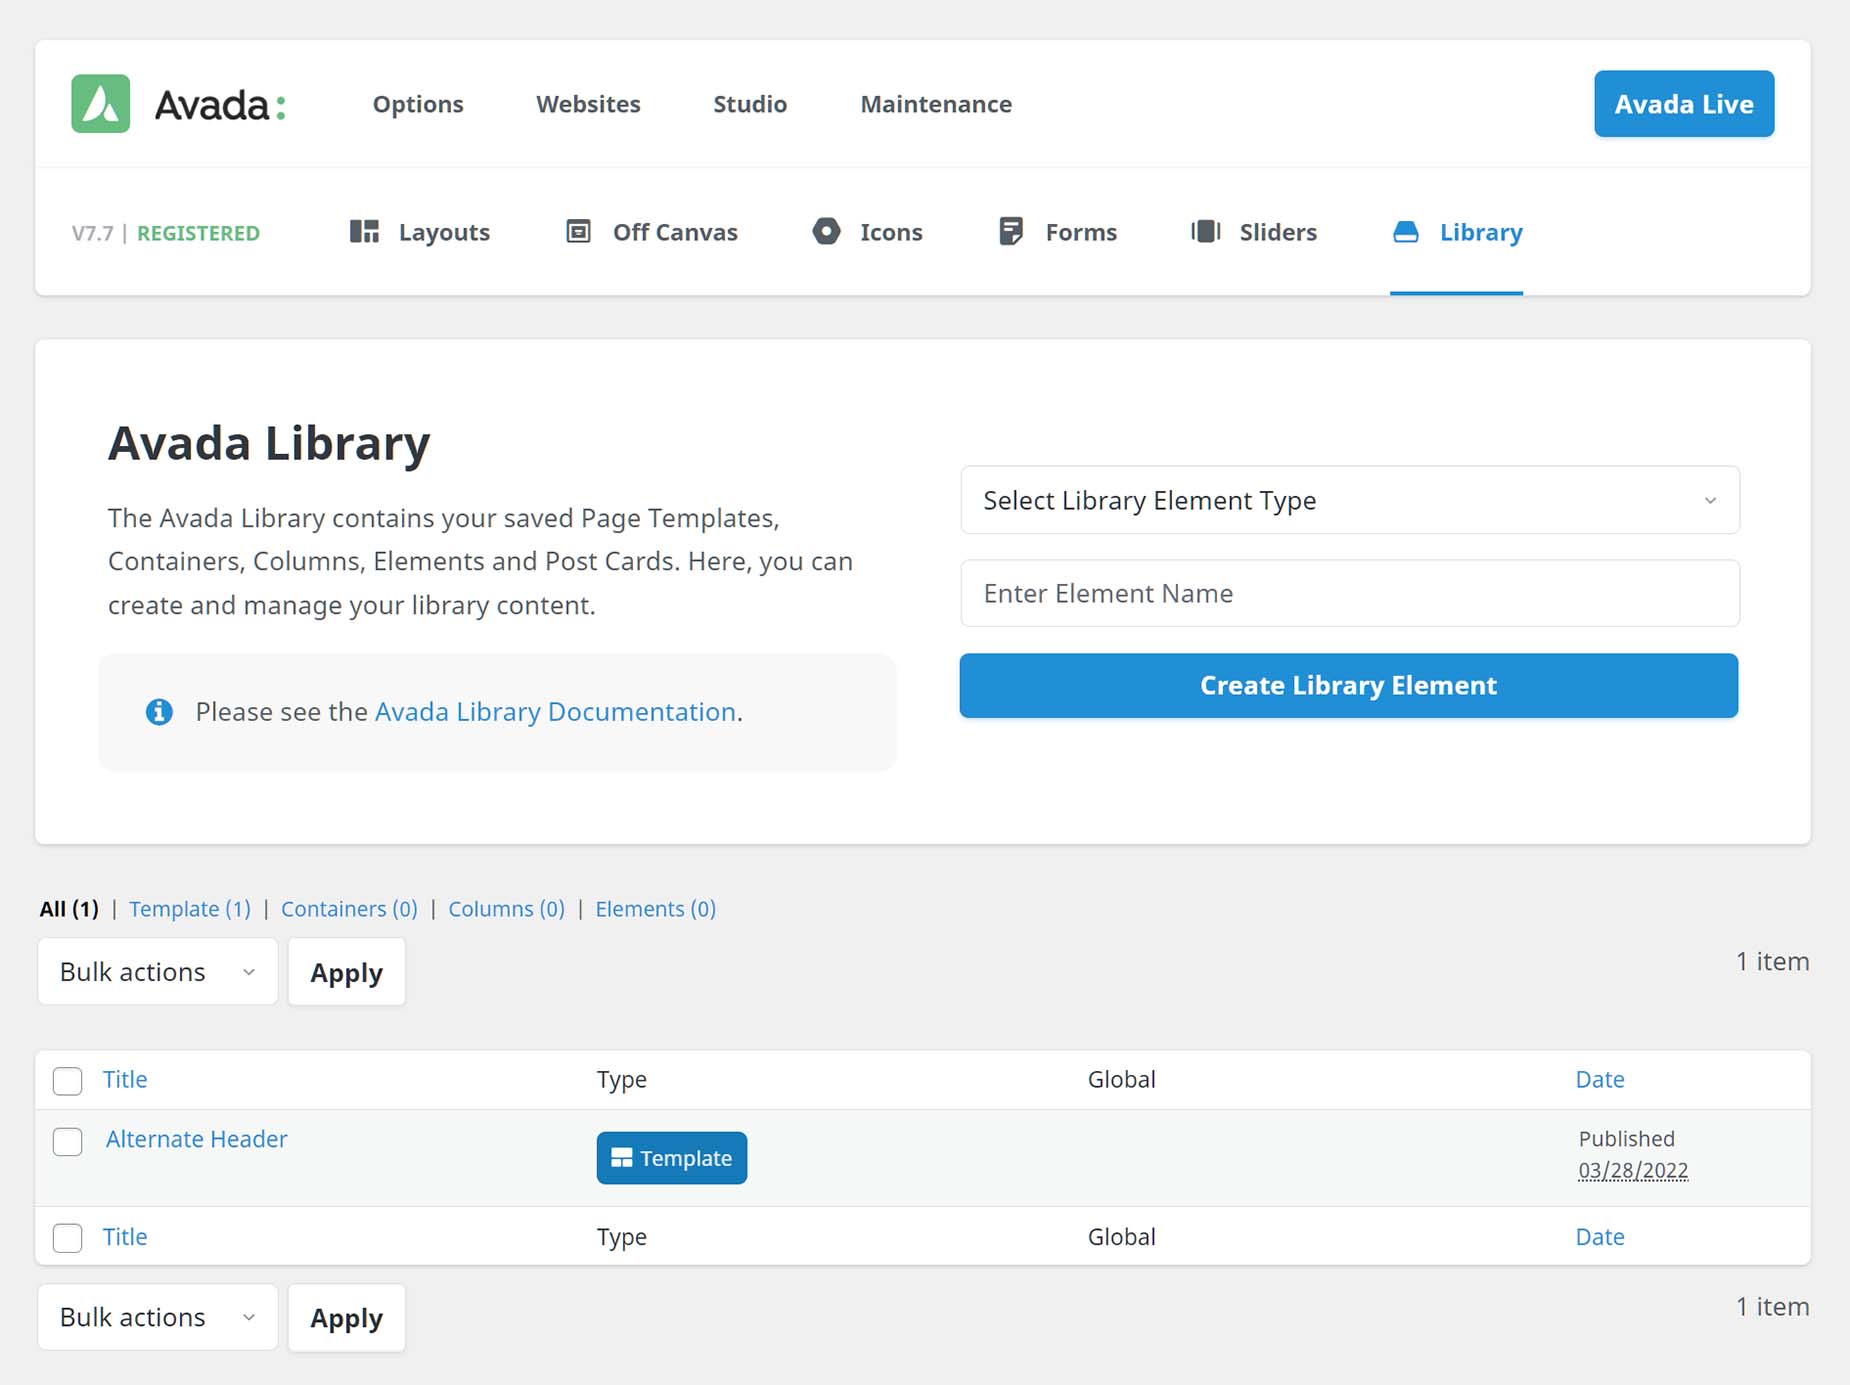
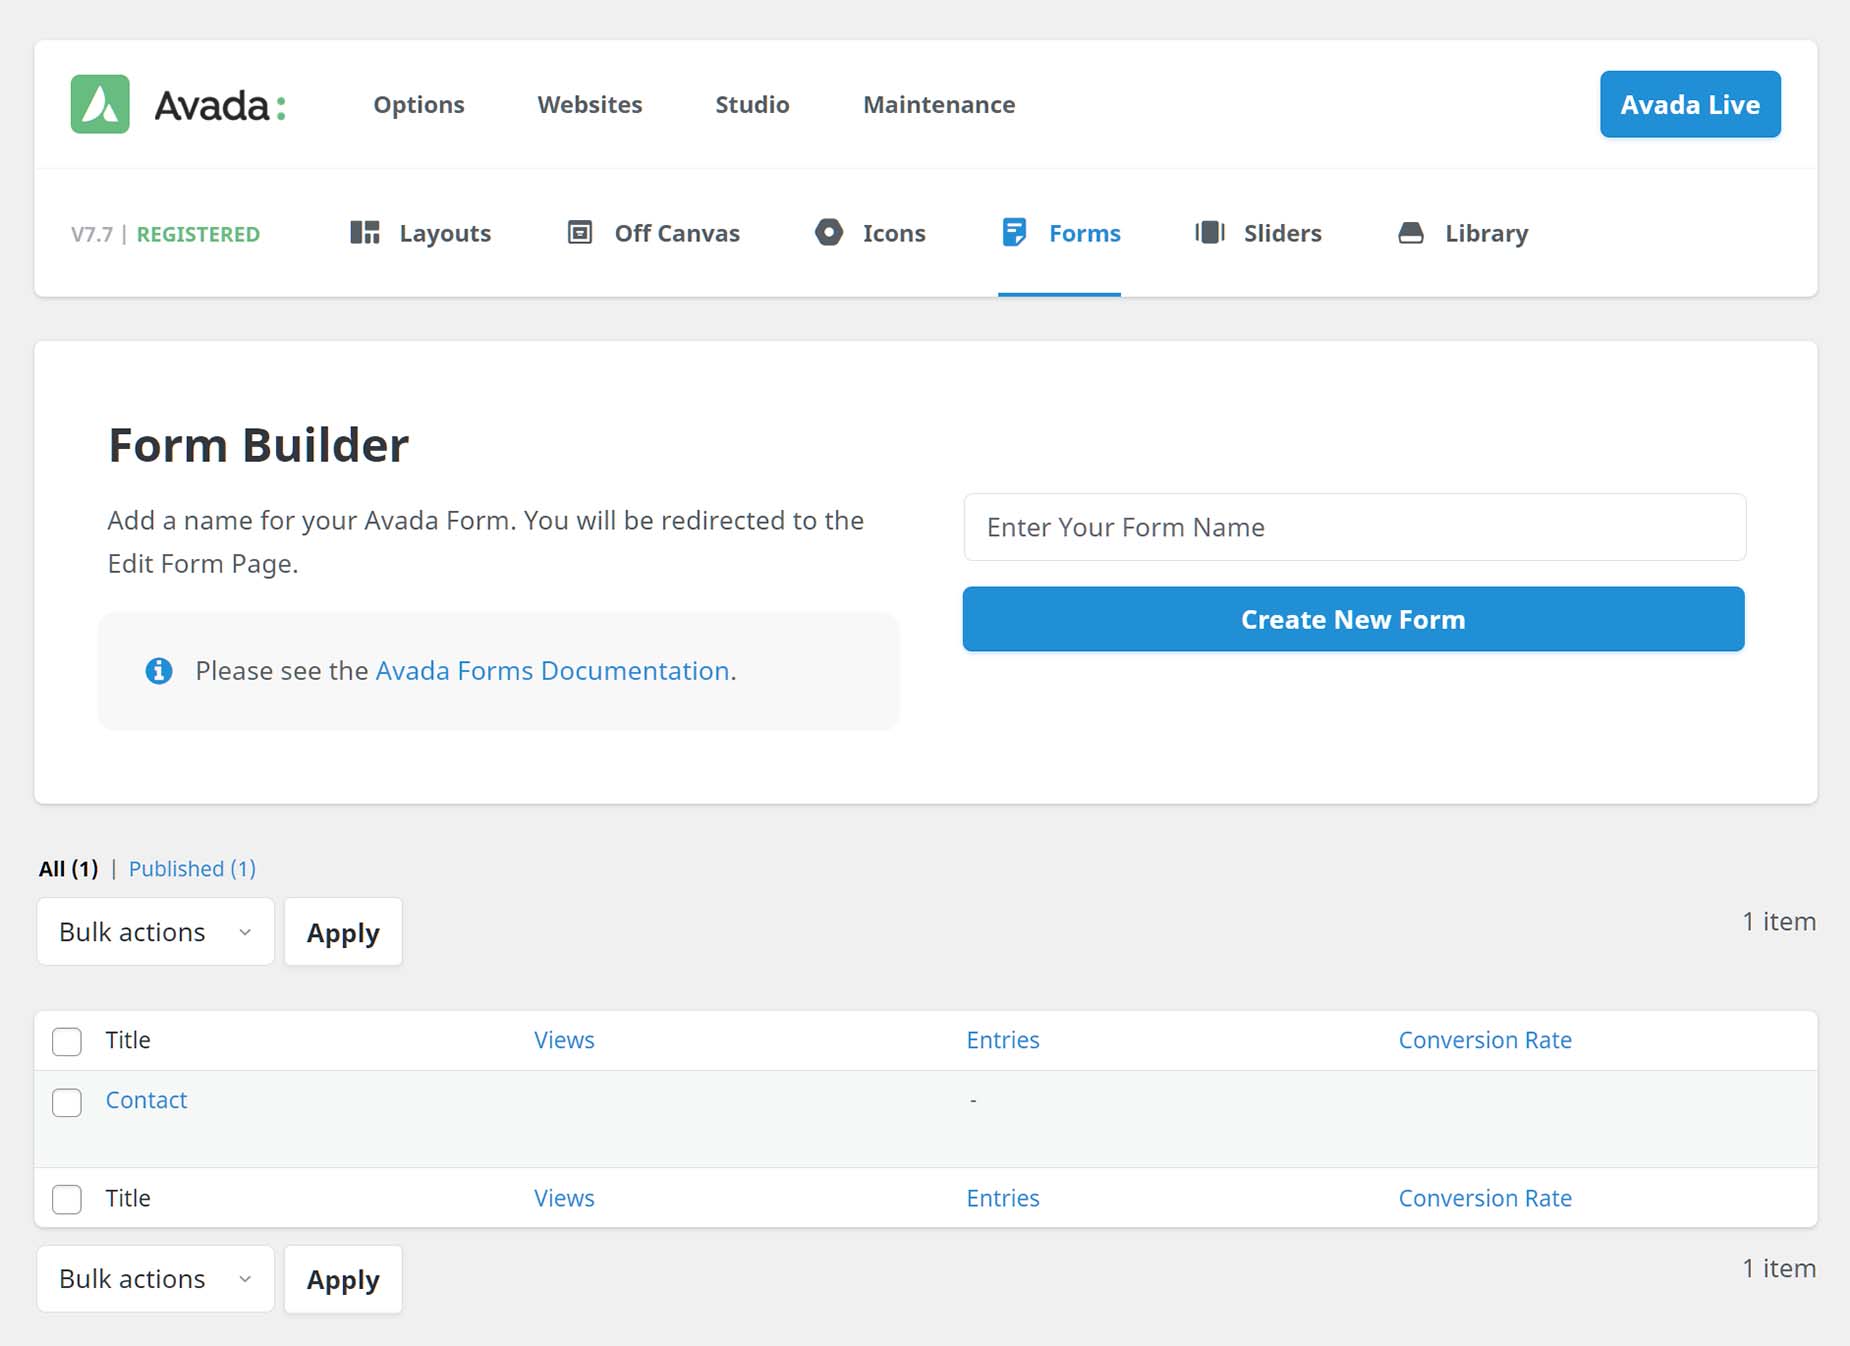
Avada Builder Library
This will take you to the Avada Builder Library, which helps you to create, manage, and redeploy any of your Avada Builder content, from complete Pages through to Containers, Columns, individual Elements, Post Cards, and Mega Menus. The Library also allows you to import individual pages from the Avada Prebuilt Websites.