How To Register For My Avada (Support & License Management Portal)
Last Update: February 4, 2026
Your purchase of Avada includes 6 months of included support and free lifetime updates. Once the 6 months of support expire, you can extend support coverage for 6 or 12 months. If you choose not to extend your support, you will still be able to submit bug reports via email or item comments and still have access to our online documentation and video tutorials. Follow this link for more information on Envato’s item support terms and conditions.
We use HelpScout for our ticketing system which is email-based. HelpScout adheres to SOC2 Type 2 certification for Security and Availability. Support is limited to questions regarding Avada’s features or issues arising from usage.
In accordance with our support policy, our team cannot provide support for code customizations or extended third-party plugins. If you need help with anything beyond minor customizations, we can suggest contacting our customization partner. Read on to find out how to register your My Avada support account, and watch the video for a visual overview.
Create A User Account
To set up your My Avada support account, head over to the https://my.avada.com Login page. To register, click the “Create Account” link to go to the registration page. To complete this part of the process, you will need to register a valid Avada purchase code.
You can add purchase codes to your account individually, or import all your Avada purchase Codes directly from your Envato account. You can also do this from within My Avada after you register.

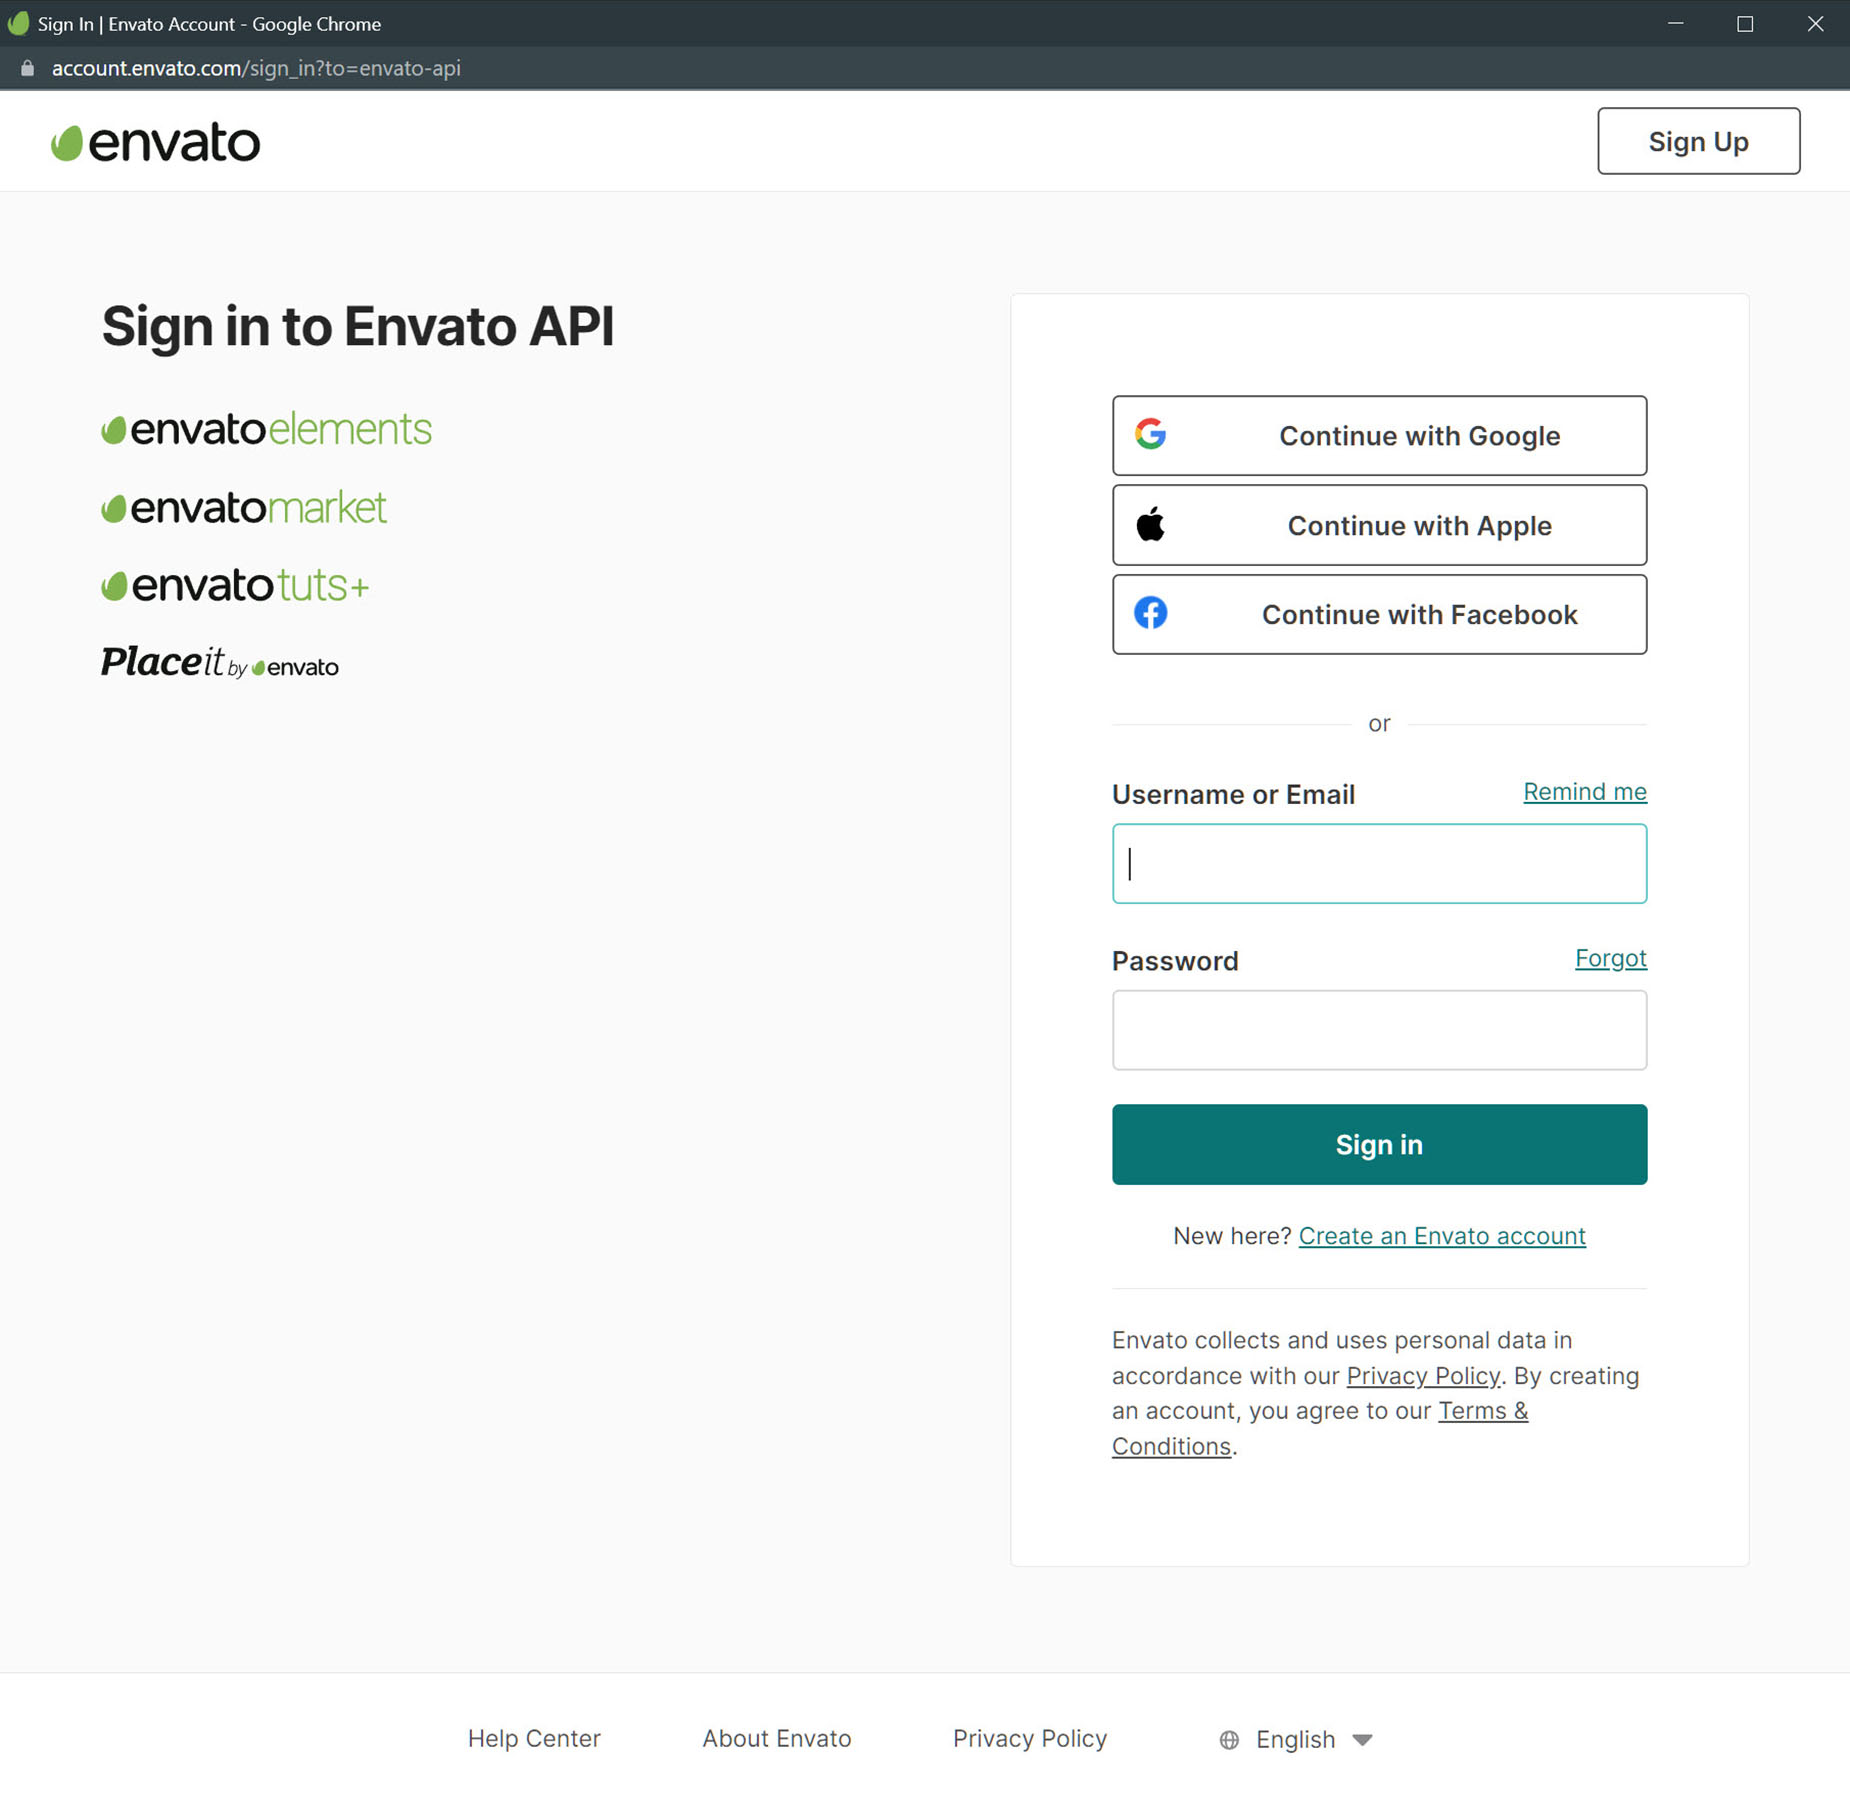
If you are unsure about where to locate your Purchase Codes, please see the How To Locate Your Purchase Code on ThemeForest help file. To import your purchase codes from Envato, click on the Import From Envato button. This opens a window where you can log in and connect to the Envato API (this is the same login as your ThemeForest account).
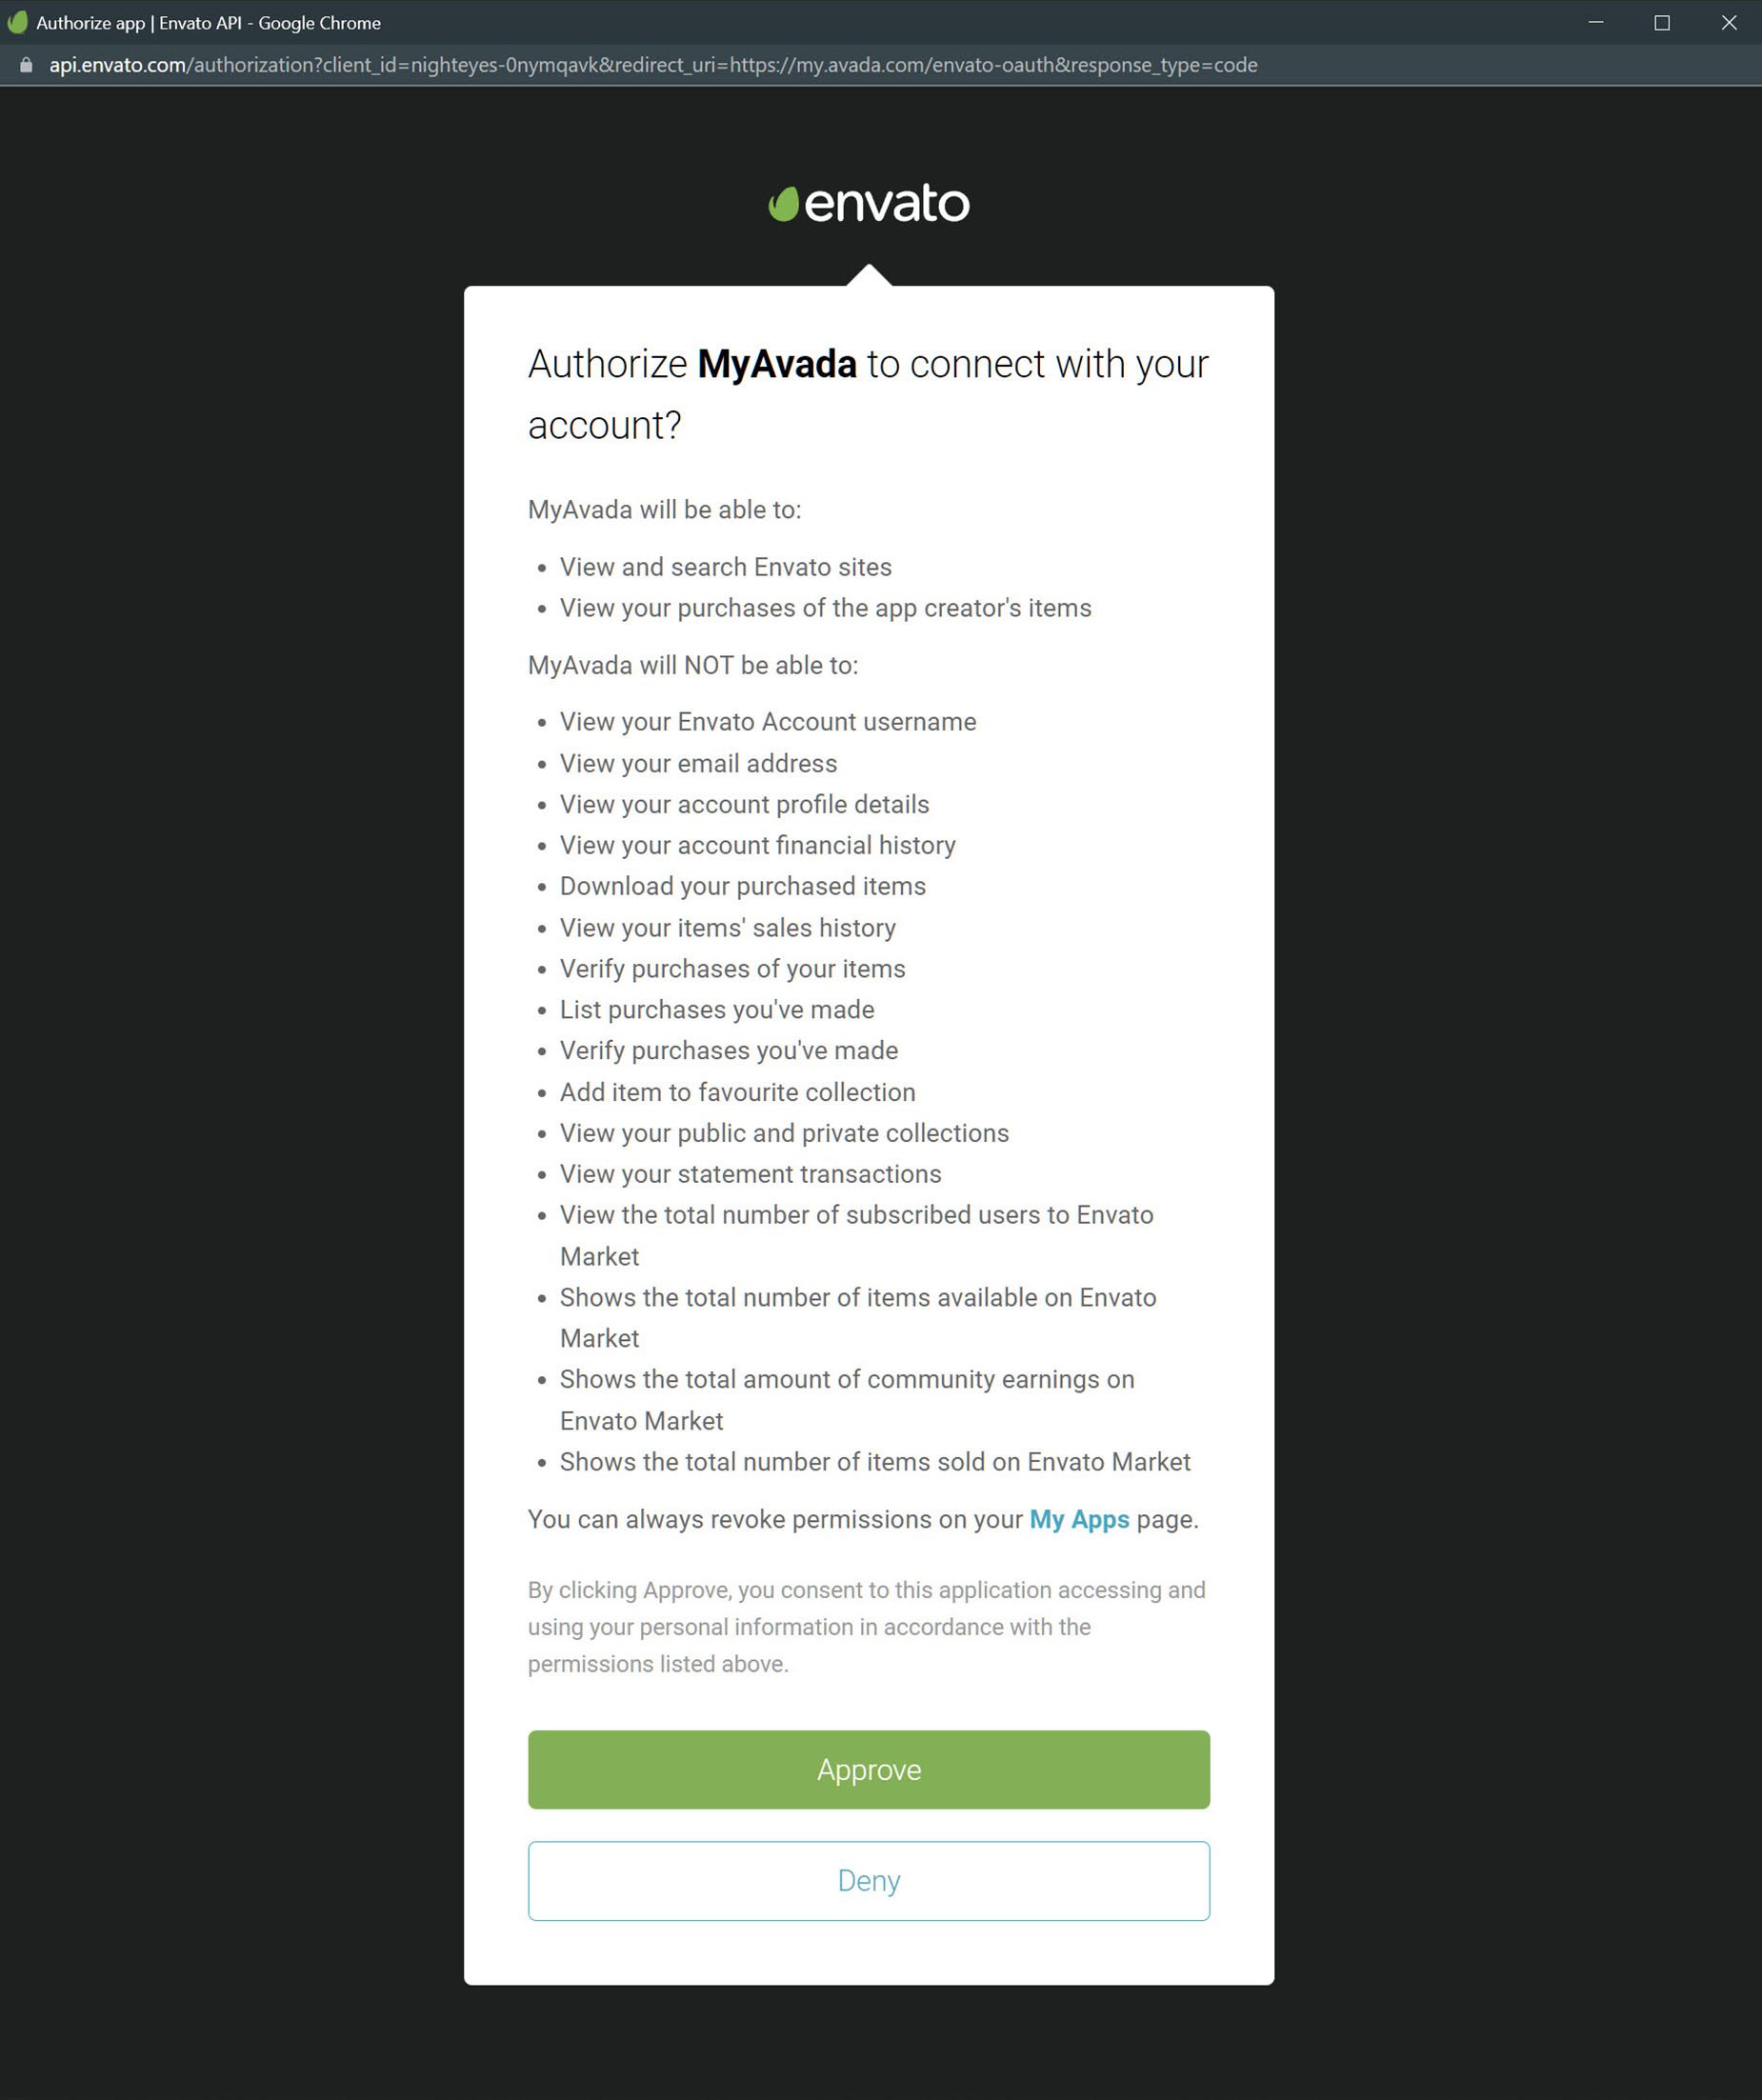
When you log in, you will be presented with another screen that asks you to “Approve My Avada” to connect to your Envato account. You can see specifically what access is granted on this screen. You must click “Approve” for the purchase codes to be imported.
Finally, when you click “Approve”, another window will appear briefly and then close, and you will be back on the “Create Account” page. A message will be displayed explaining that any Avada purchase codes on that Envato account will be imported into the My Avada account when you click “Create Account”.
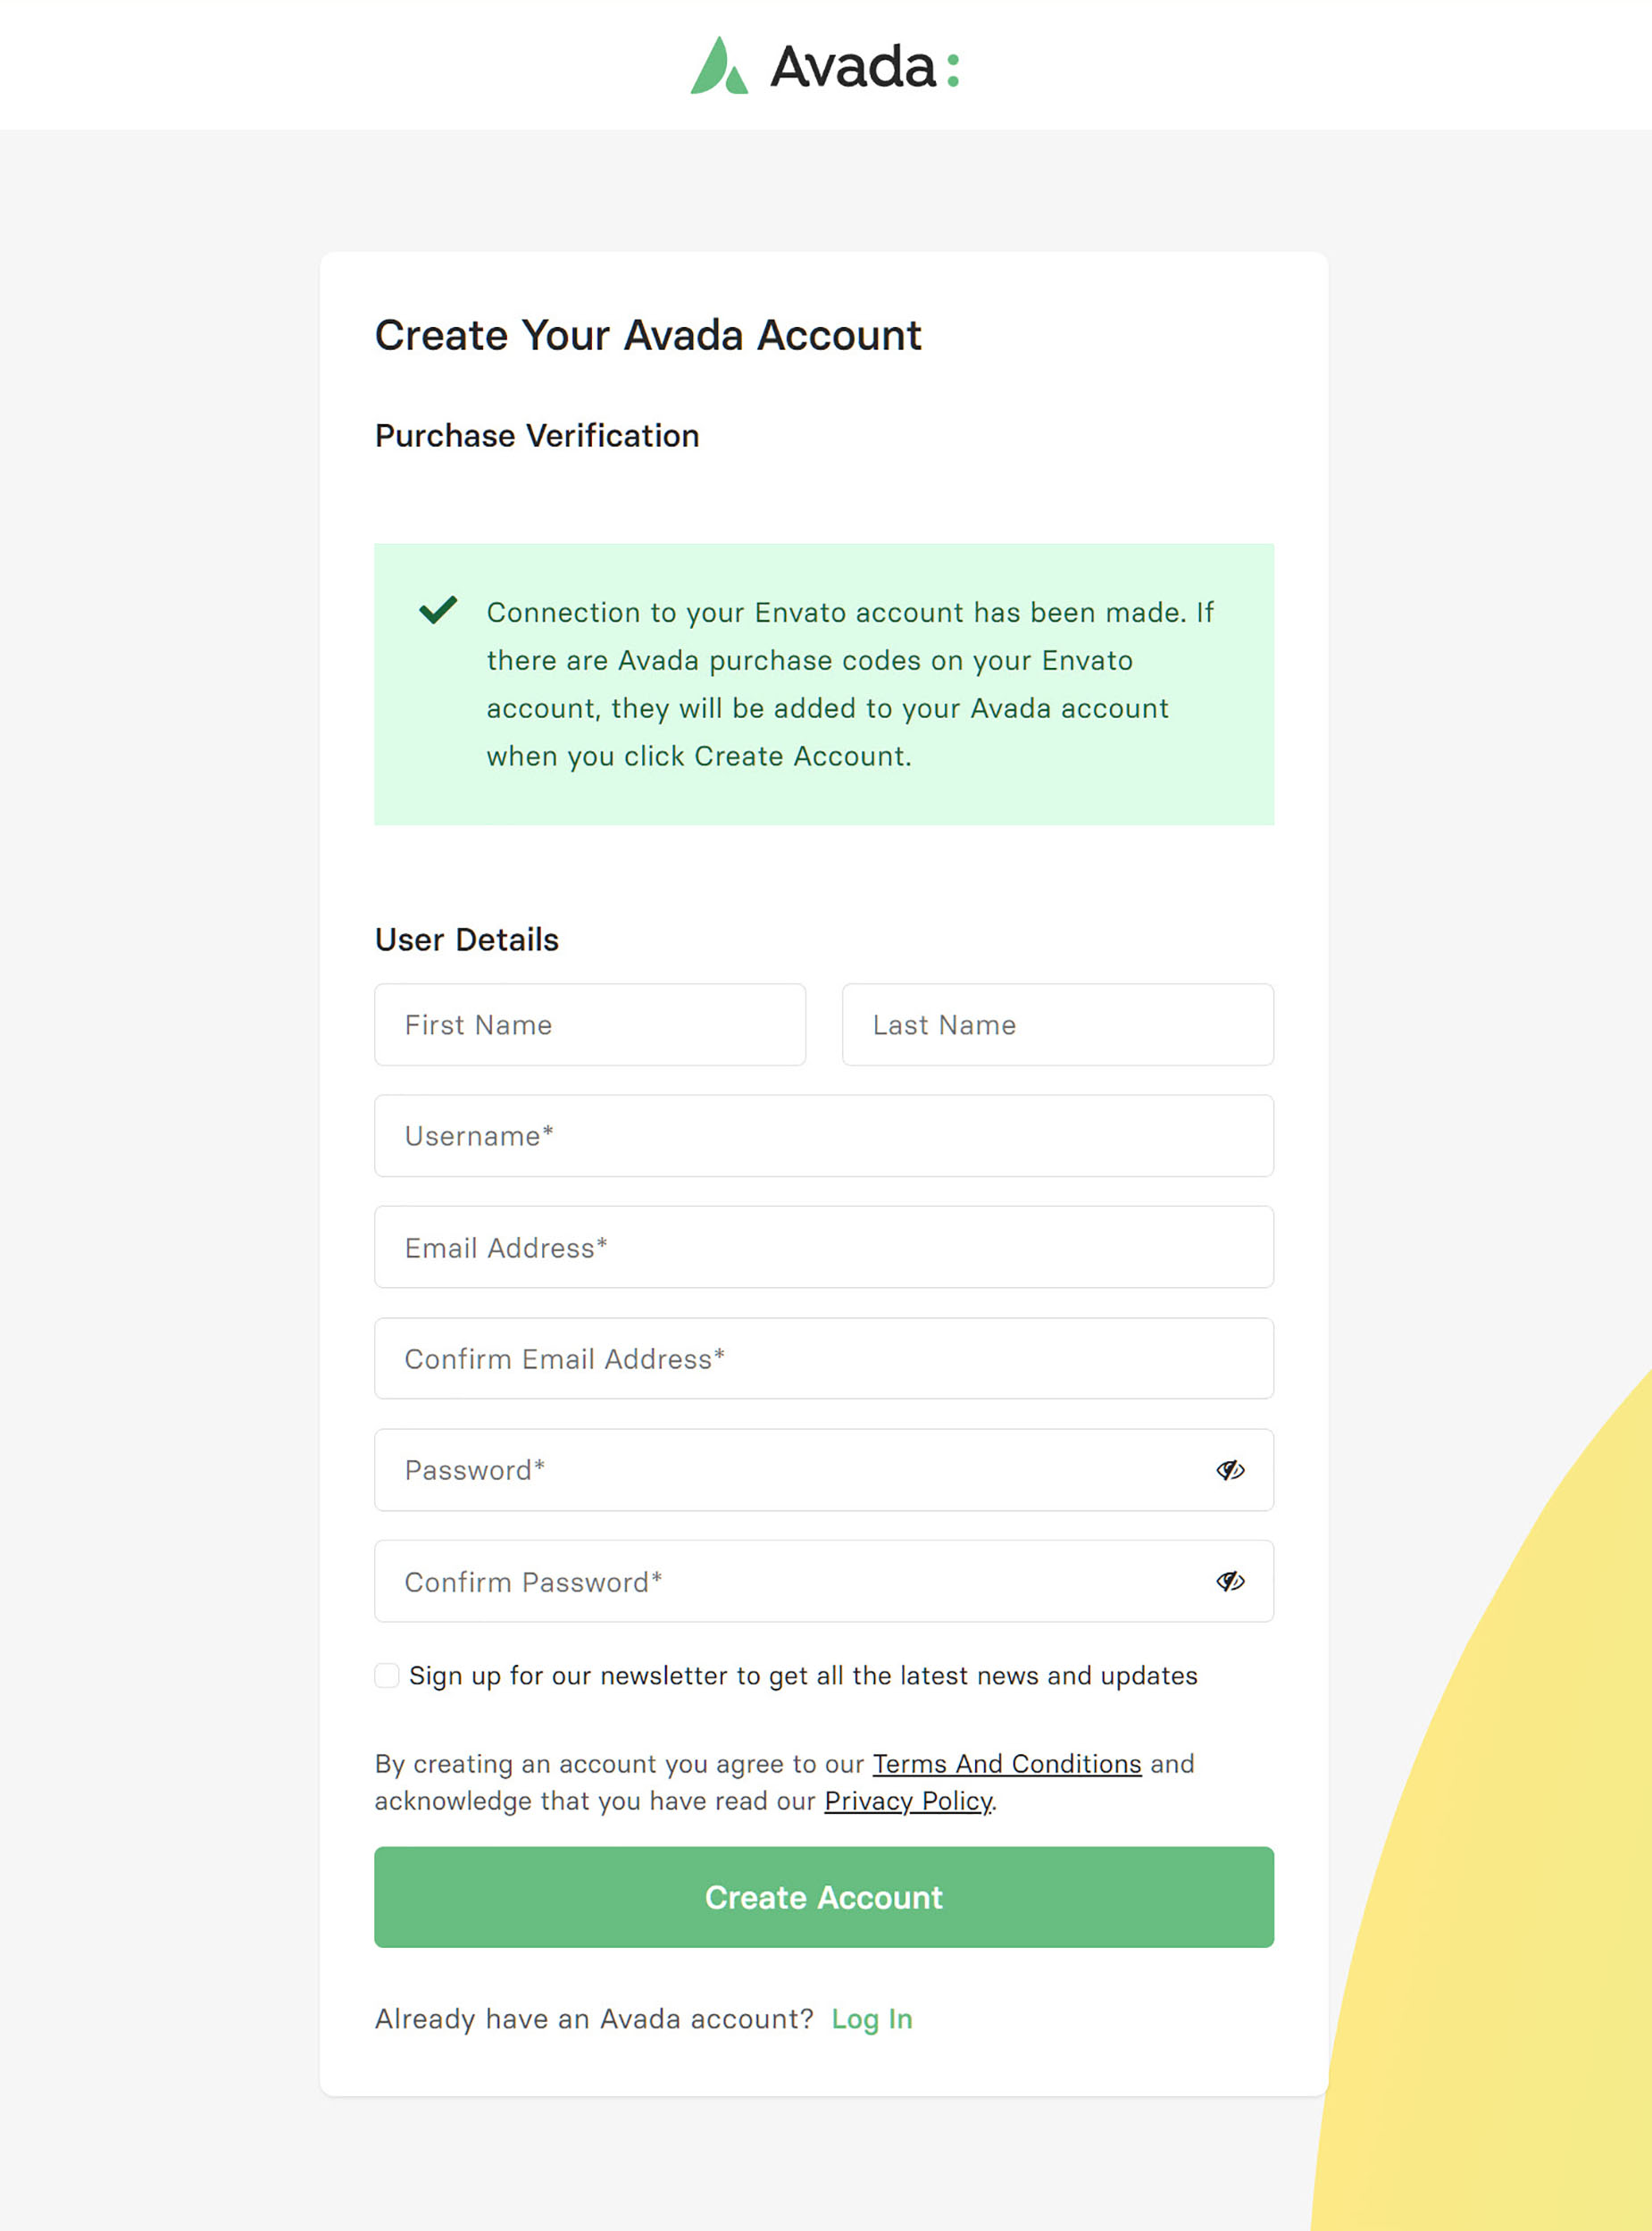
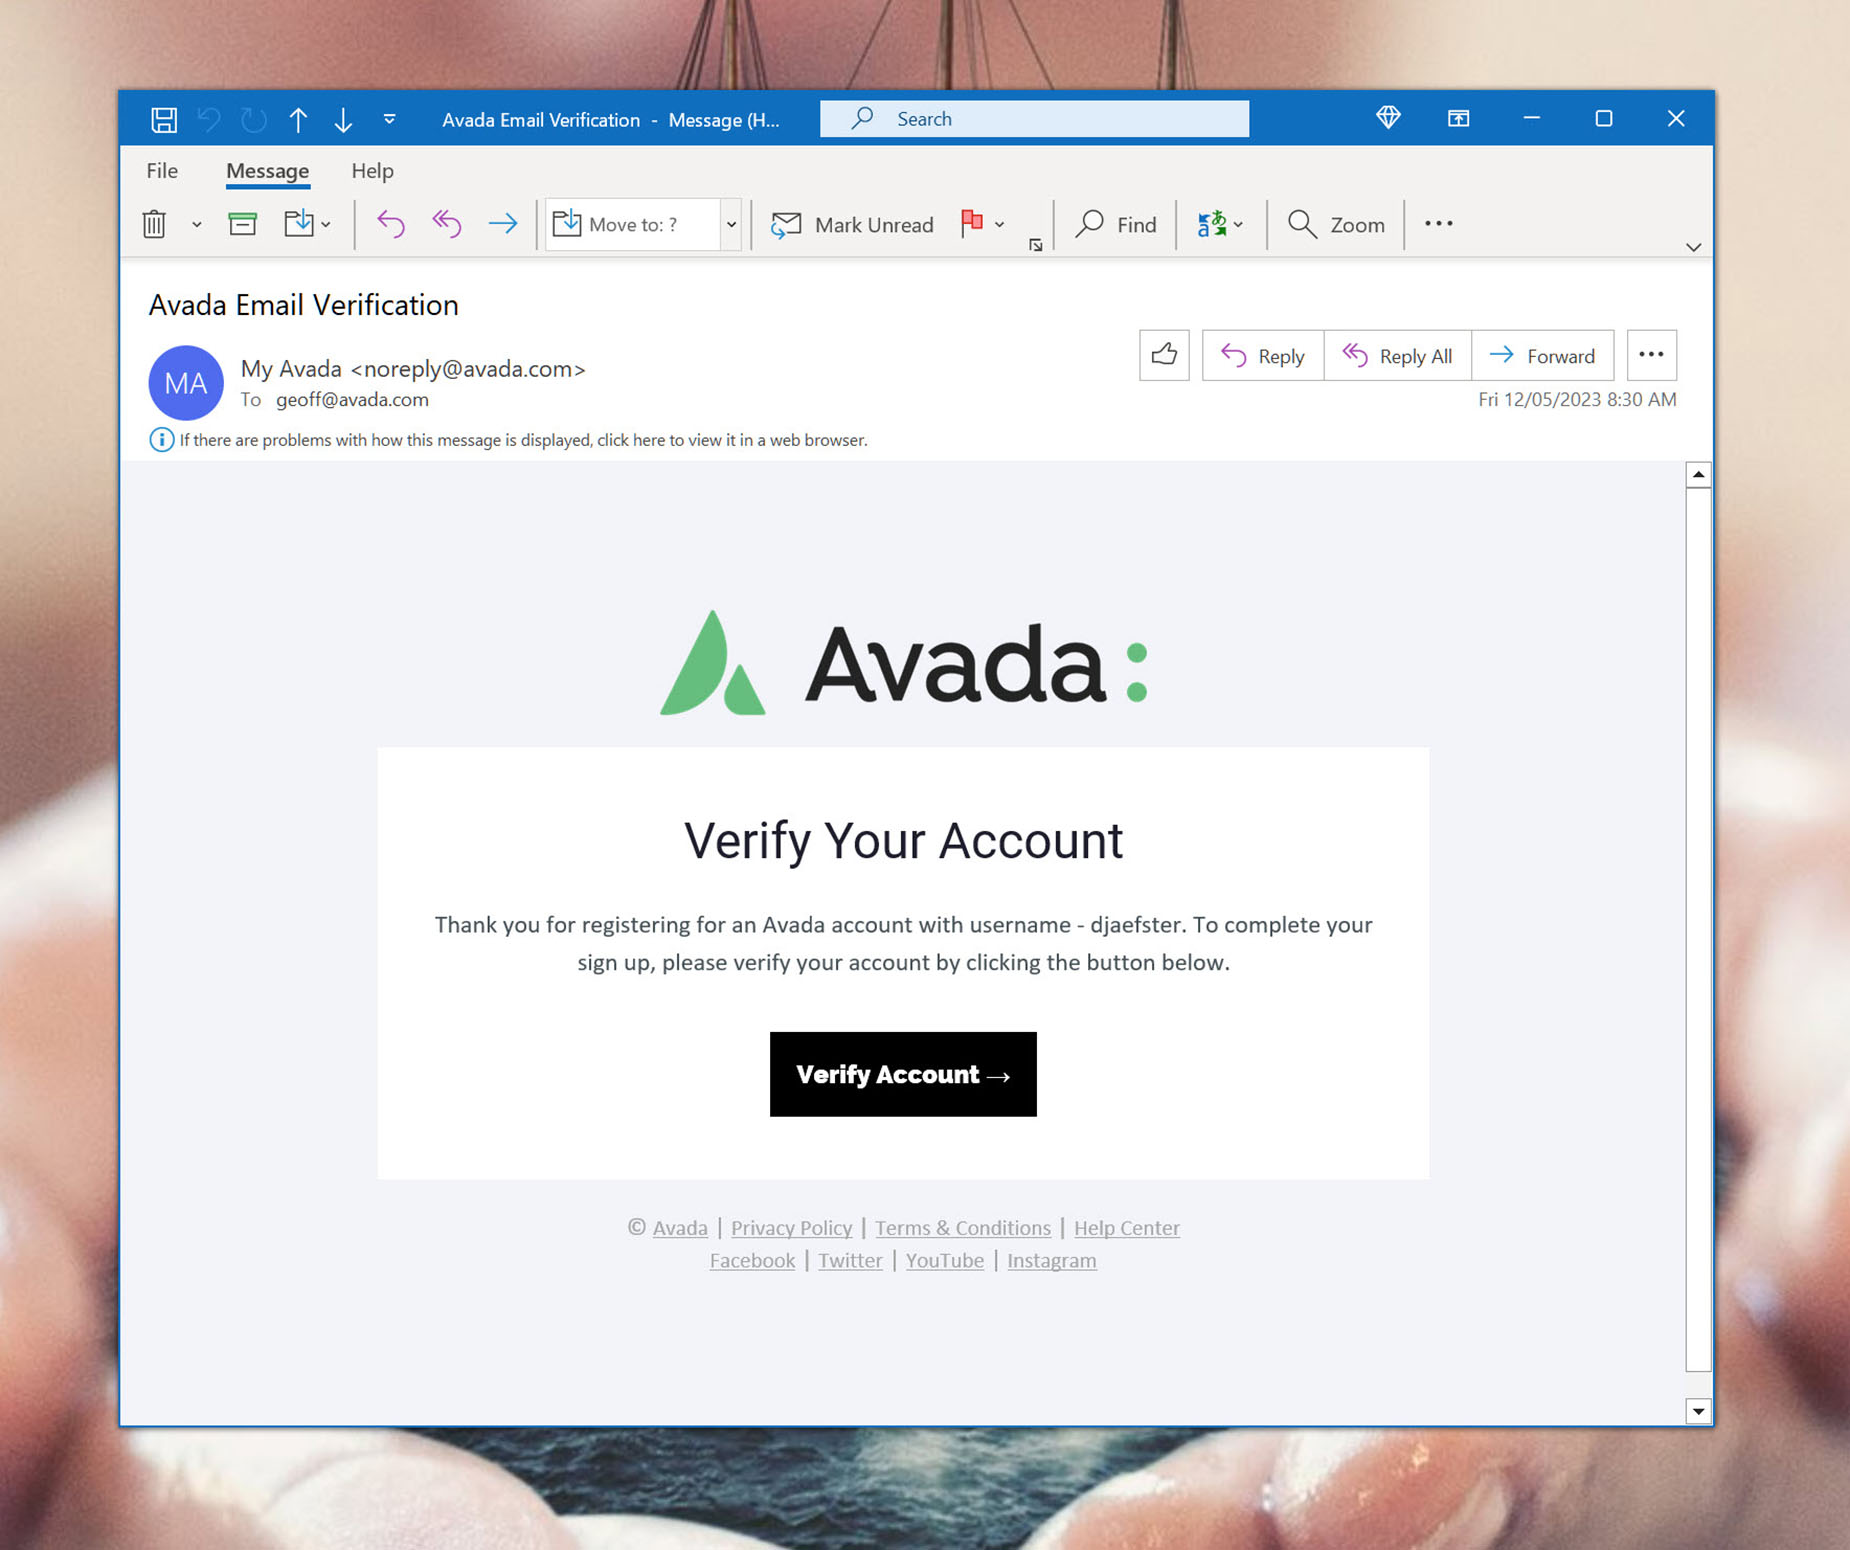
At this point, all you need to do is enter your name, a unique username, a valid email address, and your chosen password in the relevant fields, then click “Create Account”. An email will be sent to your email address with a link to validate your account. Click on “Verify Account”, and you will be directed to a page confirming the verification was successful. From here, click on “View Dashboard”.
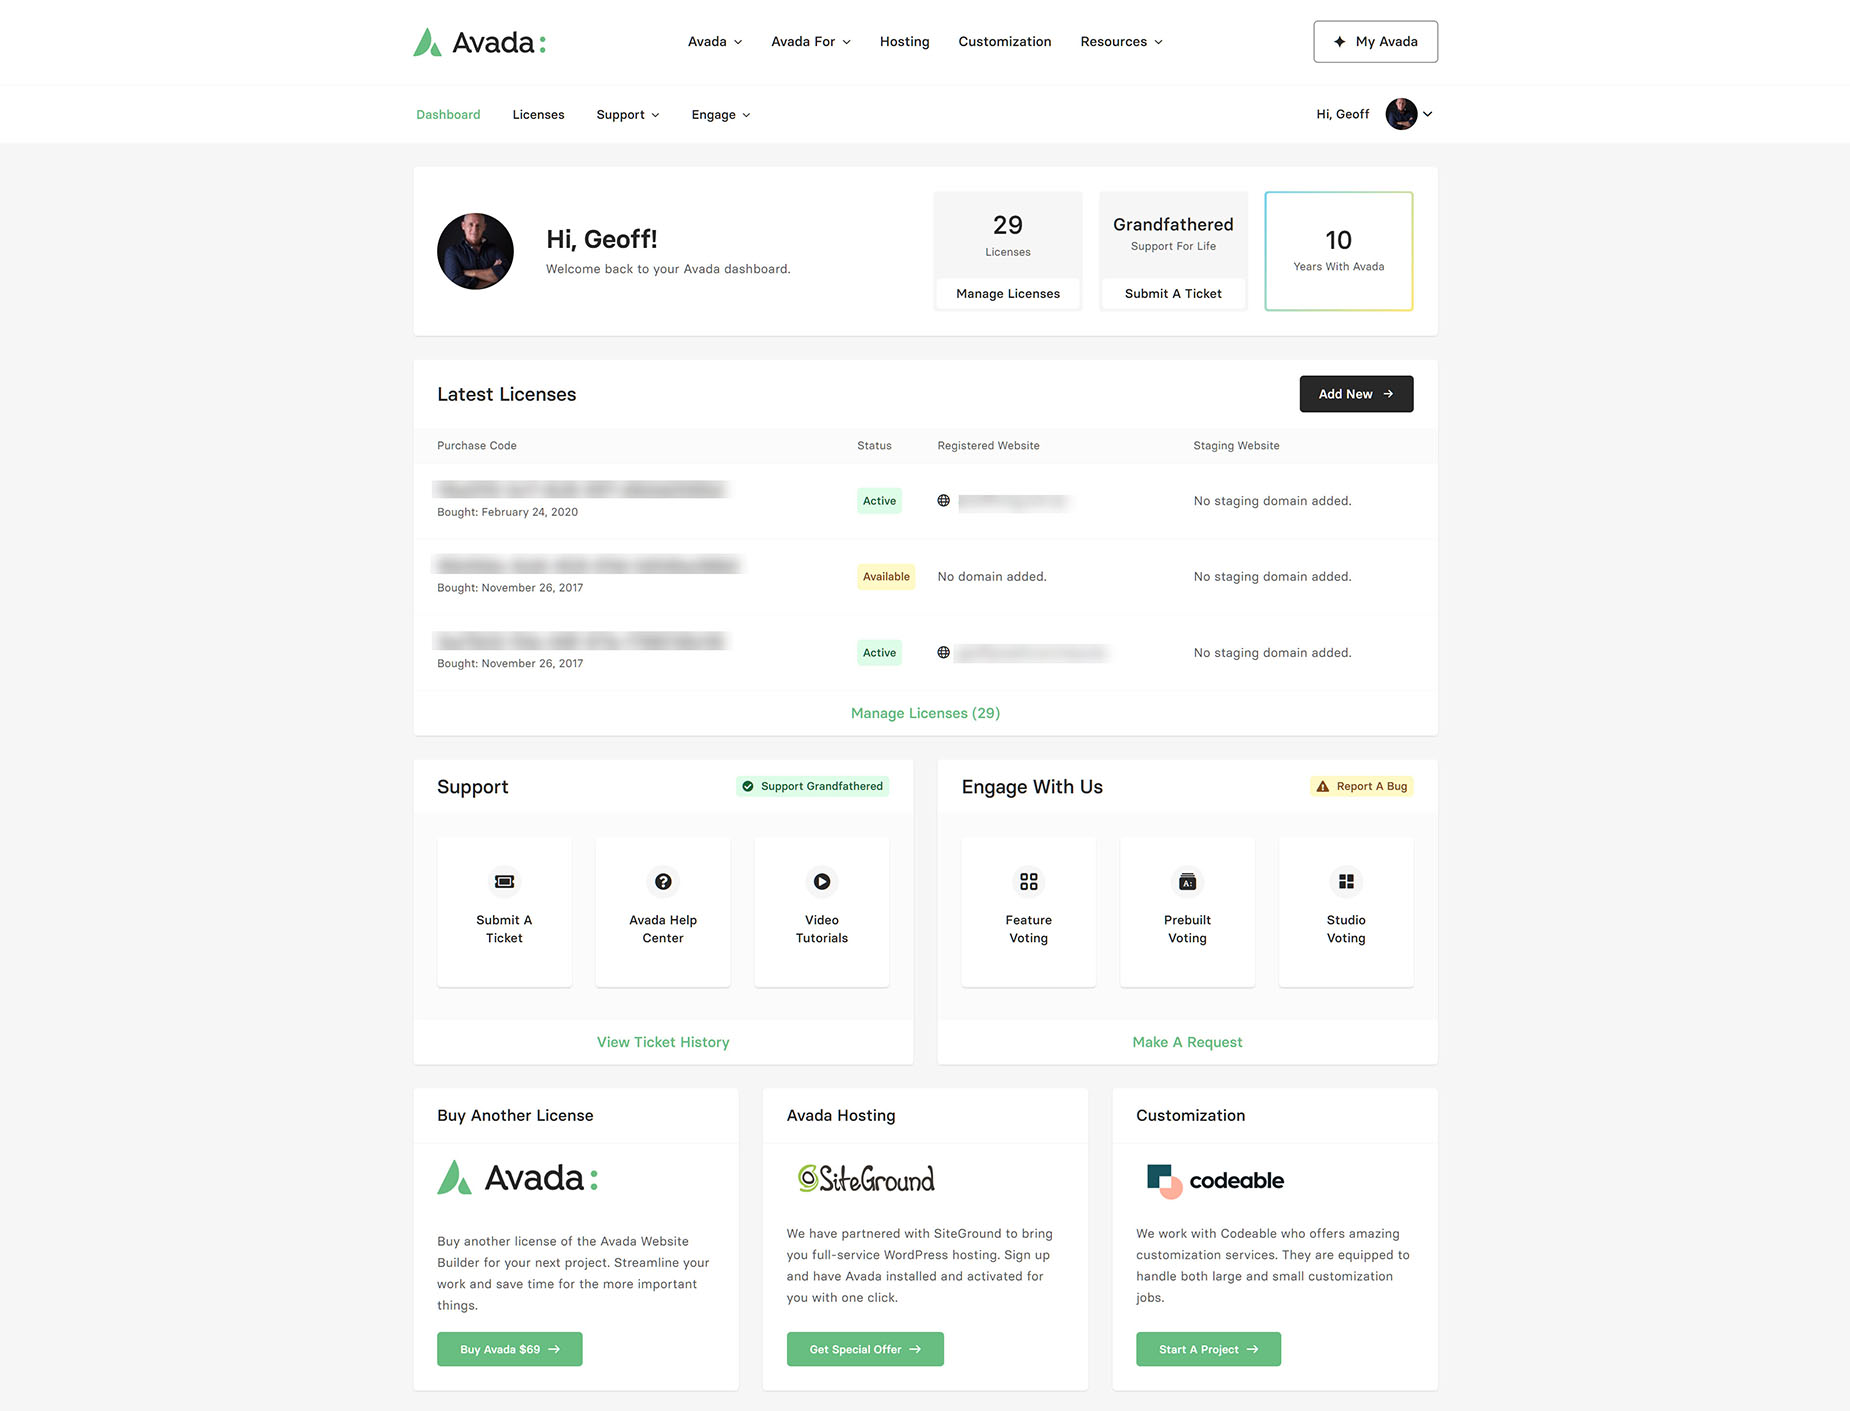
The My Avada Dashboard
Once you are logged in, you will see the user Dashboard (shown below). Here you can manage your licenses, submit a support ticket, or engage with us on various aspects of Avada development.
Please follow the link below for more information on how to use My Avada, or for more information on managing Avada licences.


