Avada Patcher
Last Update: February 9, 2026
Keeping your site up to date is an integral part of WordPress site maintenance, and the Patcher tool is an instrumental part of that strategy. The Avada Patcher is an innovative maintenance tool that allows you to apply patches to Avada in between complete Avada updates. This allows you to keep your Avada site fully up-to-date at all times.
When required, our development team releases fixes and improvements that do not need a complete update to be released. These patches can be added as soon as they are released. Read below for more details on using this excellent maintenance tool, and watch the video for a visual overview.
Three Ways To Apply Available Patches
1: Individually Via The Patcher Panel
When our development team releases patches, you will see notifications in several places, including under the Avada and Patcher links in the WordPress sidebar and a small asterisk on the Maintenance link. You can get to the Patcher from Avada > Patcher on the WordPress Sidebar or Maintenance > Patcher from the Avada Dashboard.
To apply the patches one at a time, click the “Apply” button to the right of each patch. Start with the top one and apply them sequentially.
2: Bulk Apply Via The Patcher Panel
If there are multiple patches, you can simply click on “Apply All Patches” at the top of the Patches panel. All necessary changes will be automatically applied to the necessary files for you. Once the patch is applied, you will see a confirmation notification.
3: Applying Patches Manually Via FTP
Sometimes server setups are very particular about file/folder permissions and do not allow files to be automatically written to them. In these cases, applying an automatic patch will not work.
If your server doesn’t allow automatic patching via the Avada Patcher, you can download the patch files and manually apply the patch via FTP. The reasons why this might happen are listed below. Please contact your host, give them these details, and ask them to change it for you:
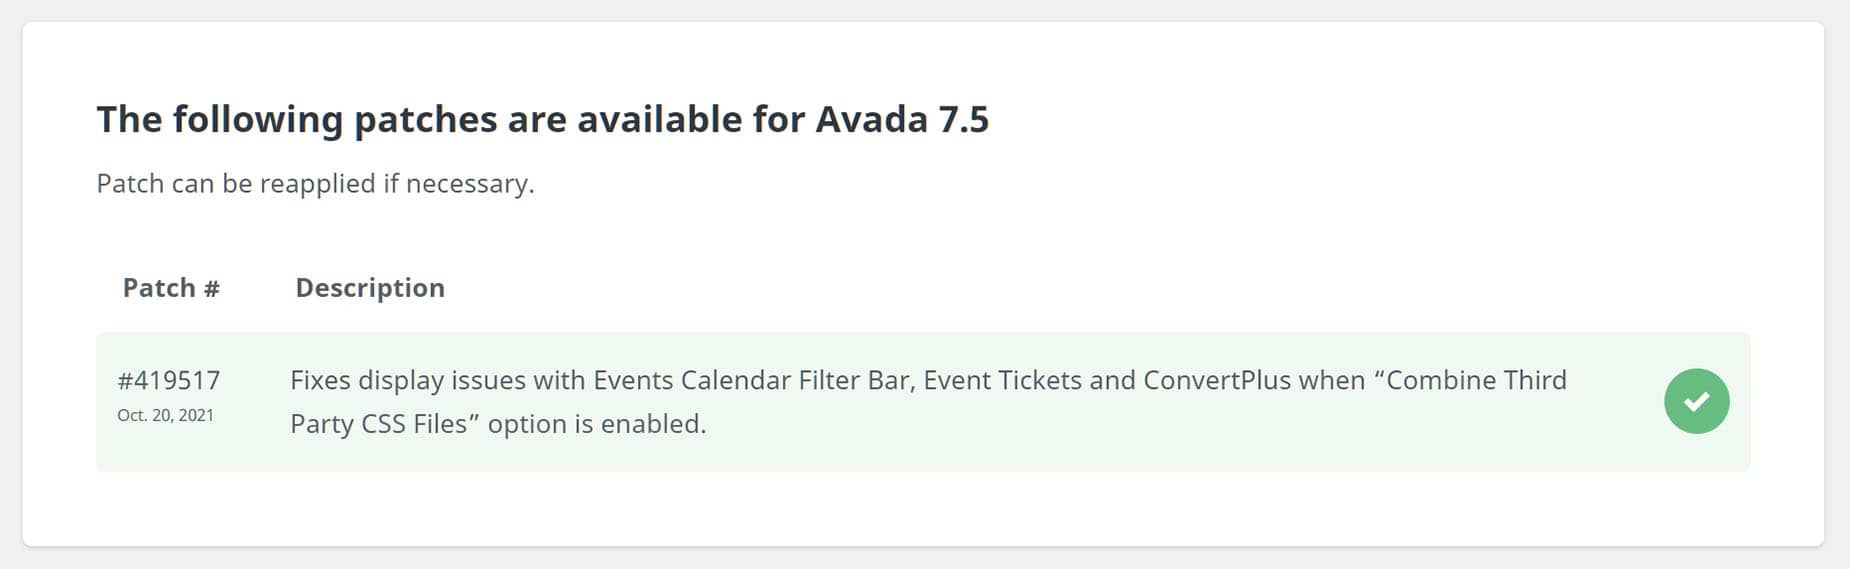
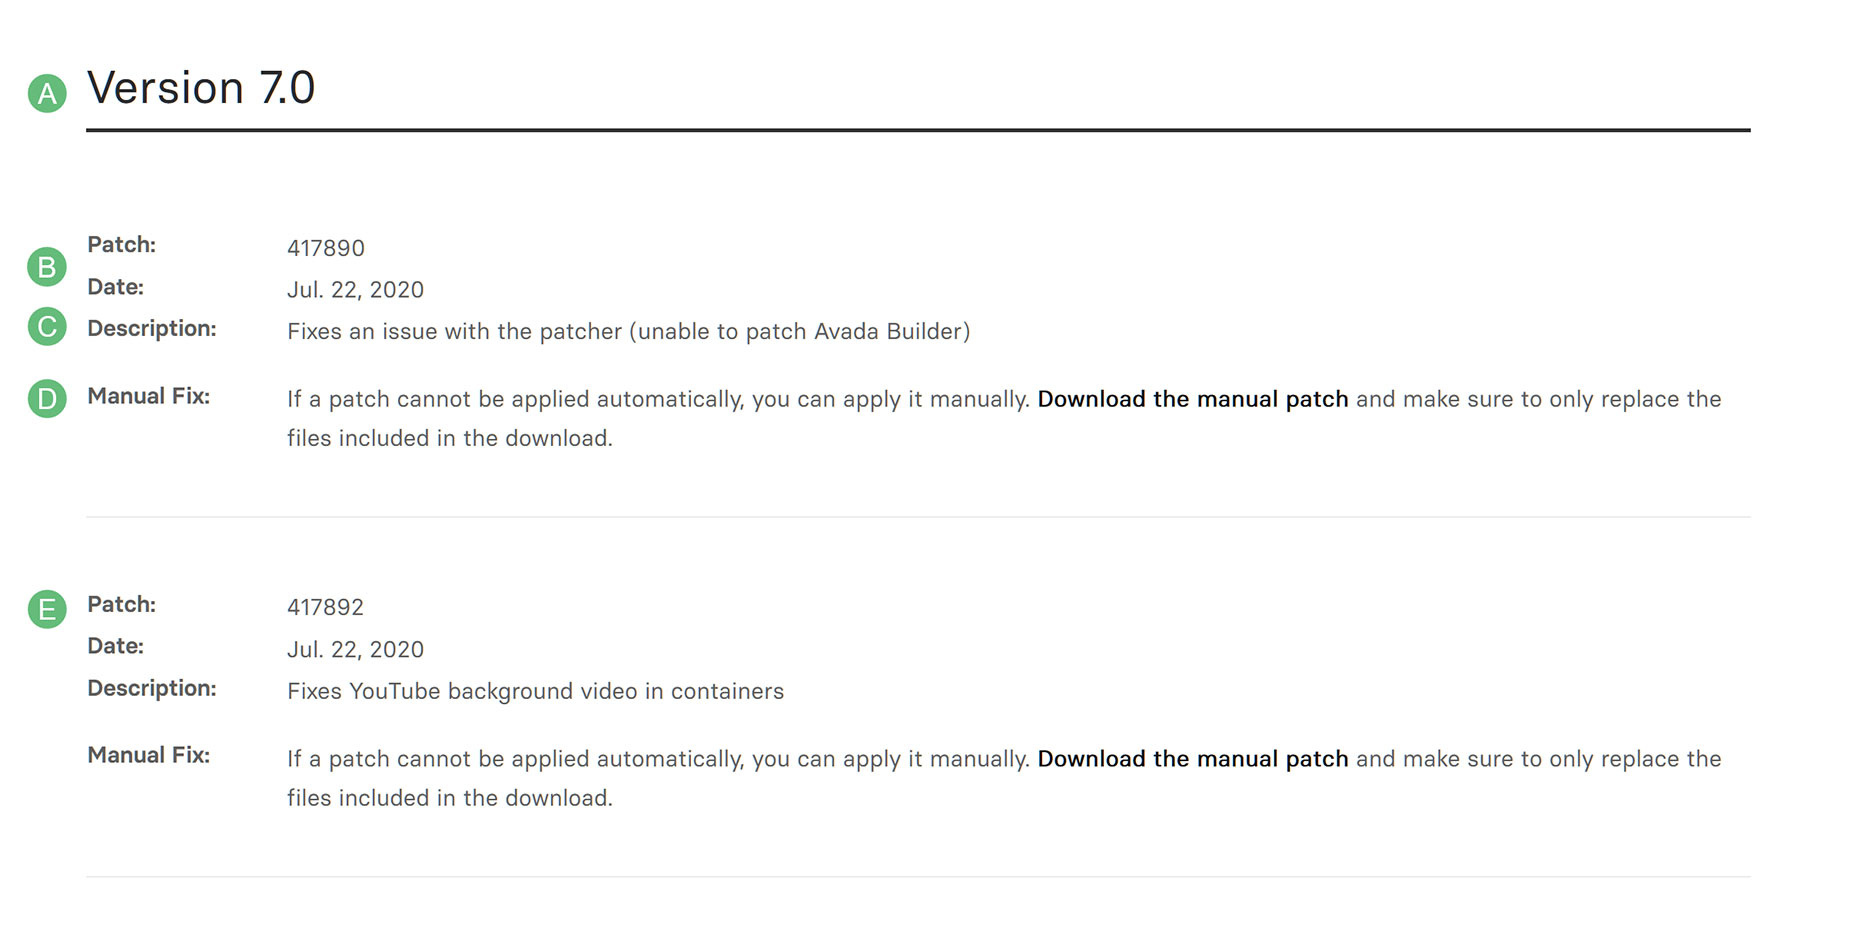
If your web server doesn’t allow the Avada Patcher to apply patches automatically, you can download the patch files and manually apply the fix via FTP. The latest patches for Avada and its required plugins will be listed in order from first to last release. You can find Avada patch files available for download here. On that page, you’ll see all available patches for the current Avada version.
Avada Status Page Explained
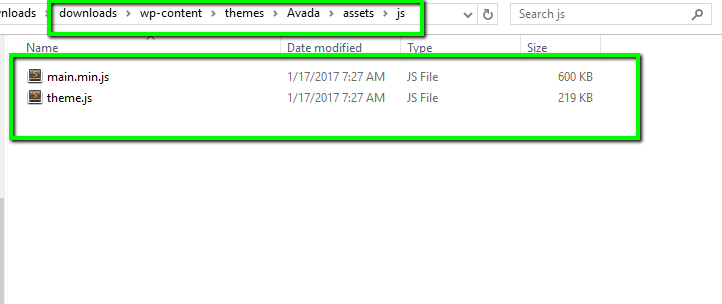
After You’ve Downloaded the Patch File
To download the individual patches, log in to your My Avada account and download here. Here’s what to look for:


