
How To Install Avada Via WordPress
Last Update: November 4, 2026
There are two ways you can install a WordPress theme. The focus in this guide is how to install Avada via WordPress, or alternatively you can install it via FTP.
Before you can install Avada, you will first need to download the necessary file from My Avada. Continue reading below for more information on this installation method.
How To Download Avada
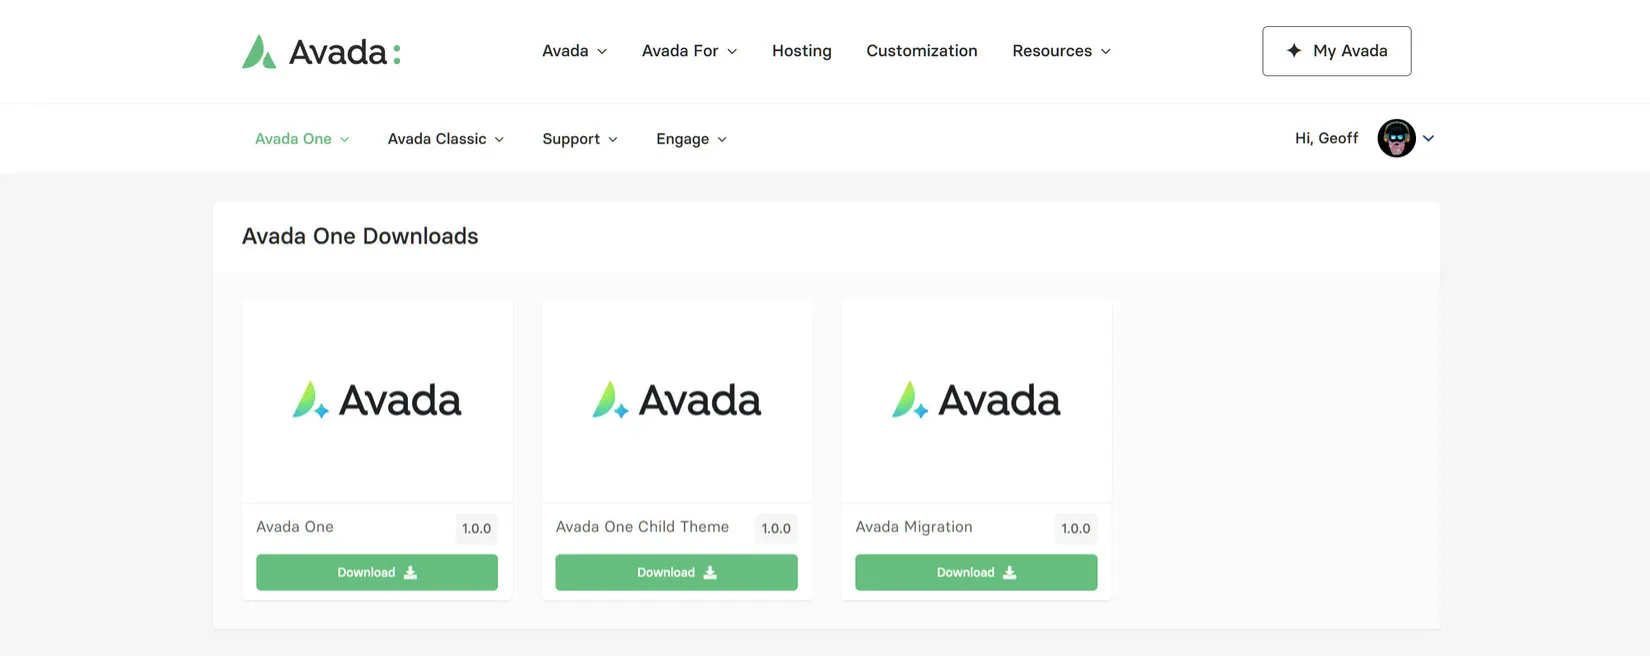
To install Avada, only the Installable WordPress file is required. If you want to install a Child Theme, you can also find that on the Downloads page. See How To Set Up A Child Theme With Avada doc.

How To Activate Avada
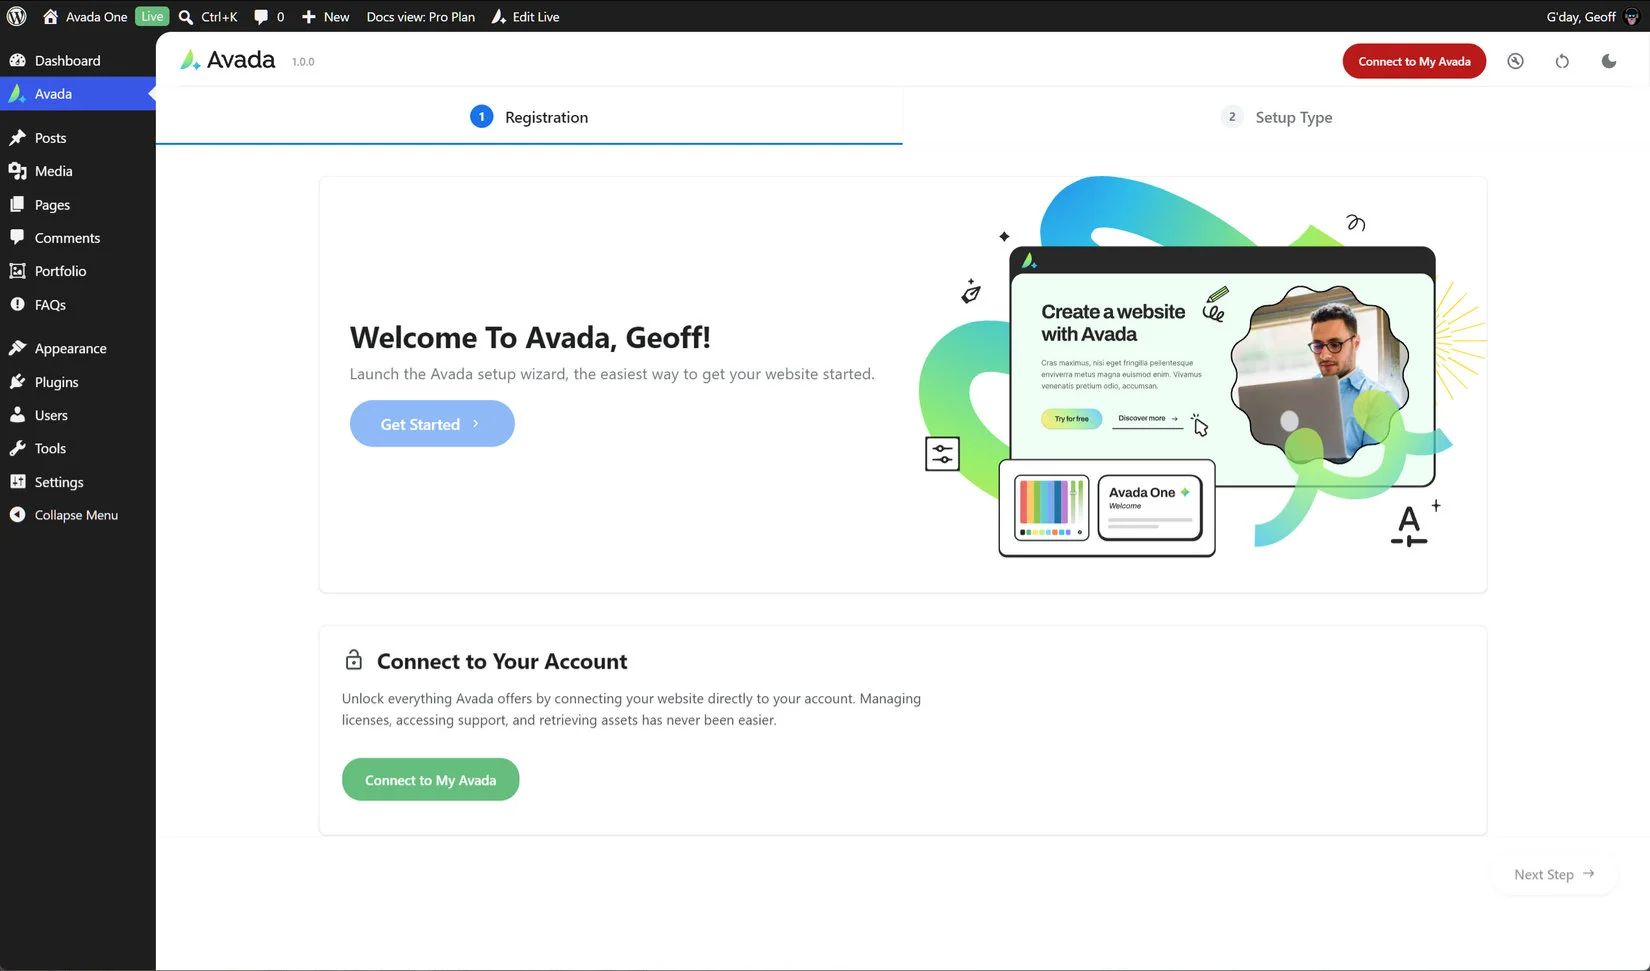
Once you have activated the theme in WordPress, you need to activate it with us. This connects your Avada theme with your My Avada account. On the initial sceeen you see after activation, you will see a Connect to My Avada Button. Clicking on this will bring up an oAuth connection screen, asking permission to connect to your My Avada account. This connects the site with your subscription, and then moves on to the Avada Setup Wizard. See the How To Purchase, Install & Activate Avada doc for more information on this.
Troubleshooting
‘Are You Sure You Want To Do This?’ Error
If you run into issues while installing a theme through WordPress, the problem is usually related to file size limits, server configuration, or uploading the wrong file. Check that your server’s upload size, memory limit, and PHP time limit meet the recommended requirements.
If the upload fails or times out, installing Avada via FTP or your hosting file manager is a reliable alternative. Verifying these basics will resolve most theme installation problems quickly and help ensure a smooth setup.