How To Use The Avada Setup Wizard
Last Update: March 12, 2026
The Avada Setup Wizard is a step-by-step guided onboarding tool that helps you get your new website up and running quickly, even if you’re new to WordPress. The Wizard will provide you with two options: (1) Set up a new website using one of the 113 prebuilt Avada websites, or (2) Use predefined options and features to build the new website from the ground up.
As soon as you register Avada, the wizard walks you through the key steps you need—like choosing a prebuilt website, installing the required plugins (if any), and applying recommended settings—so you don’t have to guess what to do next. It removes the overwhelm by handling all the technical setup in the background, letting you focus on the fun part: creating your new website. Whether you’re starting from scratch or building something more advanced, the Avada Setup Wizard gives you a smooth, confident starting point.
Initial Steps – Registration & Setup Type
Step 1 – Registration
The Setup Wizard is automatically initiated during a new Avada install. This takes you to Step 1 of the Wizard, where you need to register your Avada website.
To register your website, apply the purchase code found on the Downloads page on your ThemeForest account. Please see the How to Register Avada hellp file for more details on this process. Upon registration, the two required plugins, Avada Core and Avada Builder, are both installed and activated.

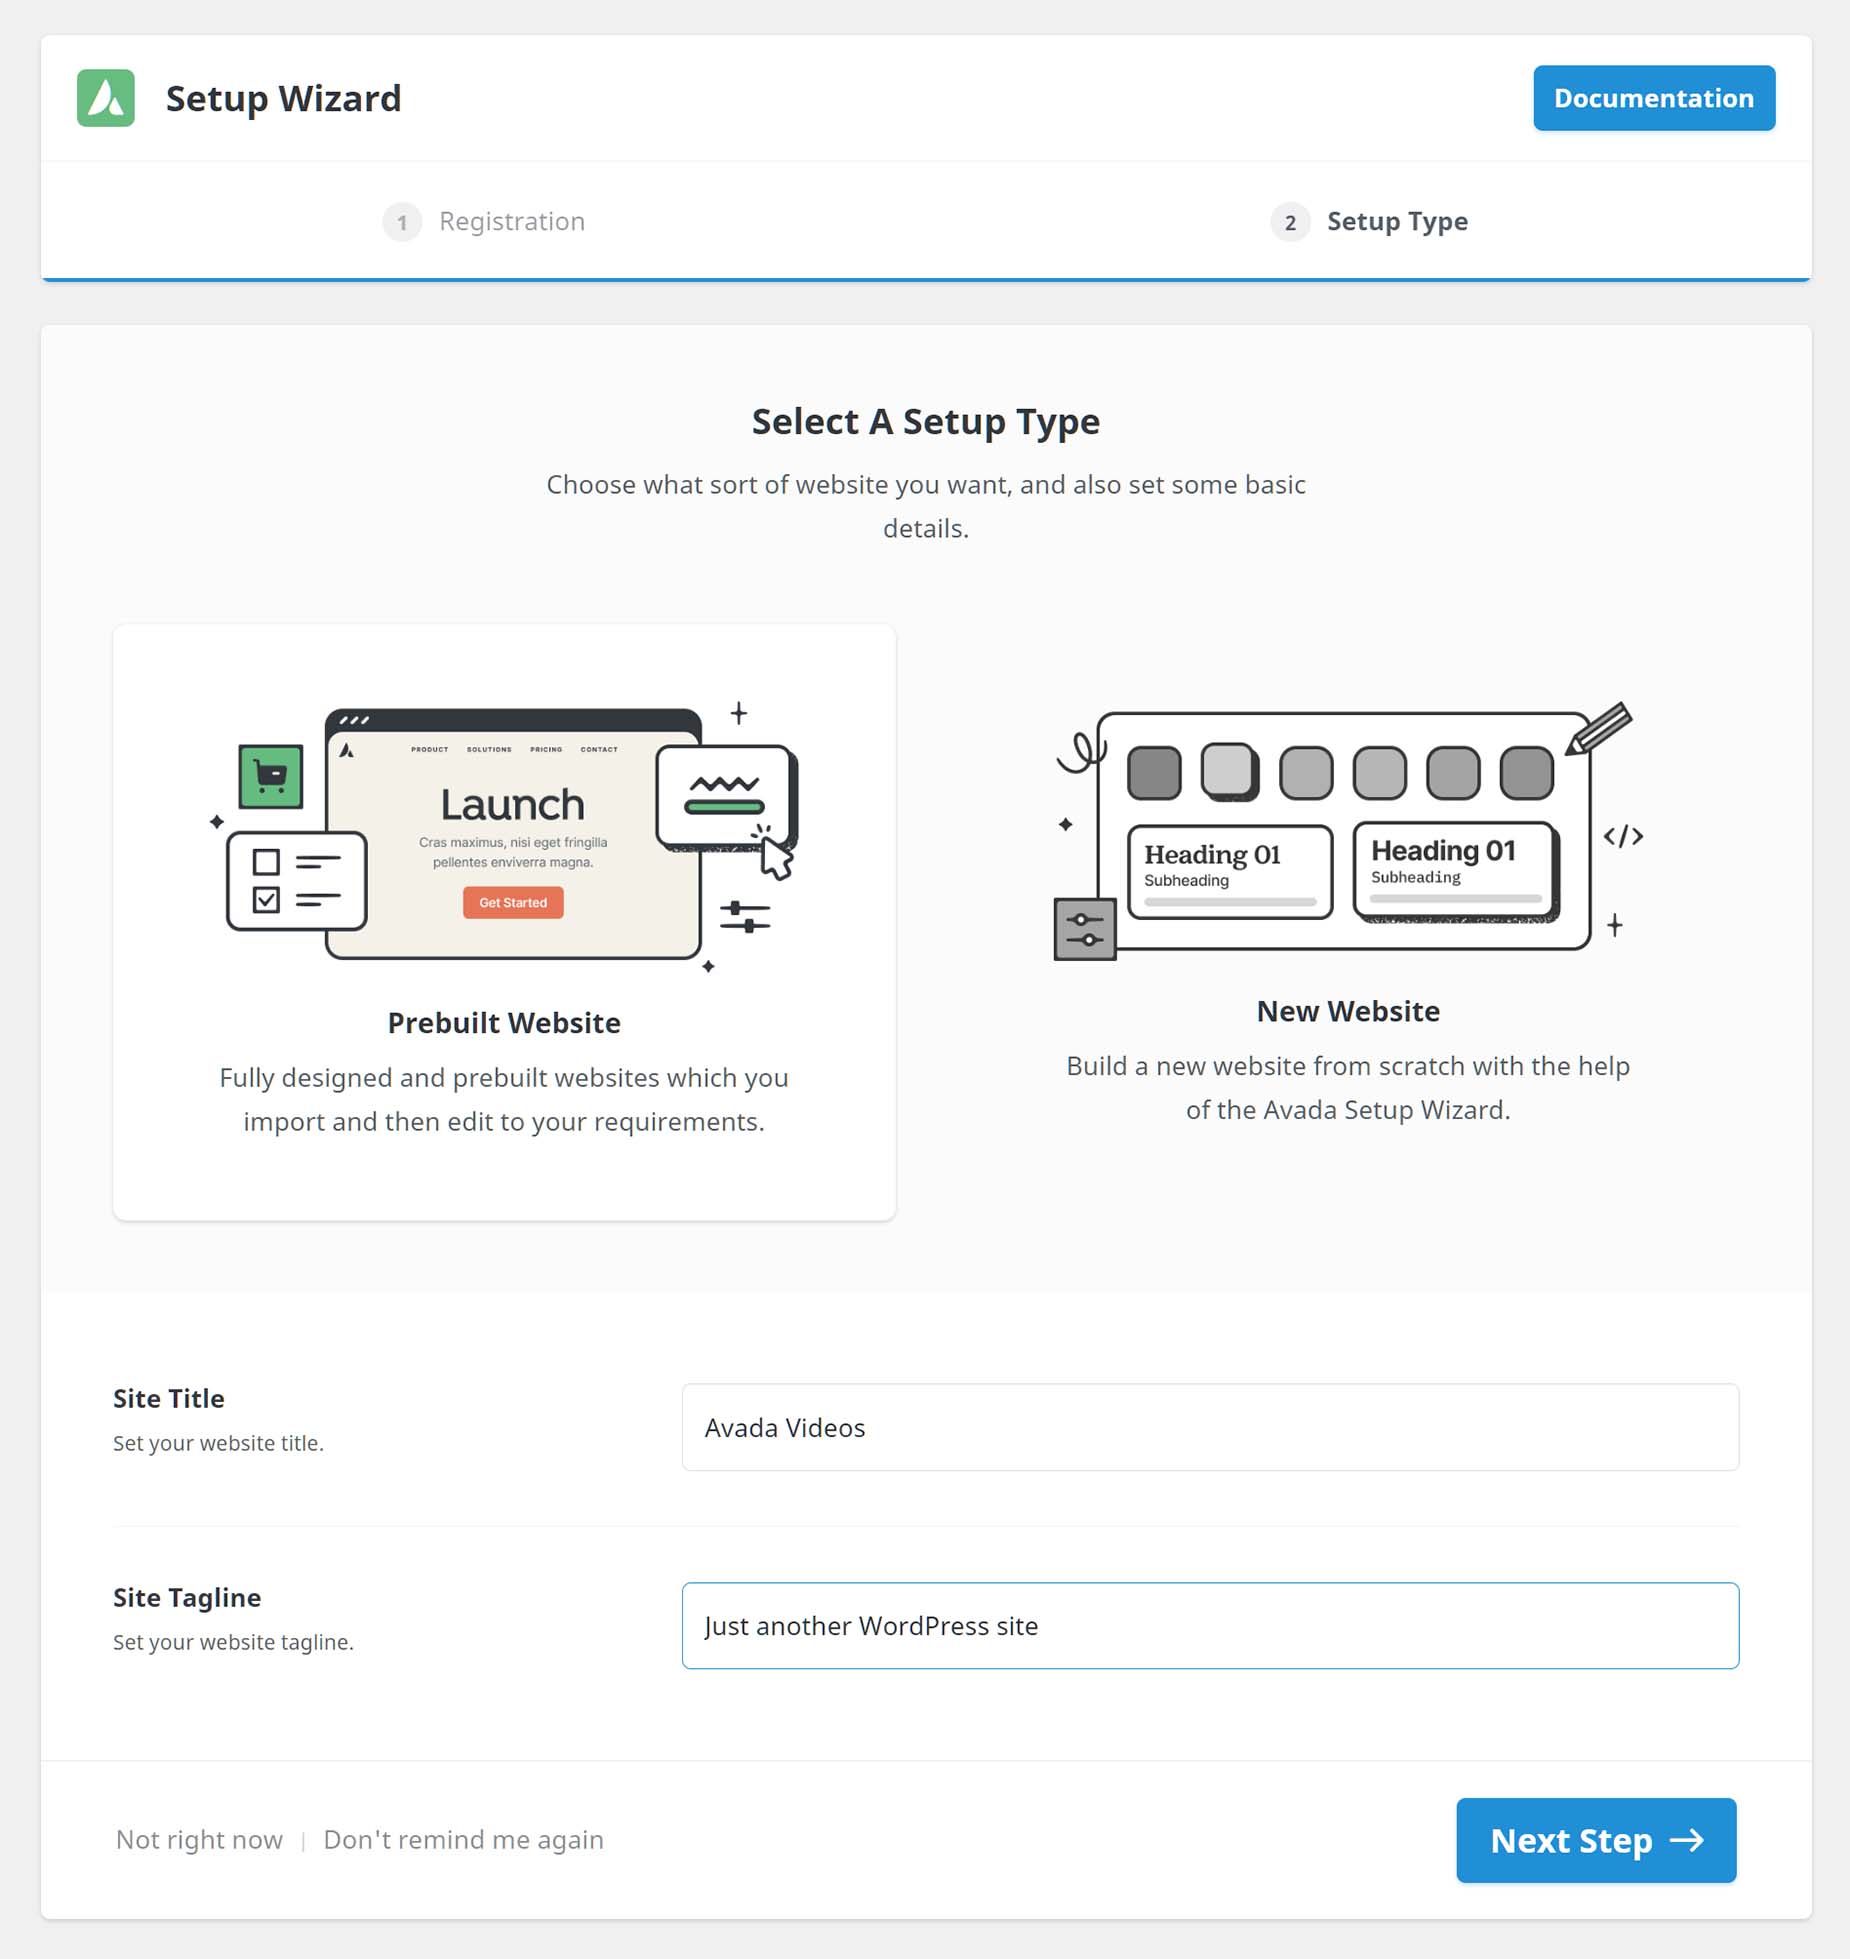
Step 2 – Choose Setup Type
Once registered, the Setup Wizard automatically takes you to Step 2. Here, you choose the type of setup you want to continue with; the Prebuilt Website wizard, or the New Website Wizard, and then enter the basic details of your site – the Site Title and Tagline. At this point the Setup Wizard forks, depending on which choice you make.
Setup Type: Prebuilt Website
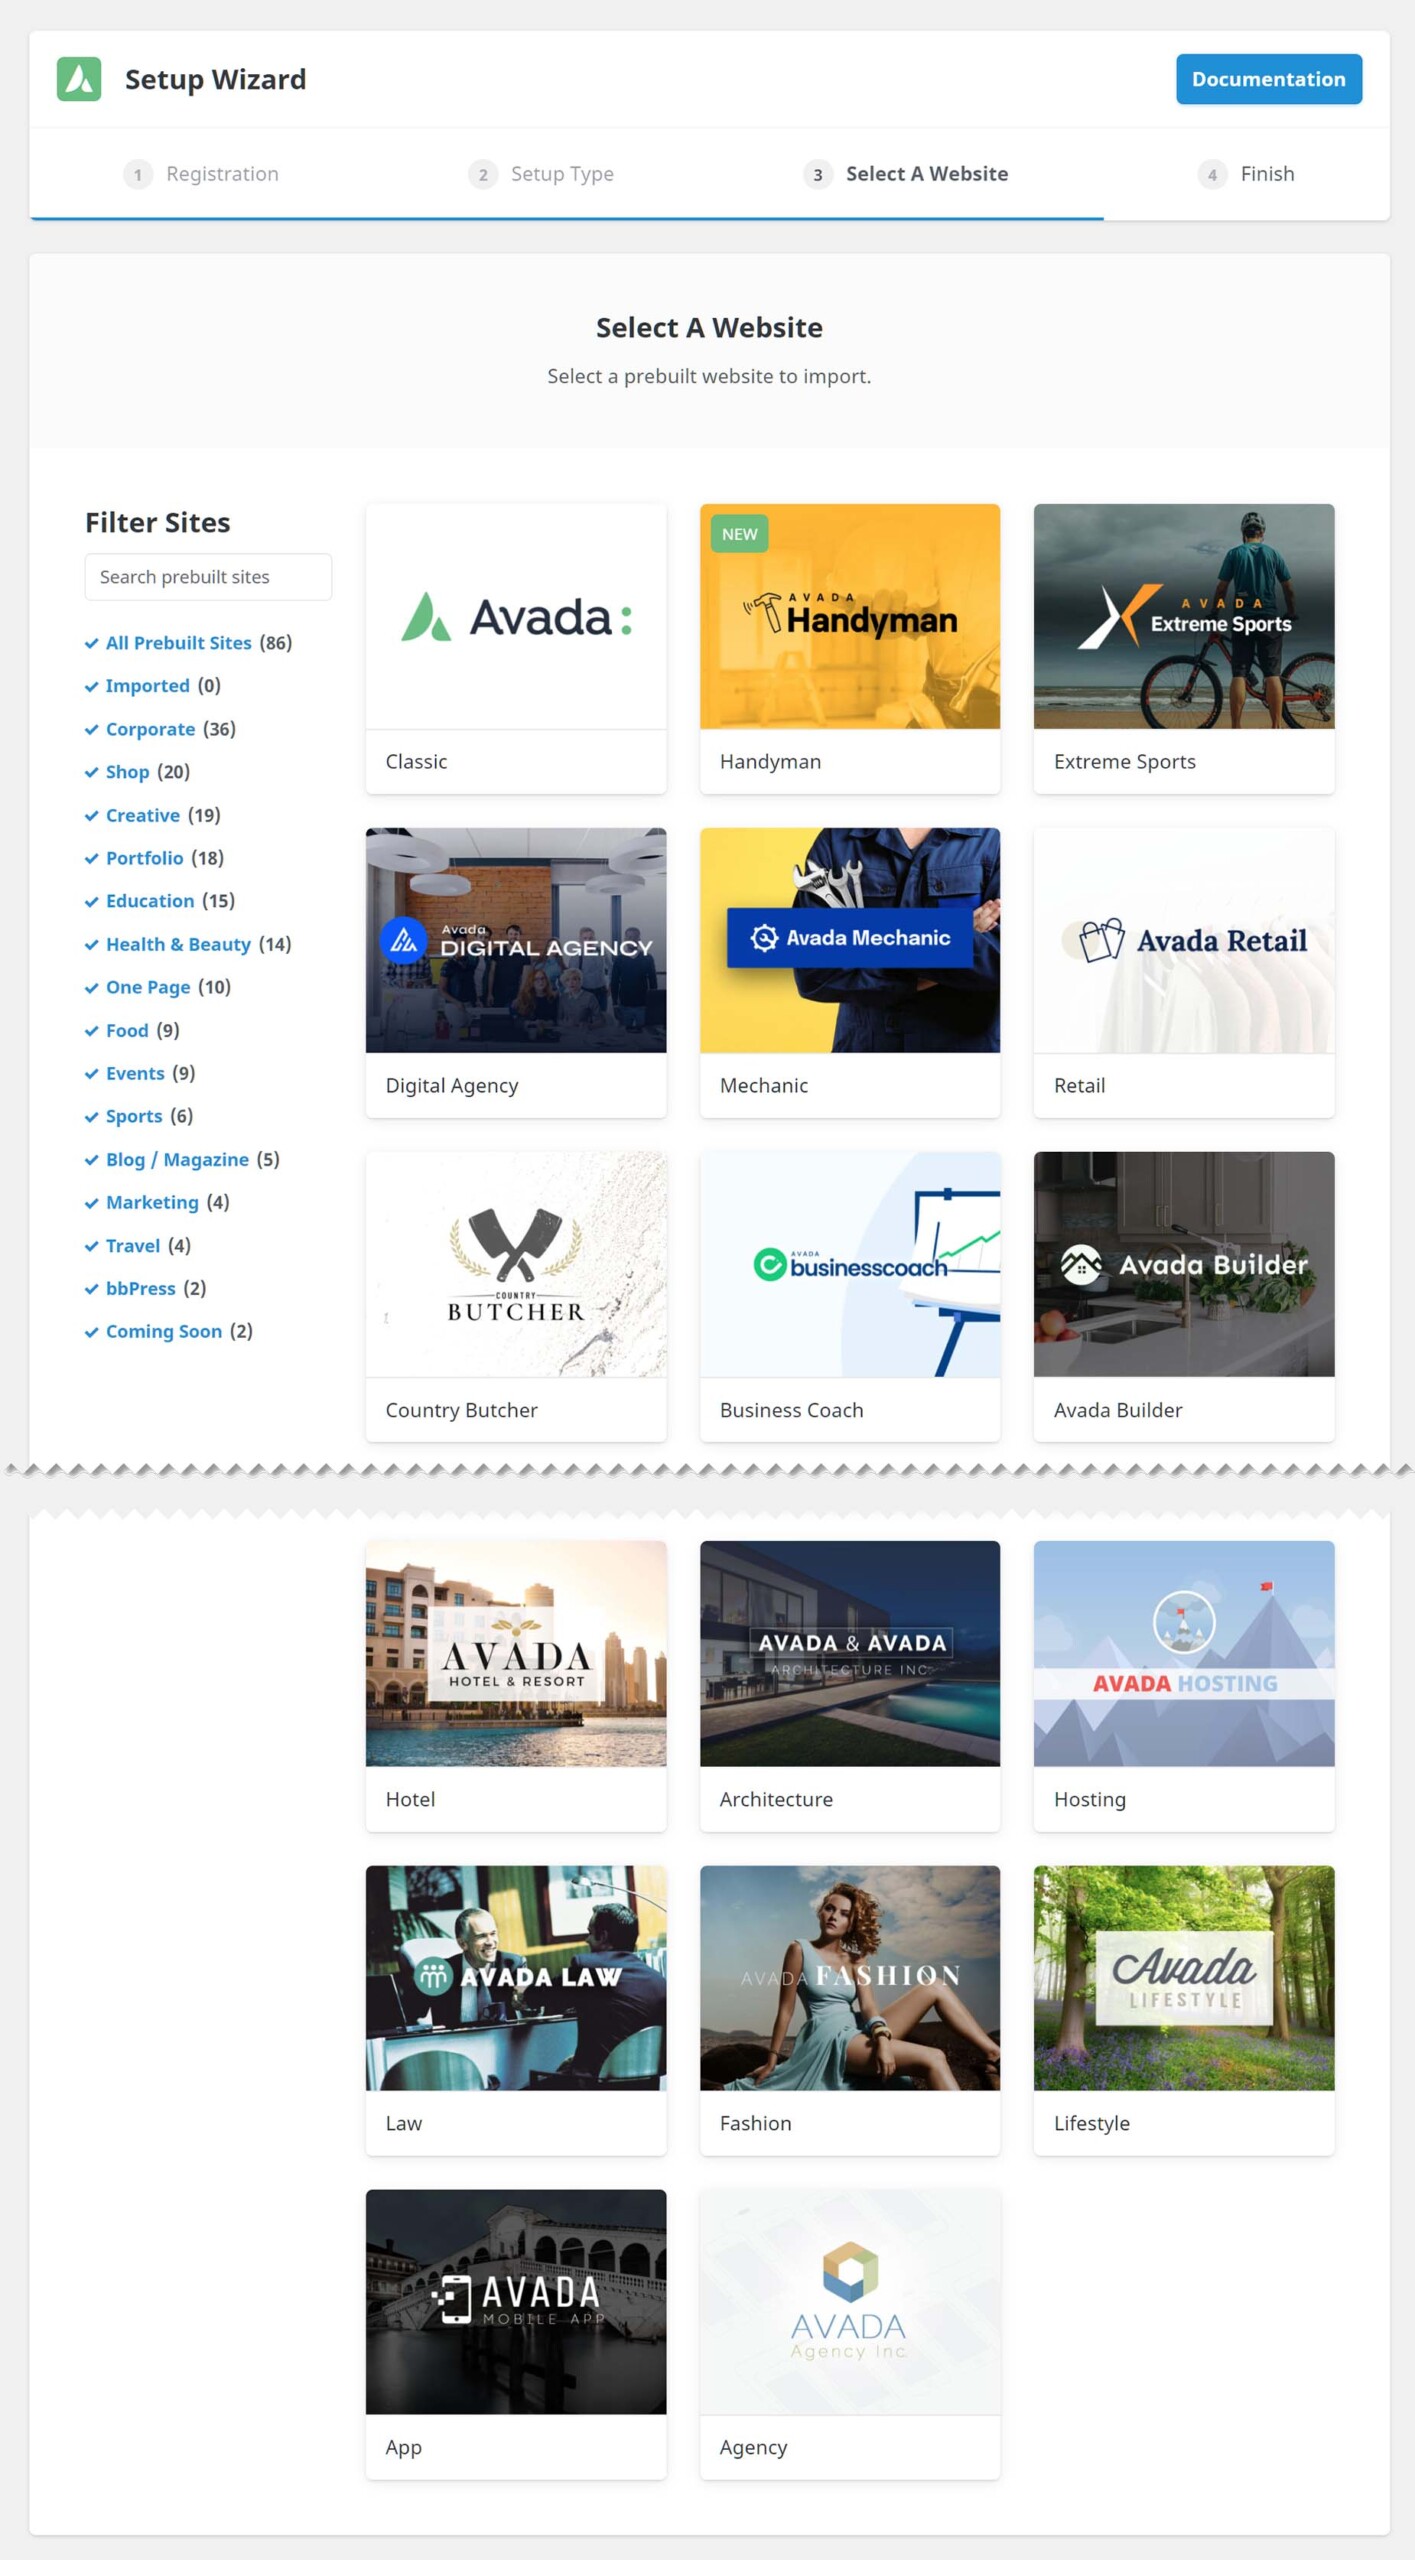
Step 3 – Select A Website
When choosing a prebuilt Avada Website, the Setup Wizard is short and sweet, since many of the options are already included in your prebuilt site. The colors, typography, pages, etc., all come with the import of the prebuilt site, so there isn’t much the Wizard needs to do.
So here, your most important choice is to choose a Prebuilt Site that best reflects the style of the website you want to create. To do that, mouse over your desired website and choose Select. See the How To Import A Prebuilt Avada Website help file for more information.
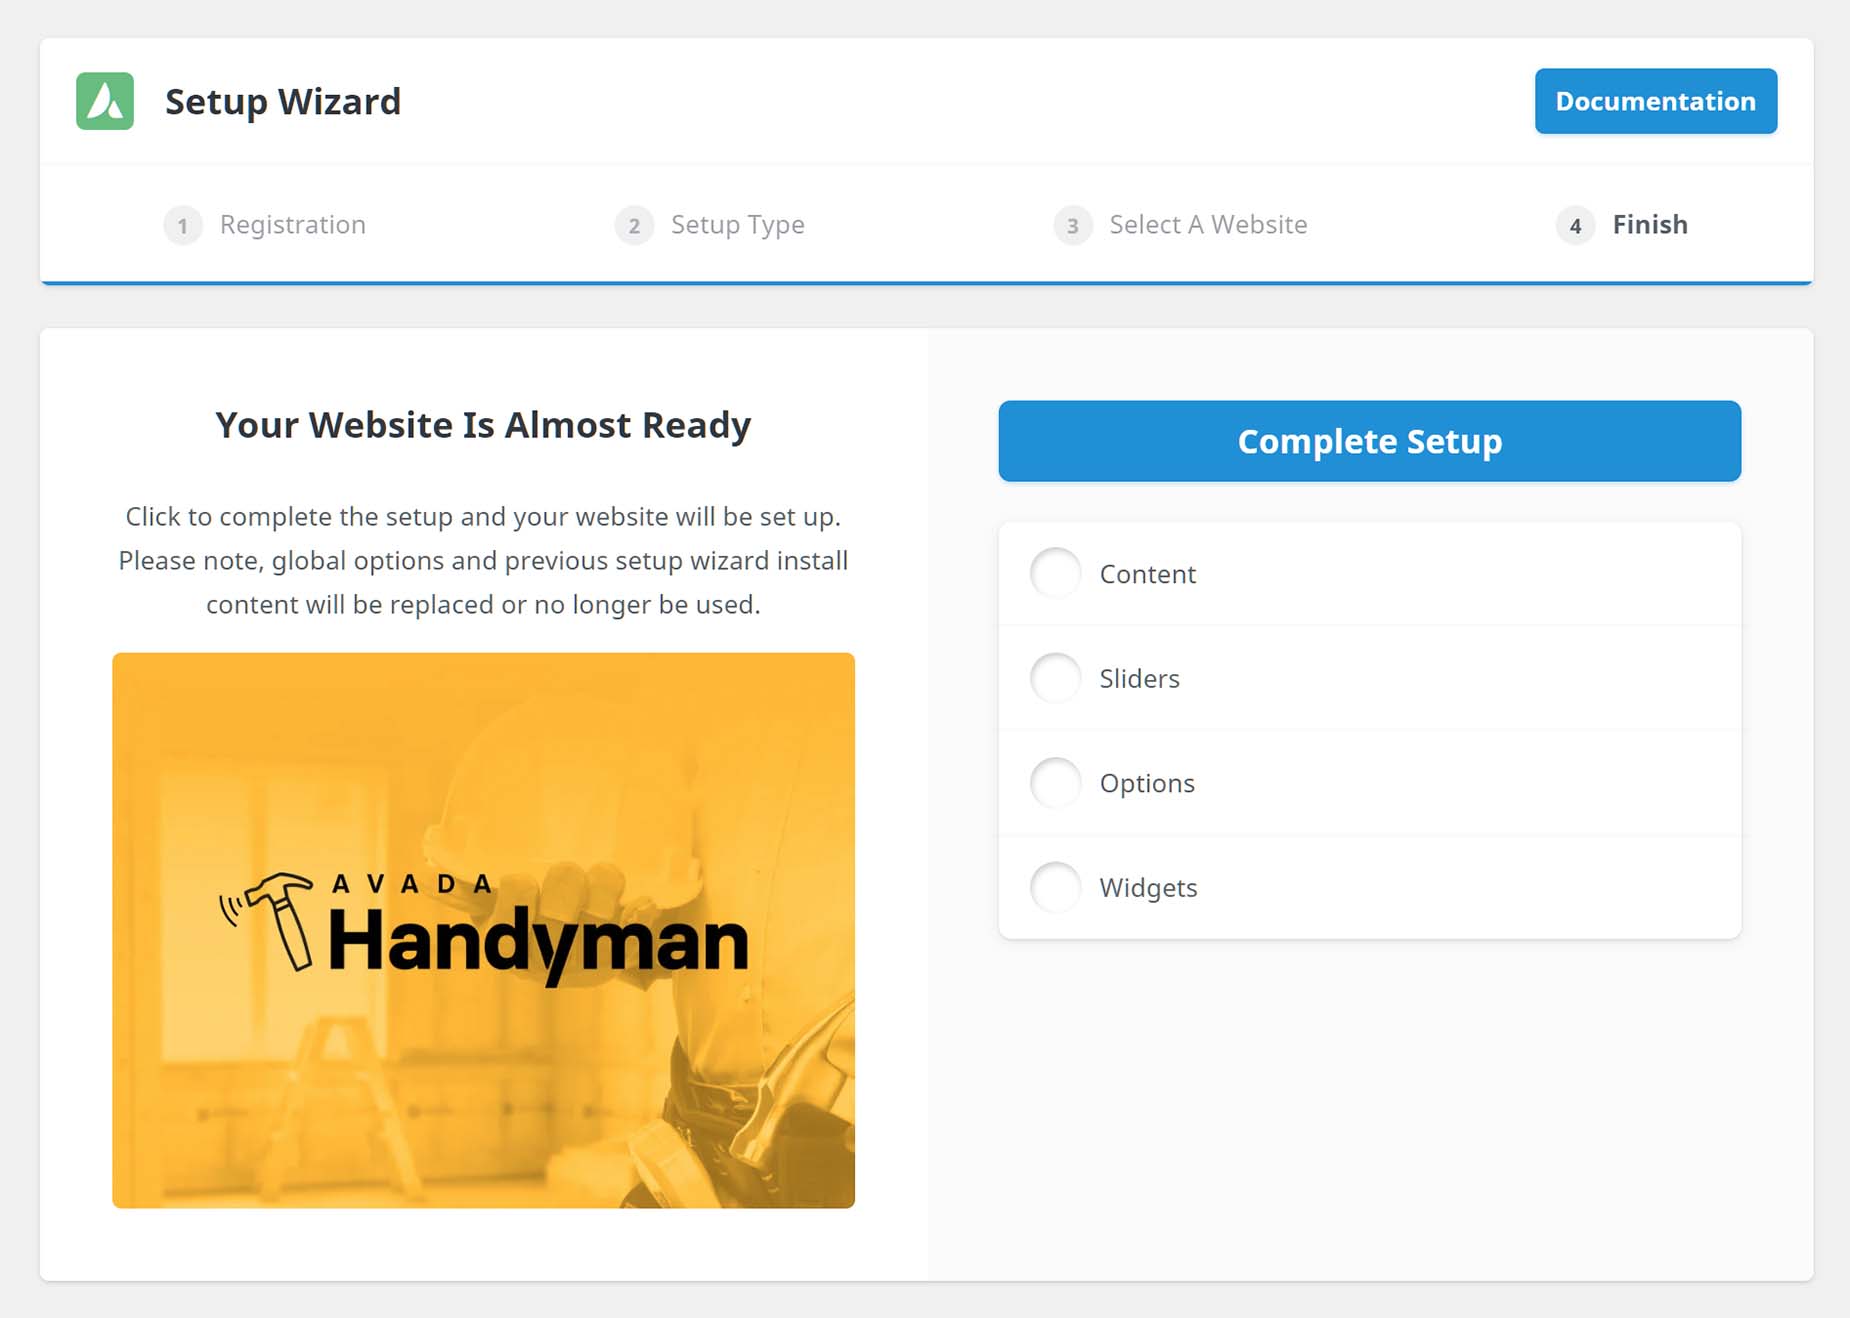
Step 4 – Finish
The final step of the Prebuilt Website Wizard asks you to complete the Setup, and then displays the progress of the website import.
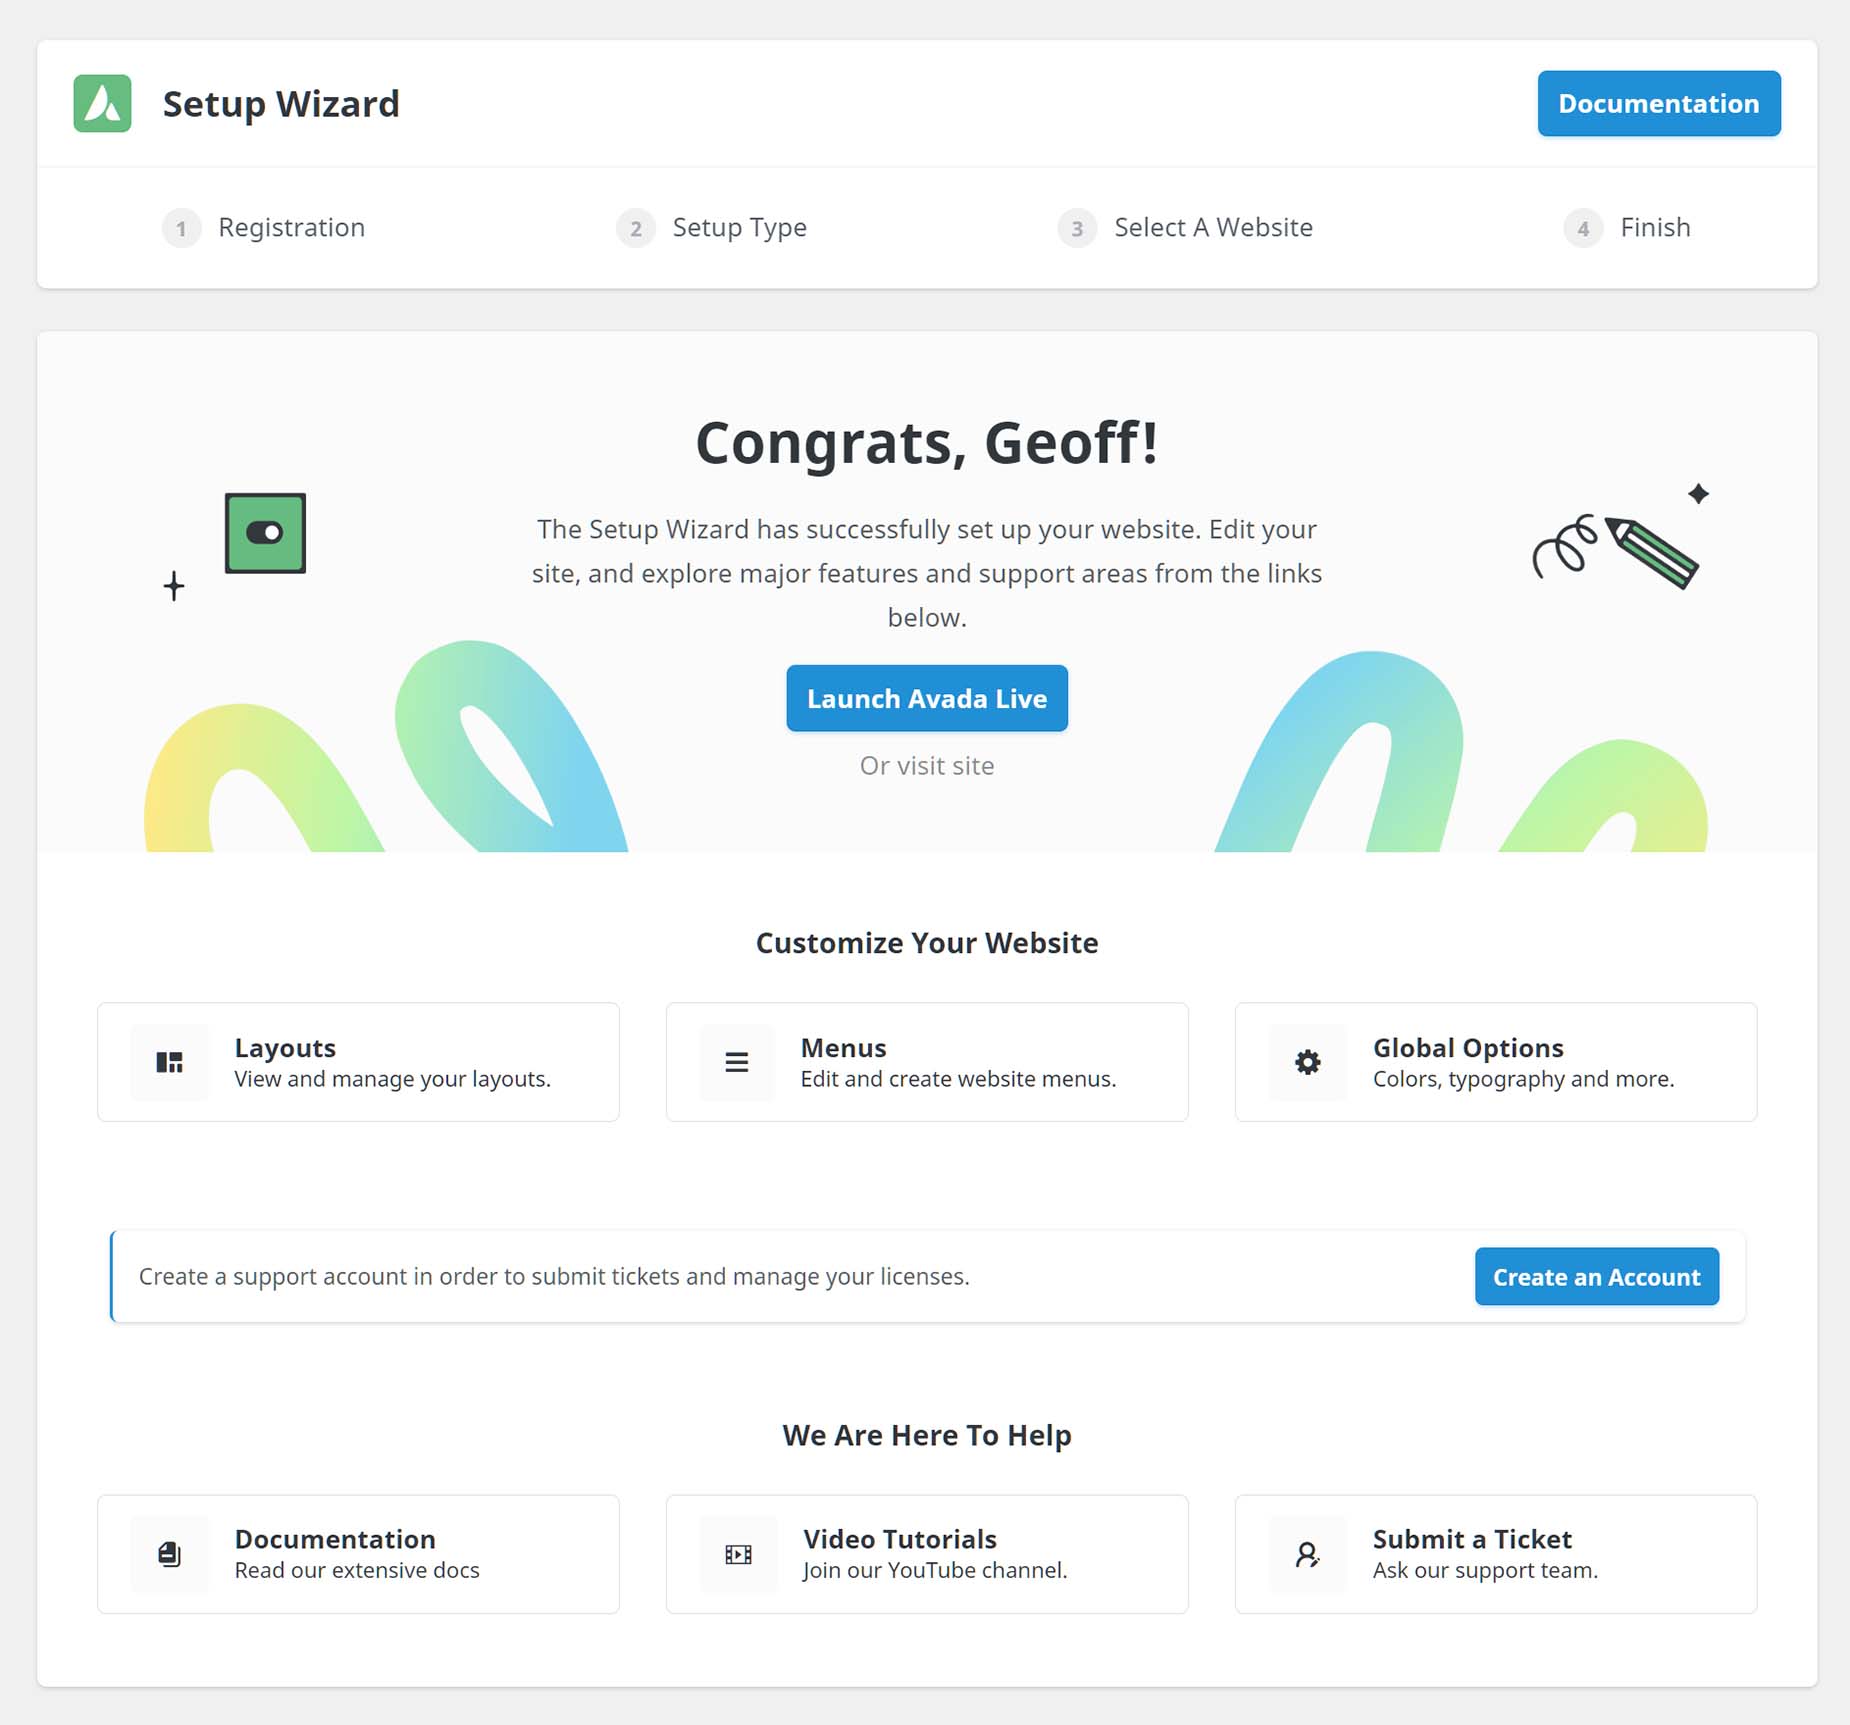
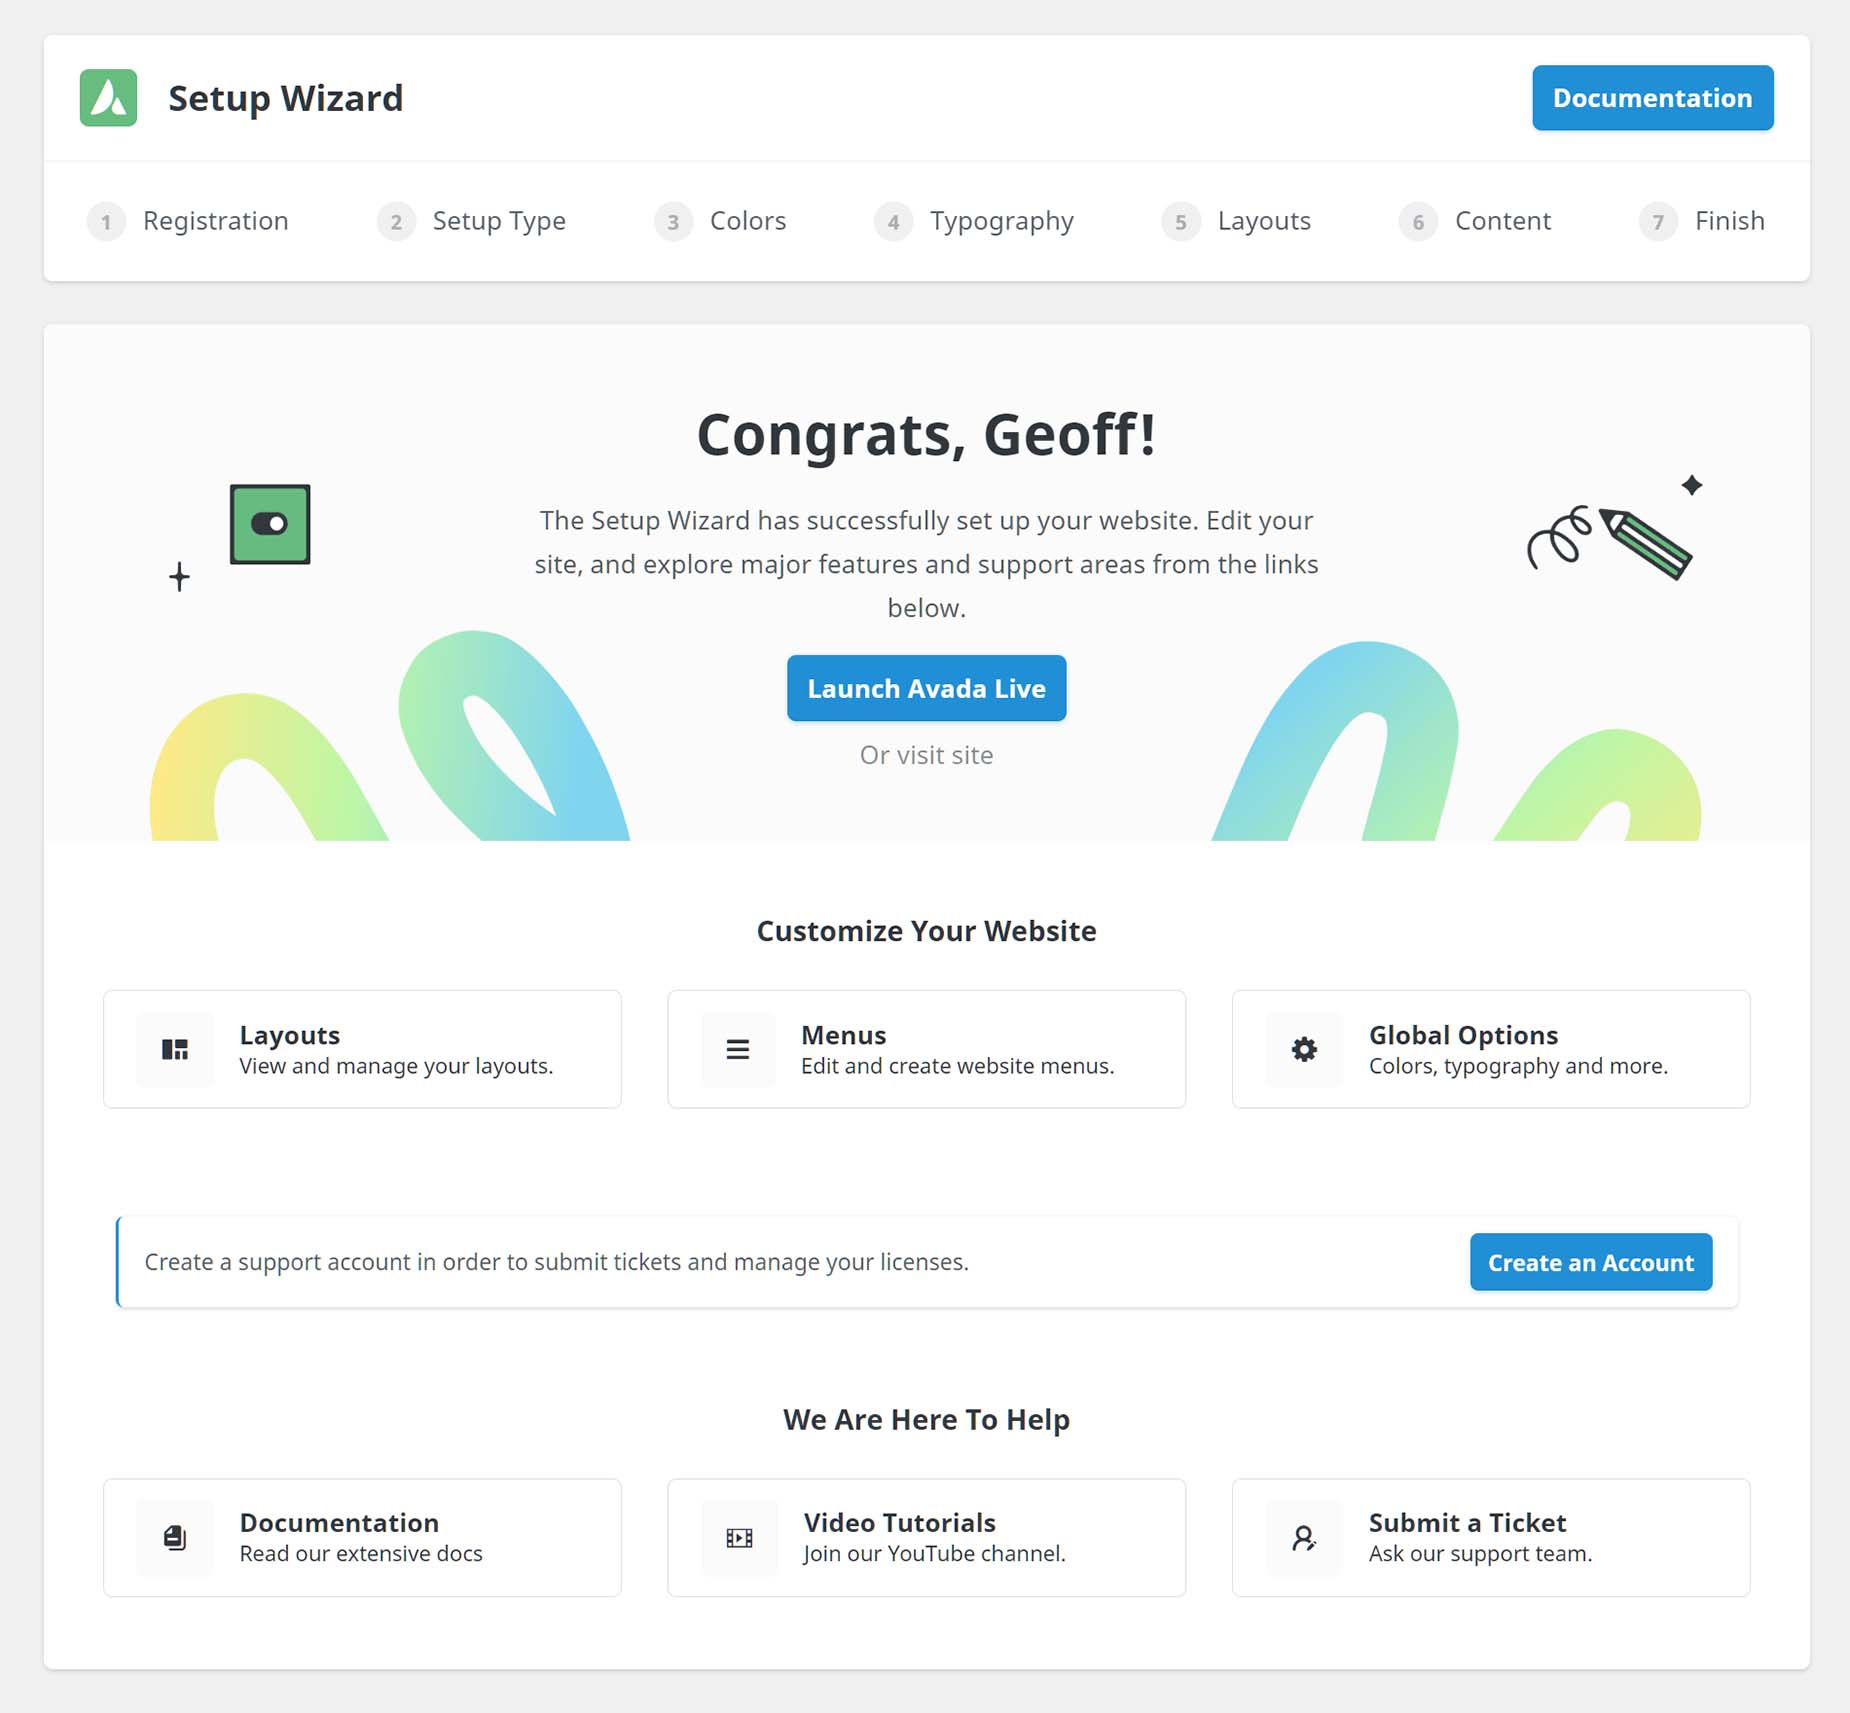
When the Wizard has completed its tasks, you are redirected to the final page, which displays a range of links to view or start editing your site, manage layouts and menus, manage global options, set up a My Avada Support Account, and read the Avada documentation.
Setup type: New Website
Step 3 – Colors
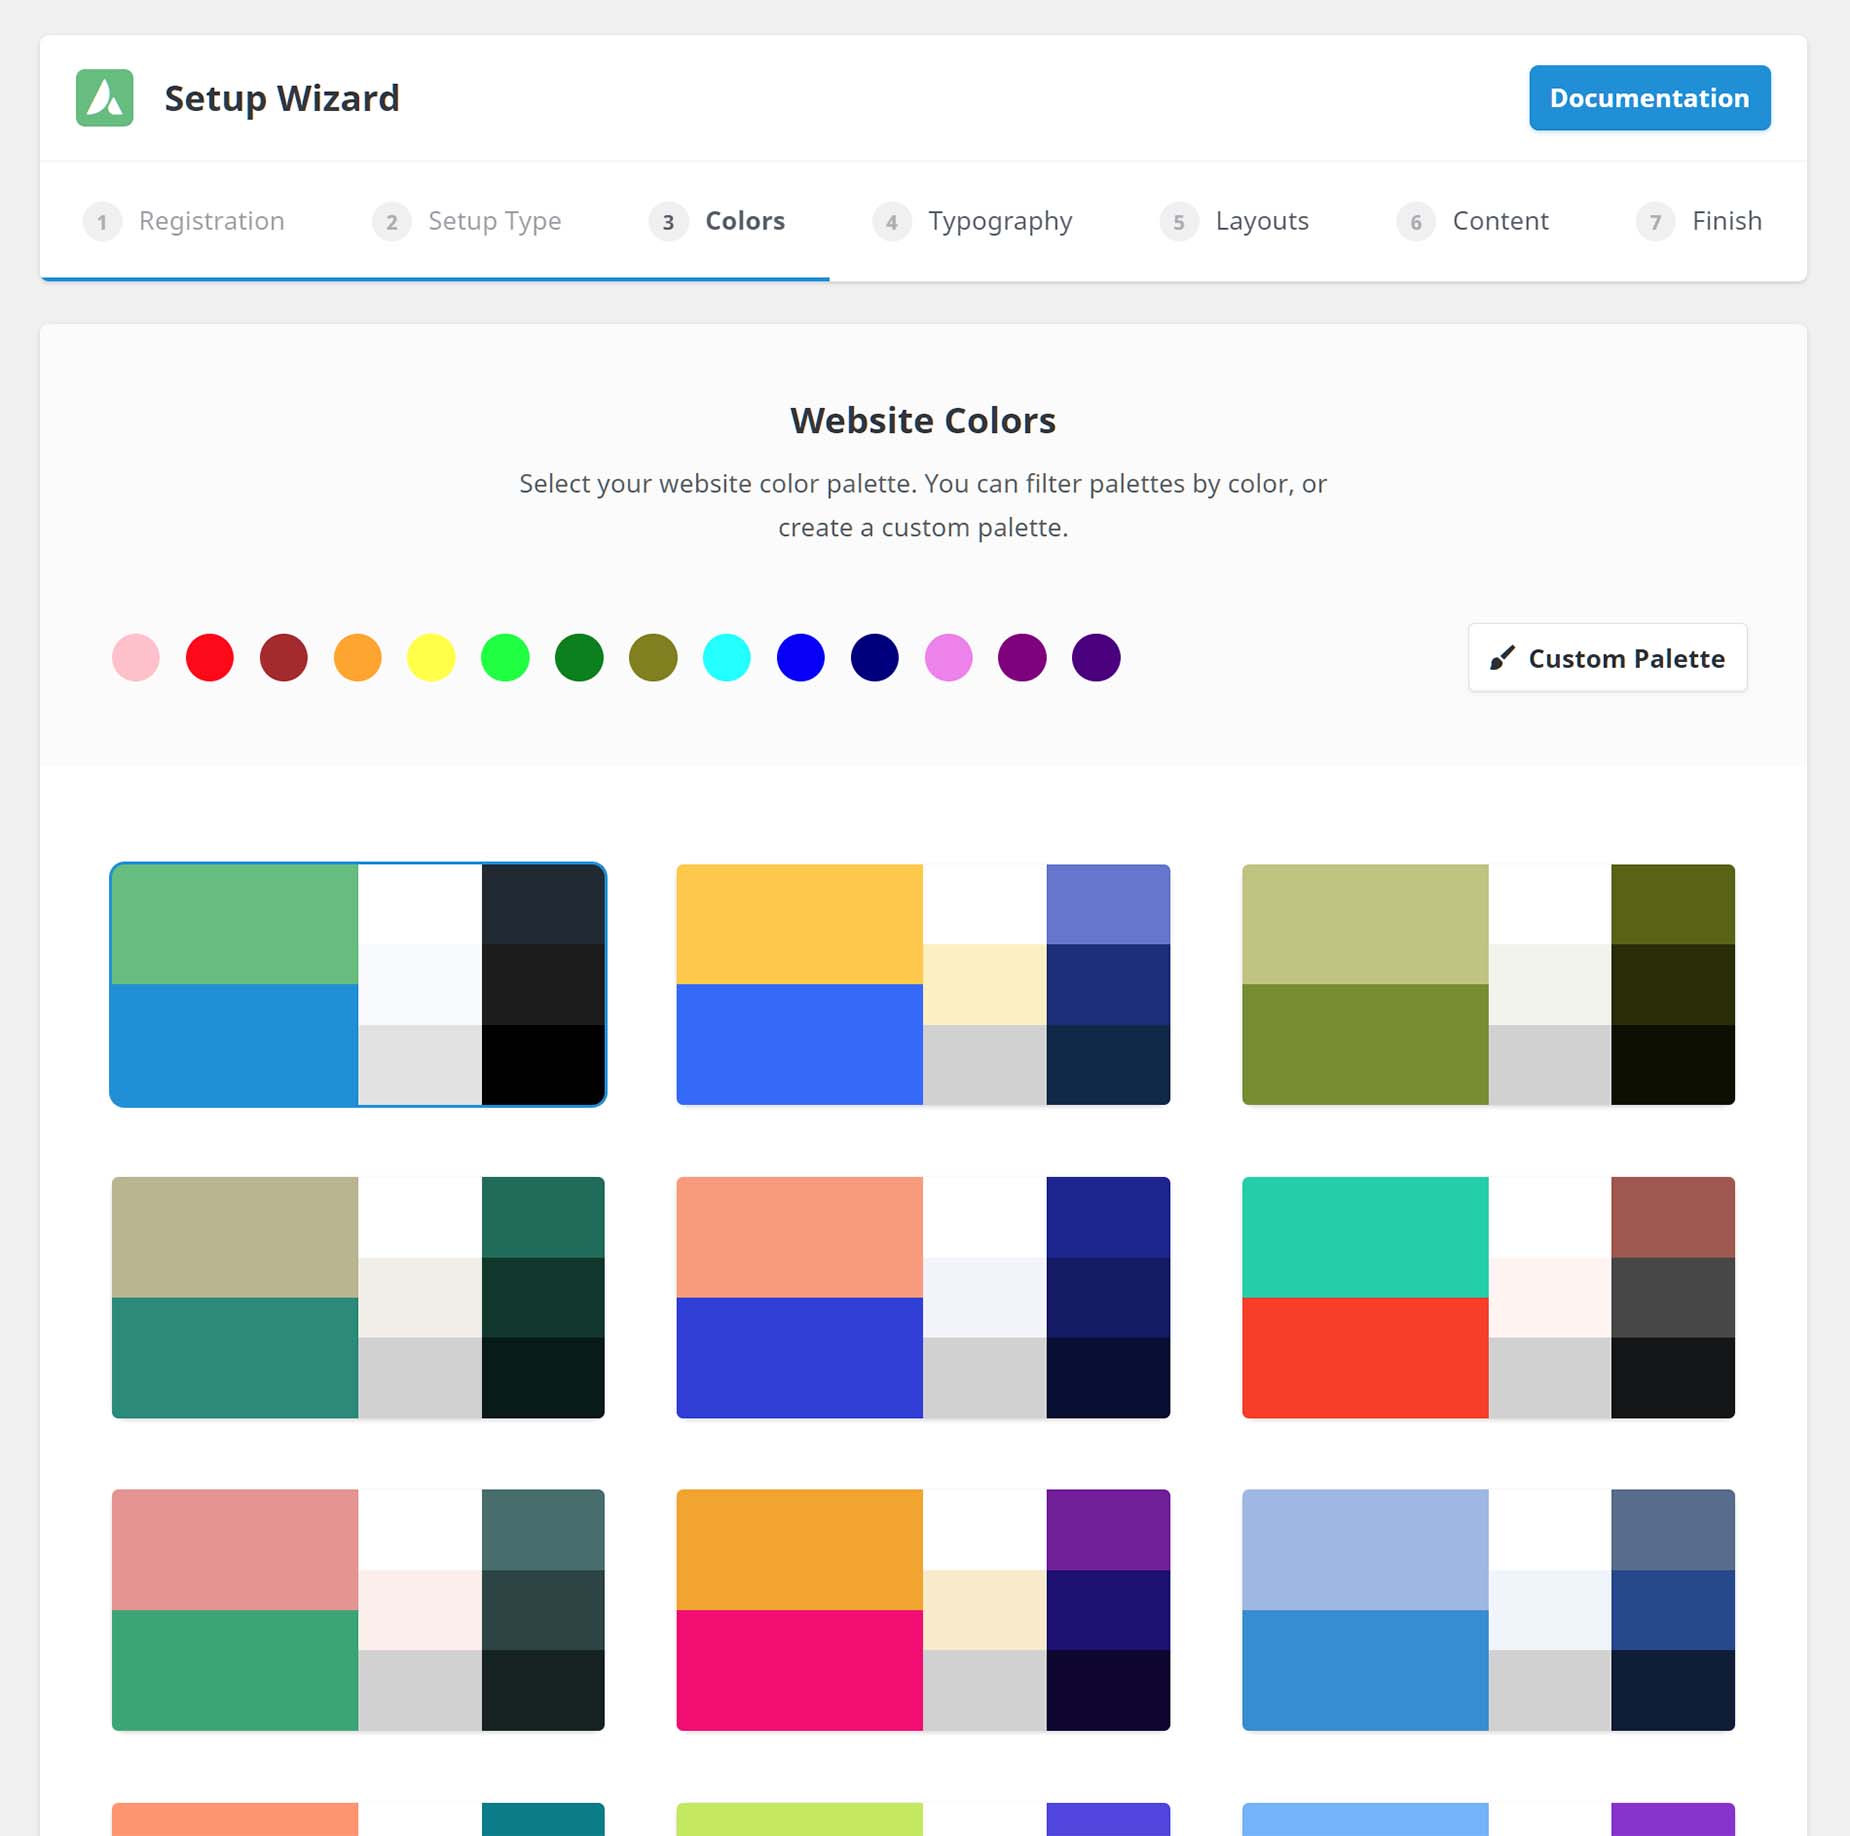
If you choose the New Website option back in Step 2 – Setup Type, then the Wizard forks and takes you to Step 3 → Colors. This is where you select or build the color palette for your website. Please see the How To Use The Global Color Palette In Avada help file for more information on how this essential feature works.
At the top of this page, you can filter the color palettes by color (or remove the filter by clicking on it again), choose directly from one of the prebuilt site color palettes by clicking on it, or build your own by clicking the Custom Palette button. Once you have selected your Color Palette, the Wizard moves to the second Color page.

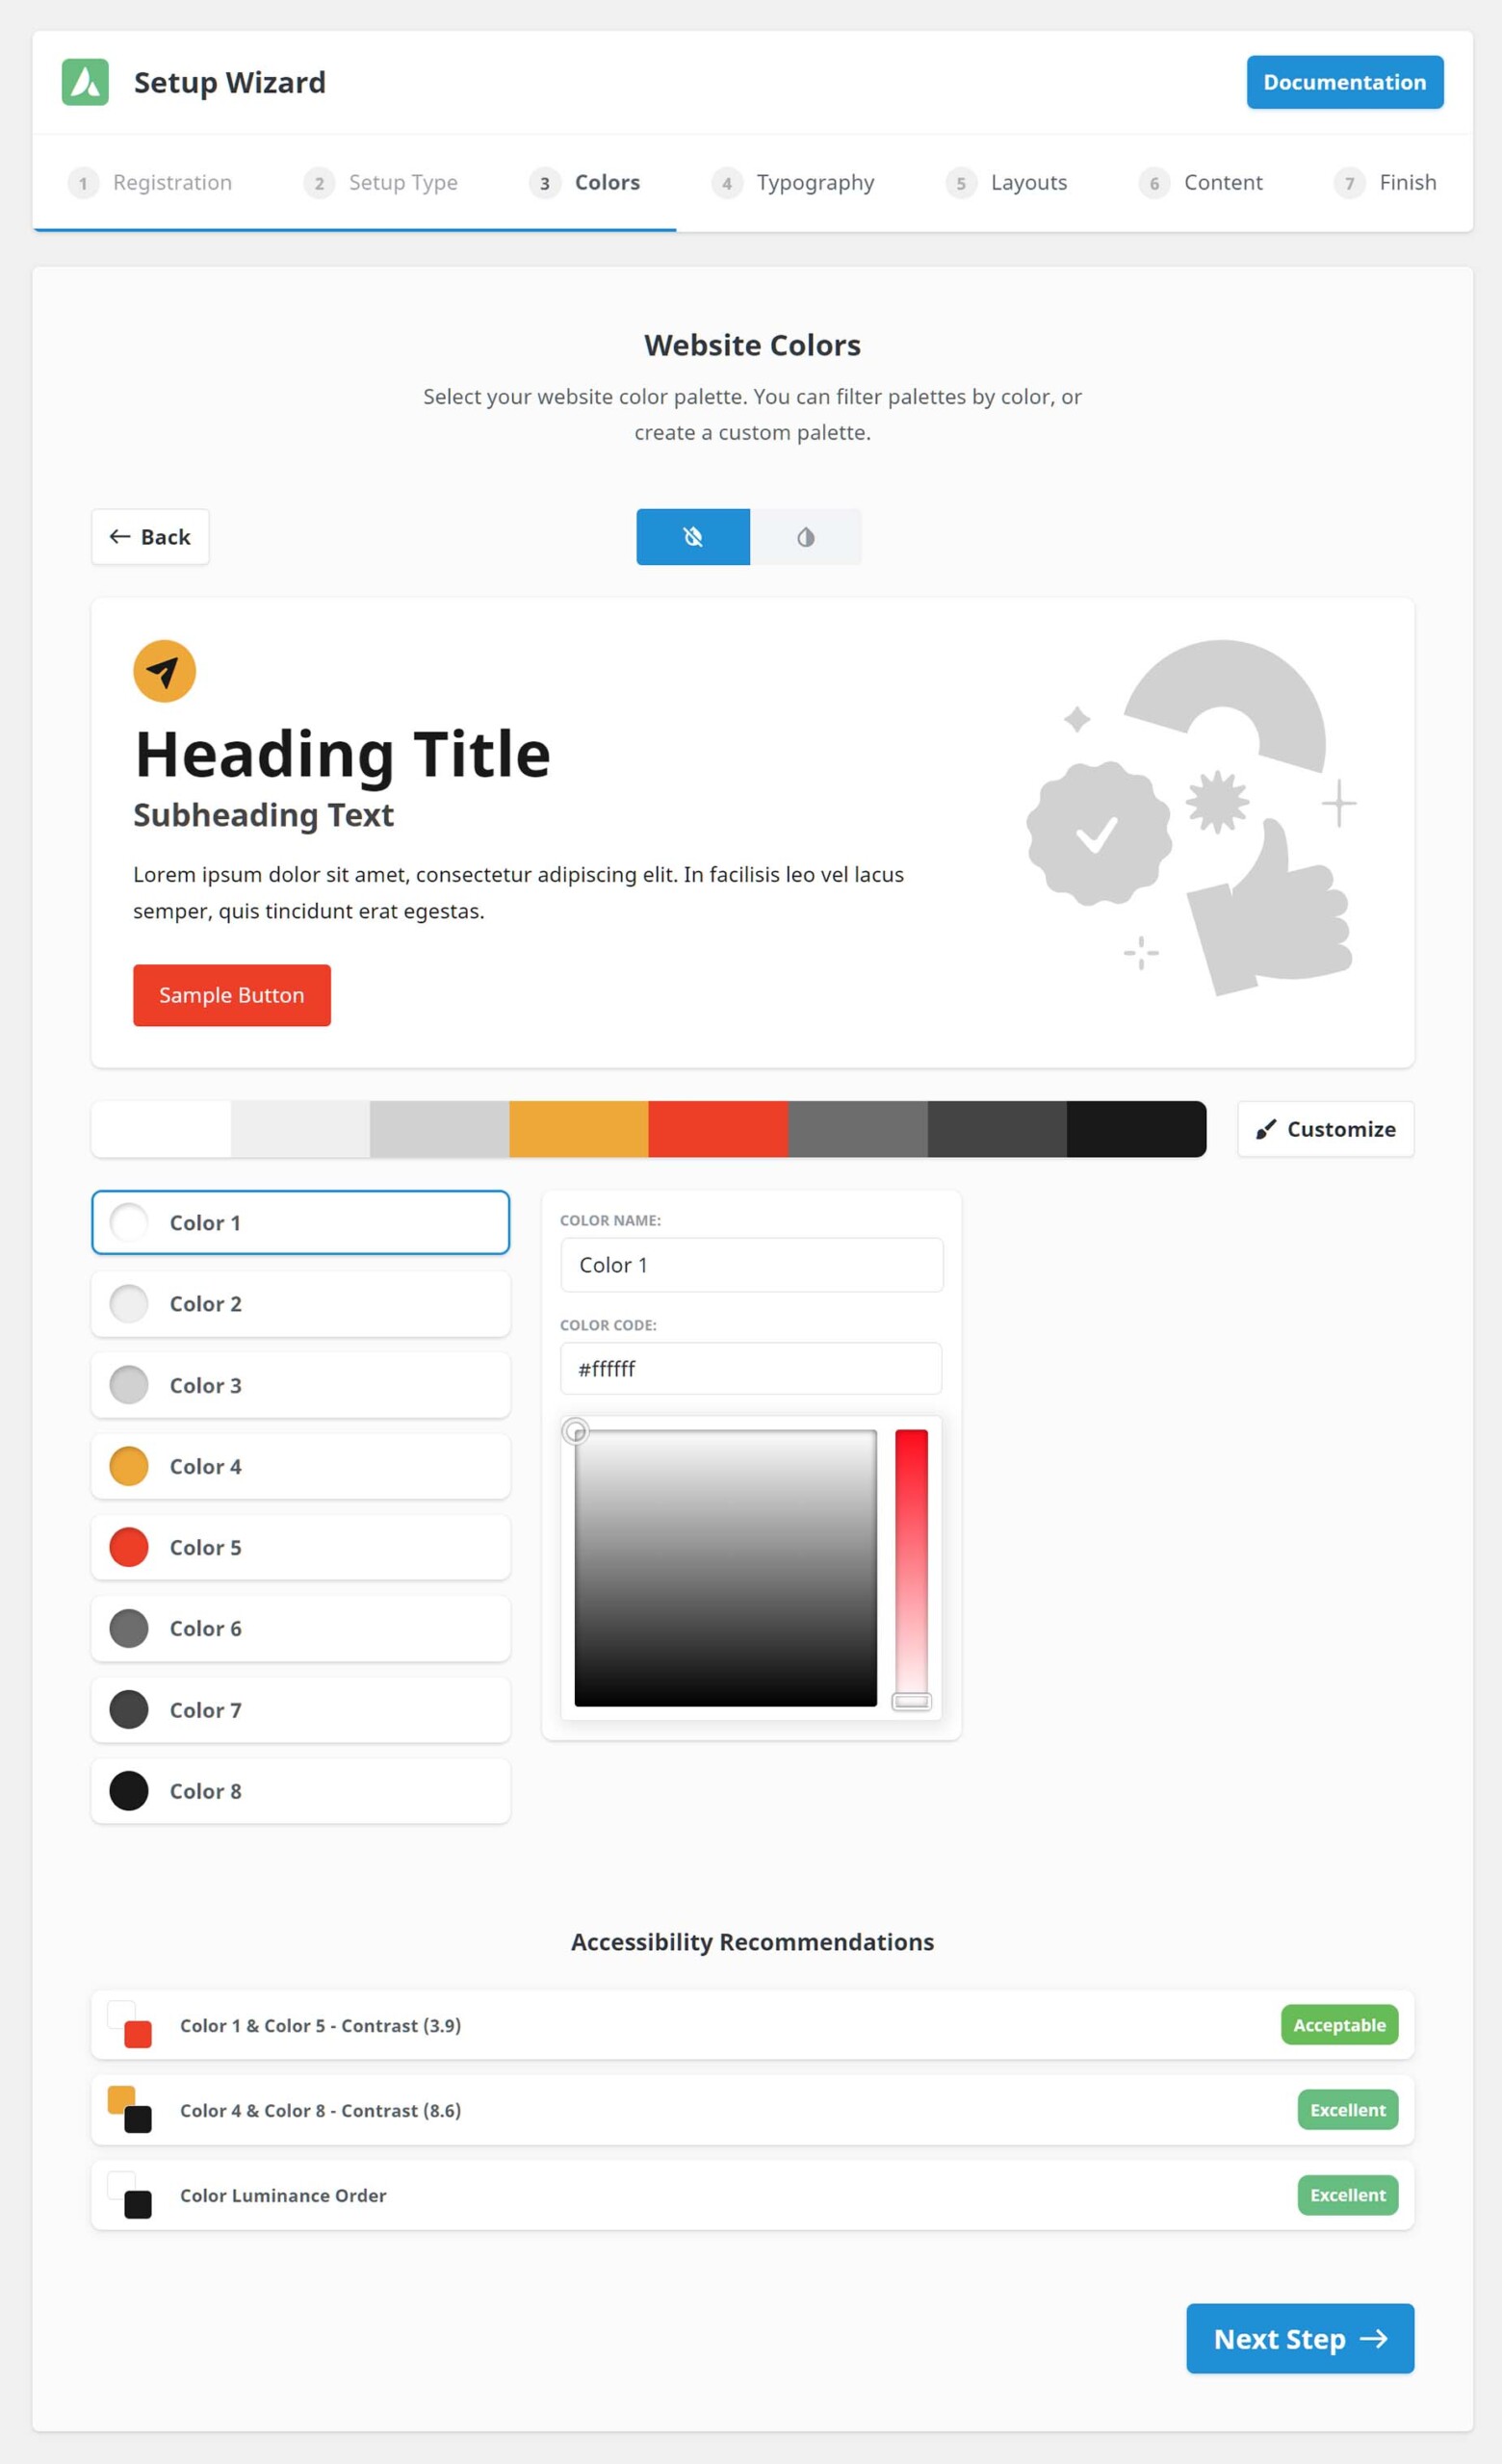
Here, you can determine whether your site should have a Light or Dark skin. Light is the default, but if you choose Dark, you get a visual representation of how your color choices will work. You can also scroll through the various prebuilt palettes with the arrow buttons. To continue, click on Next Step to move on to Typography.
Alternatively, you can click on Customize, which opens a further dialog below. This is also what you get if you click on Custom Palette in the preceding Step. Here, you can edit the existing palette, and at the bottom, you can access Accessibility Recommendations to ensure your color palette has sufficient contrast.
Step 4 – Typography
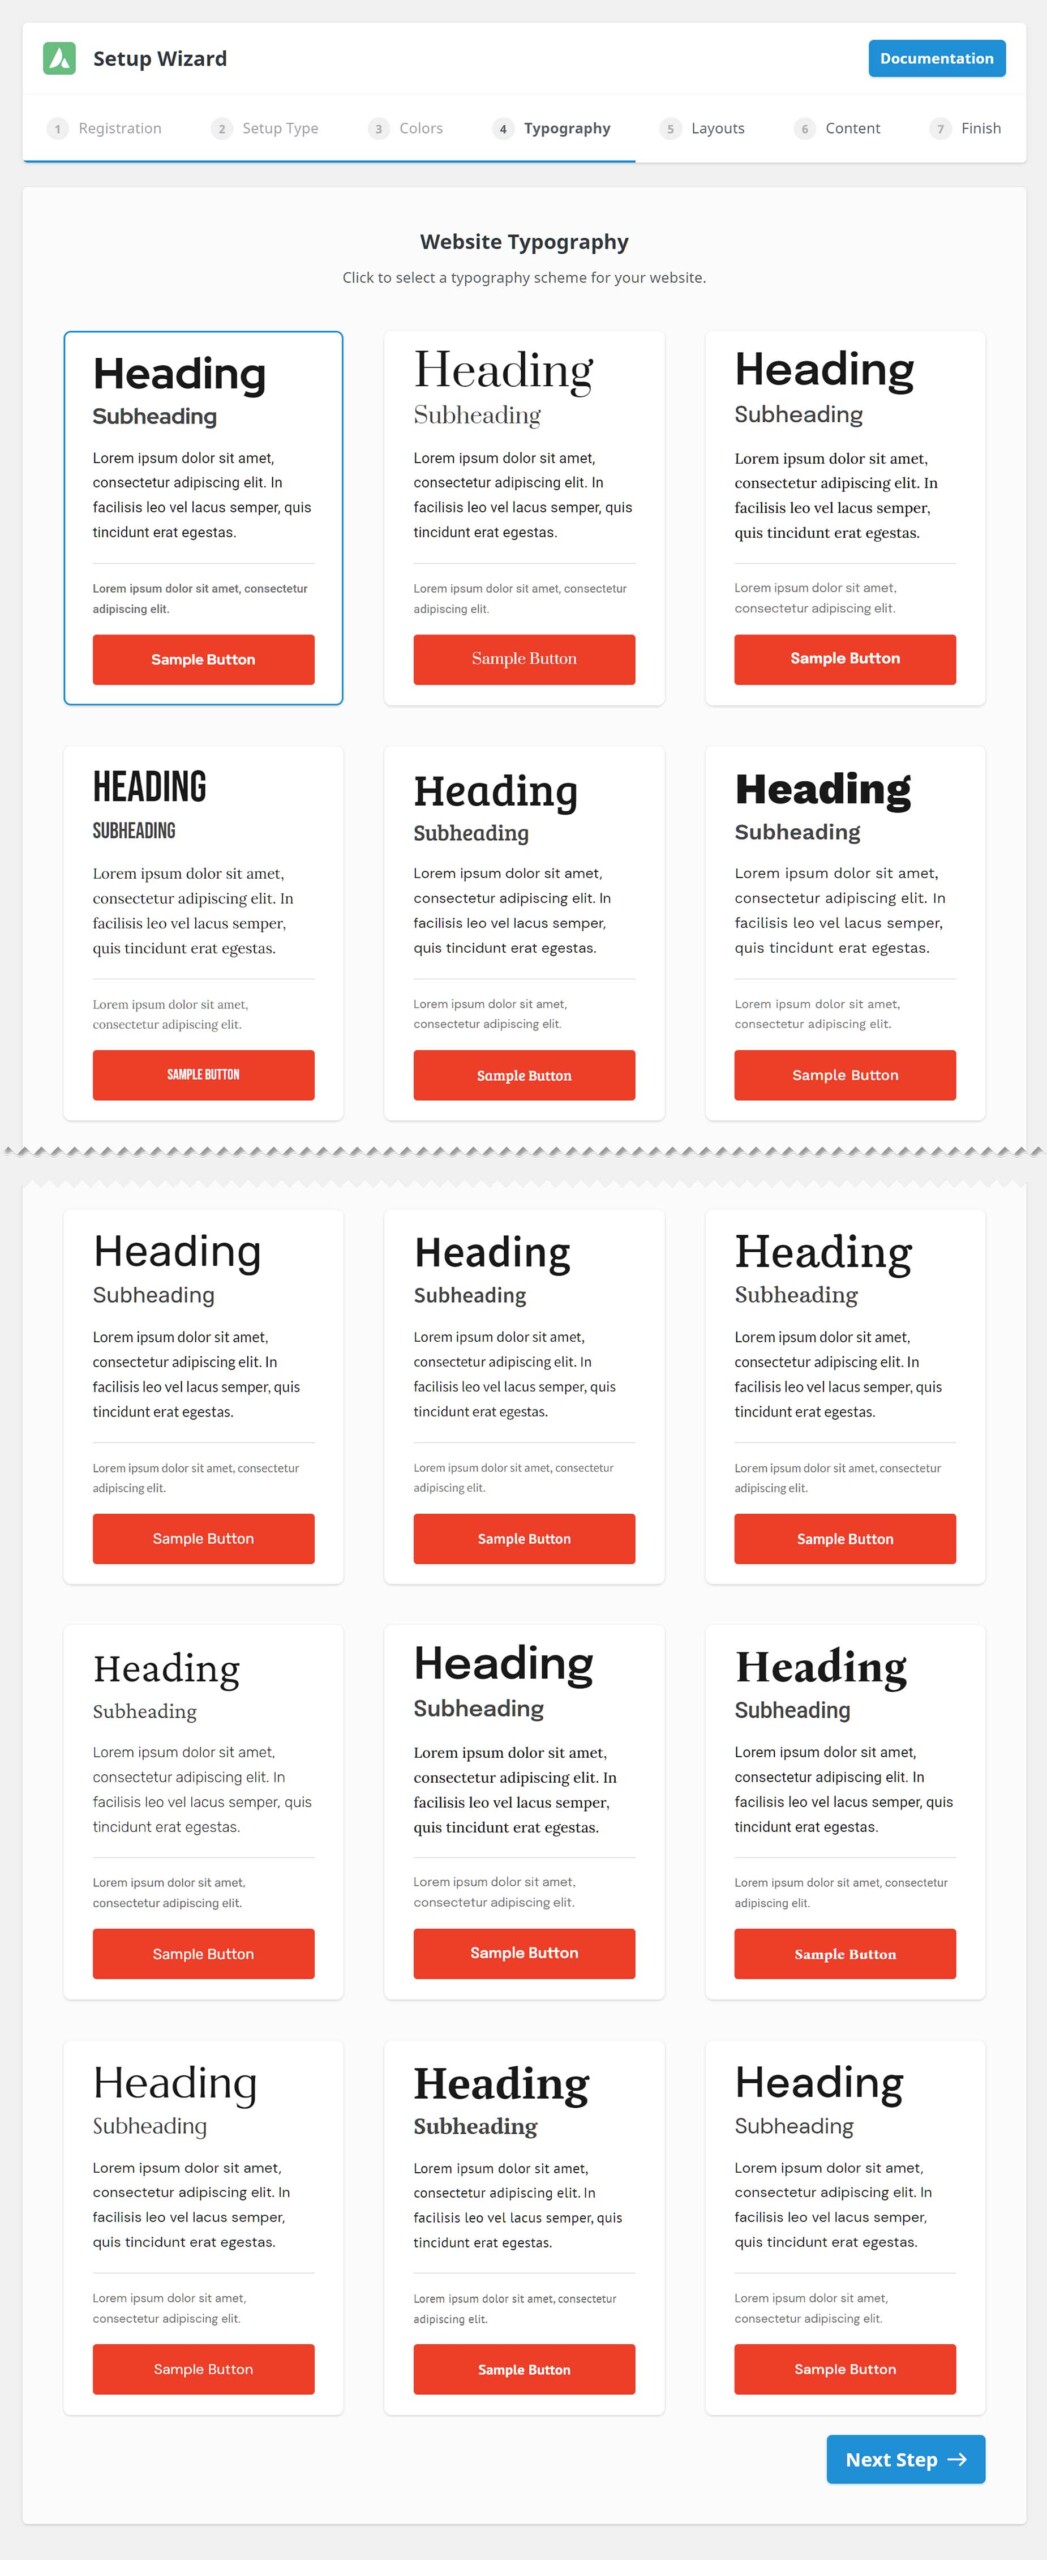
In this step, you select the typography scheme for your desired website. There is a vast range of typography sets to choose from, prepared by Avada’s design team. Click on one to go to the next section. You can always change or fine-tune the typography settings later, of course, in the Avada > Global Options > Typography section.
Once you have made your initial typography selection, the next page allows you to set the Base Font Size and the Sizing Ratio pattern to apply to your headings. You can choose from Minor Second, Major Second, Minor Third, Major Third, Perfect Fourth, Augmented, Perfect Fifth, or Golden Ratio.
There are also arrows at the top, which you can use to scroll between the typography sets. When you are happy with the typography’s look, click Next Step.

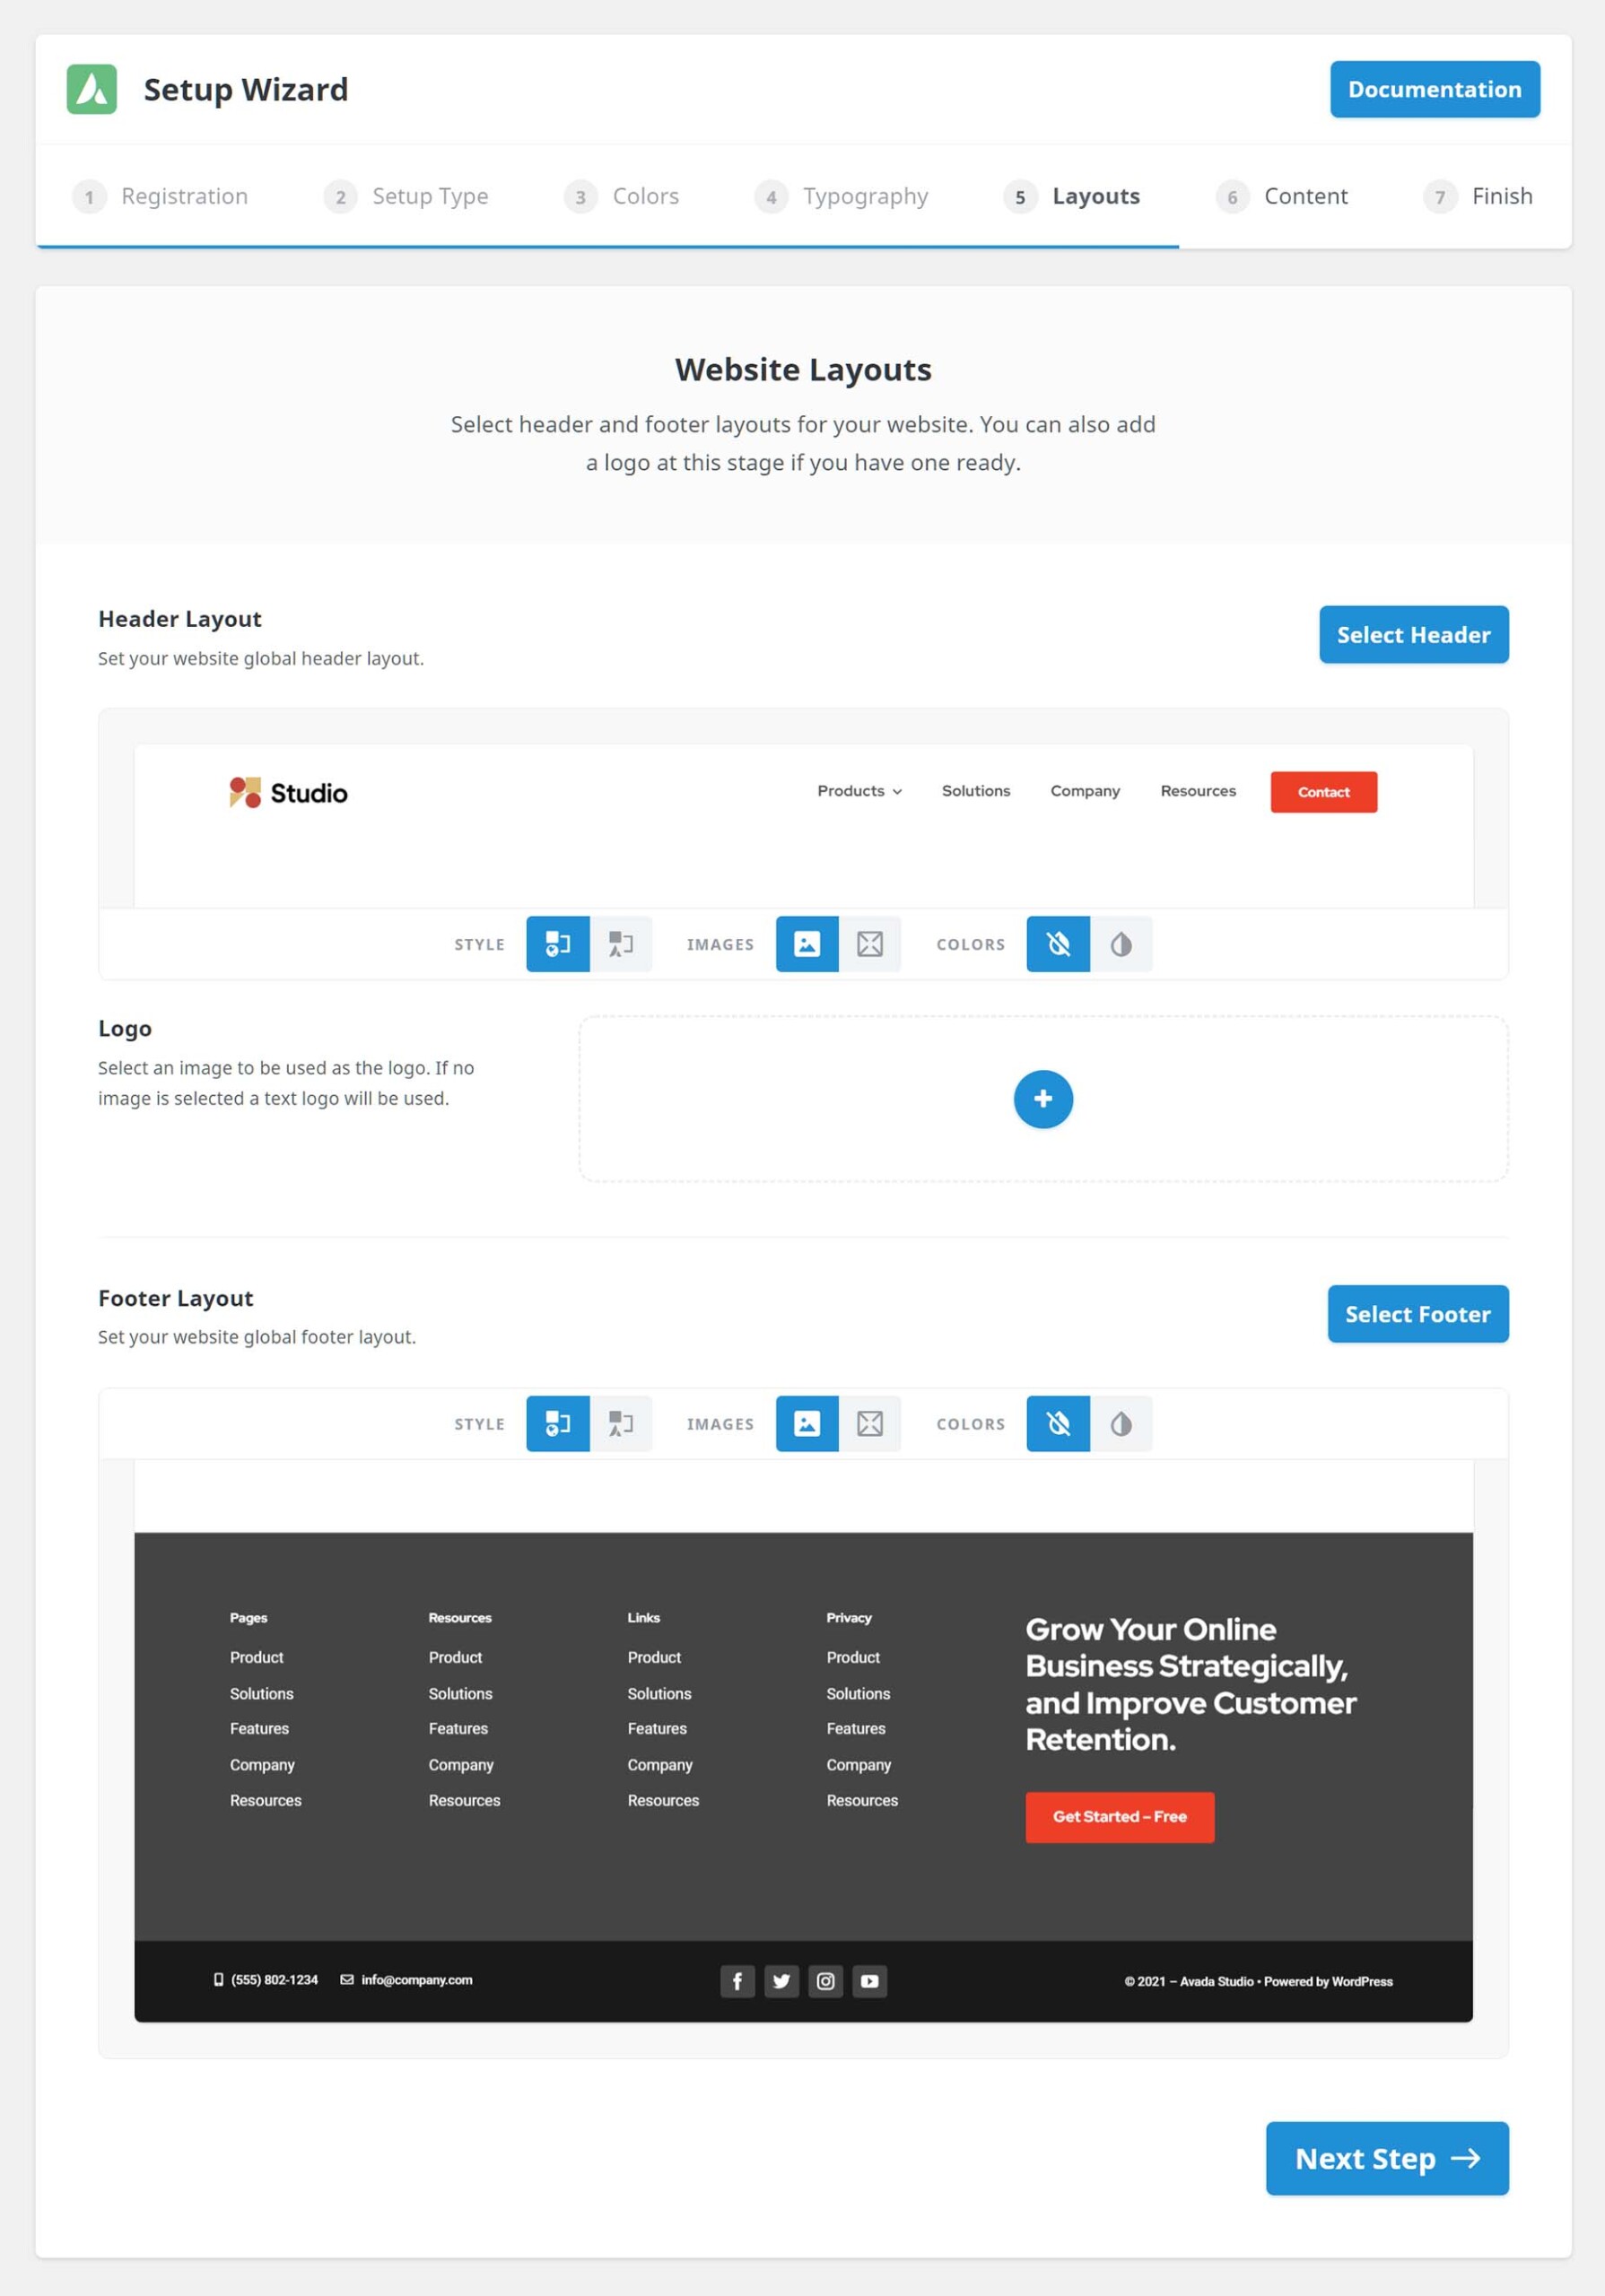
Step 5 – Layouts
To speed up your build, select your Header and Footer Layout in this step. A standard header and footer are selected by default, but when you click on Select Header or Footer, you can instead choose from the extensive range found in Avada Studio. You can also select a logo at this time.
And not only can you choose from the Avada Studio designs, but there are Import Options above and below the previews, and here you can customize how your selected header and footer appear. Note that the headers and footers preview is based on the colors and typography already chosen in the Avada Setup Wizard.
With the Import Options, you can choose to invert the colors, not import images, or instead decide to import them as they look in Avada Studio. Still, the default settings will give you a site with a pre-designed header and footer, complete with your chosen site colors and typography, all in a few clicks. See the Import Options section of How to Use Avada Studio for more details on these very cool import options, which also apply to normal Avada Studio content.
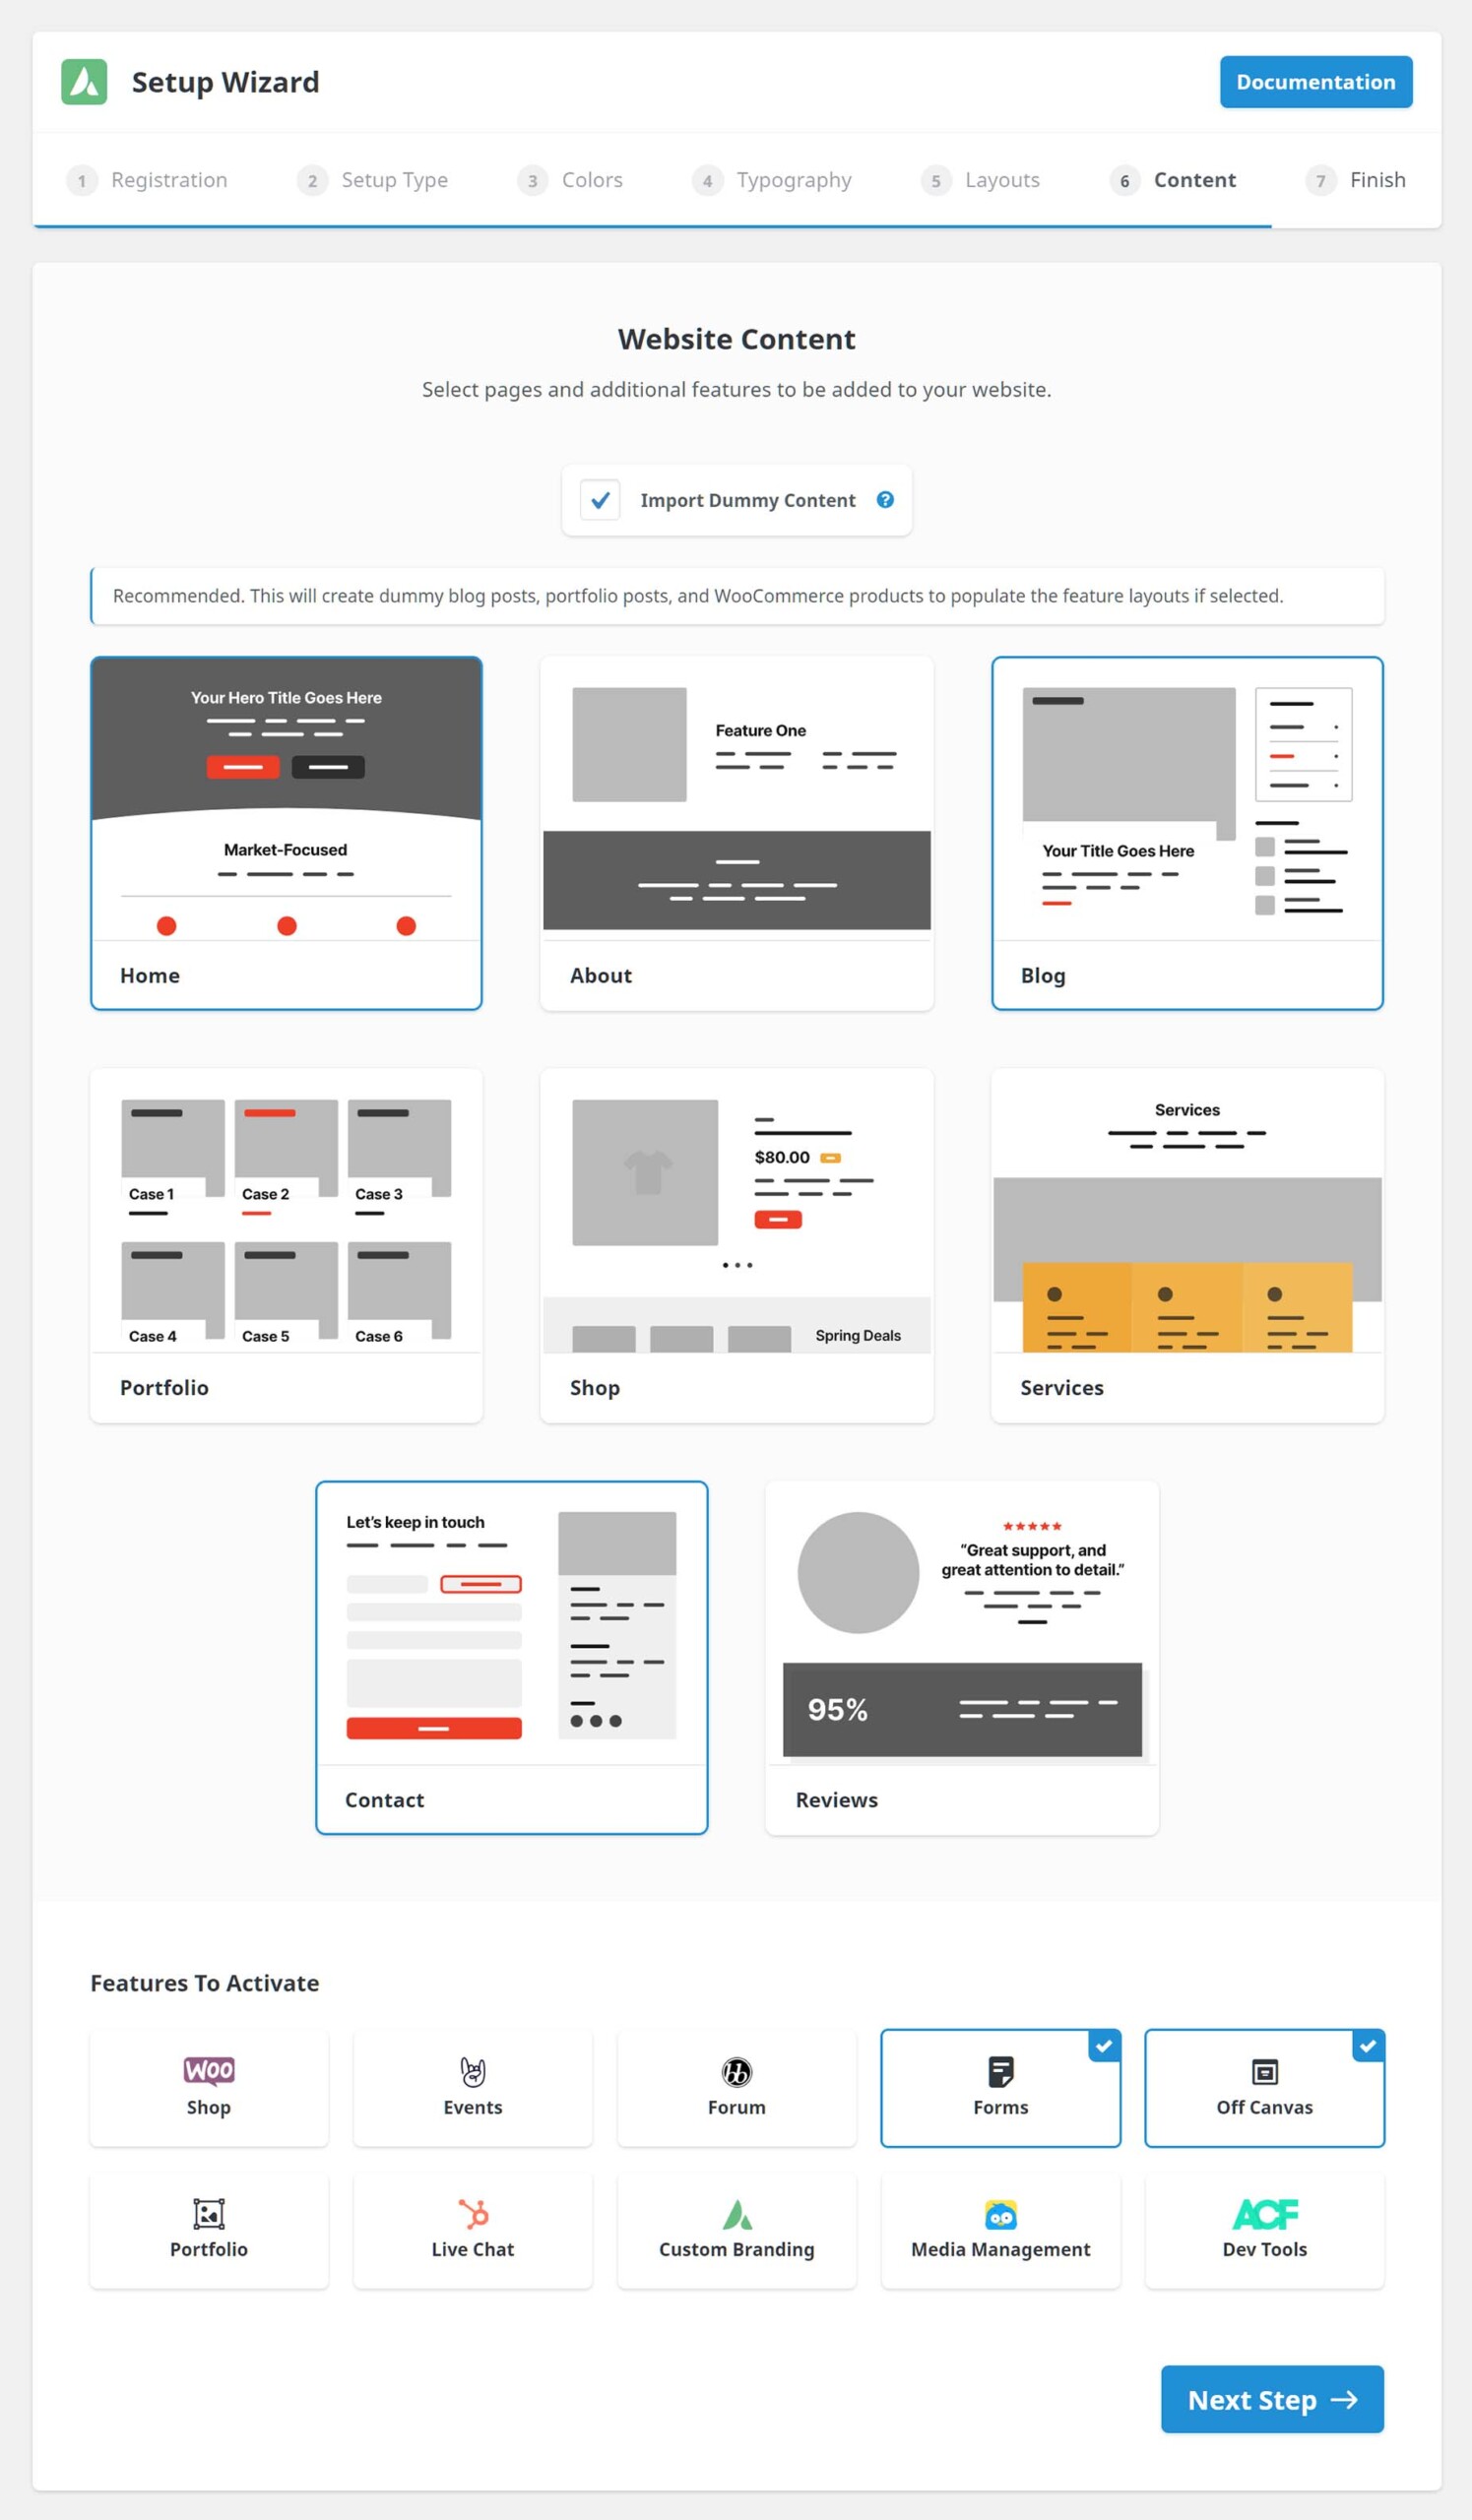
Step 6 – Content
To speed up your build, in Step 6 – Content, you can add pages and other features to your website. This can be a simple page or a more advanced feature, such as an online shop. With the basic pages – Home, About, Services, and Reviews, the pages are created and populated with Avada Studio basic content.
With the other selections, Blog, Portfolio, Shop, and Contact, a range of different things happen behind the scenes. For example, if you select Portfolio, the Portfolio Custom Post Type (CPT) is activated, a Portfolio page is created, and Single Portfolio and Portfolio Archive layouts are created, each populated with relevant Layout Sections. To see a complete list of what is created for each selection, see below.
By default, Import Dummy Content is also selected at the top of the dialog. This creates dummy blog posts, portfolio items, and shop products so you can best appreciate the layouts designed for these items, and sets you up with a fully functioning feature that you can then customize with your own content.
Finally, at the bottom of the dialog, you will see which features and plugins will be installed and activated. Avada Forms and Avada Off-Canvas are selected by default, as are any necessary plugins for your selections. But at this point, you can also activate any of the other plugins that come with Avada.
Avada Wizard Actions For Selected Pages & Features
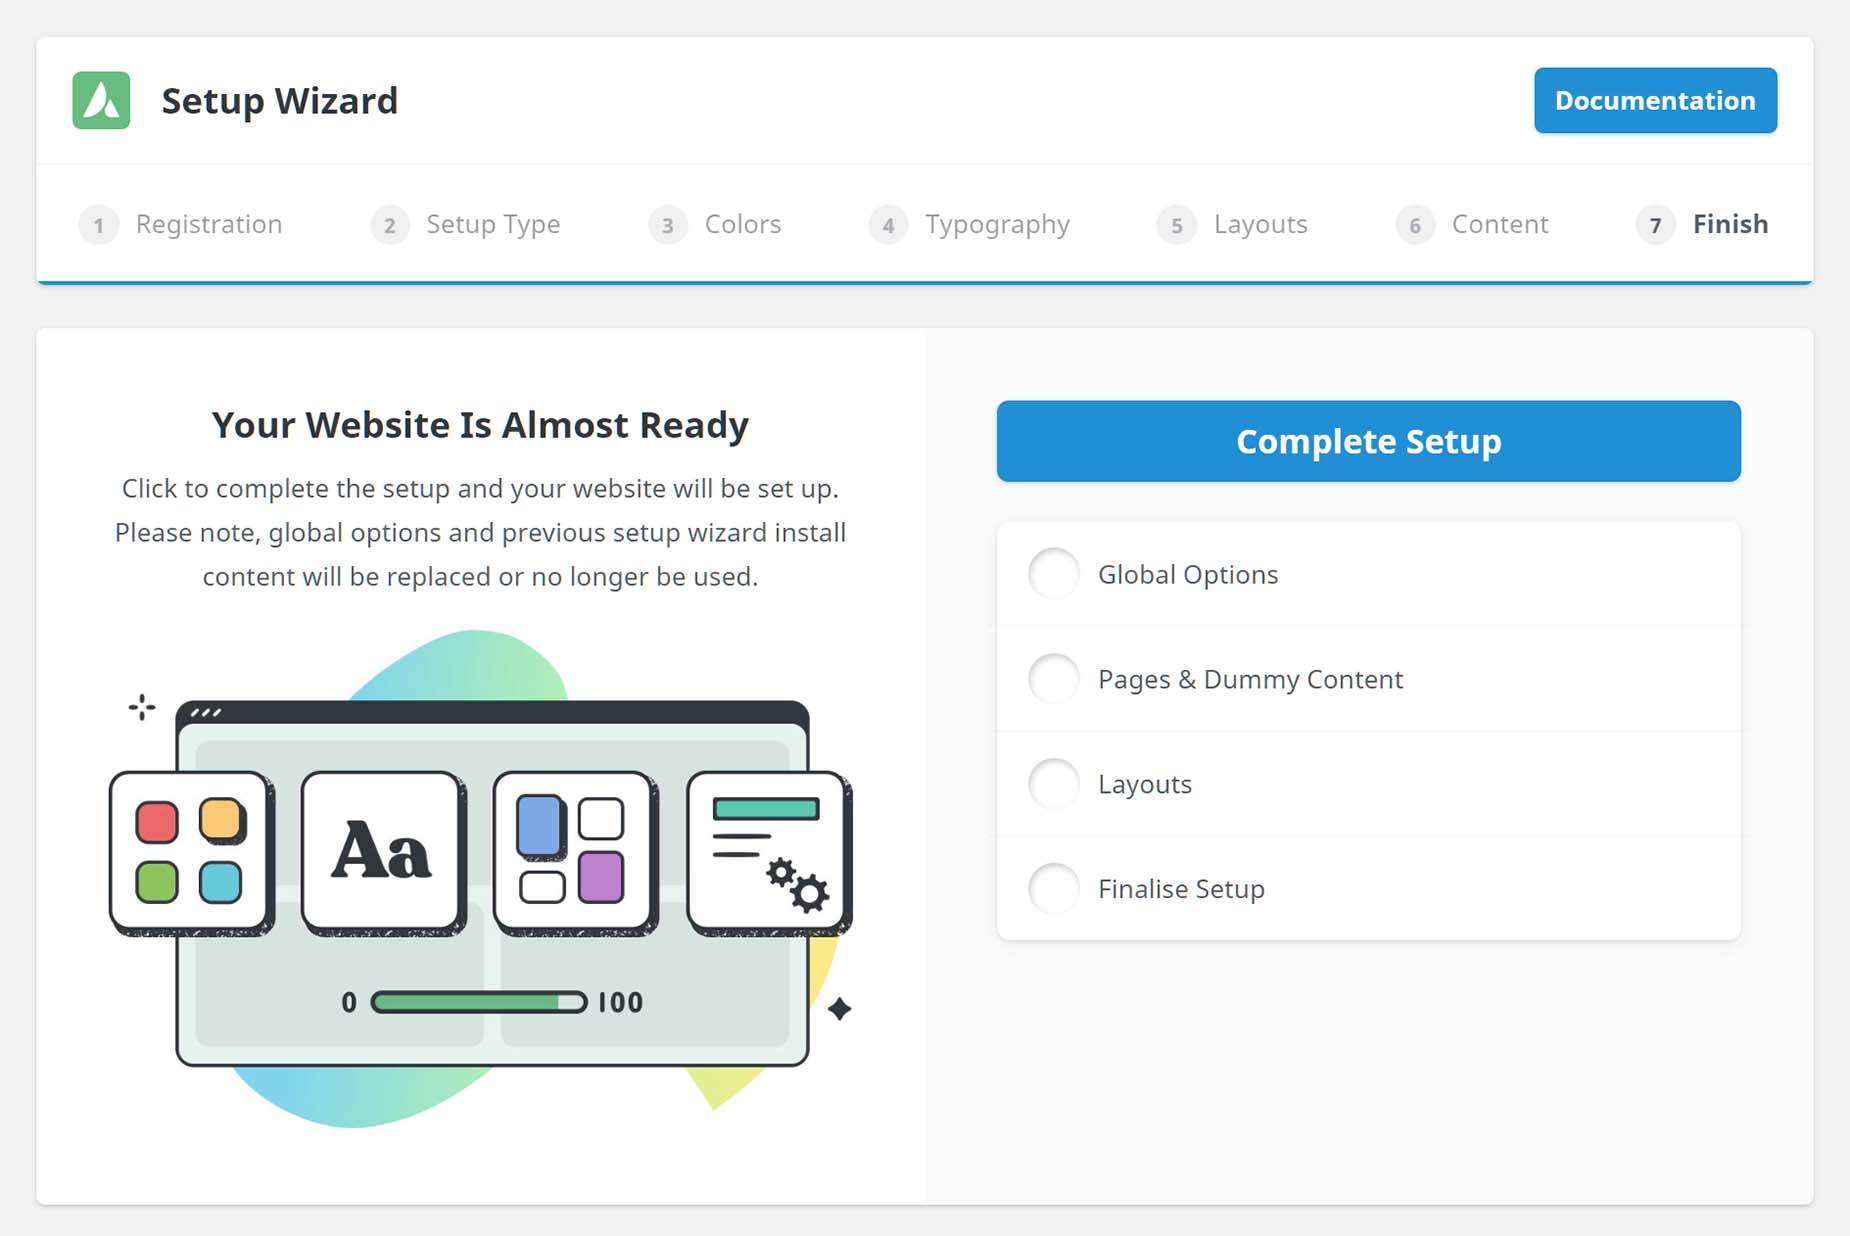
Step 7 – Finish
In Step 7, the Setup Wizard collates all the information provided and prepares all selections for implementation. Click Complete Setup to finalize your website setup.
When the Wizard has completed its tasks, depending on your selections, you are redirected to the final Setup Wizard page. This displays a range of links for you to view or start editing your site, manage layouts and menus, manage global options, set up a support account, and read the Avada documentation.
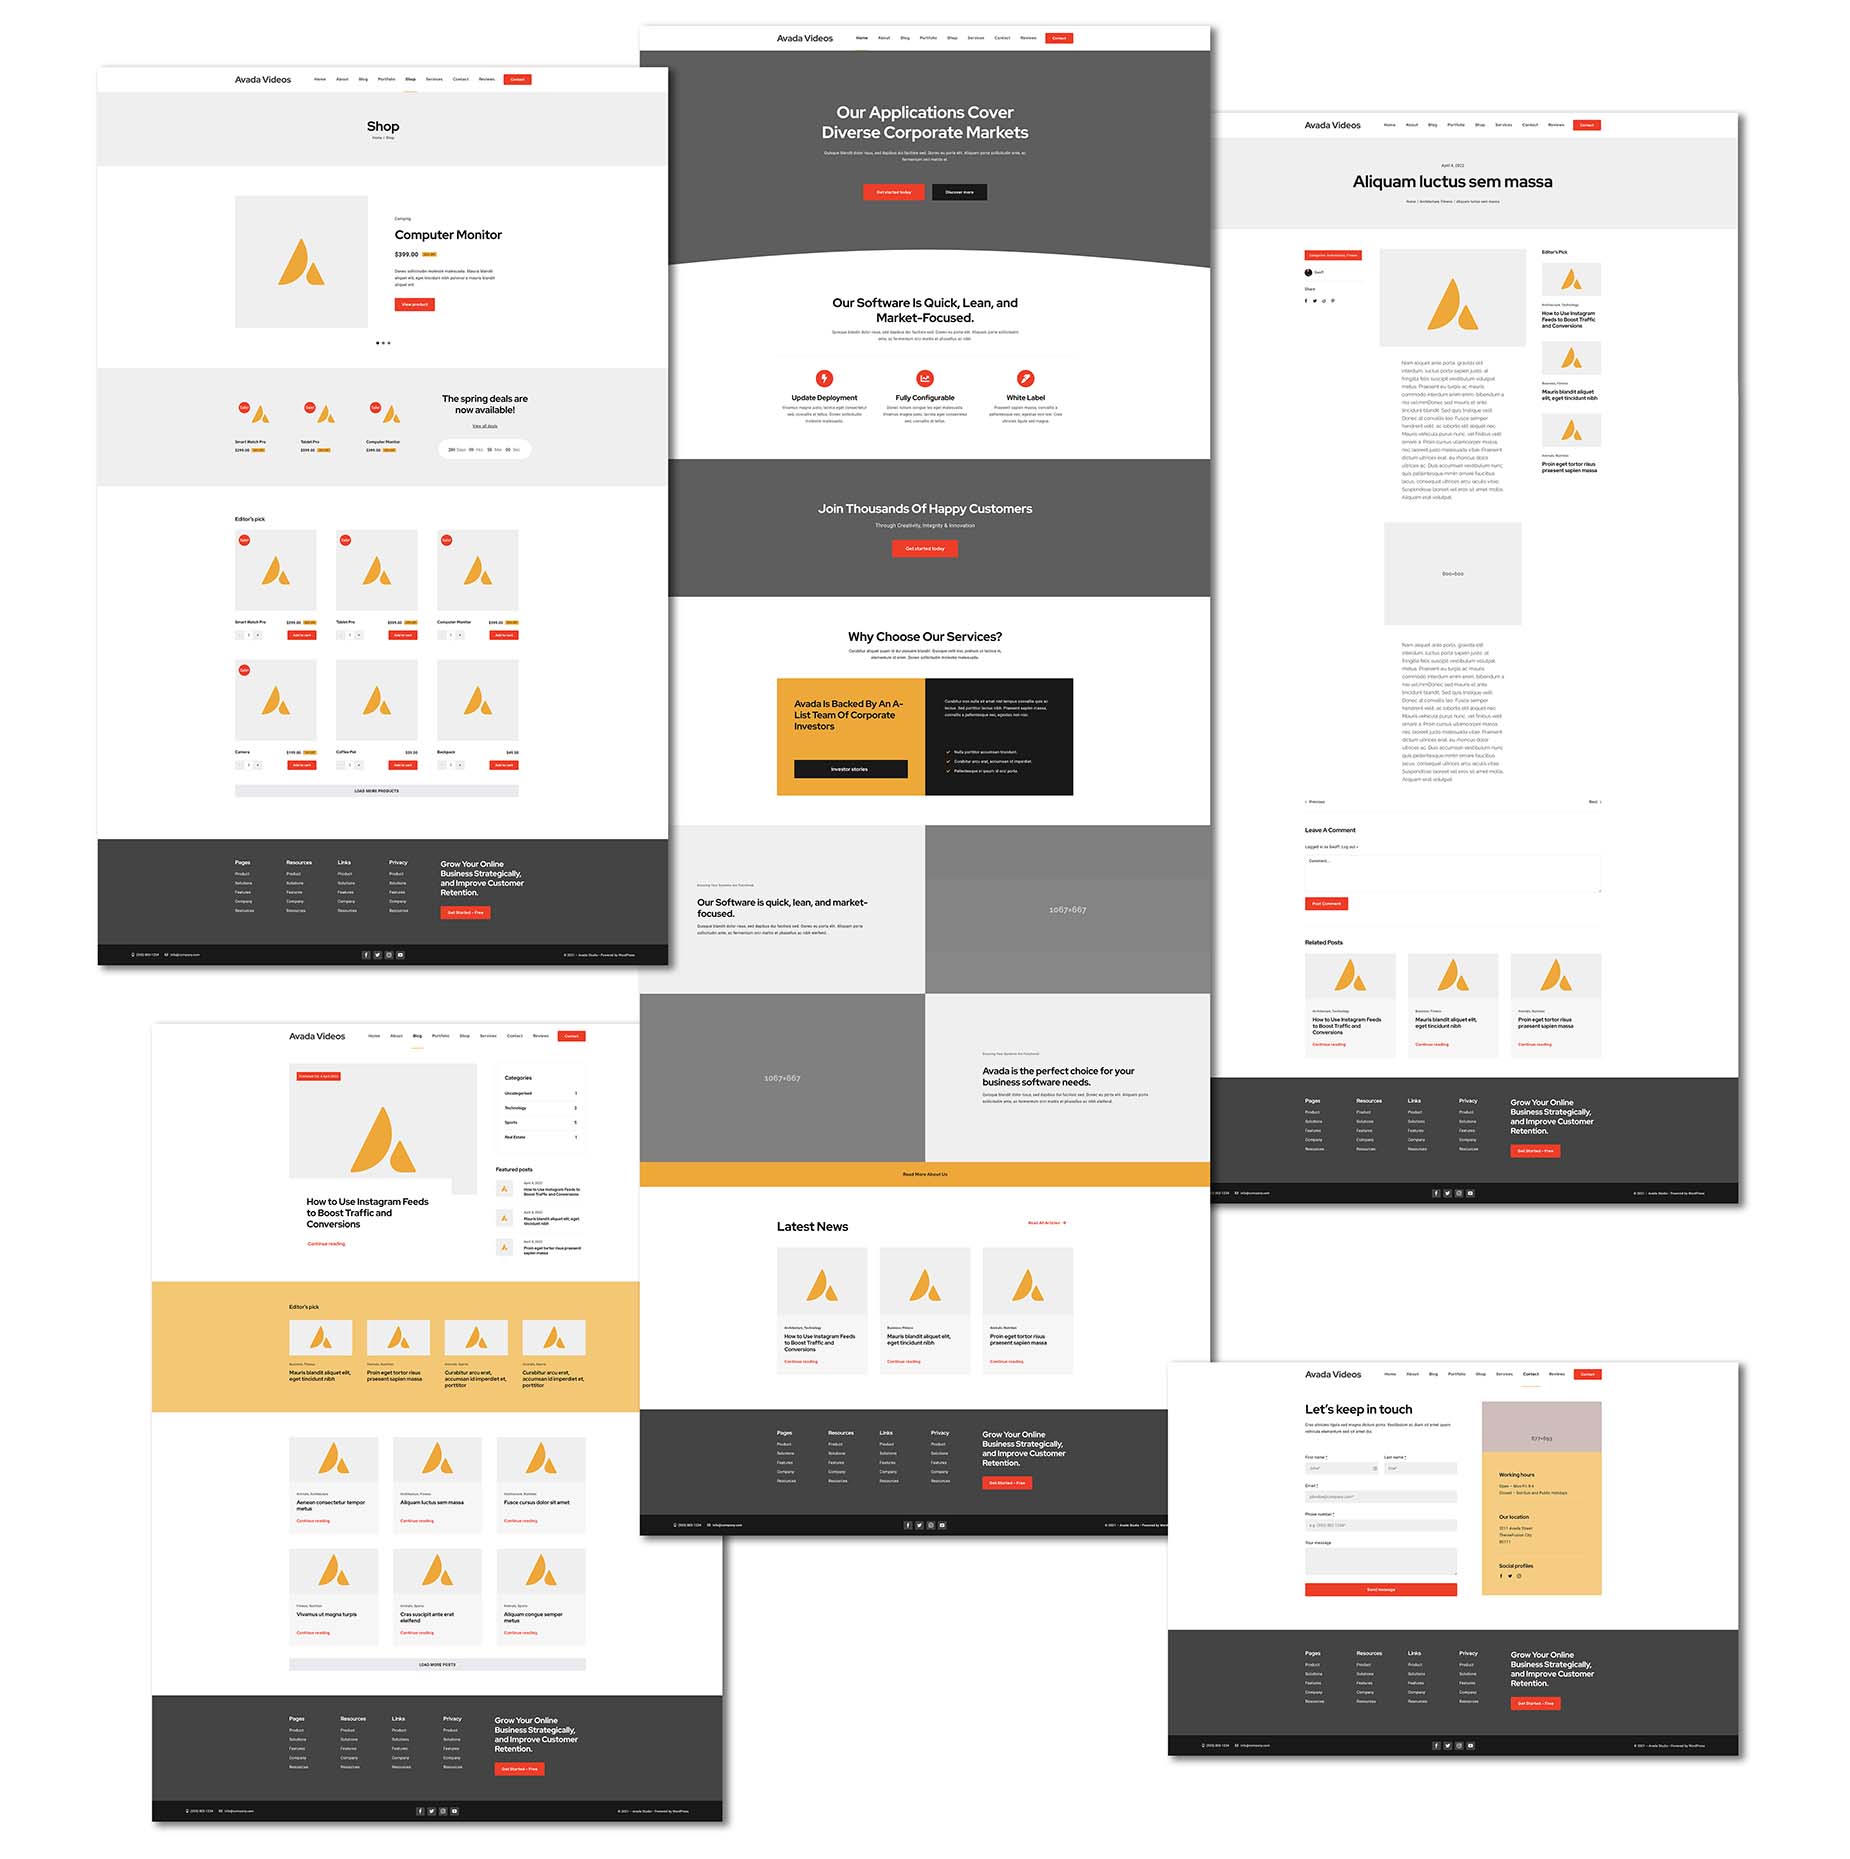
Result
If we look at a montage of the resultant website, we can see that it is fully functional, with Studio content and dummy content for blogs, portfolios, and shop items.
The Avada Setup Wizard can take less than five minutes to run, but provides you with a fully functional website, set up with your own color and typography choices, as well as all the additional features you might require. From this point, it’s a simple matter to customize the site, and these initial setup steps will save you hours.