An Overview of WooCommerce and Avada
Last Update: February 19, 2026
Avada is fully compatible with WooCommerce and includes a powerful WooCommerce Shop Builder. With Avada, you can create Conditional Layouts for your shop products and archives, and with the help of our large range of 150+ Avada Design and Layout Elements, you can directly customize your Shop, Cart, and Checkout pages. You can even design and create a custom Thank You Page for your users.
The combination of Avada + WooCommerce gives you the ultimate level of customizability and flexibility to design and build successful online stores. Read on to discover the basics of working with Avada and WooCommerce, and watch the video below for a visual overview.
How To Get Started: Install WooCommerce
Getting WooCommerce set up with Avada is straightforward, whether you’re starting a brand-new website or adding eCommerce functionality to an existing one. Avada offers multiple ways to install and configure WooCommerce, making it easy to launch a fully functional online store with the correct layouts and essential pages already in place.
The methods below walk you through the available installation methods so you can choose the approach that best fits your setup.
Method 1: Use The Avada Setup Wizard To Install WooCommerce
One way to get started with WooCommerce is to use the Avada Setup Wizard. If you choose an Avada Prebuilt Site that is set up with WooCommerce, it will be installed, including all required layouts and products.
Alternatively, if you create a new website using the Setup Wizard and add a Shop as one of the features, the Setup Wizard will again install the plugin and create the necessary Layouts and dummy products, so you have a functioning starter shop. In either situation, you will need to configure WooCommerce’s settings to fine-tune the Avada online store.
Method 2: Install The WooCommerce Plugin Via The Dashboard
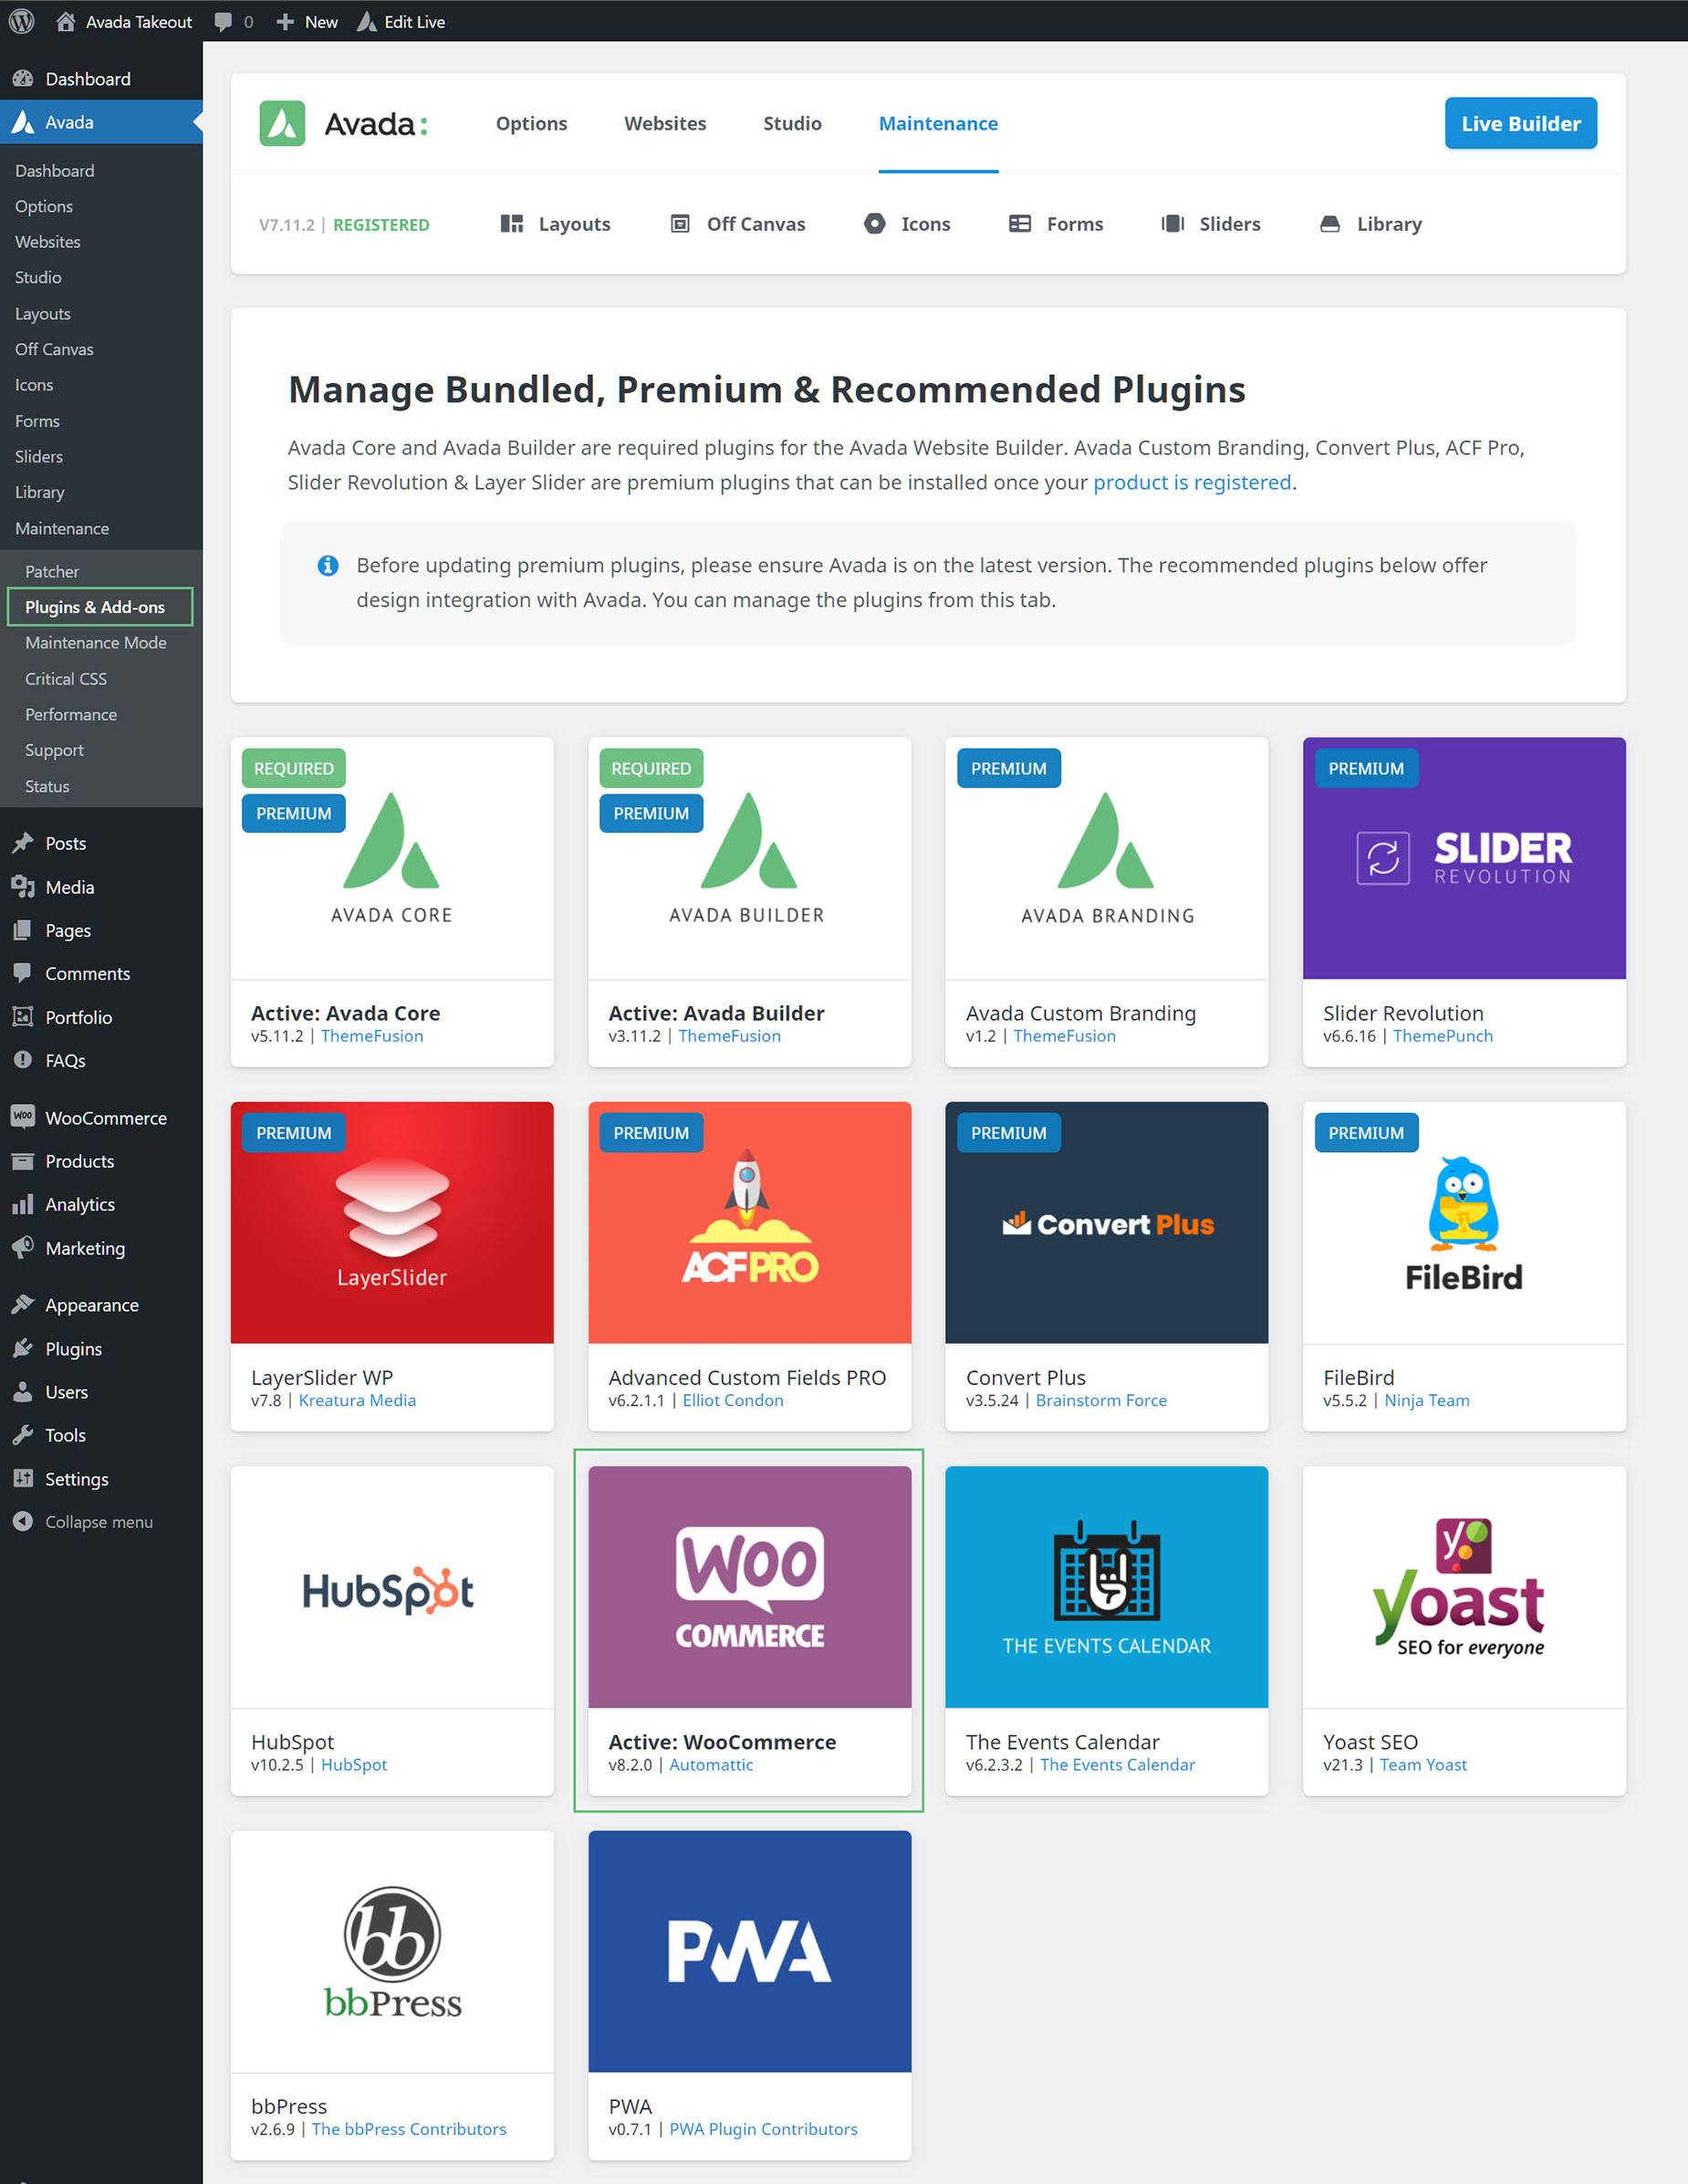
If you already have a website and want to add WooCommerce functionality, you just need to install the WooCommerce plugin via the Avada Dashboard. To do this, just head to Avada > Plugins and locate the WooCommerce plugin, as seen in the screenshot below. One click installs and activates the plugin.
WooCommerce will create several pages as part of this process – the Cart, Checkout, My Account, Shop, and a draft Refund and Returns Policy page.
How To Start Creating Products
Once you have installed WooCommerce, you need some products to work with. If you have used the Avada Setup Wizard and left the dummy content option ticked, you will already have dummy products set up. Products are created or edited from the WordPress sidebar, under Products. This is a custom post type, like blogs, portfolios, and FAQs. In the same way, you can add categories, tags, and other attributes.
You can use the Avada Builder for your products, but, as with blog posts, we recommend adding raw data to your products and creating a conditional Layout to control their design. See the Layouts For Single Products & Archives section below for more information on that.
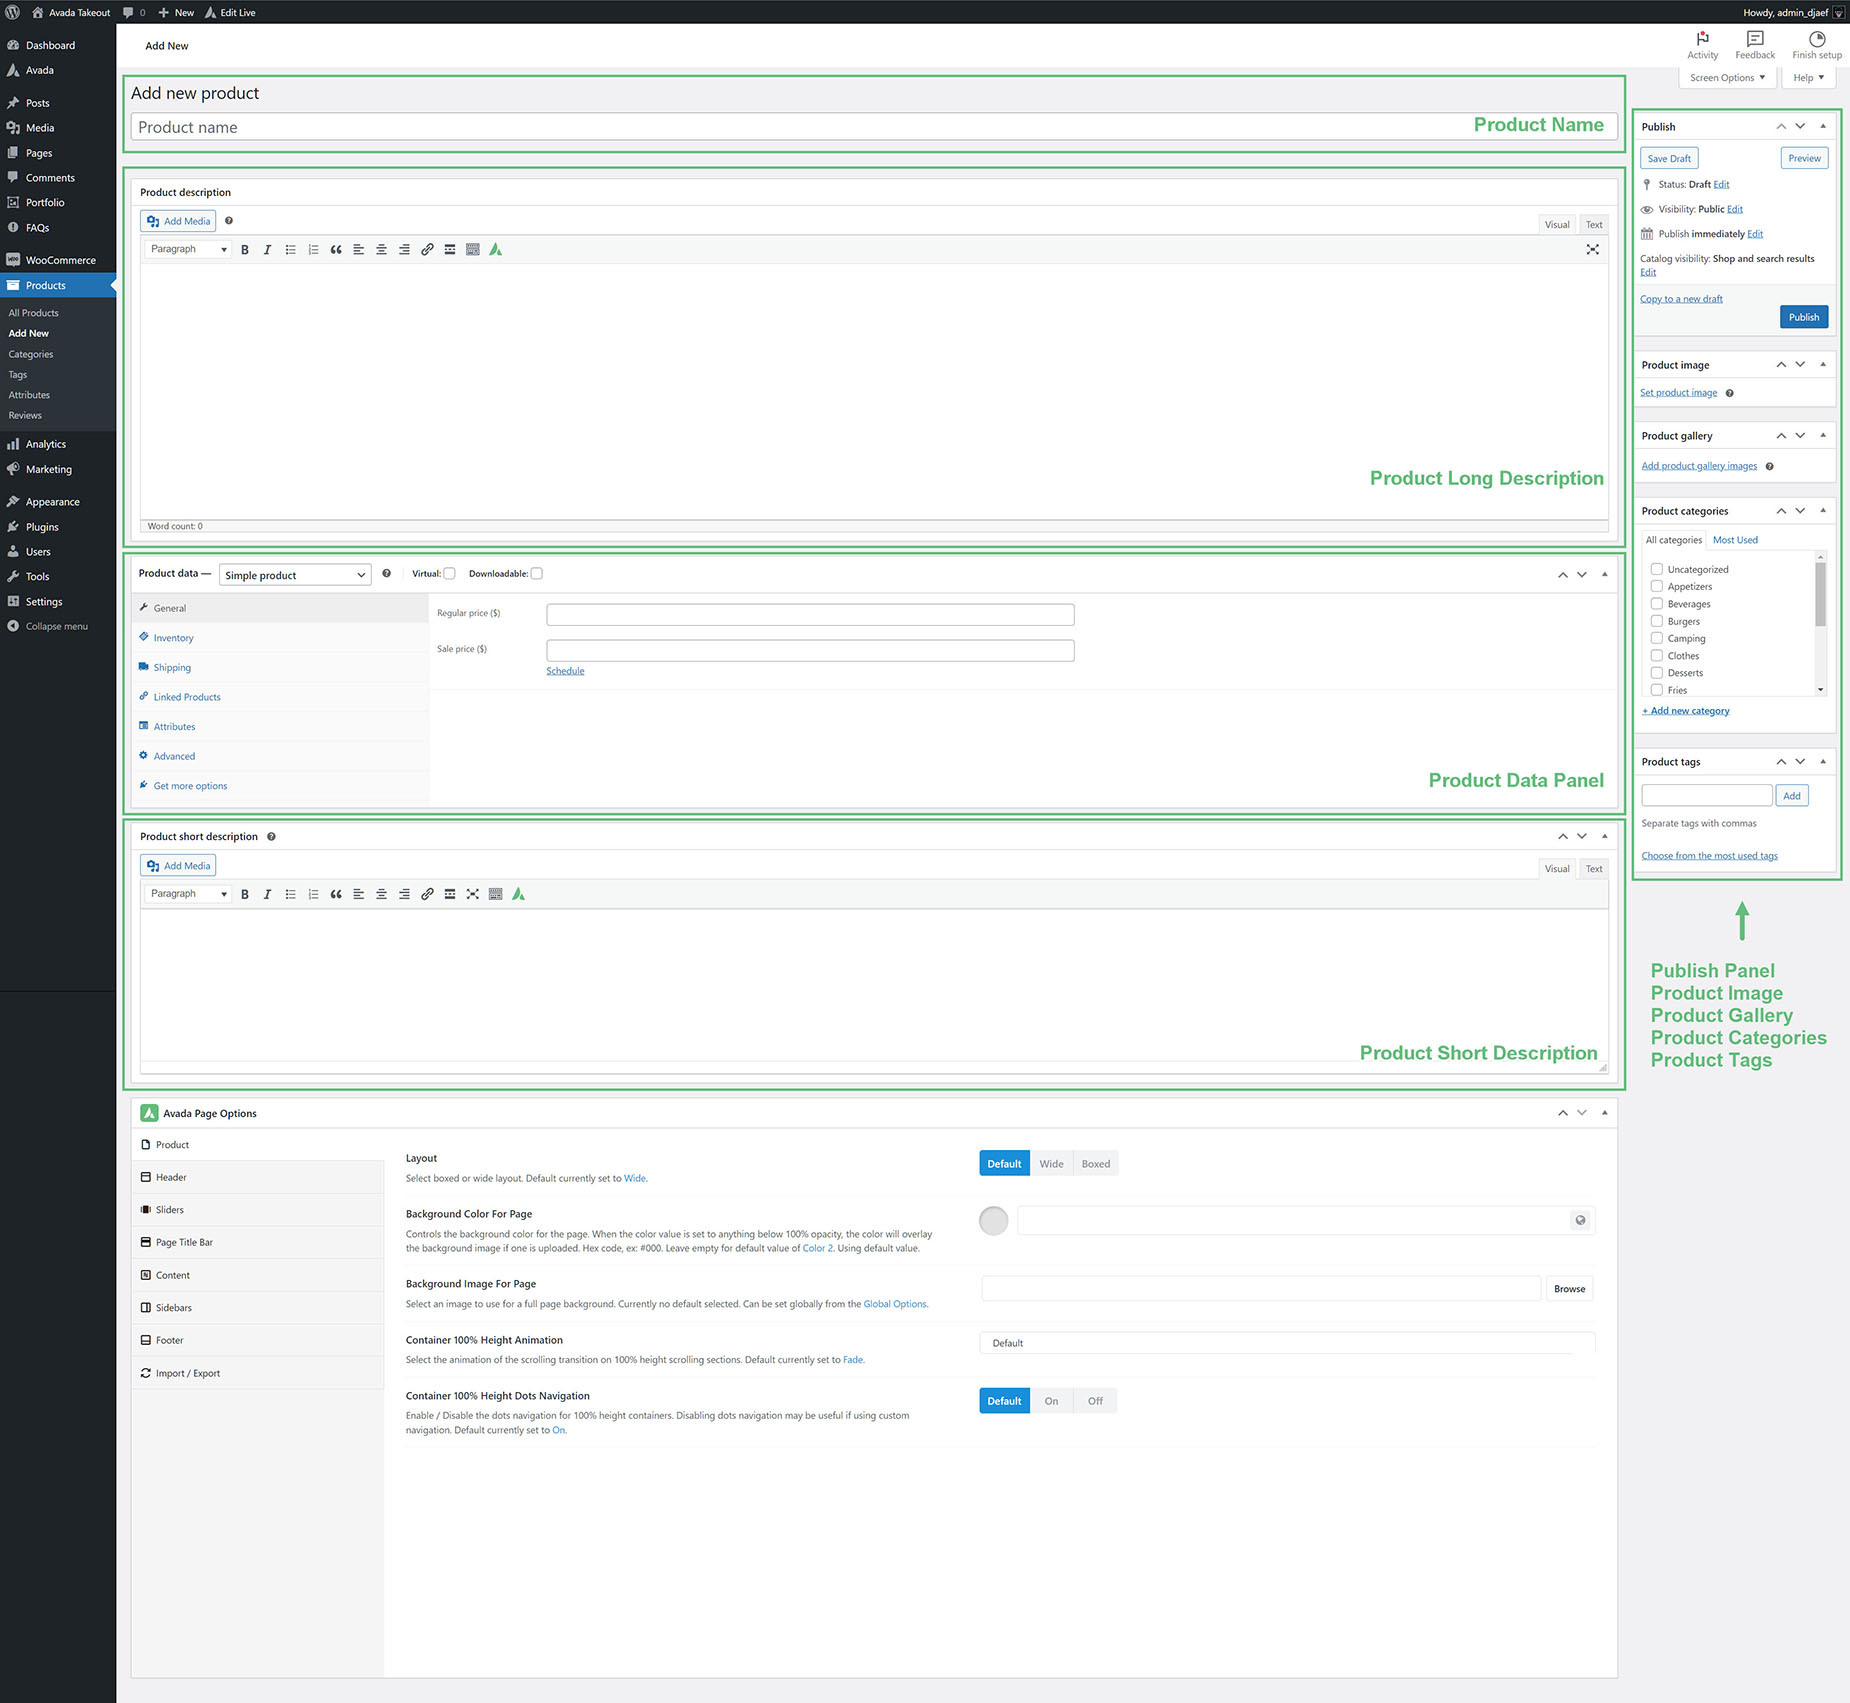
In the screenshot below, you can see the various areas of the WooCommerce products interface. There is enormous flexibility in how WooCommerce Products can be set up, and WooCommerce is very extensible, with a large range of premium add-on plugins available. See the Woo Commerce Documentation.
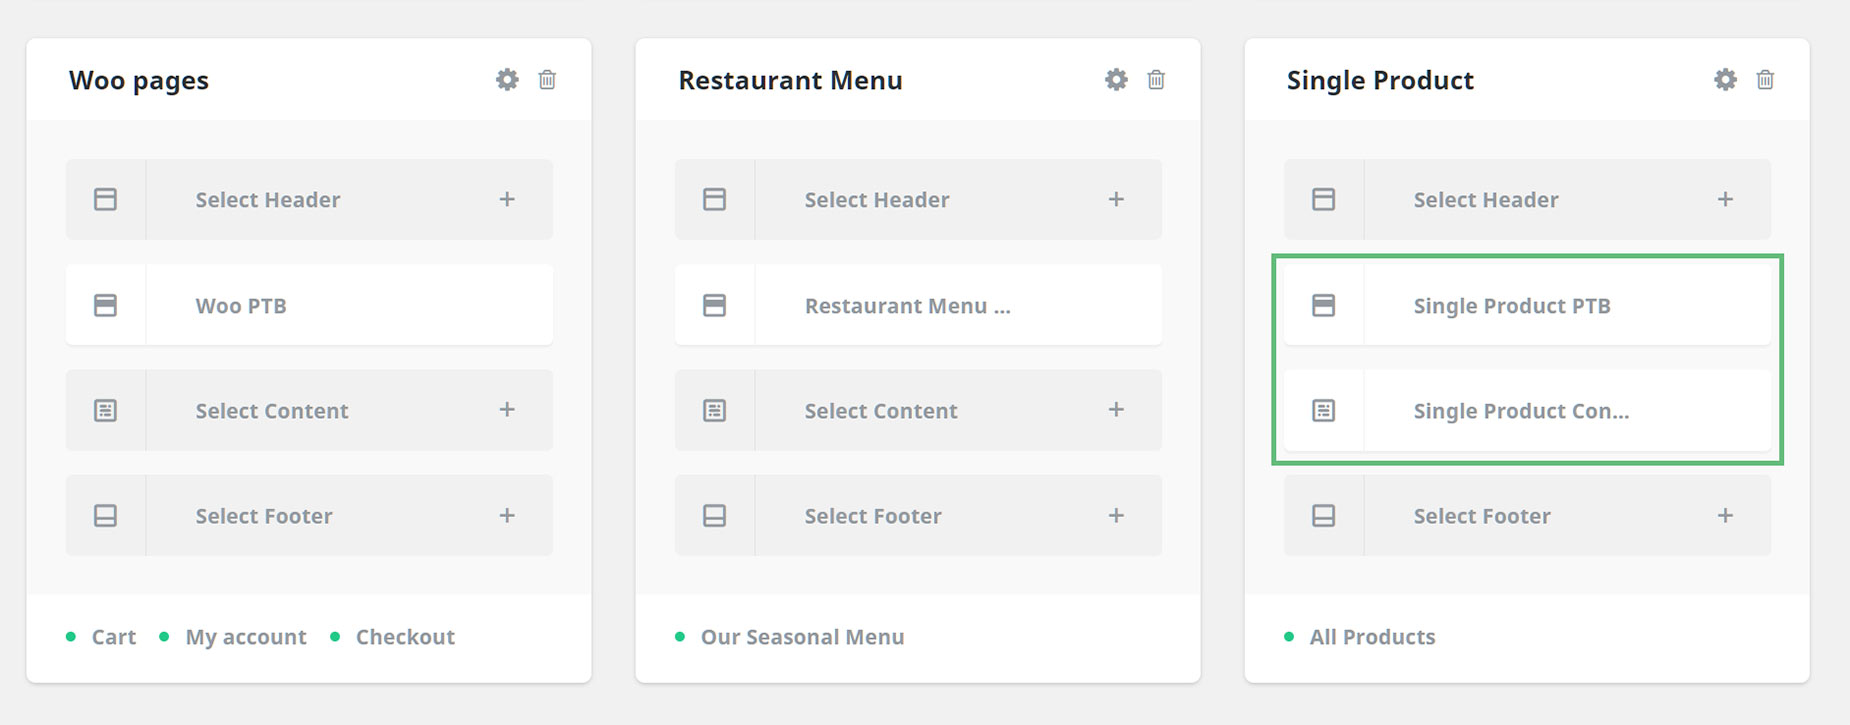
Layouts for Single Products & Archives
With Avada, you can create a conditional layout (template) for your individual WooCommerce single products and archives. This allows you to use the Avada Builder for ultimate freedom in designing your individual product pages. For a full rundown of how to create layouts for products, see the Avada WooCommerce Builder – Product Layouts help file and video for more information.
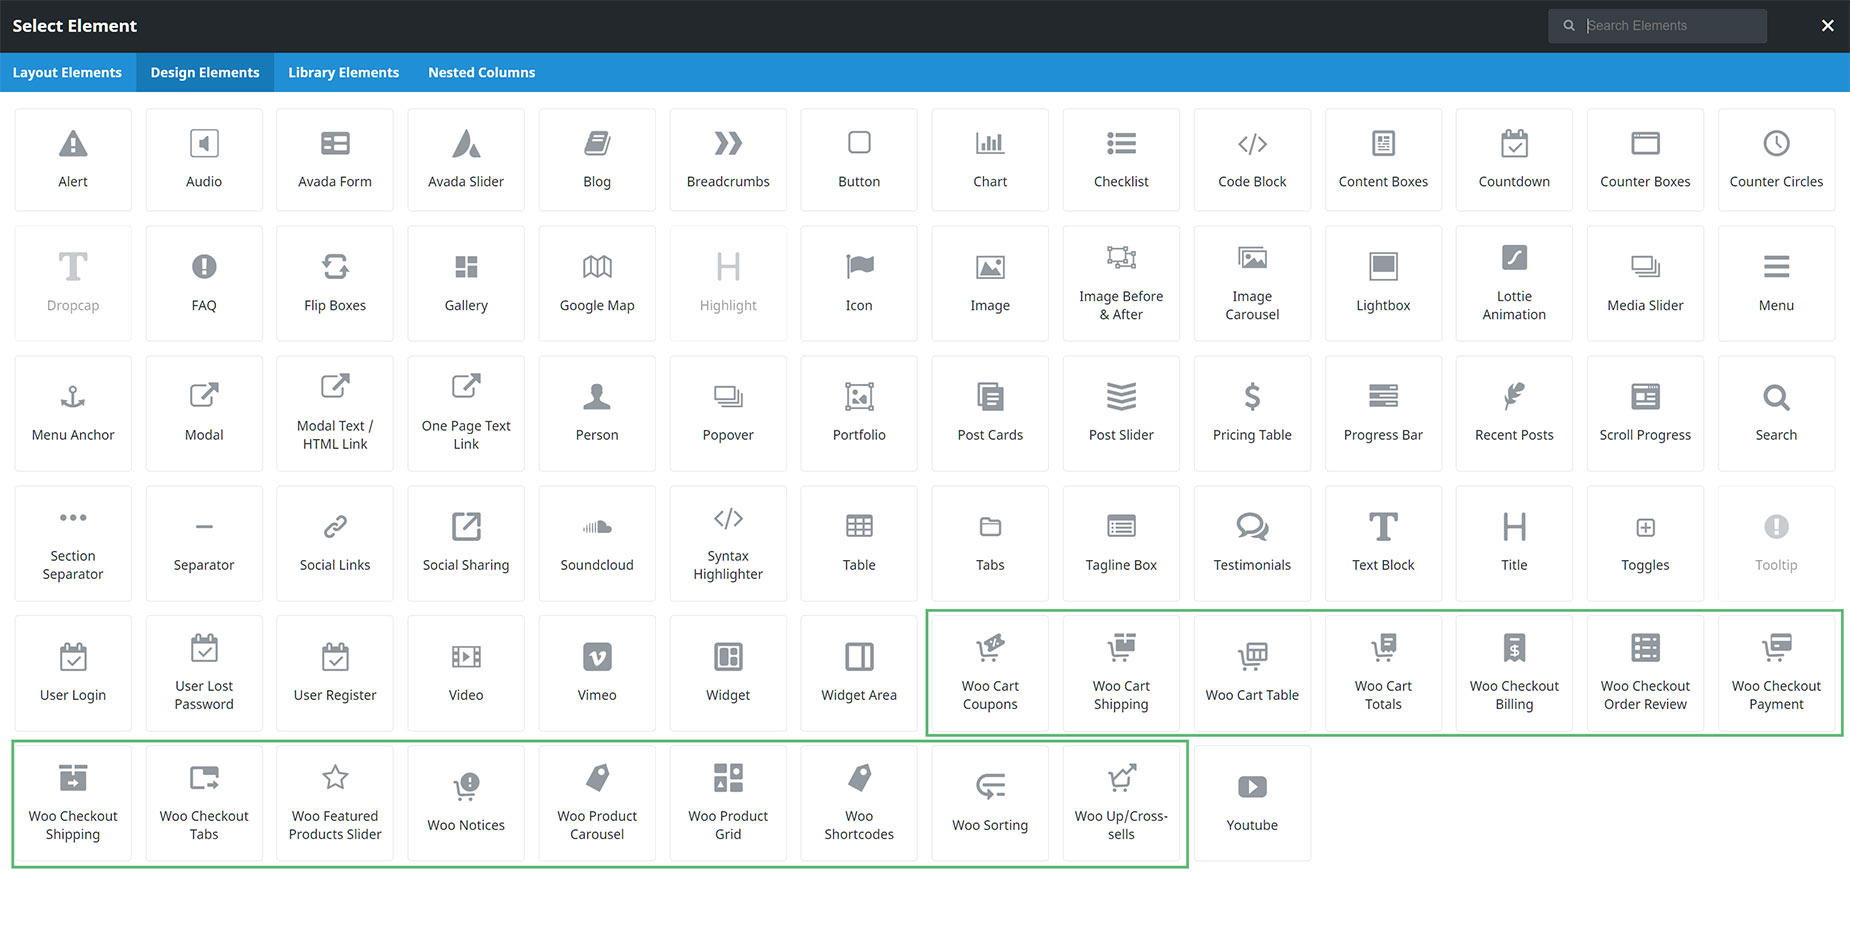
Avada Woo Layout Elements
To assist with this process, Avada provides a wide range of dedicated Avada WooCommerce Elements to pull the required WooCommerce data into your design. See the How To Use The Avada Layout Elements help file for a rundown of each of these Elements and where they are available.
Customizing The Shop, Cart & Checkout Pages
Unlike the products and archives, you can edit the shop, cart, and checkout pages directly (as there is only one of each). Taking this approach allows you to fully customize your customer purchase flow, with complete design freedom in the Avada Builder rather than the default WooCommerce templates.
See the Avada WooCommerce Builder Shop, Cart & Checkout help files for full details on this process.
Avada Woo Design Elements
Besides the Avada Woo Layout Elements, which are only available when editing Content Layout Sections, the Avada Woo Design Elements are available on any page and allow you to pull specific WooCommerce data anywhere on your site. There are Elements specifically designed to be used on the Shop, Cart, and Checkout pages, but you can, of course, use these Elements anywhere you prefer.
See the Avada Design Elements vs Layout Elements help file for clarification on these two different types of Elements, and the Avada Builder Elements help file for links to each and every Avada Woo Element.
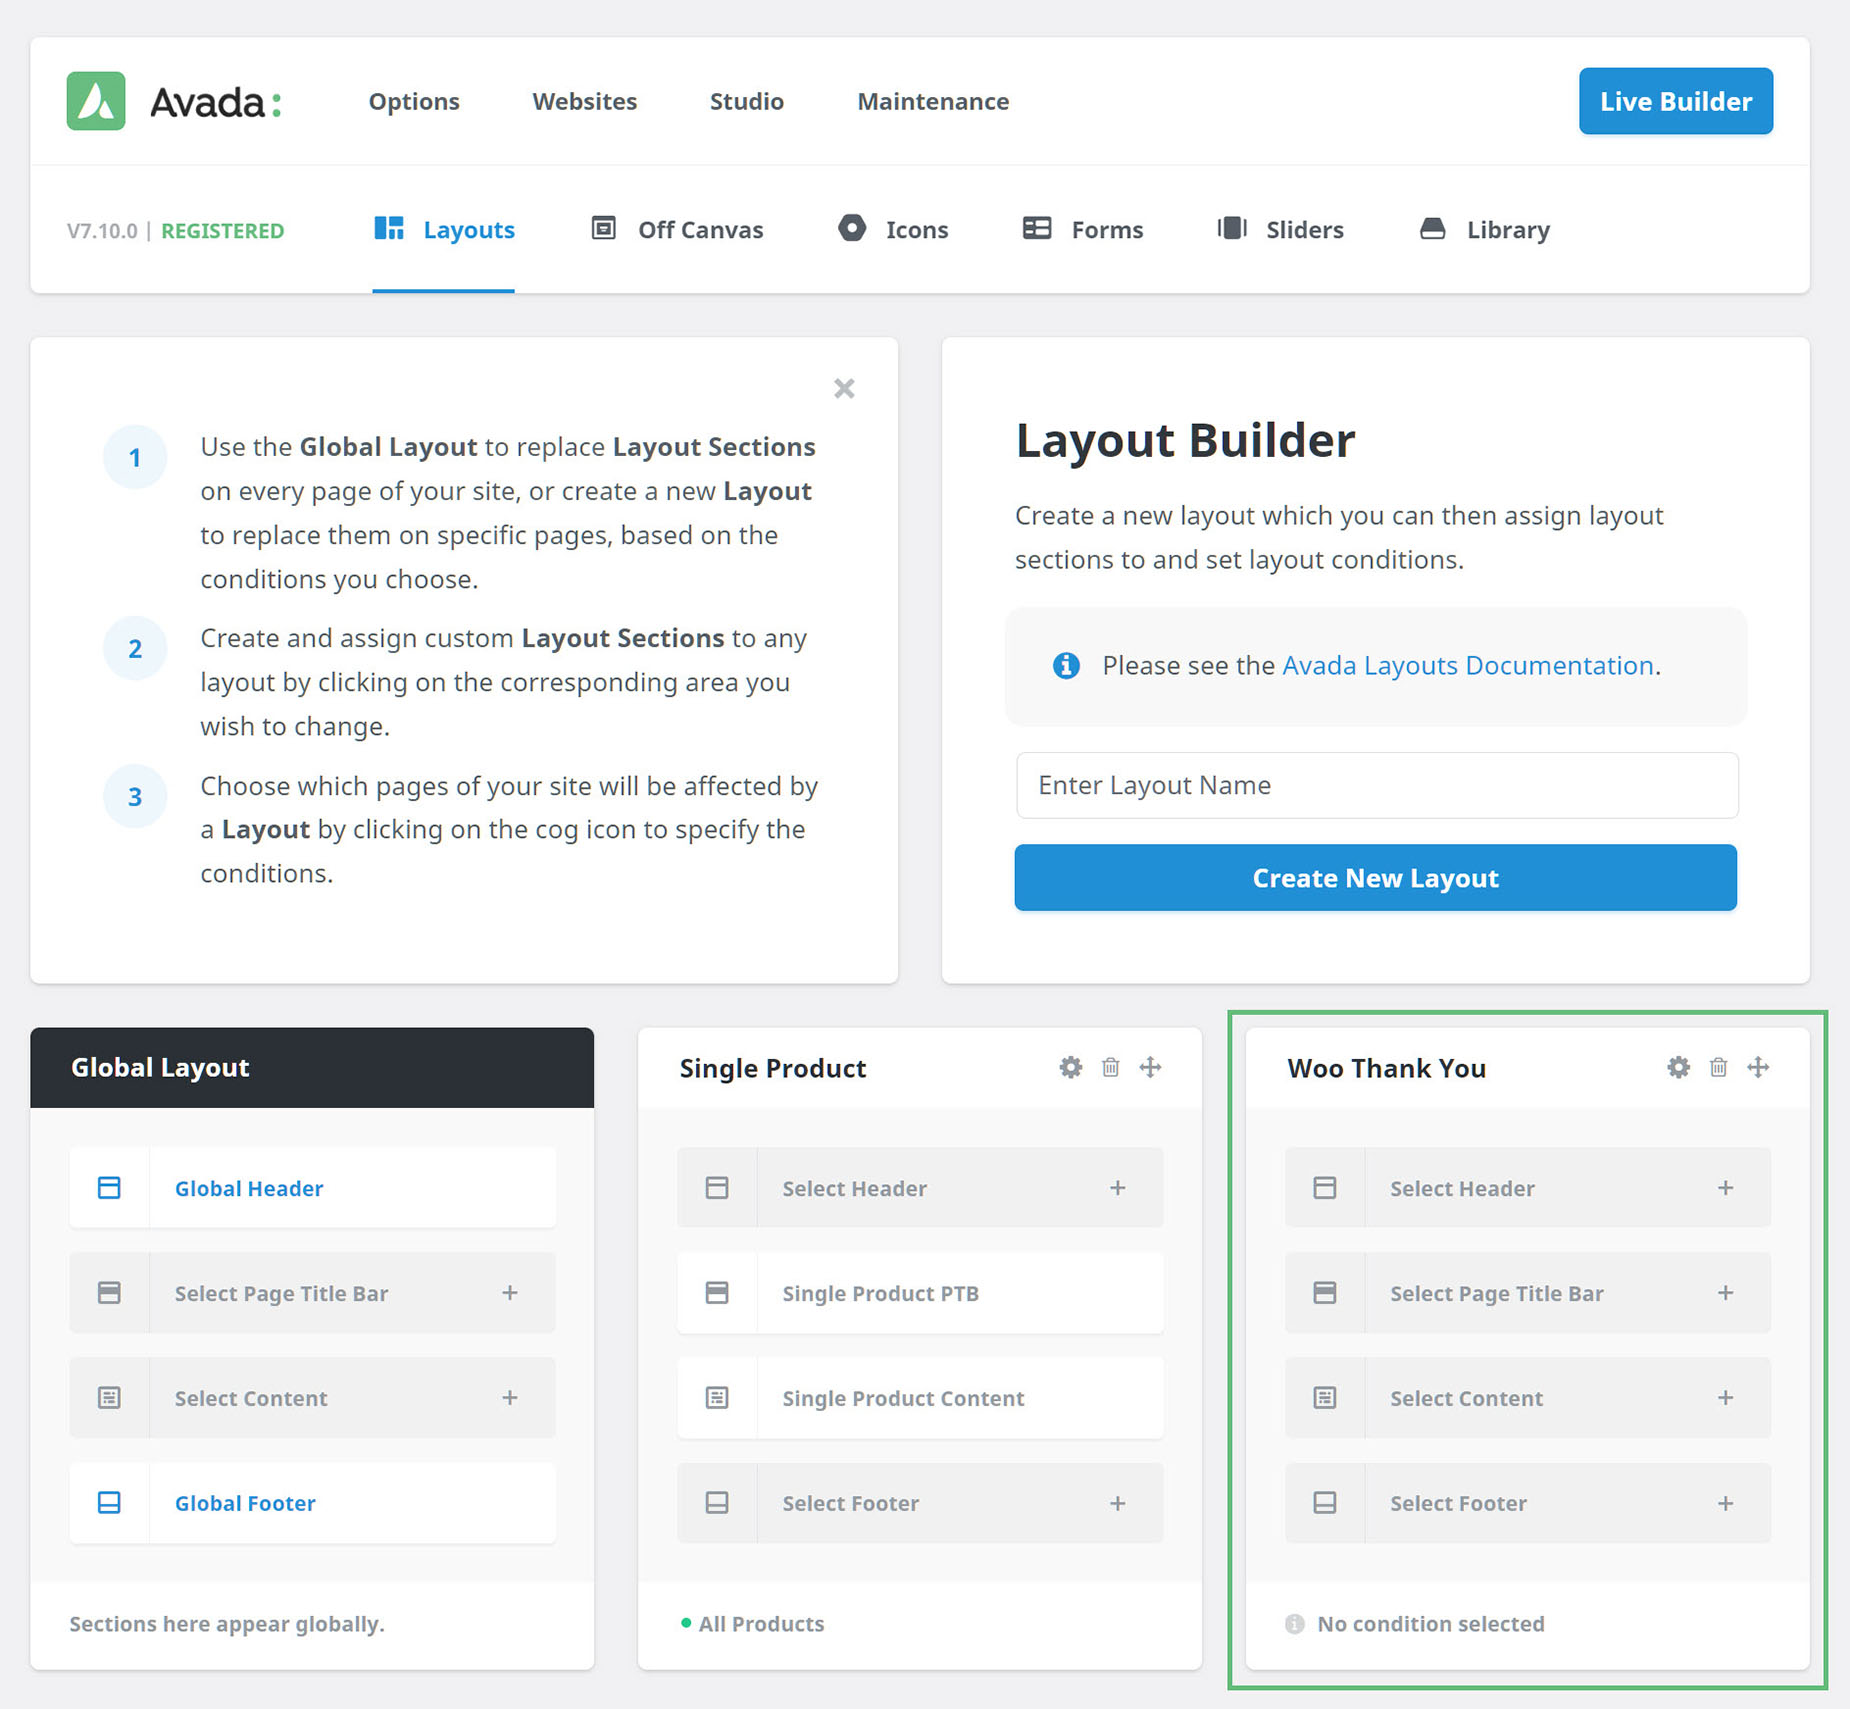
Woo Thank You Page Layout
With Avada, you can build your own custom Woo Thank You page for your clients. This is achieved by adding a conditional layout, choosing the Woo Thank You page, and then customizing a Content Layout Section for that page. See the How To Create a Custom WooCommerce Thank You Page help file for a step-by-step rundown.
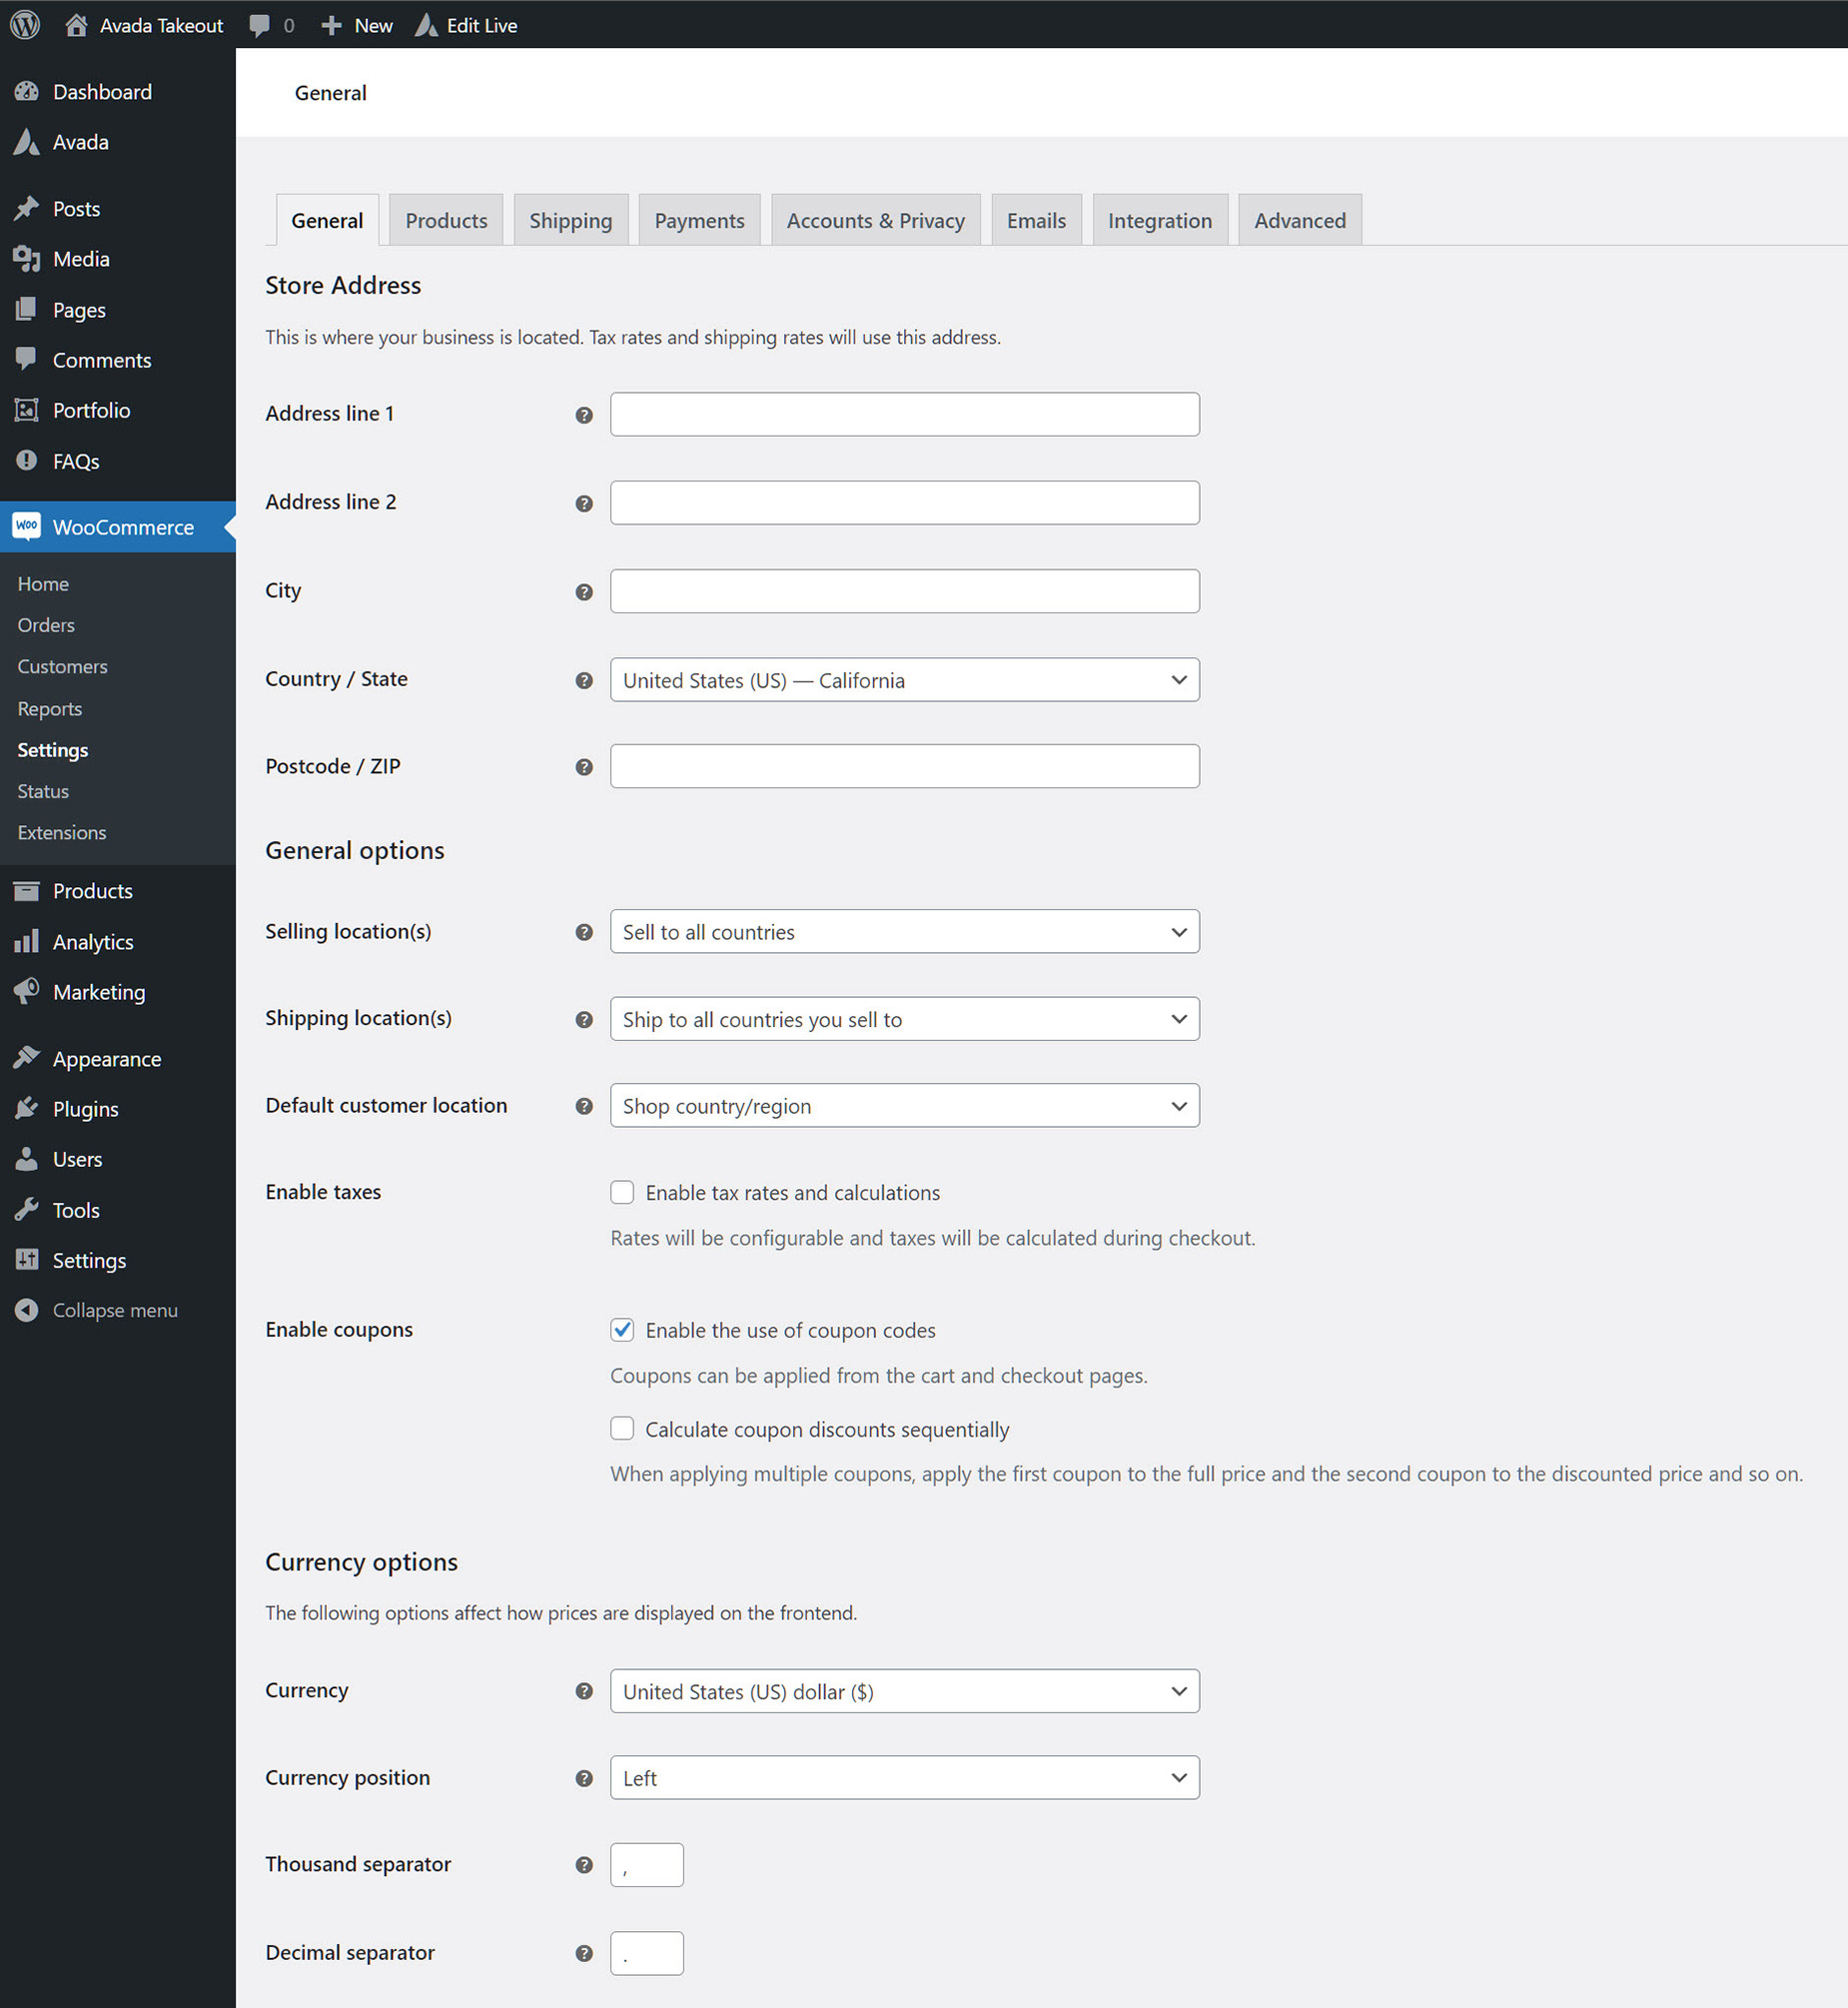
General WooCommerce Settings
For a functional shop, you will also need to configure the WooCommerce Settings. The WooCommerce Settings are accessed from the WordPress Sidebar, at WooCommerce > Settings. Here, you will find a range of settings for the products, shipping, payments, and more.
Building an Online Store With Avada
See the video below for a full runthrough of adding an online store to an Avada website.


