The Avada WooCommerce Builder – Cart
Last Update: February 18, 2026
Avada is a website builder for WordPress and eCommerce. You can design and build anything from a blog to a marketing website or eCommerce stores using the Avada WooCommerce Builder and more. Avada provides a wide range of WooCommerce features, allowing you to design and build a custom customer flow for your online shop. From using Avada Layouts for individual WooCommerce Products to creating a custom shop, cart, checkout, and product layouts, all using the design flexibility and power of Avada and the extended range of Woo Design and othe Avada Design & Layout Elements.
In this help file, we look at how to create a custom layout for your WooCommerce cart page. See below for links to customize the other main areas of WooCommerce, and watch the video below for a visual overview of the process for creating a custom cart layout.
No Custom Layout Necessary
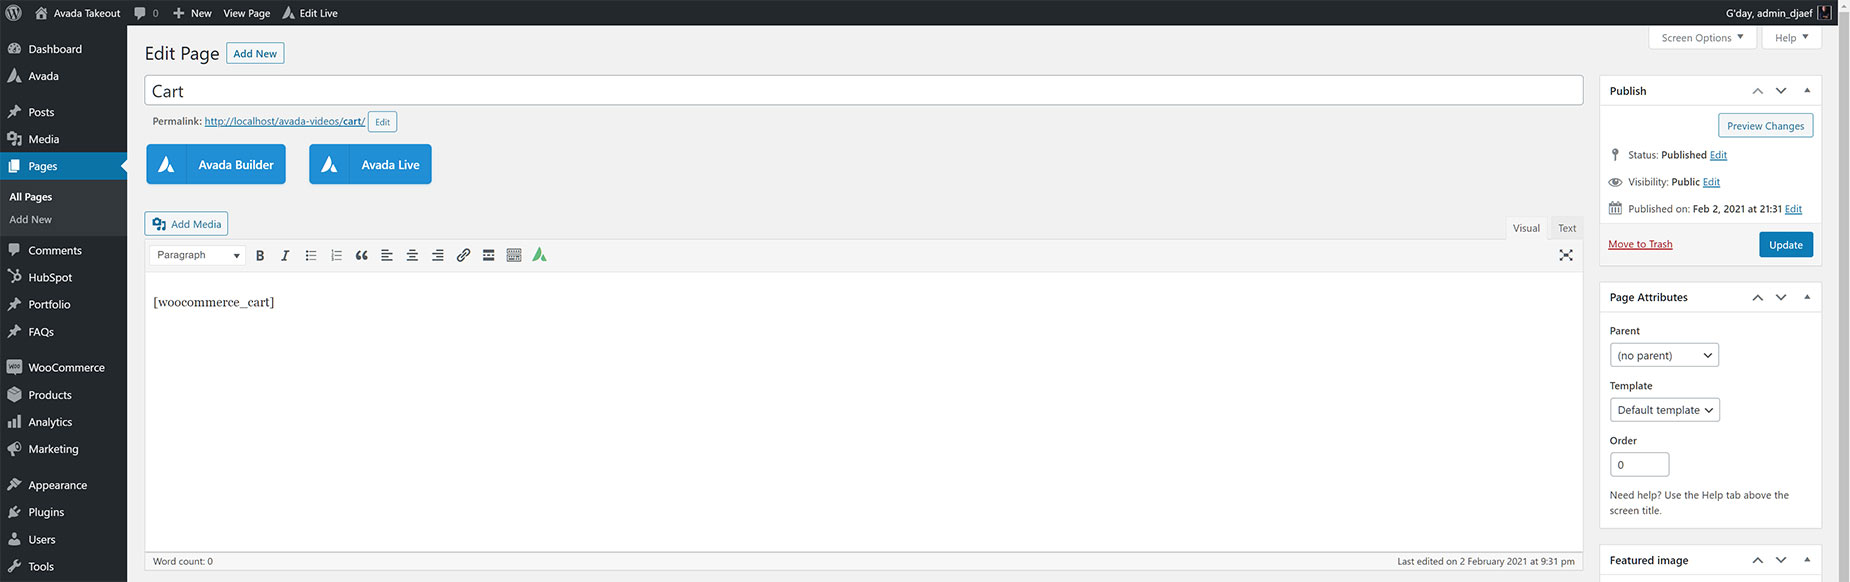
Unlike the process of creating a template for individual WooCommerce products, there is no need to create an Avada Layout when building a custom WooCommerce Cart page. When you install WooCommerce, the Cart & Checkout pages are automatically created and populated with their respective WooCommerce Shortcodes.
All you have to do to create a custom Cart page in Avada, is to directly edit the assigned Cart page, remove the Woo Cart Shortcode, and start designing and building your page using your preferred interface of the Avada Builder, and your choice of Woo Cart and other Avada Design Elements.
Designing The Cart Page
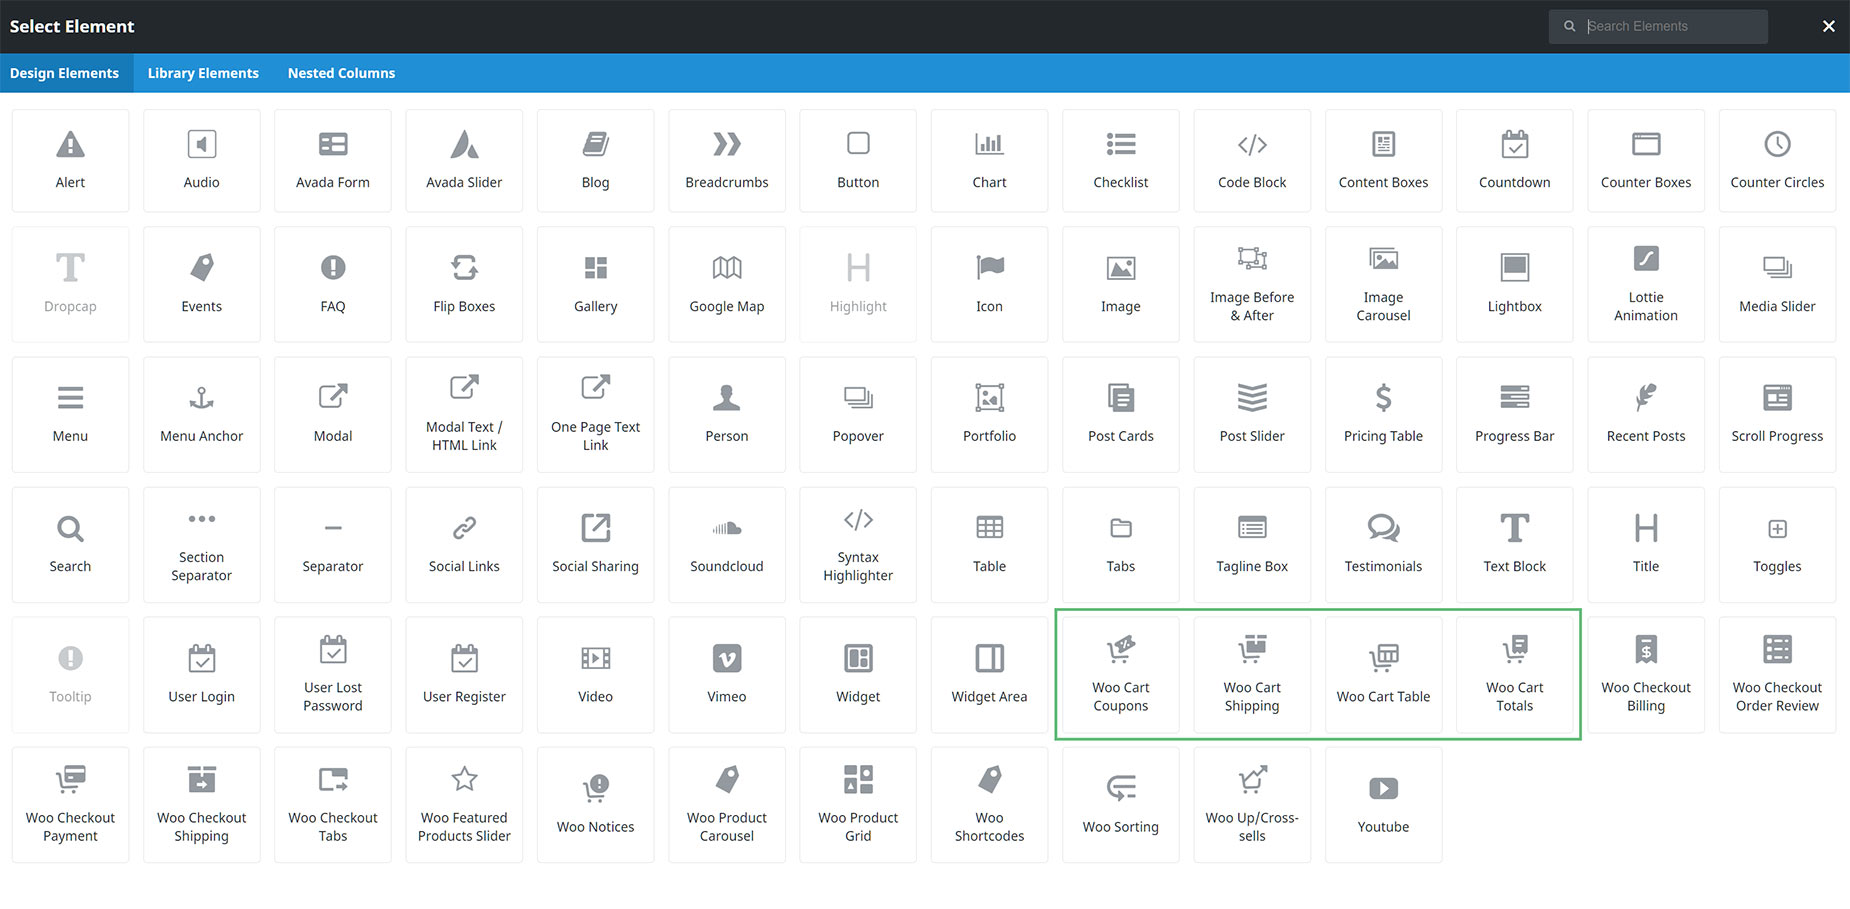
Using Avada WooCommerce Builder allows you to create any design you want for your WooCommerce Cart page. Start with a Container / Column arrangement, and when you add your first Element, you will see the available Woo Design Elements at the bottom of the Elements dialog, as seen in the screenshot below. There are four specific Avada Woo Cart Elements – Woo Cart Coupons, Woo Cart Shipping, Woo Cart Table, and Woo Cart Totals, which together with the Woo Notices Element, recreate the standard WooCommerce cart functionality.
The real magic of using the Avada WooCommerce Builder to build your Cart page is that you can add these Elements in whatever structure and order you wish, and have complete creative control over the design and content of the page. You might want a Slider or a Page Title Bar at the top, and other Elements from the Woo ones, like the Title, Separator, or any other Elements that fit your circumstances and design ideas. It’s completely up to you.
Example of a Custom Cart Page
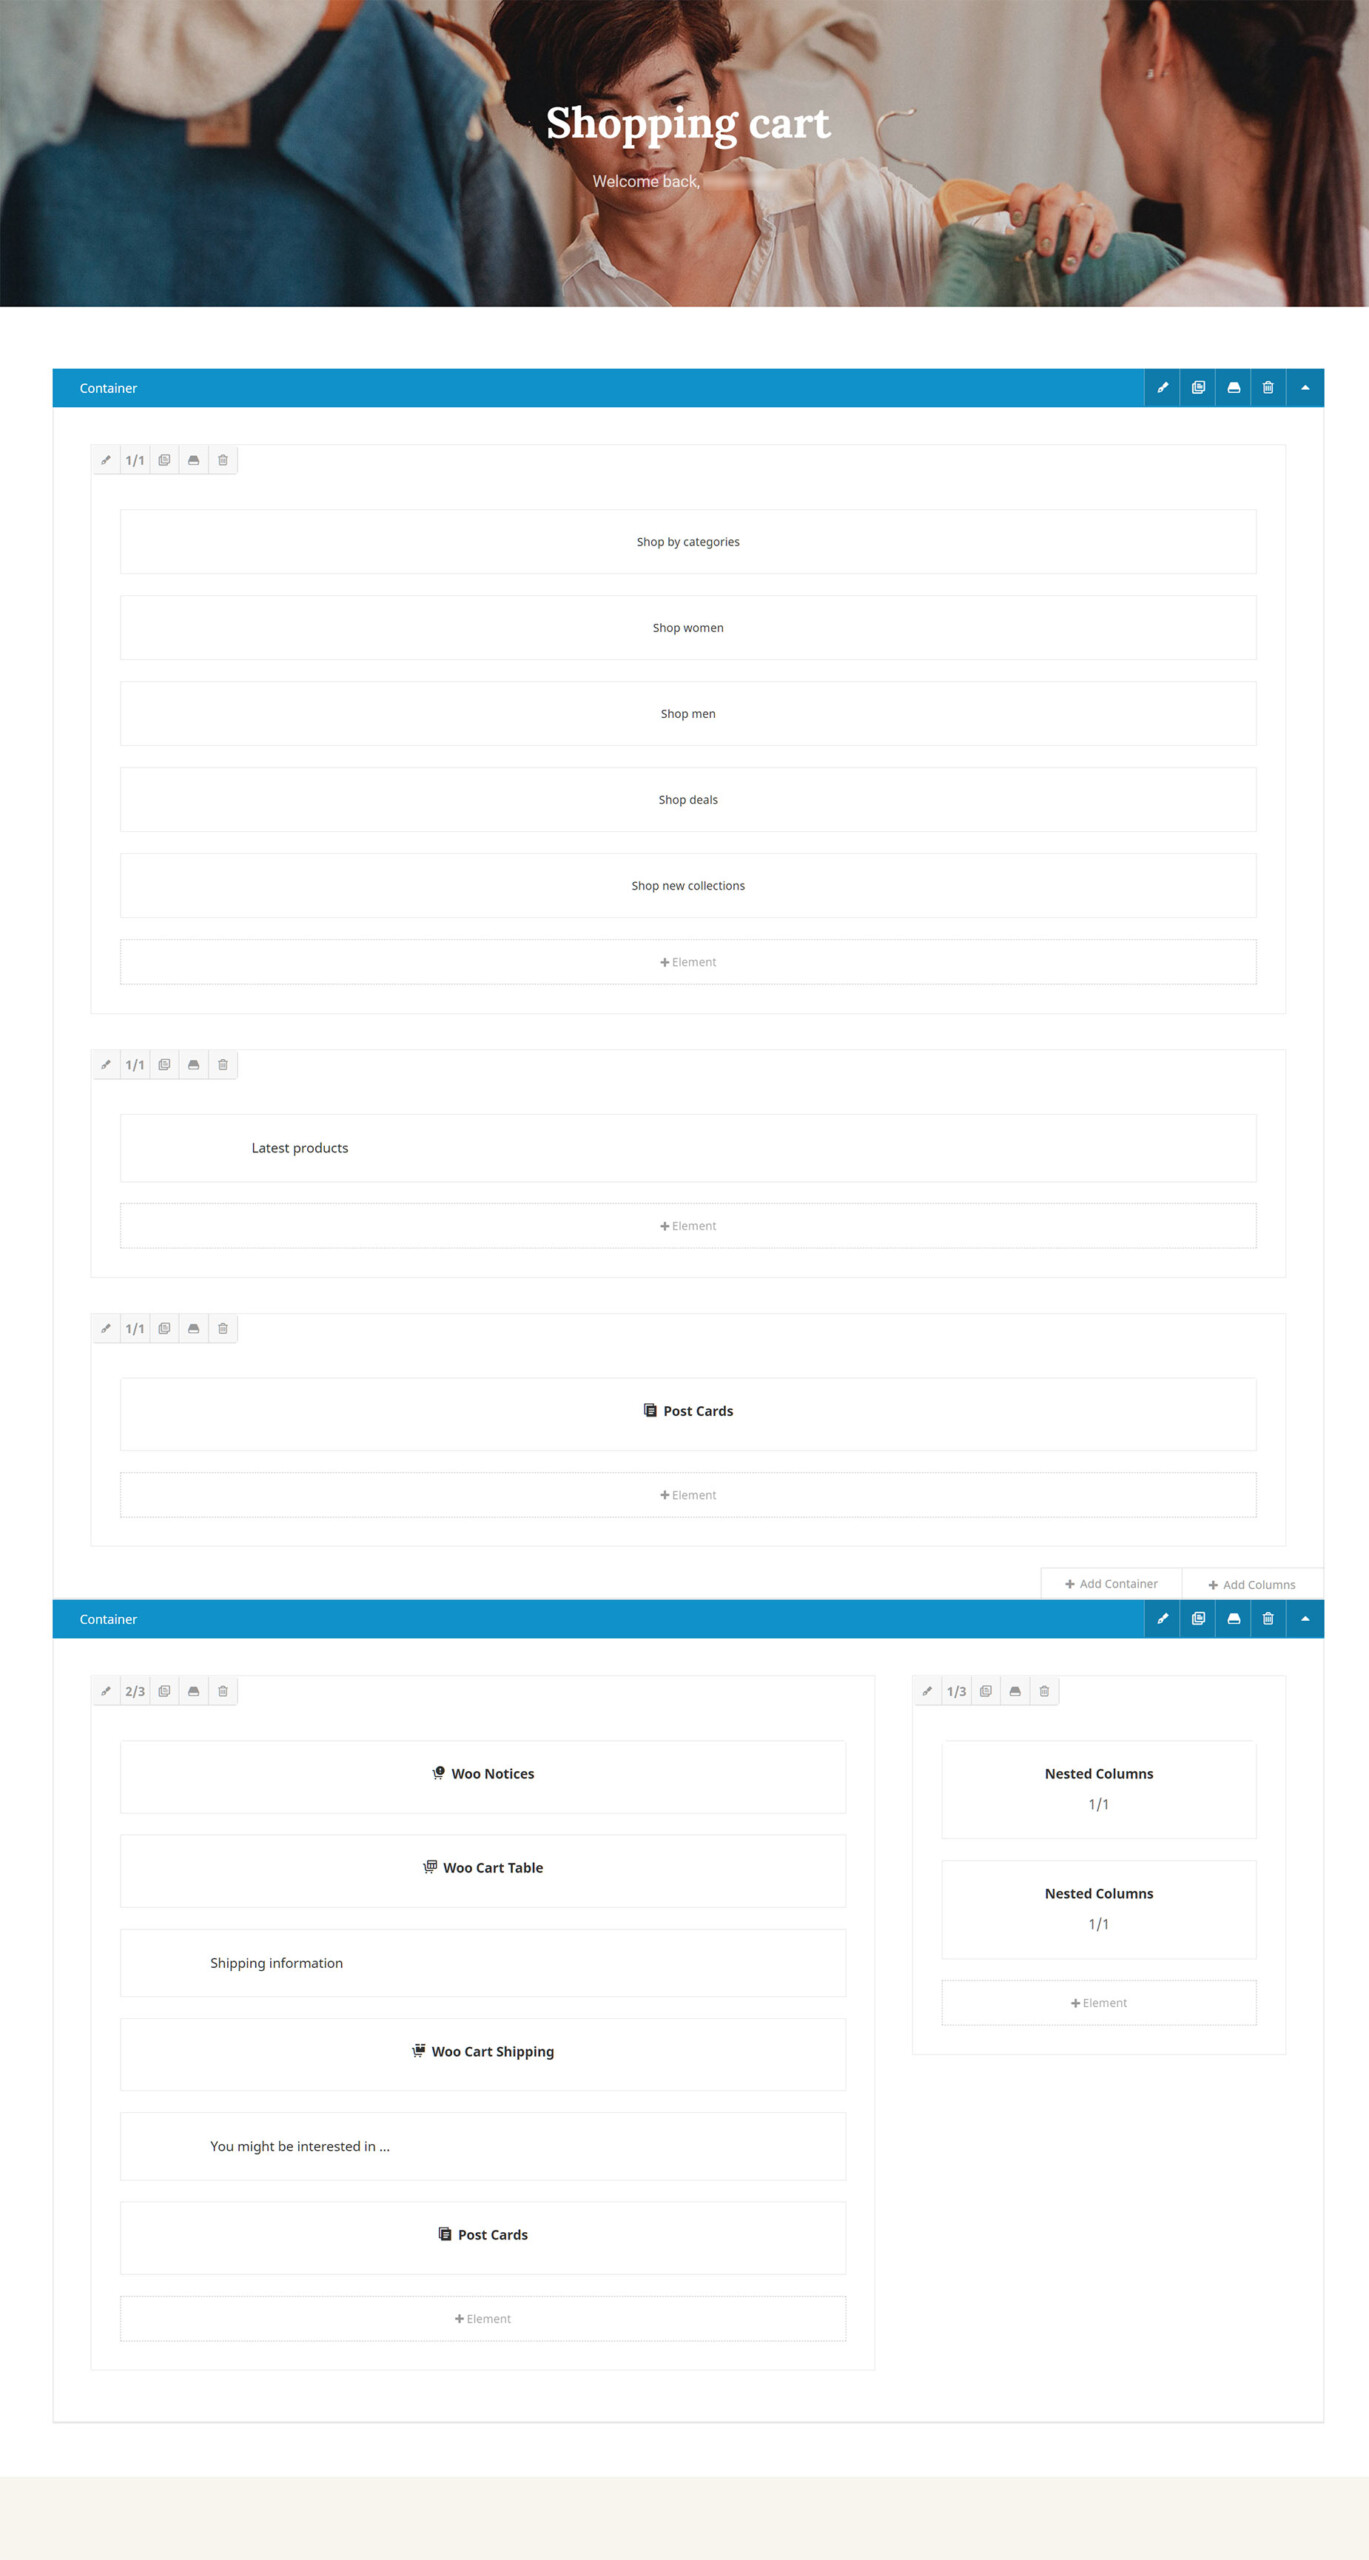
Using the Avada Retail prebuilt website, you can see an example of a WooCommerce Cart Page. There are two Avada Containers, which both have Conditional Element Rendering applied to them. When the Cart is empty, the first Container displays. When there are products in the cart, this Container does not render, and the second container, with all the Woo Cart Elements, renders in its place.
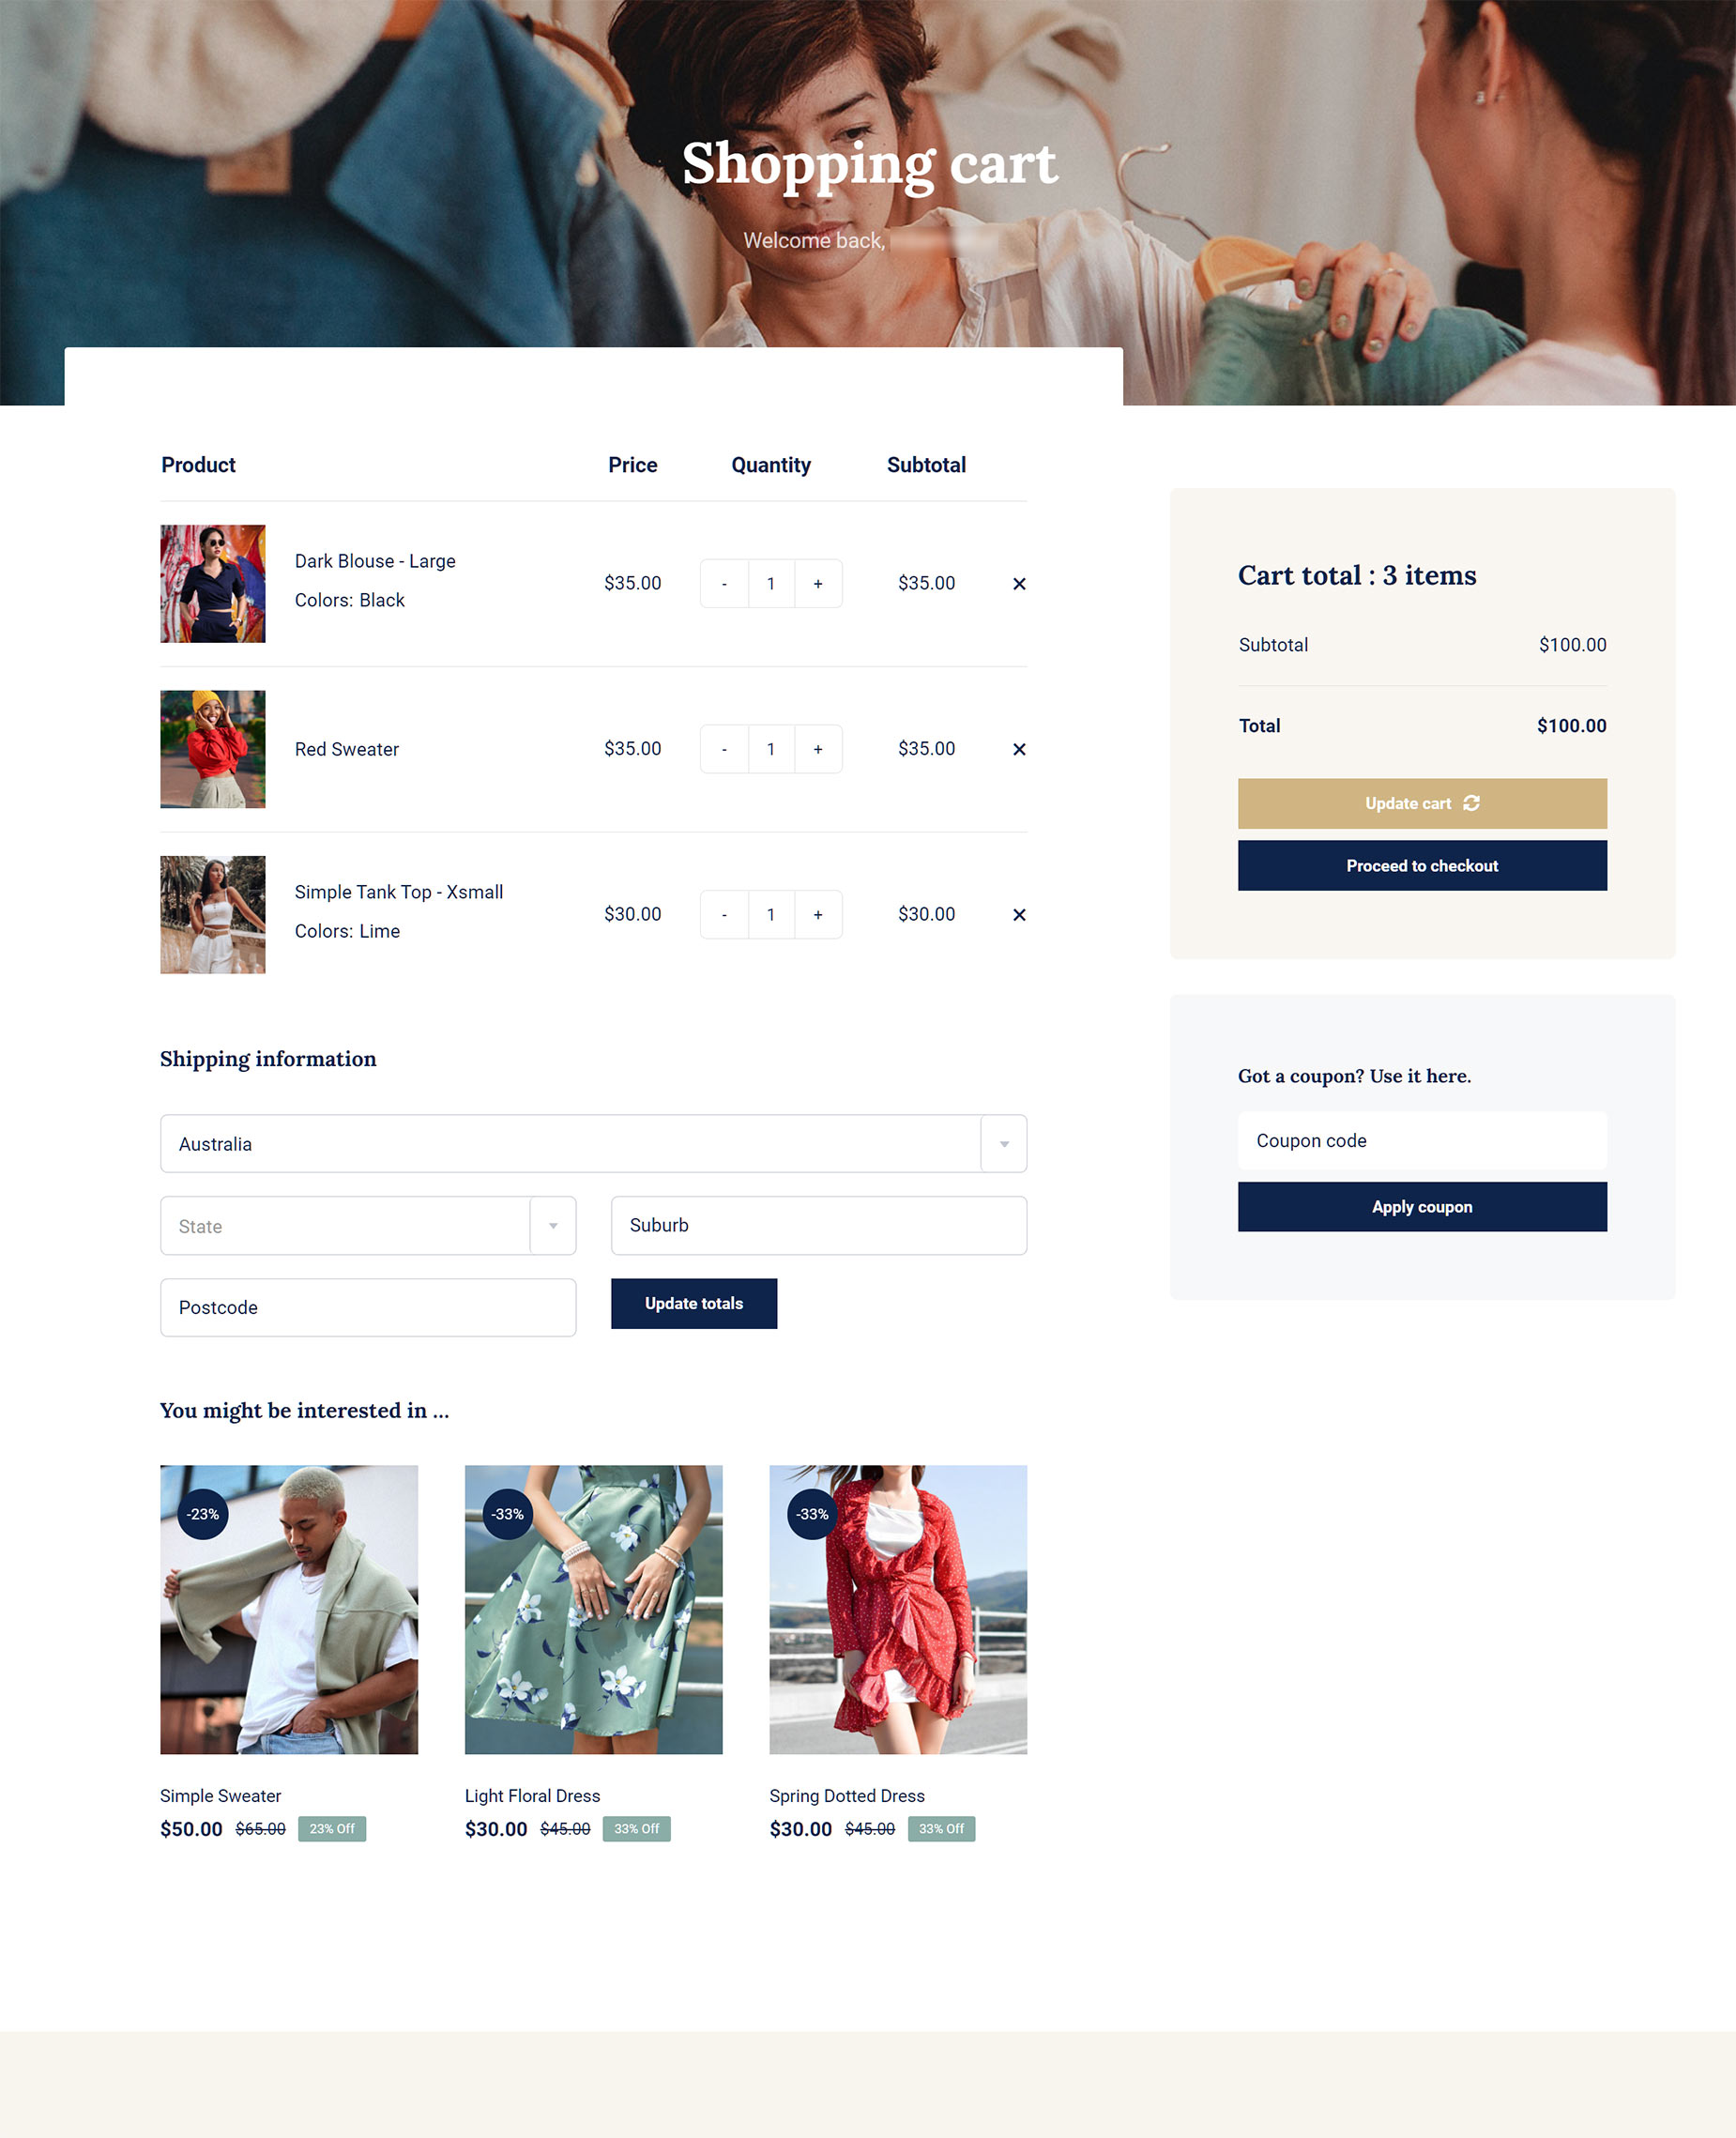
On the front end, the page displays like this when there are products in the Cart. For some inspiration, please see this 10 Inspiring Avada WooCommerce Store Designs for WordPress article.
And when the Cart is empty, below is a visual example of the default style and layout for the Cart page.

Using Conditional Element Rendering For An Empty Cart
When there are no products in the Cart, you will likely not want all your Cart Elements still displaying. The Avada Retail site shown above uses a second, conditional Avada Container Element for when the cart is empty, and also uses dynamic content in the Page Title Bar. A simpler approach would be just to not render all the Cart Elements and display the The “Cart is Empty” notice. This notice comes from the Woo Cart Table Element, and can be customized using the Element options. Also chedck out the Conditional Element Rendering in Avada help file.
Just because a feature is available doesn’t mean you have to use it. You don’t have to create a custom Cart. The default Woo Shortcode works fine and presents a functional Cart page for your users. But using the Avada WooCommerce Builder allows you full control over your cart page, allowing you to use the power and flexibility of the Avada Builder to have full control over both the design and content of the Cart page. It’s all about choice, and with Avada, we like to offer our users as much choice as possible.


