Share
This post aims to demystify the process of quickly installing WordPress and Avada. Once set up, you can customize the website as much or as little as you need to match your marketing goals and branding. Website design can be an enjoyable and satisfying activity if you have the right tools in place.
WordPress is powerful but not complicated; however, there is a small learning curve for anyone new to this platform. If you want to build a website for your business, it can be challenging to get over that initial ‘hump’ of familiarity with the world’s favored Content Management System (CMS).
The best way to harness WordPress’s power and expand its functionality is to use a tool that brings everything together in one place. Avada is not just a WordPress theme; it is more than that. It is a Website Builder and the go-to solution for more than 1059k beginners, marketers, and professionals when it comes to designing and maintaining world-class websites. In this post, we’ll show you how.
Overview
It Is Important to Be Prepared
Being prepared before starting a new website is paramount because it ensures a clear direction and purpose, which guides all subsequent decisions. Additionally, preparation streamlines the entire design process, making it more efficient and minimizing the likelihood of errors or delays.
Here is a basic preparation checklist:
From a technical perspective, preparation ensures that all necessary elements, such as hosting and domain setup, security measures, and backup solutions, are in place from the start. Furthermore, integrating a clear Search Engine Optimization (SEO) and marketing strategy into the plan from the beginning helps achieve better results.
Step 1: Download Avada From Themeforest
The first step assumes you have already purchased Avada on the Themeforest marketplace. If you still need to, please see this detailed help file on how to purchase Avada.
To start the installation process, you must download the correct installation files and, while at it, the purchase code to register Avada, as explained in Step 3.

Log into your Themeforest marketplace account and navigate to the downloads page. At this stage, you are presented with these options:

Download the “Installable WordPress file only” and a copy of the license certificate. For more information on what is included with your Avada purchase, please see this help file.
Step 2: Upload Avada
The next step is to log in to your website’s Dashboard. By default, you can find your login page by adding /wp-admin/ to the end of the domain where you installed WordPress (e.g., http://yoursite.com/wp-admin/).
With each vanilla WordPress installation, a default theme is set as the active theme and will change once you upload Avada.

Once logged in, navigate to Themes > Upload Theme and upload the ‘Avada.zip‘ file you downloaded from your ThemeForest marketplace account.

WordPress will notify you as soon as the Avada upload is completed, giving you three choices. Choose > Activate.

Once activated, you will be redirected to the main Avada Dashboard page.

At this point, you will be ready to proceed to the next step: installing the required plugins (Avada Builder, Avada Core), registering Avada, and getting started with customizing.
Step 3: Register Avada
Registering Avada involves verifying your purchase. This process allows you to receive free automatic updates for life, import prebuilt websites directly from within your WordPress dashboard, and access Avada Studio prebuilt content.
Log into the Themeforest marketplace account used to purchase Avada to locate your purchase code. For detailed instructions, please see this help file (Locating the purchase code is also explained in Step 1).

Step 4: Install the Required Plugins
The Avada Builder and Avada Core plugins are required and must be installed for Avada to work as intended. To install them, navigate to the Avada > Plugins screen.
Installation is straightforward and completed in a matter of seconds.

On the Plugins page, you will see a range of plugins divided into REQUIRED, PREMIUM, and RECOMMENDED.
REQUIRED
PREMIUM
RECOMMENDED

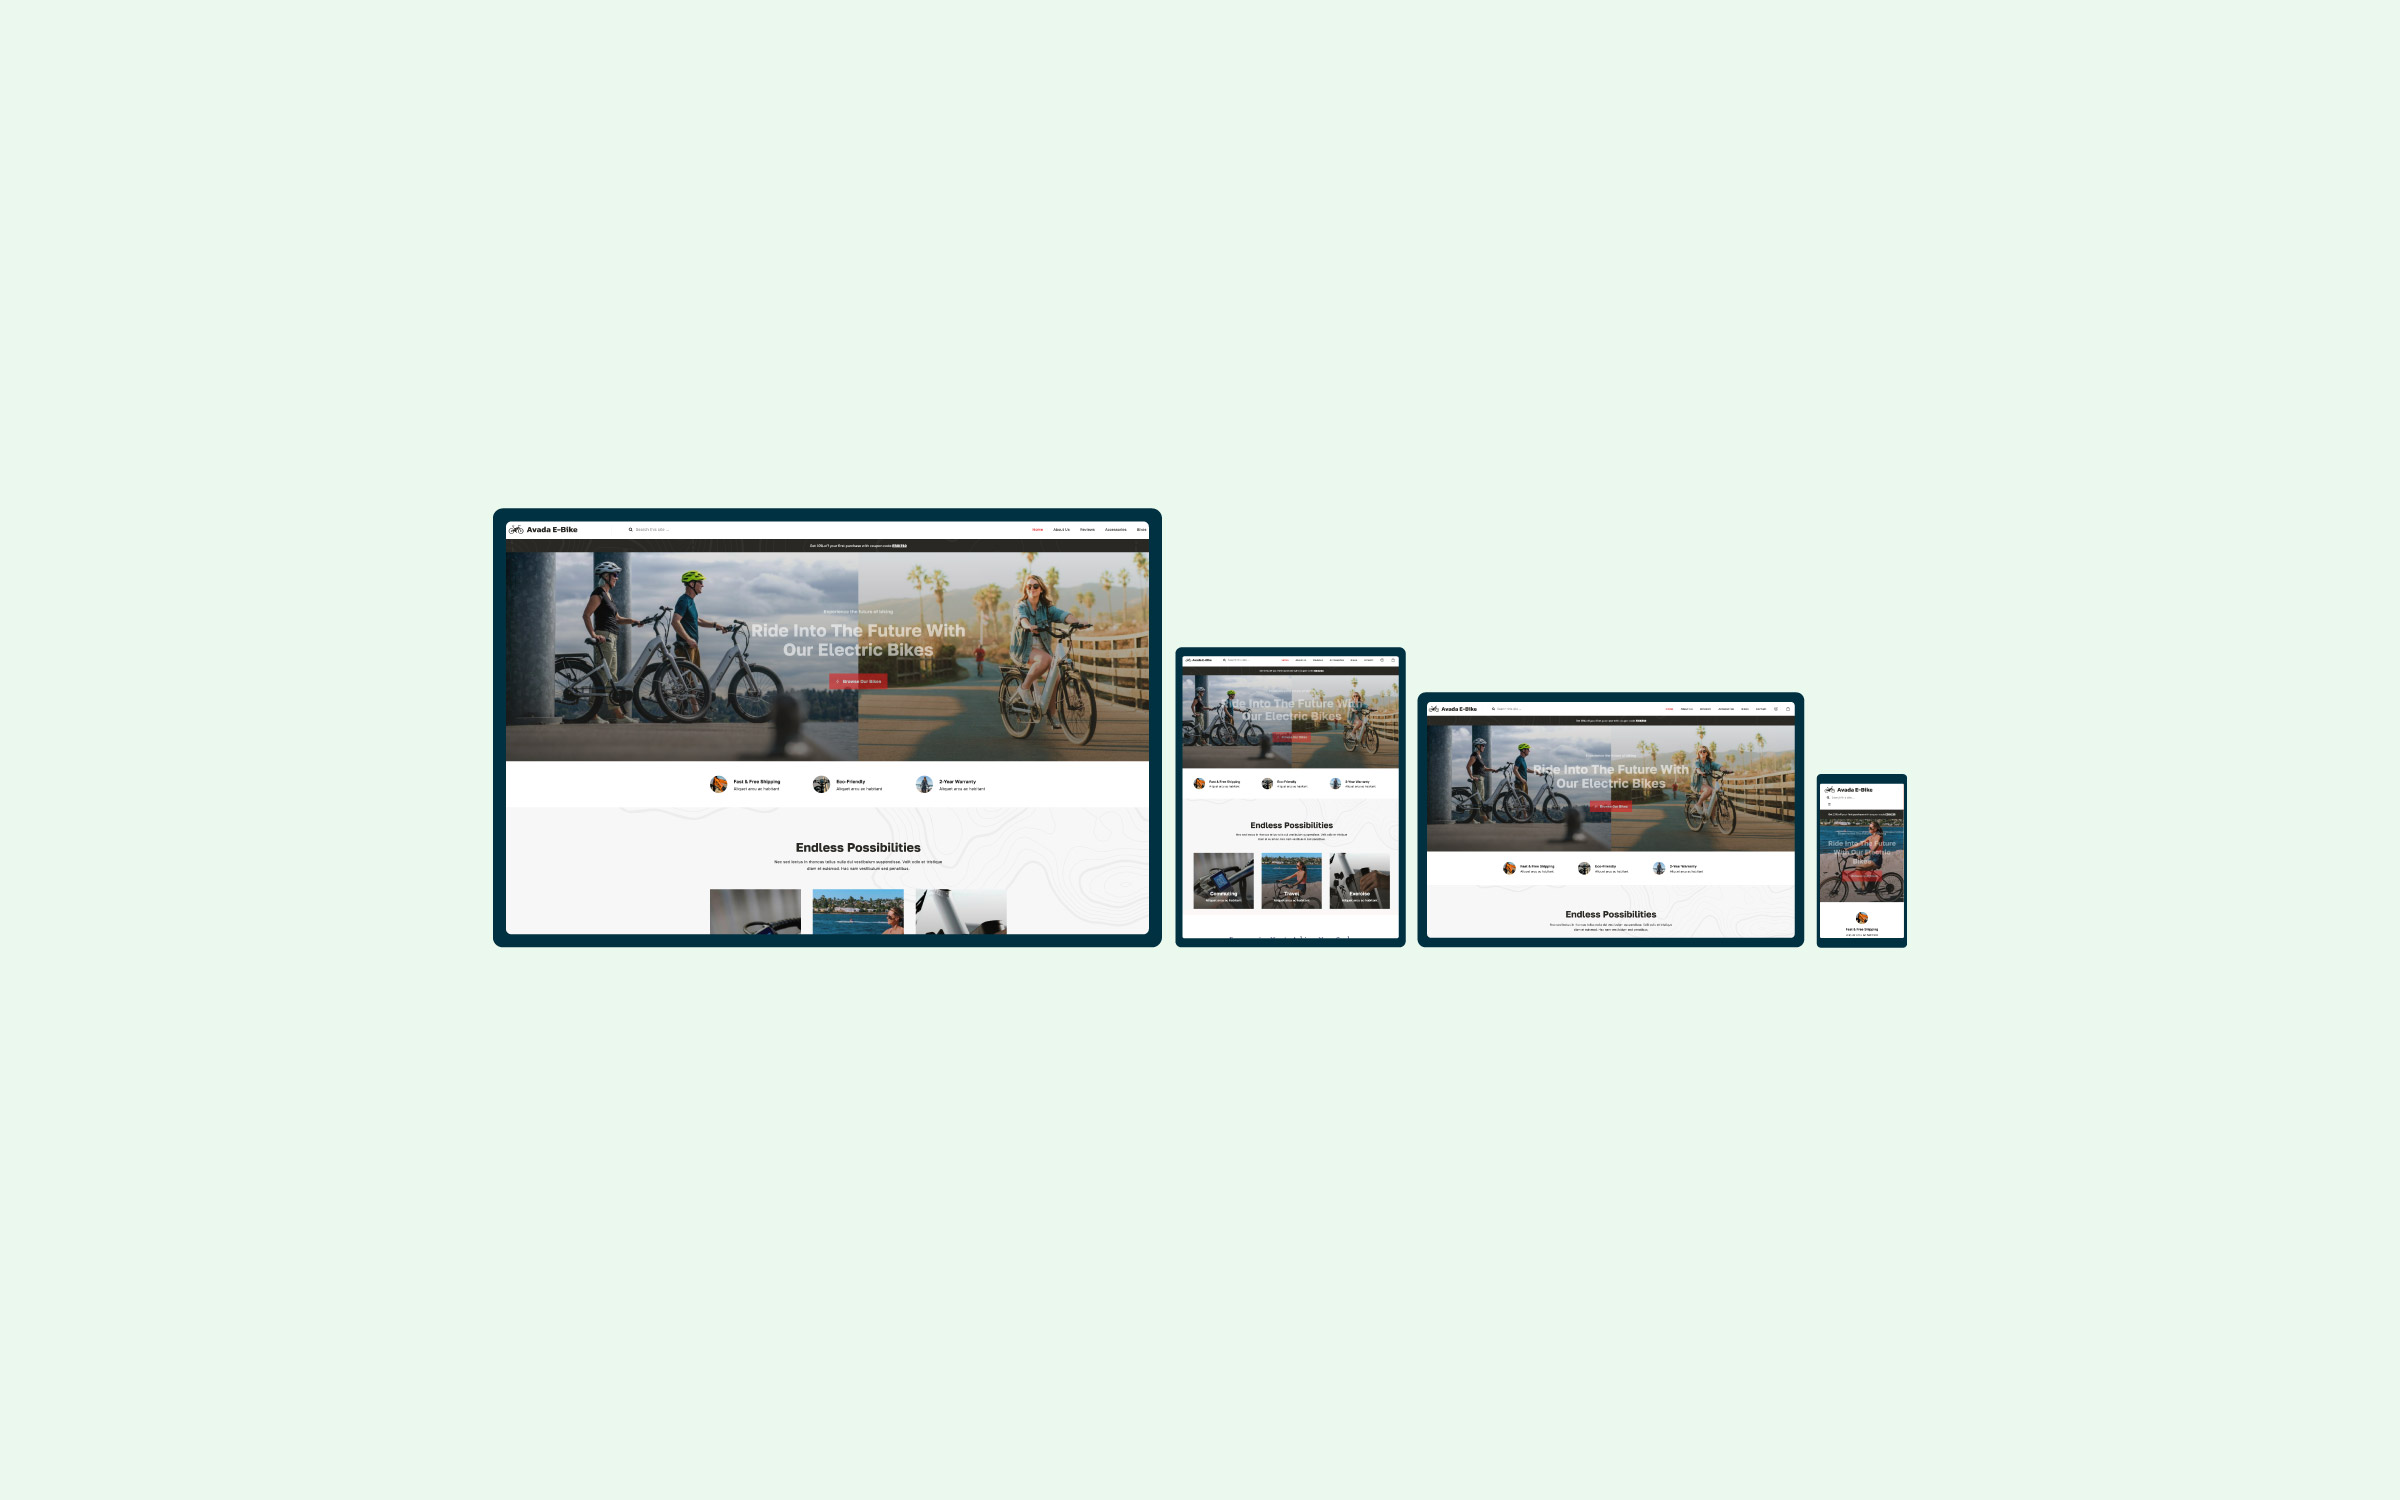
Step 5: Import a Prebuilt Avada Website
An Avada prebuilt website is a professionally designed website template included with your purchase of Avada. These websites, also known as “demos,” are created by the in-house Avada design team and intended to showcase the versatility and functionality of Avada and WordPress. They provide a quick and easy way for users to set up a professional-looking website without needing to design it from scratch.
There are currently 112 websites to choose from (with new websites being added regularly), arranged into various industry categories. Before the import, you can filter by category and preview each website. You can also view all Avada prebuilt websites online.

These prebuilt websites include complete layouts, styles, and dummy content that can be imported into a WordPress installation with just a few clicks. Each prebuilt website is tailored for specific industries or purposes, such as business, portfolio, e-commerce, blog, or landing pages, allowing users to choose a design that closely matches their needs.
On the import screen, you will see options. You can import all the content, import specific content types only, or remove previously imported content.

Importing an Avada website will give you layouts, pages, posts, forms, icons, global options, widgets, sidebars, sliders, and miscellaneous settings to replicate the original site accurately.
Once imported, you can customize the dummy content, layouts, and other elements to fit your unique requirements, leveraging Avada’s powerful features and flexibility to create your perfect website.
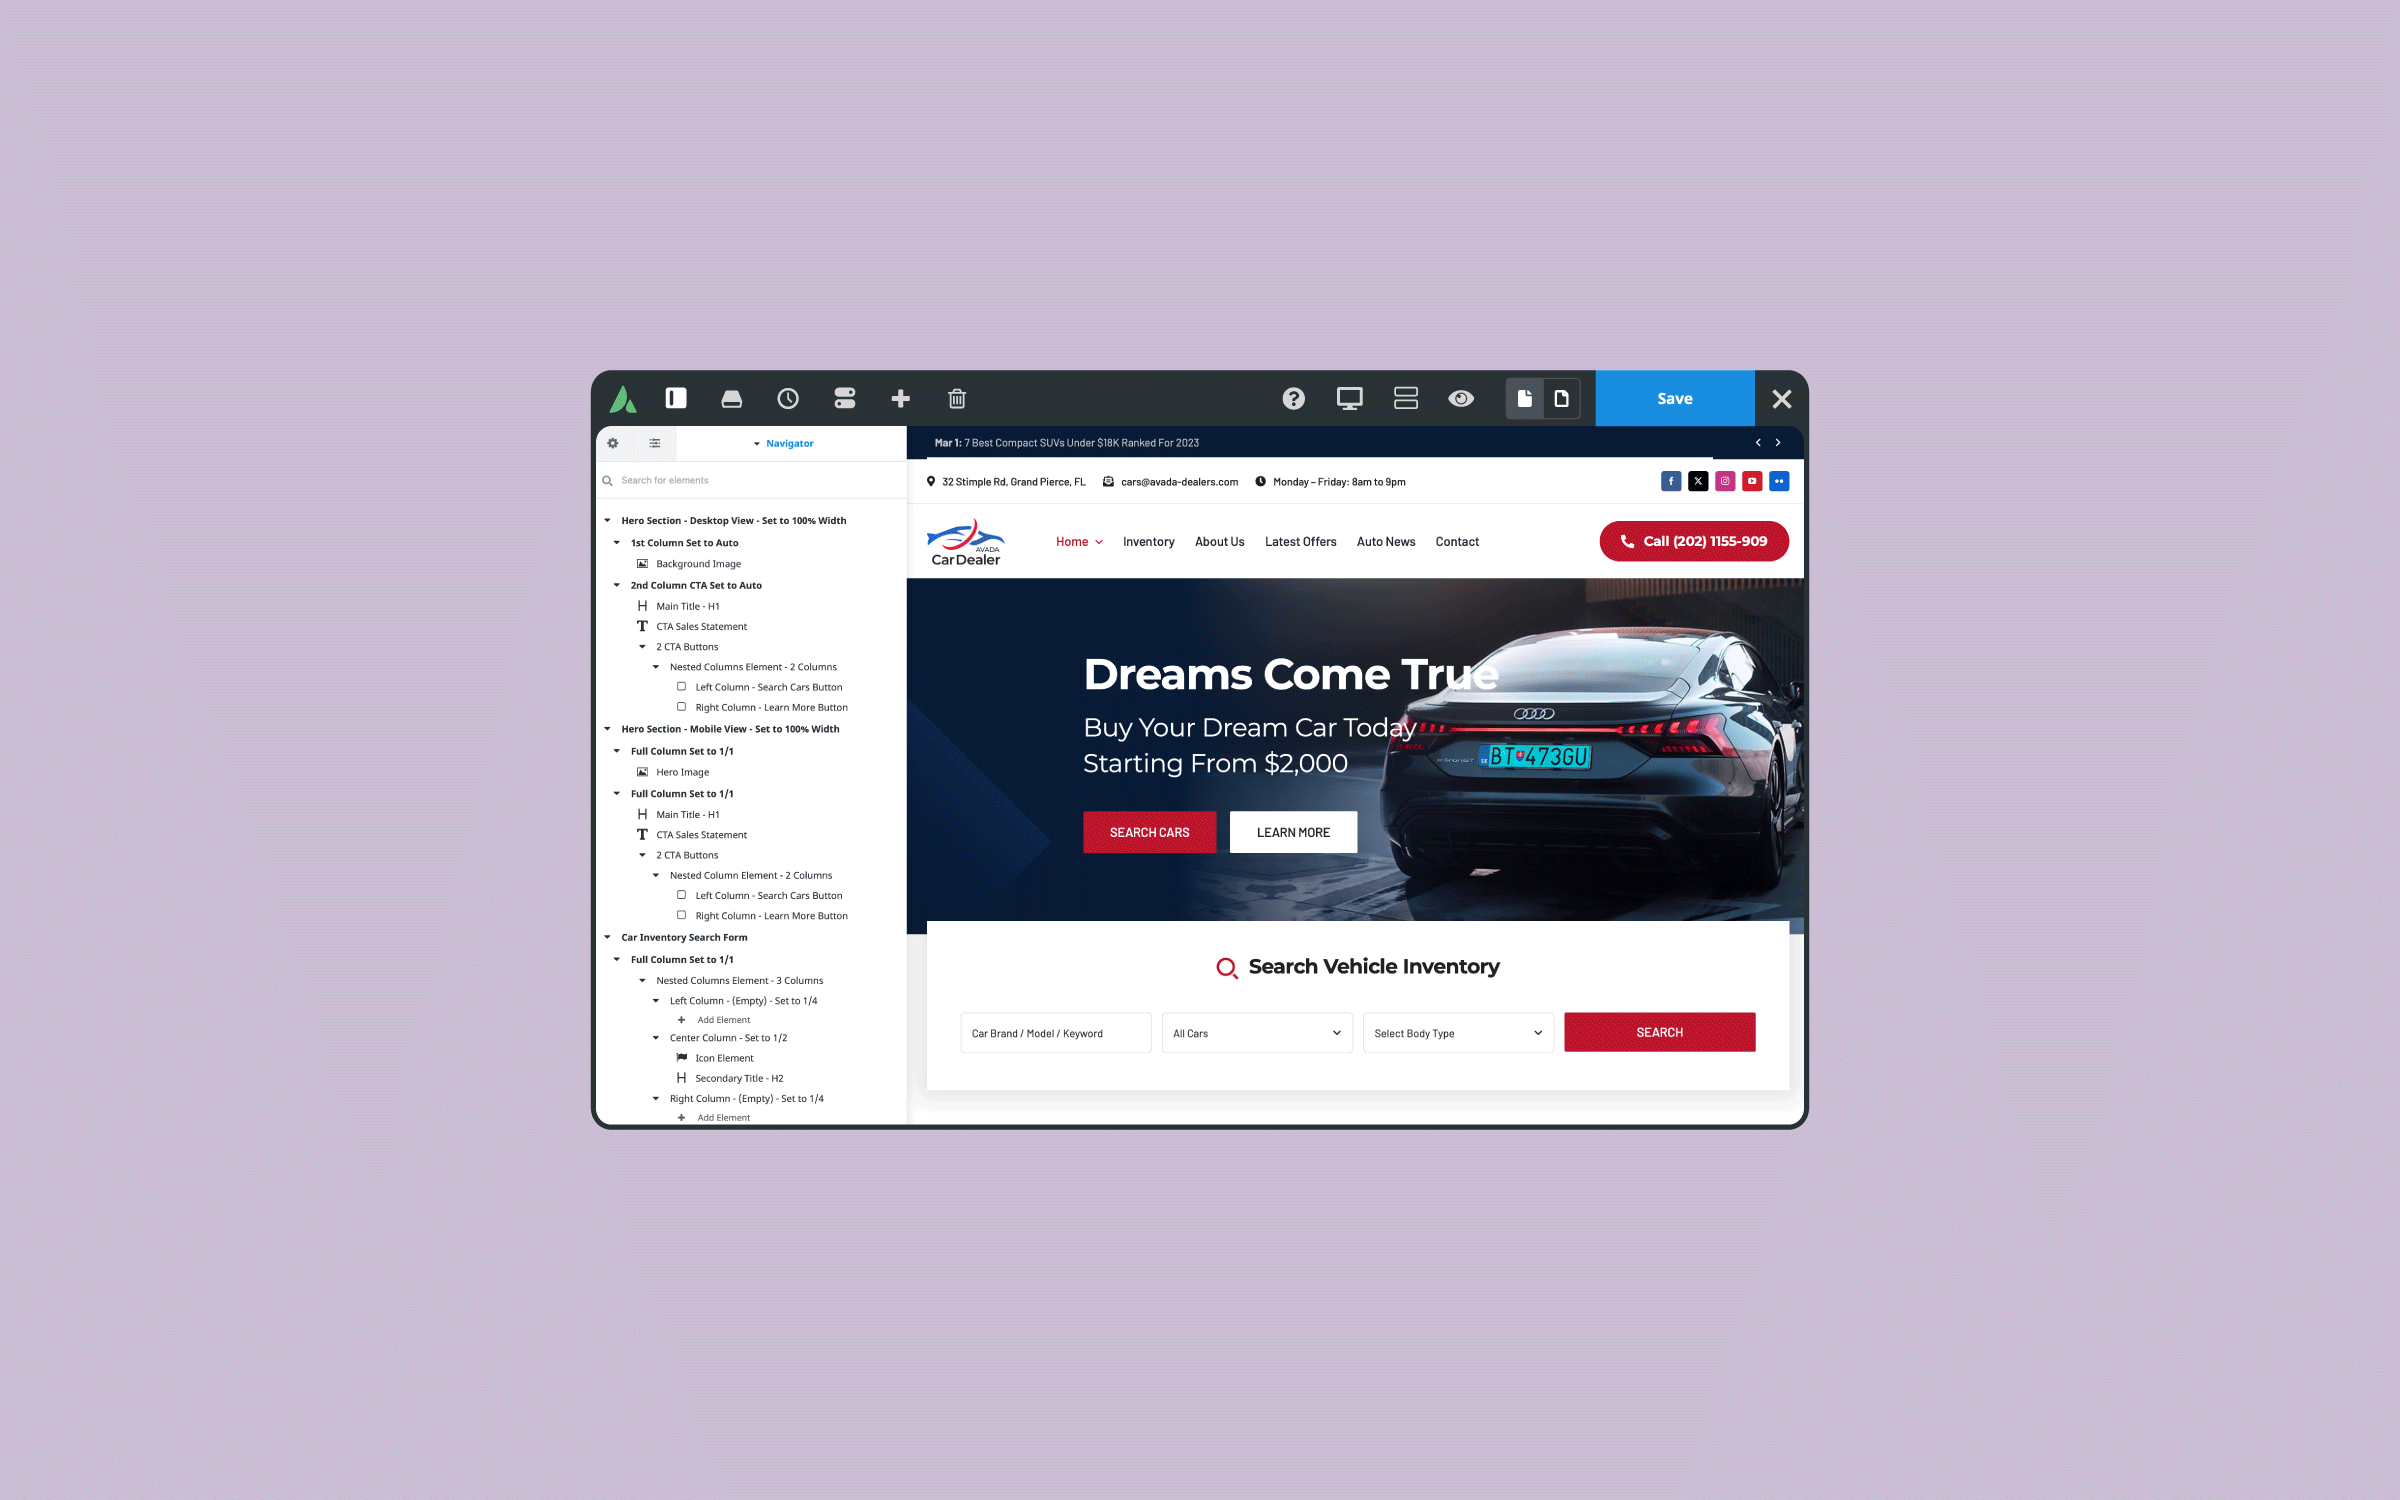
Step 6: Start Customizing
There are several approaches you can take when it comes to creating your new website, and how much and how far you customize the imported website will be entirely up to you and your goals. You may want to do low-level customization and only change the core branding, such as the logo and favicon, dummy wording, and general contact information, essentially leaving all of the imported pages and layout structure intact.

Or, you may want to go the whole hog and customize everything (header, footer, layouts, content, media, images, pages, and posts). Avada gives you the flexibility and creative freedom to design any website layout, add an e-commerce online store, and more.
Resources
In addition to the prebuilt websites, Avada offers a wide range of creative resources that will enhance and inspire your workflow. These include prebuilt Avada Studio content, tutorial videos, an advanced help center, and world-class professional support.
Summary
Getting a website up and running can seem intimidating, especially when switching to a new framework or using one for the first time. However, starting with Avada is much easier than you may think.
Following the steps in this article, you can set up a basic website in no time. From there on out, customizing and aligning the content to match your business or brand is all that would be needed.