Share
In this beginner’s guide, we will explain what a Setup Wizard is and its benefits in general terms. Then, we’ll walk you through using the Avada Setup Wizard, which is beneficial for beginners and offers value to experienced users looking for a quick and efficient way to deploy new websites. By automating routine setup steps, this fast track process gives Avada users a headstart and more time to focus on other workflow tasks.
Overview
What Is A Website Setup Wizard?
A website setup wizard is an interactive tool designed to simplify and streamline the setup of a new website. It’s essentially a guided tour through the various steps required to quickly get a website up and running, from initial configuration to ready-to-publish status.
The official definition of a setup wizard by the Nielsen Norman Group is as follows:
Here’s a breakdown of what it typically involves and why it’s a game-changer for many users:
What Are The Benefits Of Using a Website Setup Wizard?
A website setup wizard offers numerous benefits for individuals and businesses when building a new website. These advantages streamline the process, making it accessible to users of all skill levels, from beginners to advanced web developers.

Here are seven key benefits to consider:
1. Simplified Setup Process
One of the primary advantages is the ability to simplify the initial setup process. The wizard guides users through each step, from theme installation and plugin activation to basic configurations, ensuring nothing important is overlooked.
2. Save Time
A setup wizard significantly reduces the time it takes to get a new website up and running by providing a straightforward, step-by-step guide. Users can quickly move from installation to publishing content, making it an ideal solution for those looking to launch their site without delay.
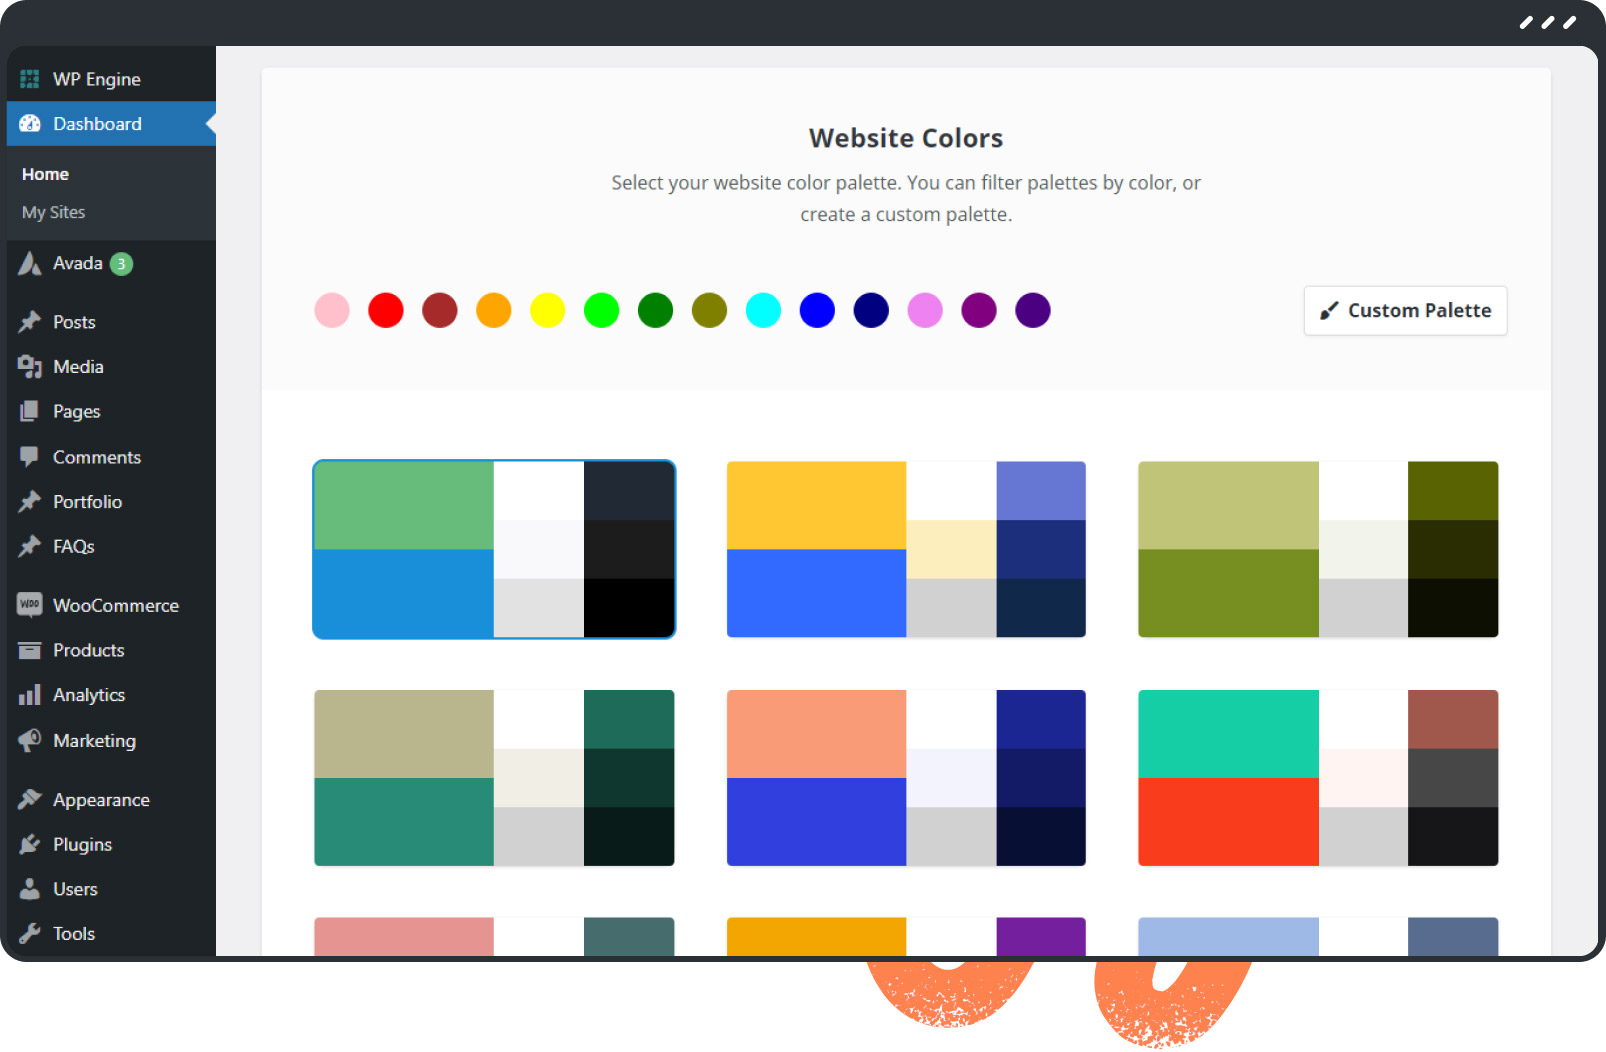
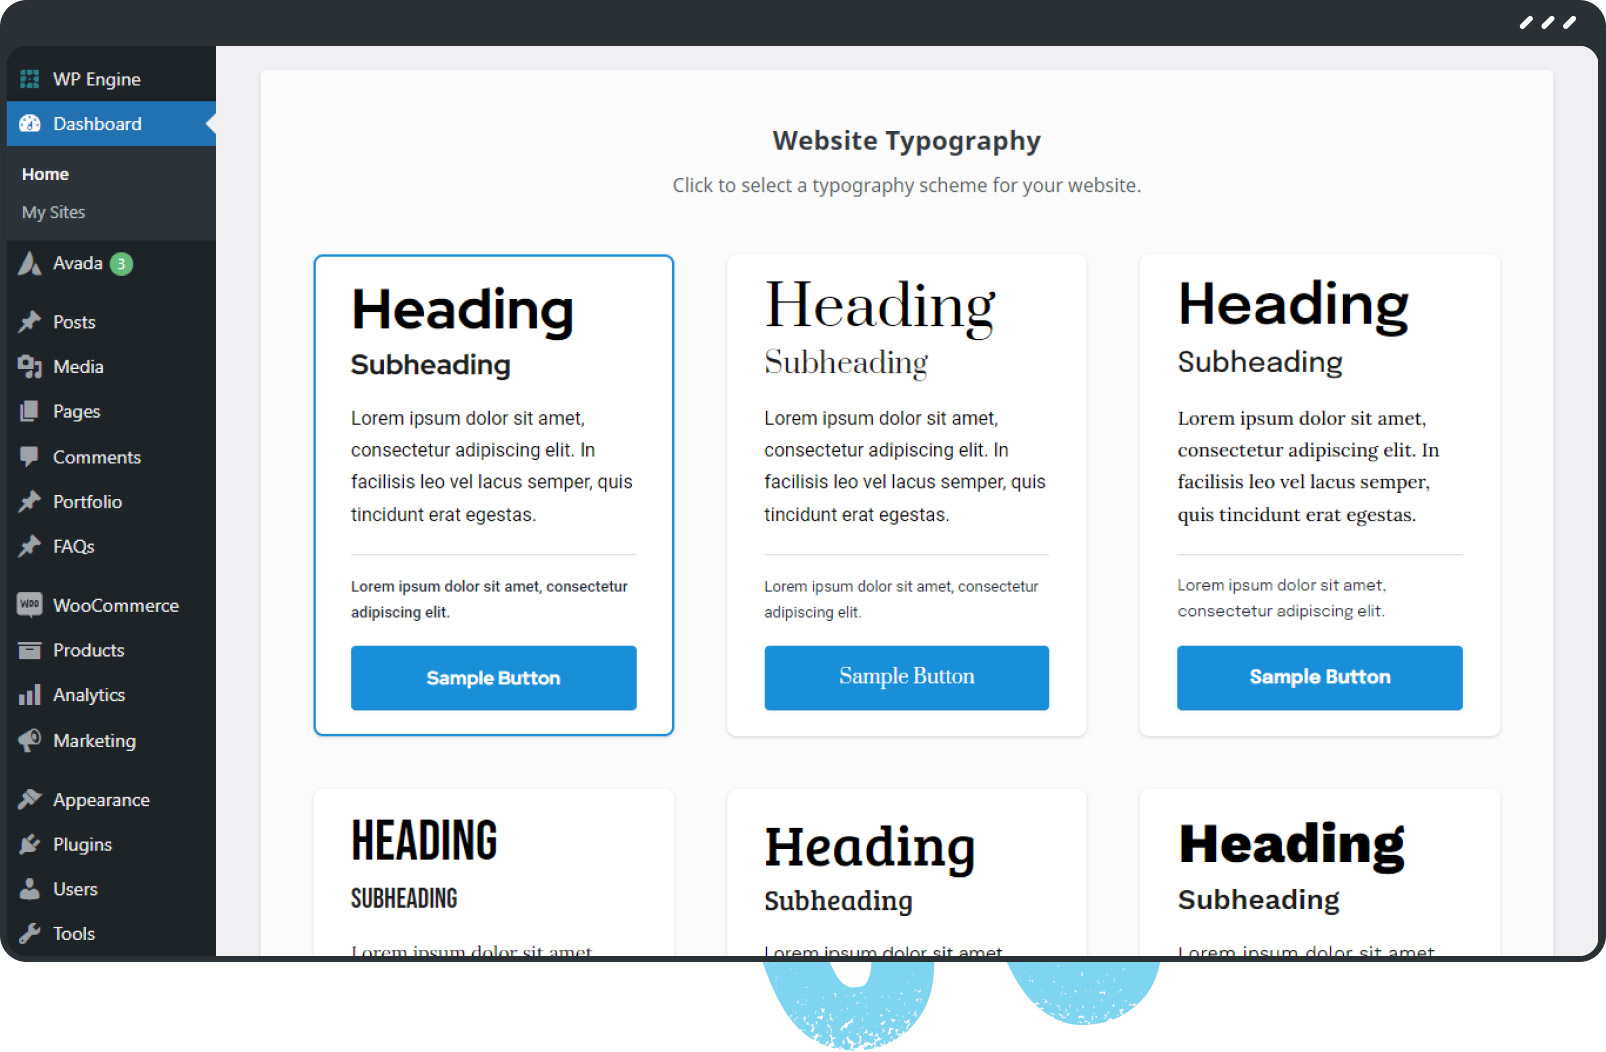
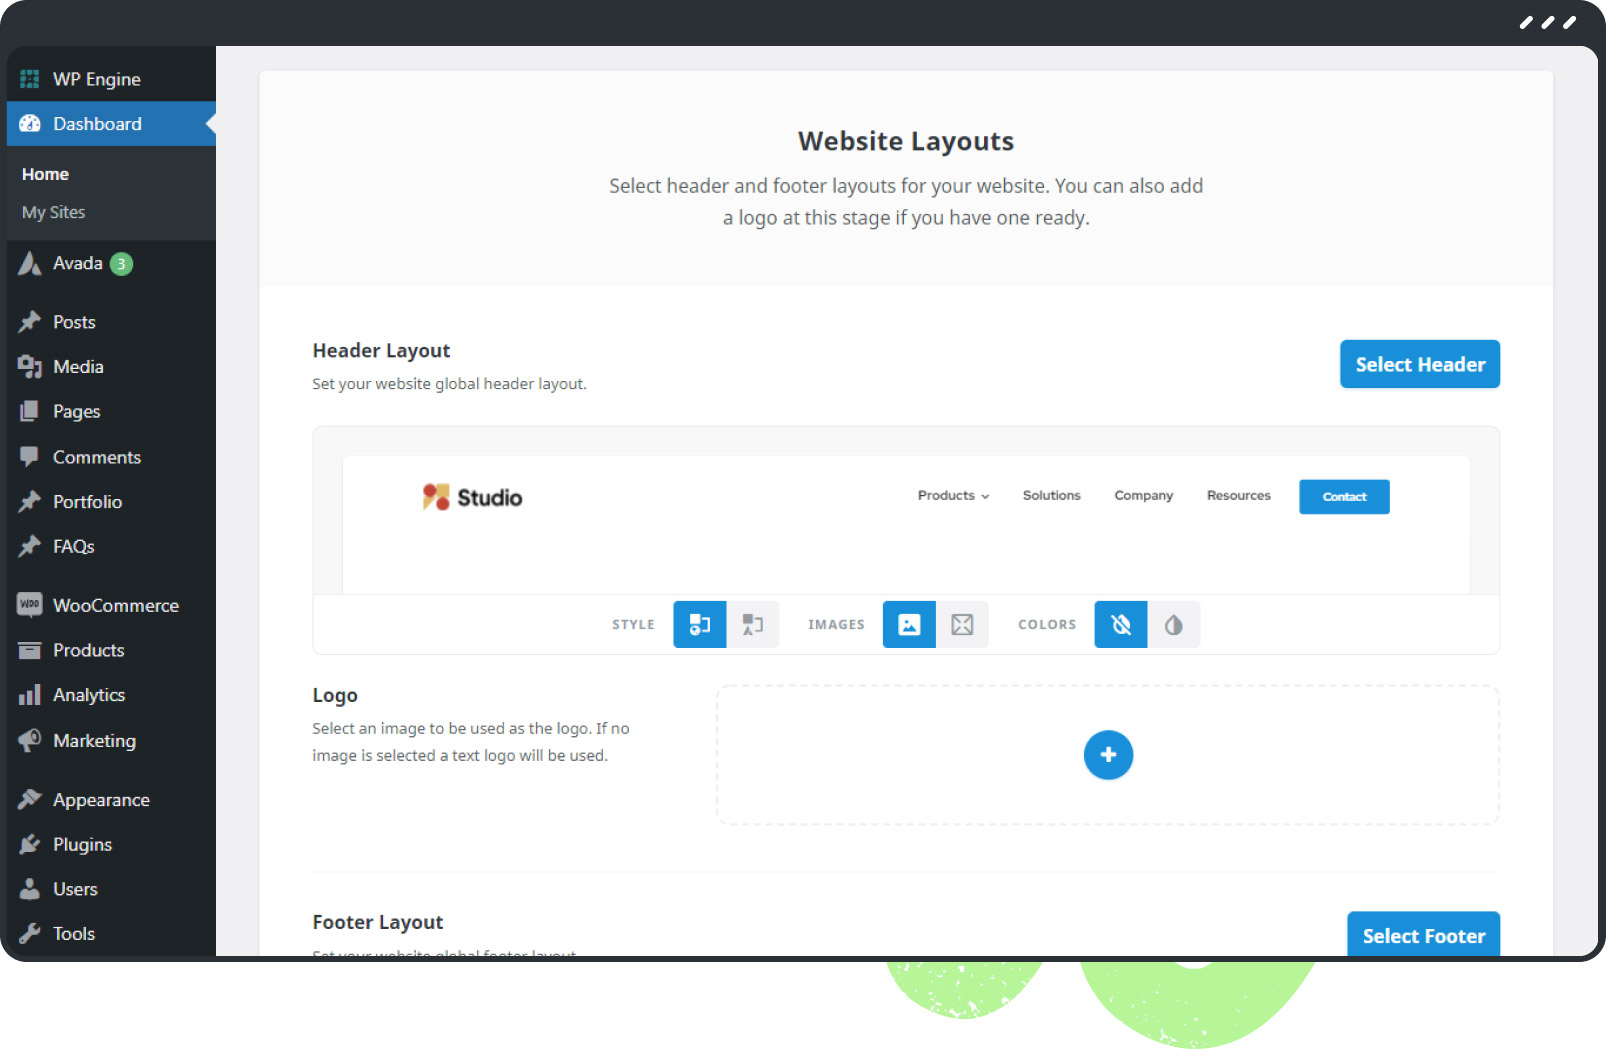
3. Customization Made Easy
Setup wizards often come with options for customizing a website’s look and feel through themes, templates, or demos. This means users can achieve a professional and unique design without needing in-depth knowledge of web development or design.
4. Educational Resource
For beginners, a setup wizard acts as an educational tool, introducing them to various aspects of website management, such as SEO settings, social media integration, and more. This can enhance their understanding and confidence in managing and optimizing their site post-setup.
5. Remove Guesswork
A setup wizard’s guided nature minimizes the chances of errors that can occur during the manual setup, such as incorrect plugin configurations or theme installations. By automating these processes, the wizard ensures a smoother, more reliable setup.
6. Immediate Visual Feedback
Many setup wizards provide immediate feedback during the setup process, such as compatibility checks and configuration suggestions. This allows users to address potential issues in real-time, smoothing the setup process.
7. Cost-Effective
Facilitating a quick and efficient setup process can make this setup cost-effective, especially for small businesses or individuals on a tight budget. Creating a professional-looking website without the need for external developers or designers can save considerable resources.
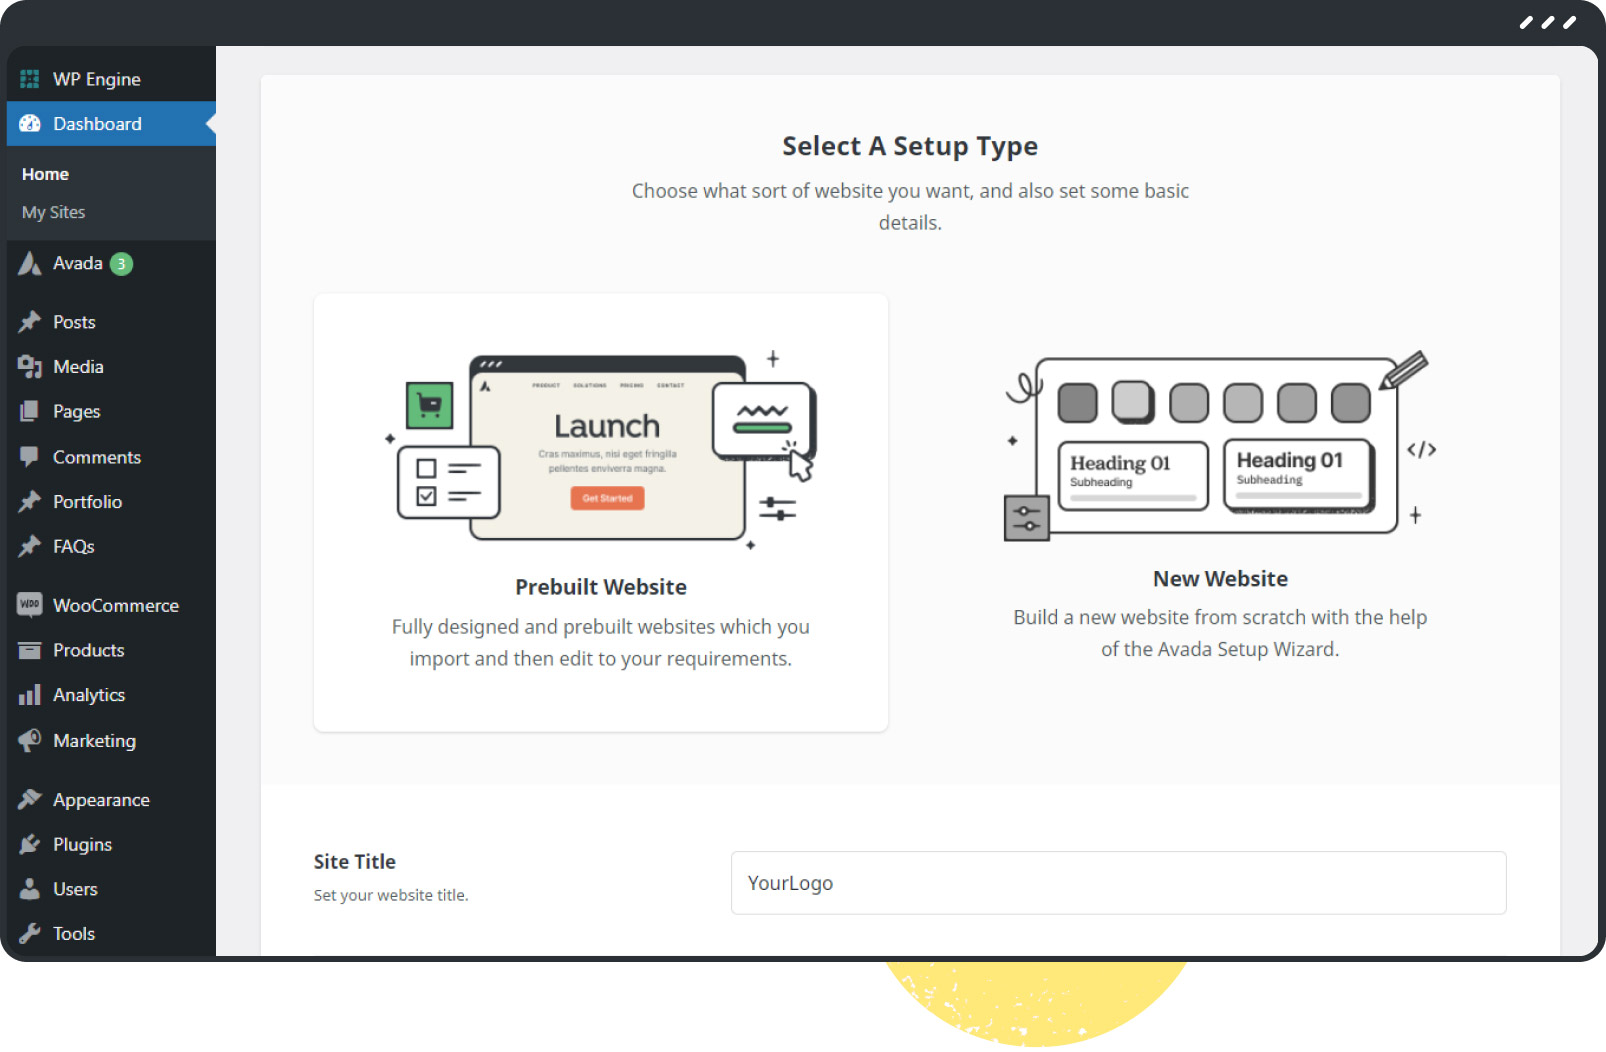
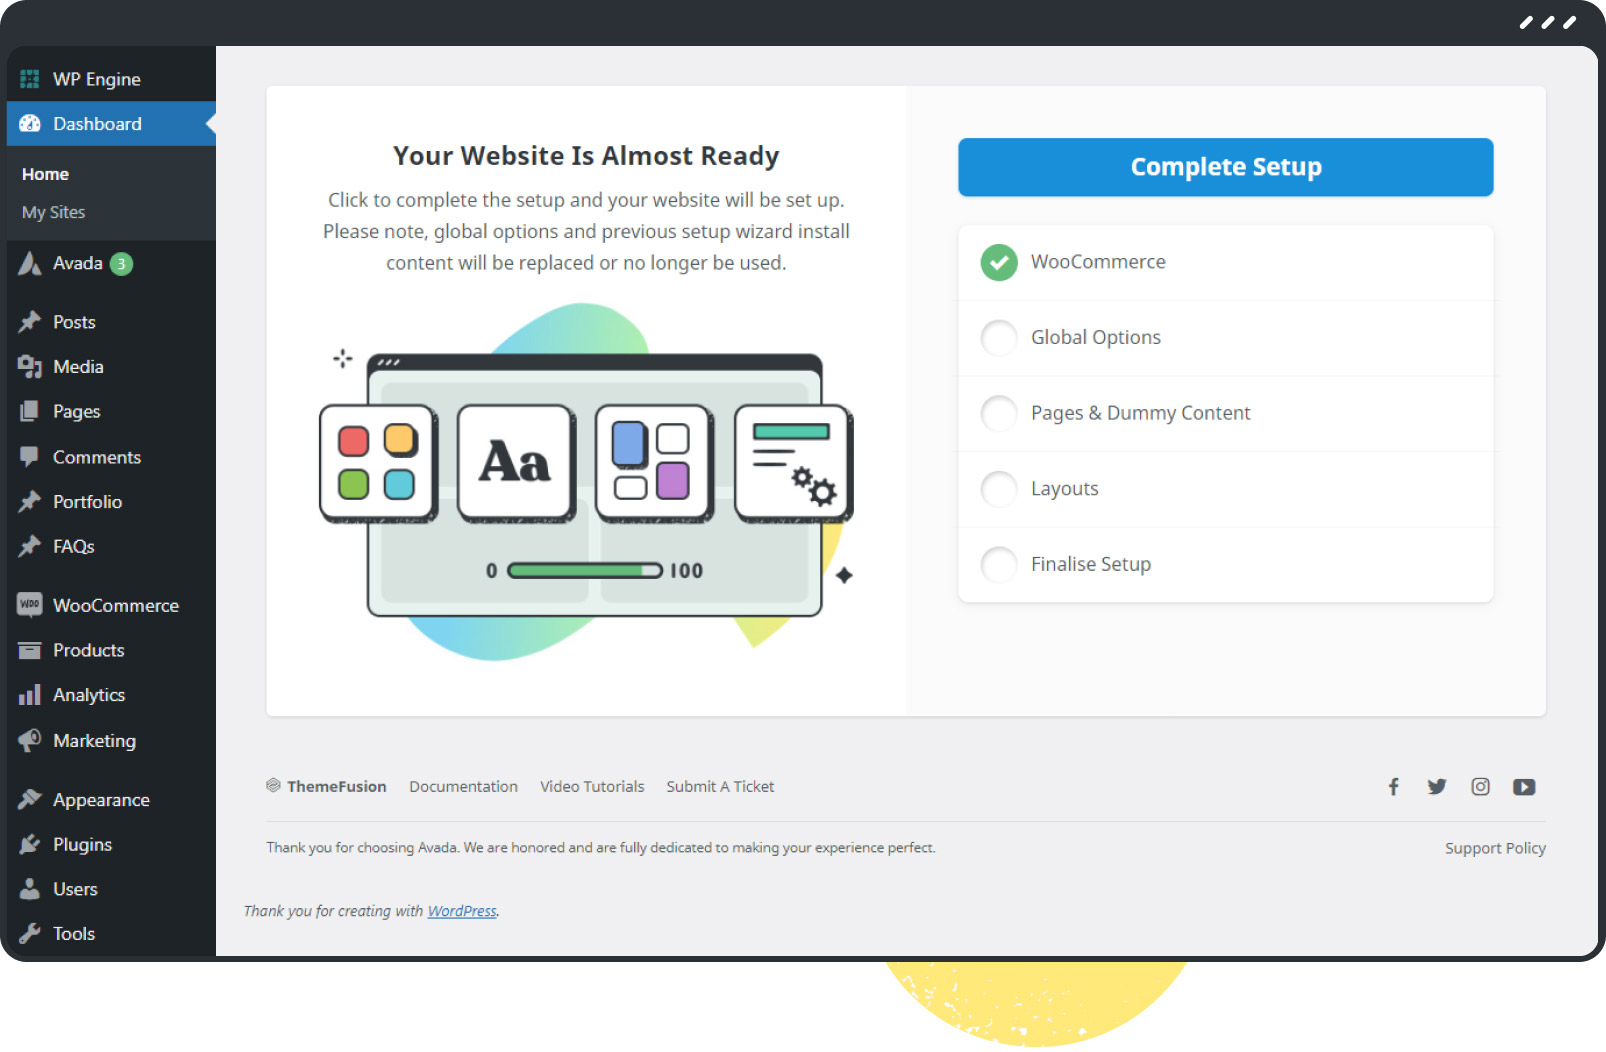
The Avada Setup Wizard Explained
The Avada Setup Wizard is designed to streamline and simplify the process of setting up a website by removing the guesswork. Before diving in, you must first install and register Avada. This can be done by purchasing the theme from ThemeForest. Within your WordPress dashboard, navigate to Appearance > Themes > Add New > Upload Theme. Choose the Avada zip file from your computer and click ‘Install Now.’
Before proceeding with the setup, you must register your Avada installation. This step involves entering your purchase code to validate your license, access premium plugins, and receive free lifetime updates.

The setup process has seven steps, including registration. Each step is designed to be intuitive and provides a seamless flow from one stage to the next, ensuring that users can set up their website without needing to delve into more complex aspects of website setup and saving time.


Tutorial Video
Summary
Using a website Setup Wizard saves you time and makes it easier to prototype, customize, and launch a website quickly. When you start the process with Avada, you have the choice of importing any one of the 113 prebuilt websites or building a website from scratch using the available layout and content options.
To start, purchase Avada, register and build your dream website in no time.


Thank you for this step-by-step starter guide! Much Appreciated!