Share
Here’s a fact about privacy policy pages: almost nobody visits them. You can place the Avada Privacy and Consent Element on this page (the privacy policy page), but if that’s your only consent touchpoint, most visitors will never see it.
That’s the problem this setup solves. By placing the Privacy and Consent Element inside an Avada Off-Canvas, you bring the consent choice directly to your visitors as soon as they arrive. It’s flexible, it follows current best practice, and honestly, it’s one of the cleaner consent implementations you can build with Avada and WordPress.
In our previous post, we covered the general use of the Privacy Element. In this post, we’ll explore how to build a setup that uses two Avada Off-Canvases working together to manage the Privacy and Consent options. The first is a small pop-up with “Accept All” and “Manage Cookies” buttons. The second includes the full Privacy and Consent options for visitors who want to manually choose their cookies (regulations such as the EU’s GDPR require sites to give you clear choices). Let’s take a closer look.
Overview
Preliminary: Configure The Consent Options
Everything begins in the Avada Global Options. Head to the Privacy Consent Tool section in Avada’s Privacy and Consent Global Options to set up your consent types and cookie categories. These settings apply to both the Avada Privacy and Consent Bar and the Privacy and Consent Element, so you only need to configure them once. For this setup, leave the Privacy and Consent Bar turned “Off”.
One quick note on approach: there’s no single correct way to implement consent. You could use the bar, the Element on a page, an Avada Off-Canvas, or a combination of all three. Best practice simply says visitors need an obvious way to accept the defaults and a real way to make their own selections. This two-pop-up setup delivers both.
Step 1: Create the Trigger Off-Canvas
Create a new Avada Off-Canvas — we’ll call it “Privacy Trigger”. This is the pop-up every visitor sees first.
Your Off-Canvas can be a sliding bar or a pop-up, any size and position you like. For this example, use these settings:
Configure the Close, Conditions, & Triggers Tabs
In the Close tab, turn the close button “Off”. This nudges visitors to actually address the cookie question rather than dismiss it. They can still click the overlay to close (which can be disabled), but since that’s not obvious, most people will use one of the buttons instead.
In the Conditions tab, enable conditions and keep the default of displaying on the “Entire site”. On any page, the pop-up appears.
In the Triggers tab, set the trigger to “Time on Page” with a duration of 2 seconds. The page loads, the visitor gets a moment to orient themselves, then the pop-up appears.
Set the Interaction Behavior
In the Rules tab, you’ll find the Privacy and Consent Interaction Behavior option. It has three settings:
Choose “Display Until Consented and Close Off-Canvas”. Keep in mind the auto-close part requires a Privacy element on the page with its save action set to Ajax — we’ll set that in Step 2.
Add The Content
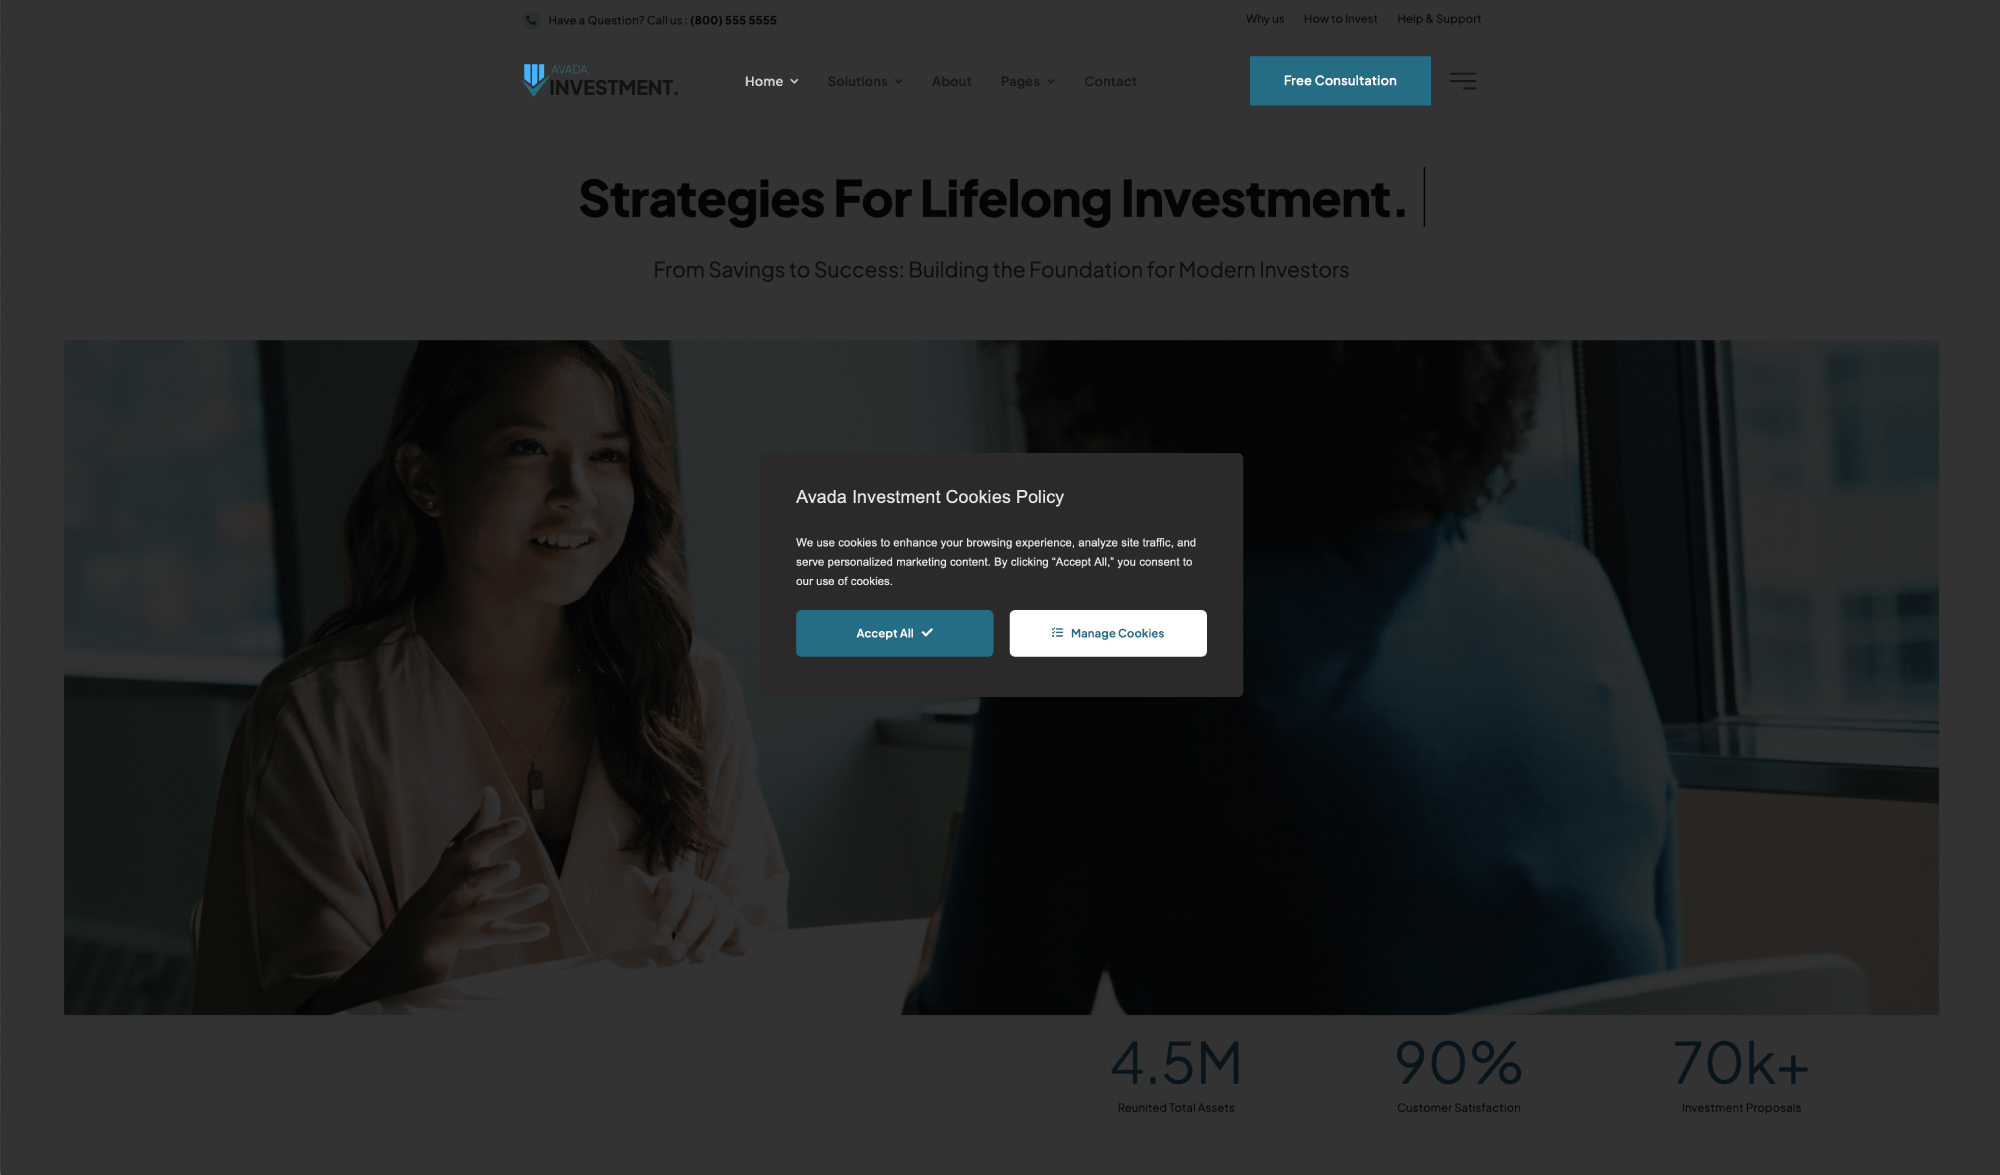
The content here is deliberately simple: a title, a short line of text with a link to more information, and two buttons that do the real work.
Button 1 — “Accept All”. Edit the button and set the Button URL to Dynamic Data, then choose the Privacy Consent Action of Accept All. One click, all cookies accepted, visitor moves on. You could instead choose Save/Update (which saves the defaults from your global options) or “Reject All” if you want to offer that.
Button 2 — “Manage Cookies”. This button also uses Avada Dynamic Data, but with the Open Off-Canvas option — pointed at the second Off-Canvas we’re about to build.
One important detail: these buttons only work if the Privacy and Consent Element exists somewhere on the page. In this setup, the Element lives in the second Off-Canvas, which means it’s in the DOM and the buttons function correctly. Skip the second Off-Canvas, and the “Accept All” button does nothing.
Step 2: Create the Privacy Off-Canvas
Now create the second Avada Off-Canvas — call it “Privacy”. This one holds the Privacy and Consent Element content and options.
The settings largely mirror the first:
Add Content to the Privacy Off-Canvas
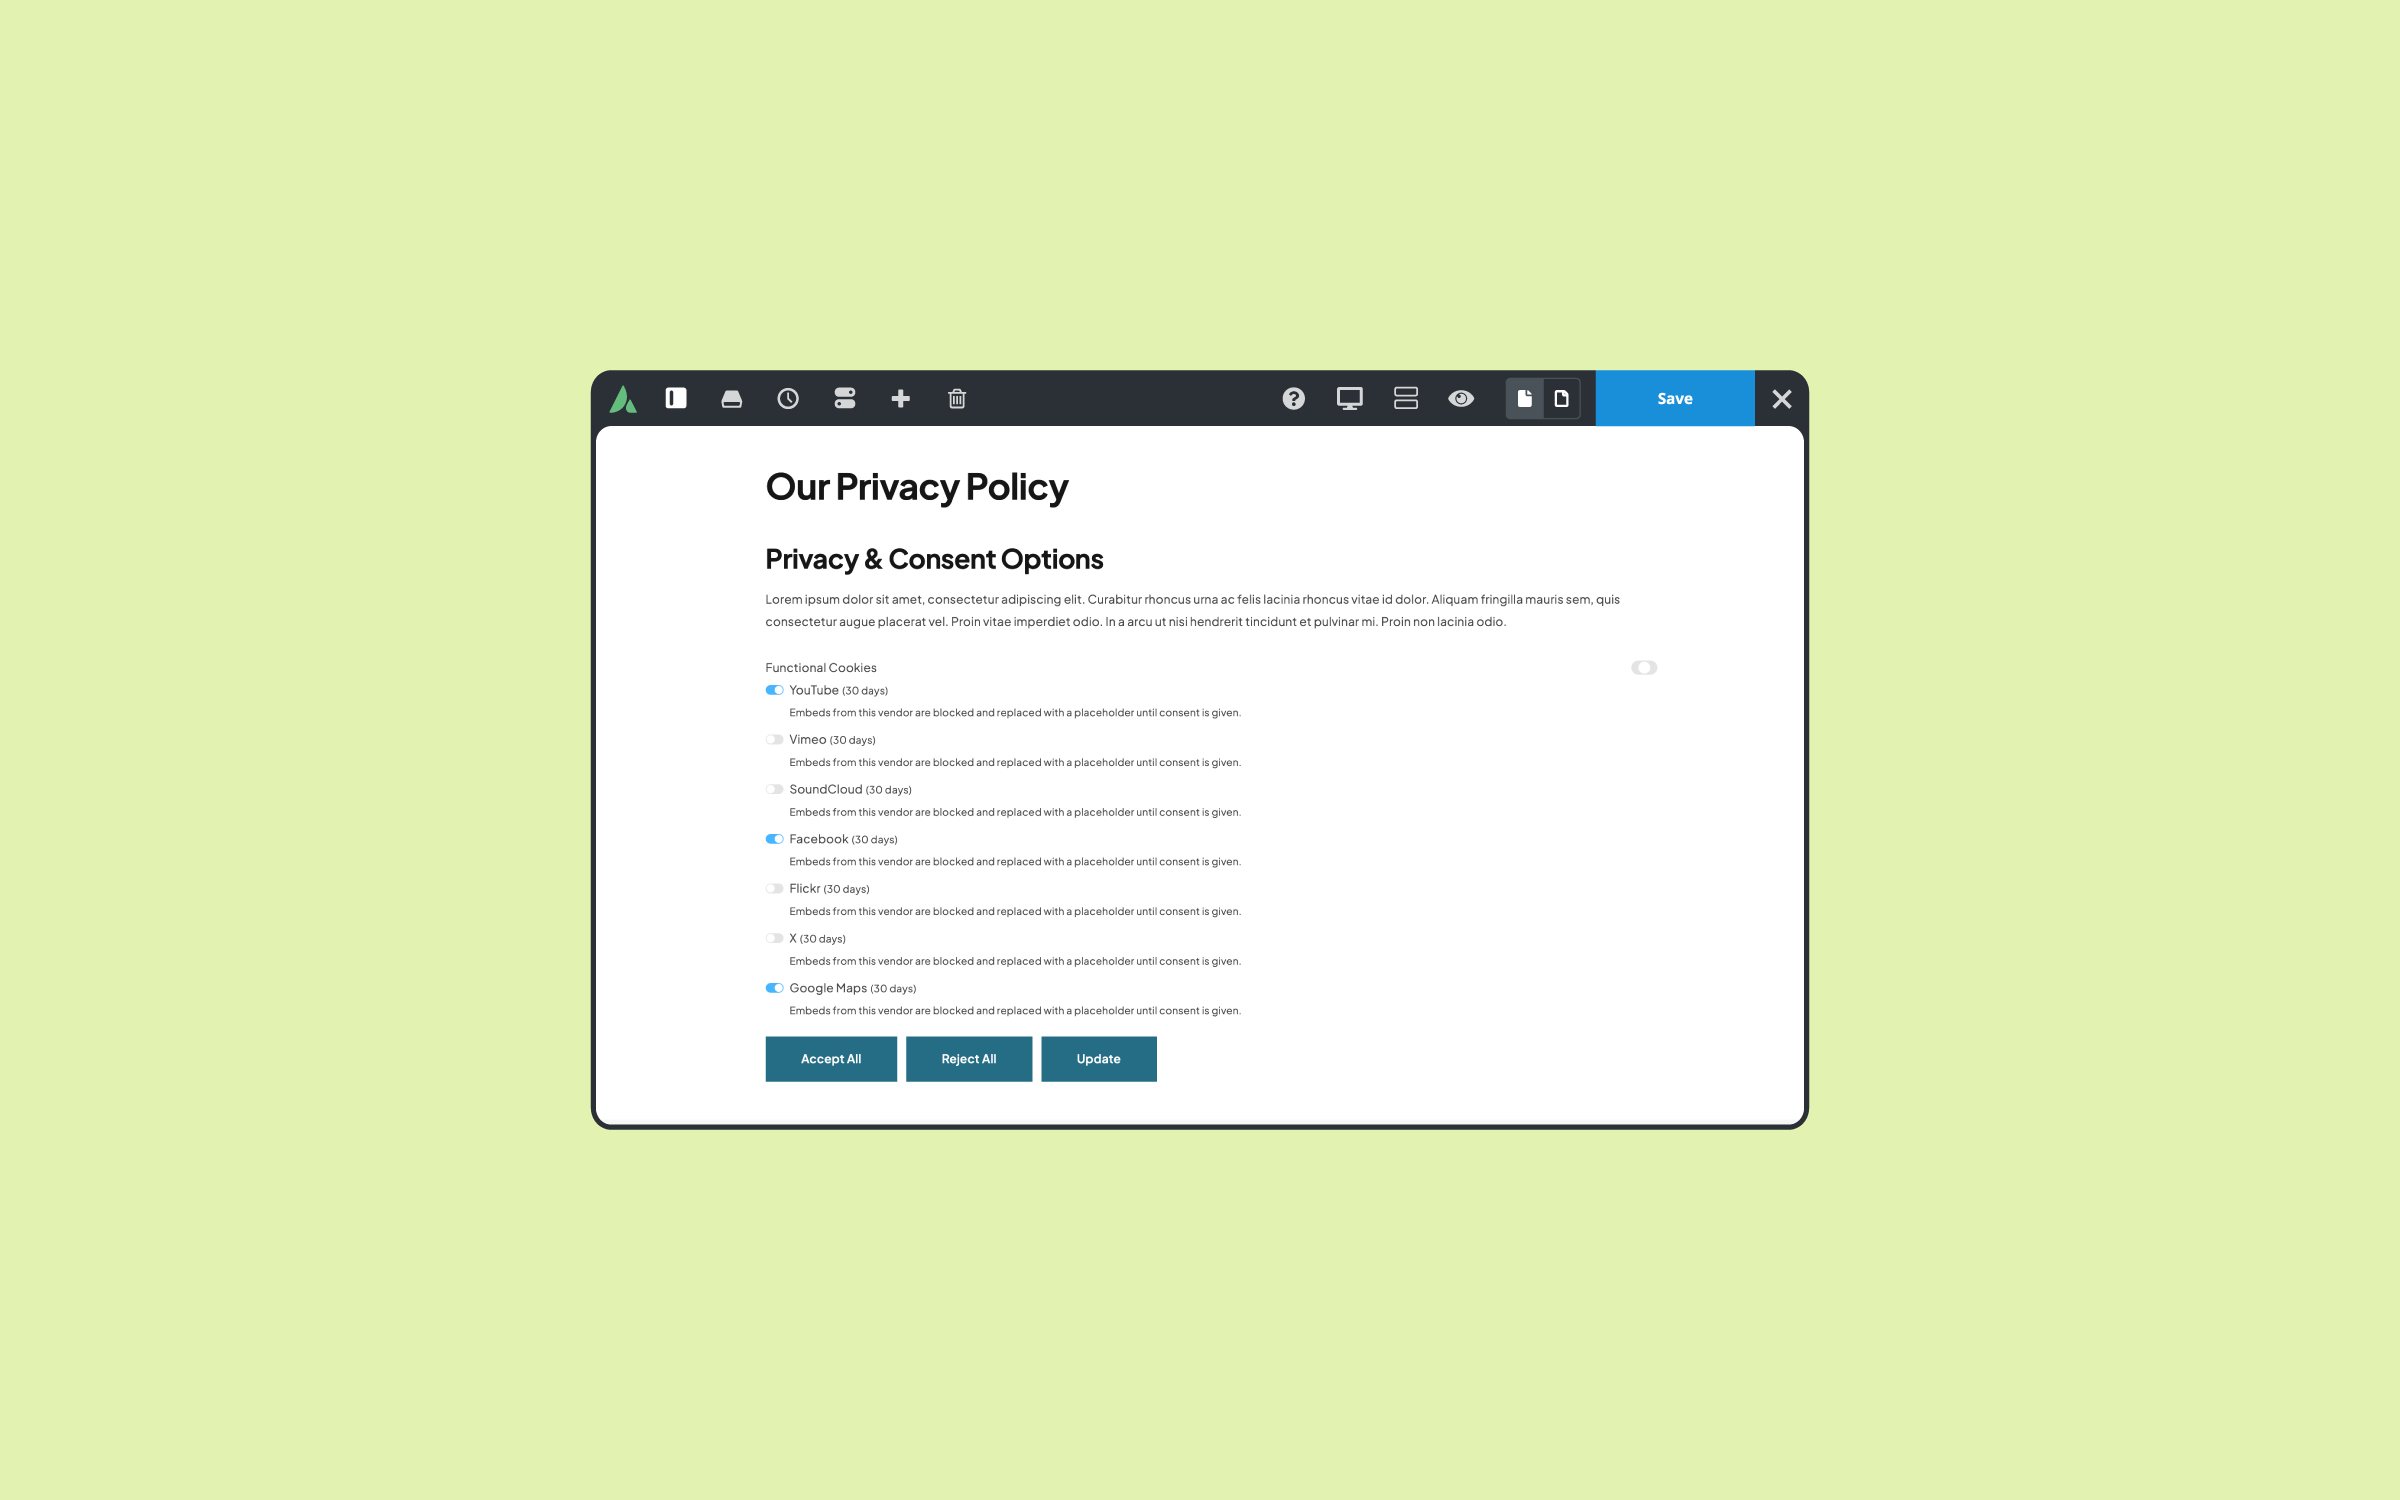
Add some privacy text at the top, then add the Privacy and Consent Element. This is where the configuration differs from that of a privacy policy page, where you’d typically let the Element spread out. In a 600px pop-up, you want to be compact. Use these options:
The master toggle is smarter than it first appears. It has three positions: “On” when all consent types in the category are selected, “Off” when none are selected, and “Intermediate” when only some are selected. So if a visitor opens “Functional Cookies” and deselects YouTube, then opens Statistics and deselects “Google Analytics”, they’ll see all three toggle states reflected at a glance.
Visitors who want detail can expand a group, view individual options, and even read the descriptions. Visitors who don’t can flip a category switch and be done. Both get served.
Set the Save Action to Ajax
Enable all three buttons on the element, and set the “Save Action” to “Ajax”. As the option description explains, Ajax saves the consent client-side, immediately replaces visible consent-gated placeholders, and fires an event — no full-page reload. It’s also what makes the auto-close behavior from the Rules tab actually work.
Step 3: Test It on the Front End
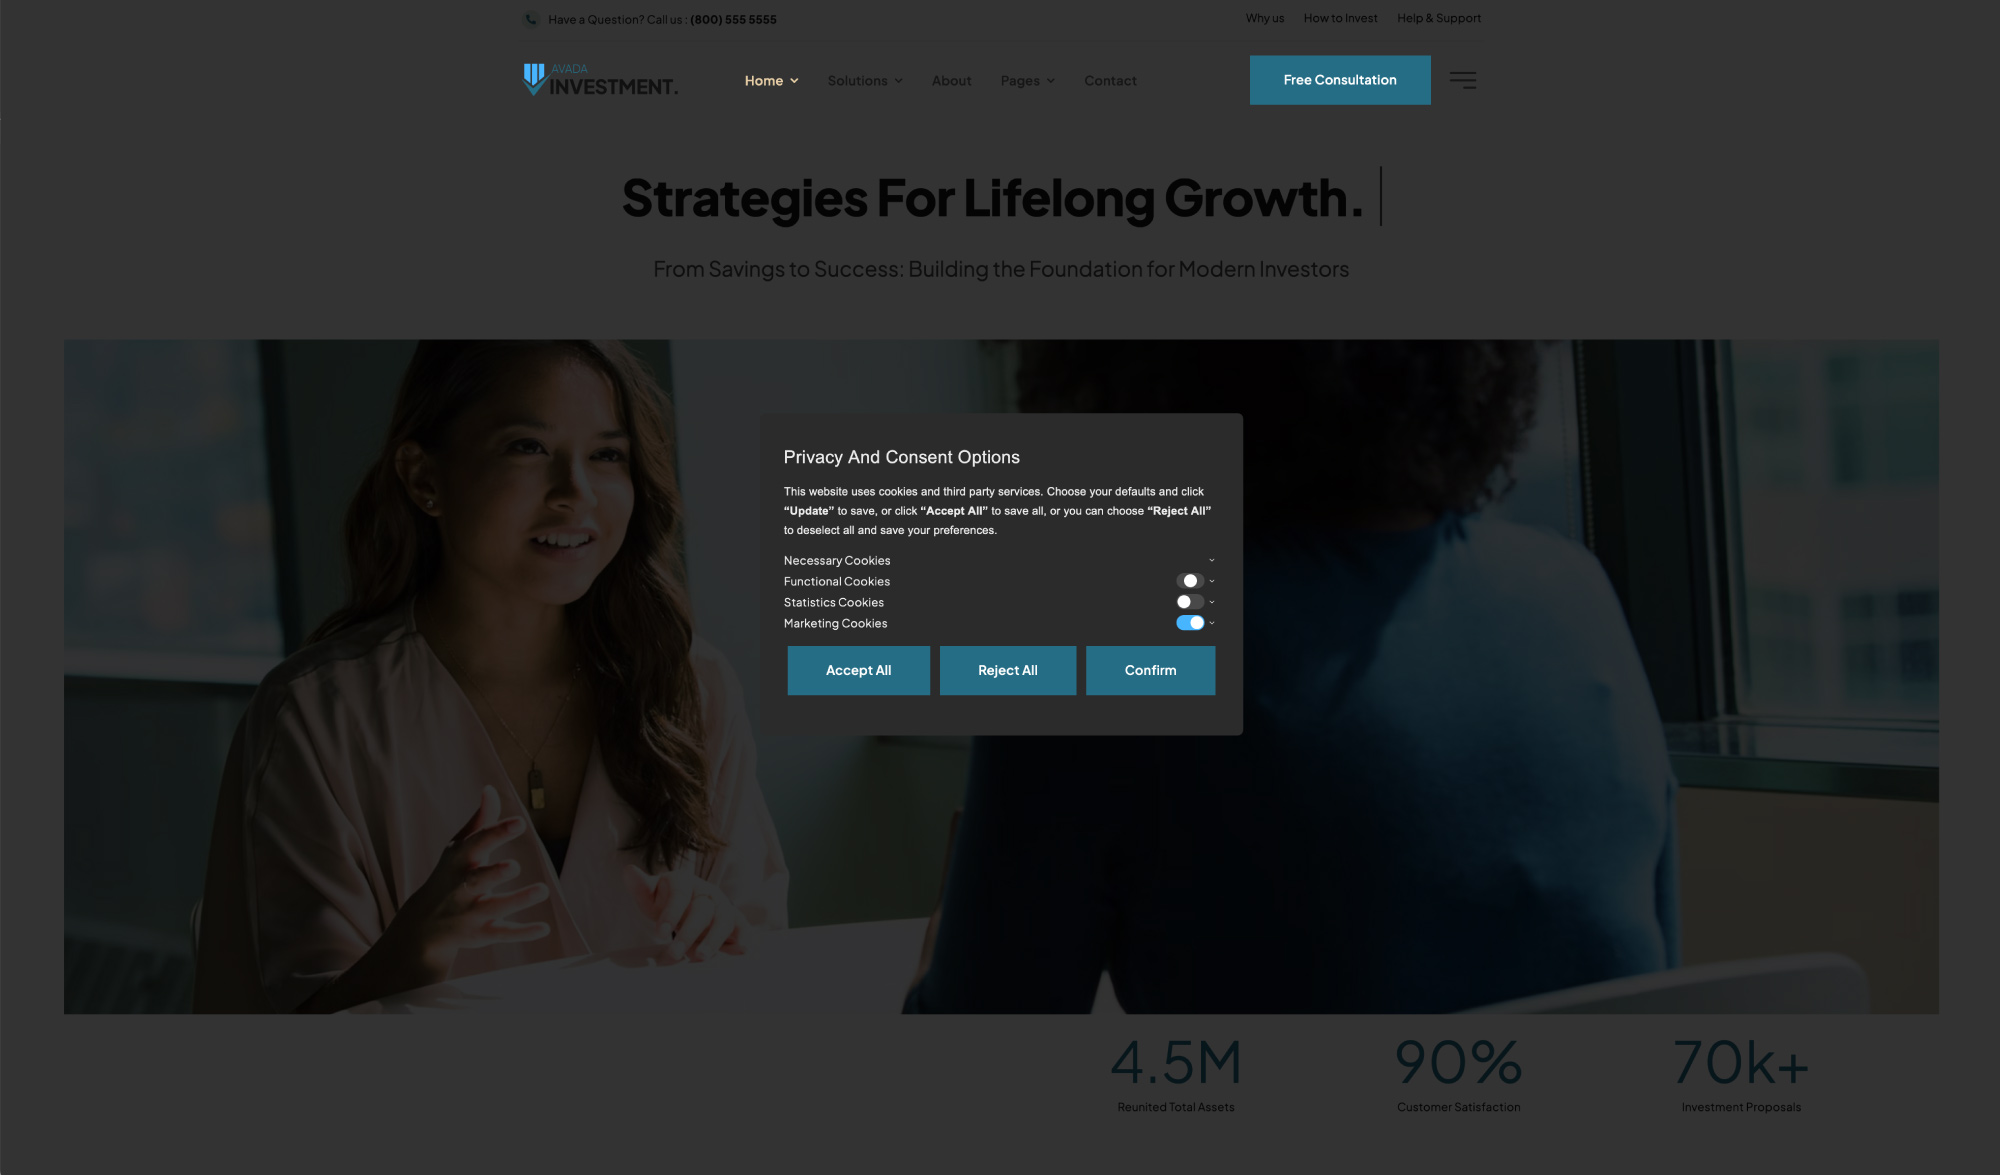
Load any page on your site. After two seconds, the trigger pop-up appears. Click “Accept All”, and the pop-up closes — consent is saved with every content type enabled. Click “Manage Cookies” instead, and the second pop-up opens with your accordion of cookie categories.
Toggle a whole category, or expand groups to decide on individual cookies. Save your choices (or “Accept All”), and both Off-Canvases close automatically. That’s the whole flow. Two seconds in, two clicks maximum, and the visitor never sees the pop-up again. It works just as well on mobile, too.
Summary
You don’t strictly need both Off-Canvases. If you’d rather skip the intro pop-up, you can run the second Off-Canvas on its own — just add a trigger to it (Time on Page works well) and let visitors land directly in the full consent panel.
The two-step version is worth the extra few minutes, though. It gives agreeable visitors a one-click exit while keeping full control one click away for everyone else. And with Avada’s Privacy and Consent options, you’ve got the flexibility to build whichever version fits your site.