Share
Forms are a key part of almost every website, whether it’s a simple contact form or a more complex booking or enquiry workflow. Using the Avada Form Builder, users can create everything from straightforward one-page forms to conditional and fully featured multi-step forms.
Multi-step forms are especially useful when a form becomes longer, as they help organize information and make the process feel less overwhelming for visitors. In this guide, we’ll walk through how to design a multi-step form in Avada, using a practical example that beginners can easily follow along with.
Overview
What Is The Avada Form Builder?
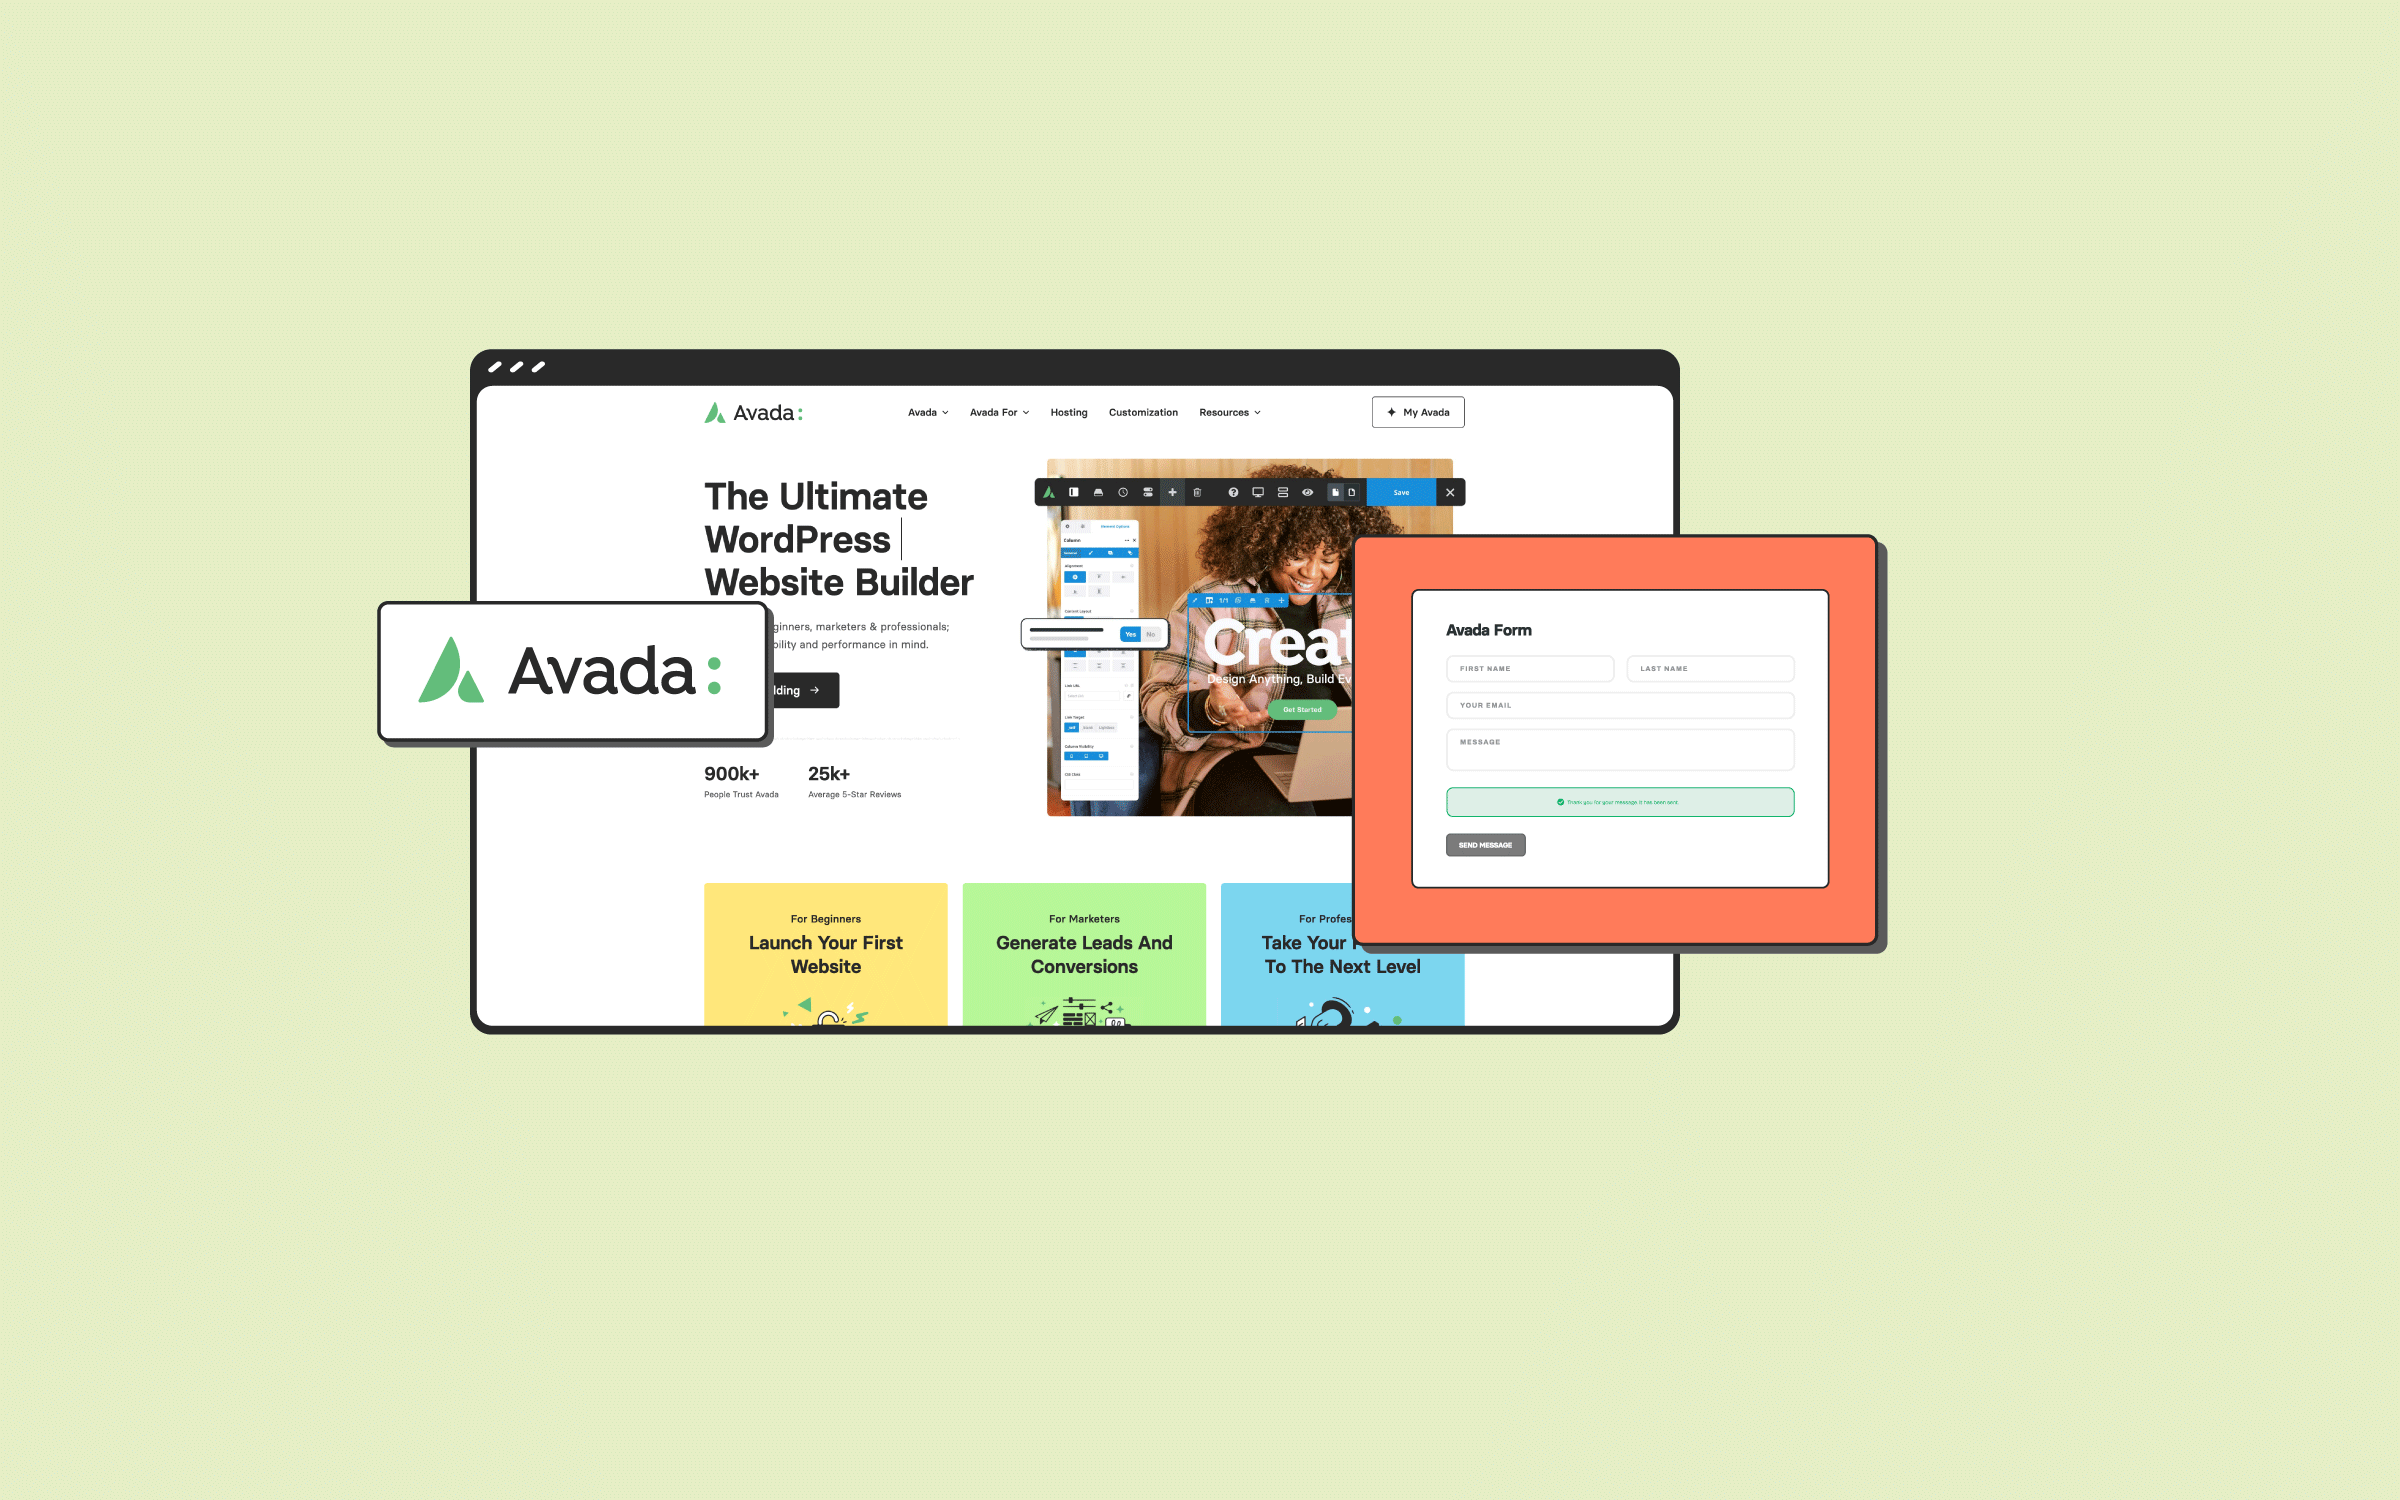
The Avada Form Builder is an intuitive tool with a drag-and-drop visual interface, making it easy to build forms without code. It offers a range of possibilities, from basic contact forms to more complex forms that can include multiple steps and conditional logic. Users can start with pre-designed templates or create forms from scratch and style them perfectly to match their branding.
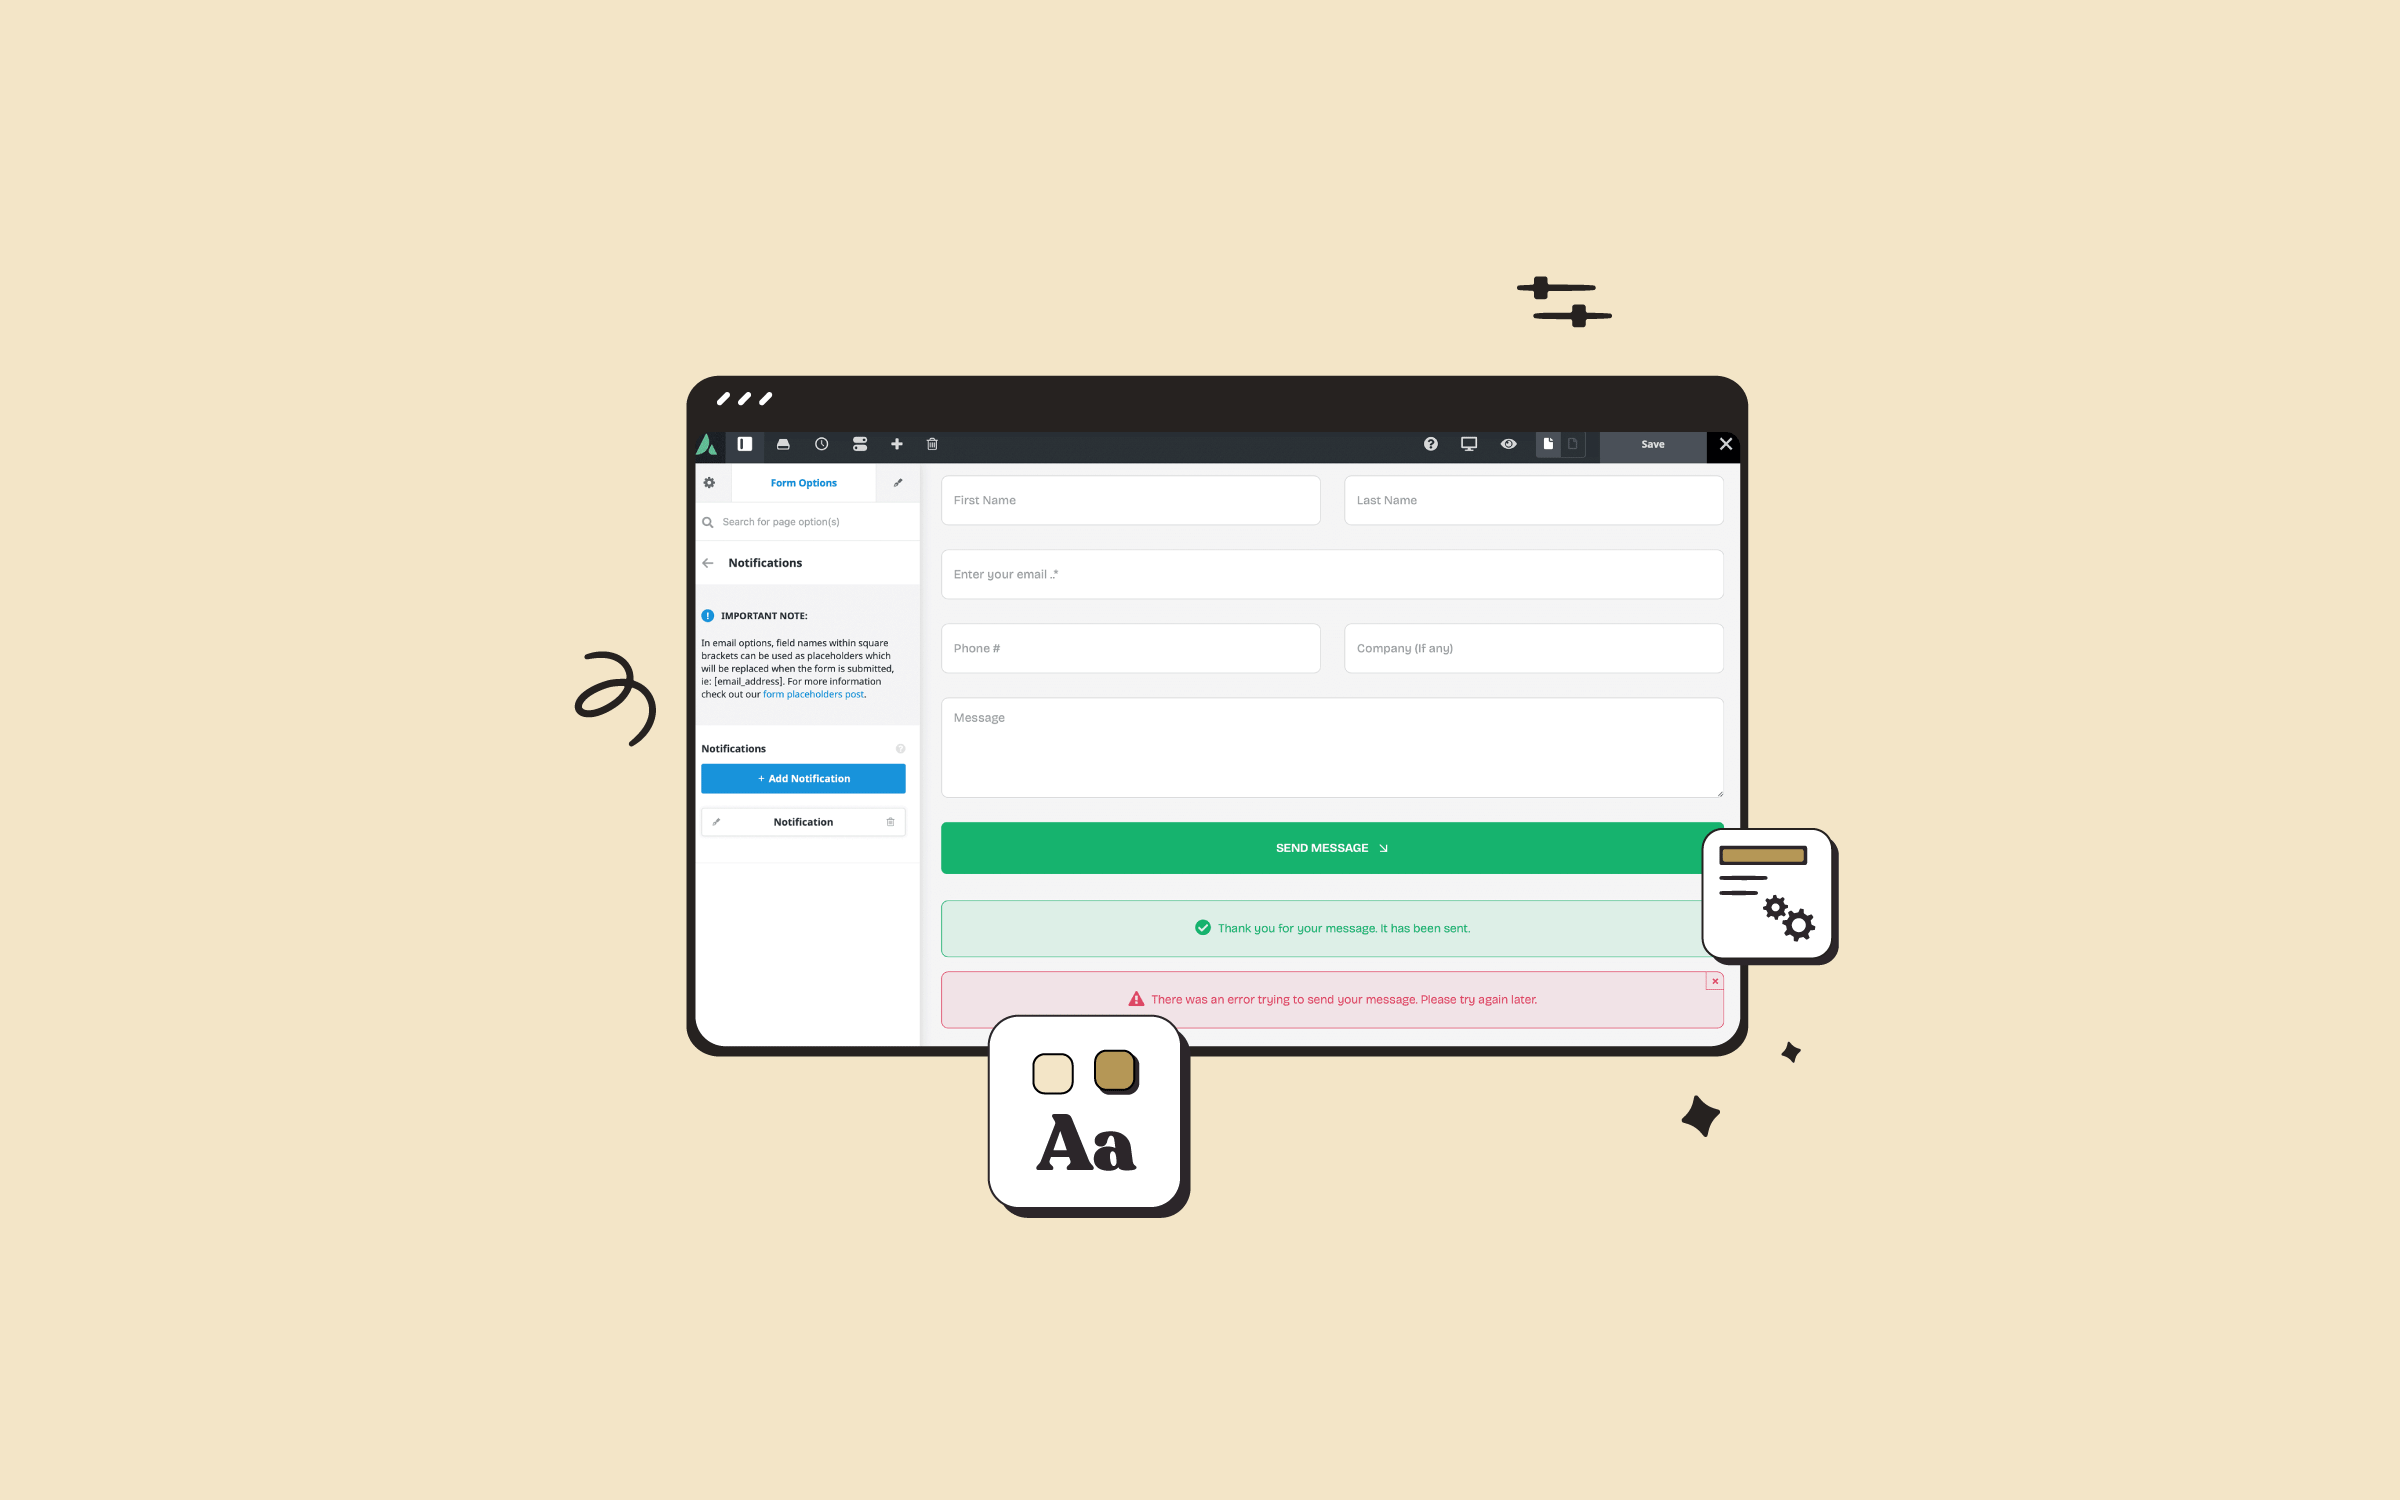
Another essential feature is the ability to set up email notifications, both for the site owner and the user submitting the form. This ensures that submissions are correctly tracked and responses are automated when needed.
Why Do You Need Forms On Your Website?
Web forms are essential for websites because they serve as a direct communication channel between your website and customers, enabling various functions crucial for business, engagement, and user experience. Here are some of the primary reasons forms are needed on a website:
Why Use a Multi-Step Form?
Long forms can feel intimidating. When users see too many fields at once, they are more likely to abandon the form before finishing it. Avada Multi-Step Forms solves this problem by breaking the form into smaller, logical sections. Each step feels manageable, and users always know where they are in the process.
Another important benefit is the conversion rate. Multi-step forms are widely proven to convert better than single-step forms, especially for bookings, reservations, and detailed enquiries.
Getting Started With Avada Forms
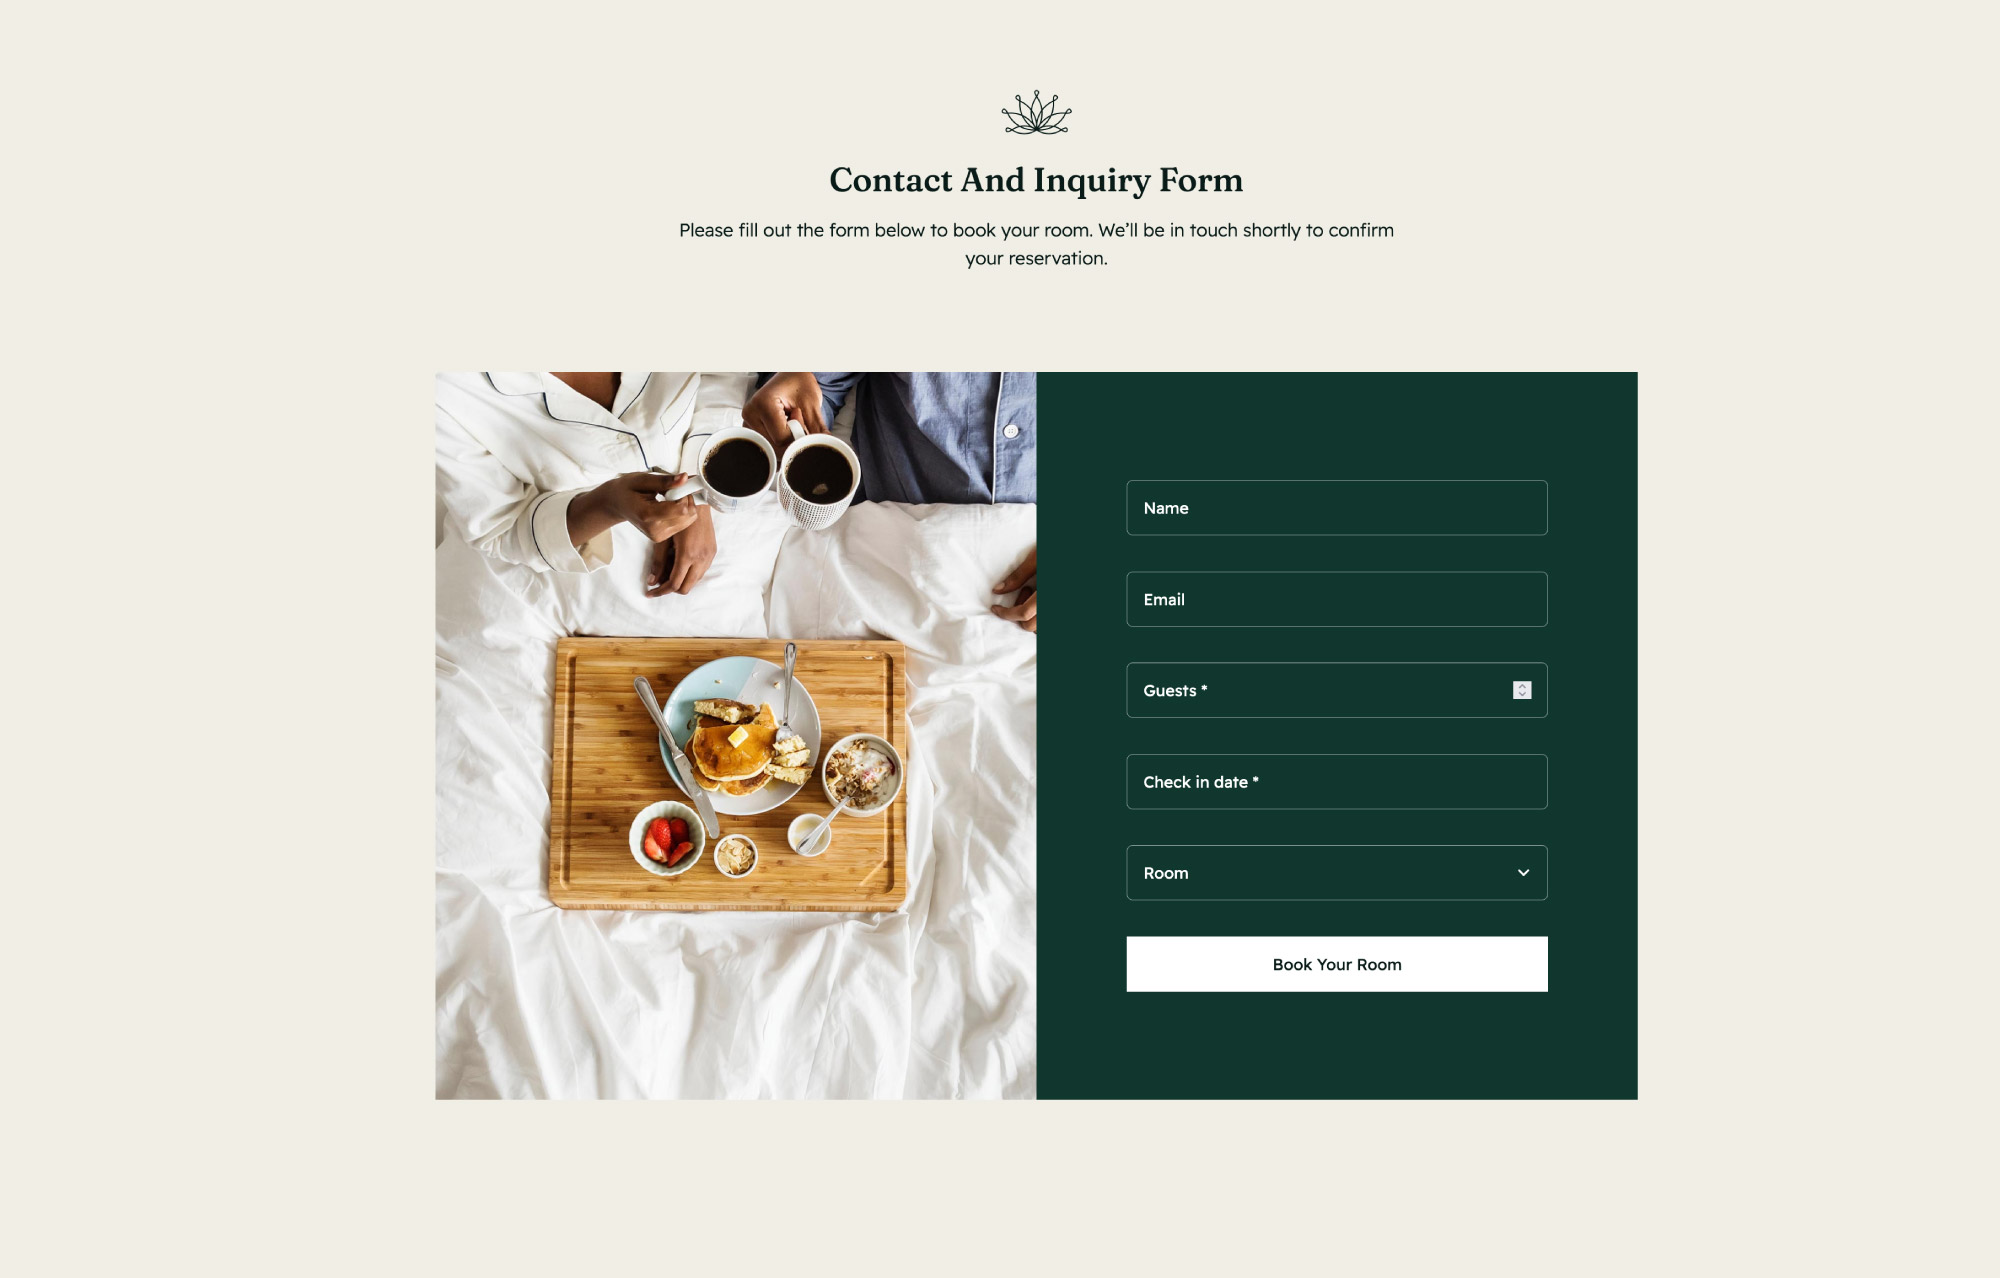
To get started, we’ll create the form in Avada Forms, which is accessed from the WordPress Dashboard (WordPress Dashboard > Avada > Forms). In this guide, the Avada Bed and Breakfast prebuilt website is used, and the existing straightforward contact form is modified into a multi-step reservation form.
For additional creative resources, Avada Studio includes several ready-made multi-step form examples. These can be imported to see how they are structured or used as a starting point. However, building a form from scratch is just as straightforward, and it’s a great way to understand how everything works.
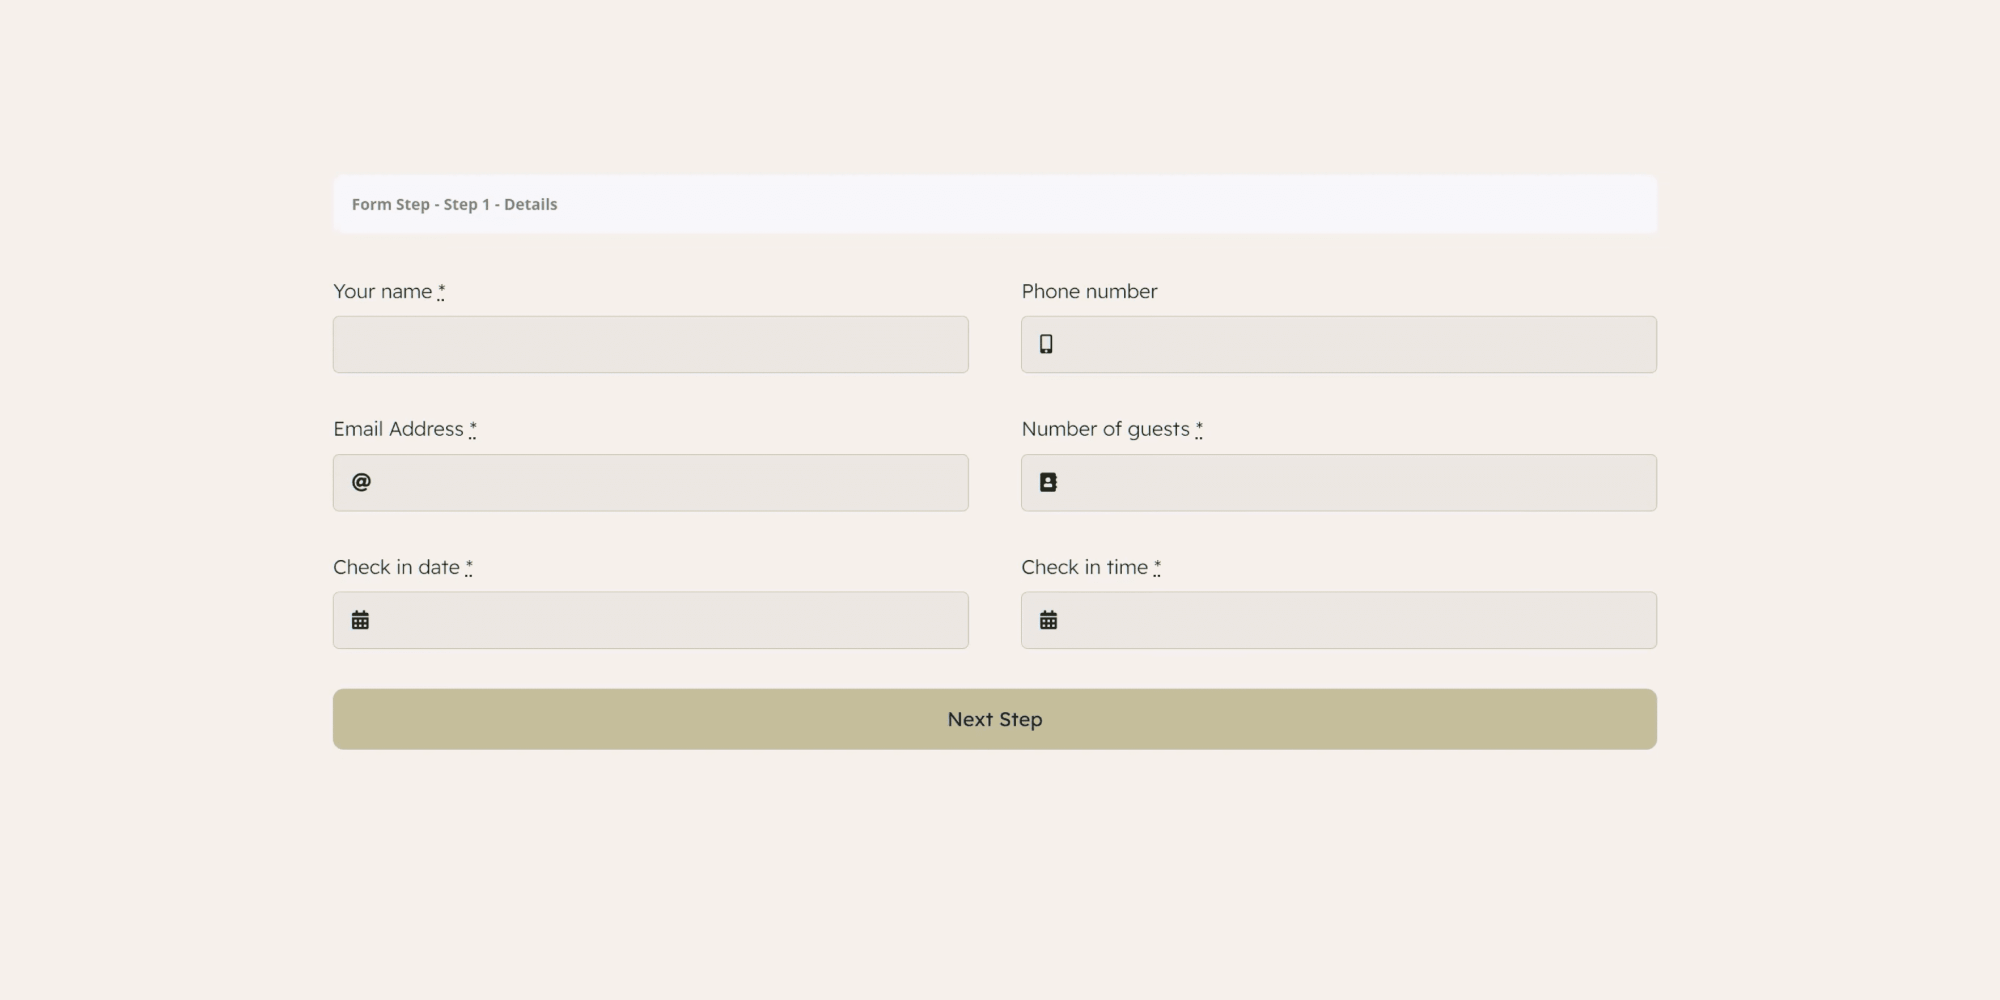
Once the form is created, the fields are arranged as a normal single-page form. At this stage, it’s still one long form, but this is where multi-step functionality really shines.
Structuring the Form Into Steps
Before adding any step navigation, the form content is divided into sections using an Avada Container Element. Each Container represents a logical step in the form, such as details, choices, extras, and final confirmation. This makes the form easier to manage and prepares it for multi-step navigation.

When creating a multi-step form, navigation is essential. One of the simplest approaches is using the Submit Button Element. In Avada, Submit Buttons behave differently depending on where they are placed. In the final step, the button submits the form as usual.
In earlier steps, the same button automatically works as a “Next Step” navigation button. By cloning and renaming the Submit Button Element, consistent styling is maintained while clearly guiding users through the form.
Adding Form Steps and Navigation
The real transformation happens when the Form Step Element is added. This Element can be found in the “Special” tab when adding elements inside a container. Each Form Step represents a new step in the form and is placed between Containers.
Each step can be given a title and an icon, helping users understand what it’s about. While the first step doesn’t strictly require a Form Step Element, adding one ensures it appears correctly in the navigation timeline or progress bar.
To improve usability, “Previous” and “Next” navigation is added in later steps. This can be done with buttons, icons, or even text links. Avada’s Dynamic Content options make this easy, as “Previous Step” and “Next Step” actions are available specifically for forms. This allows users to move backward and forward through the form without reloading the page.
Using Avada Conditional Logic Inside a Multi-Step Form
Multi-step forms work perfectly alongside Avada’s Conditional Logic. In this example, certain fields appear only when a certain number of guests are selected in the first step. For instance, additional breakfast options are displayed only when the number of guests increases.
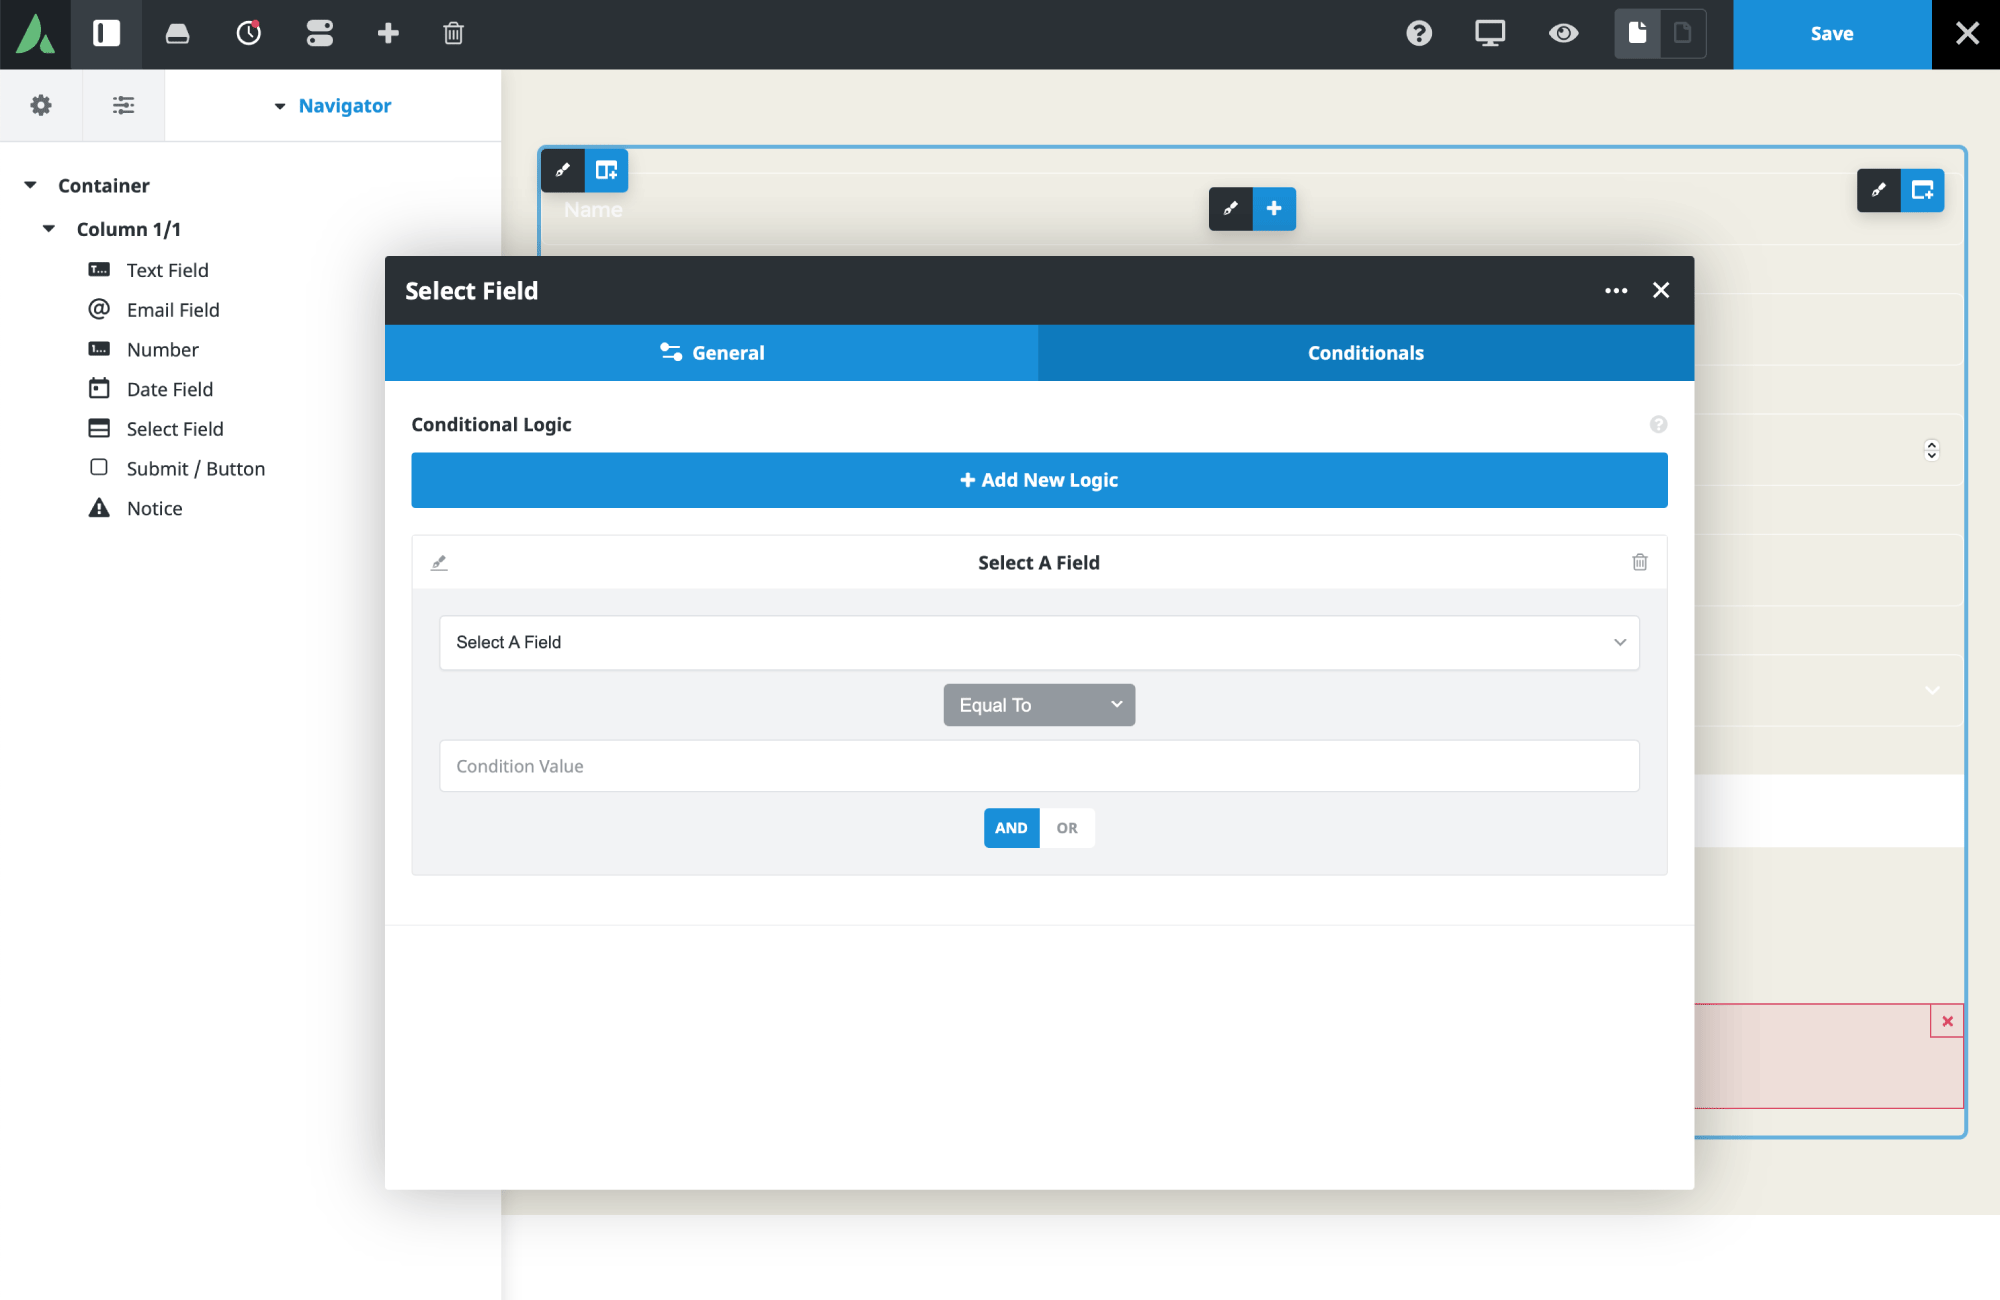
This keeps each step clean and relevant, showing users only the fields they actually need to fill out. Avada Conditional logic is configured directly on individual Avada Form Builder Elements, making it both powerful and easy to manage.
Configuring the Step Progress Indicator
Avada Multi-Step Forms include a dedicated “Step Progress” tab in the form options. This is where visual navigation is configured. Users can choose between a timeline or a progress bar and decide whether it appears at the top or bottom of the form. The appearance of the step navigation is fully customizable.
Colors can be defined for default, active, and completed steps, and spacing, padding, border radius, and typography can all be adjusted to match the site’s design. Icons and titles can be shown or hidden depending on the desired look and level of detail. This visual feedback reassures users and helps them understand how many steps remain.
Adding the Avada Form to a Page or Post
Once the form is complete, it’s added to a page using the Avada Form Element. In this case, the contact page layout is adjusted, a background color and padding are applied, and a subtle animation is added to introduce the form smoothly when the page loads.
After selecting the newly created multi-step form from the element options, the page is saved and ready for testing.
Testing the Multi-Step Experience
On the front end, the form loads with the first step visible and the progress timeline displayed at the top. Required fields must be completed before proceeding to ensure accurate submissions.
As users click “Next Step,” the form transitions smoothly between sections. The timeline updates to show progress, and both previous and next navigation are available where needed. On the final step, the button switches back to its normal submit behavior, sending the form exactly as configured in the submission and notification settings.
Summary
Avada Multi-Step Forms are flexible, user-friendly, and surprisingly easy to build. Whether the goal is to create a reservation form, a detailed enquiry, or a custom workflow, breaking a long form into steps can significantly improve usability and conversions.
Every site and form will be different, but the core setup remains the same. With containers, Form Step Elements, and Avada’s built-in navigation and styling options, beginners can confidently create professional multi-step forms without writing a single line of code.