How To Make A Multi-Step Form With Avada Forms
Last Update: March 12, 2025
With Avada Forms, you can make anything from simple contact or subscription forms to conditional and even multi-step forms. Setting up your form this way for more extensive forms can make the information required to complete a long form appear more organized and less overwhelming. Plus, multi-step forms are proven to result in more conversions than single-step forms. Read on to discover how easy it is to make multi-step forms with the Avada Form Builder, and watch the video below for a visual overview.
Initial Form Content
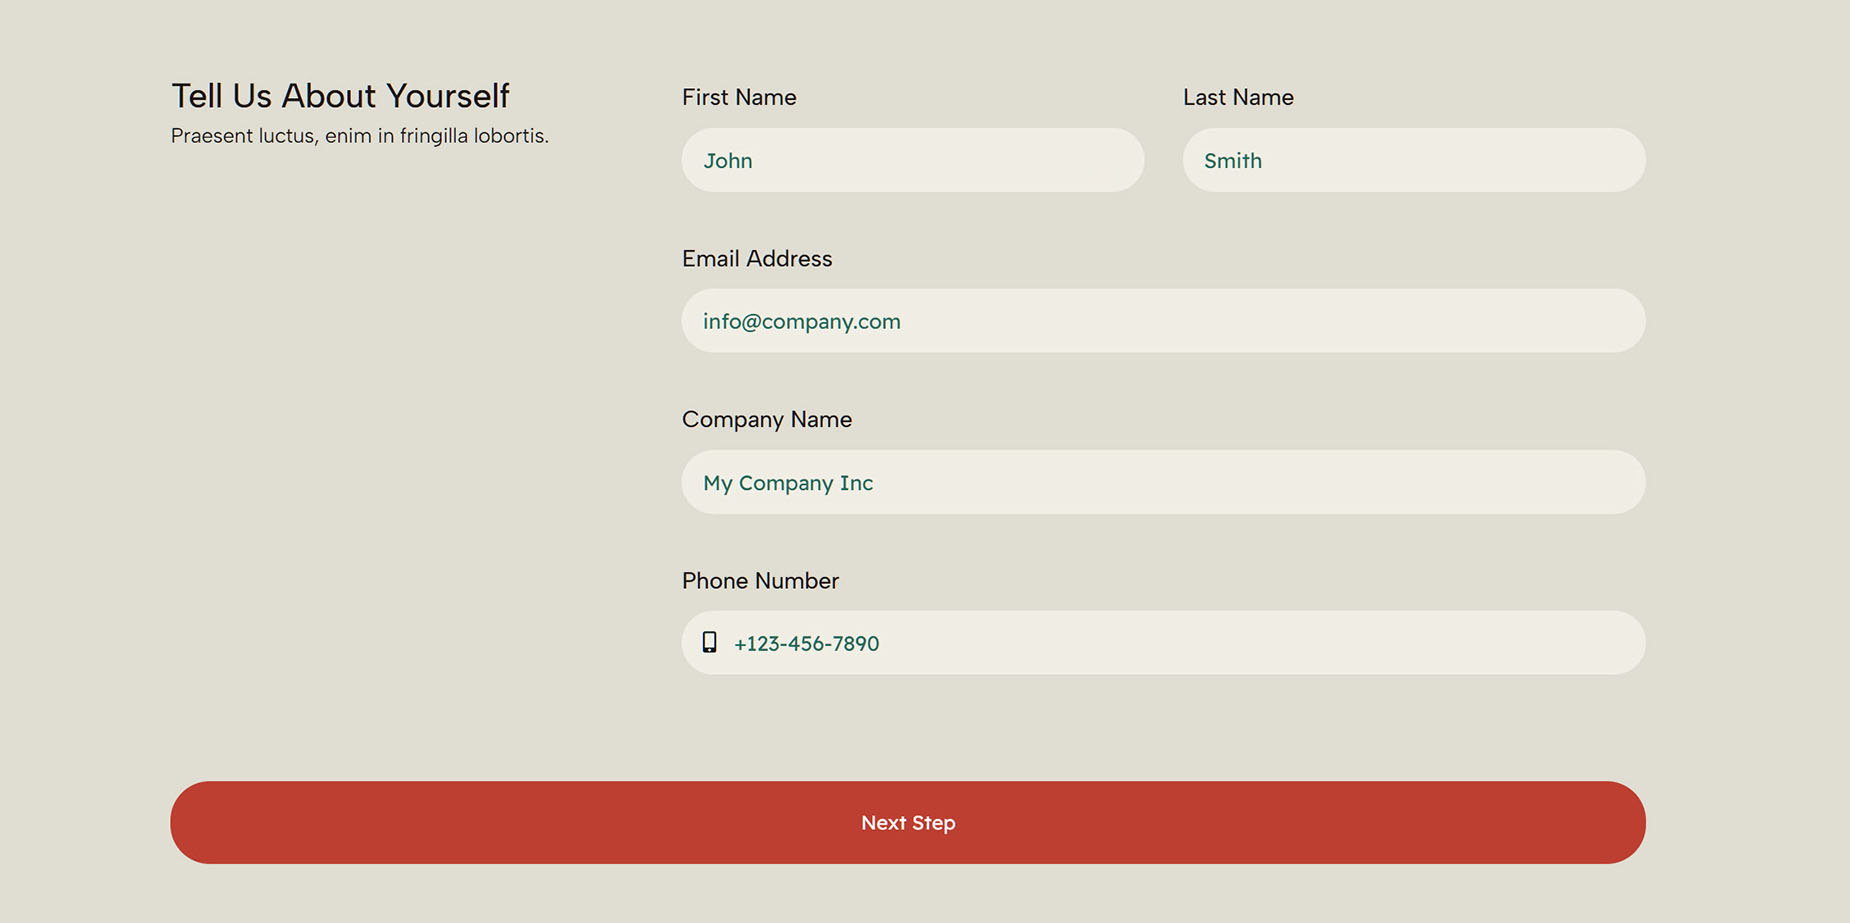
When making a multi-step form, the initial process is the same as for a standard form. Head to Avada > Forms and create your form, and start editing it in the Avada Builder. Add your initial Form Field Elements as usual. You should add a Submit Button Element at the end of every form section. This will be the trigger used to walk through the steps of the form.
As seen below, we have the initial content, and a Submit Button Element, which I have named Next Step. Now, it’s time to create the actual step in the form. In this example, we have split a form into two parts, but you can create as many steps as you like.
Add A Form Step
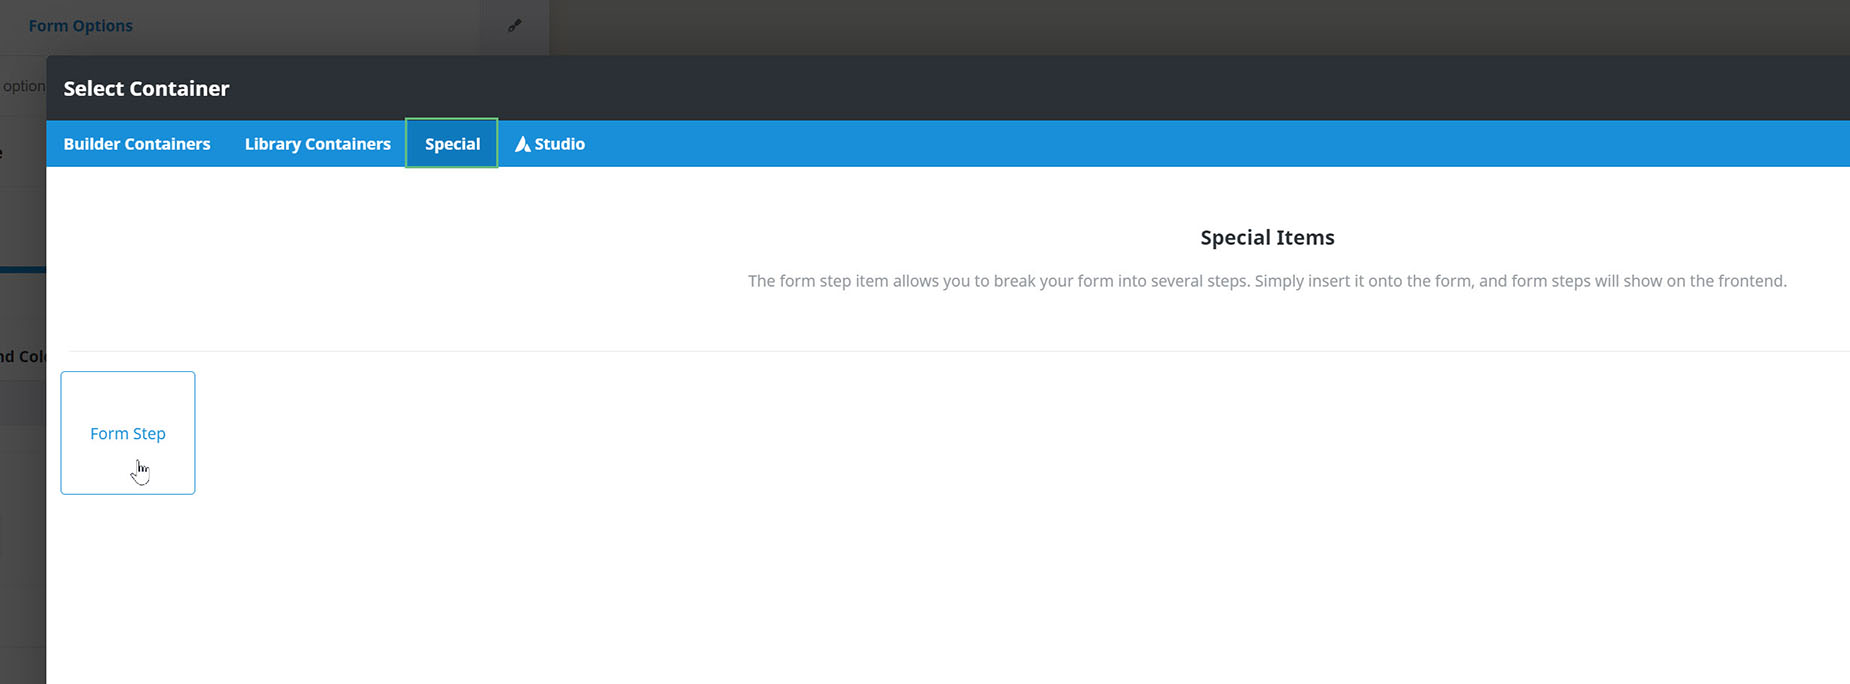
To add a form step, add a Container to the Builder directly after the container with your initial content, and navigate to the Special tab. Here, you see the Form Step Special Item. This adds the step to your Form. There is nothing to configure with this Special Item, just give it a title, and an icon if you wish. This is then used in the navigation (yes there can be navgation).
Add Further Form Content
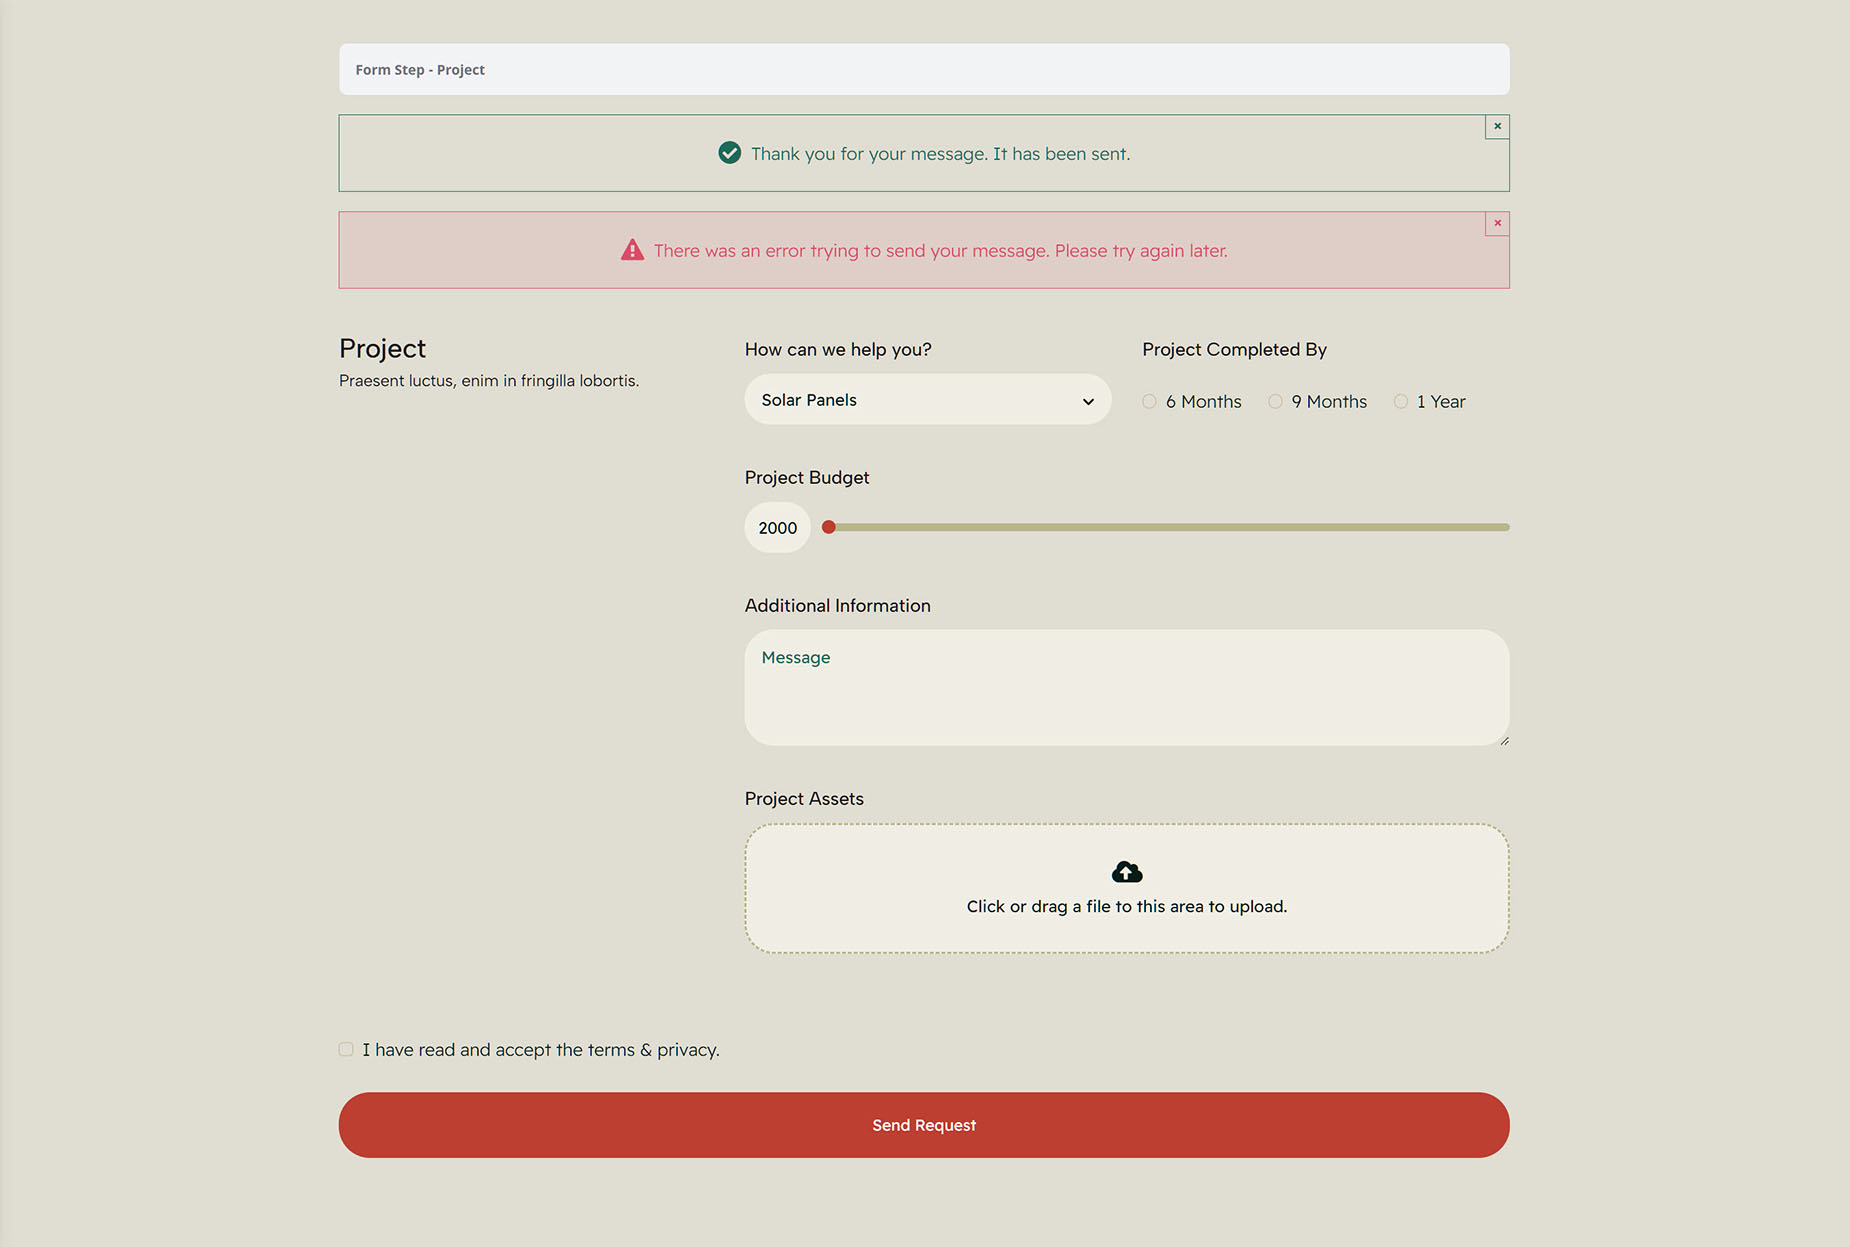
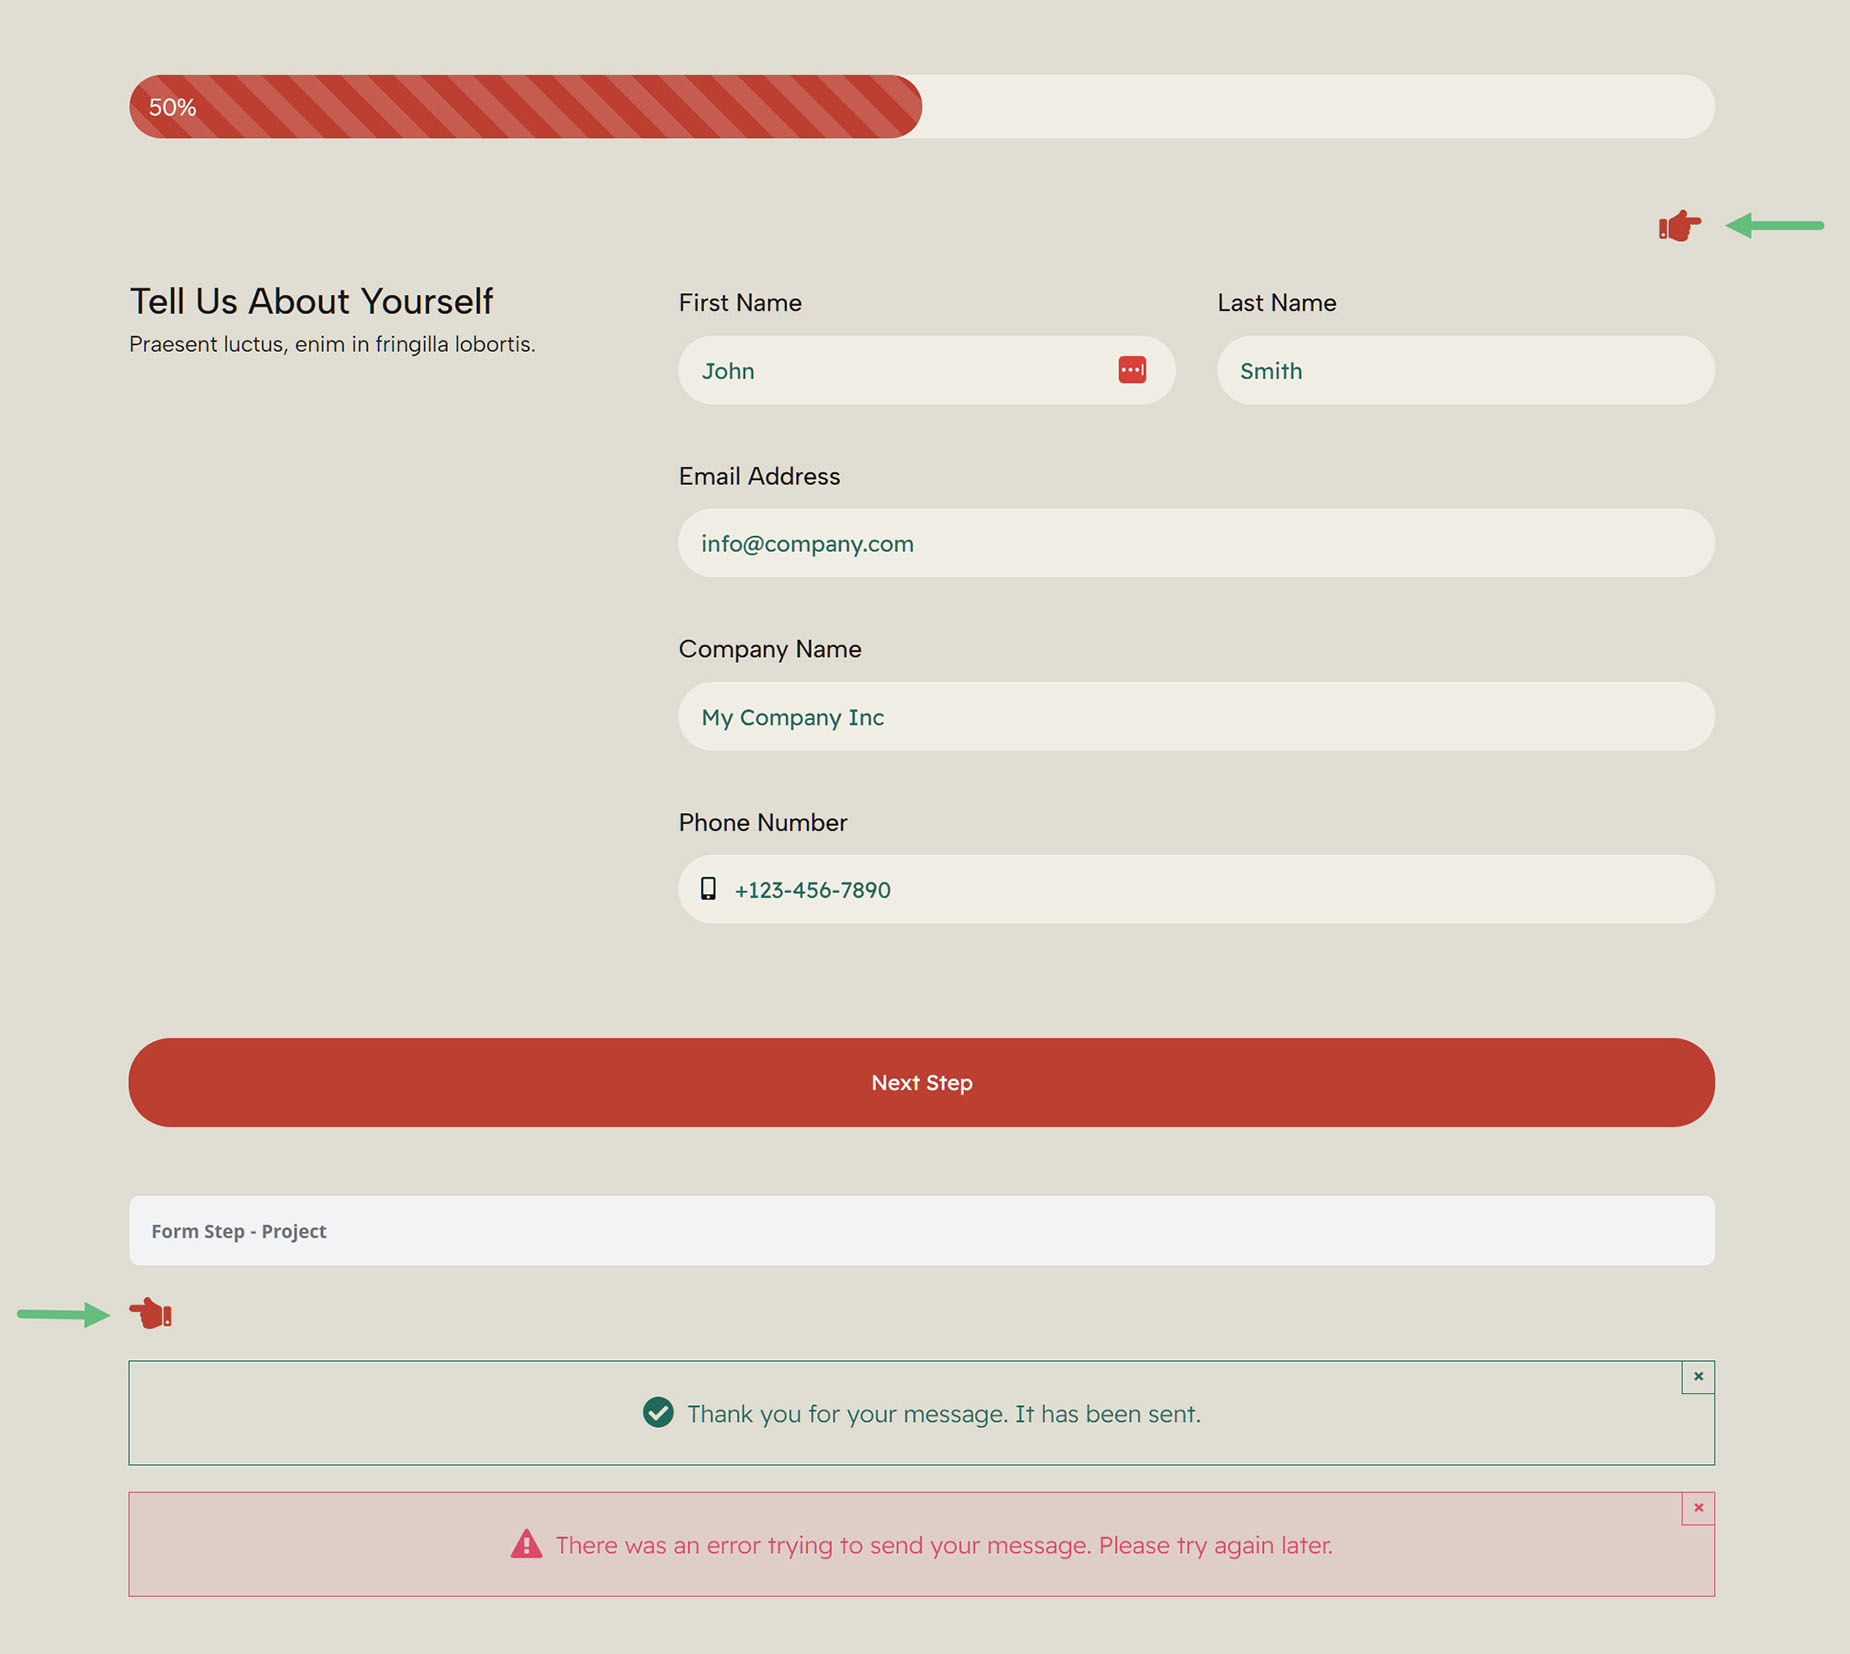
Now, it’s simply a matter of adding further form content. You can add as many form sections as you like, with whatever form of content you wish, with an additional Form Step between each one. In the screenshot below, you can see the Form Step Element at the very top.
You can then place a Submit Button Element at the bottom of each form section, which enables the user to continue to the next step. With a multi-step form, the Submit Button Element only works as a normal Submit button on the last step of the form. Alternatively, you can add buttons, icons or text labels, etc, and add dynamic content to them to act as Forward / Previous buttons. See the following section for more details on that option.
Your final form section should have a normal Submit button, and this is also where you would place the Notice Element.
Dynamic Navigation Options
If your form has many steps, you may wish to add further navigation. This might be in the form of Forward and Back arrows. This is possible with the addition of some dynamic content options.
In the example below, as this is only a two step form, I have added a Next Step icon in the first form section, and a Previous Step icon in the second section, above the content on each step of the form. Obviously, in a form with more steps, you could include both icons on any sections between the first and the last.
These icons link to the Previous and Next Step of the form. This is achieved by setting the link on the icons to Dynamic Content, and choosing Previous Step, or Next Step. You can add this dynamic content to any content which takes a link, such as buttons, icons, text, images etc.
Configure the Step Progress
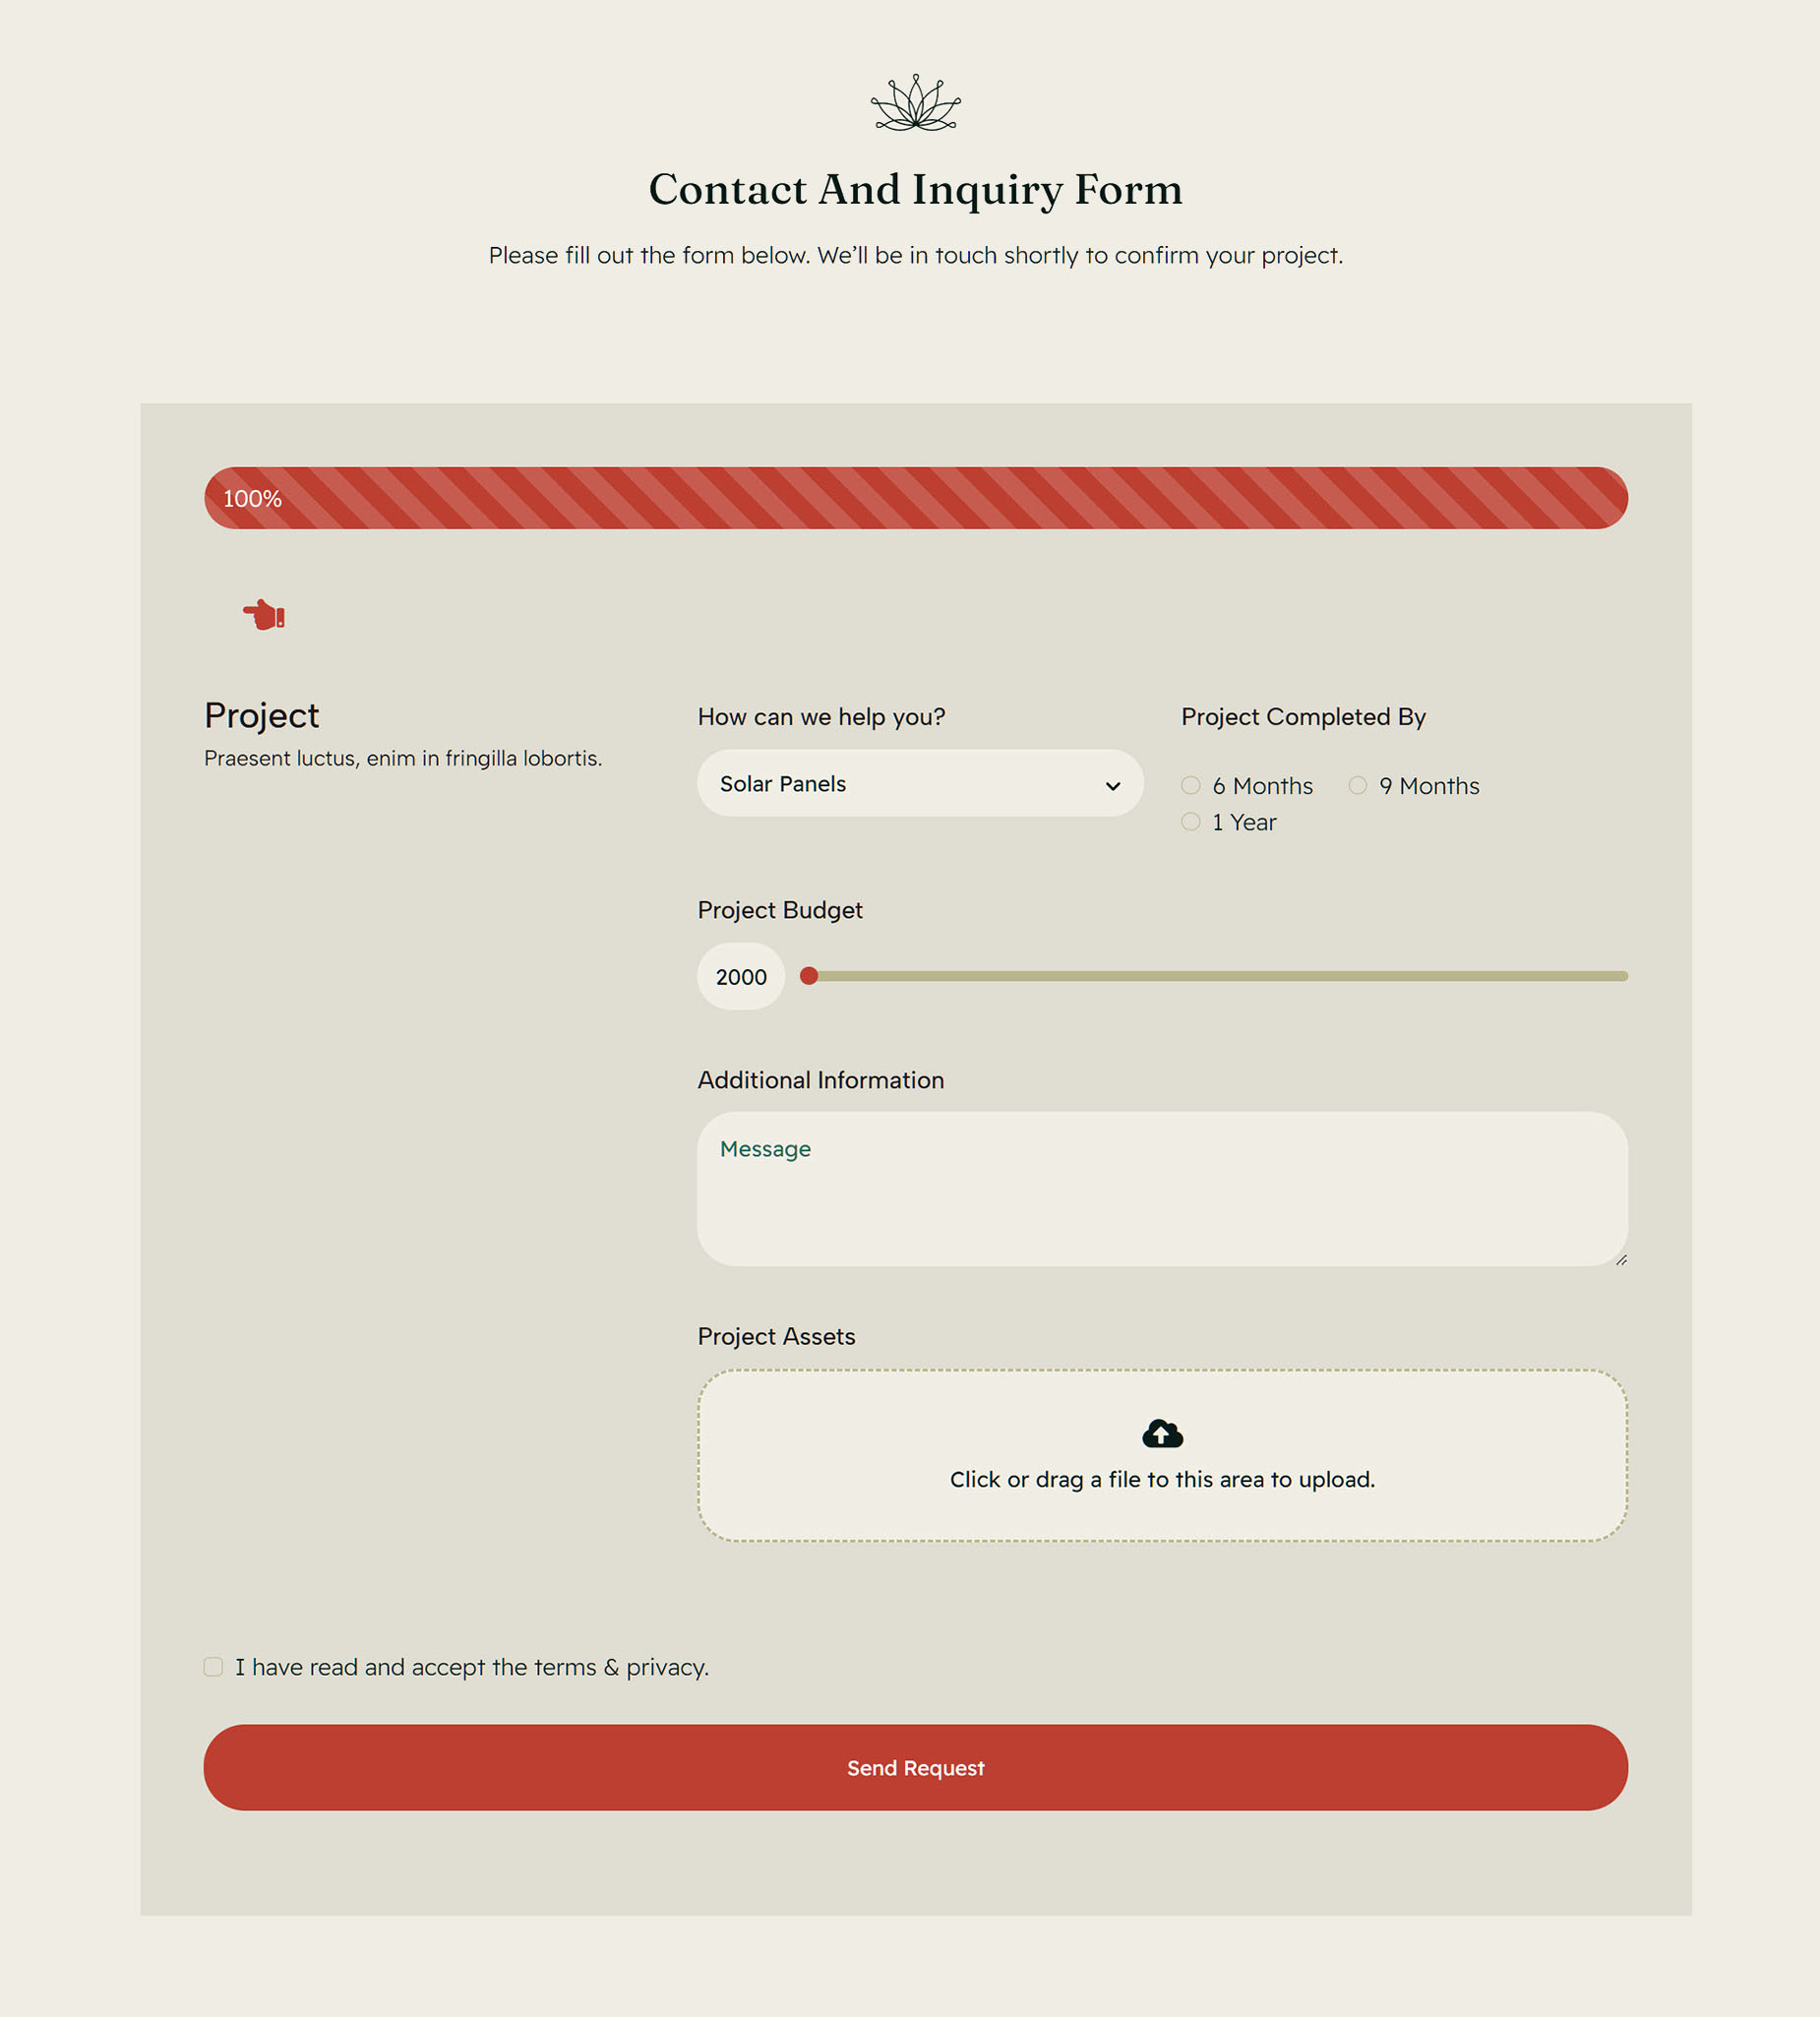
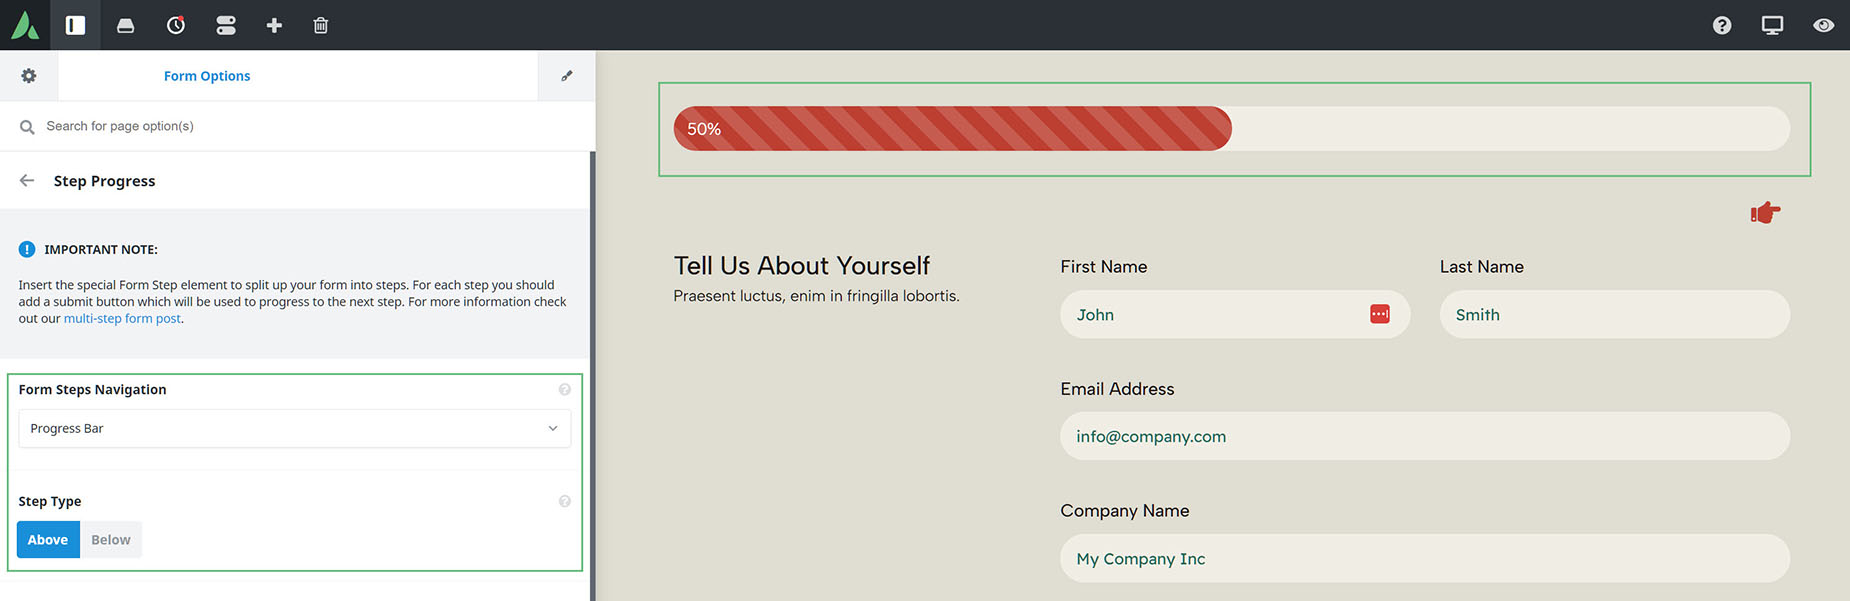
Once you have completed the form contents, you can configure the form as you would normally, including the Step Progress. This is found under the Form Options tab. This configures a section above or below the form, where the user can see the progress of the form as they move through it. If required, this can be configured as a Timeline or a Progress Bar, with many styling options available.
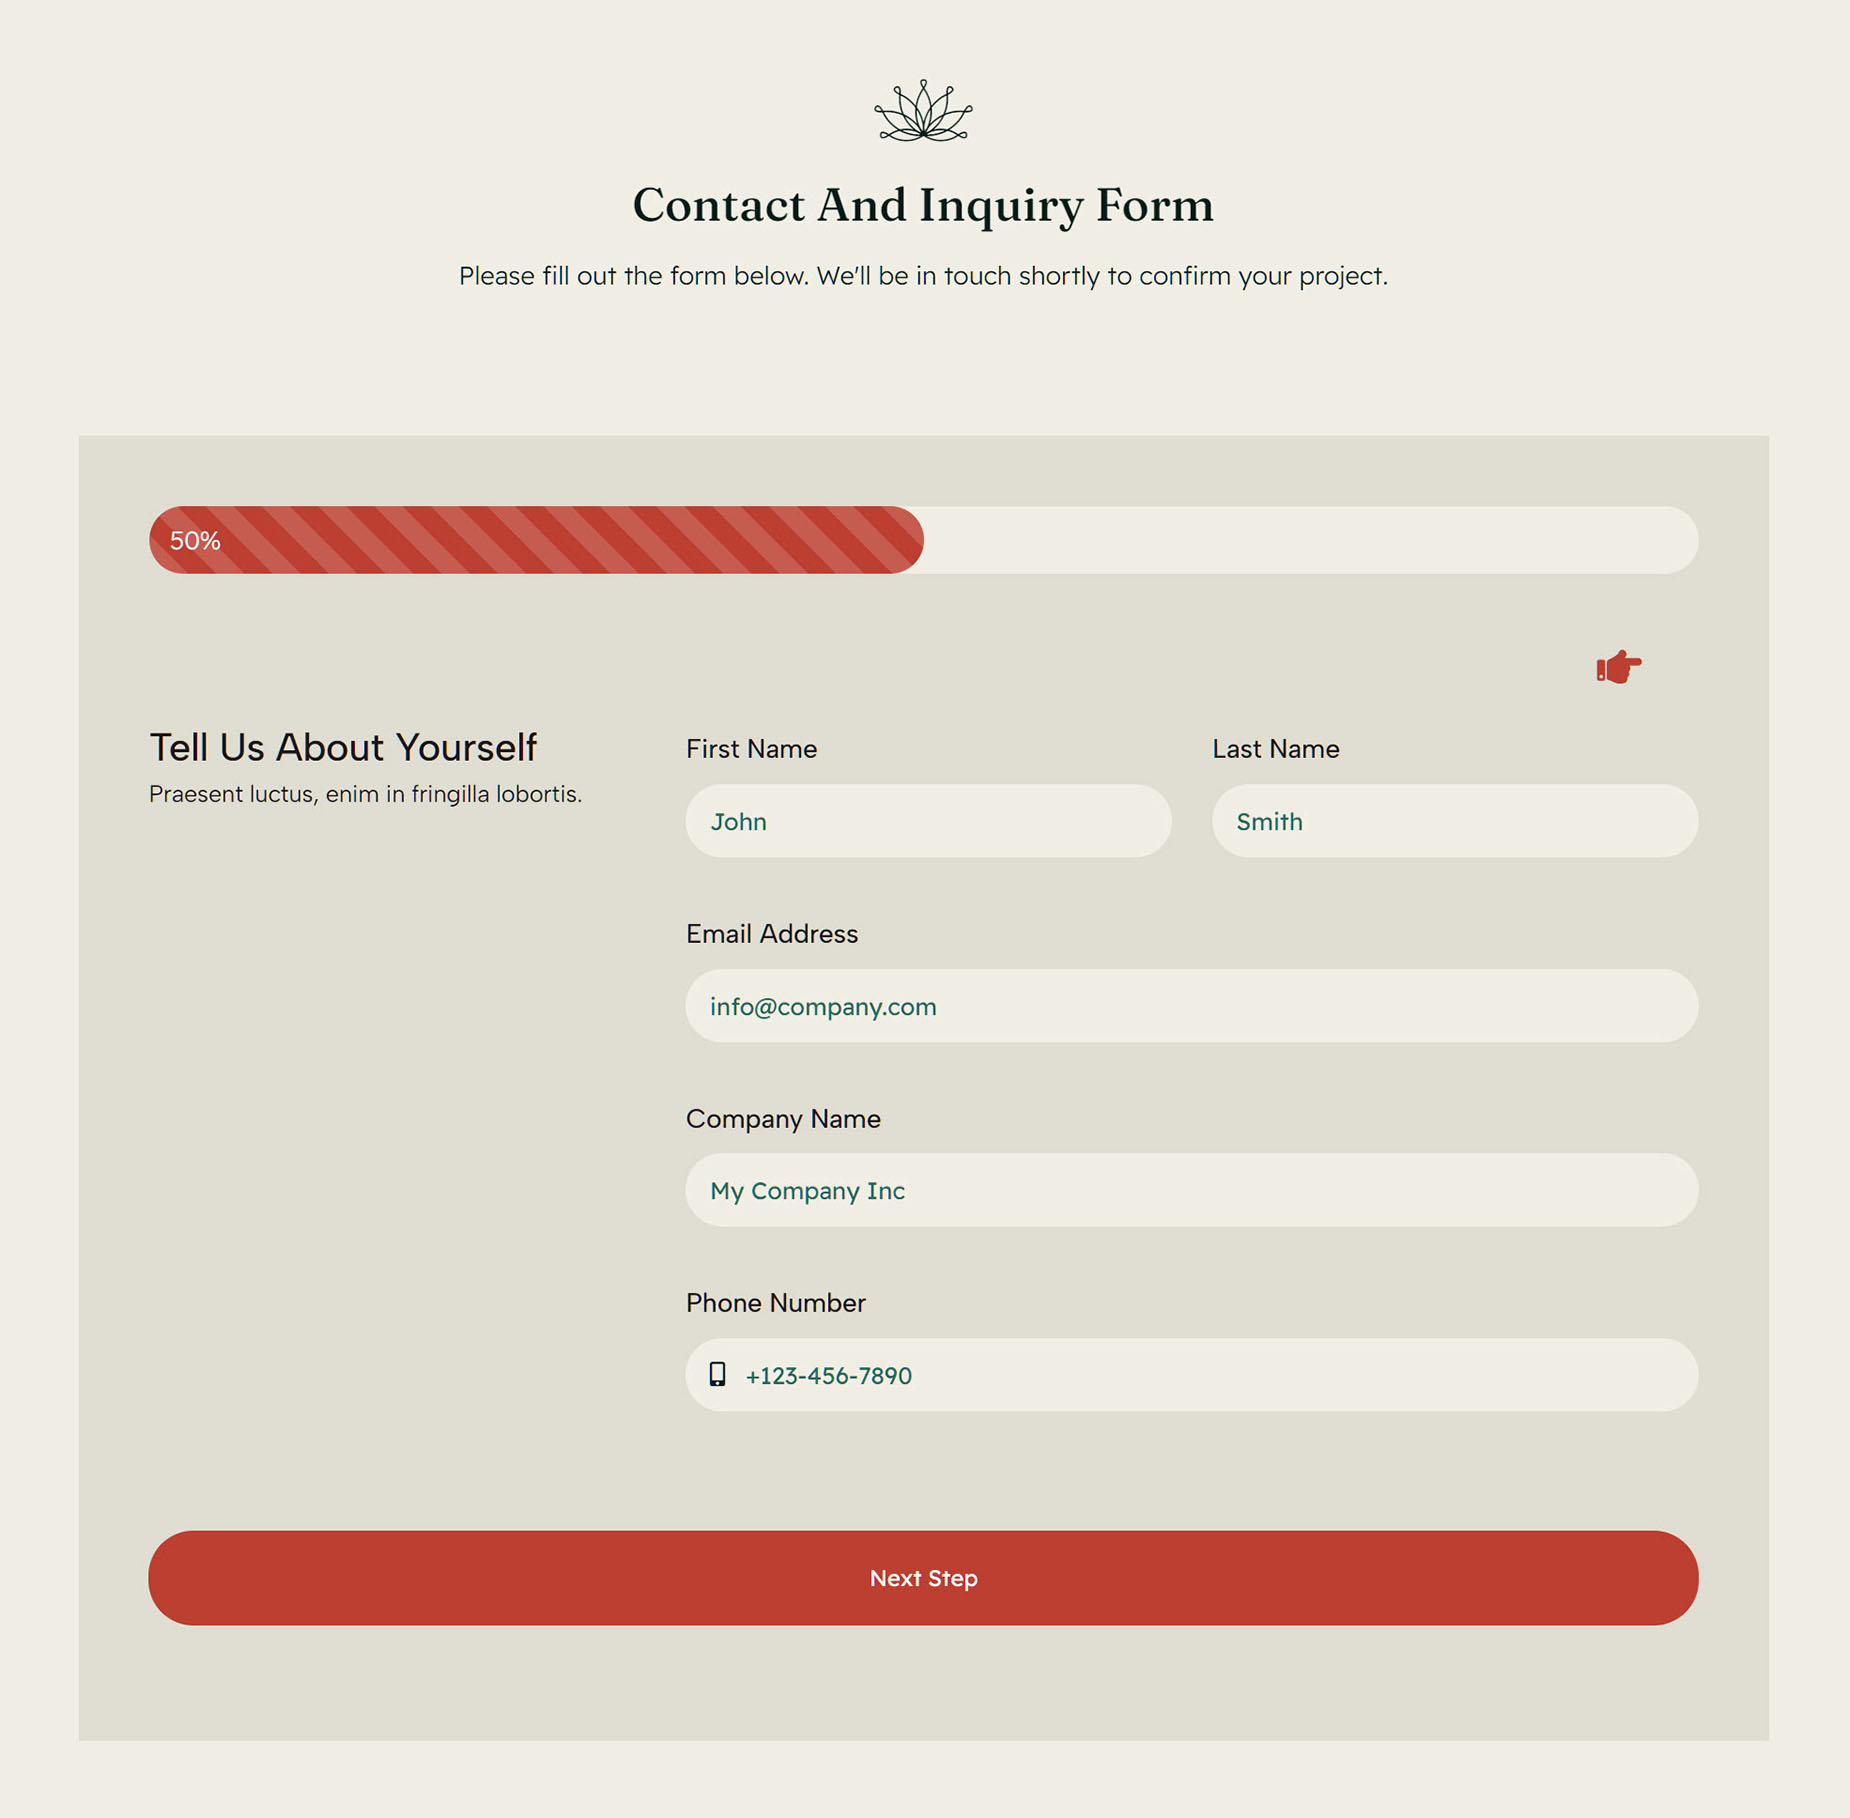
Below is an example of a Progress Bar in a two step form. Click on the buttons below to see the initial options for both styles.
Adding Your Form
Once you have completed your multi-step form, it’s simply a matter of adding it to your page via the Avada Form Element, as with any Avada Form. Except here, only the first part of the form will be displayed, with your navigational link, allowing users to go to the next step in the form.
On the final step in the form, the Submit button element acts as a normal submit button, and the form is then completed and dealt with in the way it has been configured in the Submission, Notifications, and Confirmation tabs of the Form Options. For more help on configuring Avada Forms, see the How To Use Avada Forms document.