15.7 min read | Published On: April 20th, 2026 | Last Updated: April 20th, 2026 | Categories: Plugins |
Share
WordPress’s flexibility and power have increased dramatically over the years. What began as a humble blogging solution is now powering millions of websites worldwide, large and small, and forming an entire industry’s backbone. That increase in reach and functionality comes at a cost; however, the platform is naturally database-intensive, and performance can be an issue.
Regardless of website size, implementing some caching solution is a sensible way of mitigating this risk on any standard WordPress install, and it becomes increasingly important the more traffic you have.
In this article, we’ll run the rule over W3 Total Cache (W3TC), one of the most popular WordPress caching solutions. We’ll provide some background on its use and a simple overview of getting it up and running. Let’s start, though, with a brief look at caching itself.
Overview
What Is Caching and Why Is It Necessary?
Simply put, caching is the process of storing data from existing requests to reuse for subsequent requests. Rather than repeatedly requesting more or less the same information to display a page, caching stores data that has already been requested and serves it up instantly.
The overall result is faster page load times and an improved user experience. In terms of WordPress, caching can take place in two locations:
Client-side or browser caching: This leverages your browser’s ability to keep local copies of assets such as HTML, CSS, Javascript, and image files already requested from the server.
Server-side caching: This can come in various flavors, including pre-generated HTML pages, MySQL database query results, and more advanced features like object and PHP opcode caching.
Caching is a crucial part of overall WordPress optimization and can significantly improve a website’s performance and speed if configured correctly. Because speed is a considerable factor in SEO performance and user satisfaction, it’s imperative that you do as much as you can to improve it.
History of The W3 Total Cache Plugin
W3 Total Cache (W3TC) is the brainchild of Mashable’s (CTO) Frederick Townes. Describing itself as a “web performance optimization framework,” the plugin promises reduced server load, 10x improvements in overall site performance, and transparent CDN integration.
W3 Total Cache is a free plugin, though extra paid assistance is available. A W3 Total Cache Pro option is also available, with advanced functionality split into three paid tiers. The free version advertises itself as integrating seamlessly with your current WordPress theme and fitting snugly into most hosting setups.
A current install base of one million+ users suggests it has primarily made good on those promises. Many blue-chip sites have also trusted W3 Total Cache since its initial launch. Along with Townes’ work for Mashable, high-profile sites such as yoast.com, ilovetypography.com, smashingmagazine.com, and Matt Cutts have all plumped for this plugin as their caching solution in the past.
With the introductions out of the way, let’s move on to setting it up.
Why Use The W3 Total Cache Plugin?
The W3 Total Cache (W3TC) plugin is a tool that can improve SEO and your site’s user experience by improving website performance and reducing load times through features like Content Delivery Network (CDN) integration and various caching mechanisms.
According to W3TC:
“W3TC is the only web host agnostic Web Performance Optimization (WPO) framework for WordPress trusted by millions of publishers, web developers, and web hosts worldwide for more than a decade. It is the total performance solution for optimizing WordPress Websites.” – Source
Requirements And Installation
To install and use the W3TC plugin effectively, ensure that your website hosting environment meets a few basic requirements and follow some straightforward steps.
Requirements
1: WordPress
WordPress Version: Ensure your site is running the latest version of WordPress. While W3 Total Cache supports older versions, it’s always best practice to use an up-to-date version of WordPress for security and compatibility reasons.
2: Hosting Environment
PHP Version: The plugin requires PHP 5.3 or higher, though it’s recommended to use PHP 7 or higher for better performance and security.
Web Server: Apache, NGINX, and Microsoft IIS are all supported. Some configuration steps might vary depending on your server, especially regarding rewrite rules and caching configurations.
Memory Limit: A higher PHP memory limit is beneficial. 128MB or higher is recommended, as caching can be memory-intensive.
3: Permissions
File Permissions: Make sure WordPress has the necessary permissions to write to the wp-content directory, as W3 Total Cache needs to create files and folders within for storage, depending on the chosen settings.
4: Other Technical Considerations
Compatibility Check: Before installation, checking for any known conflicts with other plugins or themes is a good idea. Some plugins might interfere with how the cache is managed or displayed on your site.
Backup Options: Always back up your website before installing a new plugin, especially one that significantly changes how your site loads and handles data like W3 Total Cache.
Installation
1: Via WordPress Admin Panel
Go to your WordPress dashboard.
Navigate to ‘Plugins’> ‘Add New’.
Search for “W3 Total Cache”.
Click ‘Install Now’ on the W3 Total Cache plugin.
Once installed, click ‘Activate’ to enable the plugin on your site.
2: Manual Installation
Download the plugin from the WordPress plugin repository.
Upload the plugin files to the /wp-content/plugins/ directory.
Go to your WordPress dashboard and navigate to ‘Plugins’> ‘Installed Plugins’.
Find W3 Total Cache in the list and click ‘Activate.’
3: Configuration
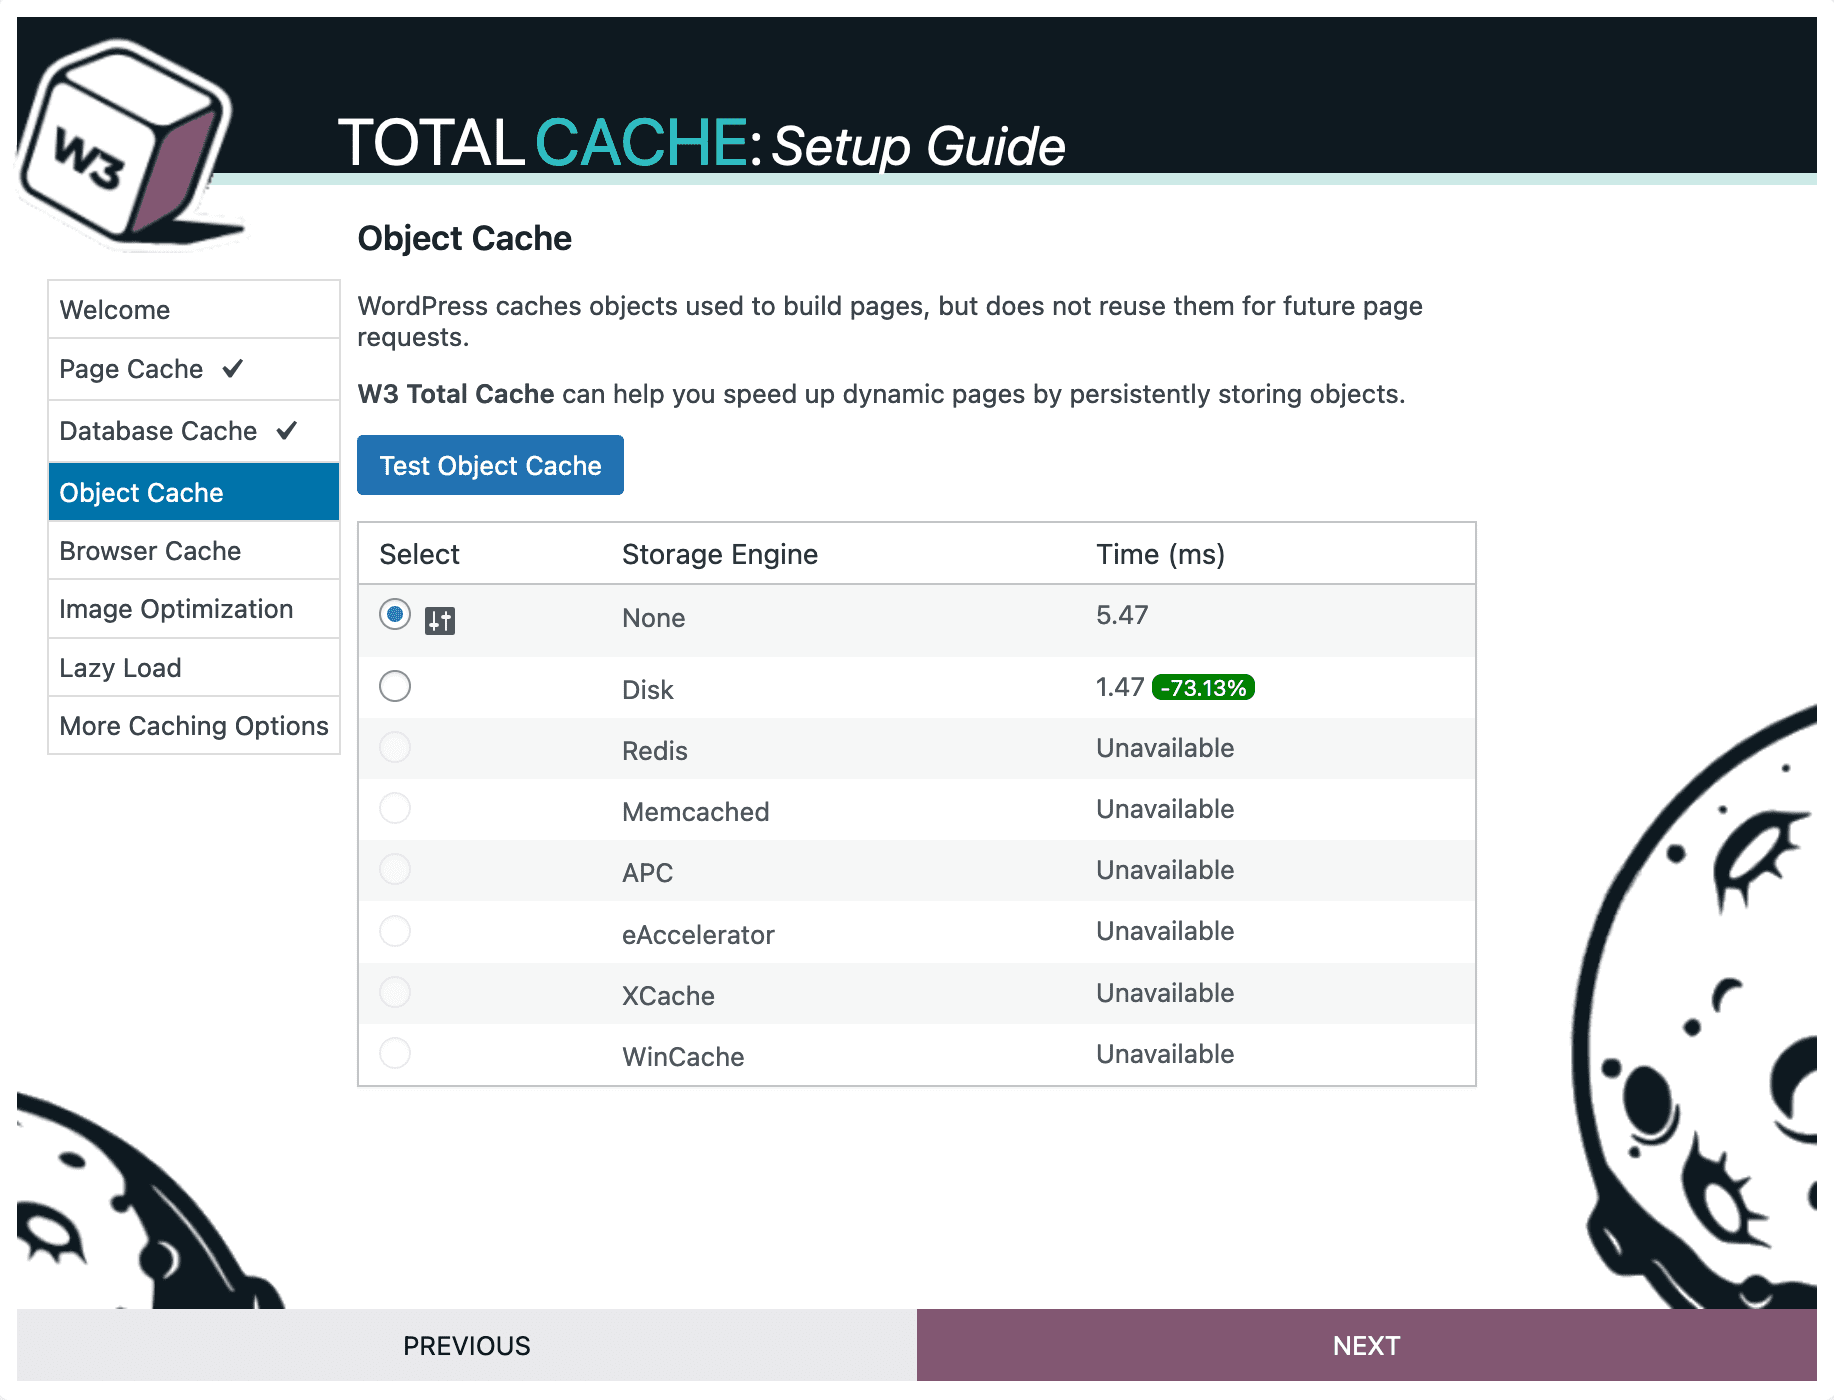
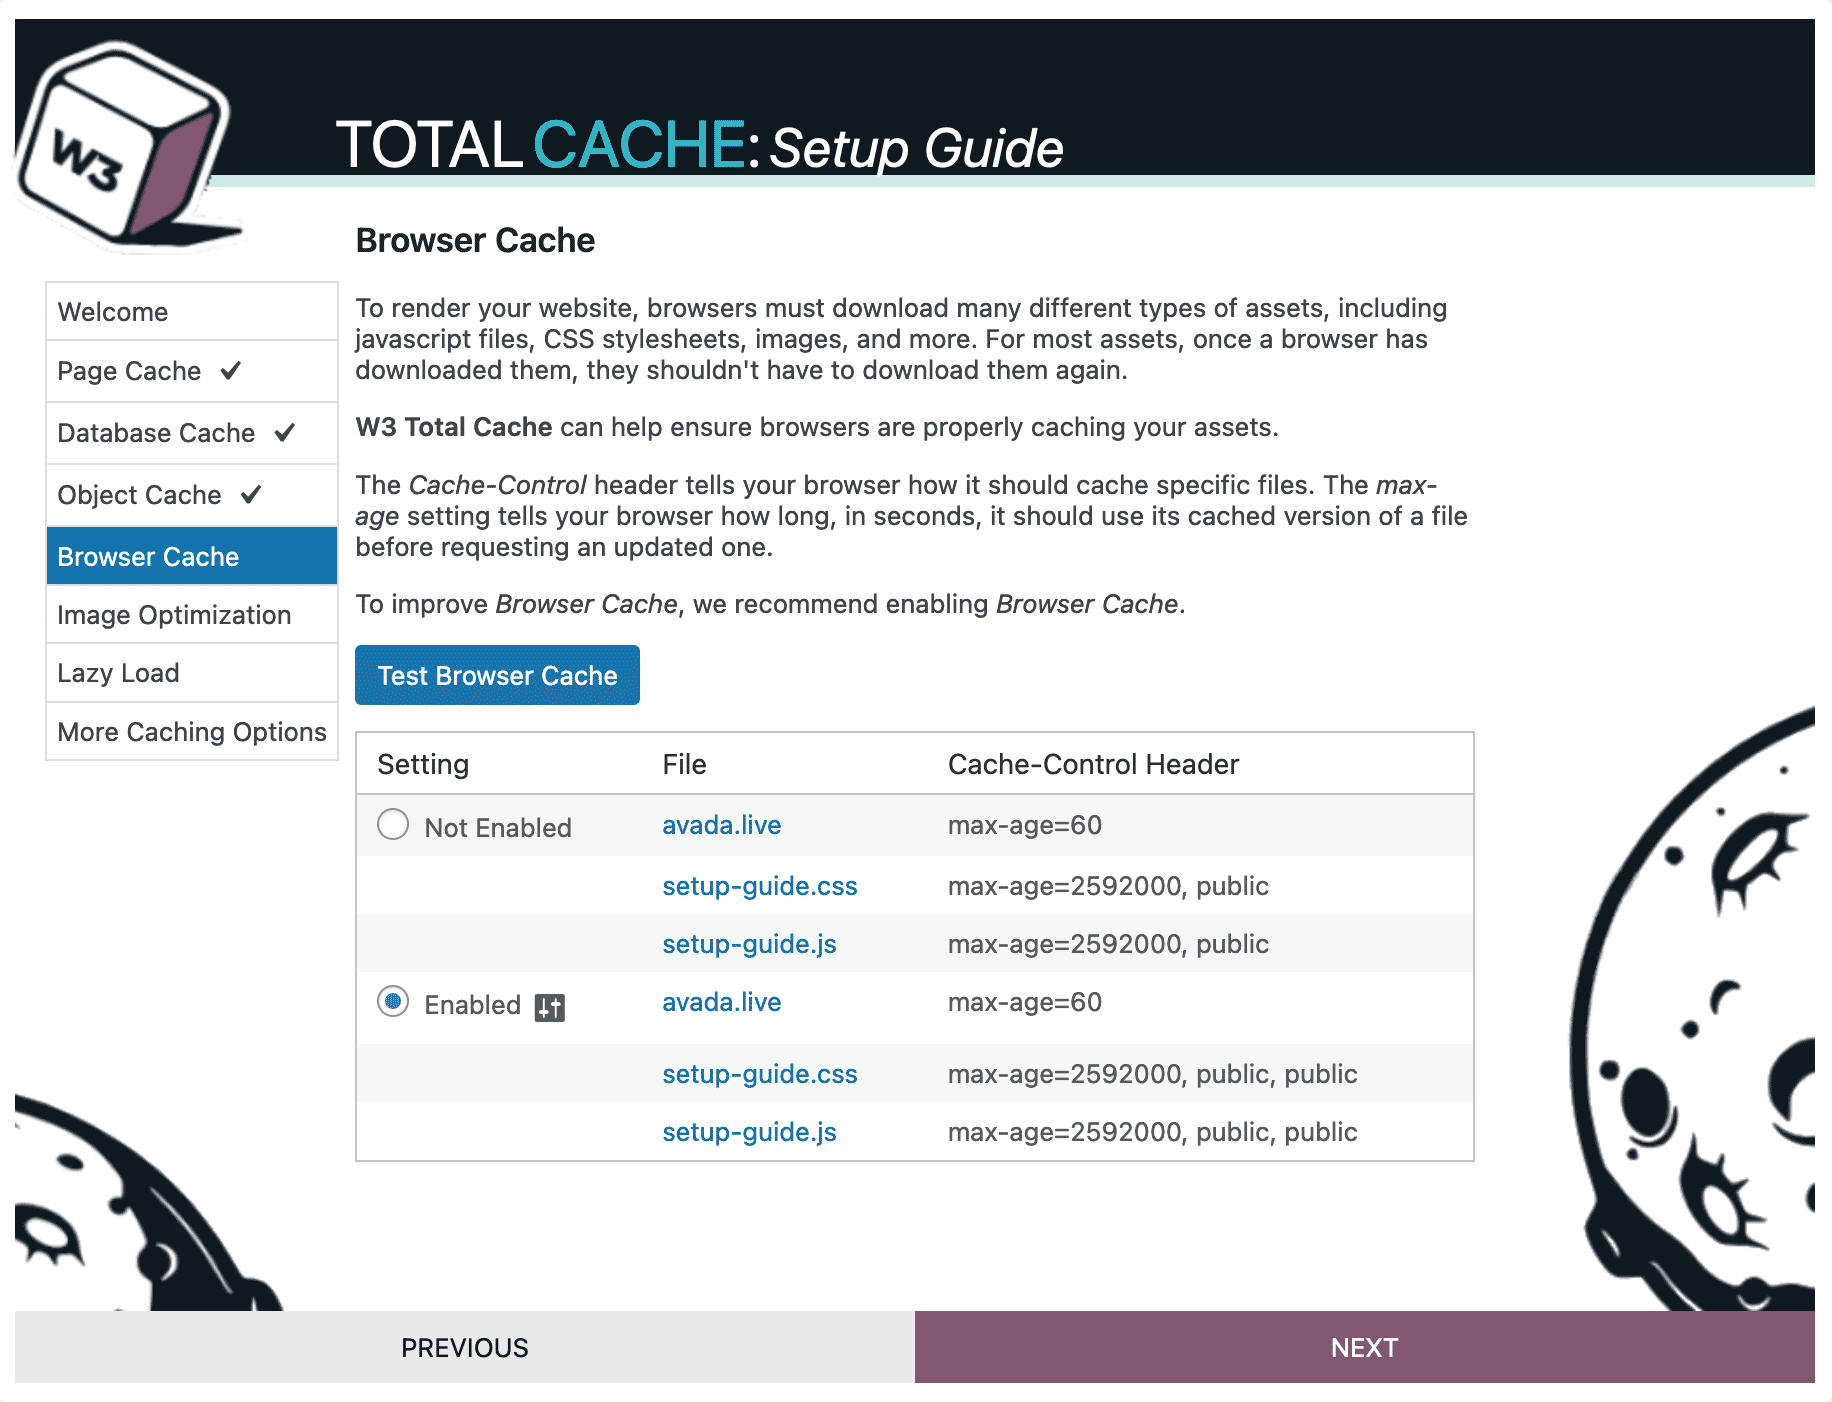
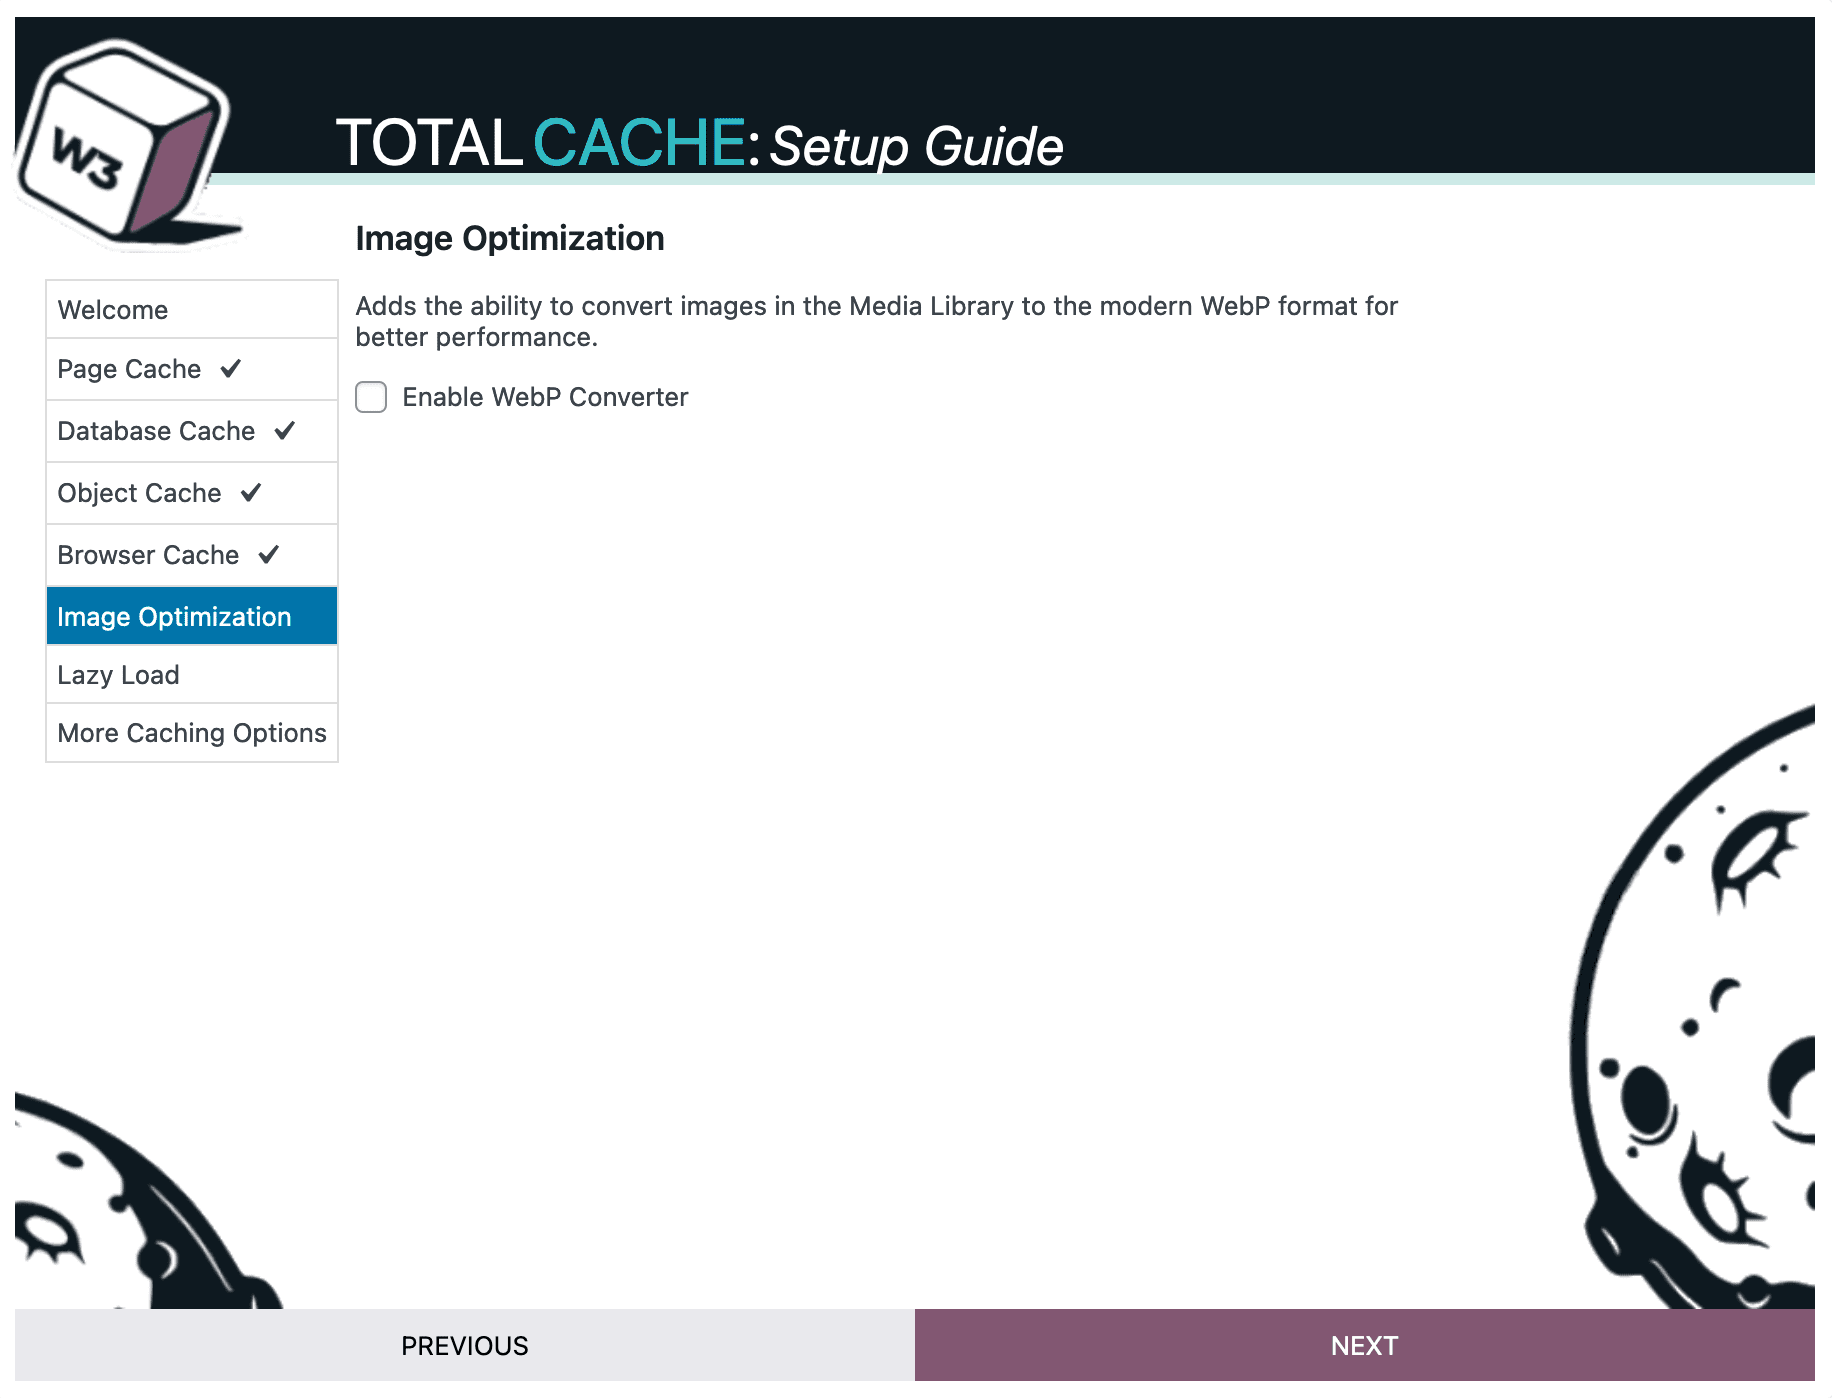
After activation, configure the plugin settings according to your site’s needs. You can find the settings under “Performance” in your WordPress dashboard menu. Properly configuring each caching feature (Page Cache, Database Cache, Object Cache, etc.) is important to ensure optimal performance.
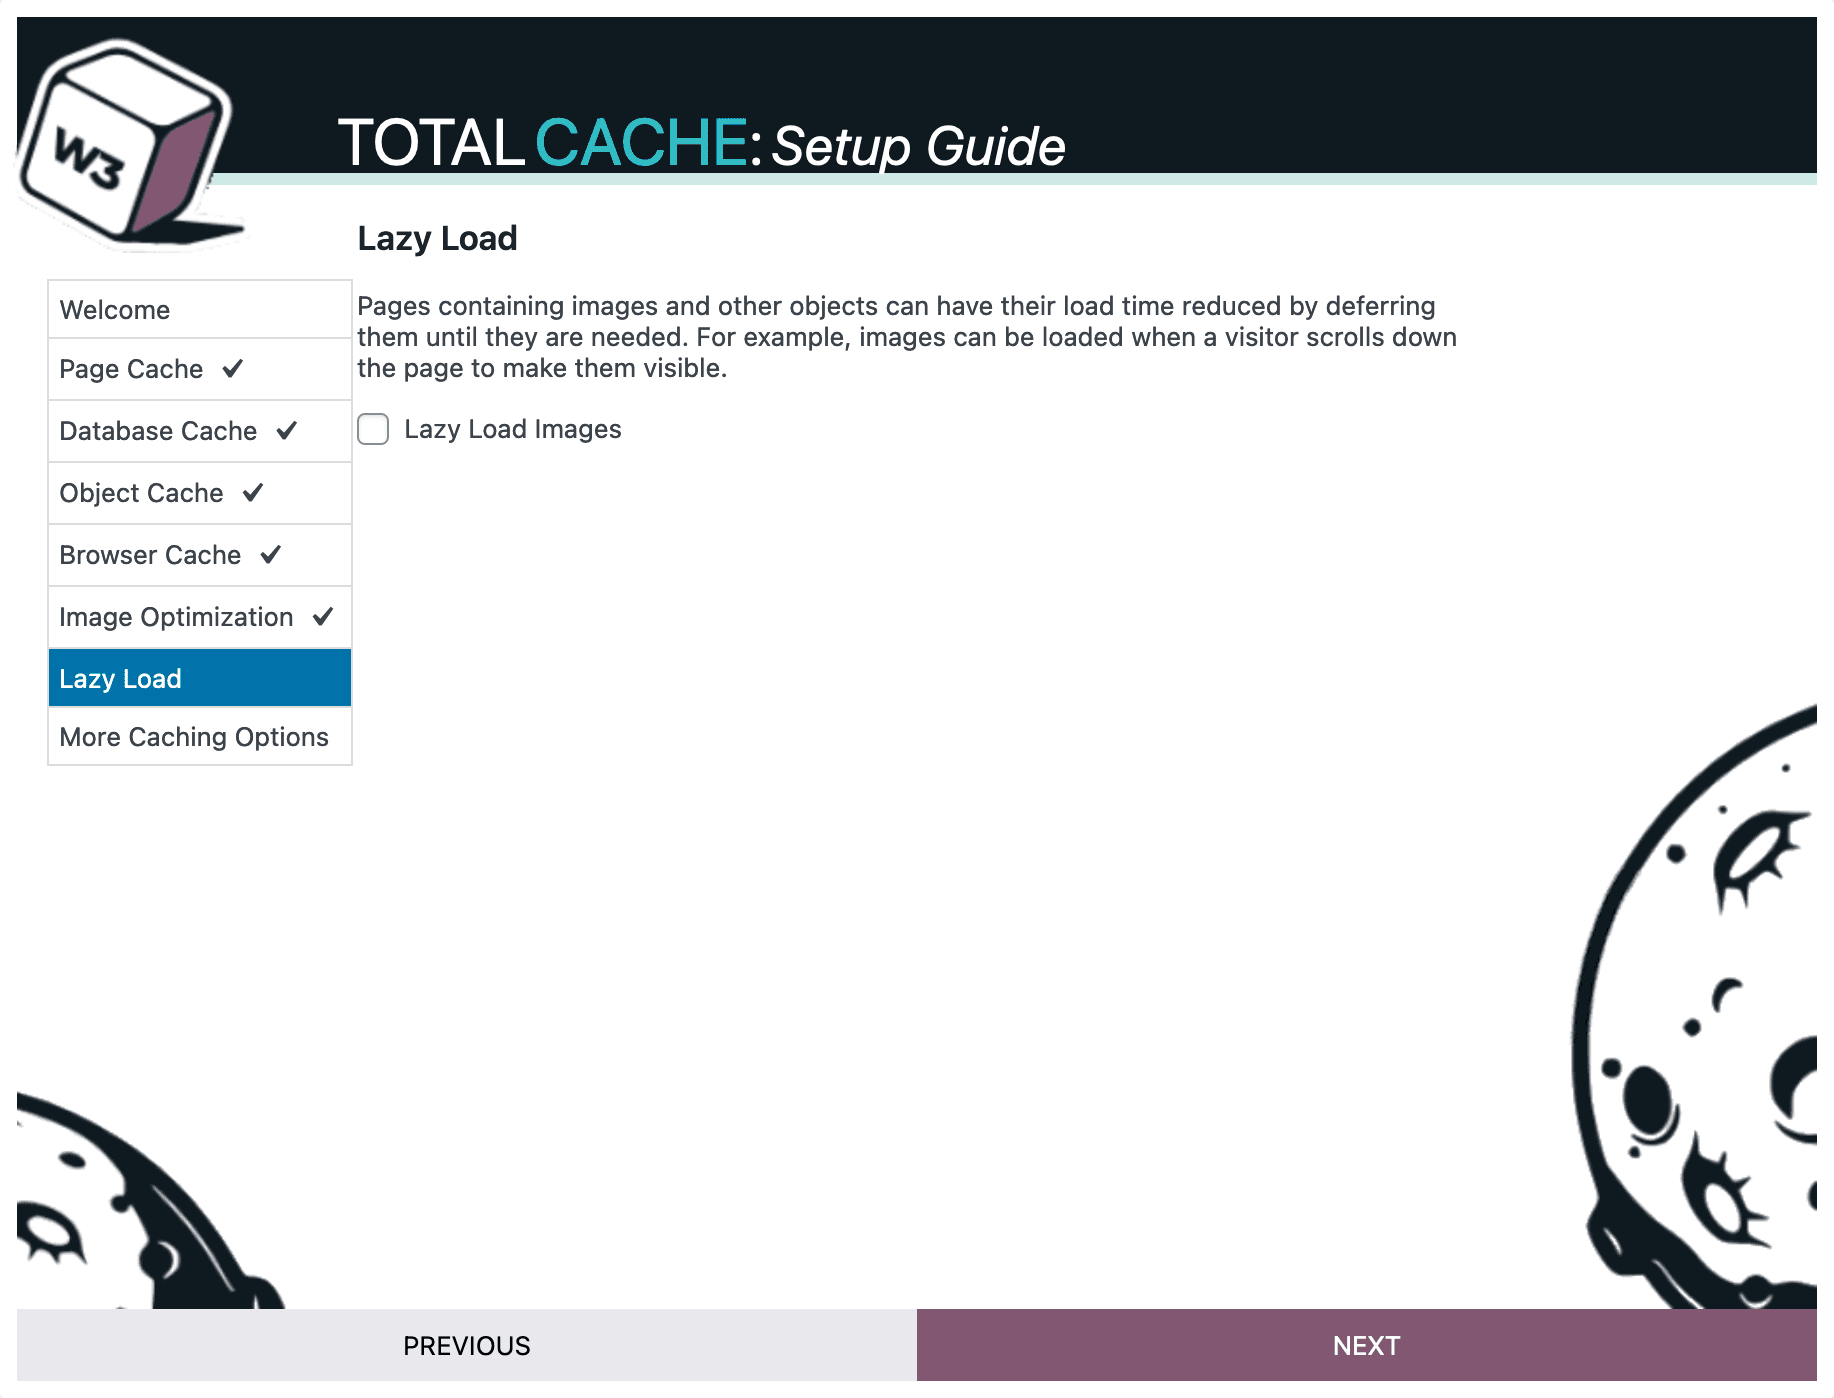
Do not use lazy loading from a plugin and Avada active simultaneously. This will break image loading on the front end and will not be beneficial. Avada lazy loading ensures that the Image Carousel Element and Dynamic Content Options work correctly and are also tied together with Avada Critical CSS. We always recommend sticking with Avada’s lazy loading option.
Plugin Setup Guide And Features
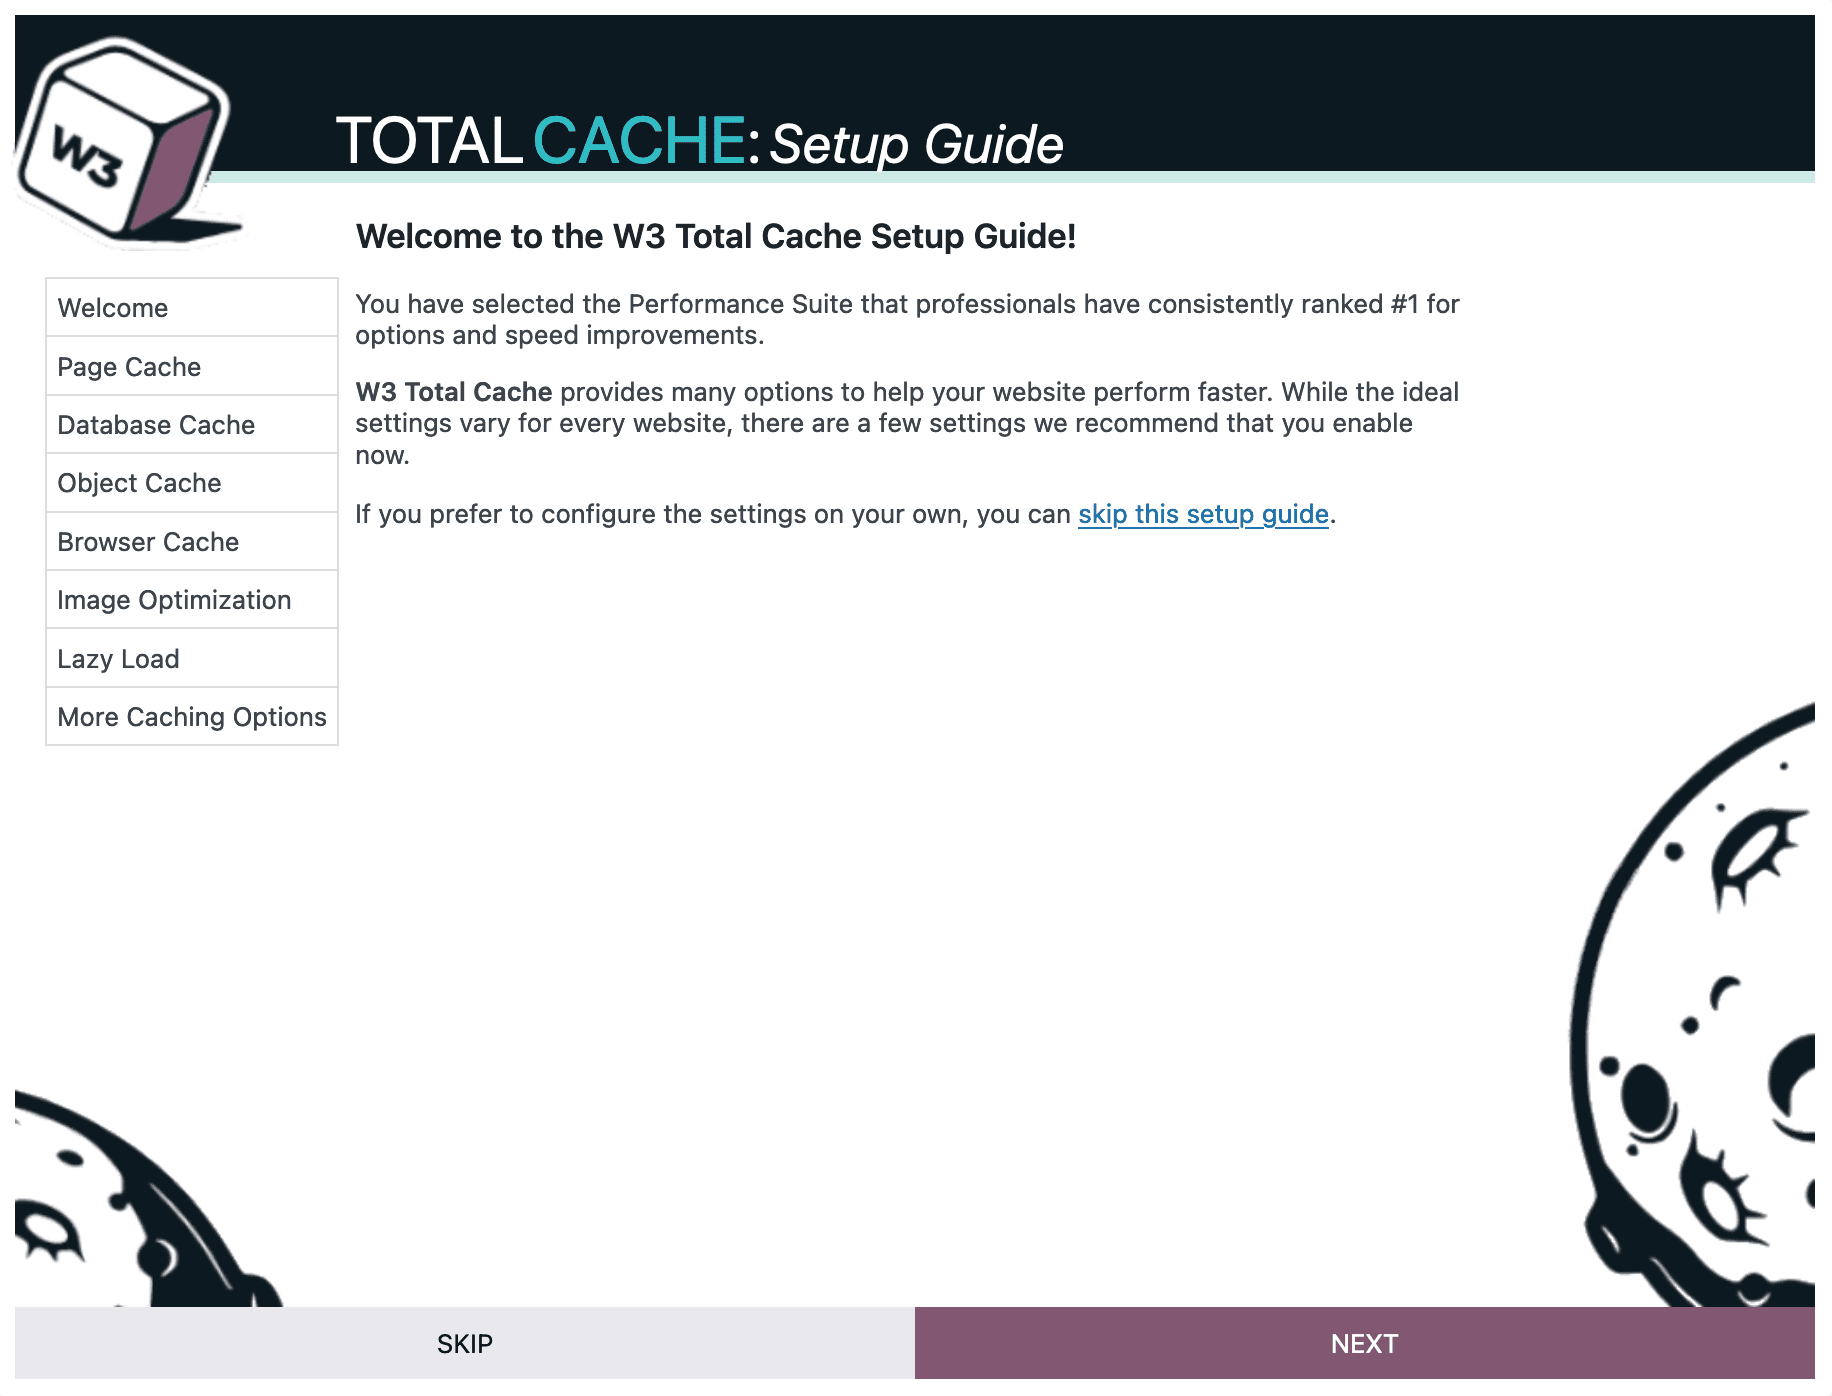
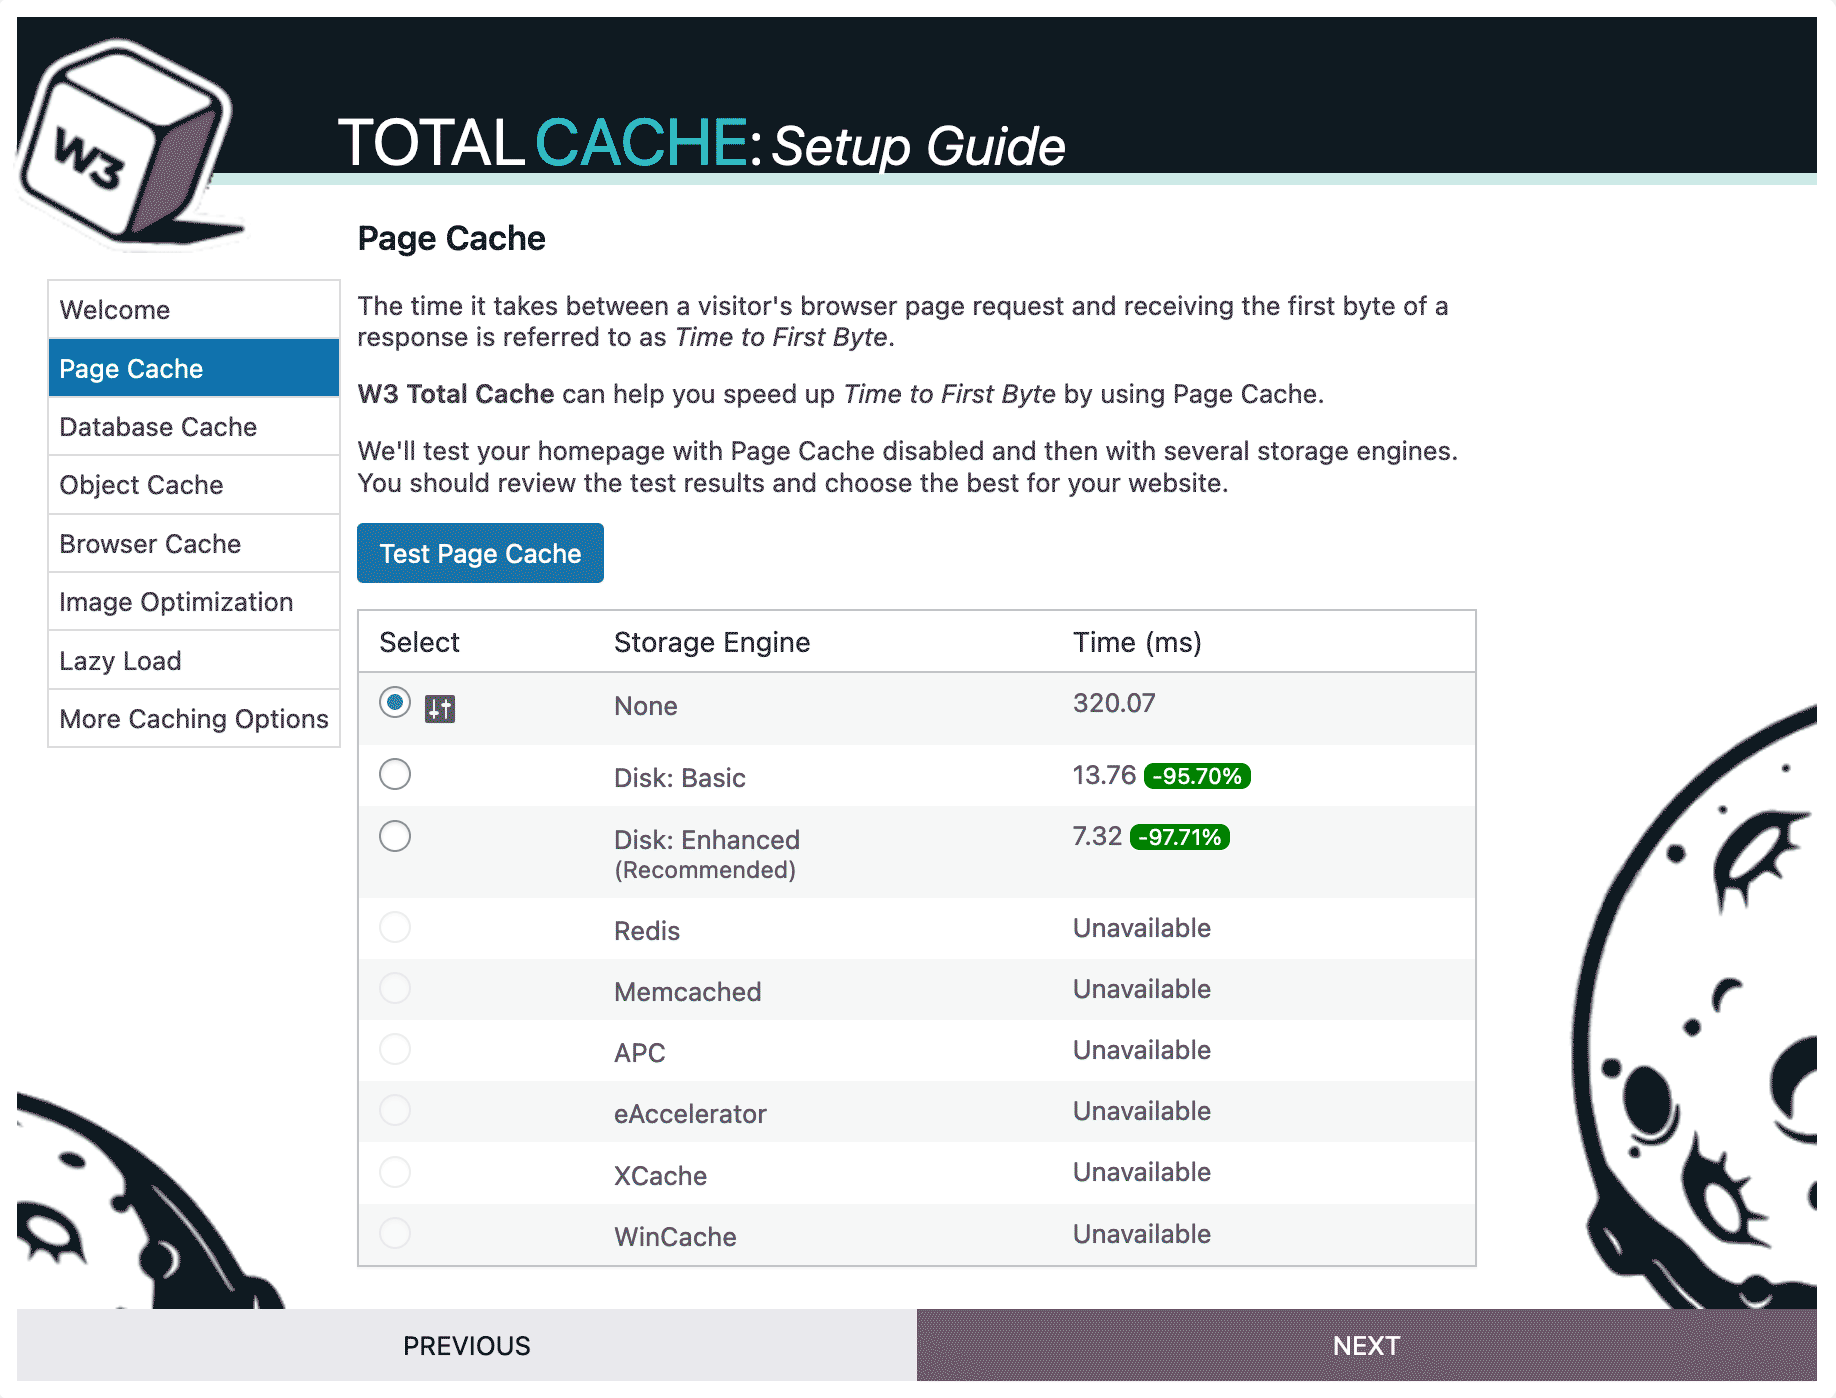
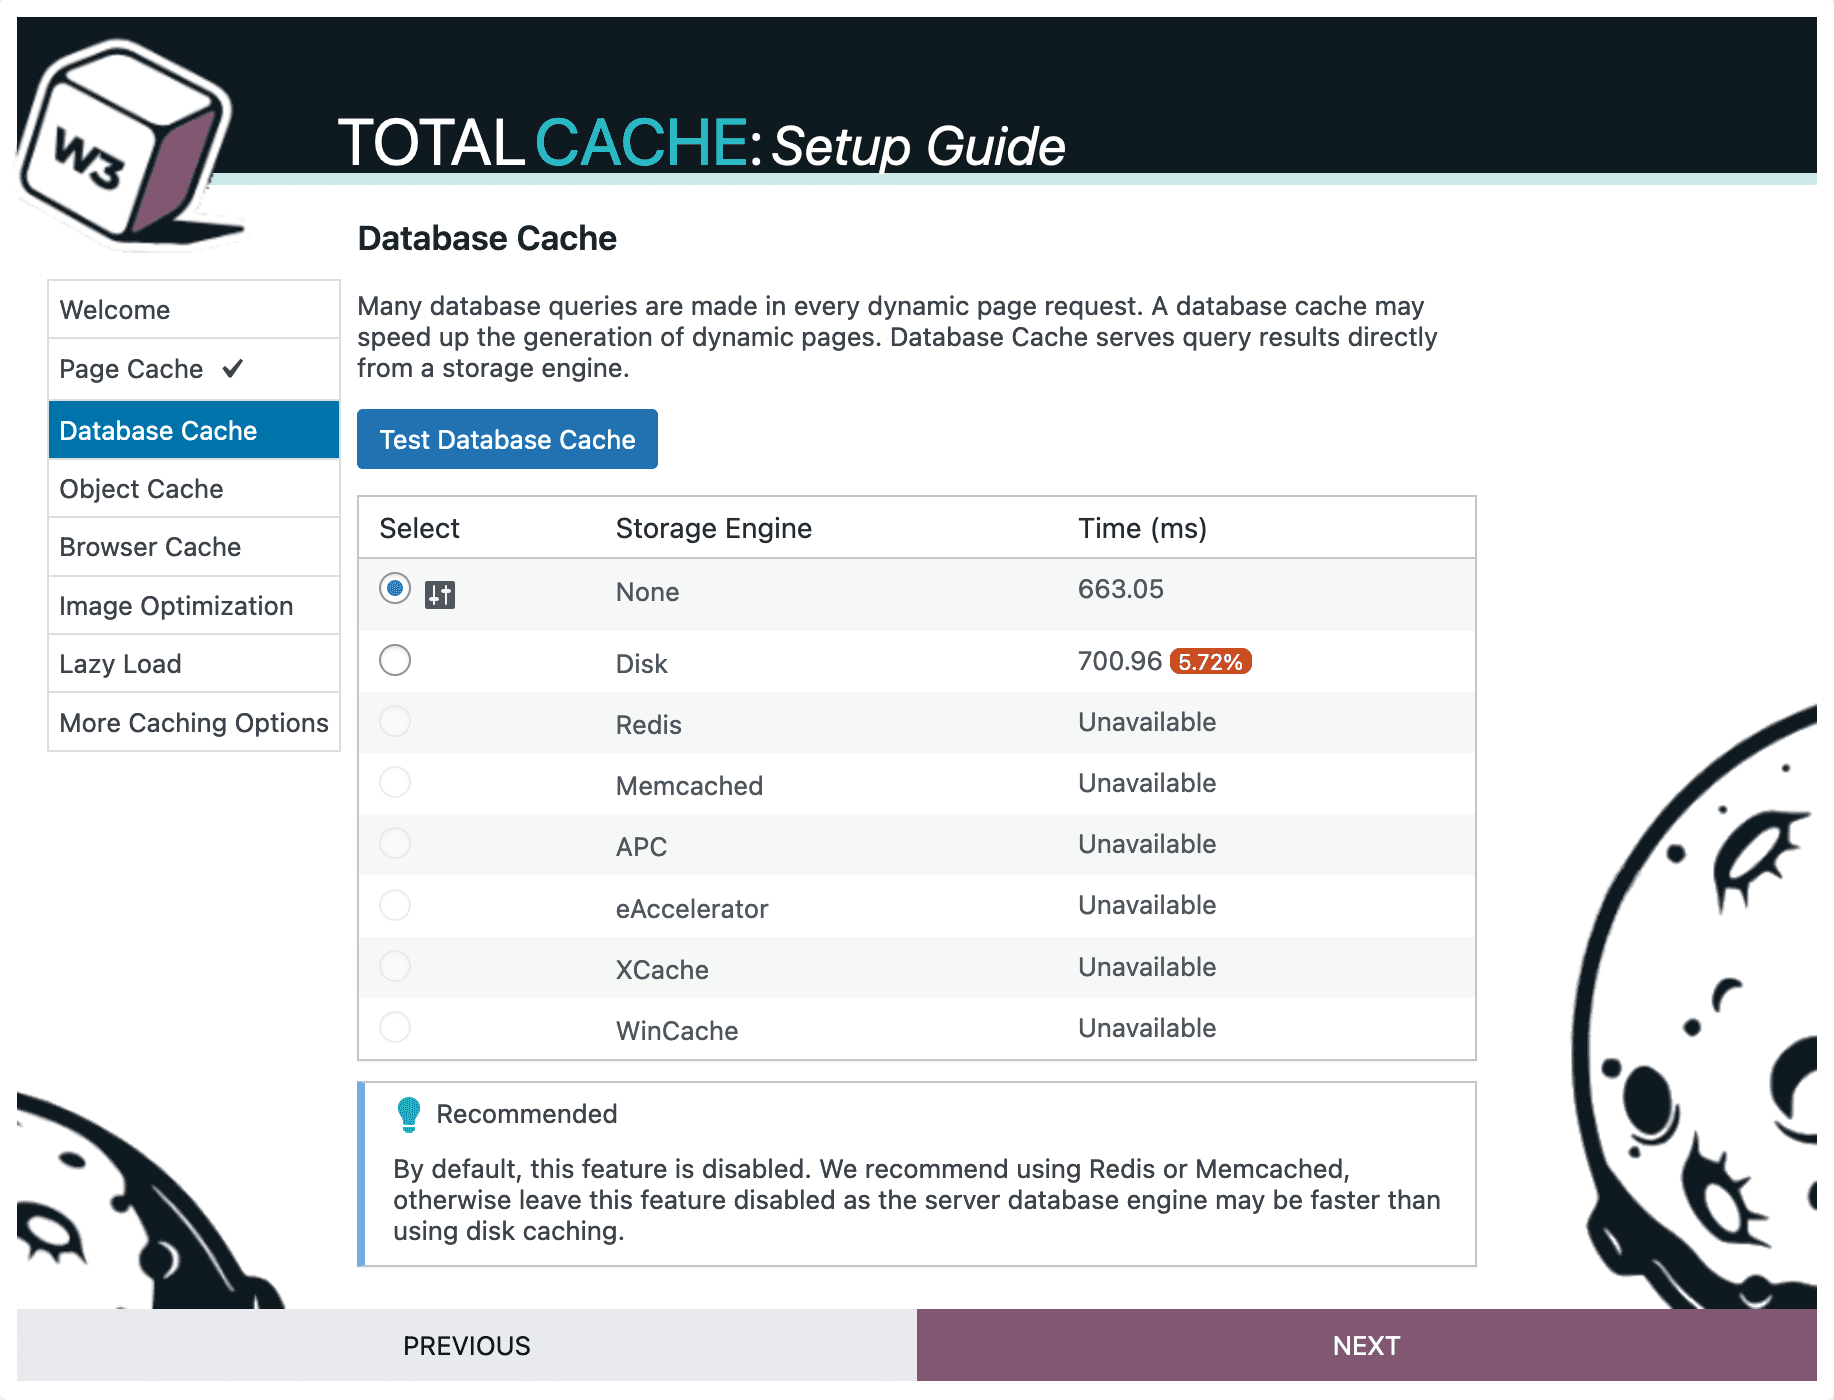
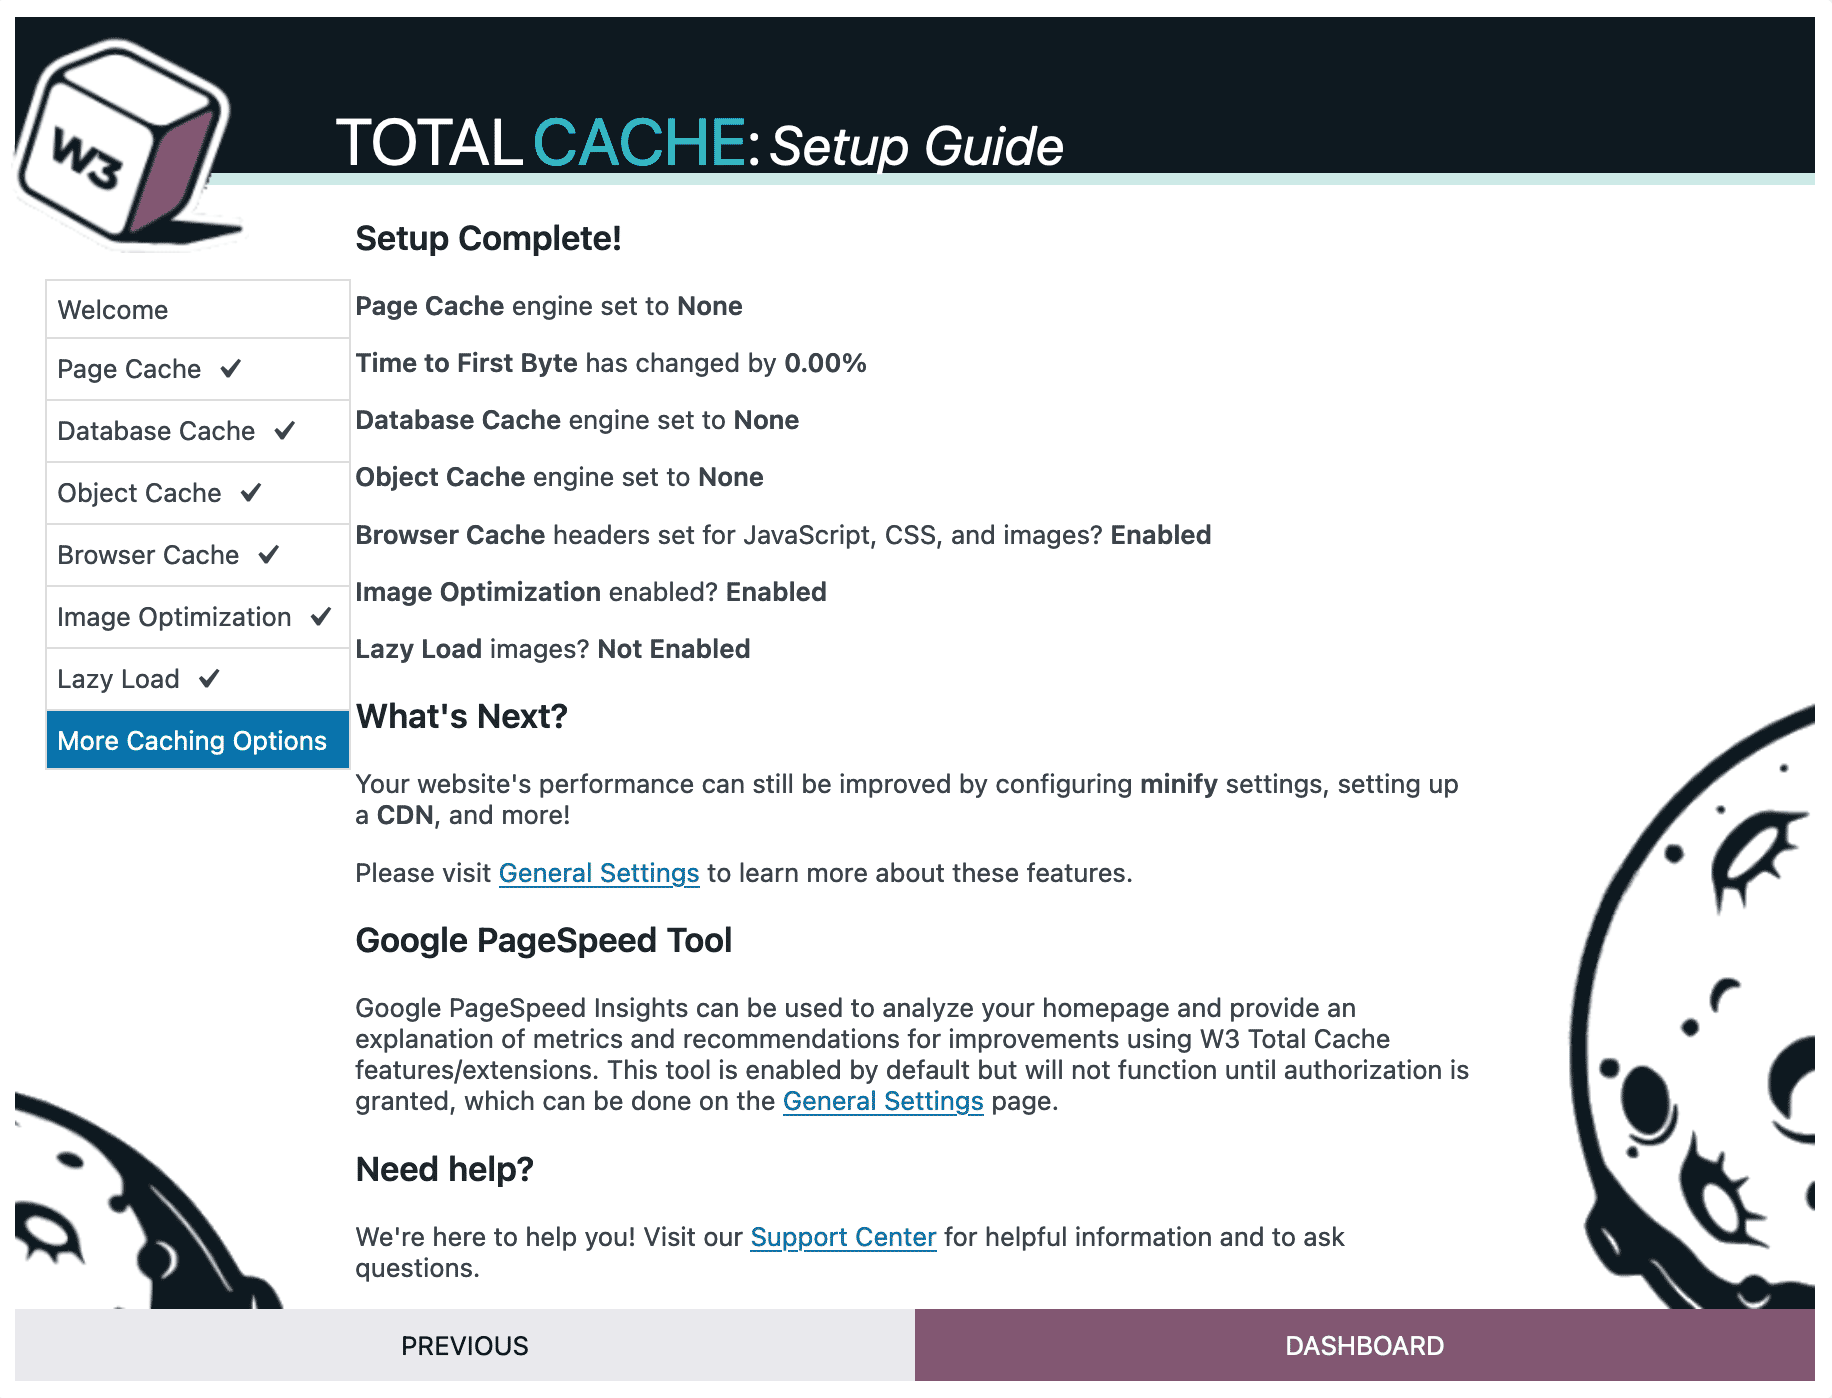
The Total Cache setup wizard provides detailed instructions on installing, configuring, and optimizing the W3 Total Cache plugin on a WordPress website. The guide aims to help users maximize their site’s performance by leveraging the plugin’s various caching and optimization features.
Below is a bird’s eye view of the setup guide and how it can help remove the guesswork when optimizing your website for performance.
These core features combine to provide a comprehensive approach to optimizing your WordPress site’s performance, from server load reductions to faster client-side load times, all manageable through an intuitive interface within the WordPress Dashboard.
The plugin’s core features are separated into Basic and Advanced. Below is a bird’s eye view of the plugin’s main features:
Page Caching: This method caches entire pages of your website as static HTML files, which are then served to users. This reduces the server’s processing load since fewer dynamic page generations are needed.
Minify: Compresses HTML, CSS, and JavaScript files by removing unnecessary characters from code without changing its functionality. This results in smaller file sizes and faster loading times.
Database Caching: This reduces your website’s response time by caching SQL queries so that the database does not have to retrieve data for every request.
Object Caching: This stores frequently accessed elements of your website, like database query results or API calls, in memory, reducing the need for repeated queries to the database or external APIs.
Browser Caching: Utilizes the visitor’s browser to cache static resources like stylesheets, javascript files, and media, which reduces server load and speeds up the site on subsequent visits.
Content Delivery Network (CDN) Integration: A CDN allows you to distribute your content across multiple, geographically diverse servers. This helps reduce latency by serving data from the server nearest to the visitor.
Lazy Loading for Images and Videos: This delays the loading of media until it is actually needed—when it comes into the browser’s viewport, reducing initial page load times and saves bandwidth.
Fragment Caching: Allows developers to cache specific portions of a page independently. This is particularly useful for caching dynamic content on largely static pages.
Mobile Support: Caters to mobile users by caching separate copies of your site that are optimized for various mobile devices and environments.
Secure Socket Layer (SSL) Support: This ensures compatibility with secure pages and provides caching even on HTTPS pages, which is crucial for e-commerce and secure transactions.
Advanced Cache Preload: The ability to generate the cache for the entire site automatically, ensuring that users always receive cached versions of the pages for faster-perceived loading times.
Fine-Tuning Tools: Provides a suite of tools for detailed management of caching rules, including user-agent, cookie, and referrer group configurations to control how caching is applied based on different scenarios.
Import and Export Settings: This feature enables you to transfer configuration settings from one site to another, making it easier to manage multiple WordPress sites.
Performance Insights: The plugin integrates with Google PageSpeed Insights and other tools to offer performance improvement recommendations directly within the WordPress Admin panel.
Alternative Cache Plugins
W3 Total Cache is, of course, one of many WordPress caching solutions out there that work effectively with any Avada website. A quick search around the internet will turn up all manner of viable contenders. Below are some popular alternatives:
W3 Super Cache: Another popular free cache plugin available for WordPress, W3 Super Cache is an excellent option to explore if you find yourself overwhelmed by W3 Total Cache. Here is a helpful showcase of the key differences between W3 Total Cache and WP Super Cache.
WP Rocket: WP Rocket’s power and ease of use may tempt those looking for a lean but highly effective paid solution. Their pricing plans are highly competitive. Also, check out this W3 Total Cache vs. WP Rocket features showcase.
Autoptimize: This is another popular free cache plugin in the WordPress ecosystem, with more than one million active installs. This plugin is regularly maintained and includes a premium support option.
Summary
Website caching and how best to manage this can seem complicated. Likewise, the number of variables and options within any of the aforementioned plugins can feel overwhelming for a beginner. However, if you follow the recommended settings for the chosen plugin, you will be fine.
The advantage of tools like W3 Total Cache is that they place easy wins, such as page and browser caching, within the reach of novice users from within WordPress while also opening the door to an enormous amount of fine-tuning functionality for experts.
Avada is developed according to strict WordPress and PHP coding standards. If the plugin listed in this article is developed according to the same standards, it should be okay to use. However, because it is a third-party plugin and we do not have control over the development process, we cannot guarantee 100% compatibility with Avada. If you do come across any issues, we recommend that you contact their support.
Subscribe To Our Newsletter
Receive all of the latest news and updates fresh from ThemeFusion!
We use essential cookies to run our site, and optional ones for analytics, advertising, and personalization. You can manage your choices at any time. See our Privacy Policy.
Embeds from this vendor are blocked and replaced with a placeholder until consent is given.
Embeds from this vendor are blocked and replaced with a placeholder until consent is given.
Embeds from this vendor are blocked and replaced with a placeholder until consent is given.
Embeds from this vendor are blocked and replaced with a placeholder until consent is given.
Enables Google Analytics to store data about your visit, such as pages viewed, time spent, and interactions, to help us understand and improve website performance.
Enables HubSpot to track your activity on this site, power the live chat widget, and manage marketing interactions, such as form submissions.
Used to store your authentication details.
Used to store your authentication details.
Used to check if your browser has cookies enabled.
Used to persist your user configuration in the admin dashboard.
The time at which wp-settings-[user_id] was set.
Remembers the state of Switch elements you have toggled.
Stores your privacy and consent choices so they are respected on future visits.
Set by Cloudflare to tell real visitors apart from bots and protect our Websites from automated attacks. It does not track you across websites and is not used for analytics or advertising.
Set by Cloudflare after you pass a security check, so you are not asked to complete it again on every page.