Share
You can build a dynamic and engaging WordPress website with Avada and the ACF (Advanced Custom Fields) plugin. However, to make your website accessible to a global audience, it is smart to translate the content, as explained in how to set up a multilingual website with Avada and WPML.
With WPML (WordPress Multilingual) and the ACFML (Advanced Custom Fields Multilingual) add-on, you can translate every part of your website, including content from your ACF custom fields.
This tutorial will discuss the most straightforward way to translate the custom fields. By the end, you’ll have a fully multilingual website that dynamically displays ACF fields in all chosen languages.
Overview
What You’ll Need
Before you begin, you will need to install and activate the following plugins on your Avada-powered website:
The ACFML glue plugin bridges WPML and ACF and comes with all WPML Multilingual CMS and Multilingual Agency account types. You can find this add-on in the Downloads section of your WPML account.
Translating the ACF Fields With the ACFML Add-on
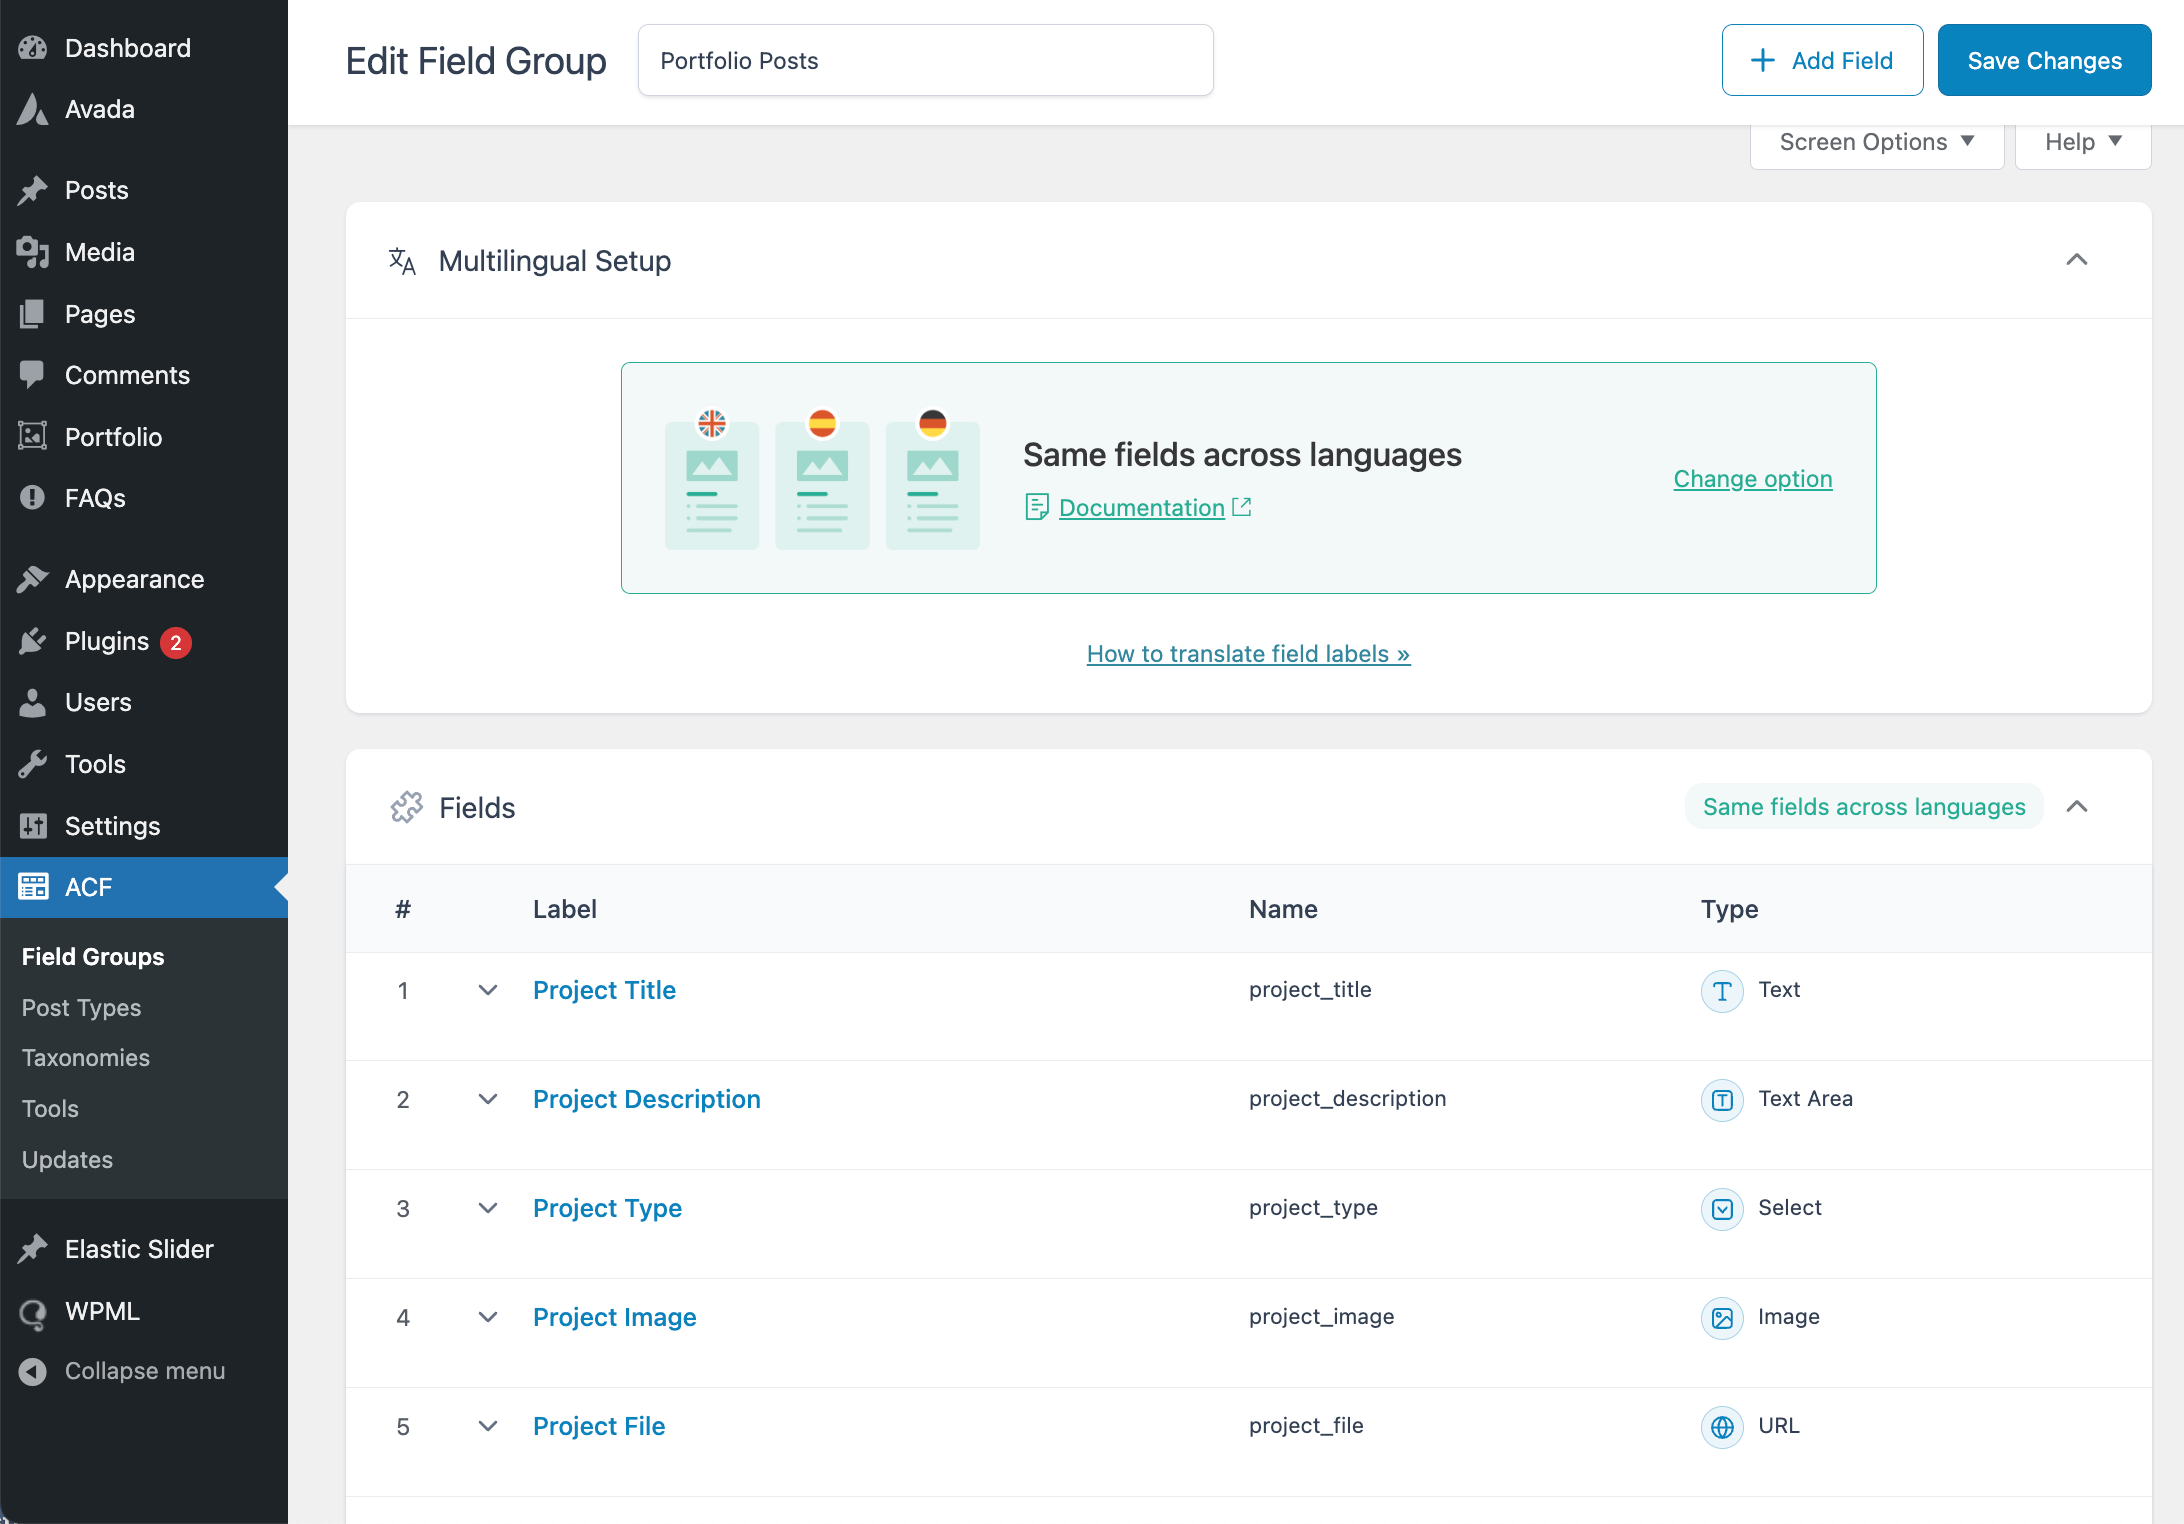
To illustrate how simple it is to translate the ACF content on your Avada website with WPML, we’ve set up a “Portfolio Posts” field group with five different types of subfields:
In the “Rules” field, we set this field group to appear on posts belonging to the “Portfolio” post type. Then, we created a “Portfolio” post using ACF fields in conjunction with “Dynamic Content” options in Avada. If you need a refresher on how to do this, check out the post about using ACF Pro with Avada. Let’s get started with using ACFML to make these custom fields multilingual.
Set the Translation Option for Your Field Group
Advanced Custom Fields Multilingual (ACFML) has a one-step Multilingual Setup that integrates directly with the “ACF Field Group” edit screen. This allows you to decide how you want to translate and display your custom fields across the different languages of your site. Depending on the complexity of your field setup, you can choose between three other translation options.
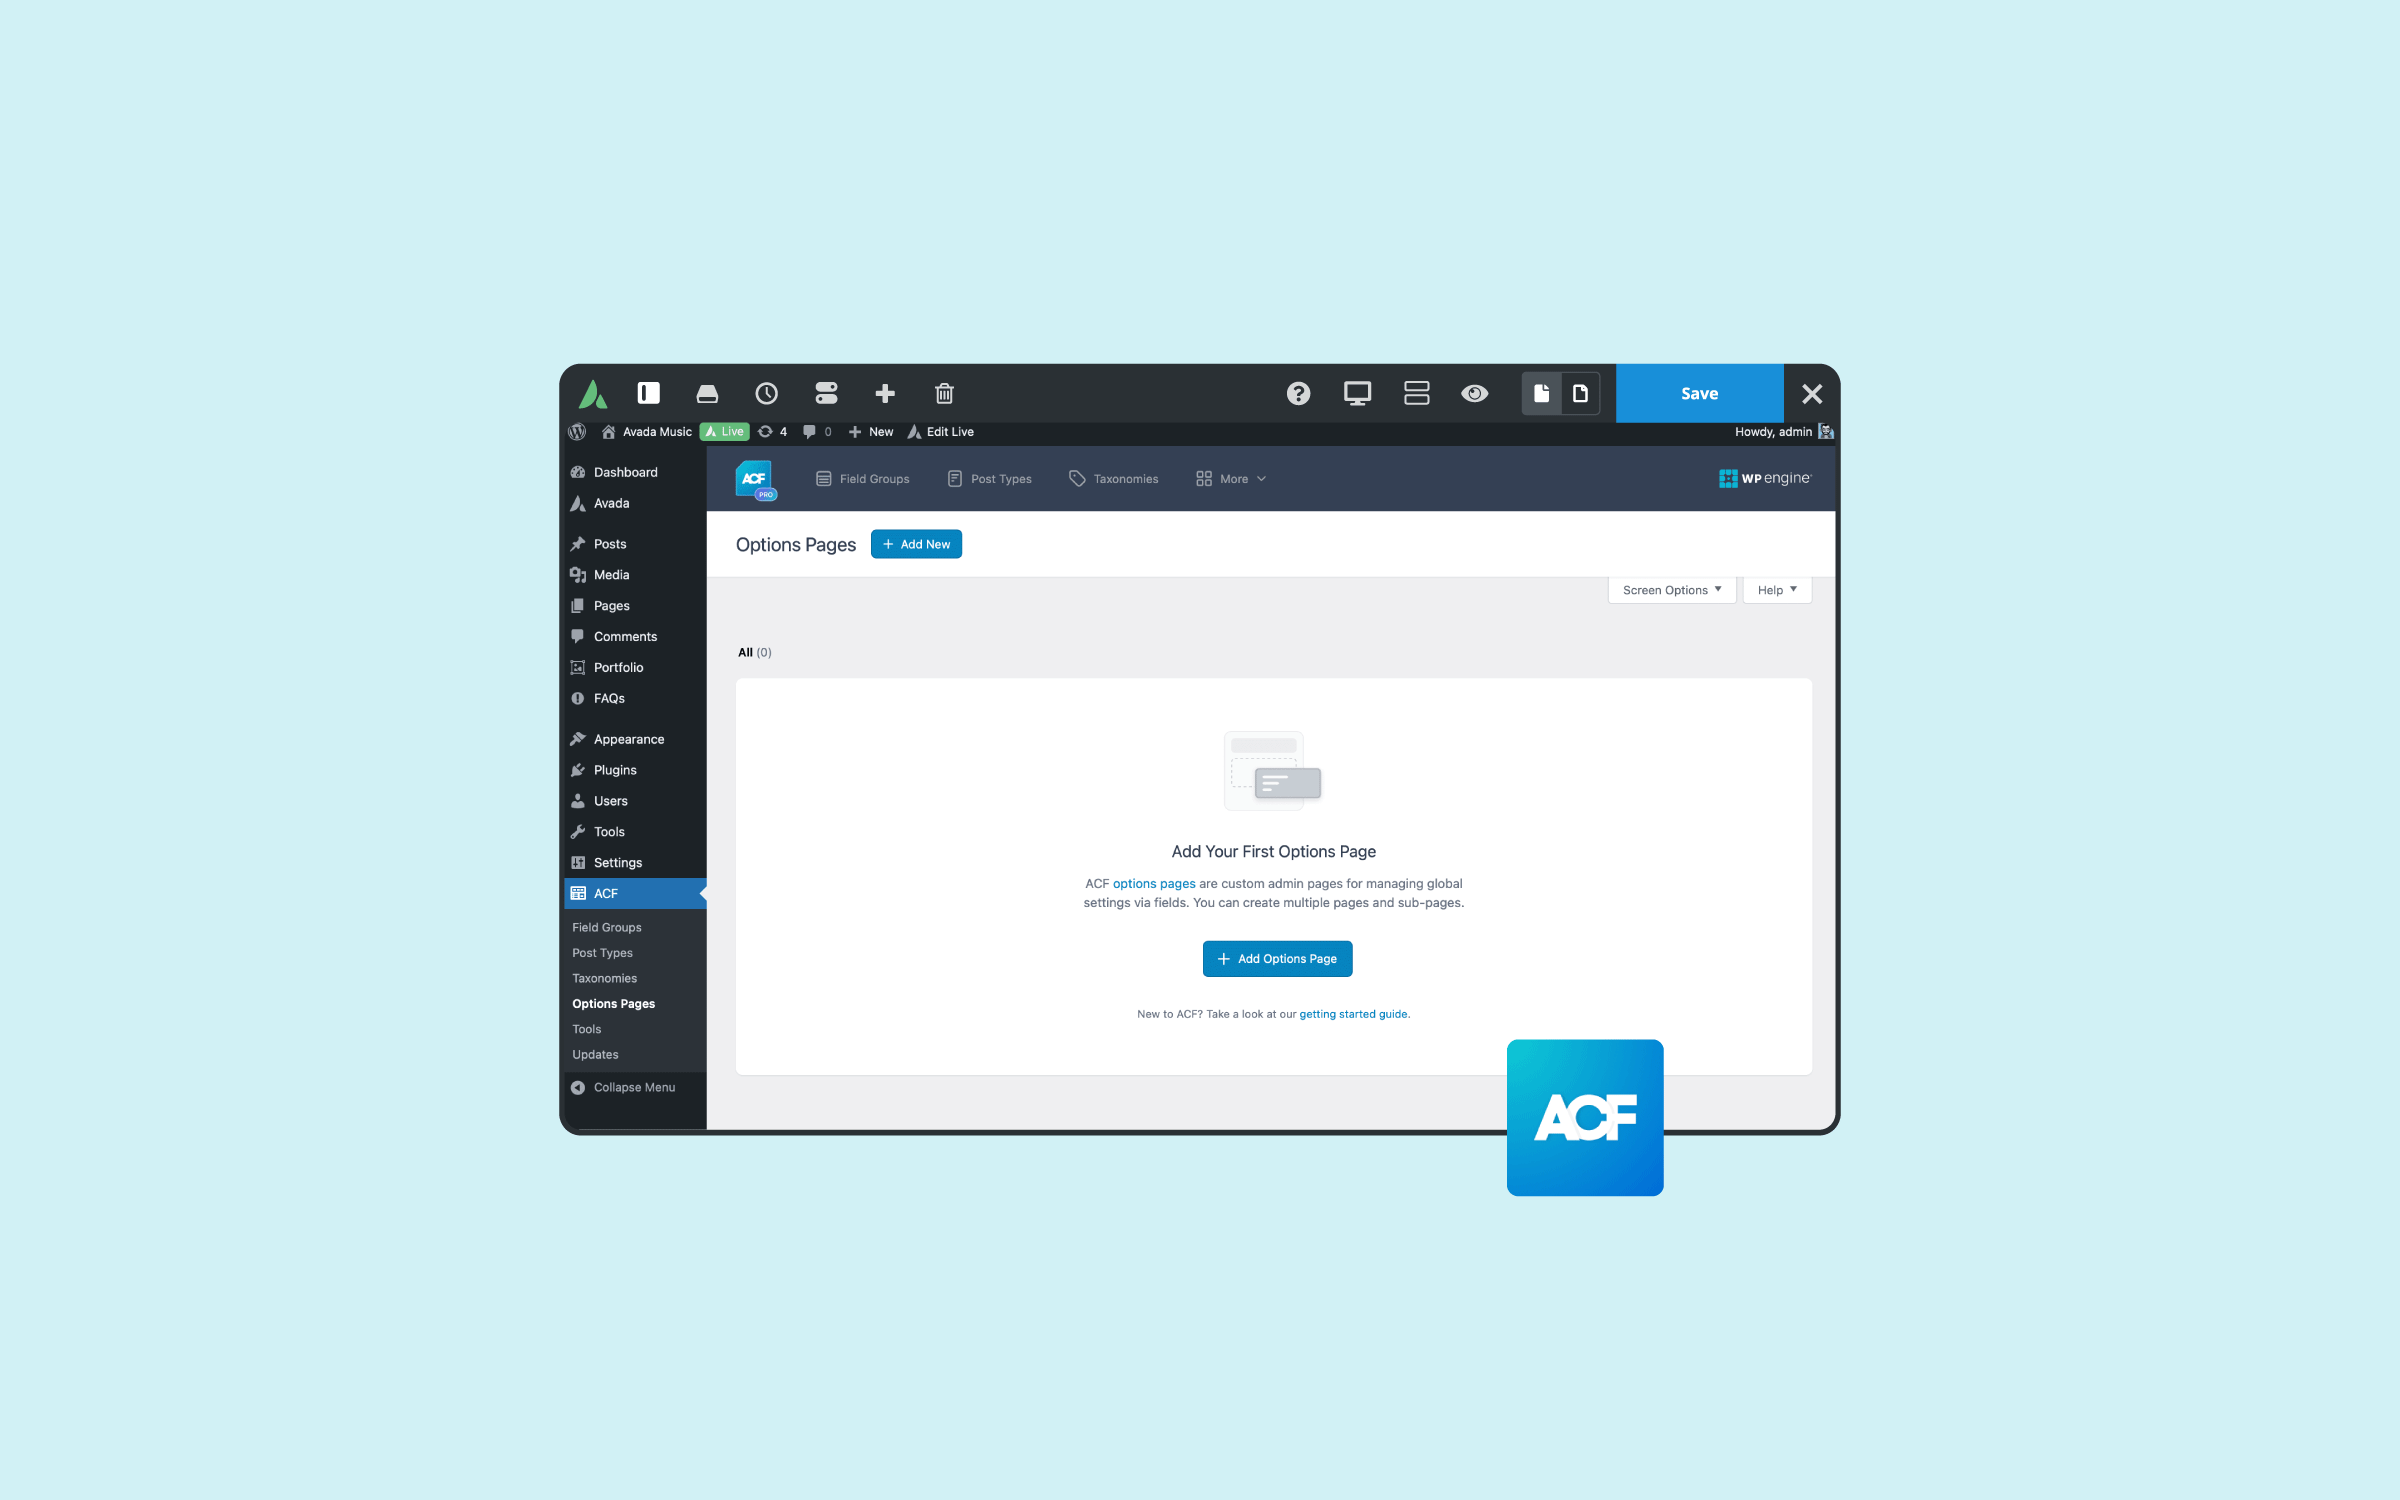
To set the translation option for your field group, go to ACF → Field Groups and Edit your field group. The Multilingual Setup appears at the top of the page.
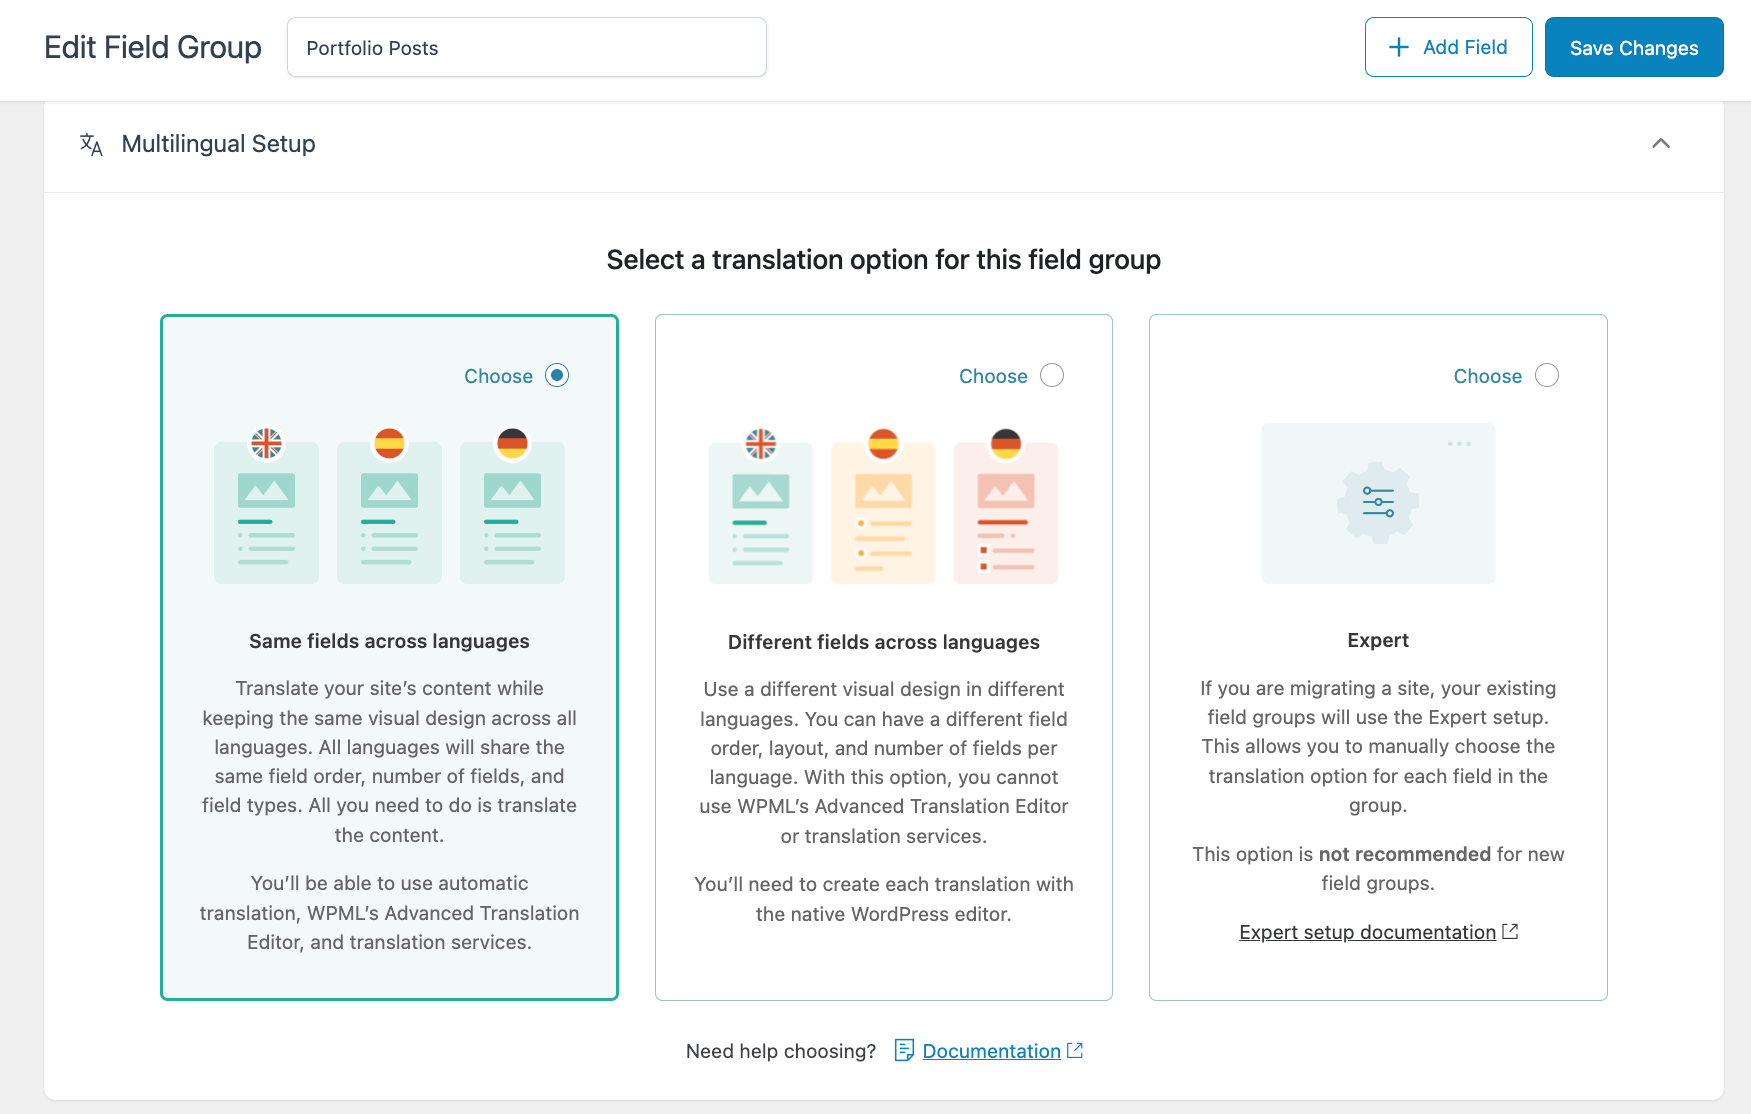
Suppose you’re working with an advanced setup that uses “Repeater” or “Flexible Content” fields. In that case, you may use a different layout or a different number of fields across languages. If so, you can use the “Different Fields Across Languages” translation option and translate your content using the native WordPress editor.
In our case, we have a simple setup and want to translate the field values. So, we’ll select the “Same Fields Across Languages” translation option and hit the “Save Changes” button.
Translate the Post and Field Values
Once you select the “Same Fields Across Languages” translation option, you can translate the custom field values and post content using either of WPML’s translation modes.
Head to WPML → Settings for this tutorial and select the “Translate What You Choose” mode. This option lets you translate the post and ACF content using the Advanced Translation Editor, WPML’s built-in computer-assisted translation (CAT) tool.
The Advanced Translation editor presents a straightforward, user-friendly interface, making it simple for anyone to translate content. Additionally, it separates original content from translated content, so you can easily see what you’re translating.
To get started, head to the editing screen of the post type to which your custom fields are attached. From the “Language” box in the right sidebar, click the plus icon next to the language you want to translate your post into.
This takes you to the “Advanced Translation Editor”. If you have translation credits, you can click the “Translate Automatically” button to translate the post content and the values of the custom fields using automatic translation. If not, manually enter the translations for each line.

When you’re happy with your translations, hit the “Complete” button.
The Result
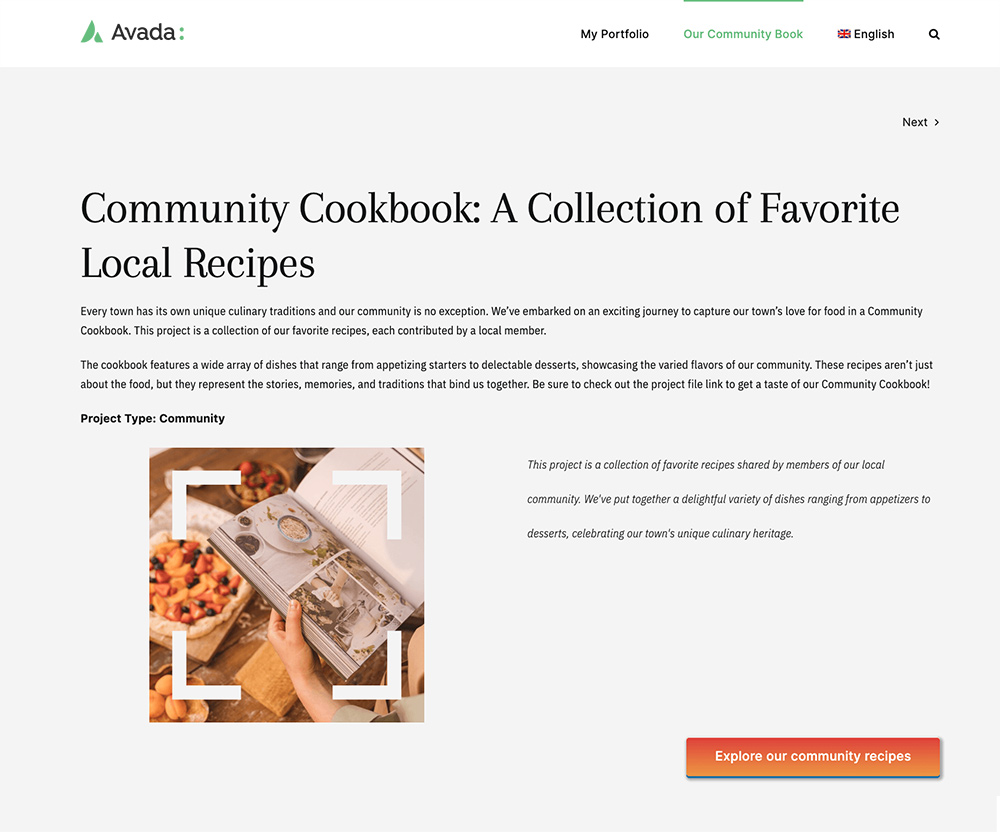
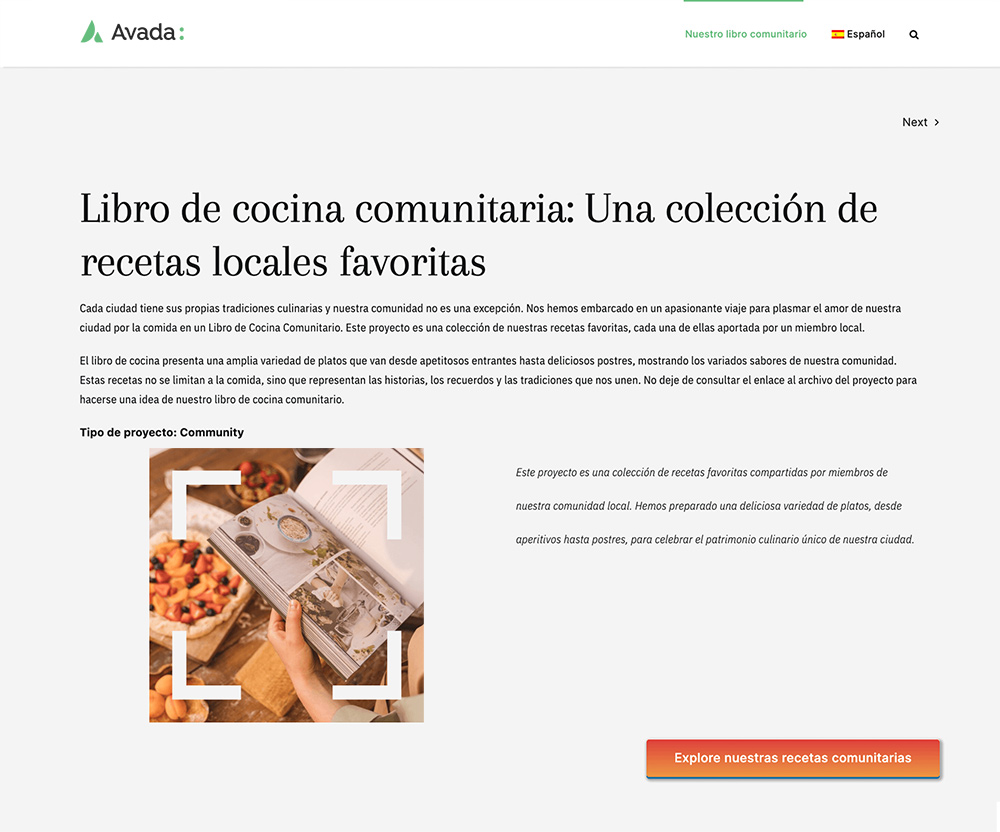
You’ve translated your post content and ACF values into your site’s secondary language in just a few simple steps. Using WPML to translate a post from your default language creates a new post in your secondary language.
You don’t have to set the dynamic content options for your secondary language post; you don’t need to connect it to your default language post. WPML takes care of all of this for you. So, all that’s left to do is view your translations on the front end.
Summary
When used together, Avada, ACF Pro, and WPML offer a user-friendly way to dynamically display content in your chosen languages – all without the need for complex coding. Additionally, you can choose from various methods to translate your content, including automatic translation.
In no time, you can have a fully functional, multilingual website that transcends language barriers and connects with a global audience.