Share
In this post, we will explore the Avada Taxi prebuilt site to highlight the flexibility and power of the Avada Website Builder. Designing and building unique page content and layouts has never been easier or faster. The only limit is your imagination when creating your perfect Avada website with WordPress.
With your purchase of Avada, you also have access to 112 prebuilt websites (Avada Taxi is one of them) that can be imported with a few clicks. If you do not want to import any of the prebuilt websites, you can, of course, use the Avada Setup Wizard and design one from scratch. For now, let’s take a closer look at how the Taxi website is set up.
Overview
What Are Layouts & Layout Sections?
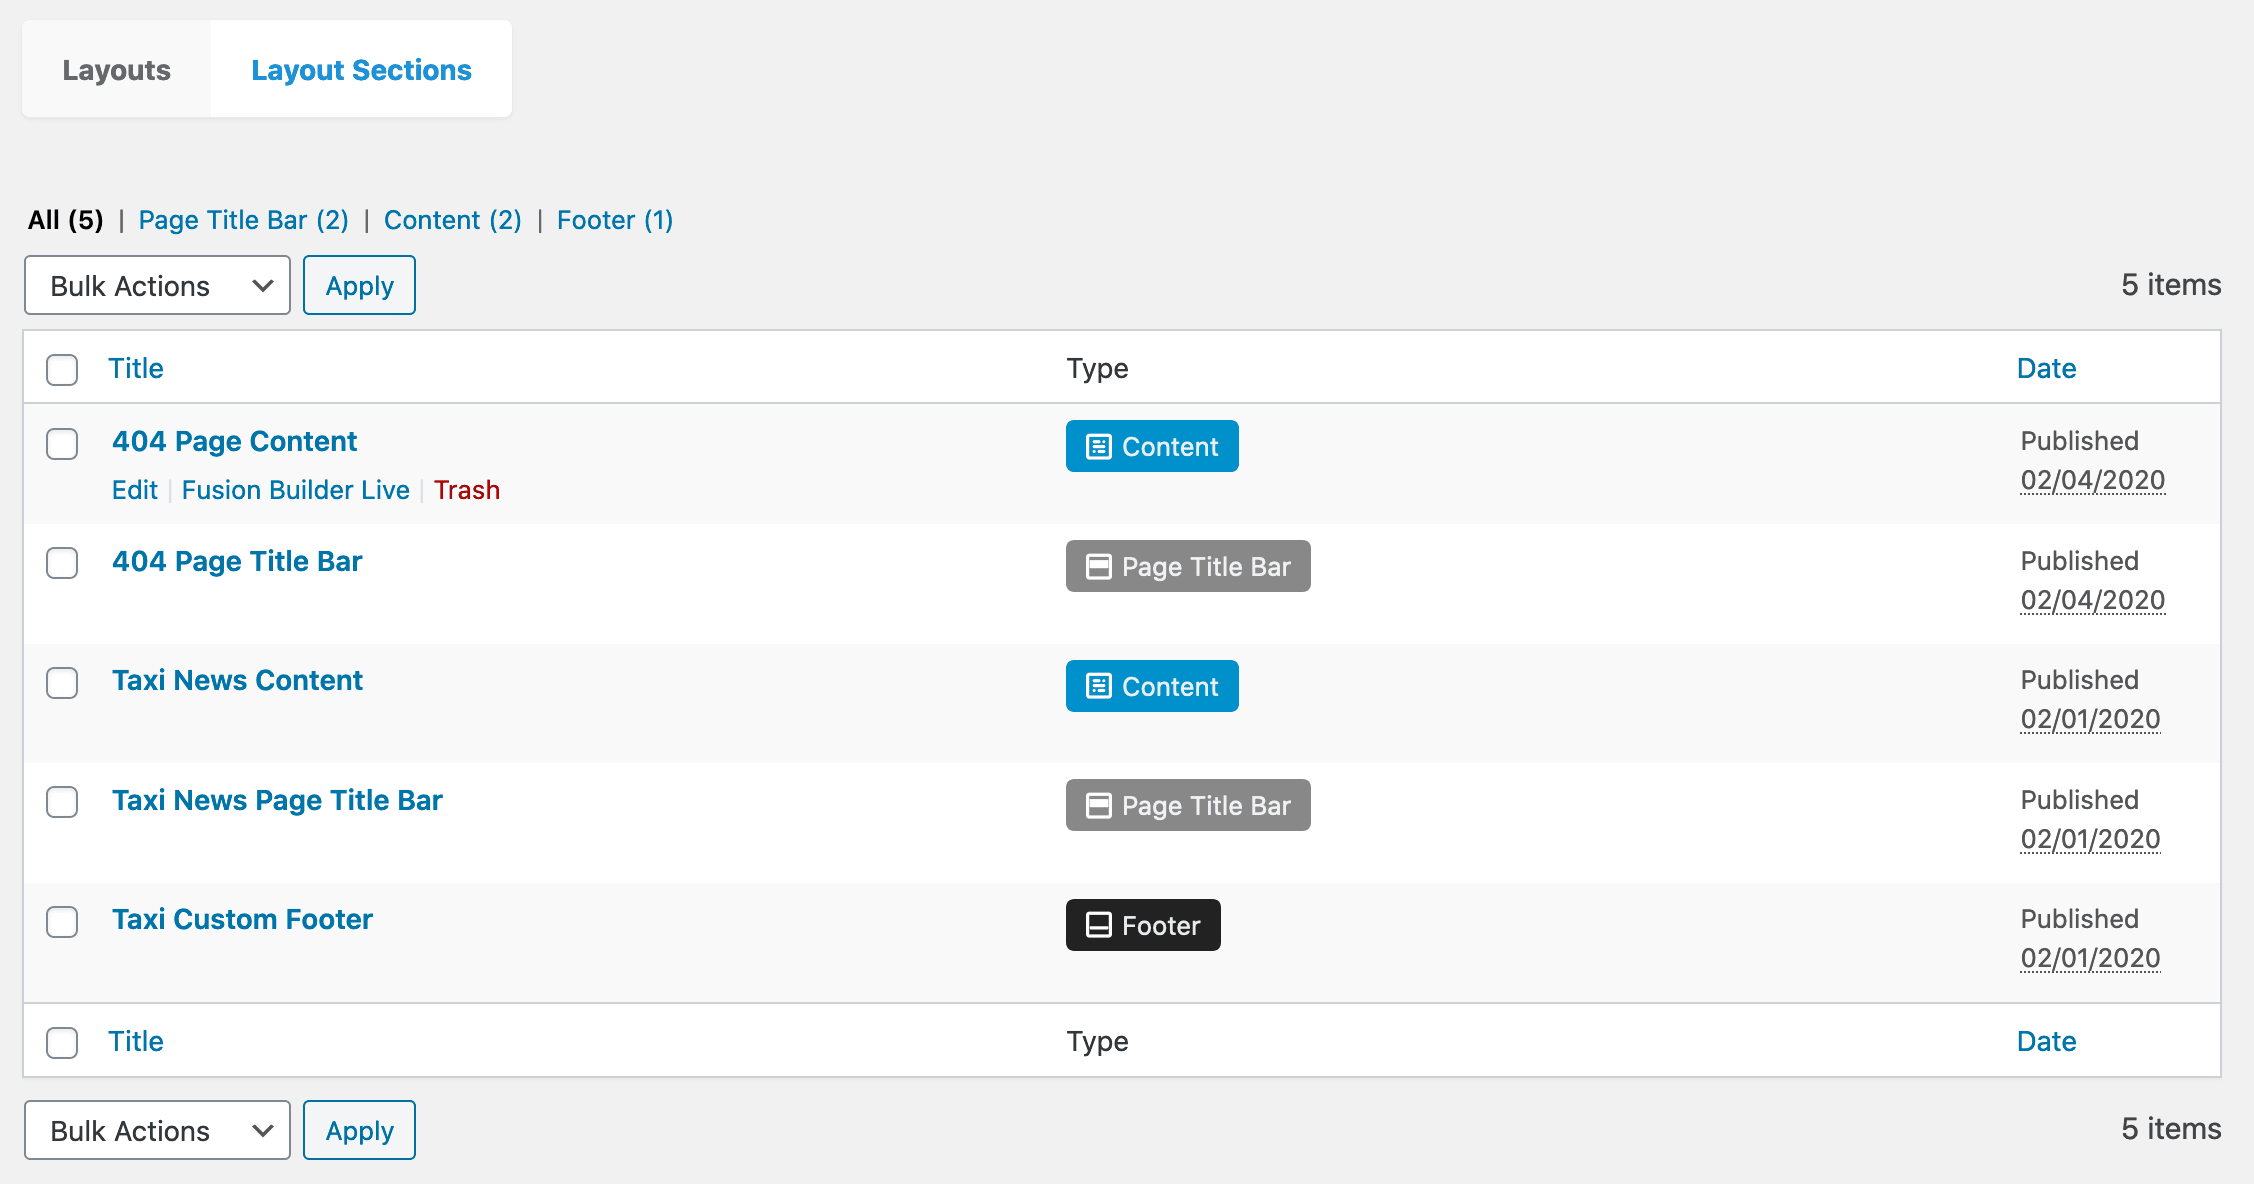
Before we examine the Taxi Demo Layouts, we would like to explain the difference between Layouts and Layout Sections. Think of Layouts as the framework for a webpage. Layout Sections are the four constituent parts that output the content: the Header, Page Title Bar, Content, and the Footer.
You can create as many Layouts and Layout Sections as you like and use the same Layout Sections in multiple Layouts. See the Understanding Layouts & Layout Sections help file for more information.
Layouts

Layout Sections
What Are Global & Custom Layouts?
The main difference between the Global Layout and a Layout is as follows:
The default is a Global Layout. You can add a Header, Page Title Bar, Content, and/or a Footer Layout Section to this, which will display across the entire website.
Besides the Global Layout, you can create Layouts (not assigned globally) and then determine with conditional logic which pages or posts will use them. You can also create as many Layouts as you need. For example, you can have a unique layout for each page on your site or a unique website footer for each page. The possibilities are endless.

What Are Layout Conditions?
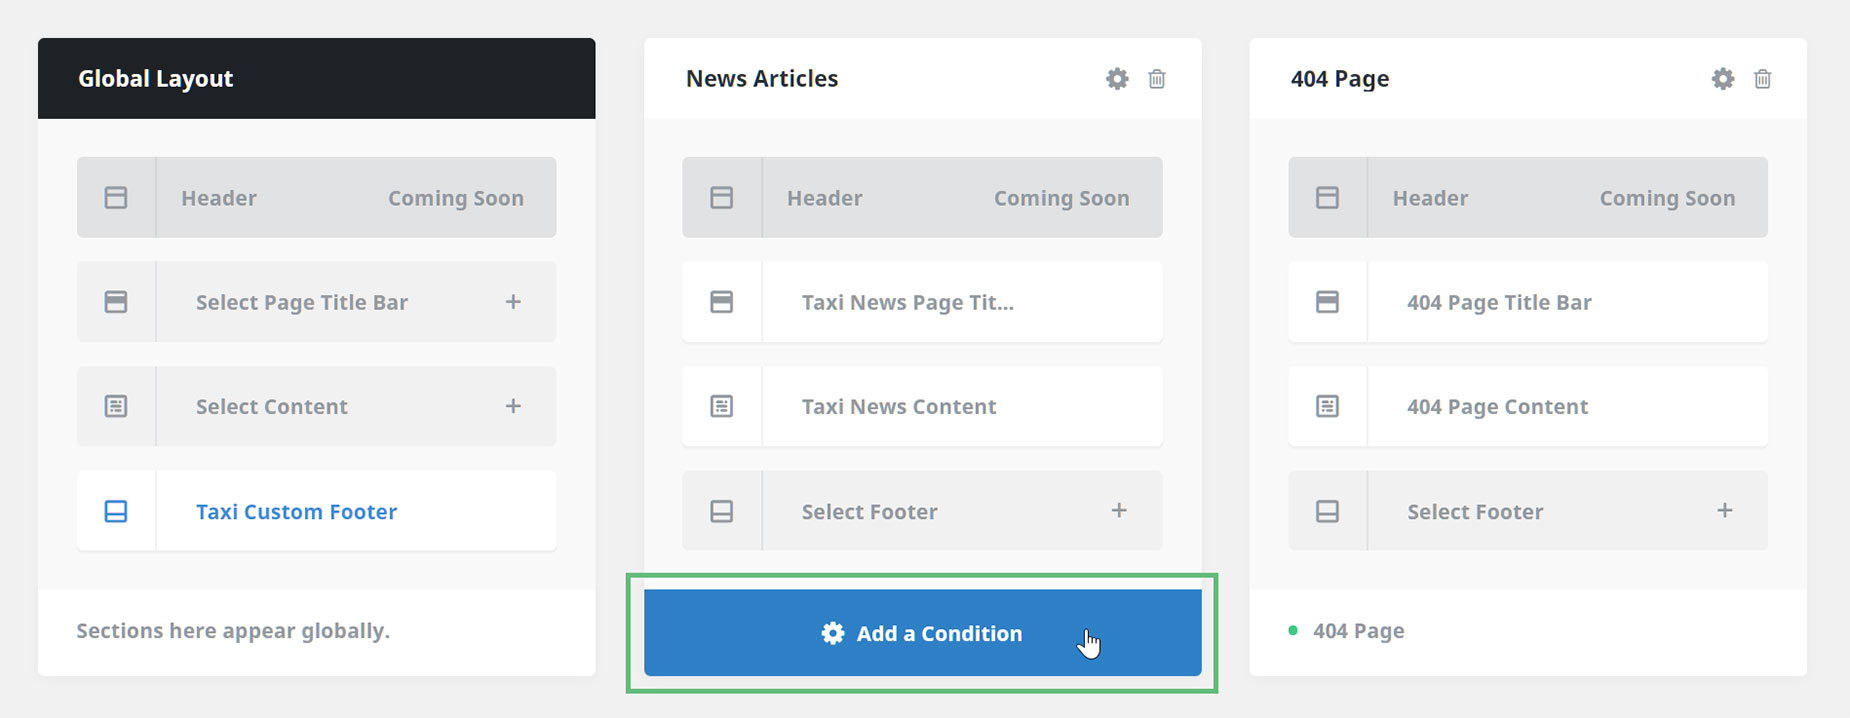
Layout Conditions make it possible to choose, for example, whether a particular page or post to a Layout should be applied or not. The combination of a Global Layout, Layouts, and Conditions allows you to be super flexible and create a fantastic array of unique web pages for your Avada website. As illustrated below, you can click to edit and apply the conditions to your Custom Layouts.
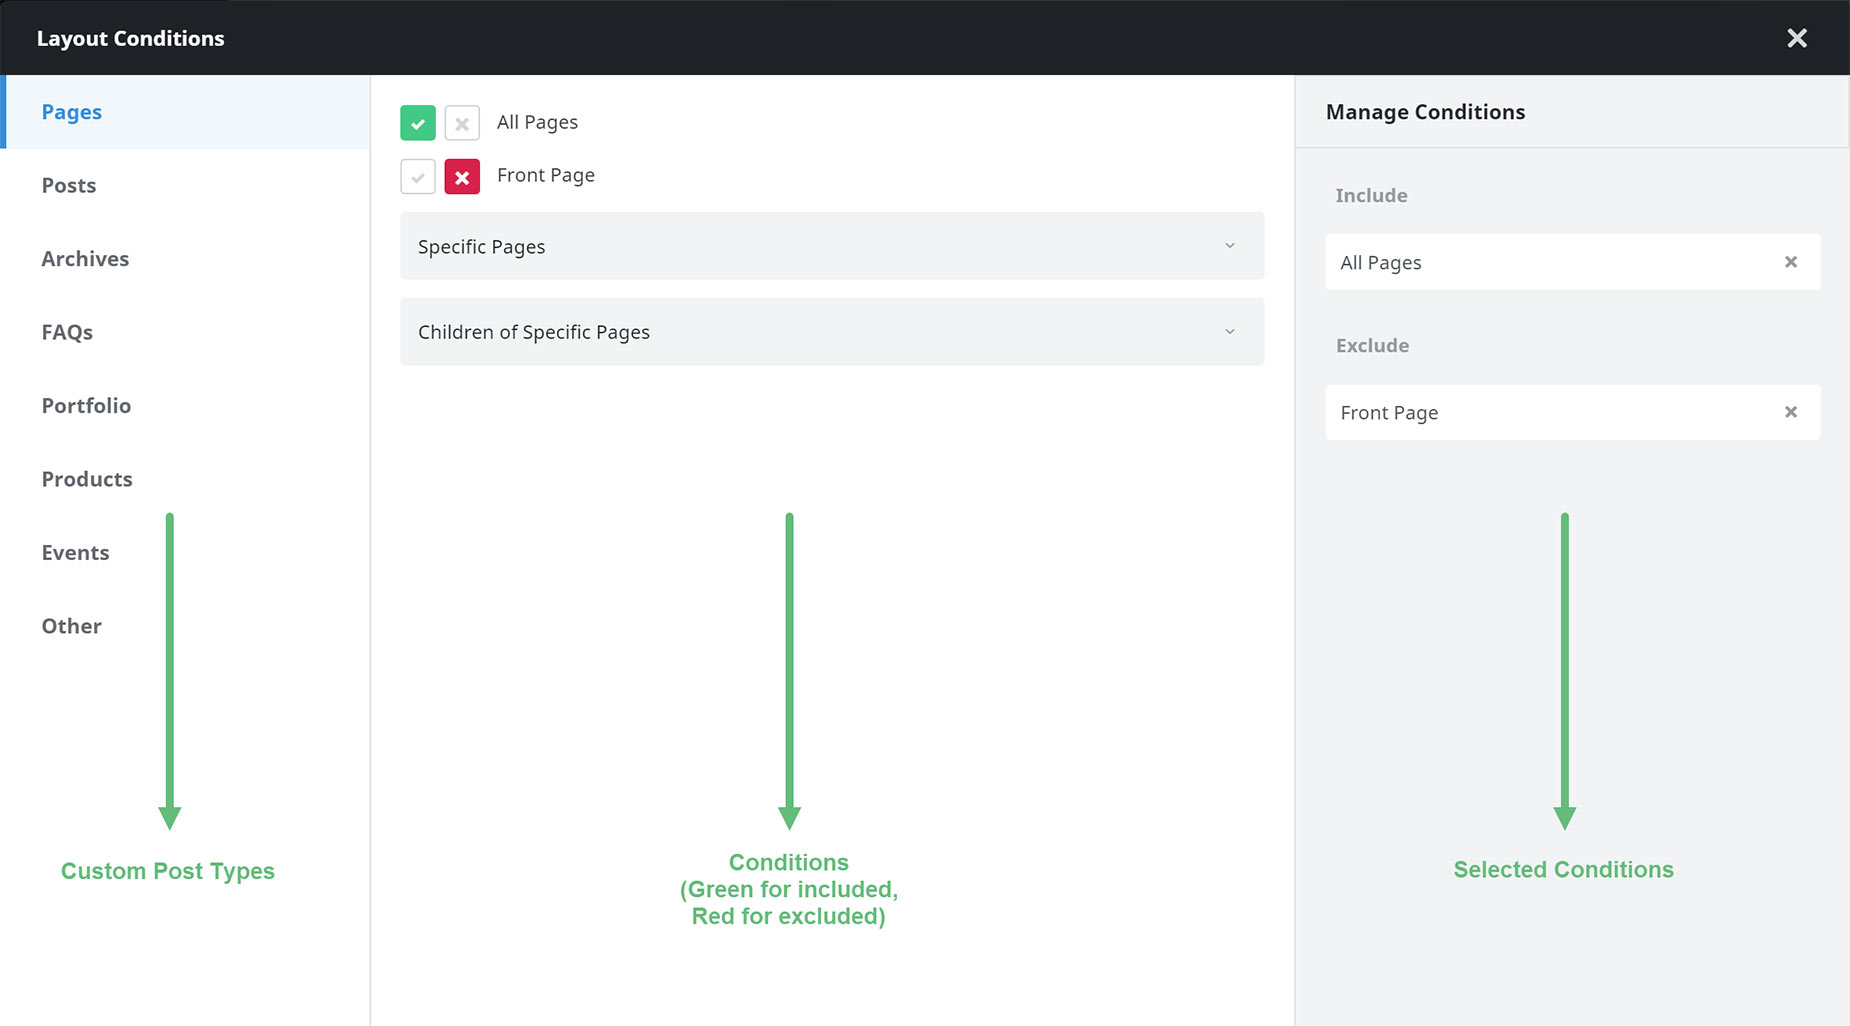
In the open Layout Conditions window, you will see three columns. The middle column contains all possible conditions for pages and post types. You can choose to enable or disable a condition or a series of conditions. Once a condition is enabled or disabled, it will be listed in the right-side column.
Exploring The Taxi Demo Global Footer
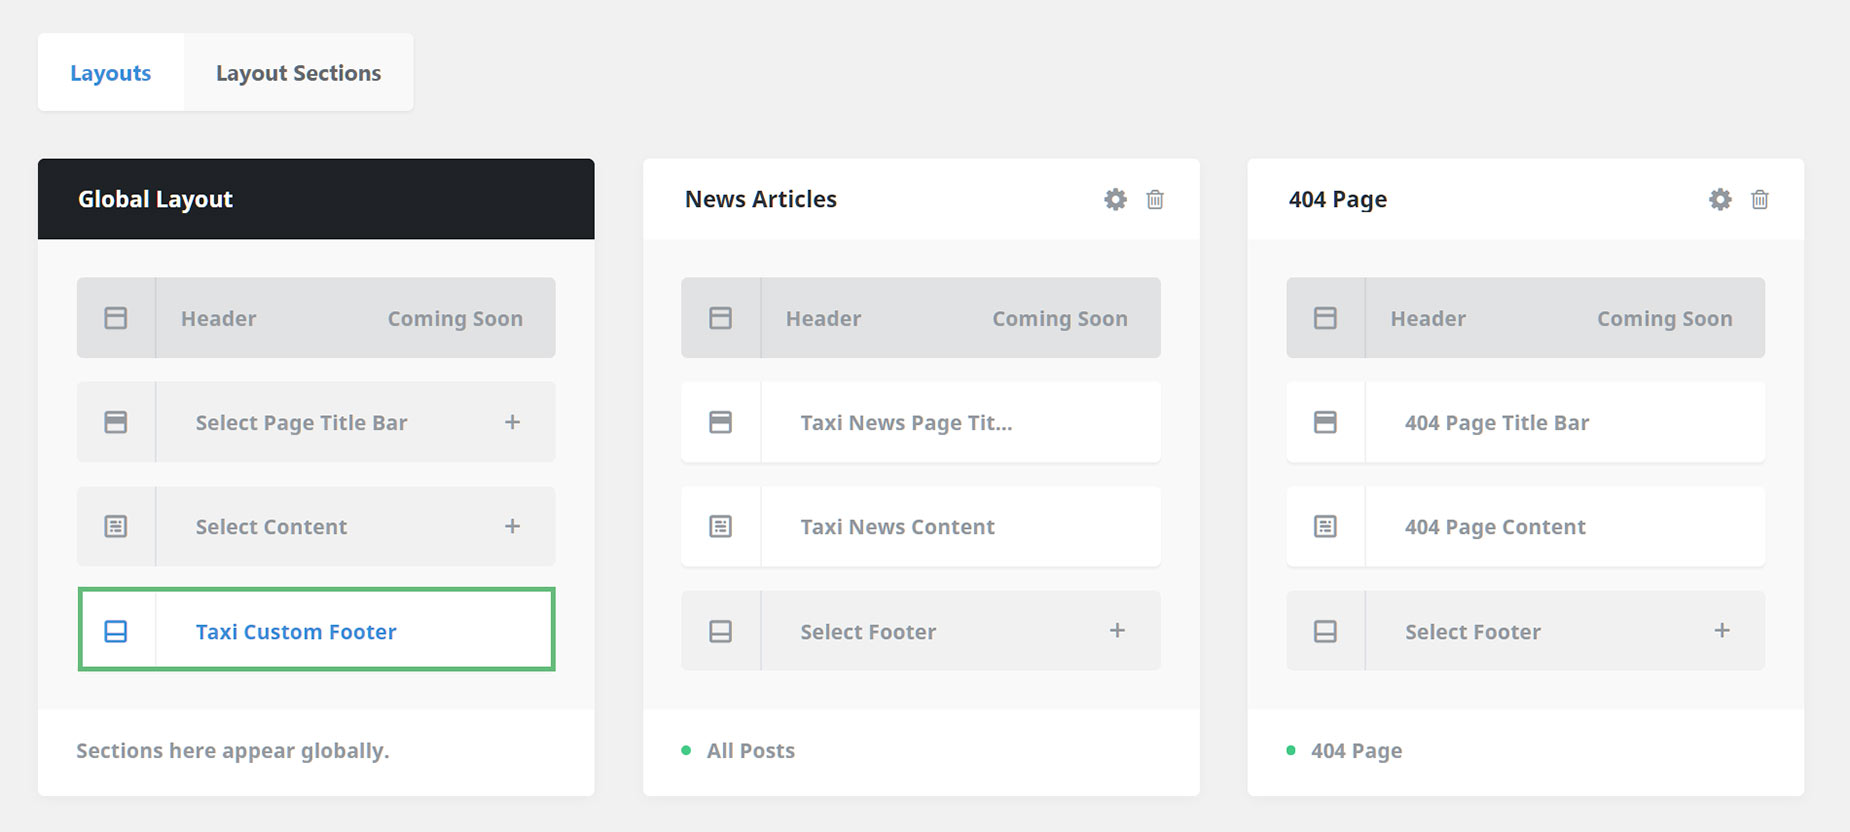
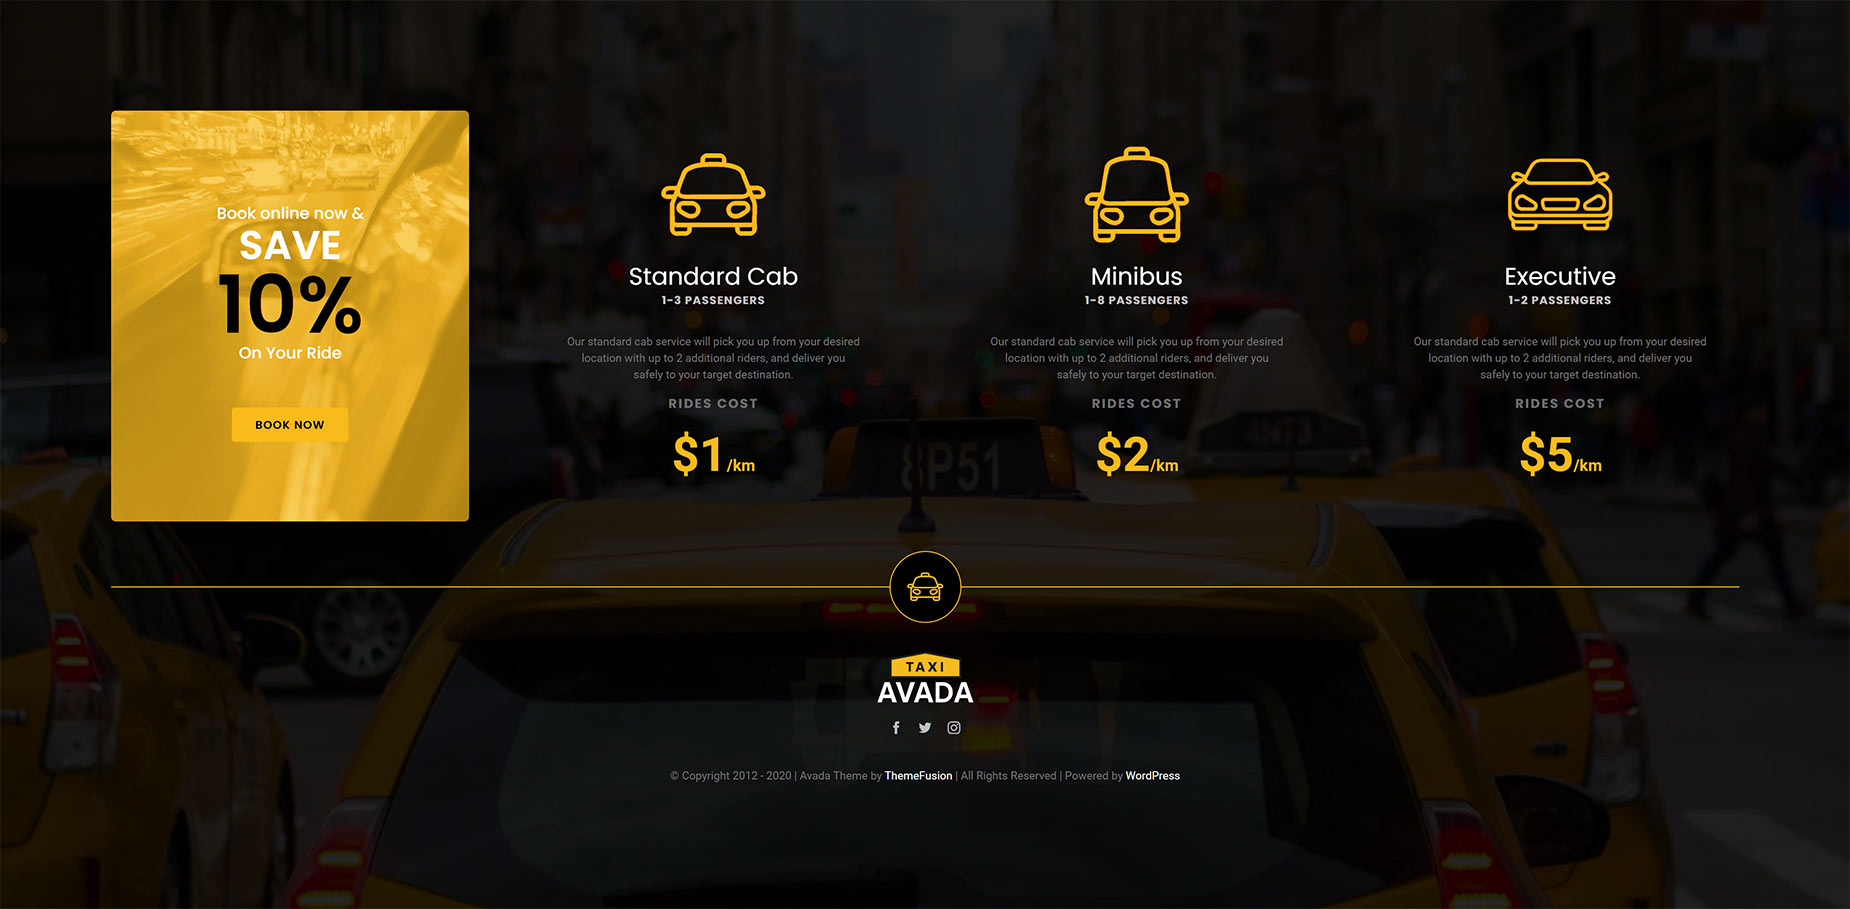
Let’s start by examining the Avada Taxi website custom footer. As illustrated below, a custom Footer Layout Section is set up to display globally across the entire site for all pages and posts.
Upon editing the Custom Footer Layout, you will notice a four-column layout applying various Design Elements and settings to create the footer’s design. The number of columns you decide to use is up to you. Anything from one to six columns will work.
With Custom Layouts, being constrained by WordPress widgets and the Theme Options in the traditional sense is a thing of the past. You can design and build your layouts using the full power of the Avada Website Builder.
Here, you can see what the custom footer looks like on the front end. Your imagination is the only limit.
Exploring The Taxi Demo Single Post Layout
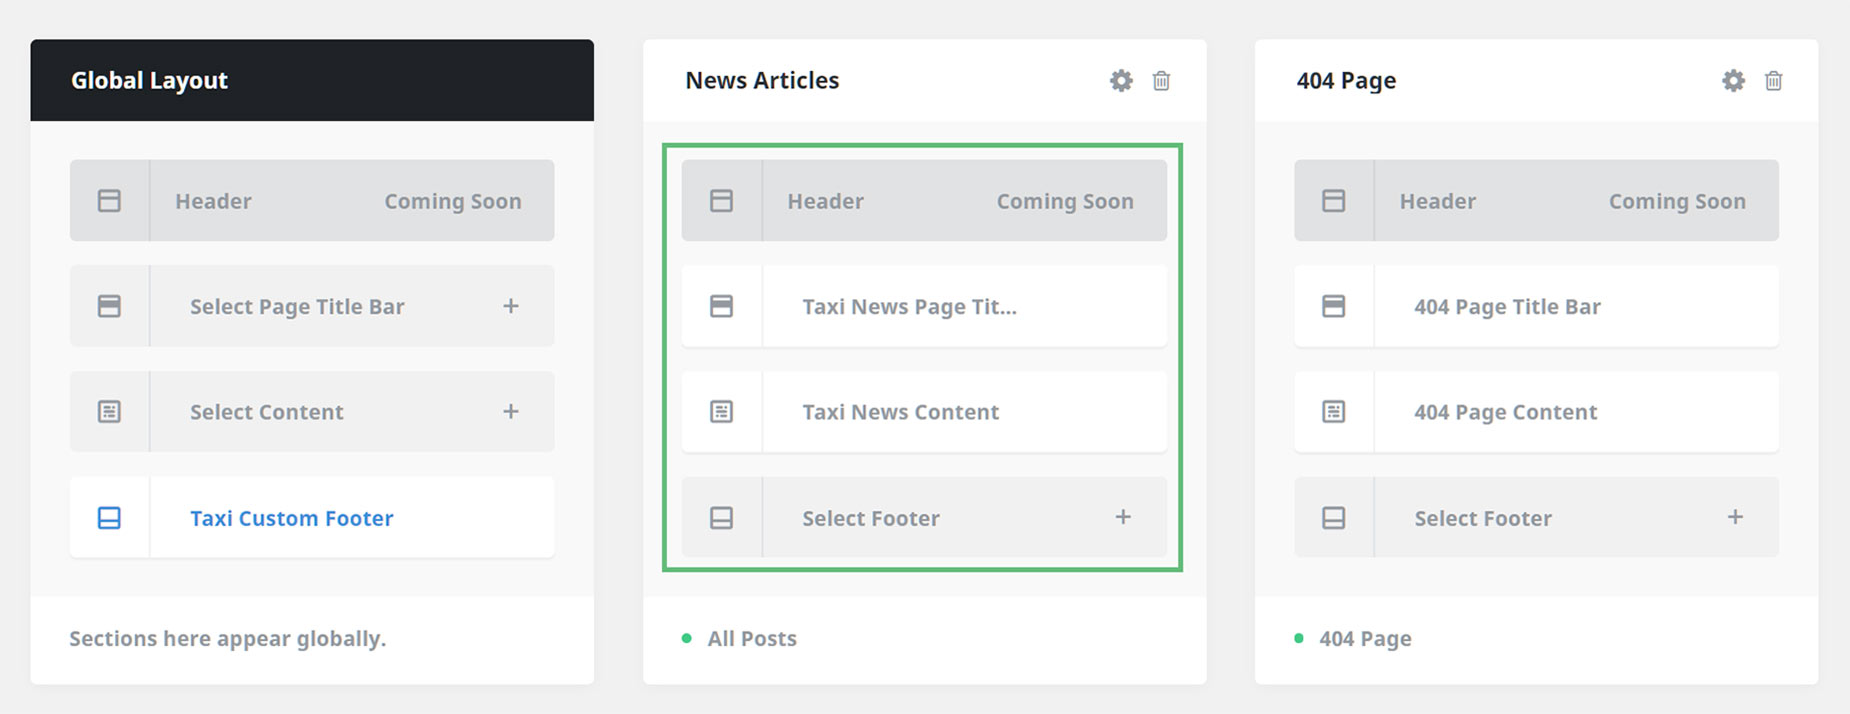
We have a custom single post layout called “News Articles,” which consists of a Page Title Bar Layout and a Content Layout Section. This custom single post layout does not have a footer layout section, so it will use the Global Footer Layout as predefined.
The Single Post Title Bar
The Page Title Bar setup is relatively straightforward. We start with the main container, which has a background image applied in the container settings. Then, we have a full-width column with a Title Element (using dynamic content as an option) and a Breadcrumbs Design Element.
For more information about how to use dynamic content options with Avada, please see this help file and video. The image below shows the Single Post Page Title Bar on the front end.

The Single Post Content
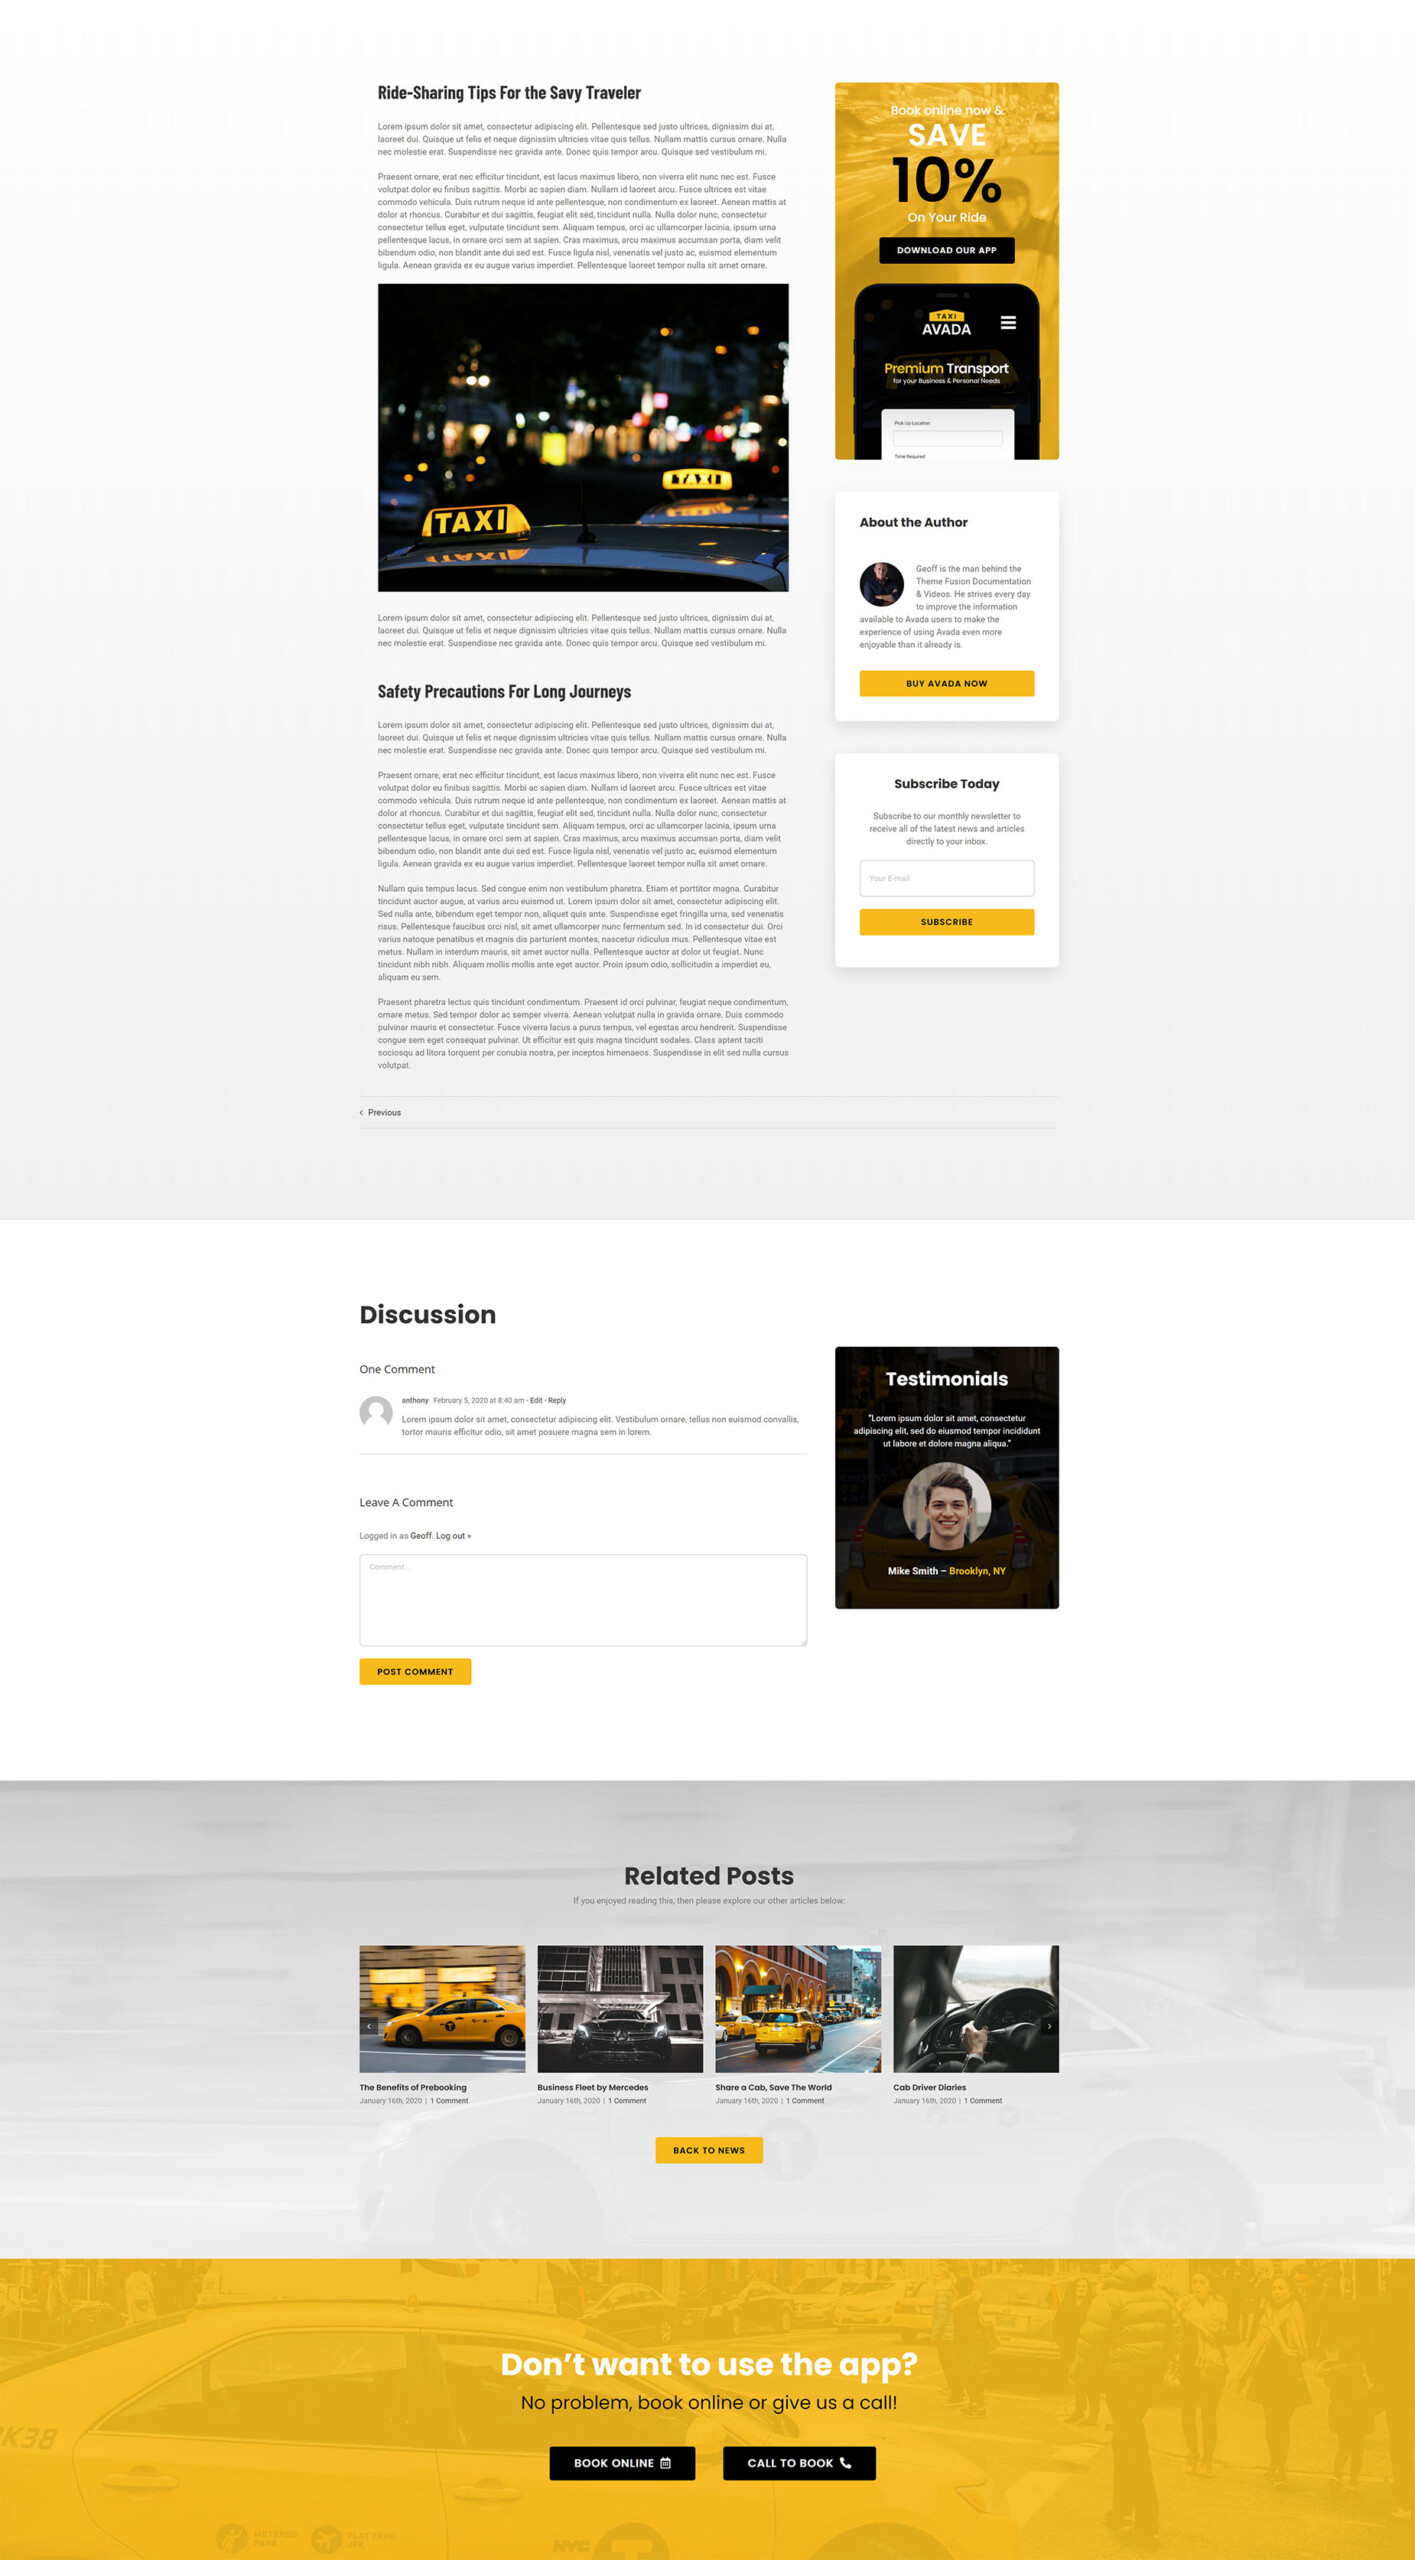
The Content Layout section for the Single Post has a lot more added to it than the Page Title Bar. The layout uses a combination of Layout Elements and Design Elements. The image below clearly shows the various facets of this custom layout in the Fusion Builder. For more insight into how this is built, please watch the How To Build A Custom Single Post Layout video.
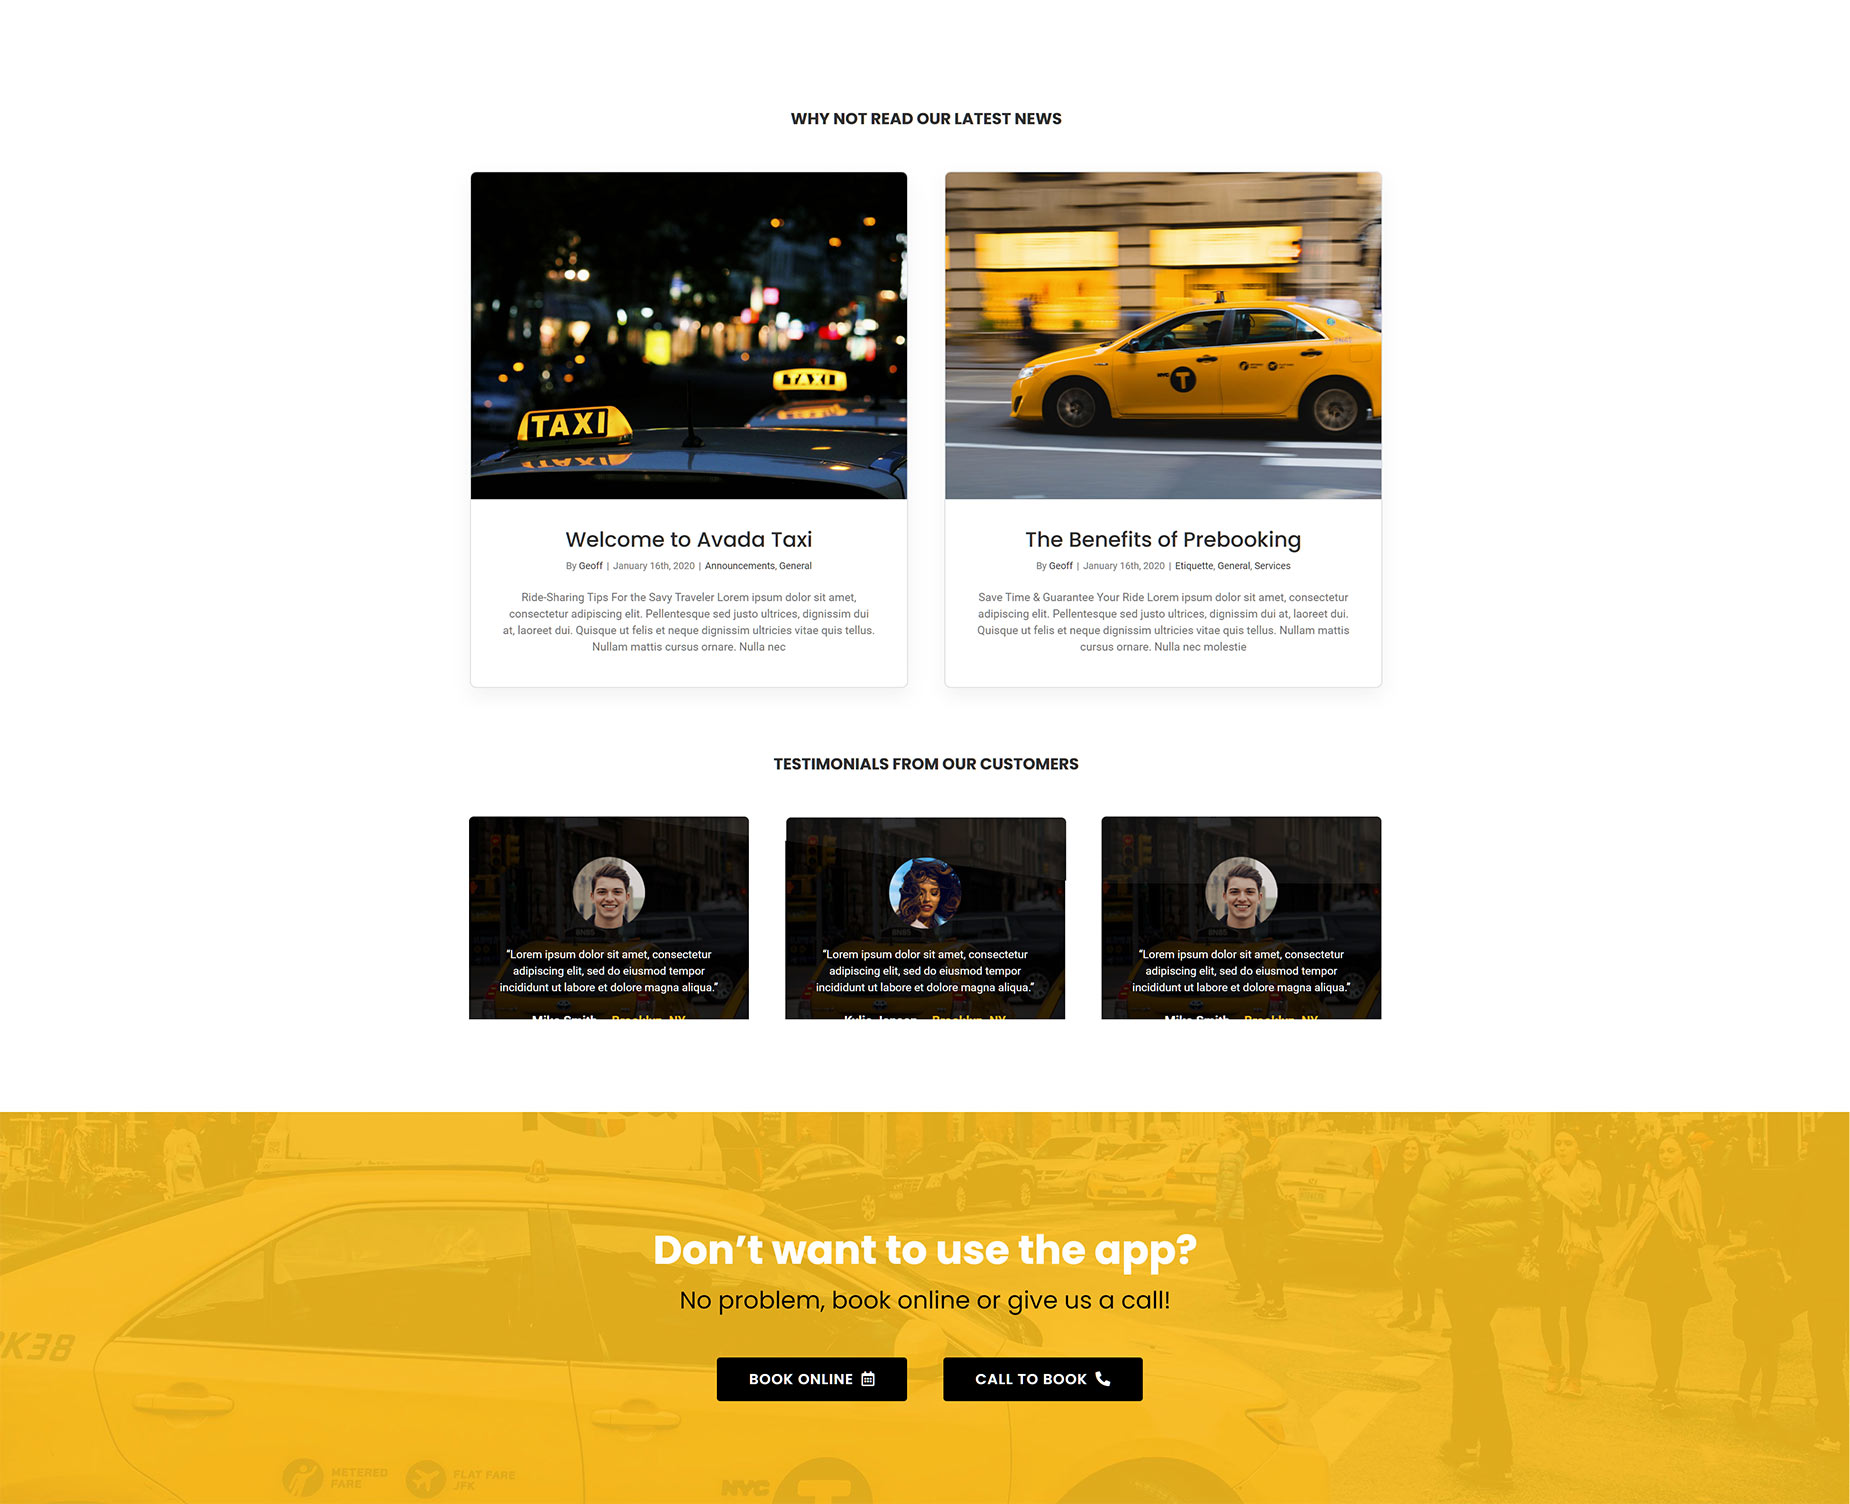
When editing the Layout, you will see a multi-container, multi-column layout—with a combination of Design Elements, Layout Elements, and nested columns acting as sidebars. It also has a Global Container at the bottom, working as a Call to Action. The image below shows what the single post Content Layout looks like on the front end.
Exploring The Taxi Demo 404 Page Layout
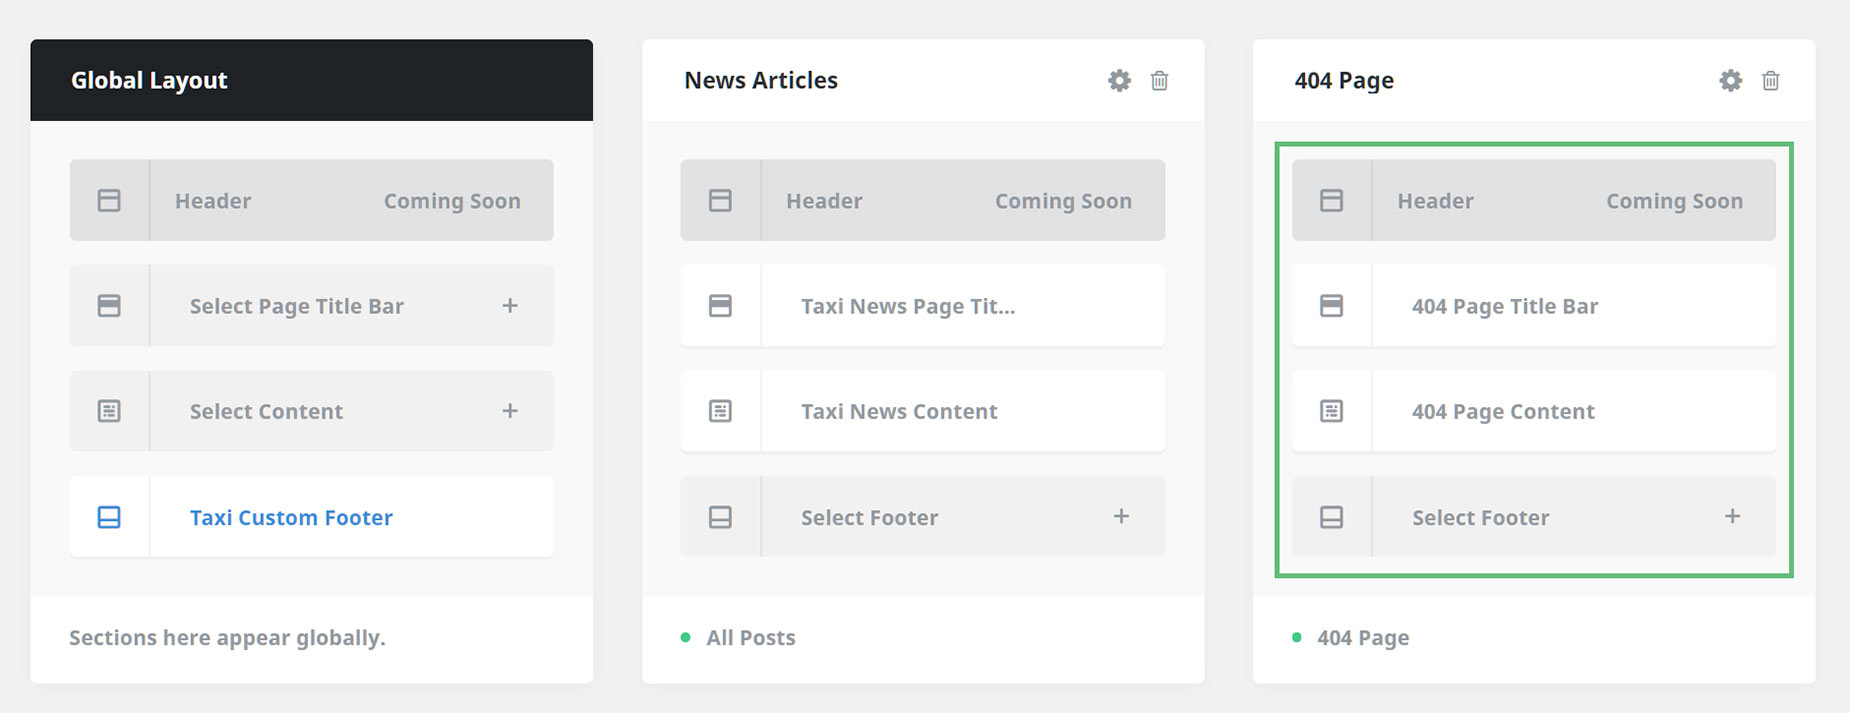
We have a custom 404 page layout called “404 Page”, which consists of a Page Title Bar Layout and a Content Layout Section. There is no Footer Layout Section applied to this custom page layout and will, therefore, use the Global Footer Layout as predefined.
The 404 Page Title Bar
The Page Title Bar setup is relatively straightforward but is different from the PTB created for single posts (explained above). We start with the main container, which has a background image and gradient applied in the container settings, followed by two full-width columns. The first column has a Title Element, followed by a Text Block Element and a Call-to-action (CTA) Button Element.
Feel free to check out this page that showcases all of the available Avada Design Elements. The image below shows the Custom 404 Page Title Bar on the front end.

The 404 Page Content
The Content Layout section for the 404 Page has a lot more added to it than the Page Title Bar. The layout uses a combination of Layout Elements and Design Elements. The image below clearly shows the various facets of this custom layout in the Fusion Builder. For more insight into how this is built, please watch the How To Build a Custom 404 Layout Video.
When editing the Layout, you will see a multi-container, multi-column layout, with Design Elements and nested columns making up the bulk of the content. It also has a Global Container at the bottom, working as a Call to Action. The image below shows the Custom 404 Page Content on the front end.
Summary
The information in this post should give you a good idea of a fraction that is possible with Avada and WordPress. You can create unique layouts for any website page, fast and intuitively.
