How To Use Anchor Scrolling
Last Update: October 29, 2025
Anchor Scrolling is a great way to direct your user’s attention to important information at the click of a link. The intention is that when a user clicks the anchor link they will be scrolled smoothly to the information further down or up the page. If the action is not smooth, this means that the JavaScript code isn’t firing and the anchor isn’t set up correctly. Please read below to learn how to best set up anchor scrolling in Avada.
Setting up Anchor IDs
The first part of Anchor Scrolling is setting up your Anchor IDs. Anchor IDs allow you to target a specific section of a page, by adding an ID to the start of those sections. There are 2 common ways of adding Anchor IDs, depending on the section you’d like to target.
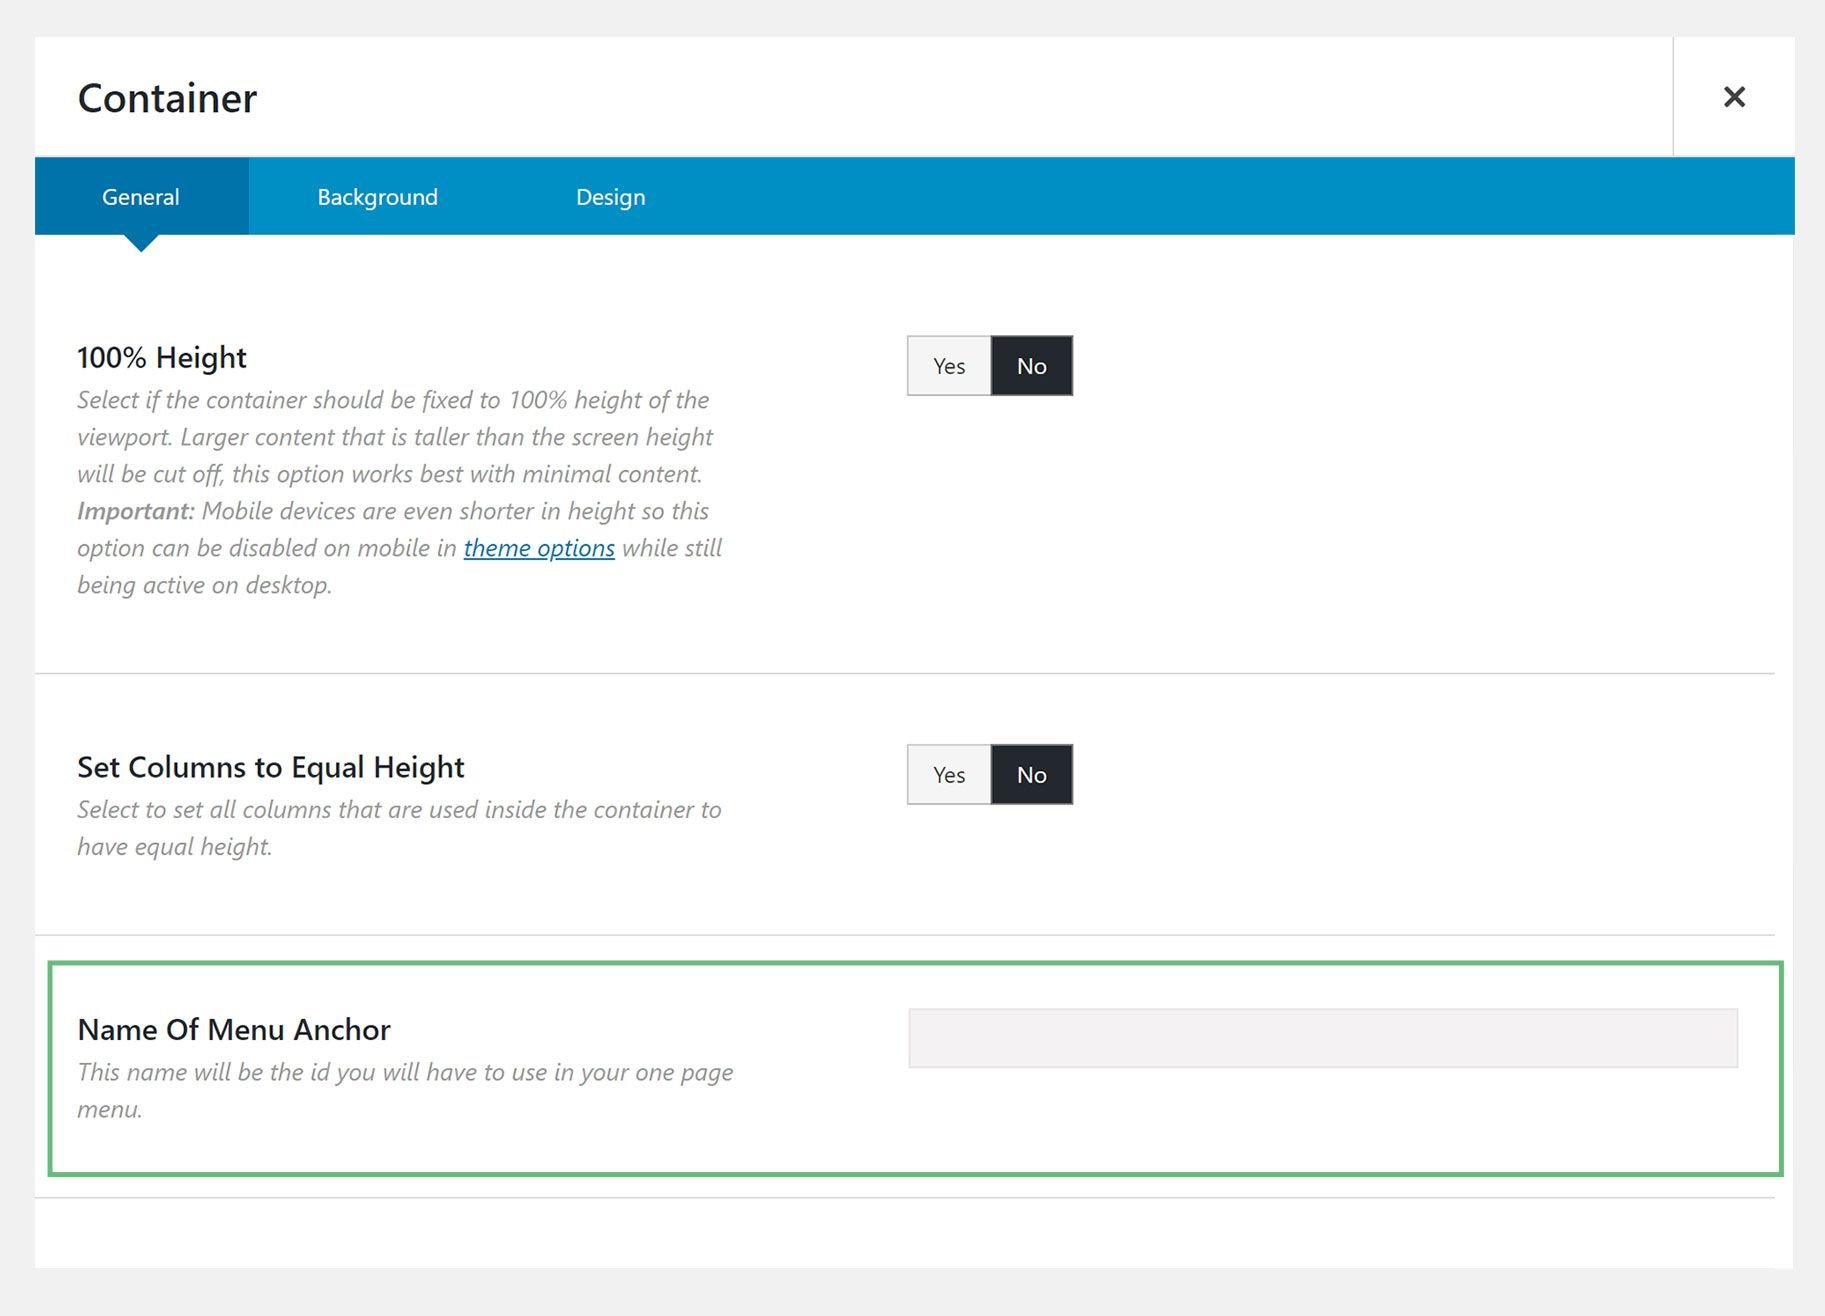
Containers – Name Of Menu Anchor Option
The first method of adding Anchor IDs is to use the ‘Name Of Menu Anchor’ option located in Container elements. This option lets you add an Anchor ID to the Container itself. When using this method, the user will scroll to the beginning of the Container. If you just want to generally point your users to a section, then this is the best method.
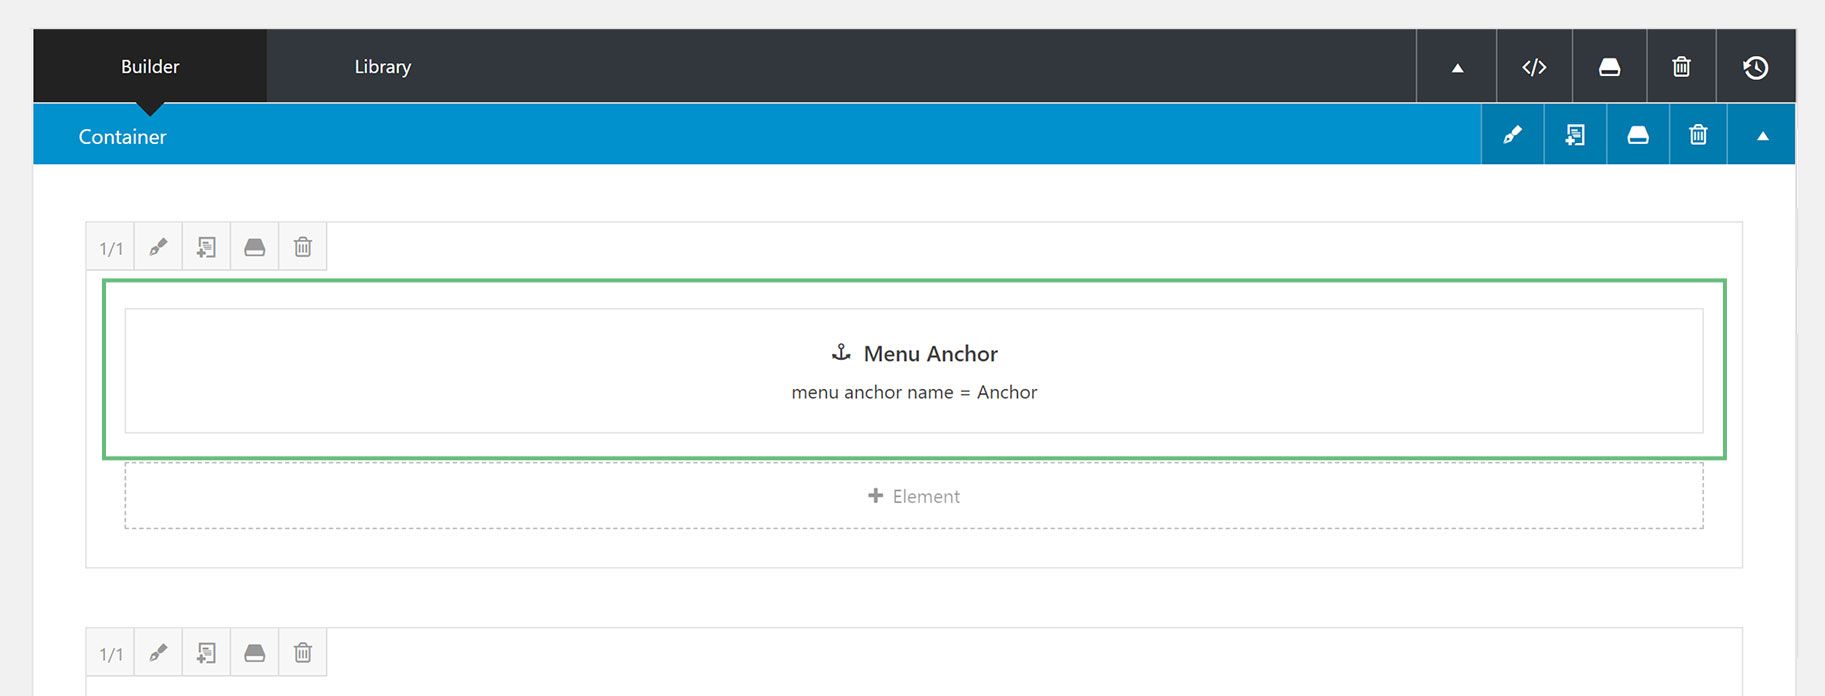
Menu Anchor Element
The second method of adding Anchor IDs is to use the Menu Anchor element. This allows you to target a specific section inside a container. For example, if you’d like to target specific content, then you would place a Menu Anchor element directly above it. That way, the user scrolls directly to the content you’d like them to see rather than just the beginning of the section it’s a part of.
Setting Up Anchor Links
Once you’re finished adding your Anchor IDs, it’s time to add your Anchor links. There are multiple ways to add Anchor Links into your content depending on where you’d like to place them. Continue reading below to learn more about each method, and when to use them.
If you want your link to be a button, simply add a Button element where you want it on the page, and simply add your anchor id name preceded by a hashtag (eg, #aboutsection) to the Button URL option. That’s it. Clicking on this button will then scroll the user to either the top of the Container where the Menu Anchor Option was entered, or the section of the Container where the Menu Anchor Element was added.
When you use anchors on your menu items, it will always automatically scroll to the corresponding section. To learn how to create one page websites or how to use anchors on your menus correctly, please read our How To Build A One Page Website With Avada doc. If you want to use anchor links as well as normal links on your site, please read our One Page Menu With Multi-Page Links doc.
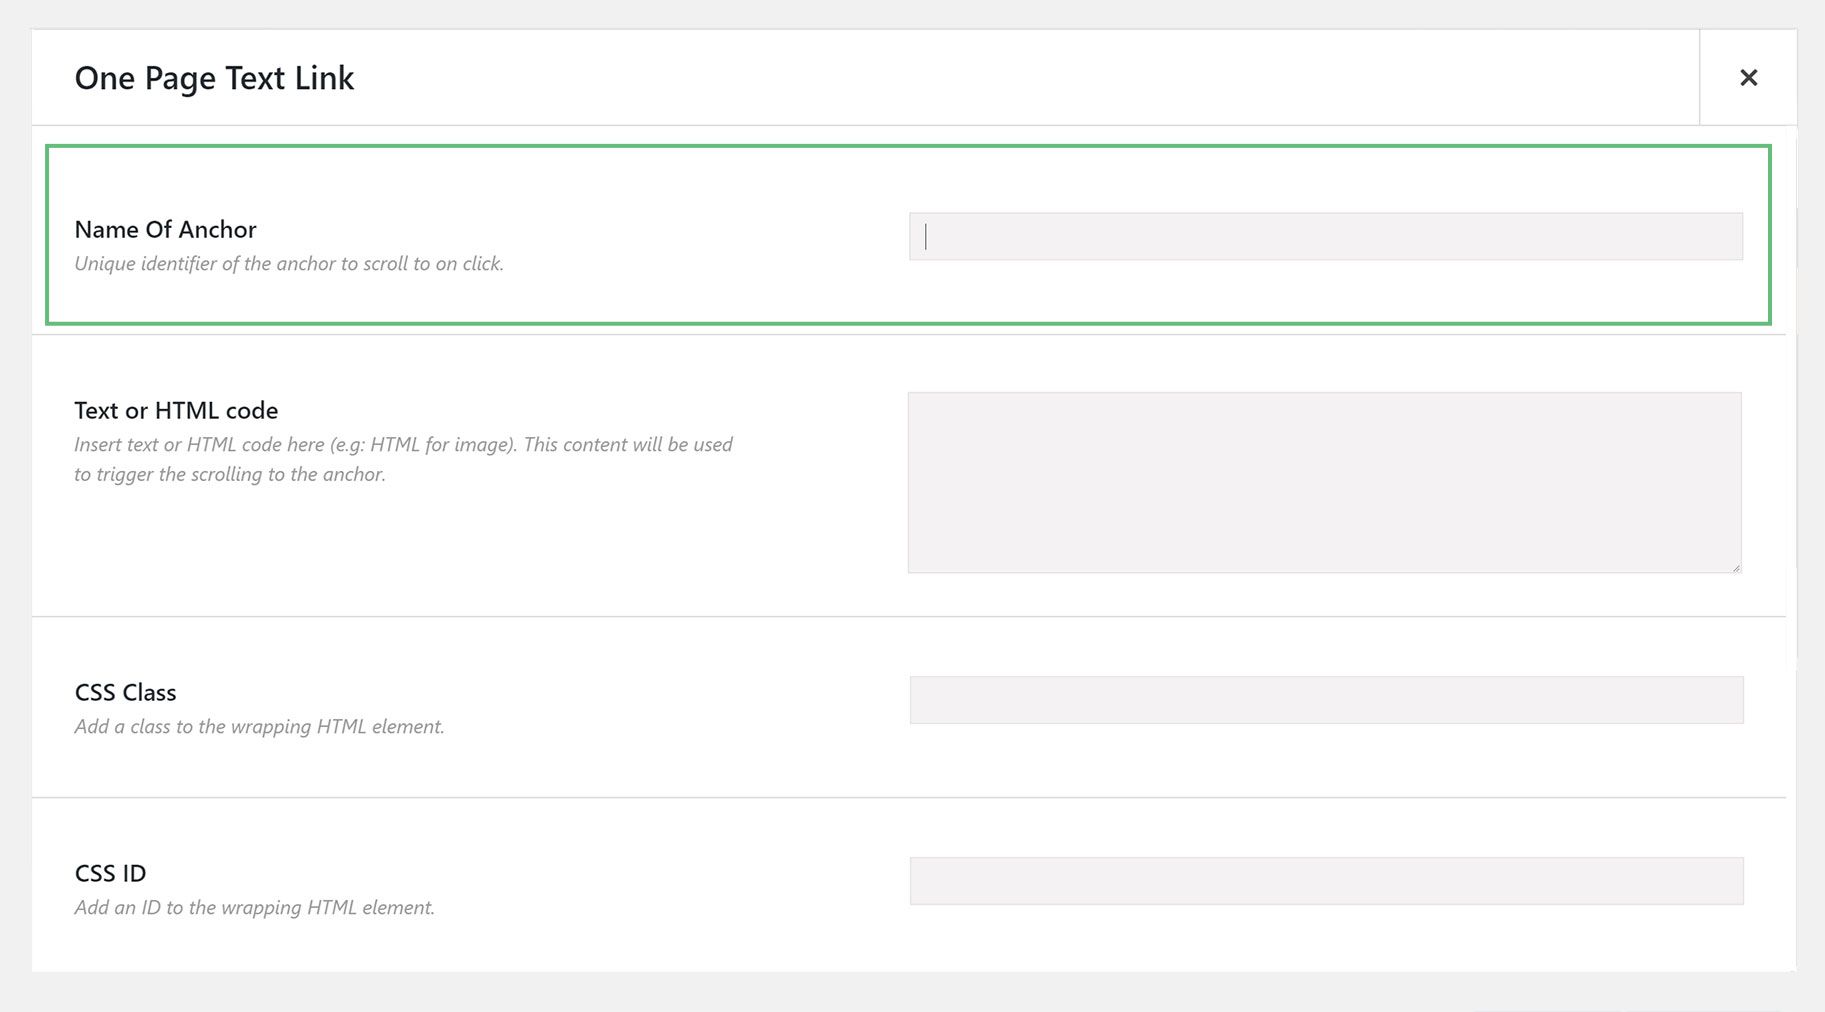
One Page Text Link Element
You can also add anchor links using the One Page Text Link Element. This element is an Inline Element and can be inserted via the WordPress Content Editor. It can be used with any basic HTML elements like plain text and images. See the One Page Text Link Element for full details on this Element, but its basic usage is shown below.
Adding Anchor Links As Classes
When you’re not using menu items or can’t use a One Page Text Link element, then you can add a custom class to the anchor itself. There are two classes you can add for different circumstances. These two classes are fusion-one-page-text-link and fusion-menu.
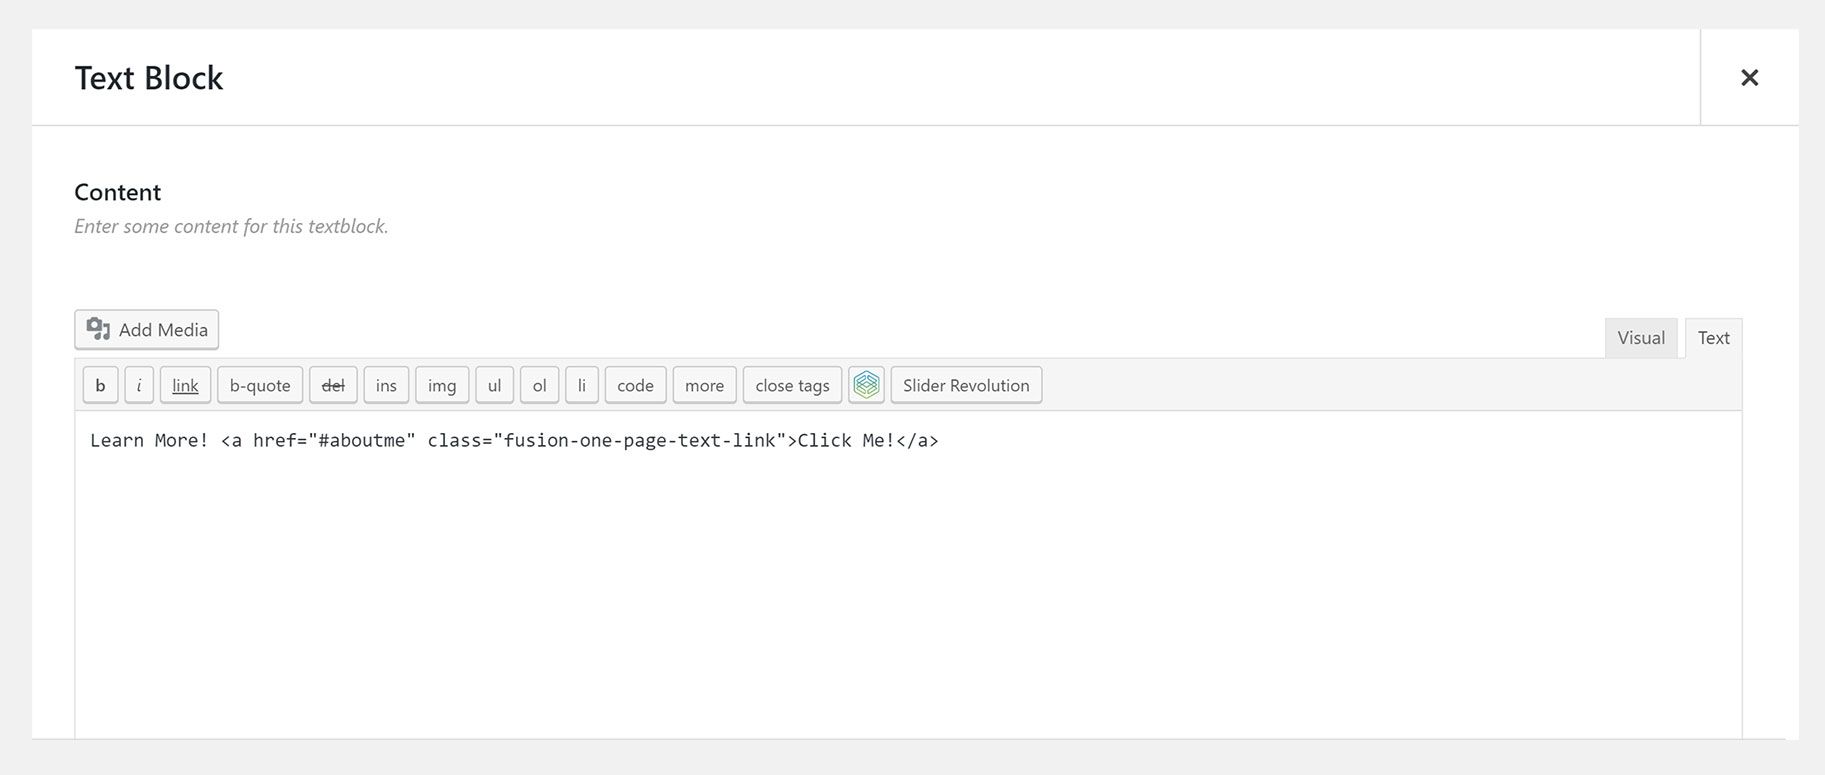
Fusion-One-Page-Text-Link
You can add the fusion-one-page-text-link class to any link you add to Text Block elements, Checklist elements, Slider elements, etc. Basically, anytime you add an
tag, you can also add
into the
tag. For example:
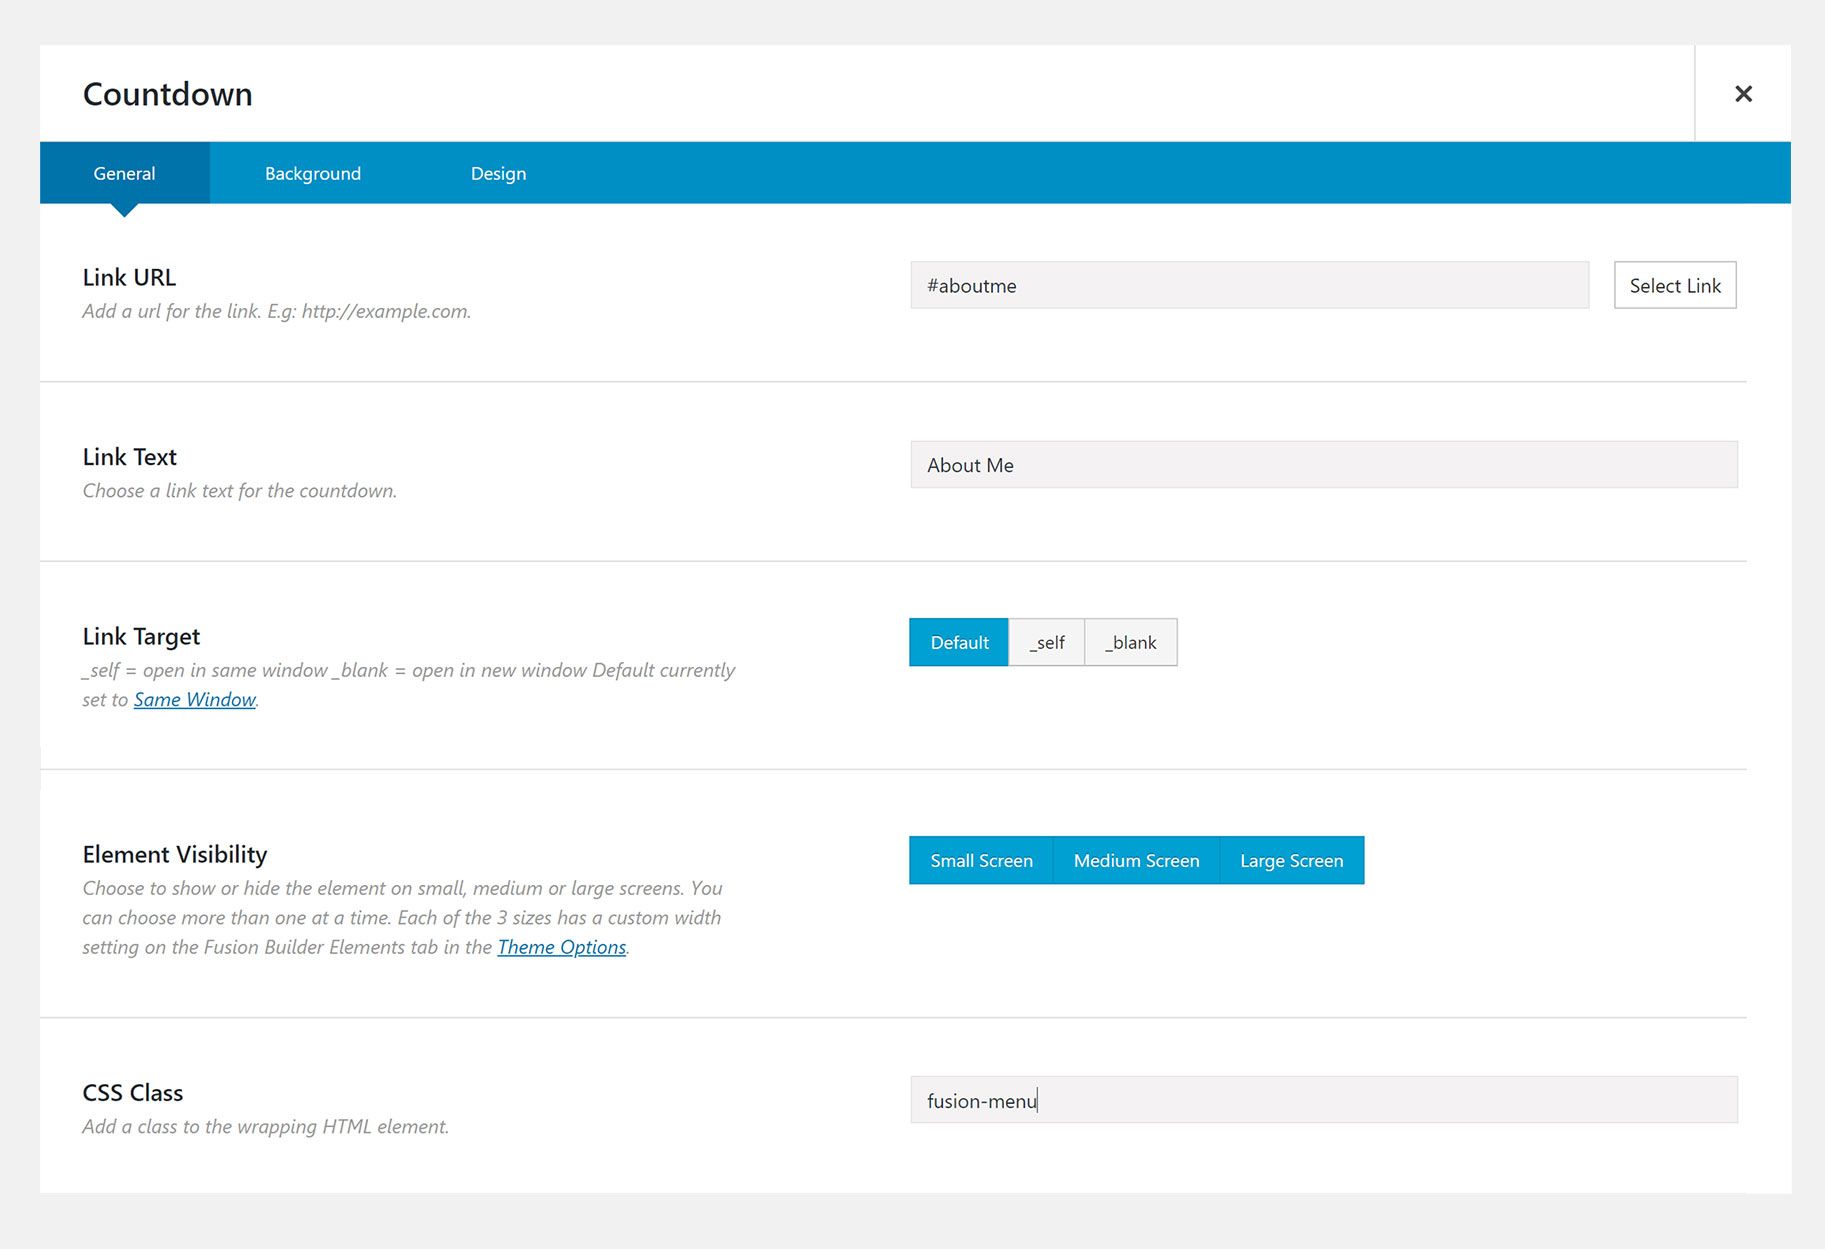
Fusion-Menu
You can use the fusion-menu class if you’re adding anchor links to elements that hav a ‘Link’ option available. For example, elements such as Image Frames, Countdowns, Image Carousels, Content Boxes and etc. To set this up, insert the anchor link into the ‘Link URL’ option, and then the
class in the ‘Class’ option. For an example, refer to the image below.
Linking To A Section On Another Page
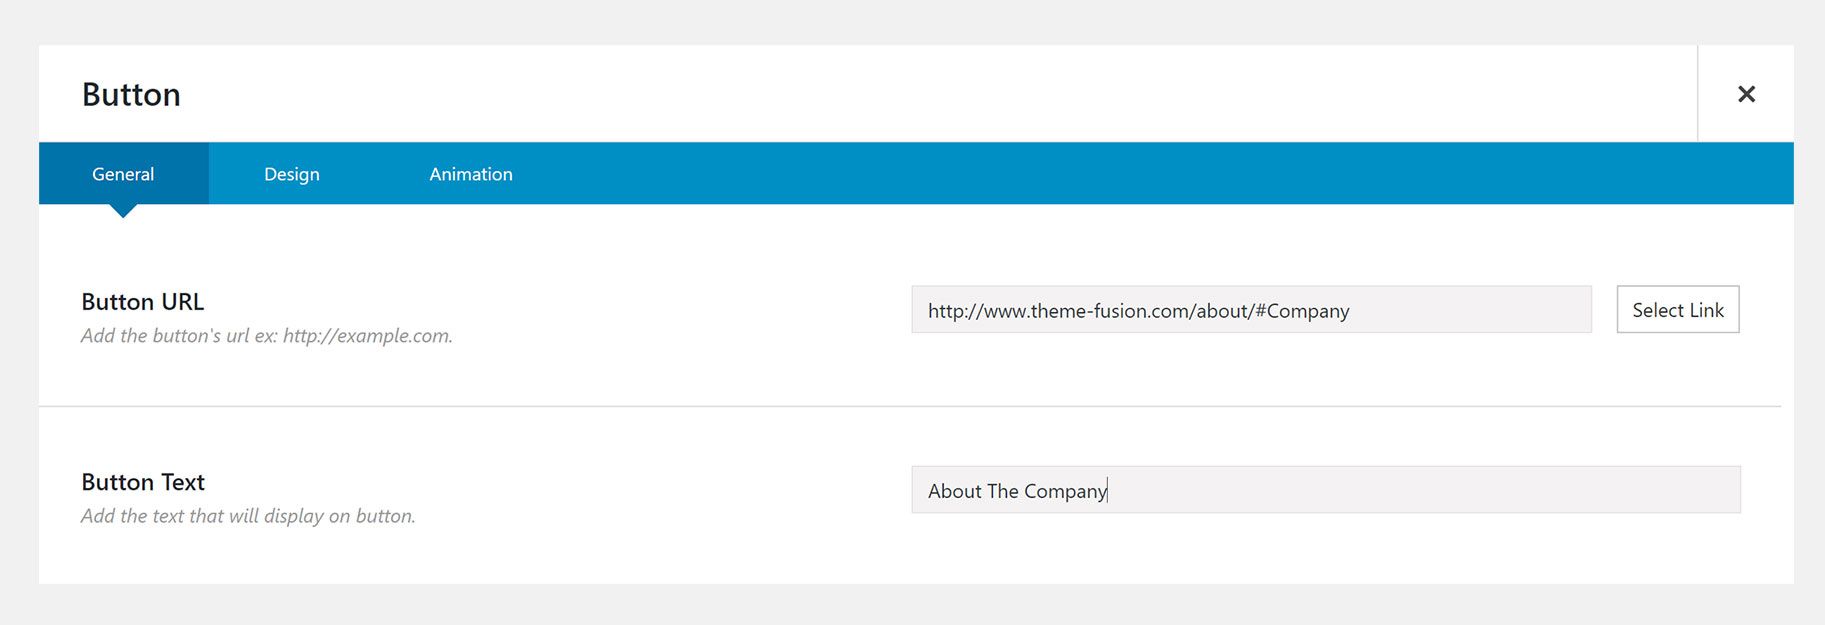
If you’re linking to a specific section of a page, from one page to another, you’ll need to use an Absolute Link rather than just a Relative Link. Continue reading below to learn how to correctly link to a section on another page.
This will direct you to your homepage, then your browser will “look” for the #aboutme ID and scroll to that location. Below is an example of this using a Button Element.
Anchor Linking To A Specific Toggle Or FAQ Item
You can also link to a specific toggle or FAQ item.

Using an Underscore In The Anchor Link Address
Linking from one page to another while using anchor scrolling, will cause Avada to add an underscore character between the # character and the actual target ID (the anchor name). This can cause problems in some uses, but is required for triggering the theme’s smooth scrolling script.
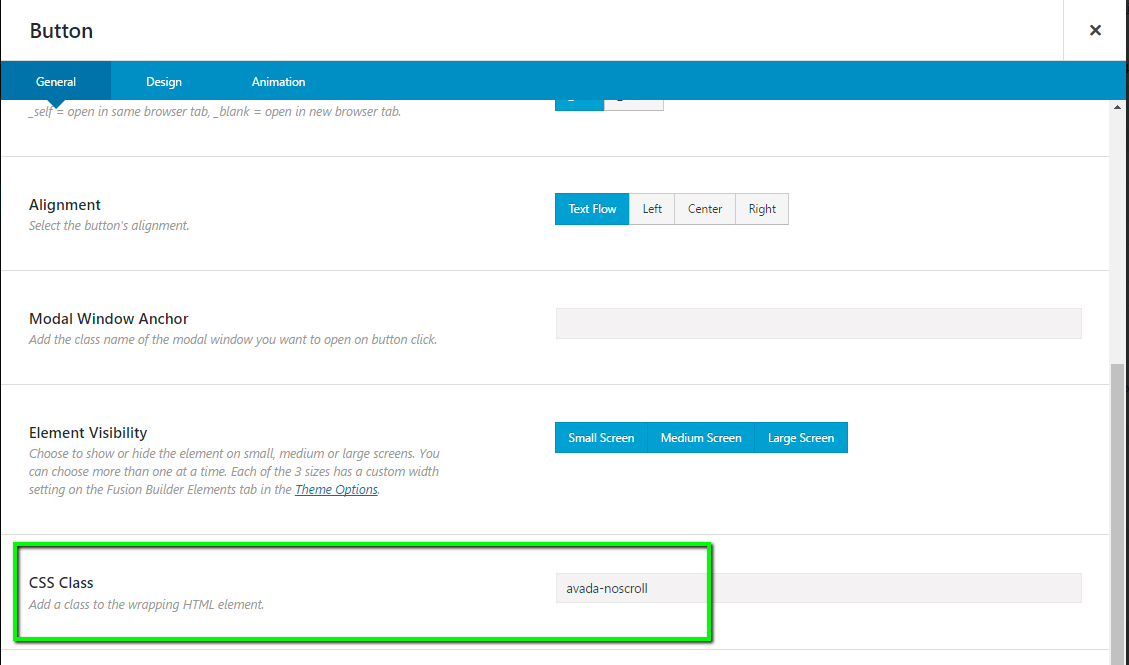
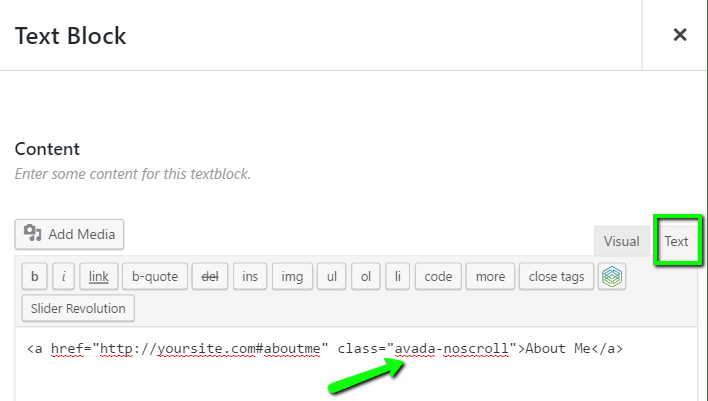
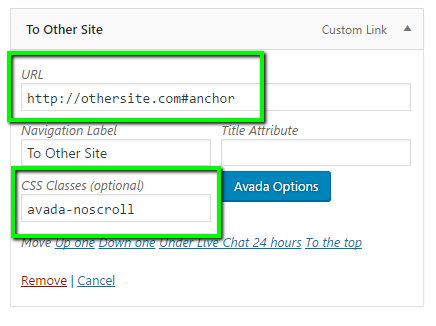
There are instances where users may want the ability to remove the default underscore from the URL. (eg. when linking to a non-Avada area of your site; like a specific location in a PDF document OR off your site entirely.) When that is needed, you can add the class
to the element or link.
Methods You Can Use To Add This Class To Your Links
Note: If you do remove the underscore from the URL, it will disabling smooth scrolling for that link. So it shouldn’t be used unless you’re not intending on navigating with smooth scrolling.


