How To Build A One Page Website With Avada
Last Update: November 29, 2025
A one-page website lets you consolidate all your site information into one page that is split into multiple sections. There are both advantages and disadvantages of one-page sites, so read up on the pros and cons, but if you decide you want to create one, Avada gives you the flexibility needed to do this, and also provides several prebuilt one-page websites to get started with. To get an idea of how one-page sites work, please see our Landing Product, Cleaning Services, Hair Salon, or Resume Prebuilt websites, or read this detailed blog post.
Please read below for detailed information on how to create content for a one page site, and how to make and assign the menu needed to get a one page site to work as intended. Also, watch the video below for a visual overview of the process.
Creating One Page Site Content Sections
The main consideration when creating content for your One Page site, or a page with a one page menu in a multi-page site, is to organize your content into sections. In this way, you can then reference each section in your menu. Your menu will serve as a way for your viewers to quickly scroll to a section they’d like to view. For example, clicking the About menu item will automatically scroll the page to the About section.
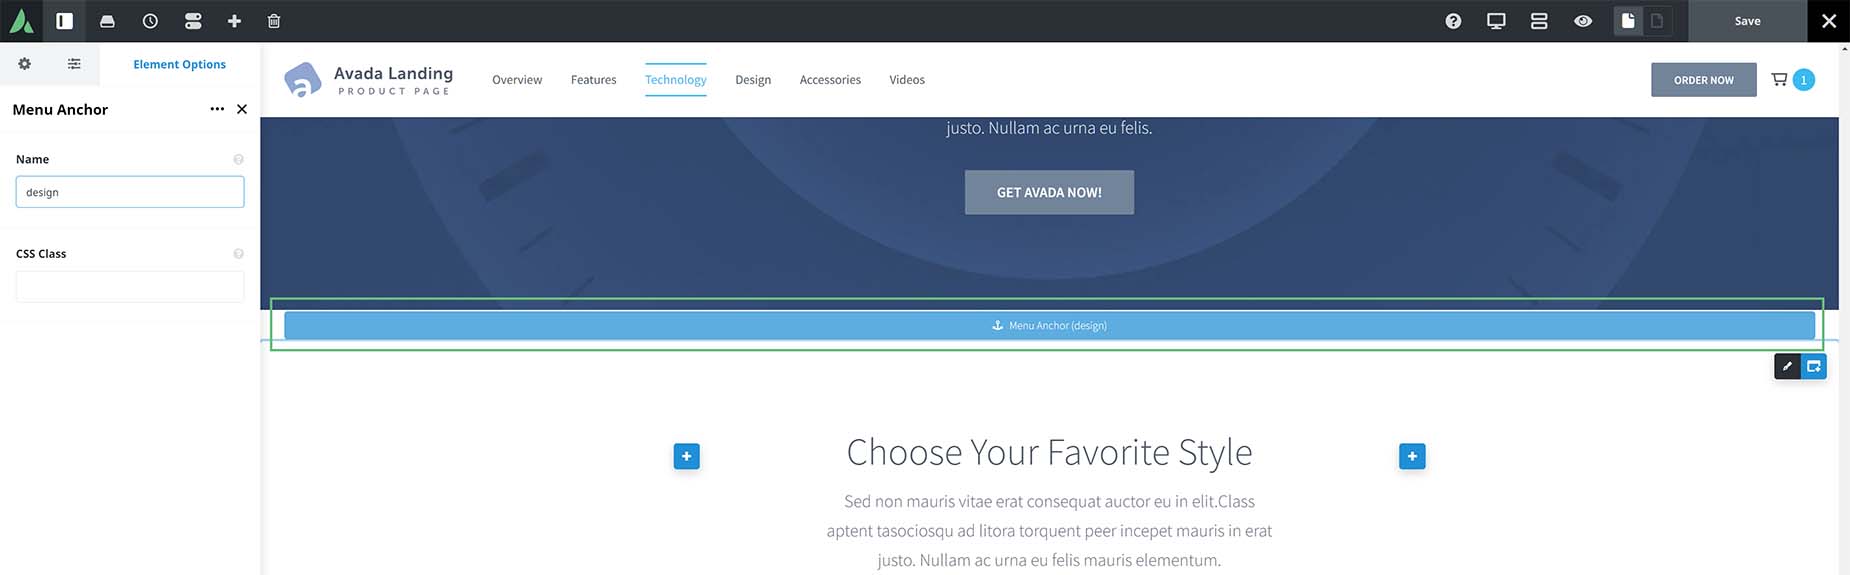
There are two methods you can use to identify the specific sections of the page. You can use the ‘Name Of Menu Anchor’ option present in the Container Element, or the Menu Anchor Element at the beginning of every section.
A Custom One Page Site menu is important because this is how your viewers jump to different sections of your page. Instead of normal links, your One Page site’s custom menu will have Anchor Links that link and scroll automatically to each section on the page.
Once you’re done creating your custom menu, click ‘Save Menu’. For situations when you want to have a page with one-page links on a multi-page site, you will have to make a separate menu. See the Multi-page site section below for more details.

Assigning Your Menu To A Custom Header Layout
Once you have created your content and your menu, you need to assign the menu. There are two methods for this, depending on whether you are using a Custom Header or a Legacy Header. For assigning Menus using Legacy Headers, please see this document.
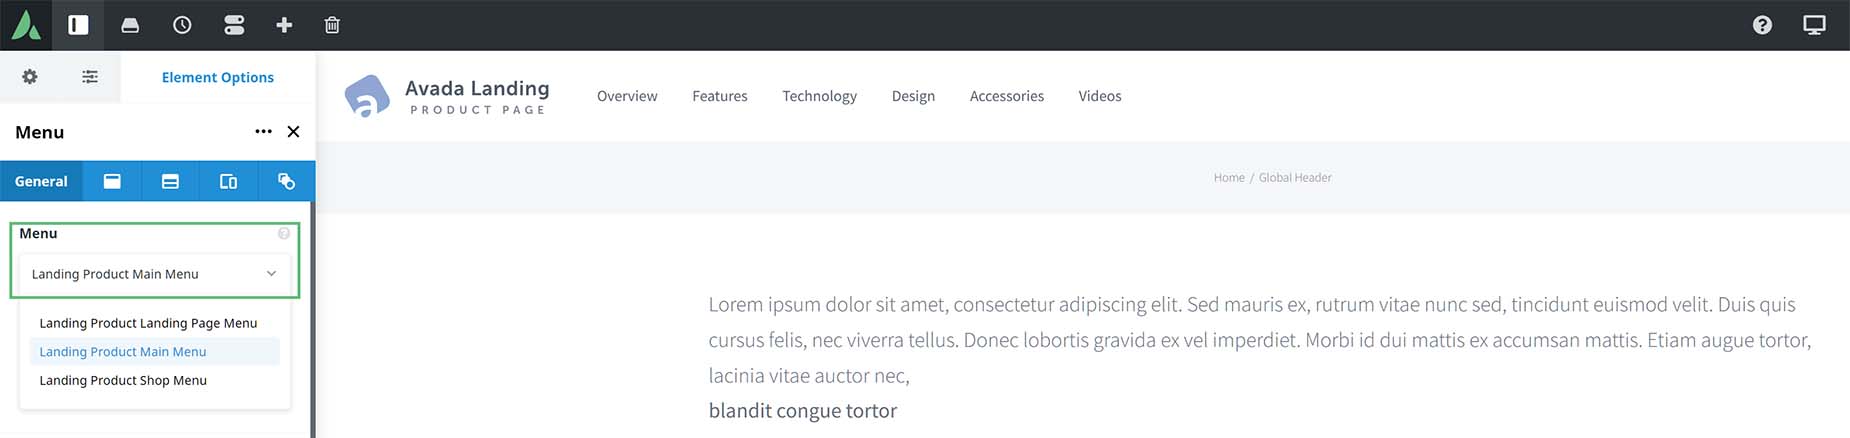
If you are using Avada Layouts, and have a Custom Header Layout, then you assign the menu for the one-page site in the Menu Element in your Header Layout Section. Here you can select the custom one-page menu you’ve created from the dropdown of available menus. In the screenshot below, we can see the menu selected for the Avada Landing Page prebuilt site.
That’s it. Save the Layout Section, and it will be used when it is added to the Global Layout. Please see the Avada Layouts doc for more information on Layouts, Layout Sections and Custom Headers.
You can also have a multi page website, with one page acting like a one page site. To achieve this, you need to create two menus, one with absolute links, and one with relative links. This is because relative links only work on the page the anchored content is on, and so on another page, an absolute link would be required to both go to the page, and then scroll to the linked section. Please see the One Page Menu with Multi-Page Links doc for more information about relative and absolute links.
So in this situation we’d need two menus. One could be called Relative Links Menu, and the other could be called Absolute Links Menu. The Relative Links menu would be the same as we created in the Creating A One Page Site Menu section above, and would only be assigned to the actual page with the one-page sections.
The Absolute Links Menu would be for all other pages, and would contain normal links to all the pages of the site, as well as Absolute Links to the page / sections of the one page content.
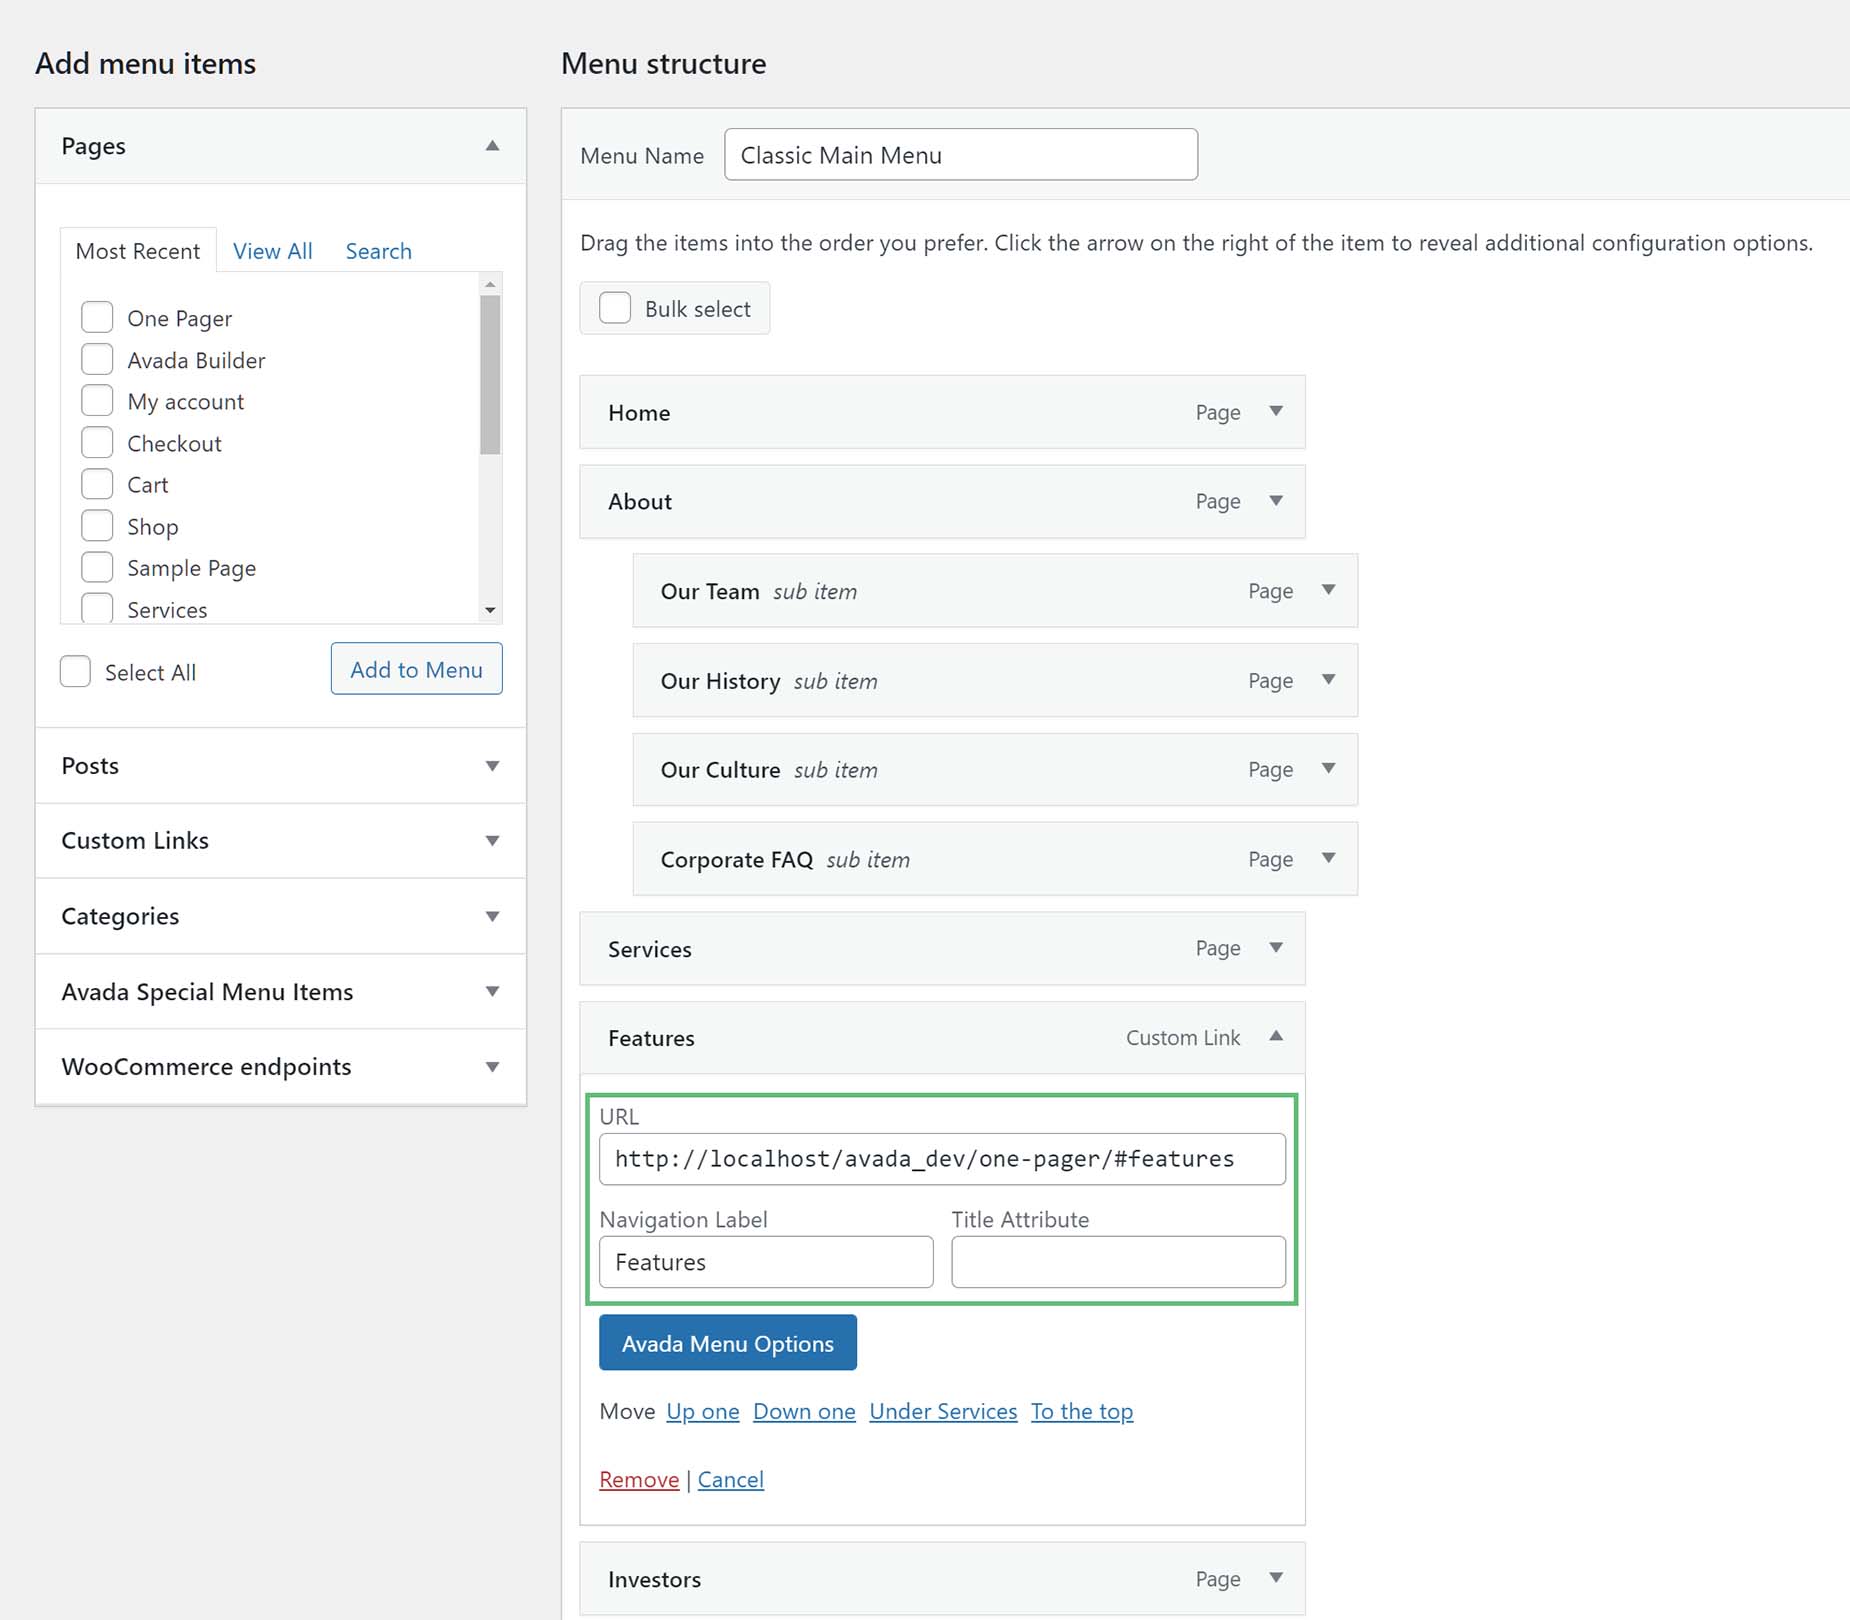
So for example, the absolute link to the About section on a page called One Pager, would be https://yourdomain.com/one-pager/#about. This link would take the user to the One Pager page, and then scroll them down to the About Section. Just to reiterate: on the One Pager page itself, we would only need #about to link us to the About section of that page, but when we are on another page,we need the absolute link to get us there.
See the screenshot below for an example of an absolute link added to the default menu of a multi-page site.
Once you have created, or edited your second menu with the absolute links to the sections of the one pager, we need to assign the different menus to their correct places. Again, there are two methods for this, depending on whether you are using a Custom Header or a Legacy Header. Here, we will present the up to date method using Avada Layouts. For legacy headers, please see this document.
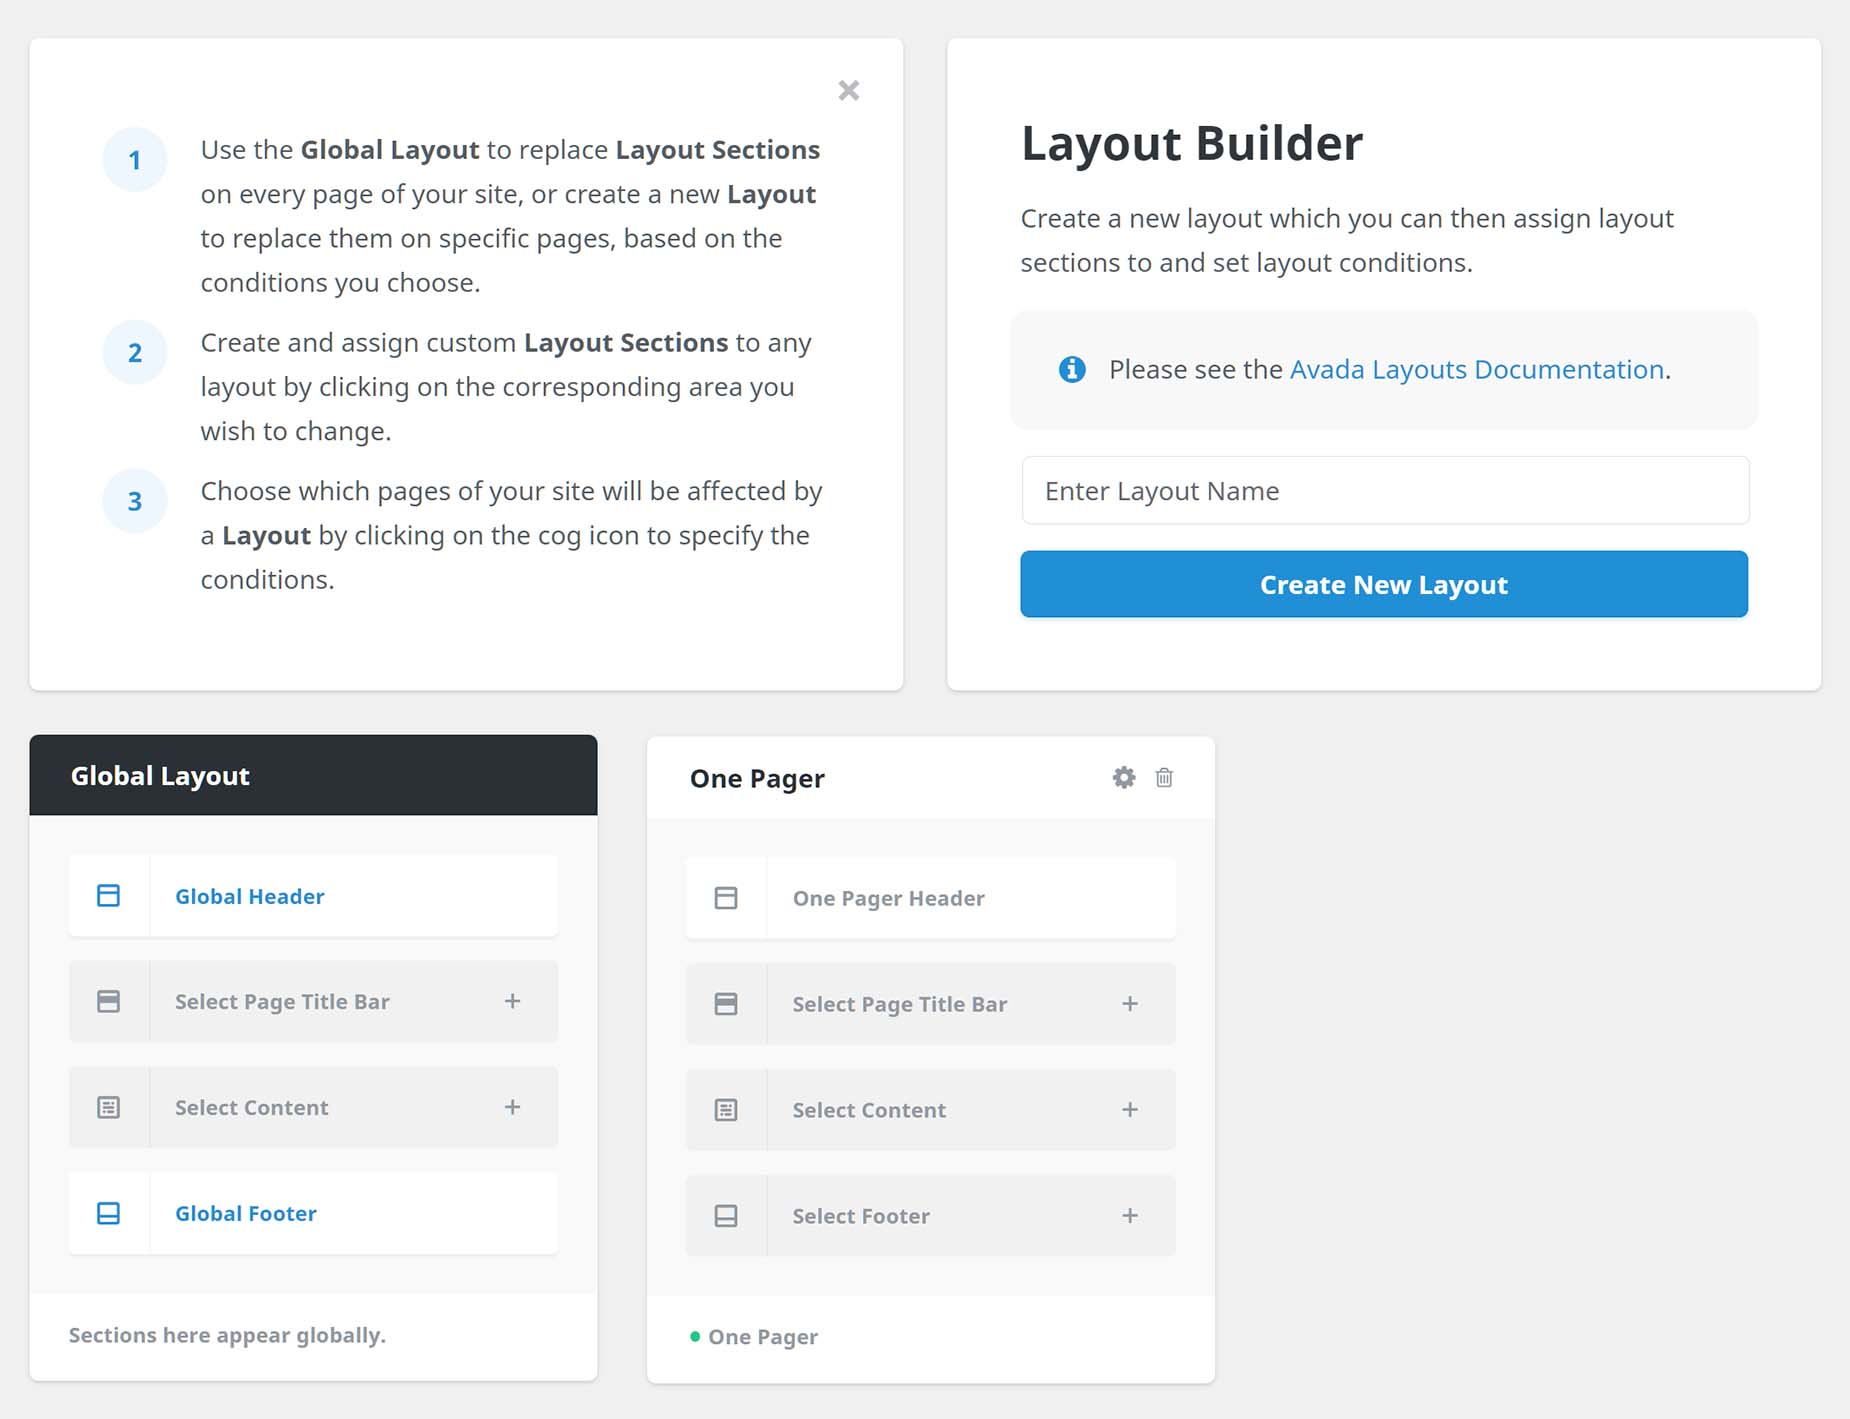
See the screenshot below of the resultant Layouts.


