Displaying Blog Posts On Your Site
Last Update: April 18, 2024
Once you’ve created your individual blog posts, it’s time to display them on your site. There are two aspects to this – the blog page, which shows the collected blog posts, like our blog page here, and the single post layout for the individual posts.
For the first part, you can simply create a Post Card and add it to a page (you could also add it on the home page). For the Single Post Layout, we recommend the method of creating a Single Post and Archive Blog Layout, using Avada Layouts, and then using Post Cards in the Content Layout Section to display the posts. See Creating Custom Blog Layouts With Avada Layouts post for a full rundown on this method.
There are also a few Legacy methods, such as using the Blog Element, or the Recent Posts Element. But for most flexibility with design, we recommend using the Post Cards method. There is also a Post Slider Element which can be used to supplement other Elements.
Populating the Blog Page
The homepage of your blog typically displays a grid of the latest blog posts. You can have any content you wish on this page, but the posts themselves are pulled by the Post Cards Element. Before adding this to the page however, you need to create the Post Card itself. This is done through the Avada Library. See How to use Post Cards for more information on this process. There are also several prebuilt Post Cards in Avada Studio, you can import and use for your design.
Once you have a nice Post Card design, you simply add the Post Cards Element to the Blog page, and configure it to your liking. Below is an example of the Post Cards Element displaying two posts.
In June 2025, we conducted a survey to gain a deeper understanding of how users interact with the back-end builder...
We have released Avada 7.12.2, fixing a minor security issue: SECURITY: Fixed Contributor+ level XSS vulnerability in the Google Maps...
Creating A Layout For the Single Posts & Archives
Then we come to the single posts and archives. Our recommended method for this is to use a Single Post Layout for the single posts, as well as a Blog Archive Layout for archives.
For this, two conditional layouts are created, and the Post Cards Element and Post Card Archives Element respectively, are added to the Content Layout Section.
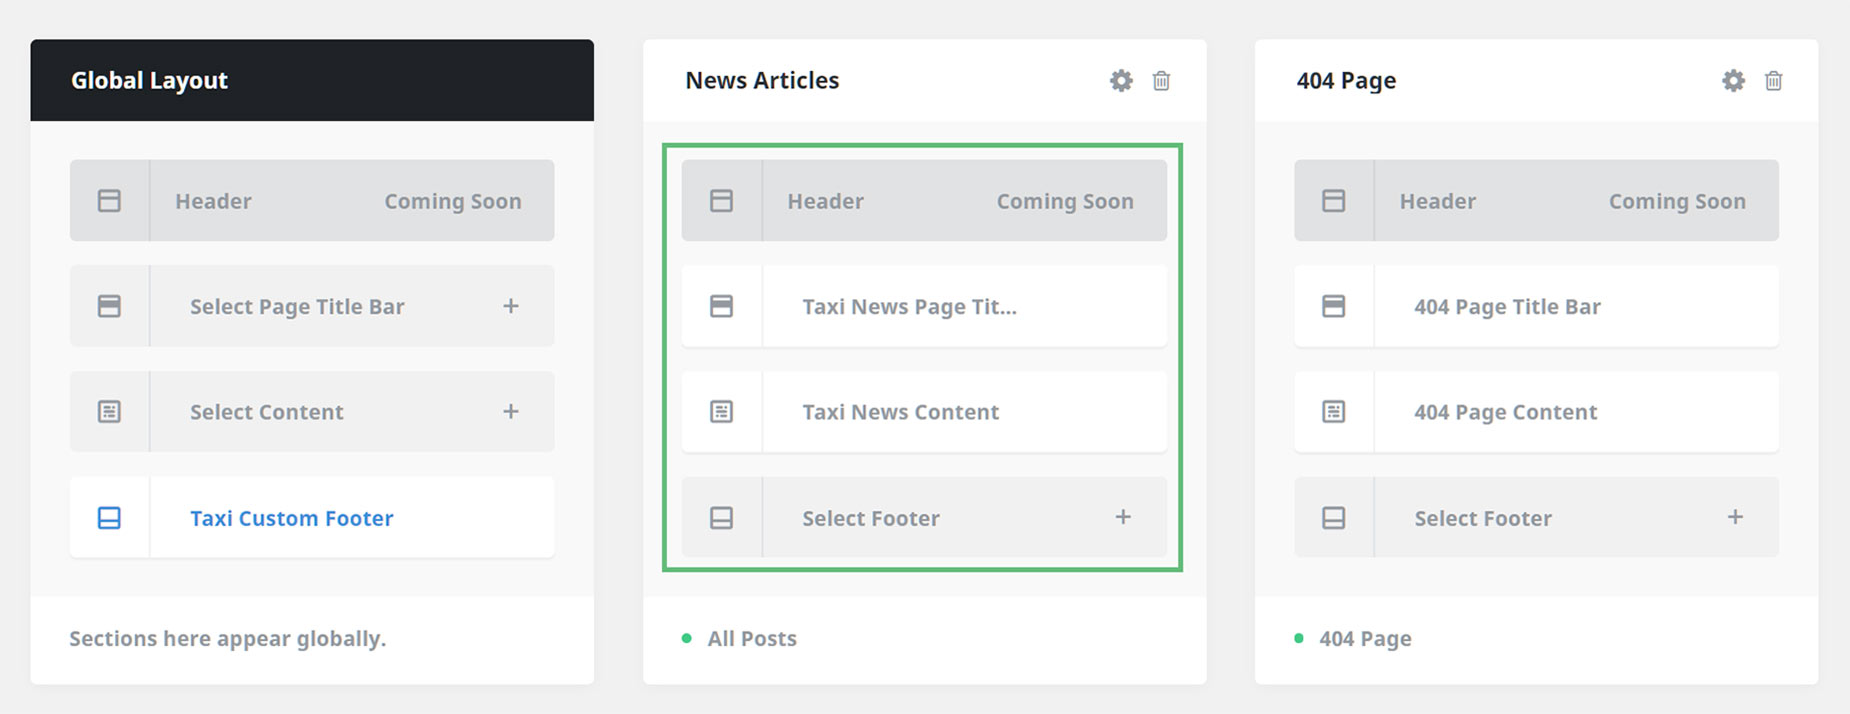
As mentioned before, see the Creating Custom Blog Layouts With Avada Layouts post for a full rundown on this method. Below you can see a screenshot of a Blog Single Post Layout.
When using the Avada Setup Wizard to create a new site, all this is done for you.
Using The Post Slider Element
The Post Slider Element is not an alternative method to show an entire blog, but it is a very useful element that can be used to highlight blog posts in a slider layout.
You can use one of three layouts for the Post Slider – Posts with Title, Posts with Title and Excerpt, or the Attachment Layout, Only Images Attached to Post/Page. For more information, see the Post Slider Element doc.


