Avada Vertical and Horizontal Menu Widgets
Last Update: October 30, 2025
The Avada Vertical and Horizontal Menu widgets give you greater flexibility in how to manage and control menu options for your site. The Vertical Menu Widget ‘Menu Type’ option allows you to choose between ‘Custom Menu’ and ‘Vertical Menu’ types, and the Horizontal Menu Widget ‘Alignment’ option gives you left/center/right alignment choices. Vertical and horizontal menus gives your site greater flexibility and navigation options at your visitors fingertips.

The Horizontal Menu Widget allows you to make a make a normal horizontal menu. This can be added to a page using the new Widget Element, or can be added to a Widget Area, and added to the page in one of the Five Widget Ready Areas in Avada, or by using the Widget Area Element.
Note: This widget will not show child menu items in a dropdown. All menu items will be displayed in a single horizontal menu.
Configuring The Horizontal Menu Widget
Using The Widget Element
Adding The Widget To A Widget Area
With the Avada: Vertical Menu widget, you can make a side navigation in two ways: using a Custom Menu type or a Vertical Menu type. See below for more information on these two types.
Configuring The Vertical Menu Widget
Using The Widget Element
Adding The Widget To A Widget Area
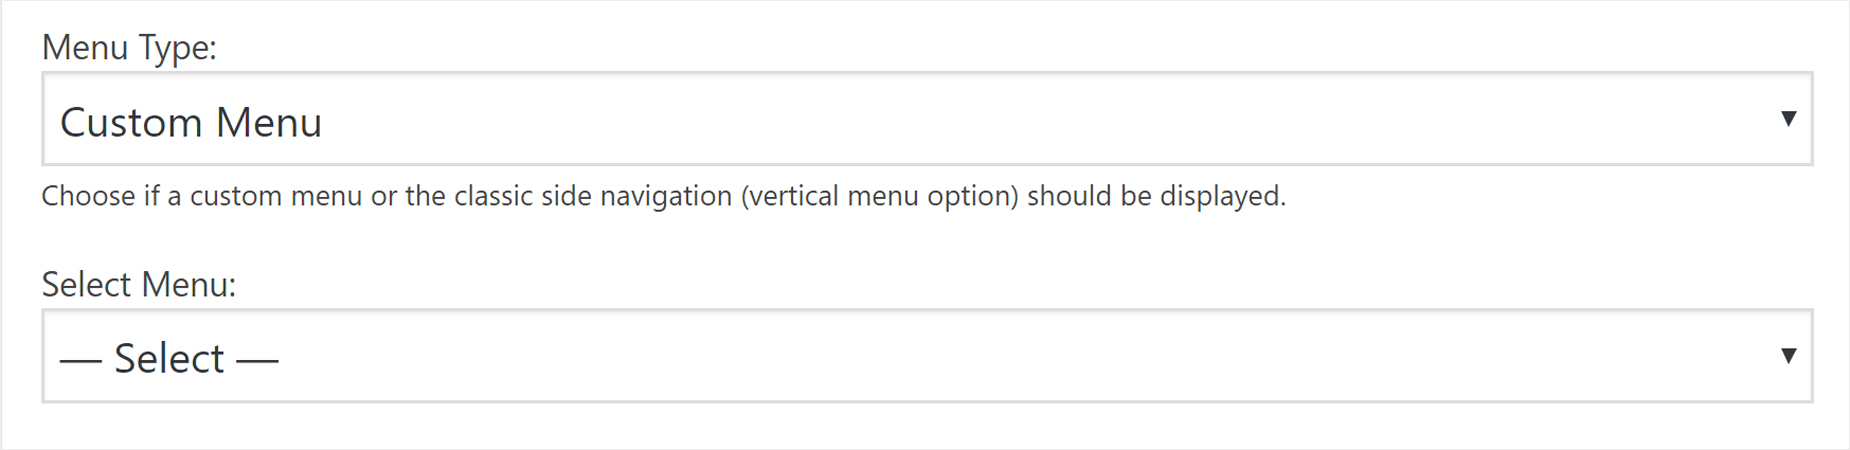
The Custom Menu option simply allows you to choose an already created WordPress menu. You can create a menu from your Appearance > Menus section.
After you choose Custom Menu in the Menu Type dropdown, select a menu in the Select Menu dropdown. This menu now also displays icons if they have been selected in the chosen Custom Menu.
You can now configure the Widget as you wish.
If you choose the Vertical Menu from the Menu Type option, you need to then select a parent page and this works just like the old Side Navigation page template.
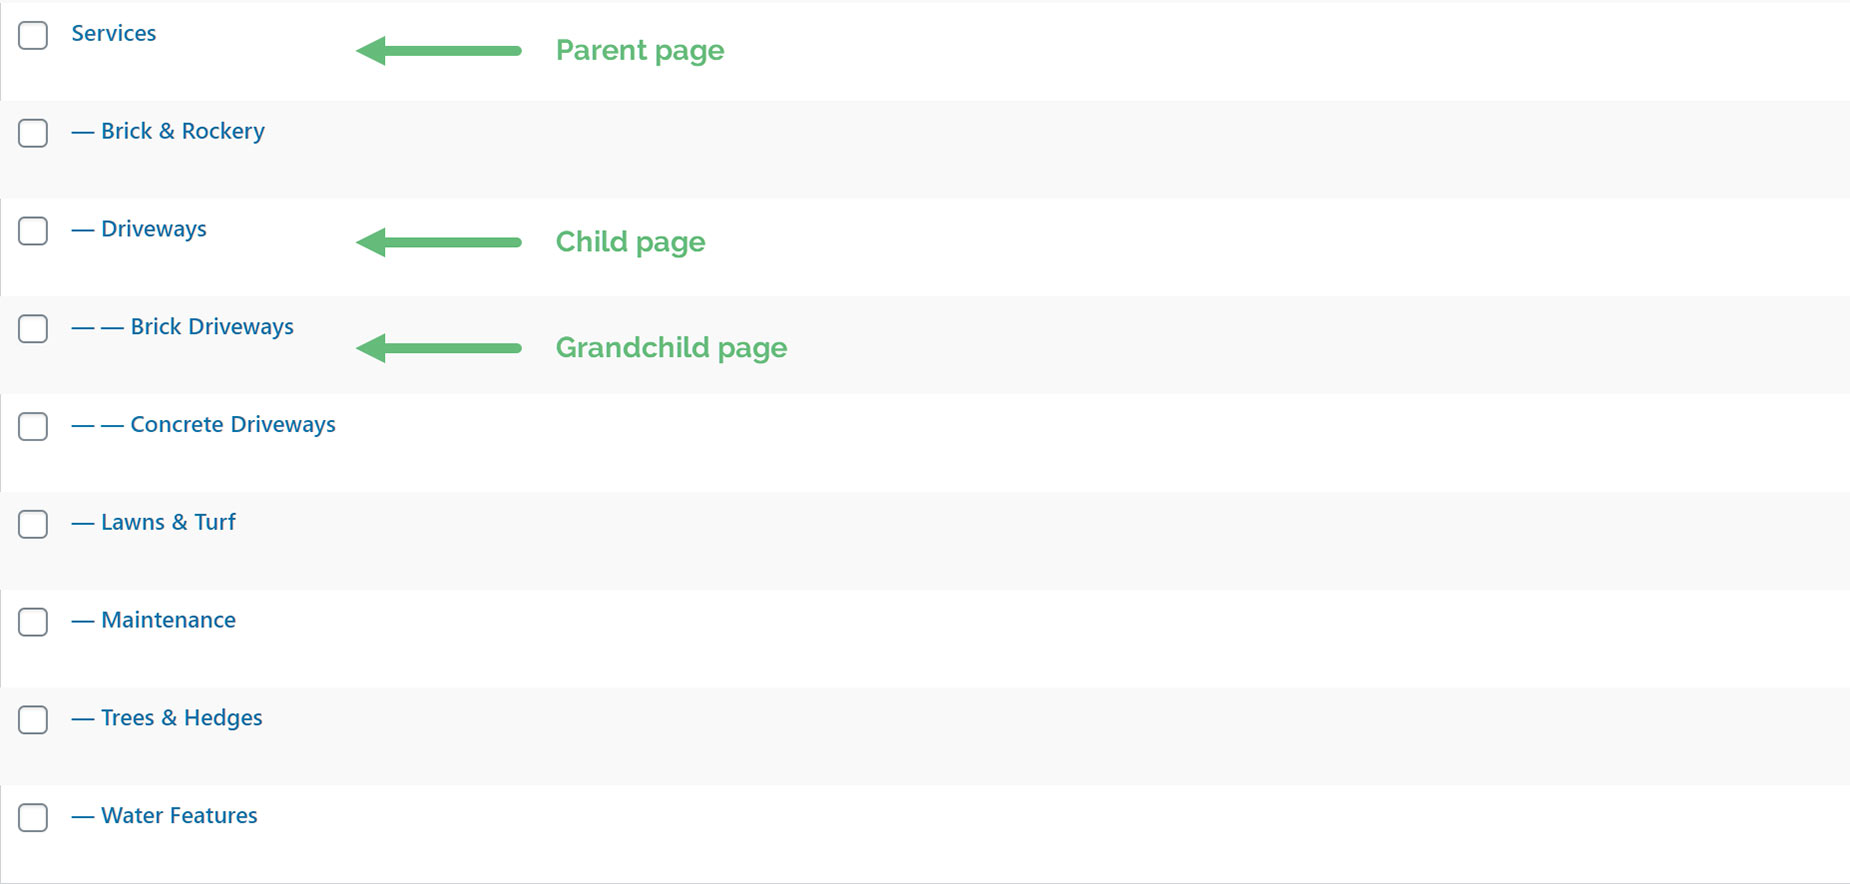
When you choose Vertical Menu in the Menu Type dropdown, simply select a parent page on the Parent Page dropdown. You don’t need to select a menu in the Select Menu Option. The Vertical Menu Type draws the menu from the parent page selected. Both the parent pages and the child pages will appear on this menu. Any child pages of the child pages will show when its parent item is either clicked or hovered over, depending on the option set further down in the widget.
Note: If you have a connected set of pages in your website, you can set one as the parent page and set sub pages to be children of that parent. You can also set pages to be the children of a child page. See the screenshot below, or for more information on this, see How to Set Up Parent and Child Pages in WordPress.
Avada includes a Side Navigation page template that can be used to insert large amounts of content on a single page. You can also set up second level menu items on the Side Navigation page that will collapse by default and expand when the parent level is moused over or clicked, depending on how you set it in Avada Global Options. You create Side Navigation pages in sets. Each set always has to have a Parent page that will show at the top. Then you create additional pages and assign them to the parent page. All the pages assigned to the parent page will make one side navigation set.
How To Create A Side Navigation Page


