Share
We invited the WPML team to demonstrate how to set up a multilingual website that caters to all of your audiences, no matter what language they speak. This article will cover three quick and easy steps to creating a website using Avada and WPML.
To get started, we’ll import one of the stunning Avada prebuilt websites – which are ideal for beginners and professionals alike. They can be imported with a single click and then fully customized to meet the specific needs of your company or brand.
Using WPML’s option to translate your WordPress website automatically, we’ll then show you how you can turn your website into a multilingual powerhouse in minutes.

Overview
Why Go Multilingual at All?
A multilingual site is proven to boost site traffic, increase sales, and improve support satisfaction. It also helps that it’s a remarkably cost-effective marketing strategy.
Ron Henry, a finance blogger and author, tested this by translating thirteen of his articles. Within three weeks, he saw a 25% increase in traffic – the kind of results that would typically take several months and come at a significantly higher cost.
Celebrated marketing blogger Neil Patel also recognized the benefit of going multilingual. When he translated his website, his global traffic increased by 47%.
These results aren’t hard to come by. It’s never been easier to make a WordPress website multilingual, especially if you’re using a powerful duo like Avada and WPML. Let’s show you how.
Step 1: Building Your Website With Avada
Avada is an impressive, all-in-one WordPress website builder that provides complete control over your website’s design. It comes with all the tools you need to create and customize beautiful websites, including WooCommerce stores.
With Avada, you can build virtually any design and layout that you can imagine – your imagination is the limit. Avada has a visual Drag & Drop live builder with a vast resource library of over 120+ Design Elements.

But suppose you do need some inspiration to feed your inner creator. In that case, you can get started by using one of the professionally designed, prebuilt websites. There are over 110 Avada websites to choose from, and they are imported in a straightforward process.
How to Import an Avada Prebuilt Website
We’ll assume that you are using a fresh WordPress install with Avada registered and activated. You’ll also see two Avada plugins installed and activated on your site:
The fastest way to install a prebuilt Avada website is to use the website importer tool.

Here’s how:
And that’s it! You’ve installed an Avada prebuilt website in a few simple steps.
Step 2: Populate Your Content
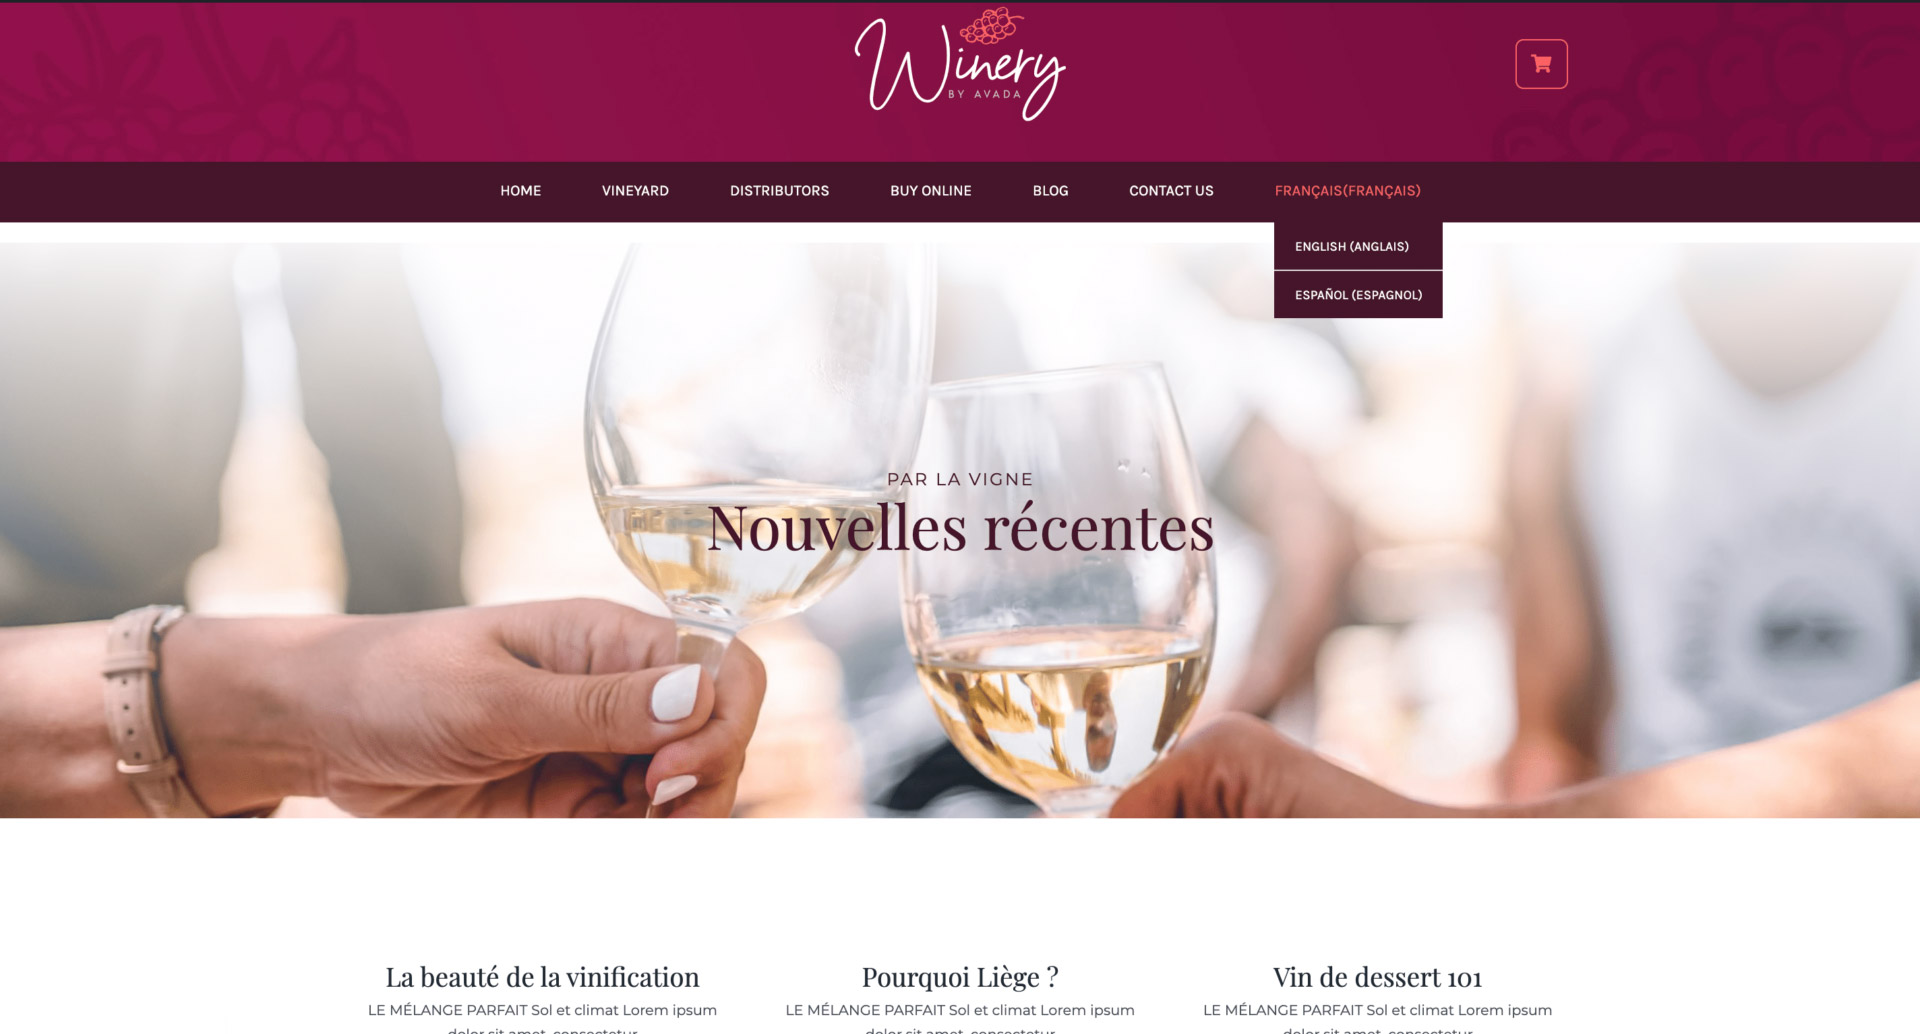
In this tutorial, we will keep the Avada Winery prebuilt website content. Since WooCommerce is pre-installed, we will use this opportunity to demonstrate how WPML seamlessly handles the translation of e-commerce content.
But, in your case, you’ll need to start personalizing and adapting the content of your prebuilt website to make it exactly how you want it—for example, adding products.
When you’re happy with your first iteration of content, it’s time to turn your website multilingual.
Step 3: Translate Your Site in Minutes Using the WPML Plugin
The easiest and quickest way to turn your site multilingual is by using a translation plugin like WPML. As one of the most comprehensive and affordable solutions available, WPML lets you translate your website into multiple languages and works seamlessly with the Avada Website Builder.
Various methods are available to translate your website with WPML, including self-translation or outsourcing content to professional translators. Still, we’ll cover the fastest: translating your entire site automatically.
WPML’s ‘Translate Everything Automatically’ Mode
The Translate Everything Automatically mode typically reduces 90% of the effort required to translate a WordPress website. And with WPML AI, WPML’s most powerful automatic translation engine, you can create high-quality translations for your entire website within minutes.
Although automatic translation is far more accurate than it used to be, all translations can be reviewed on the front end, either before or after publishing. Thus, it gives you peace of mind and lets you – or a professional reviewer – make any immediate changes to the translations if needed.
How to Translate Your Avada Website Using WPML
We’ll use our prebuilt WooCommerce website to show you exactly how to translate your site in minutes using WPML’s Translate Everything Automatically mode.
Setting up WPML
You’ll need a WPML CMS or Agency account to get started. Then, install WPML on your website via the OTGS Installer plugin. This plugin includes all the necessary WPML components.
Once you register WPML on your site, you’ll need to complete the WPML setup wizard, where you can choose your secondary languages, a URL format for translations, and the option to add your team of translators.
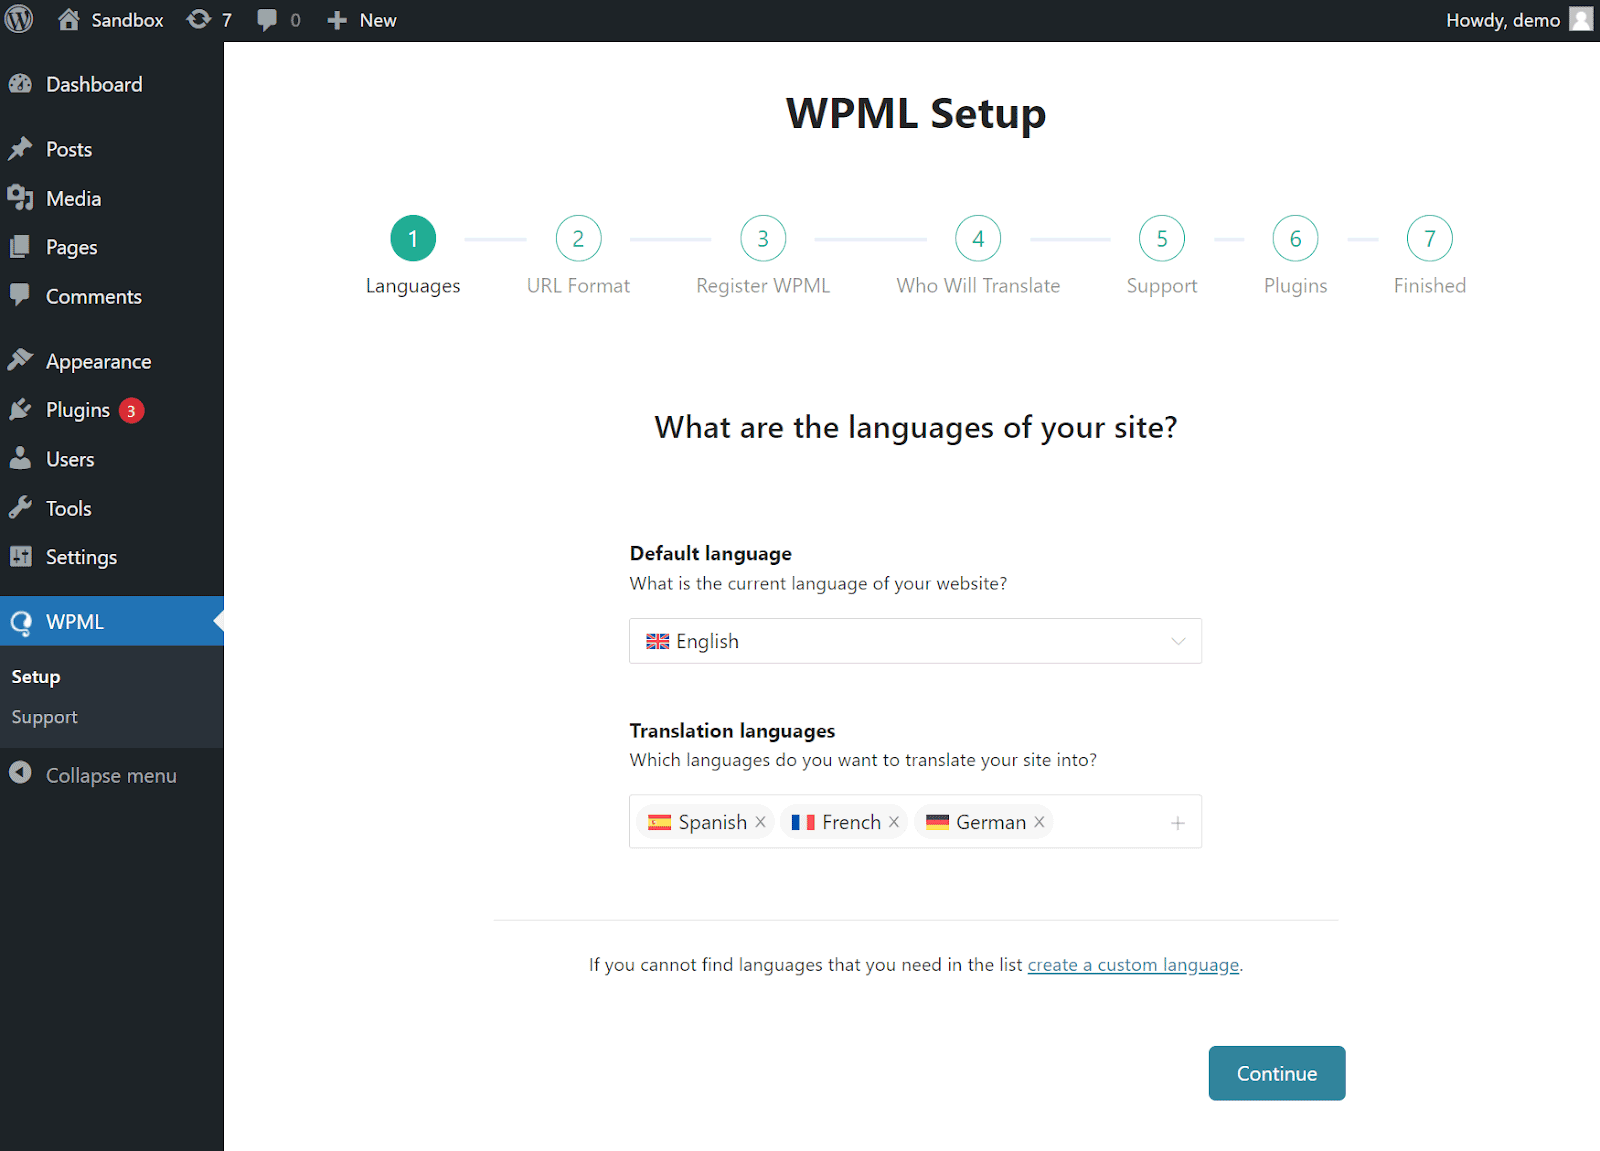
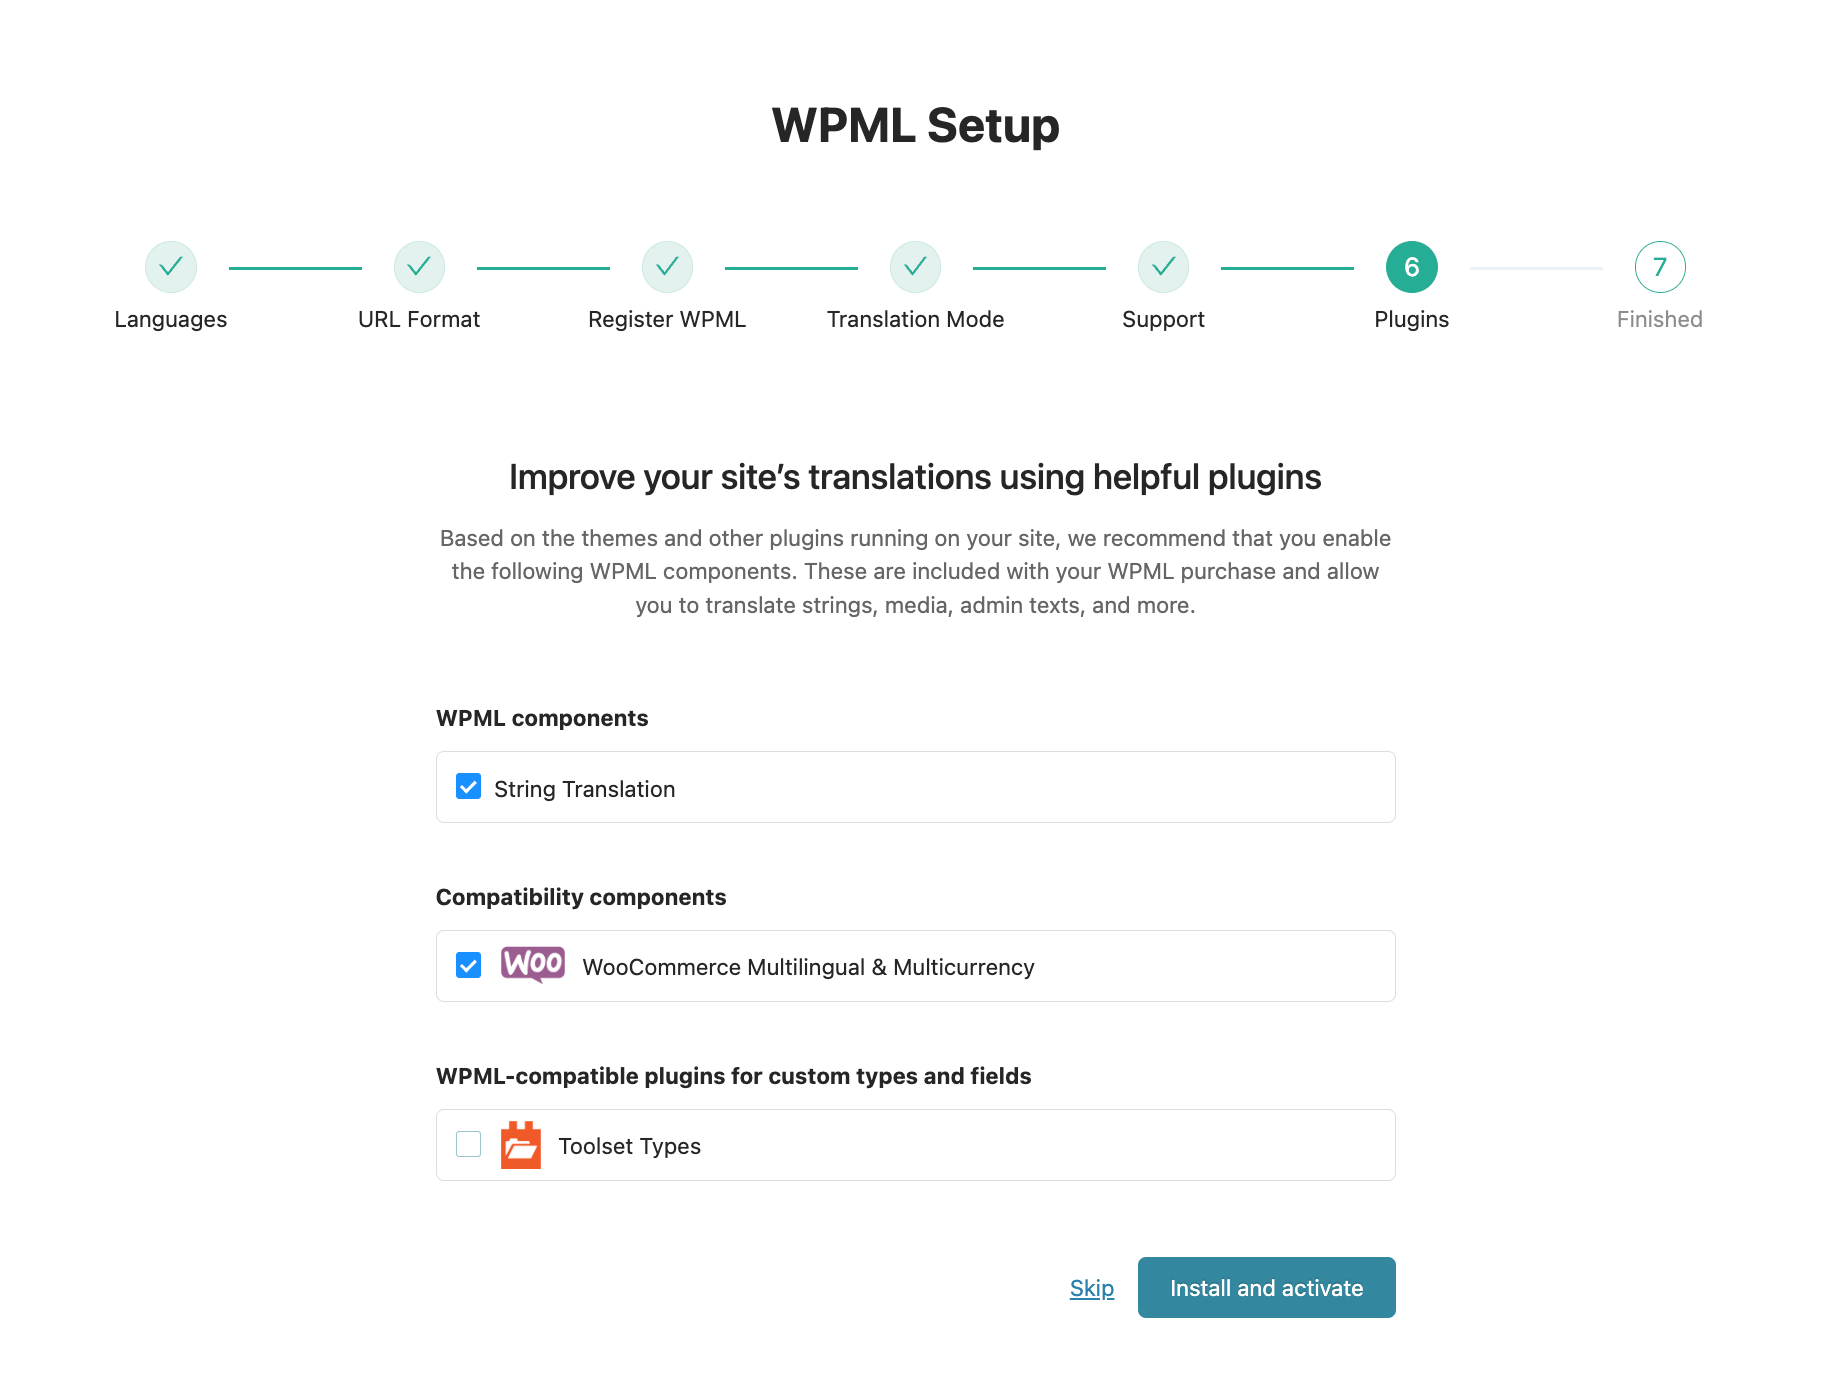
In the setup wizard, you can also install and activate additional WPML components. To fully translate your WordPress website, you’ll need the WPML String Translation add-on.
If you’re looking to translate your WooCommerce site, you’ll also need to install WooCommerce Multilingual and Multicurrency. This glue plugin comes with the WPML CMS Multilingual and CMS Agency account types and ensures that you can easily translate product pages, your shop page, cart, and checkout pages, and more. It also lets you sell your products in multiple currencies.
It’s worth noting that once you complete the setup wizard for WPML, you’ll need to do the same for WooCommerce Multilingual & Multicurrency (WCML). This setup wizard automatically creates the store pages in all the languages on your site and lets you choose the translation mode for your products.
Translating Content With WPML
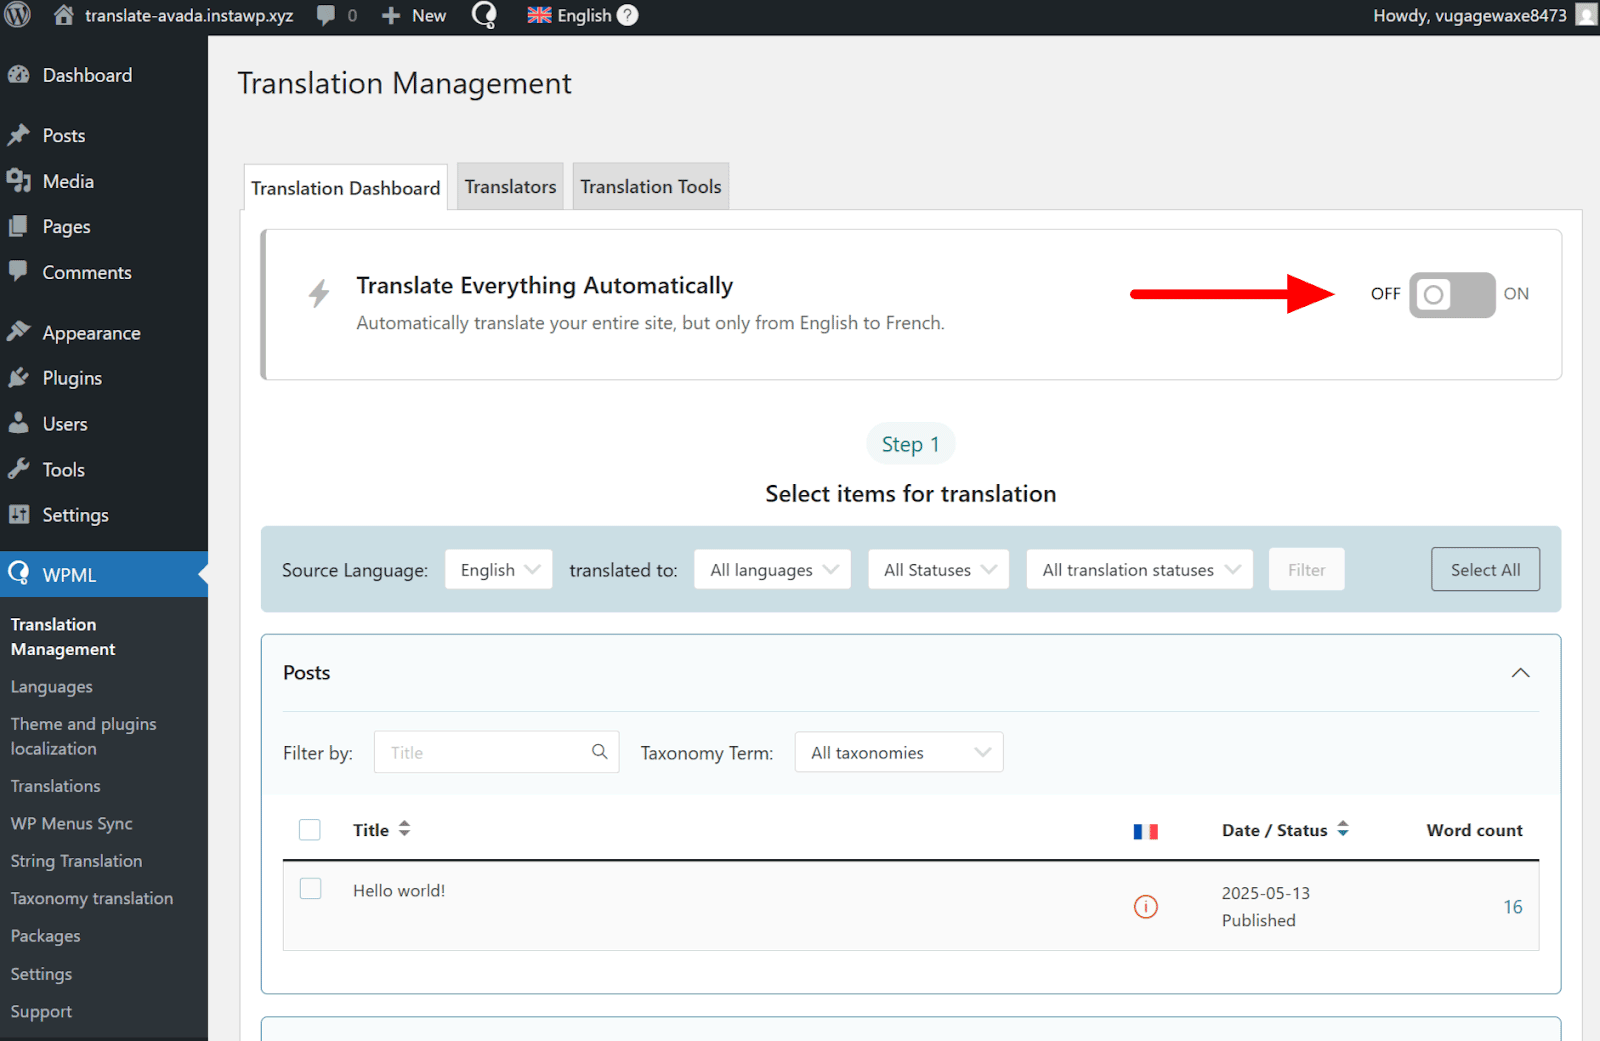
After finishing the setup wizards for WPML and WCML, you’ll be taken to the Translation Management Dashboard, where you can send any content on your website for translation.
As previously mentioned, we’ll use WPML’s Translate Everything Automatically mode to translate our entire website into more languages. To enable this mode, simply click the toggle at the top of the Translation Management dashboard.
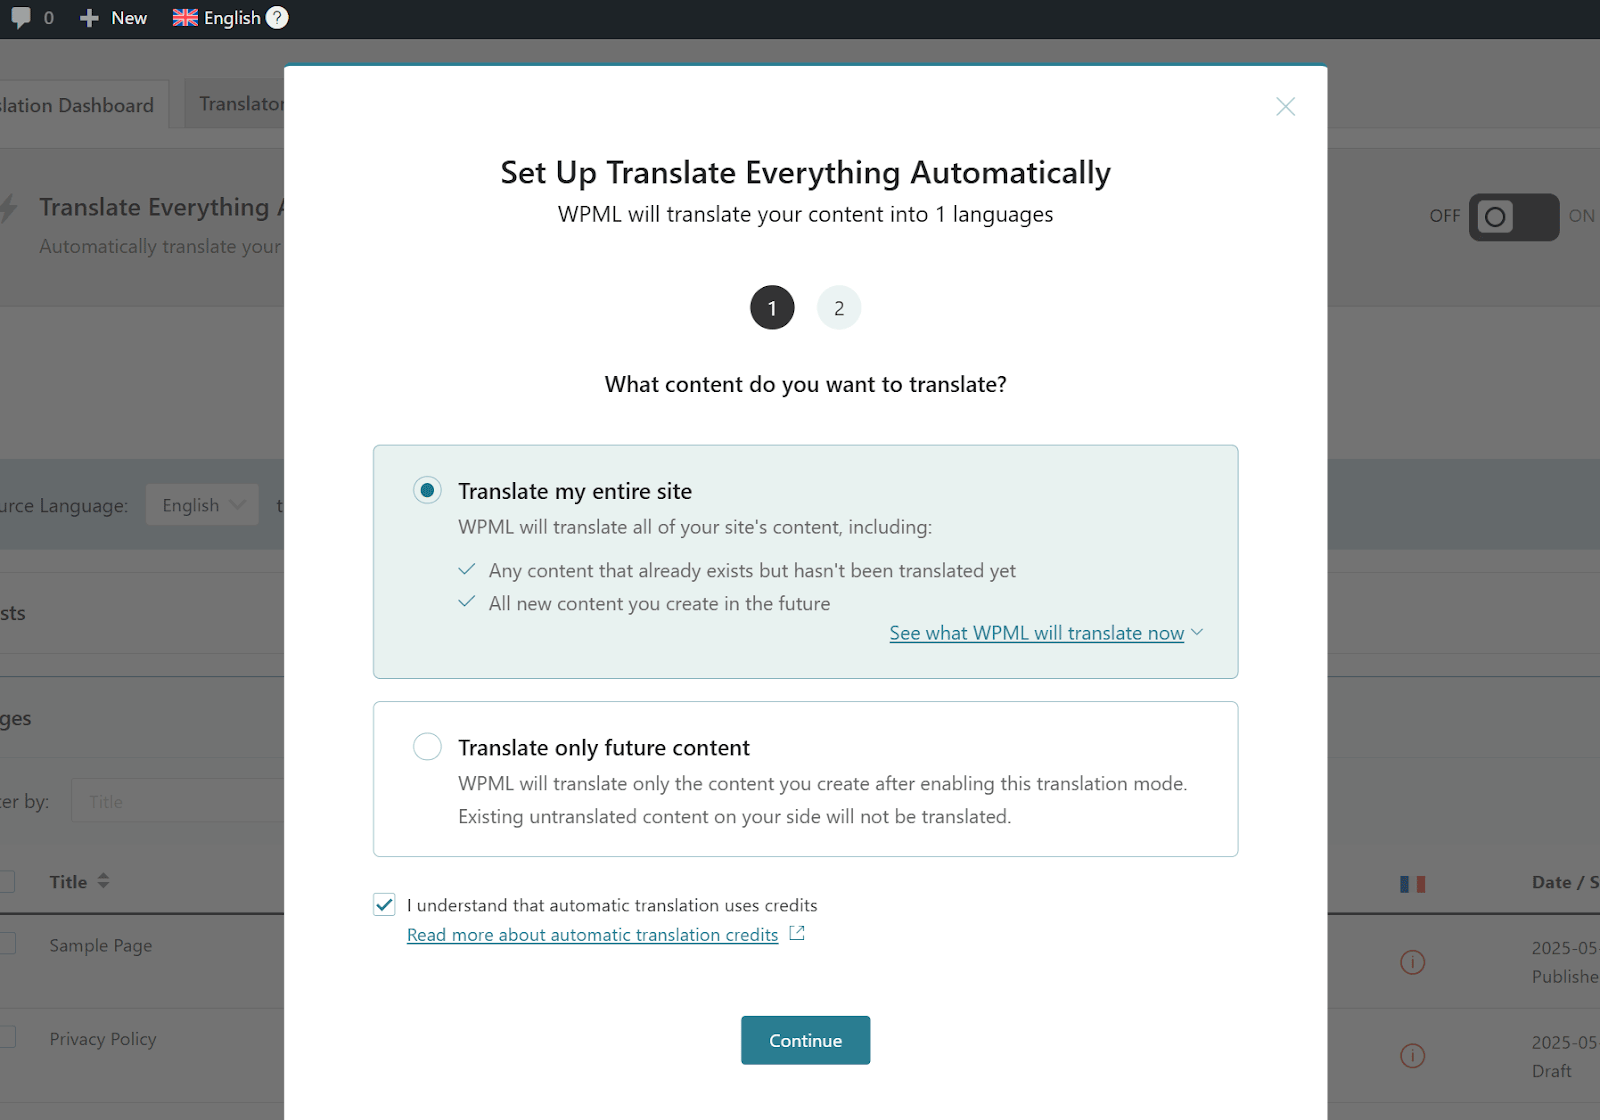
Once you click the toggle, WPML will ask you whether to translate your existing content or only future content you create. If you want to automatically translate the content currently on your website, choose the first option.
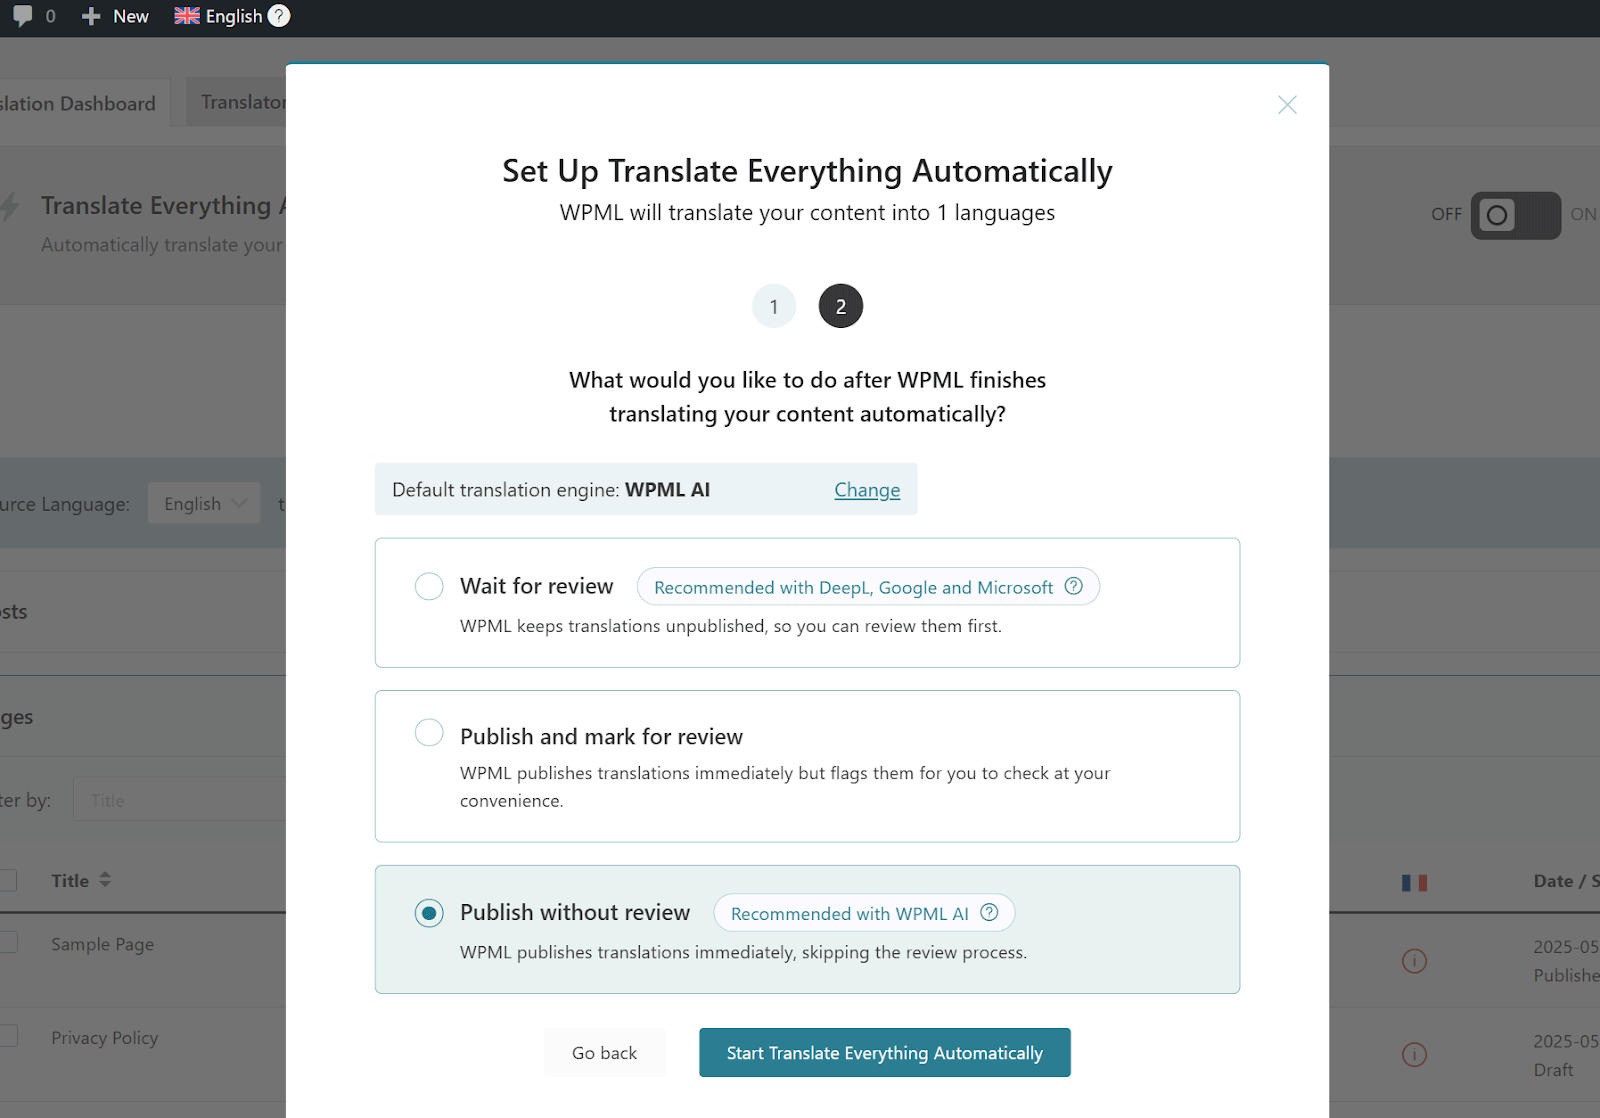
Lastly, choose whether you want to review your automatic translations, and click the start button to begin translating.
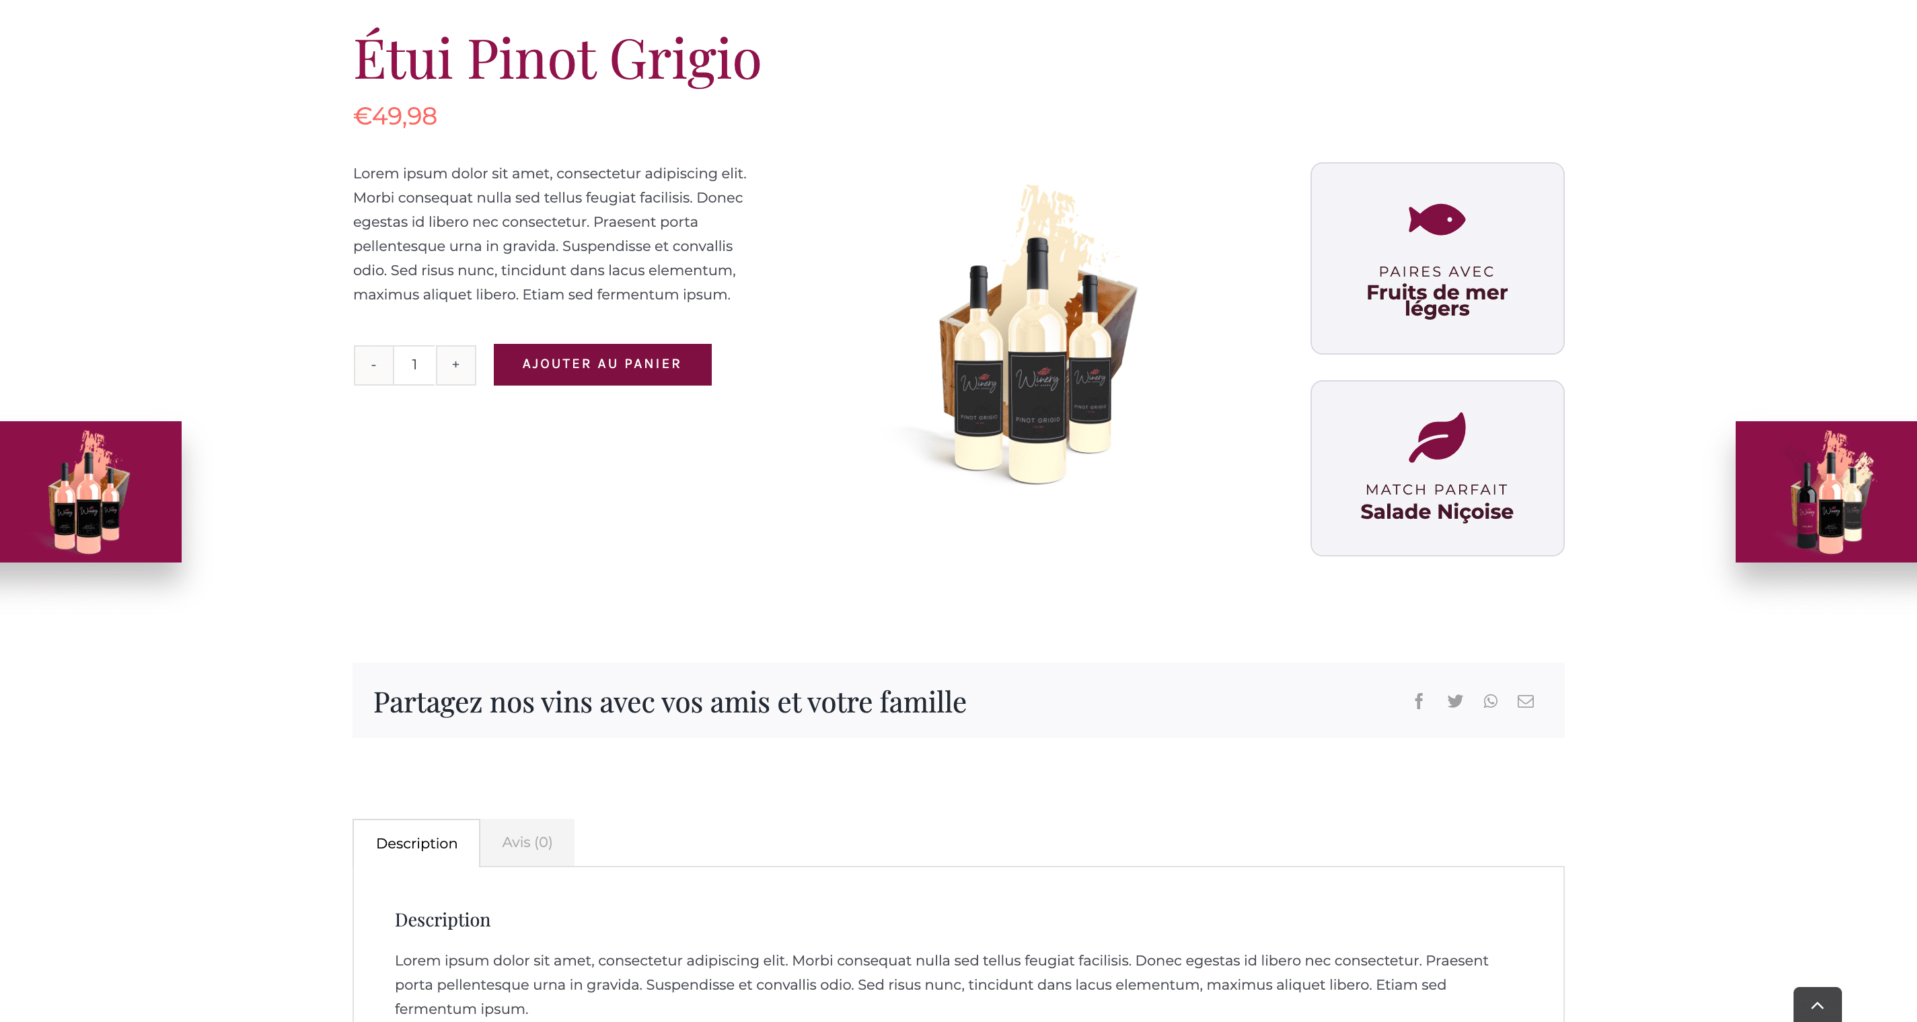
And that’s it! Your primary website content has been translated into multiple languages. Don’t worry if you need to change your content over time. WPML automatically updates the translations any time you make a change to your default language content.
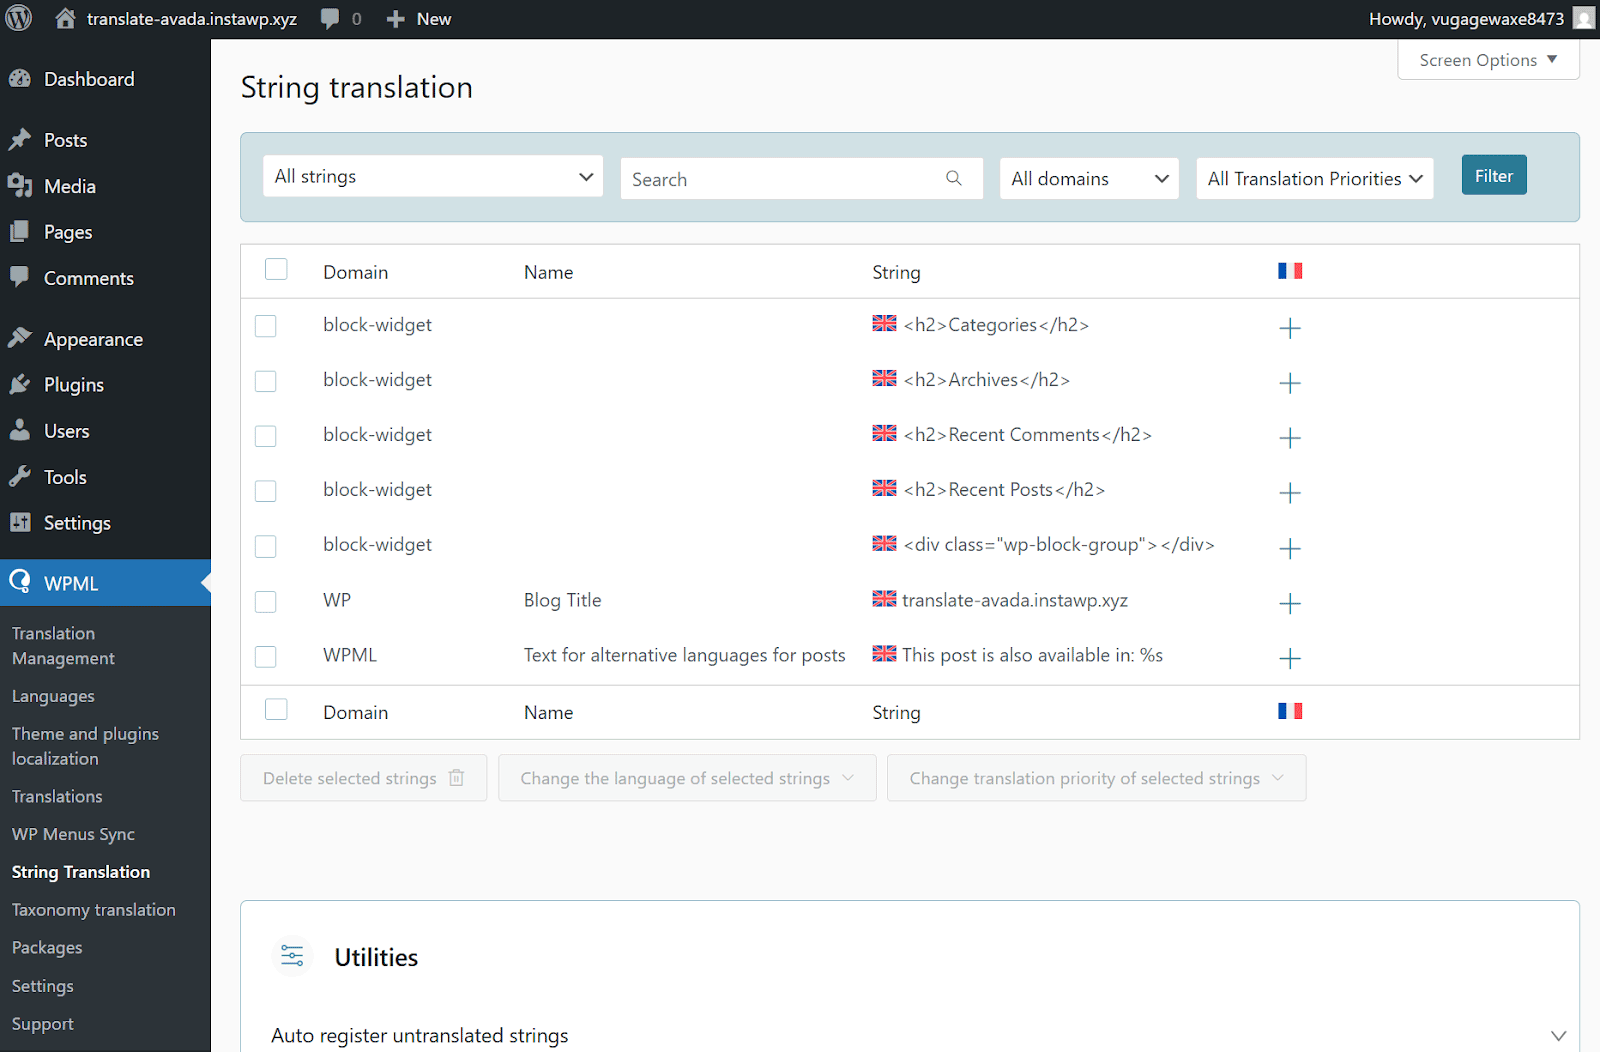
Texts That Don’t Get Translated Automatically
WPML’s Translate Everything Automatically mode translates everything from pages, posts, and custom fields, to taxonomies and WooCommerce products. But, it can’t translate more minor texts, like those in menus, widgets, and form fields, for example.
There isn’t enough context for automatic translation to translate minor texts accurately. To learn how to translate such content, you can follow WPML’s guide to String Translation.
If you need any further guidance about specific Avada settings, including how to translate Avada Sliders and Avada Forms, check out WPML’s documentation about building multilingual Avada websites.
Want to Create Different Designs For Different Languages? No Problem
If you would like to create different designs for different languages, WPML and Avada also have you covered. For this, you’ll need to manually translate your content:
You can now edit the design for this page independently. You can find the full, step-by-step instructions in WPML’s guide to translating content manually.
In Summary
As you can see, Avada and WPML are a powerful combination. Everything you need to build a multilingual website that’s ready to drive business and capture leads is right at your fingertips. With these plugins, it’s easier than ever to make your WooCommerce store multilingual and push your products and services to a global audience!