Share
Creating a user-friendly search experience is crucial for enabling visitors to navigate your website effectively. Building your website with Avada and WordPress offers a wide range of search functionalities that can be integrated into various parts of your site to ensure your content is always easily accessible and SEO-ready.
In this blog post, we’ll walk through two methods available for adding search functionality to your website’s main navigation. This method is more straightforward and differs from using the Avada Search Element, which can be added anywhere on the website.
Overview
Why Is Search Functionality Important?
WordPress search functionality is essential because it plays a crucial role in enhancing the user experience by providing an efficient way for visitors to find specific content. Without a search feature, users are left to navigate numerous pages, which can be time-consuming and frustrating, leading to an increased bounce rate. A website search option streamlines this process, allowing users to access the information they need quickly.
Additionally, search functionality can help increase engagement. When users can quickly locate relevant content, they are more likely to explore the site’s offerings, thereby deepening their interaction and engagement. This not only improves a website’s usability but also contributes to customer retention and conversion rates, as satisfied users are more likely to stay longer and return.
Search is also a powerful tool for website owners to understand user behavior. By analyzing search queries (using Google Analytics or third-party WordPress plugins), site administrators can identify popular content, spot trends, and optimize the website. This data-driven insight helps improve content strategy, ensuring that the website continues to meet the needs and interests of its audience.
Finally, search functionality is a crucial accessibility feature, especially for large websites with extensive content. It ensures that users, regardless of their familiarity with the site structure, can easily find what they’re looking for. This makes the website more inclusive and user-friendly, which is vital for a positive and lasting impression.
Adding a Search Icon to the Menu
There are essentially two ways to approach this: by adding search functionality directly to the Avada website menu using an Avada Special Menu Item or the legacy method via the Avada Global Options.
Option 1: Adding a Search Icon to the Menu
The easiest way is to add search functionality to your website’s navigation menu using an Avada Special Menu Item.
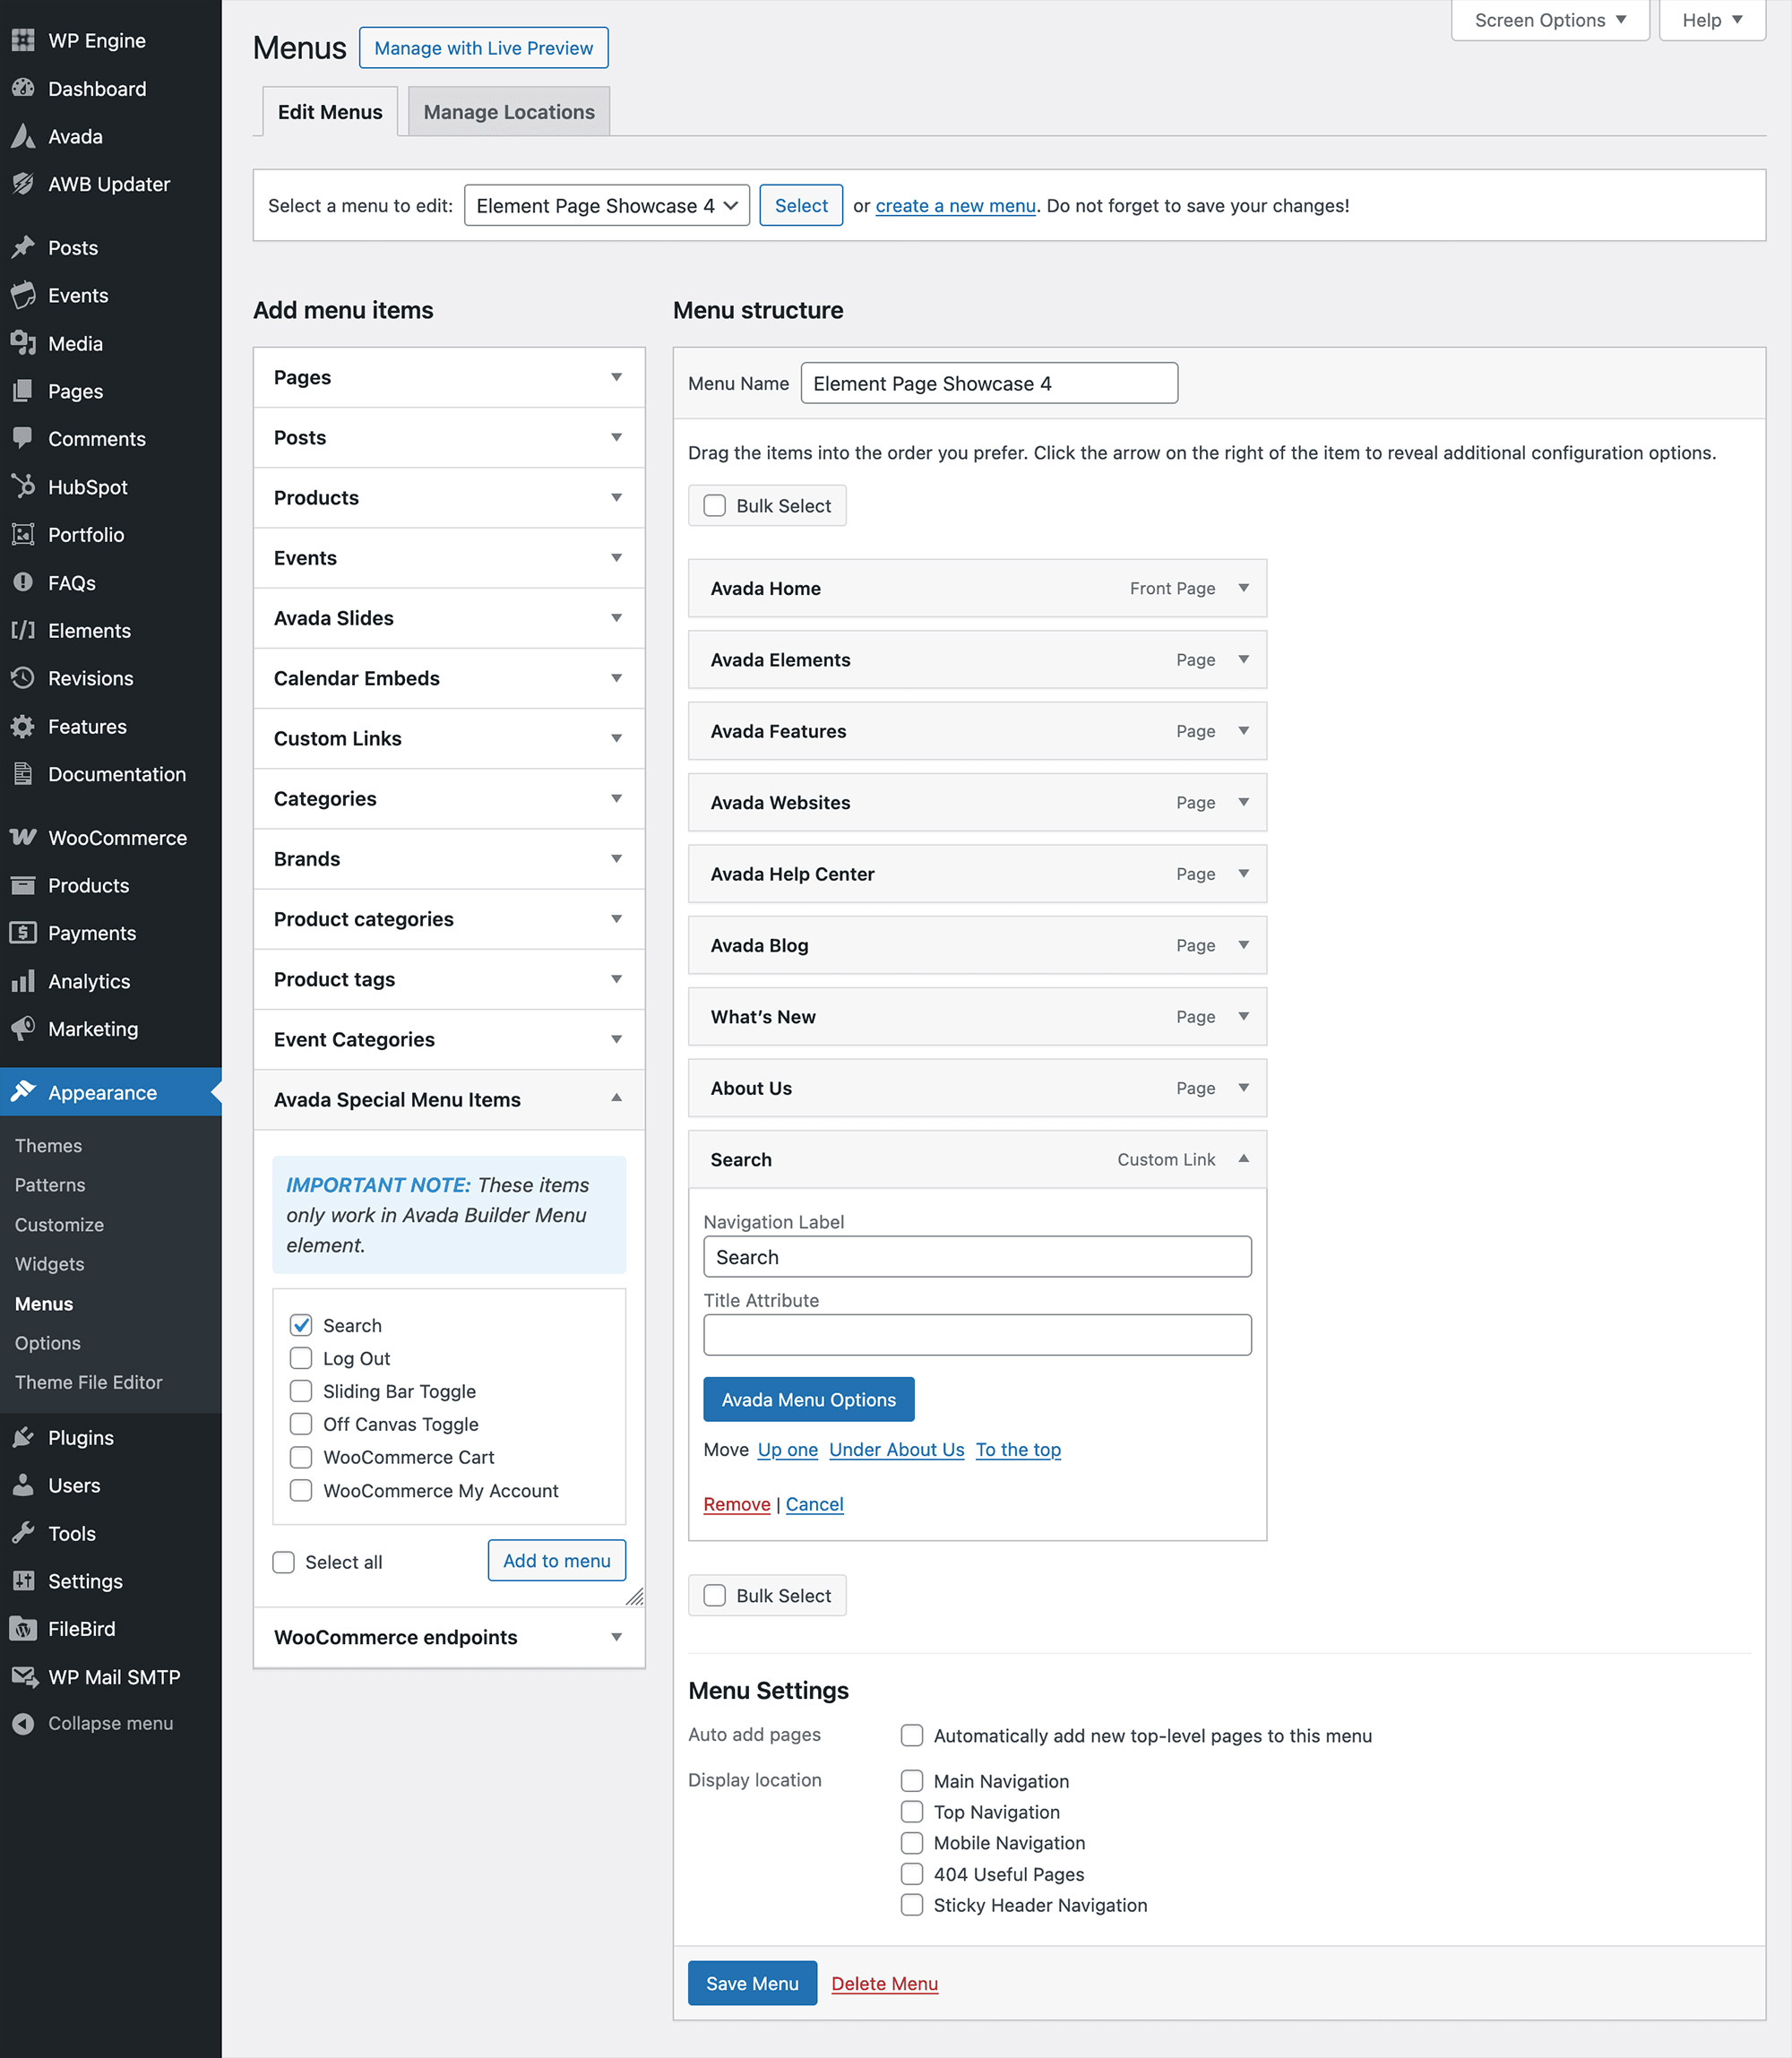
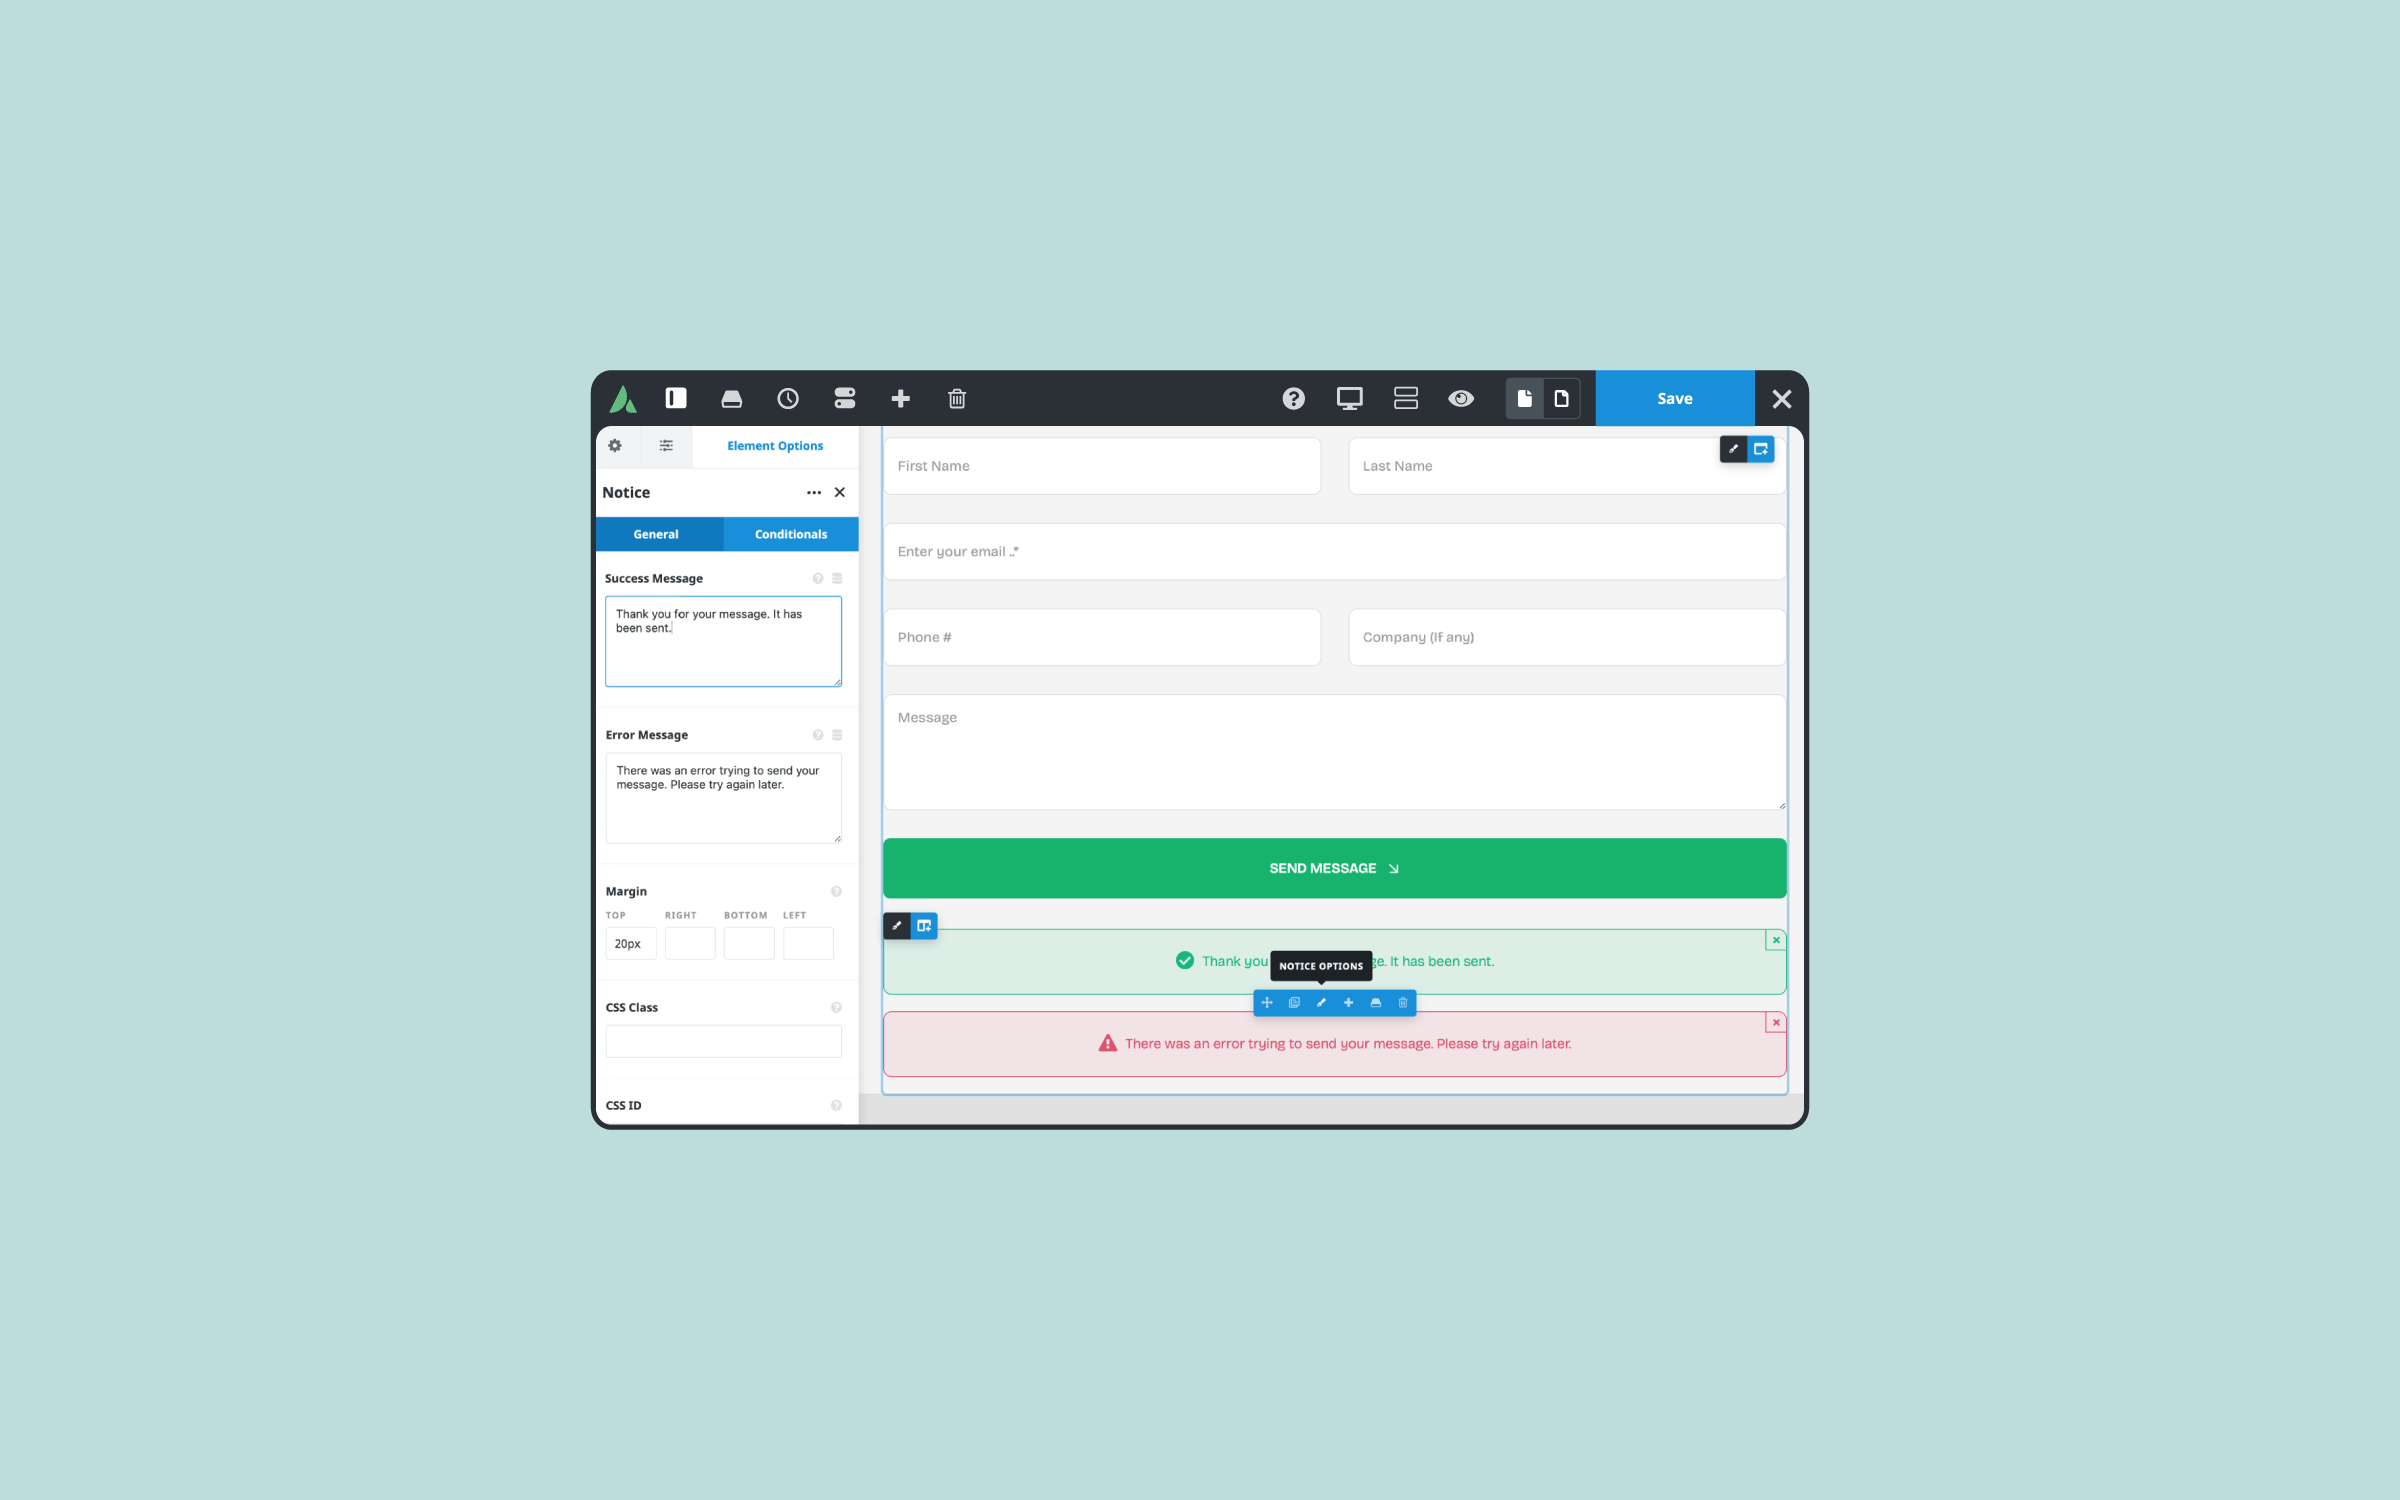
From the Avada Menu Options, you can choose the display mode for the search form: Inline, Drop-down, or Overlay. For example, the Overlay mode offers a clean and modern full-screen search experience.
Option 2: Using Avada Global Options (Legacy Method)
If you’re not using the Avada Special Menu Item option, you can add search functionality to the website’s main menu using Avada Global Options, but with limited results and styling options:
This adds a search icon to the far right of the site’s main menu.
Customizing the Search Form with Global Options
To fine-tune the behavior and appearance of the search functionality, navigate to WordPress Dashboard > Avada Options > Search > Search Form where you can:
Customizing the Search Form with Global Options
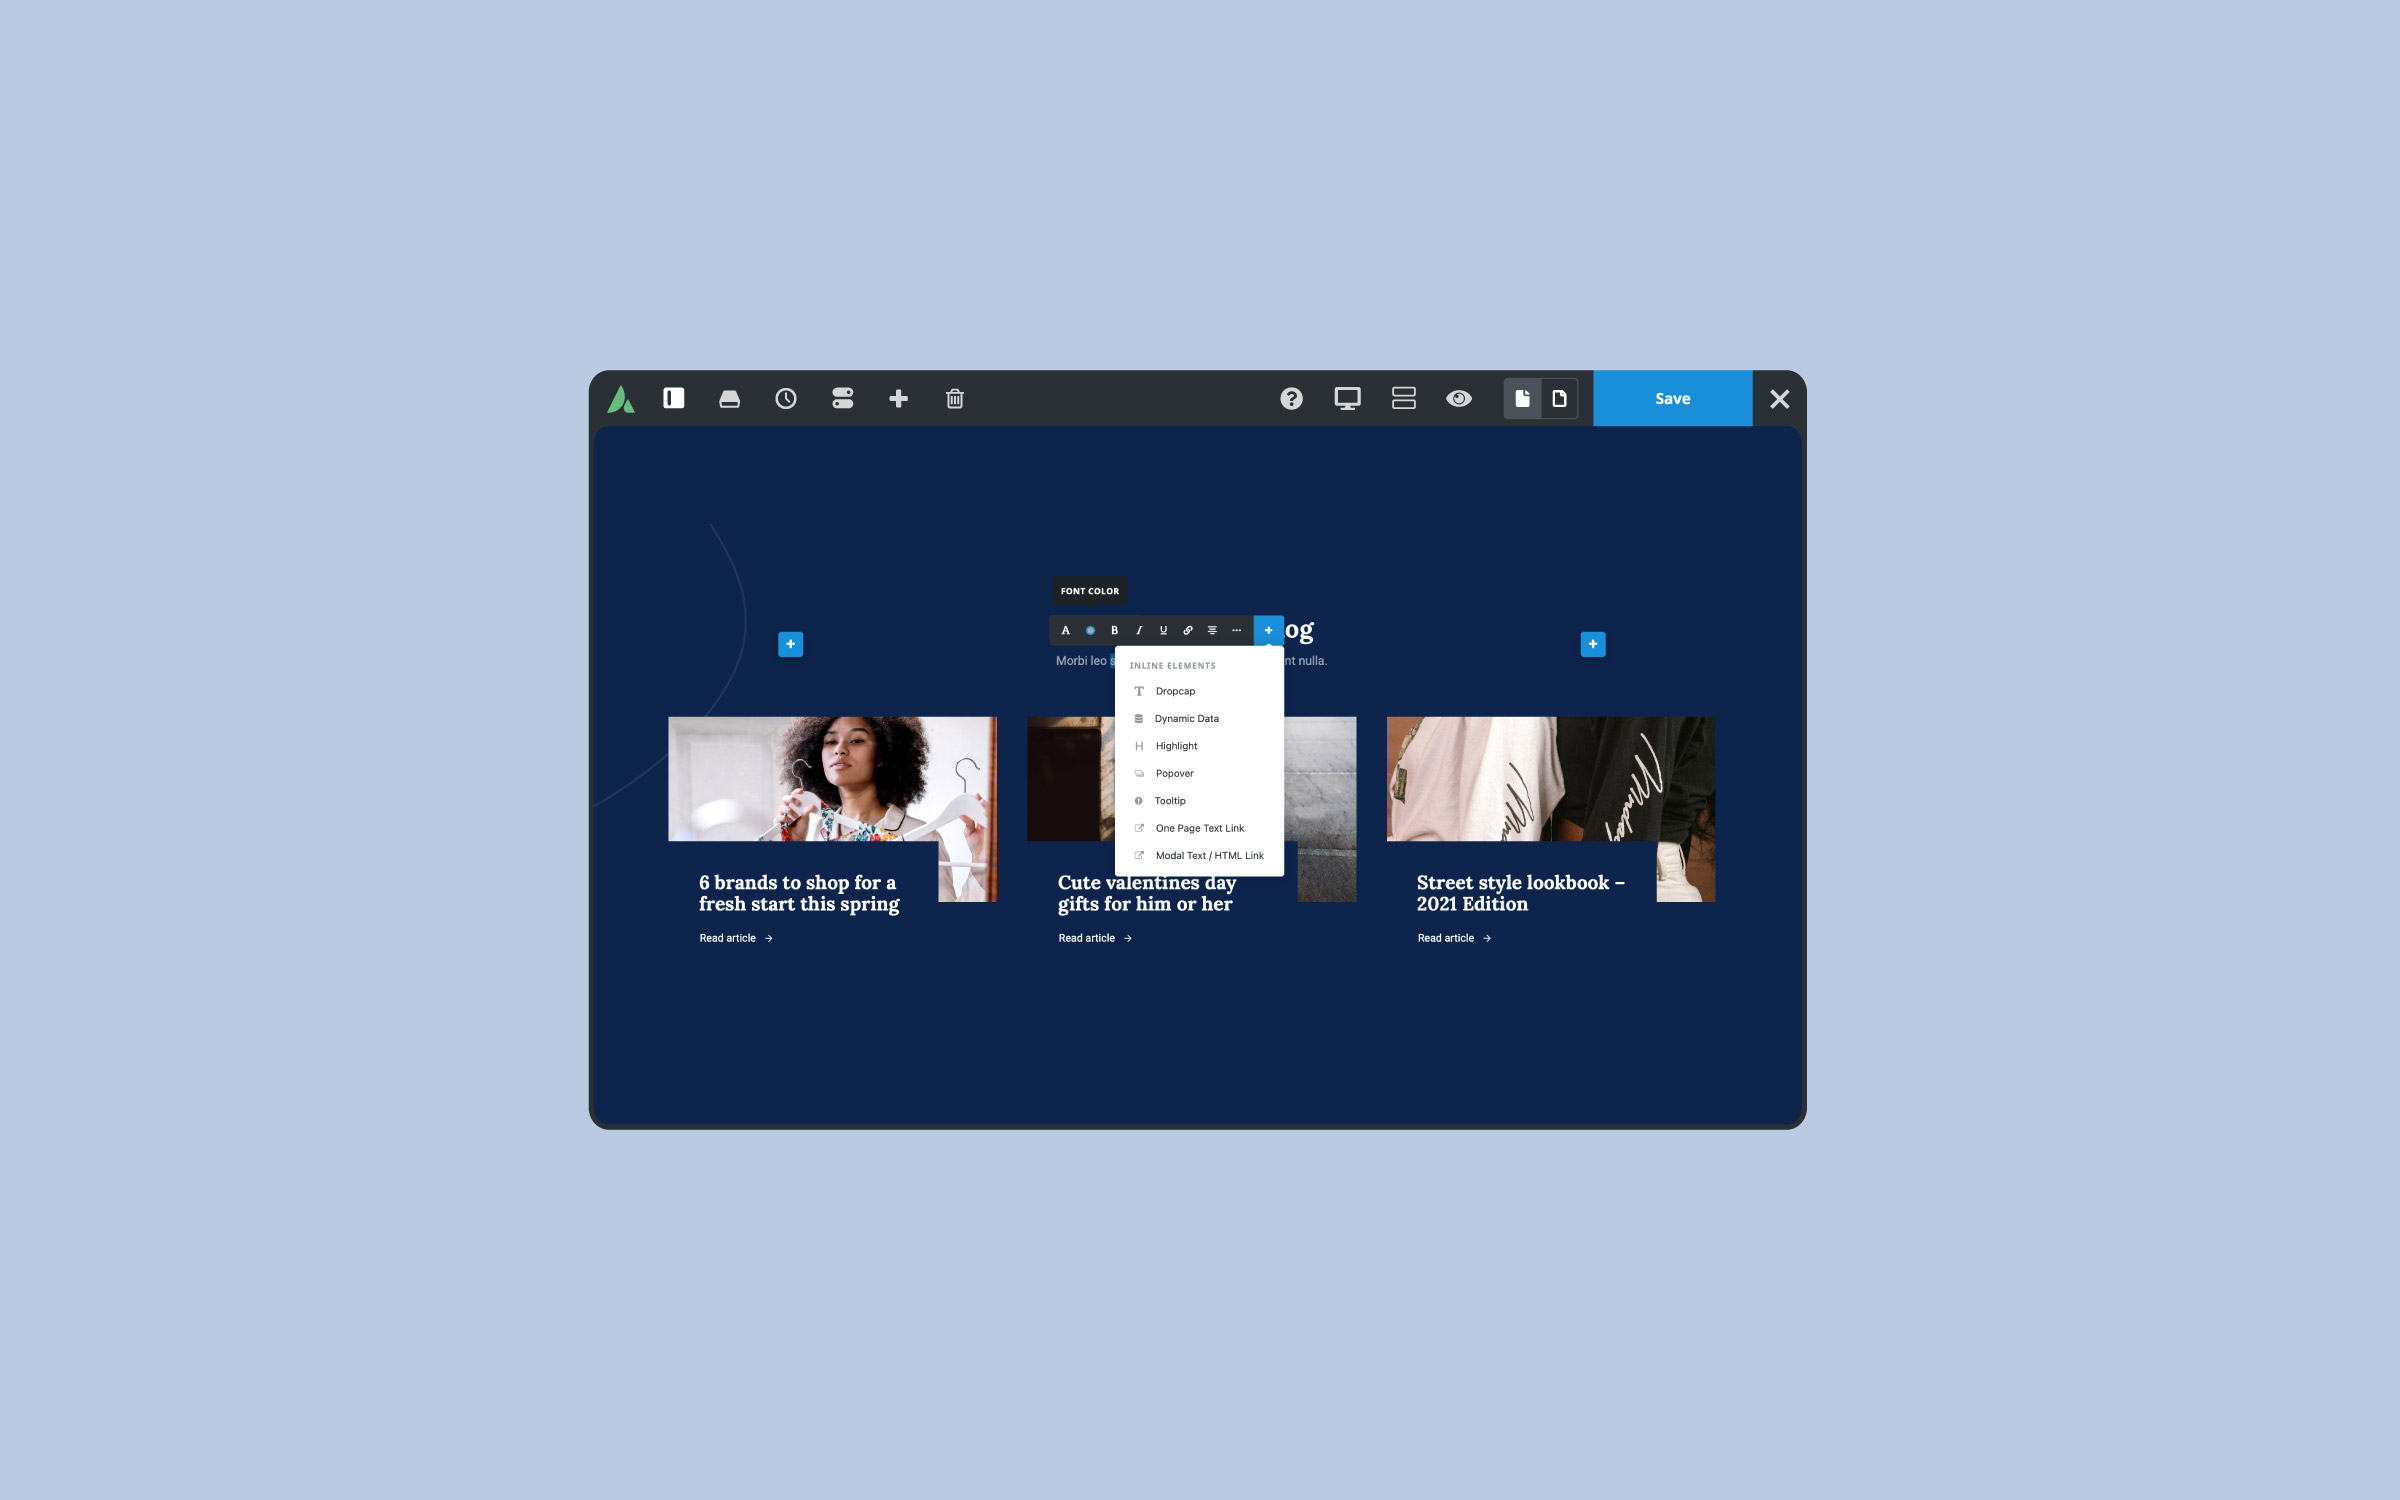
The Avada Search Element gives you the flexibility to add search functionality anywhere on your website—from headers and page title bars to content areas and footers.
This feature is especially useful for building a more immersive or strategically placed search experience for users. For an overview of this Avada Element, please feel free to check out this article.
Customizing the Search Results Page
An engaging search results page is crucial for maintaining a professional and cohesive user experience across your website and branding. It not only reinforces your brand’s visual identity but also enhances usability, SEO, and encourages engagement with your products or services. A good example is the Avada Vegan Store eCommerce product search.
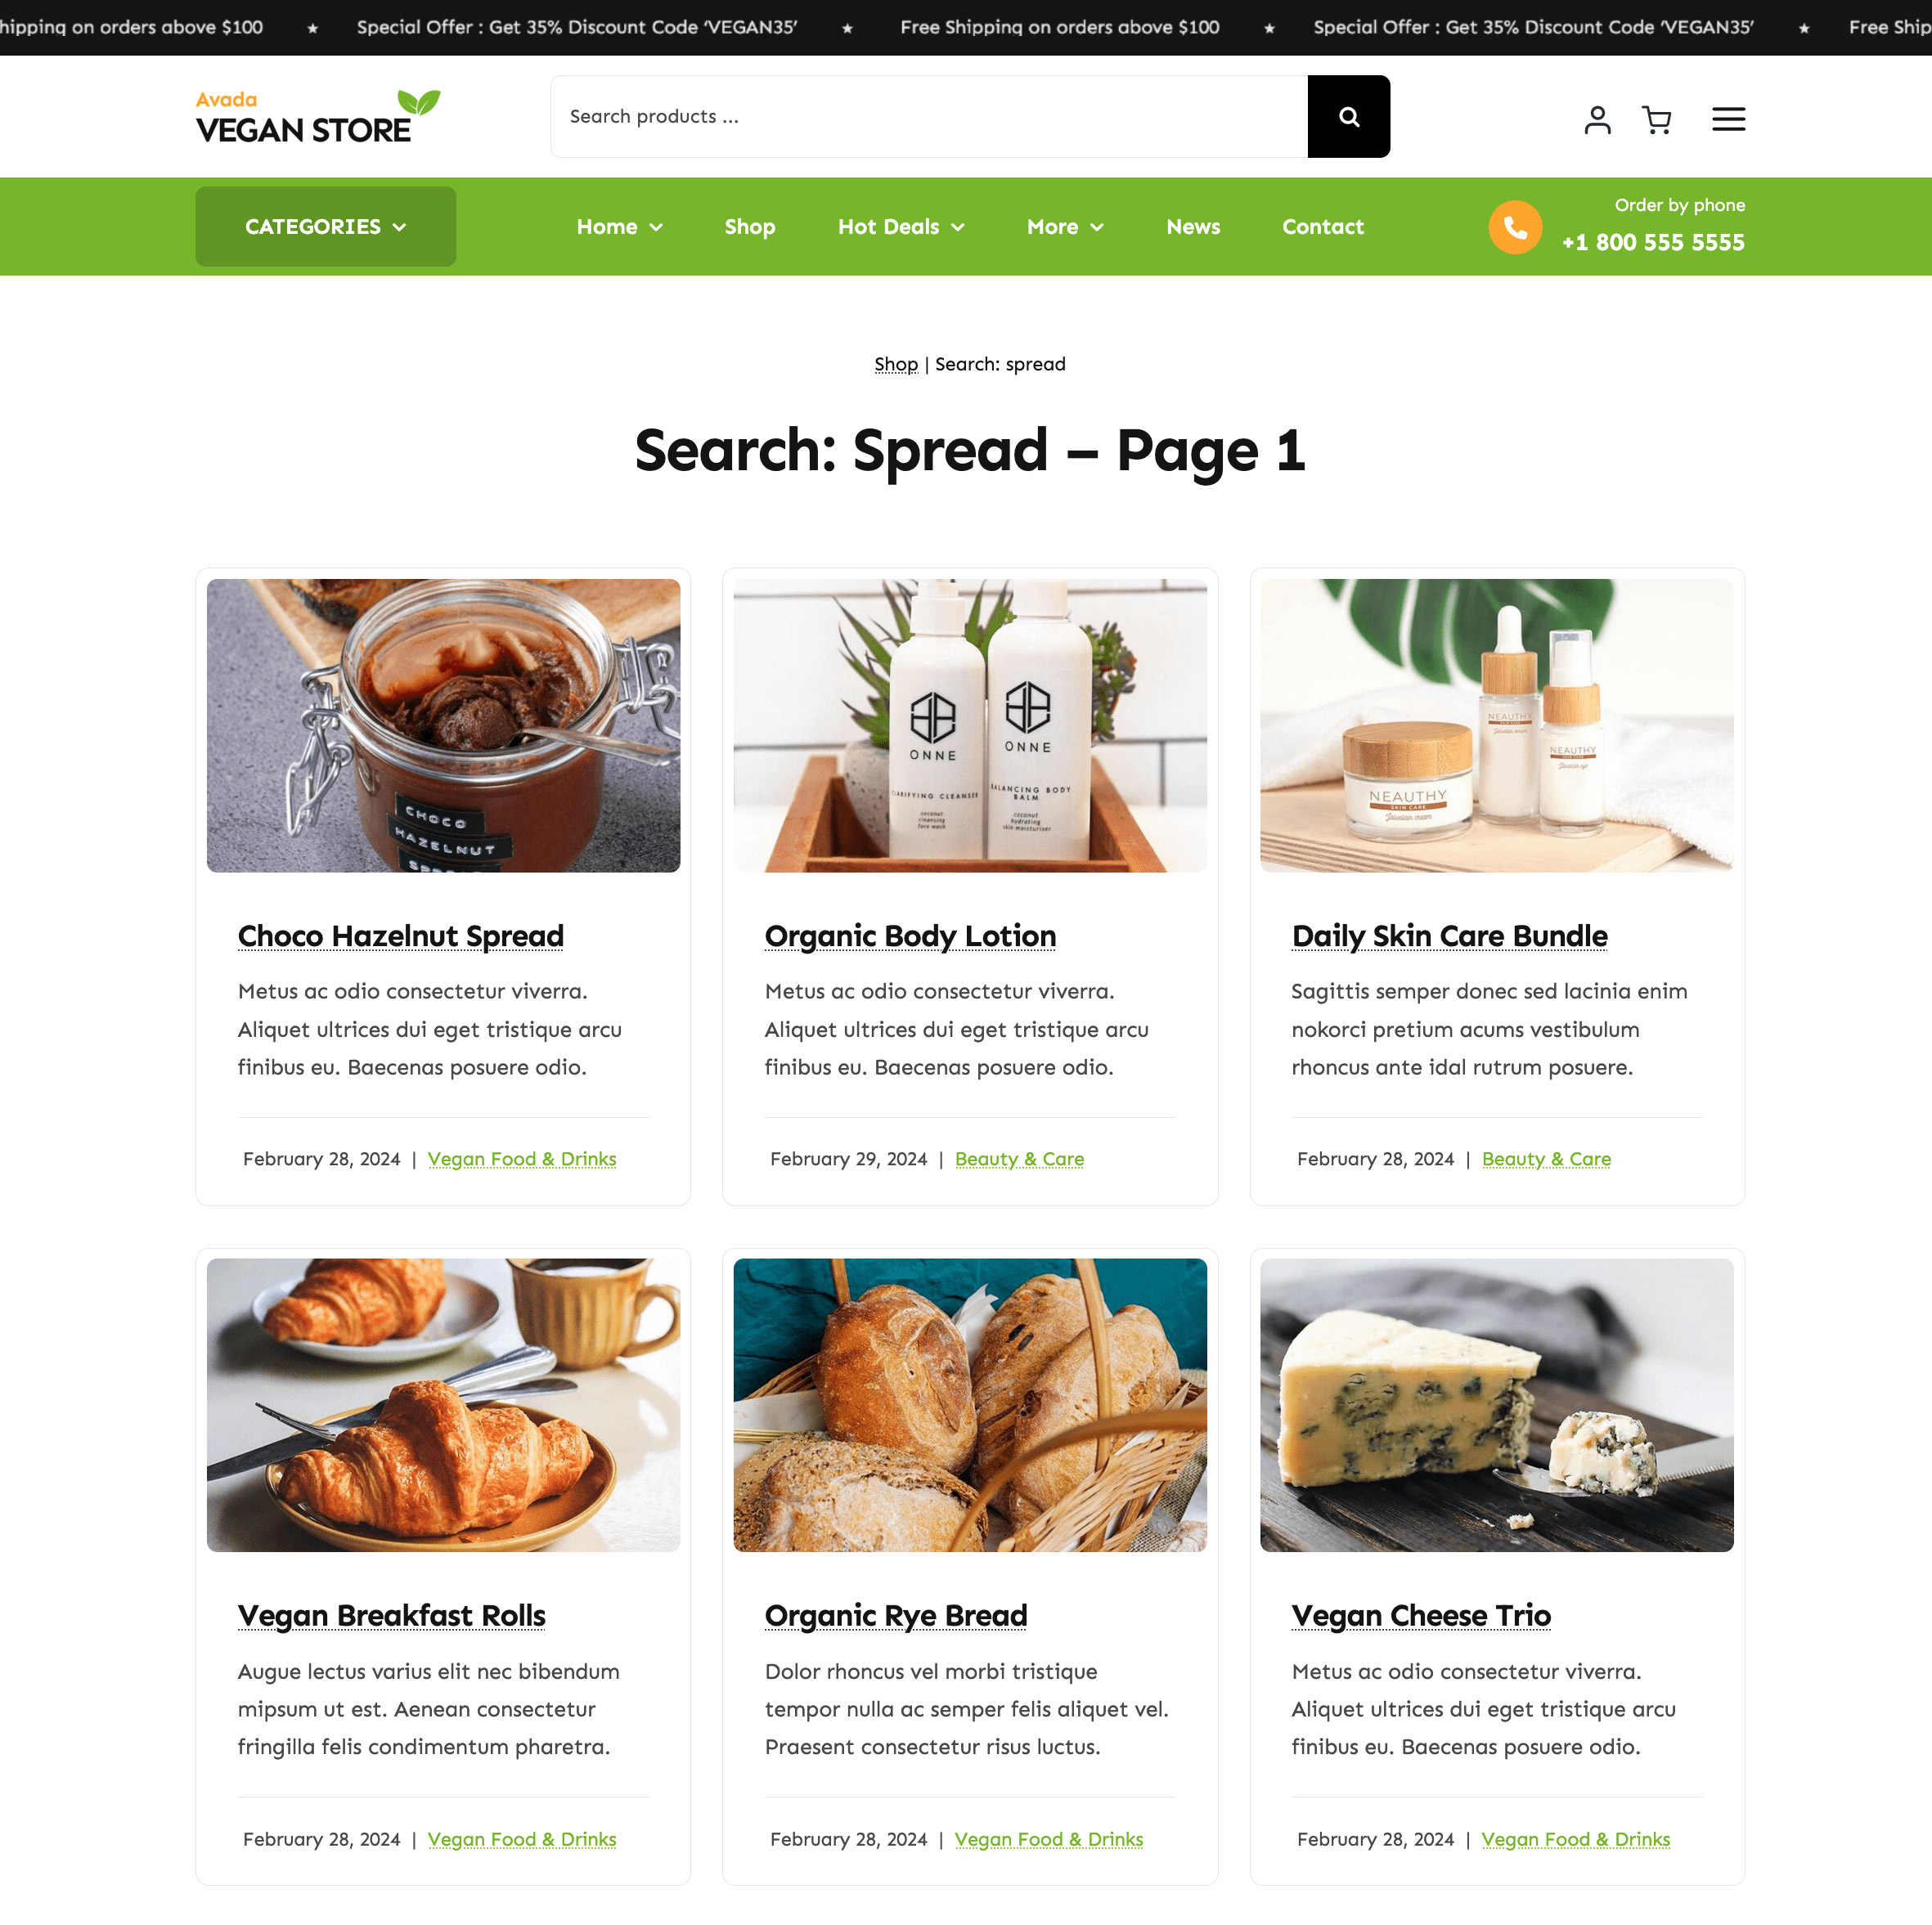
When website visitors perform a search, they’re actively looking for something—an effective, well-designed results page ensures they stay engaged, find what they need quickly, and feel confident navigating your site. This can reduce bounce rates, increase conversions, and elevate overall trust in your website. Avada offers two approaches for customizing the search results page:
1: Using Avada Layouts for Full Design Control
For designers who want complete control over the style and layout:
We encourage you to check out the “How to Build A Custom Search Results Layout” help file and tutorial video. For example, a layout might include:
2: Using Global Options (Legacy Method)
If you’re not using a custom Avada layout for this, WordPress generates a default search results page with some customization options available in the Avada Global Options:
However, this legacy method is less flexible and is best suited for simpler websites or temporary implementations.
Summary
Avada’s search functionality extends WordPress’s default search, ensuring that users can find content efficiently, regardless of their location on your site. From simple menu icons to fully customized results pages, the tools are all there—you just need to decide which approach best suits your site’s needs.