Using The Legacy Mega Menu
Last Update: January 15, 2025
Avada has a built-in mega menu that can be enabled on every First Level menu item in the Appearance > Menus tab. It can have 1-6 columns, span the full site width, have custom column width settings, display widgets, have icons or images next to menu items, and more. Please see below for information on how to set up the mega menu. If you need information on how to create a regular menu, please read our How To Create Menus in Avada article.

To see how to build a simple Mega Menu in Avada, please see the ‘ How To Use Mega Menus In Avada (Legacy Method)’ video directly below.
How To Create A Mega Menu
Step 1 – Navigate to the Appearance > Menus section on your WordPress sidebar and select the ‘Create A New Menu’ link to create a new menu, or edit an existing one.
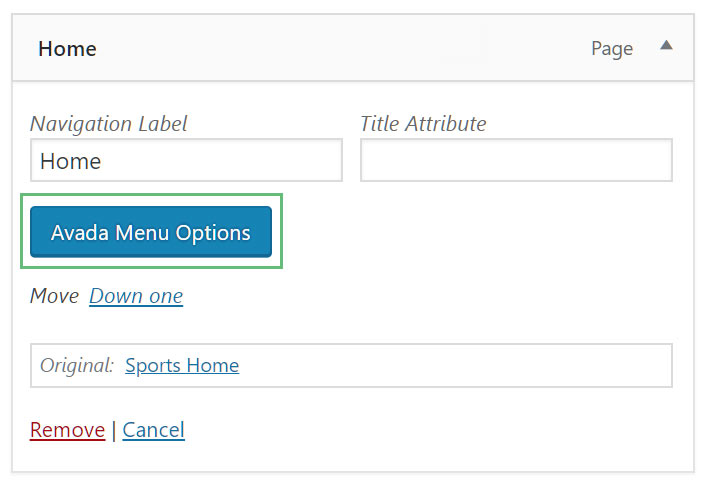
Step 2 – Choose the parent level menu item that you wish to open a mega menu with. To enable the Avada Mega Menu, click the Avada Menu Options button on your chosen menu item, which will launch the Avada menu settings window.
NOTE: Only parent level menu items have the Avada Mega Menu option. NB. If the option is not showing, make sure the Mega Menu option is enabled in the Global Options at Avdanced > Features.
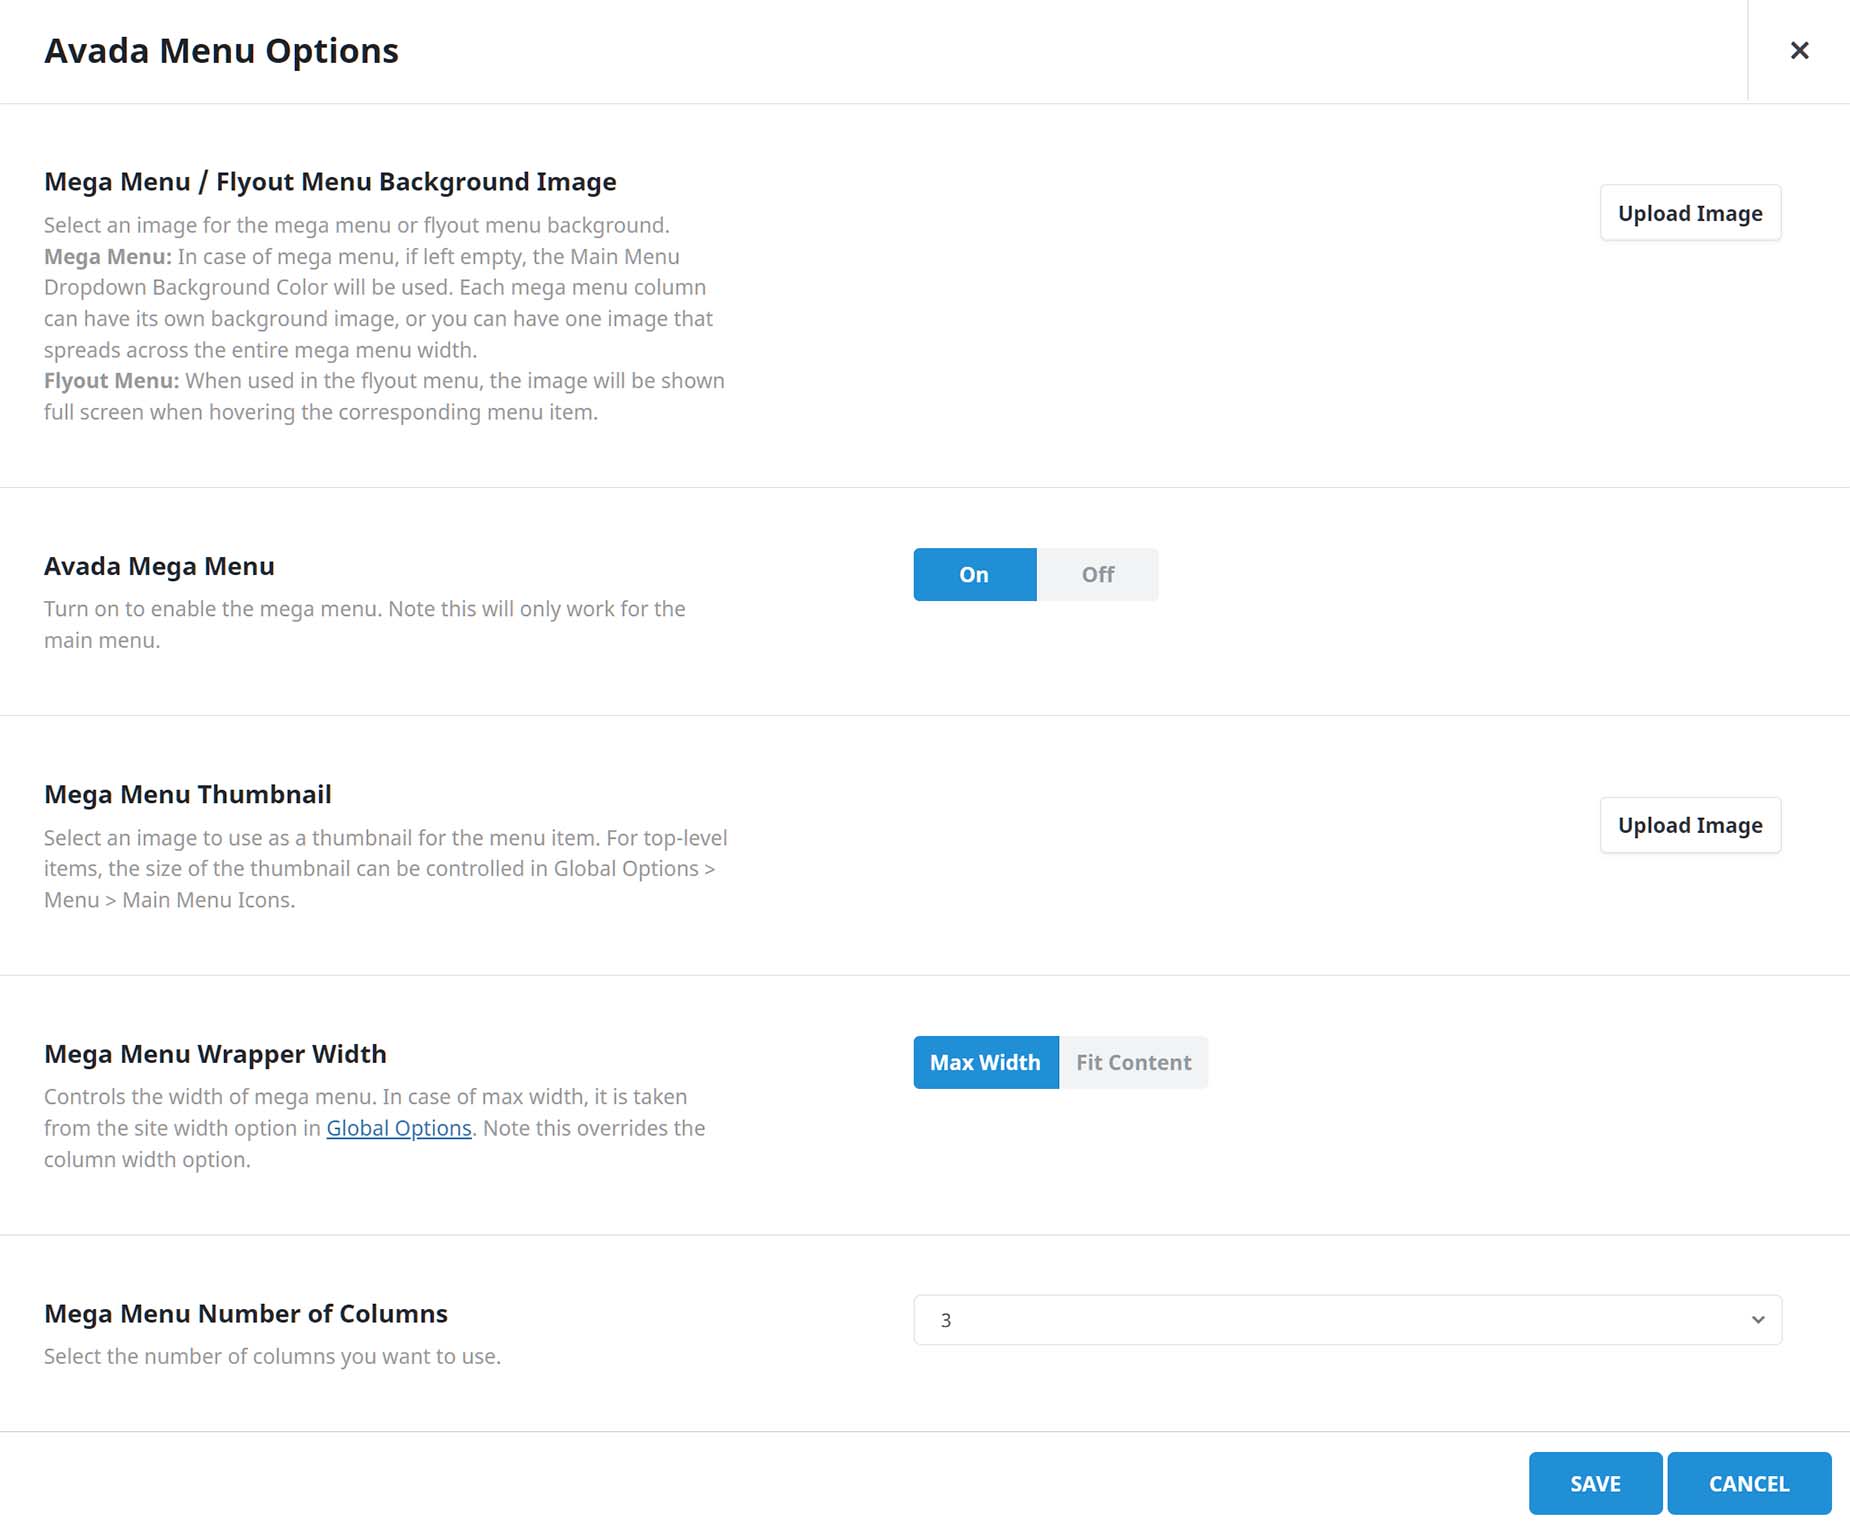
Step 3 – Enable Mega Menu. For the mega menu to show, the enabled first level menu item must have sub-menu items.
Step 4. Check the ‘Max Width’ option if you want your mega menu to span the full site width as set in Avada > Options > Layout > Site Width. Further width options can be found in the Global Options under Menu > Mega Menu. You can find more information on the Mega Menu’s various width settings here.
Step 5 – Set the ‘Mega Menu Number of Columns’ option that will determine how many columns will be displayed. Auto is the default setting, and this will auto detect how many sub menu items you have, but you can also manually control this. For example, if you had 6 sub menu items, you could choose 3 Columns here, which would then create two rows with 3 columns in each.
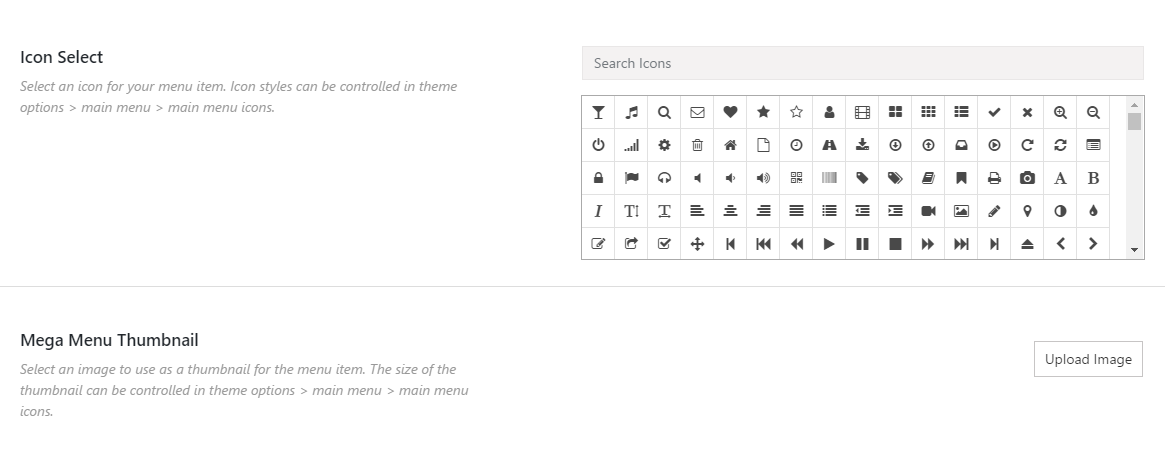
Step 6 – Each menu item can have an icon, or a custom image thumbnail along with the menu text. There are two separate options where you can select your icon or upload your custom image.
Step 7 – Second Level menu items will display as a title for columns. To add a Second Level item inside the Mega Menu, select a link on the left hand side of your Menu page, and click the ‘Add to Menu’ button. To make it a Second Level menu item, drag the menu item below and to the right of the First Level menu item.
Step 8 – The Third Level menu items will be the smaller menu items in each column. To add a Third Level menu item, repeat step 5 above and drag and drop the new menu item below and to the right of the Second Level menu item.
Step 9 – Second & Third level menu items can also have a widget area assigned. Note that assigning a widget to a menu item replaces the menu item link and only displays the assigned widgets. Learn how to create Widget Areas and how to add Widgets to it here. Once you’re done creating a new widget area, return to the WordPress menu editor page and select the name of the new widget area in the “Mega Menu Widget Area” dropdown field. This option is only available when the Mega Menu option is enabled for the Parent menu item.
Step 10 – After setting up your menu, assign it using the Menu Element, or using the legacy method of assigning it to a header. Only the Main Navigation will display the Mega Menu.


