One Page Text Link Element
Last Update: October 31, 2025
The Avada One Page Text Link Element is a straightforward Element that allows you to add an anchor link anywhere on your page. This connects to an anchor ID located elsewhere on the page.
Watch the video below for a visual overview of the Element, view the Avada One Page Text Link Element page for a working example, and read on to see the complete list of options.
By setting up an anchor link and then adding an anchor ID somewhere else on the page, potentially with the Menu Anchor Element, users can click on the anchor link and be taken directly to the section with the anchor ID. The anchor link can be plain text or HTML. See below to read more about this handy element. For more information on anchors generally, follow the link below to the Anchor Scrolling documentation.
The One Page Text Link Element is an Avada Inline Element, which means it can be accessed from the Inline Editor and can also be used through the Avada Shortcode generator. But it can now also be used as a standard standalone Element, increasing its versatility. There are various ways to use it, depending on whether you want to use it in a standalone line of text, in amongst other paragraph text, or you want to use some other Element, like an image, as the anchor link.
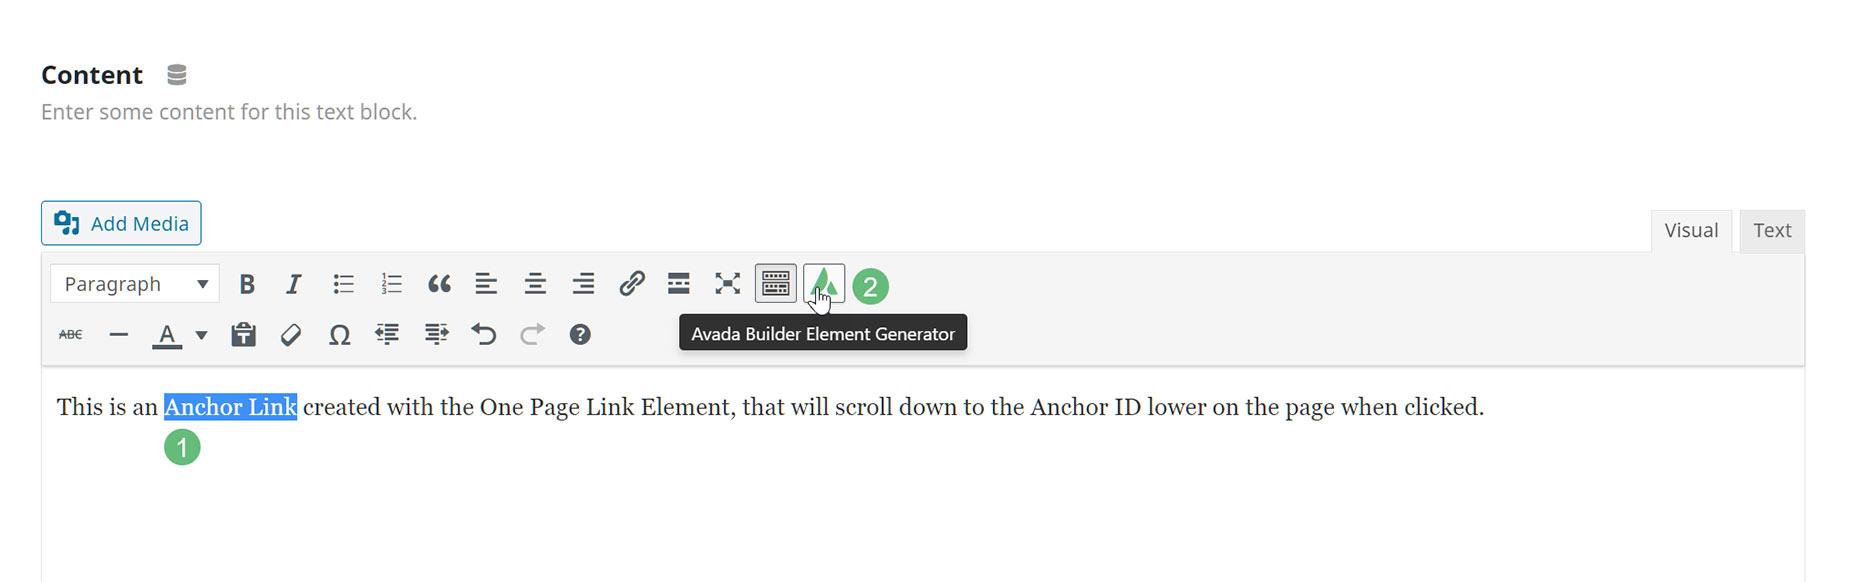
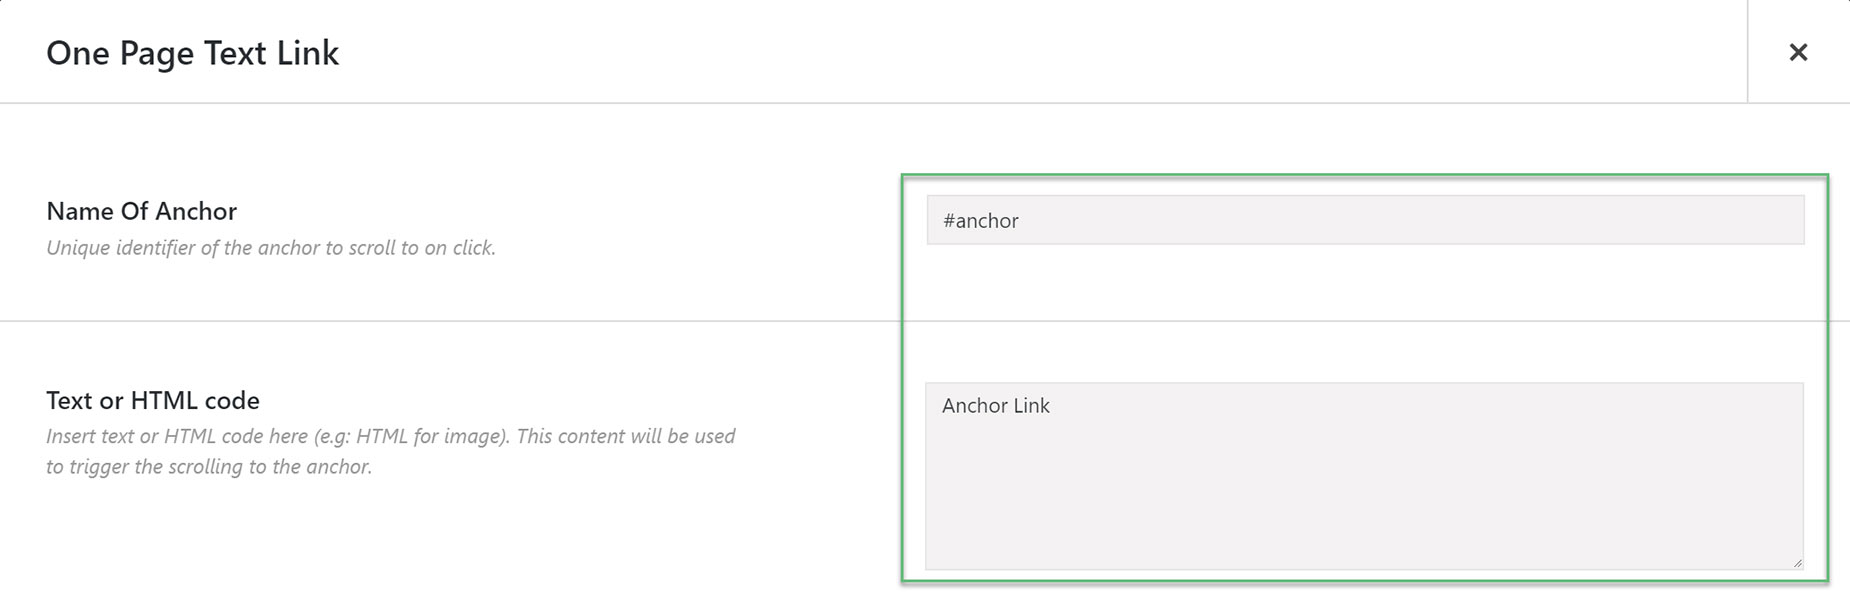
One Page Text Link Element via Avada Builder Element Generator
If you’re using the Avada Back End Builder and you want the link to be a part of a paragraph of text, using the Avada Builder Element Generator is the way to go. This method is straightforward.

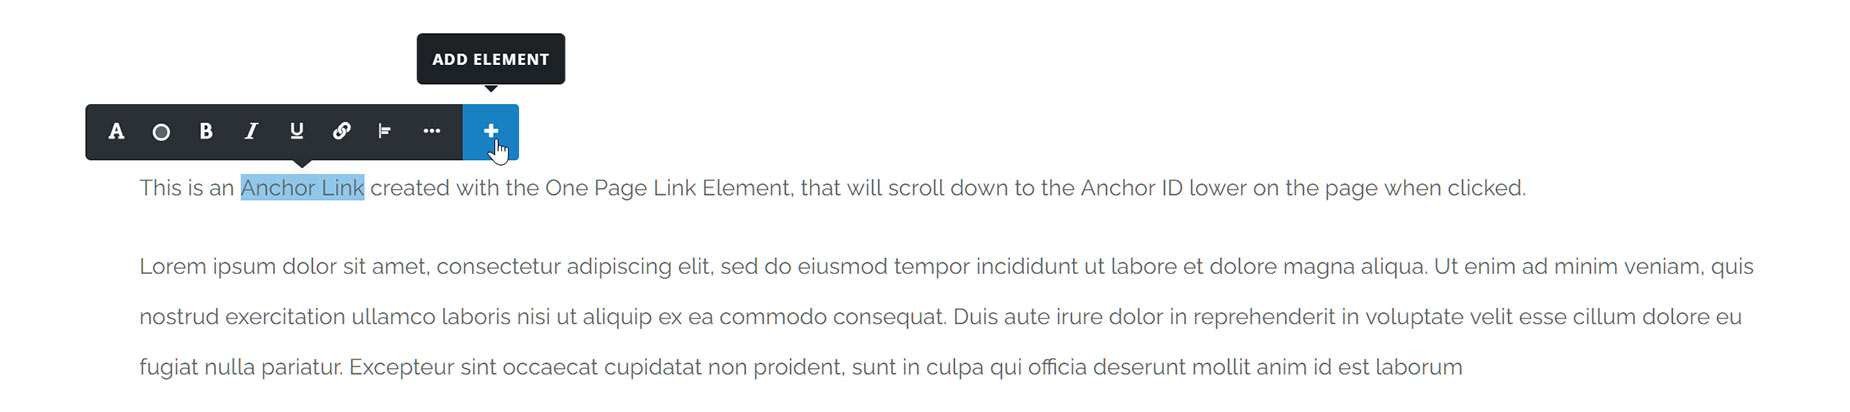
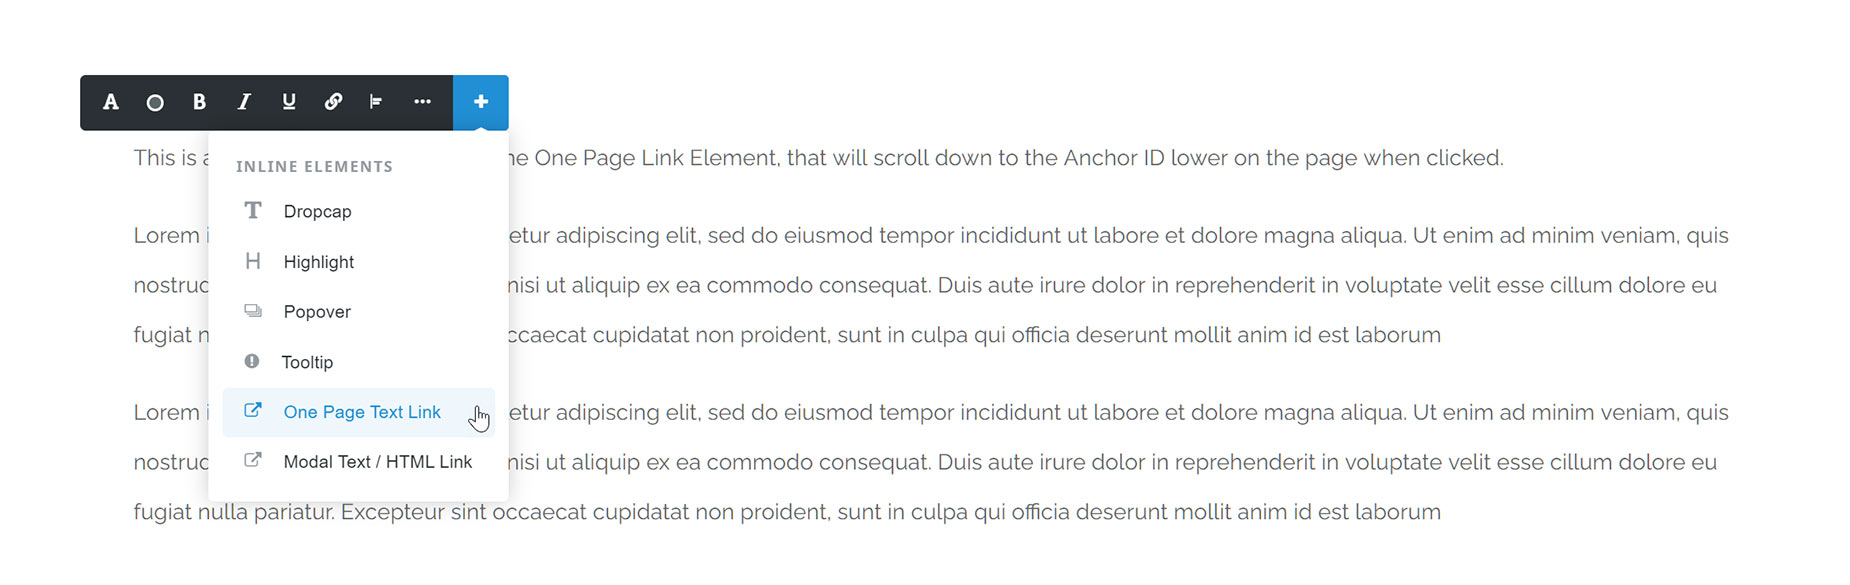
One Page Text Link Element via The Avada Live Editor
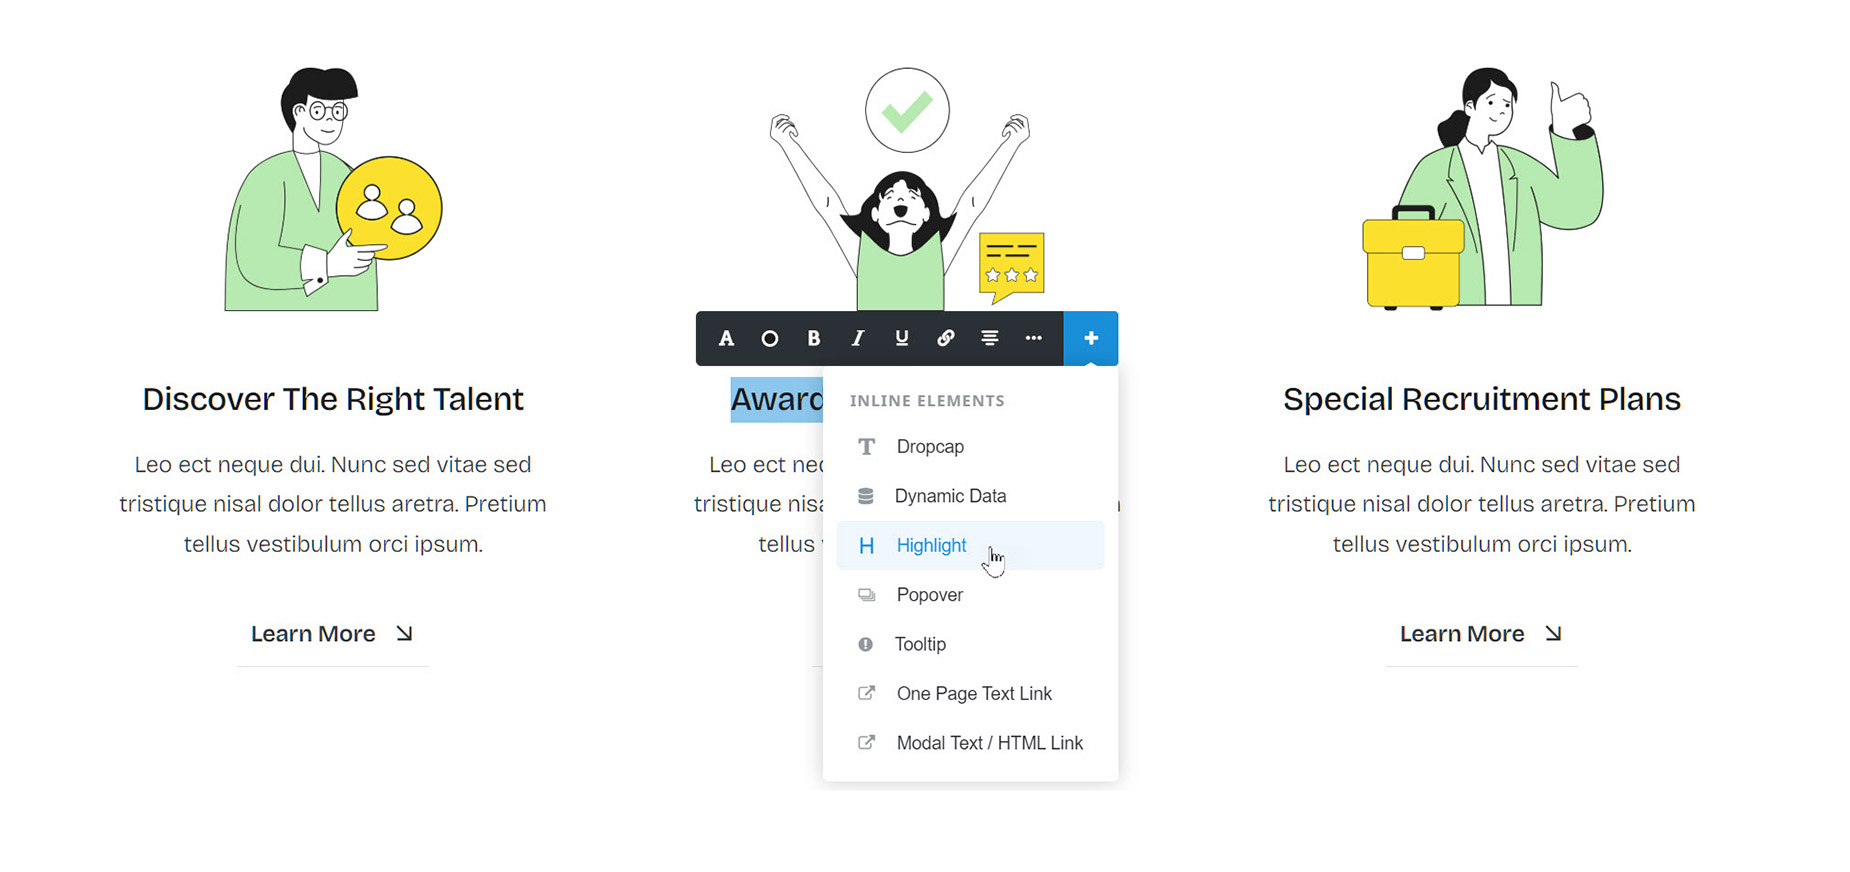
If you’re using Avada Live Editor and you want the link to be a part of a paragraph of text, the method is almost identical to the situation above. The main difference is that in Avada Live, it’s easiest to use the Inline Editor to add the One Page Text Link Element.
Adding The Element On Its Own
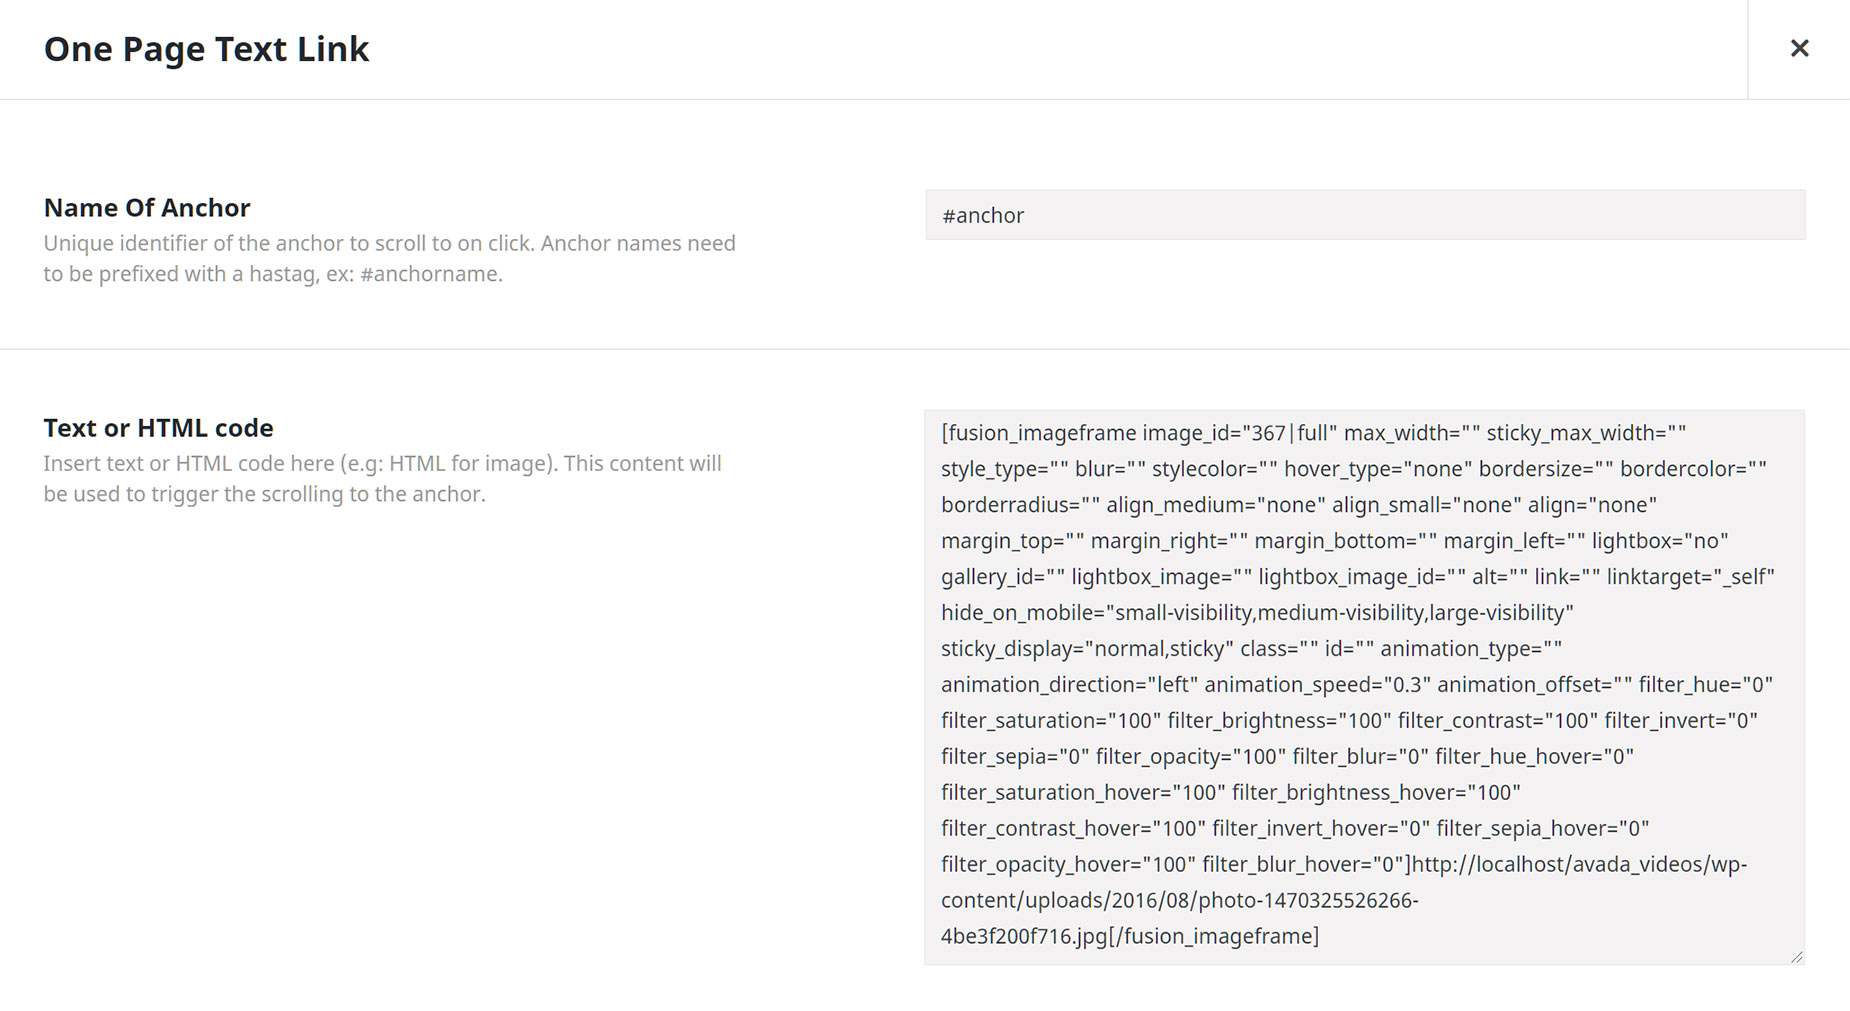
You can also add the One Page Text Link Element on its own, as a standard stand-alone Element. This is useful when you want the link to appear as text by itself, not as part of a paragraph, or when you want to use HTML content as the anchor link instead. The process is the same.
Adding The Anchor ID
This Element works in conjunction with an Anchor ID. There are a couple of ways to add these. One way is to use the Menu Anchor Element. Place this Element wherever you want on the page, and add the corresponding anchor name to your Anchor Link, only this time, without the hashtag. See the Menu Anchor Element document for more details.
Alternatively, you can use the CSS ID field, which is found in almost all Avada Elements, to add your Anchor ID. In this way, you can link to virtually any content on the page you wish. Just ensure there is only one Anchor ID per page, or it won’t know which one to scroll to.
Inline Elements In Avada Live
Please see the Avada Inline Elements document for more details on how Inline Elements work with Avada.
Element Options
Location: The edit screen within each Element.
You can deploy as many individual Elements in pages and posts as you need, there is no limit. Within each of the Elements, you will see a tab or tabs that house an array of options that make it possible for you to configure each Element independently, and greatly enhance your flexibility and creative options.


