How To Set Up SMTP for Email
Last Update: November 30, 2025
So what is SMTP, and why do you need it?
Well, SMTP is short for Simple Mail Transfer Protocol, and it’s a protocol for sending and receiving emails. If you have an Avada site that accepts public registration, like a membership site or an eCommerce store, your site will need to send many transactional emails to users, like order confirmations, password reset emails, and the like. SMTP is even useful if you just have a standard contact form on your site.
If you use the native WordPress email solution – wp_mail – a significant number of those emails could end up in the recipient’s spam folders. And that’s definitely not what you want. An alternative method for sending emails with much better deliverability is to use an SMTP plugin. Simply put, an SMTP plugin helps you make sure people actually get the emails that your website sends them.
The Problem
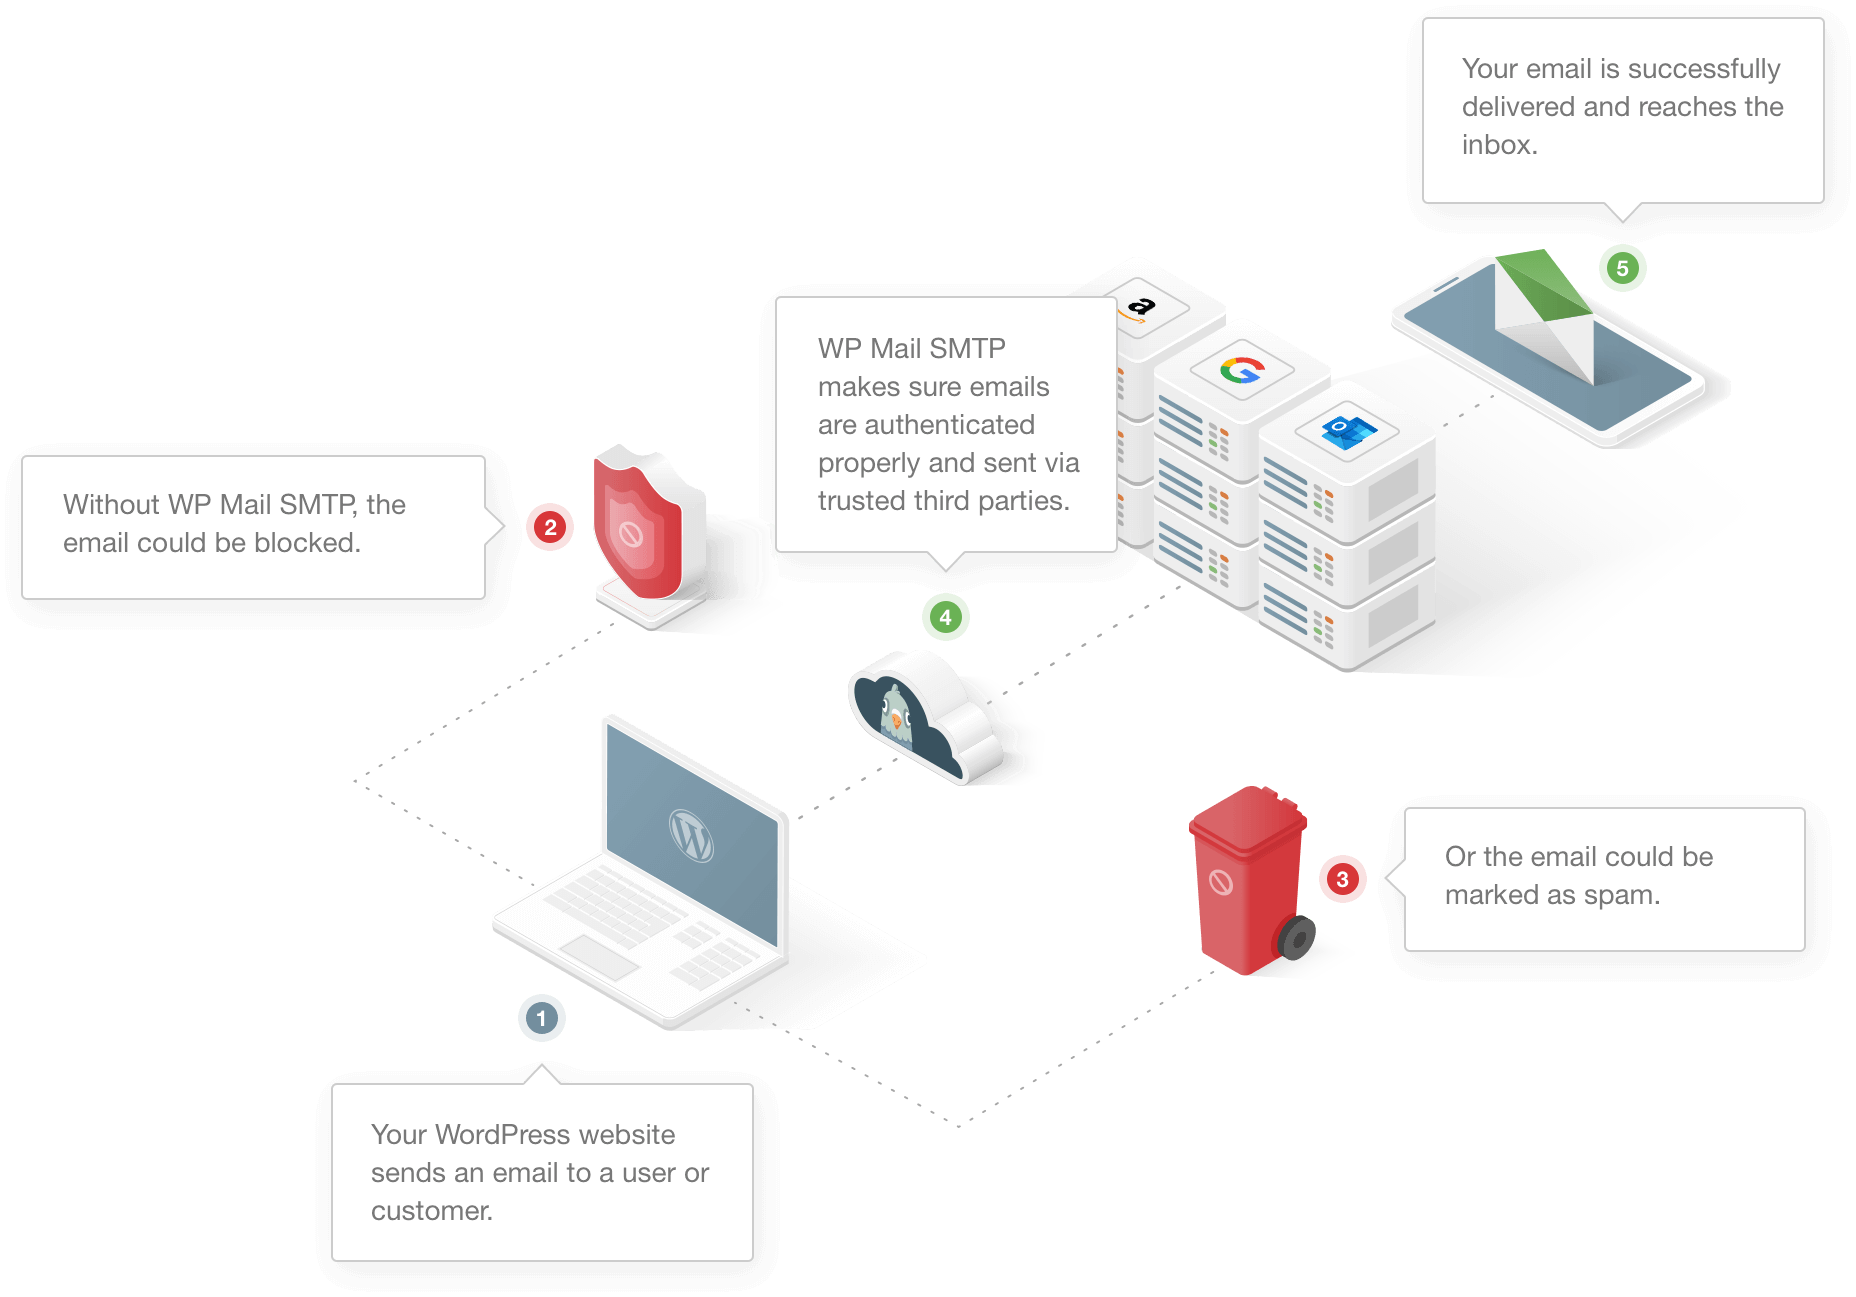
By default, WordPress uses the wp_mail function to send emails via PHP mail (including any Avada notification emails). So your site is sending emails via the same server that your site is hosted on, which is almost certainly not optimized for sending emails. It’s very simple, and it sort of works (mostly), but it lacks proper authentication, which is why emails that you send via the PHP mail method often end up in spam, or even worse, just get outright blocked by some email providers.
SMTP, on the other hand, tells your WordPress site to send emails via a properly-configured SMTP server, rather than using your site’s server. Instead, your website sends the email to the SMTP server, which then processes the email and sends it to the user’s inbox. Because the SMTP server is configured to handle sending emails and has the proper authentication in place, your emails are much more likely to make it to recipients’ inboxes.
As well as this, some web hosts don’t even offer email as part of their hosting package. For example, neither Kinsta nor Flywheel offers email hosting, so in these cases, you would absolutely need an SMTP plugin.
Thirdly, the deliverability of emails is of vital importance to a business, and instead of relying on a hit-and-miss default solution, you can use a third-party SMTP server that’s 100% dedicated to sending emails.
The Solution
The best solution is an SMTP plugin. There are many of these, but the most popular SMTP and PHP Mailer plugin for WordPress is WP Mail SMTP. This is a free plugin and can be installed directly from the WordPress Plugin Repository. It provides a full Wizard to help you configure the plugin. There is also good documentation to be found at the WP Mail SMTP website.
Plugin Setup Wizard
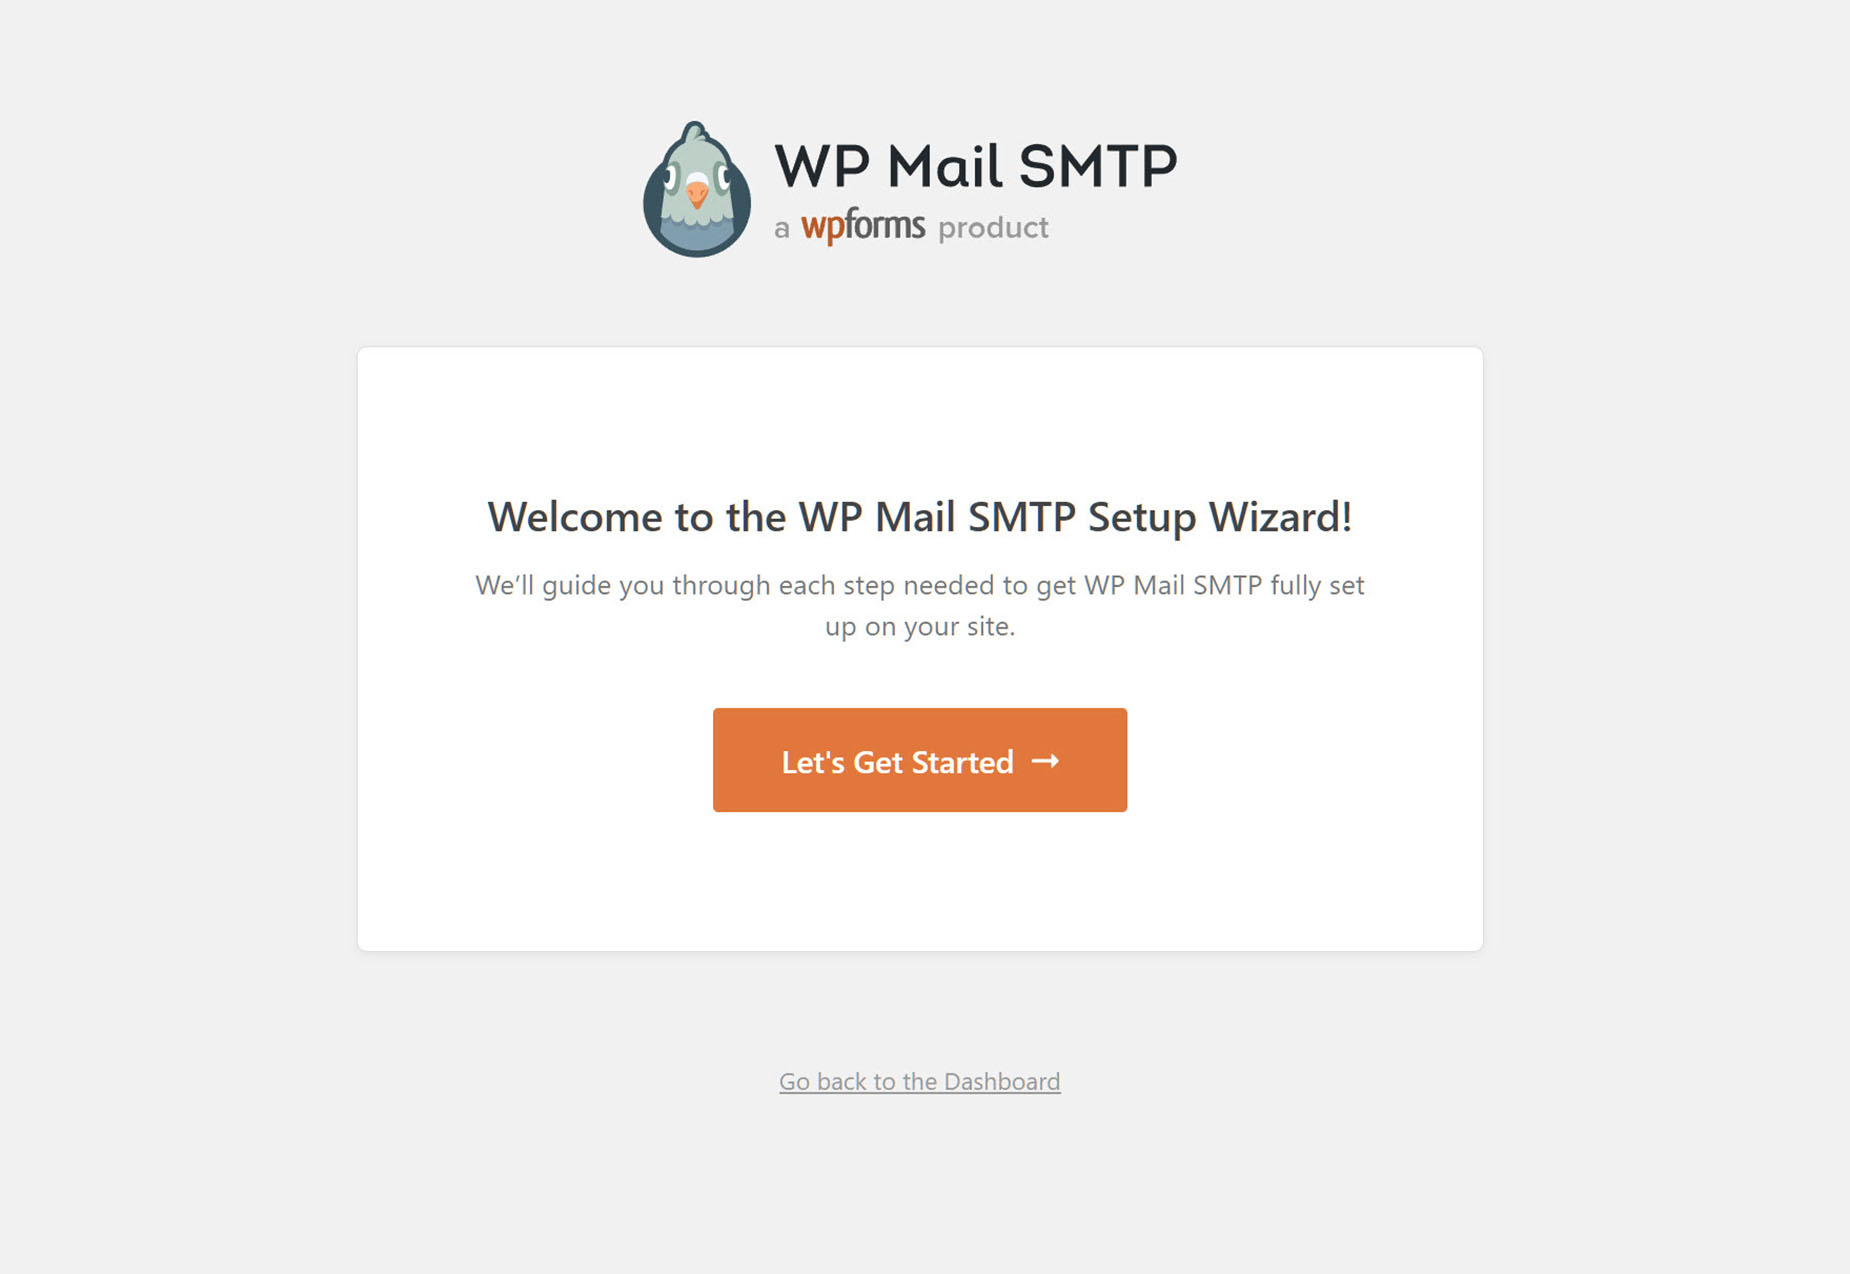
The best solution is an SMTP plugin. There are many of these, but the most popular SMTP and PHP Mailer plugin for WordPress is WP Mail SMTP. This is a free plugin and can be installed directly from the WordPress Plugin Repository. It provides a full Setup Wizard to help you configure the plugin. There is also good documentation to be found at the WP Mail SMTP website. Once it is installed and activated, you will find yourself on the Setup Wizard page. To activate the Wizard, just click on the Let’s Get Started button.
Choosing an SMTP Mailer
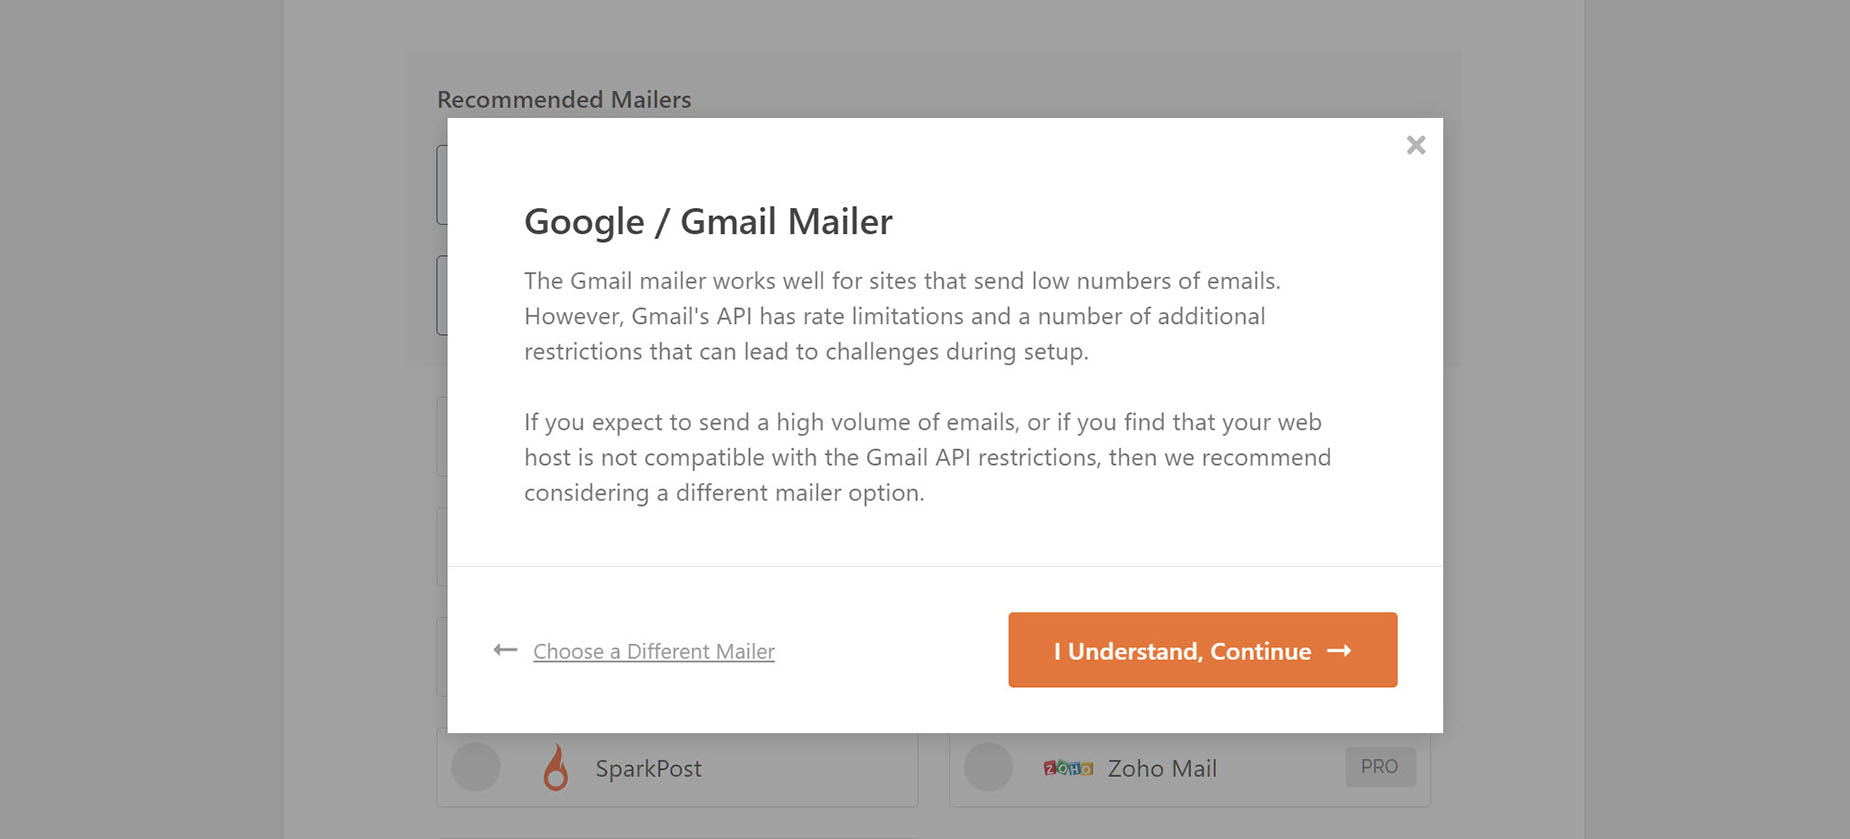
In this first step, you have to choose an SMTP Mailer for the plugin to use. For more infomation about SMTP Mailers and the various options they provide, see the Complete Mailer Guide. Most of the SMTP Mailers are not free, or are time or email limited. Some, like Sendinblue might work for sites that don’t send a lot of emails, but for this tutorial, we are going to use the Google/Gmail option, as it’s completely free.
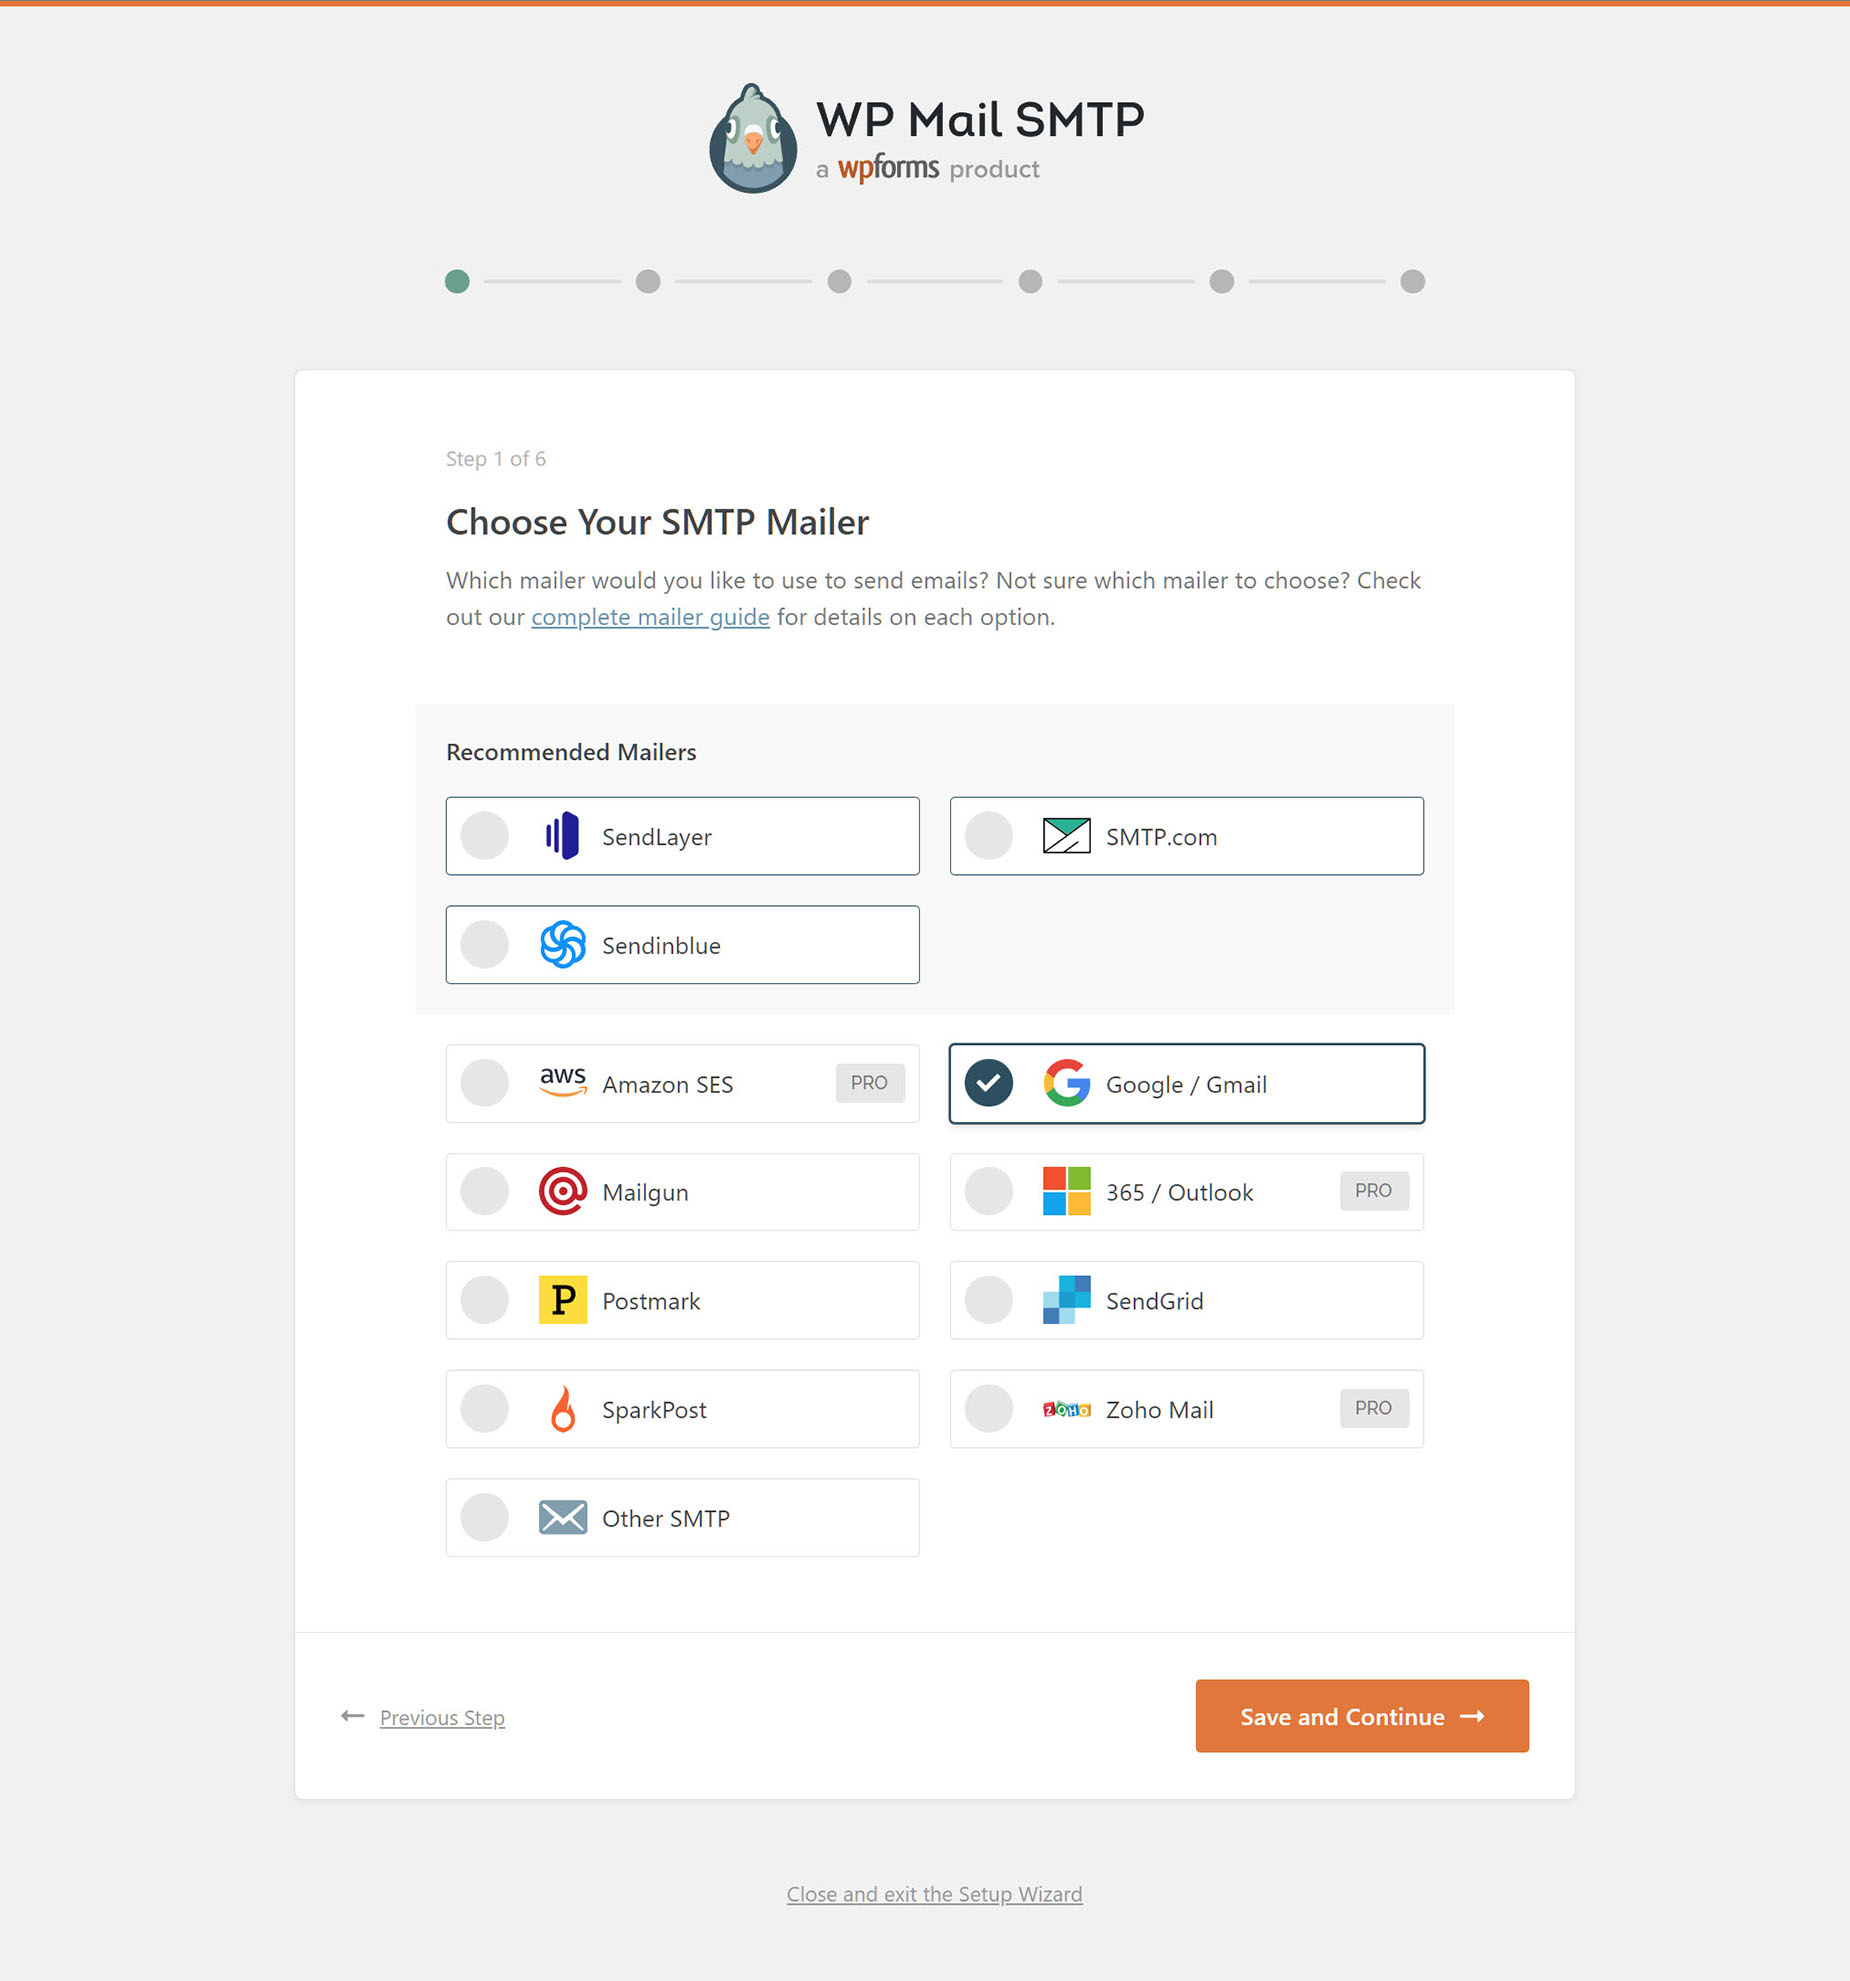
Just note with the Google/Gmail option, that there can be rate limitations and API restrictions.
Configure Mailer Settings
Now we come to the Configure Mailer Settings page. Here you need to add your Client ID and Client Secret code. To get these, you have to log on to the Google Cloud Console. It’s a bit technical, but there’s a good guide to walk you through the various steps required.
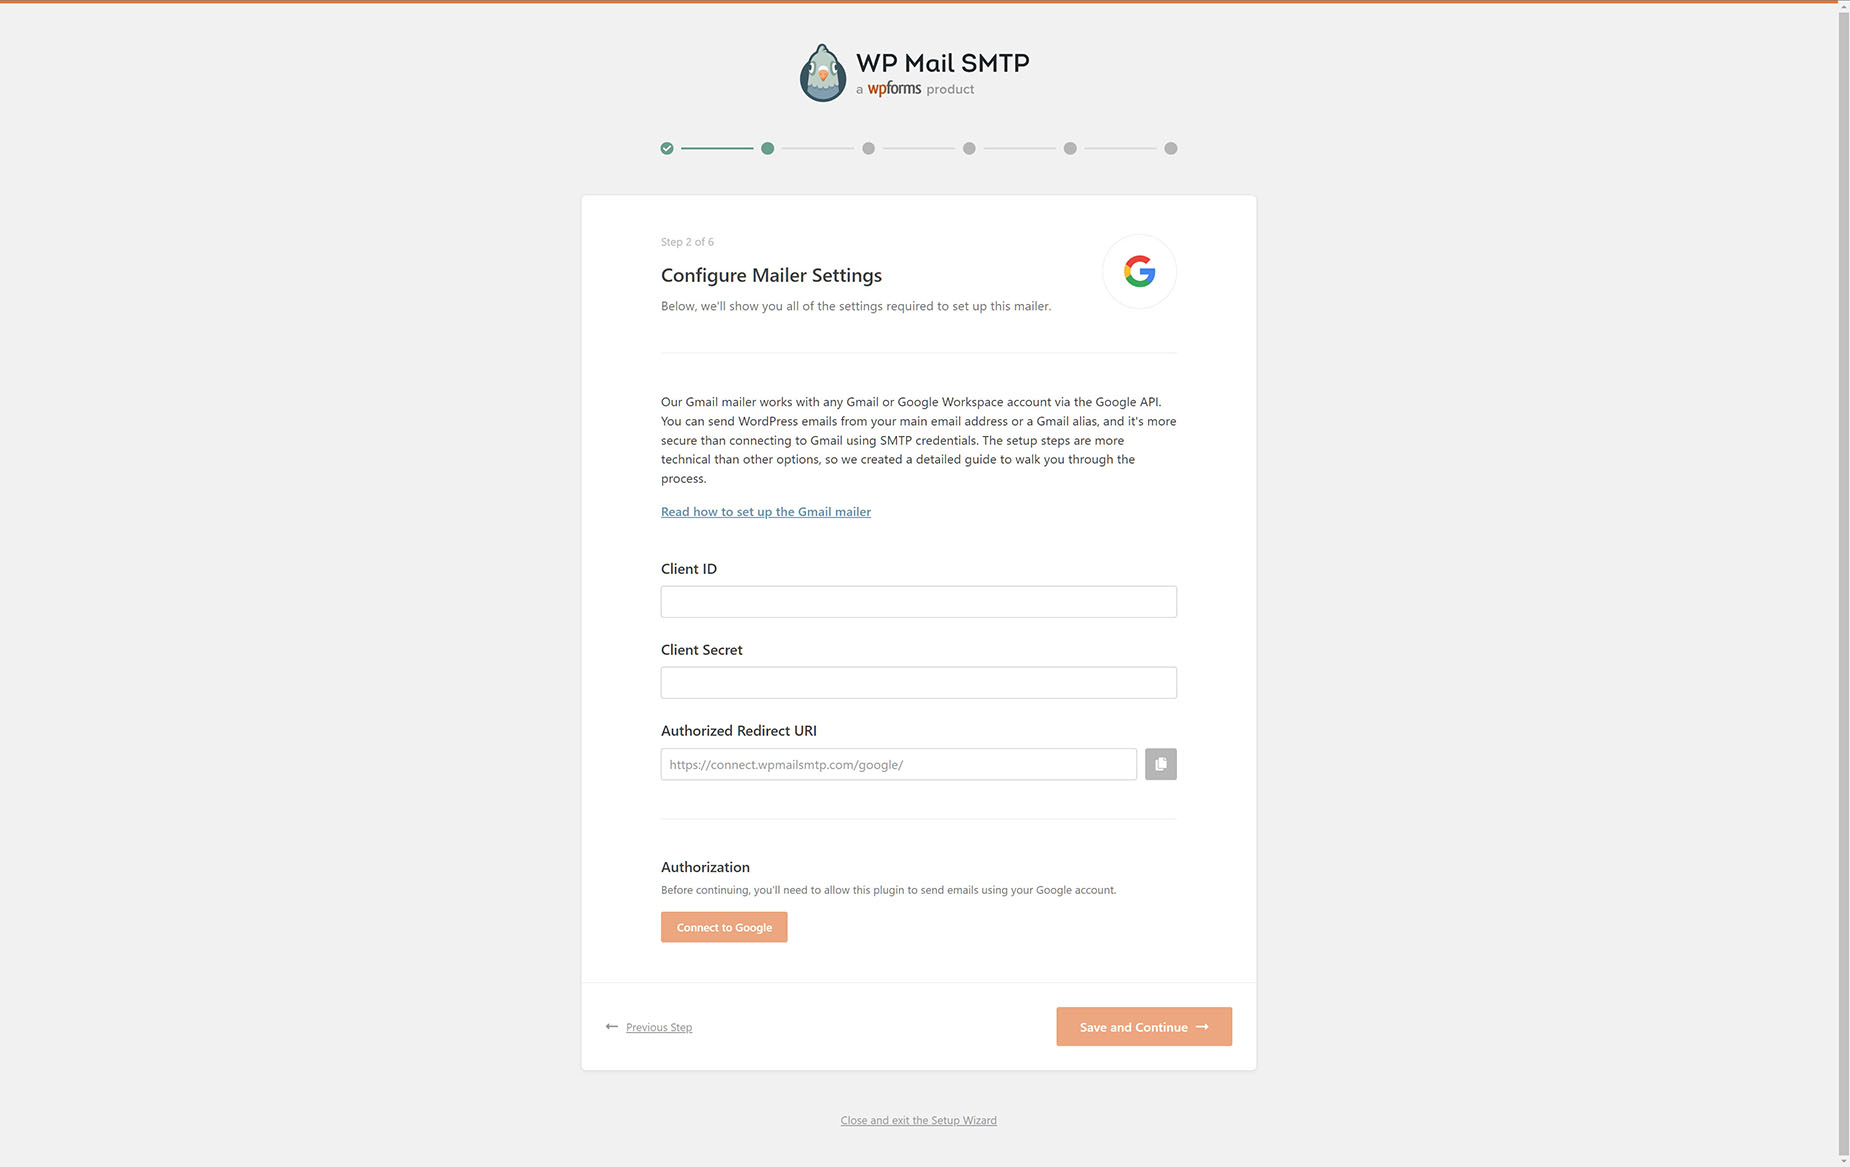
Once you have added your Client ID and Client Secret, there is an Authorization Step, to allow the plugin to connect to your Google account. This is also covered in the afforementioned guide.
Once your have done that, a Successful Authorization message will appear on your screen.
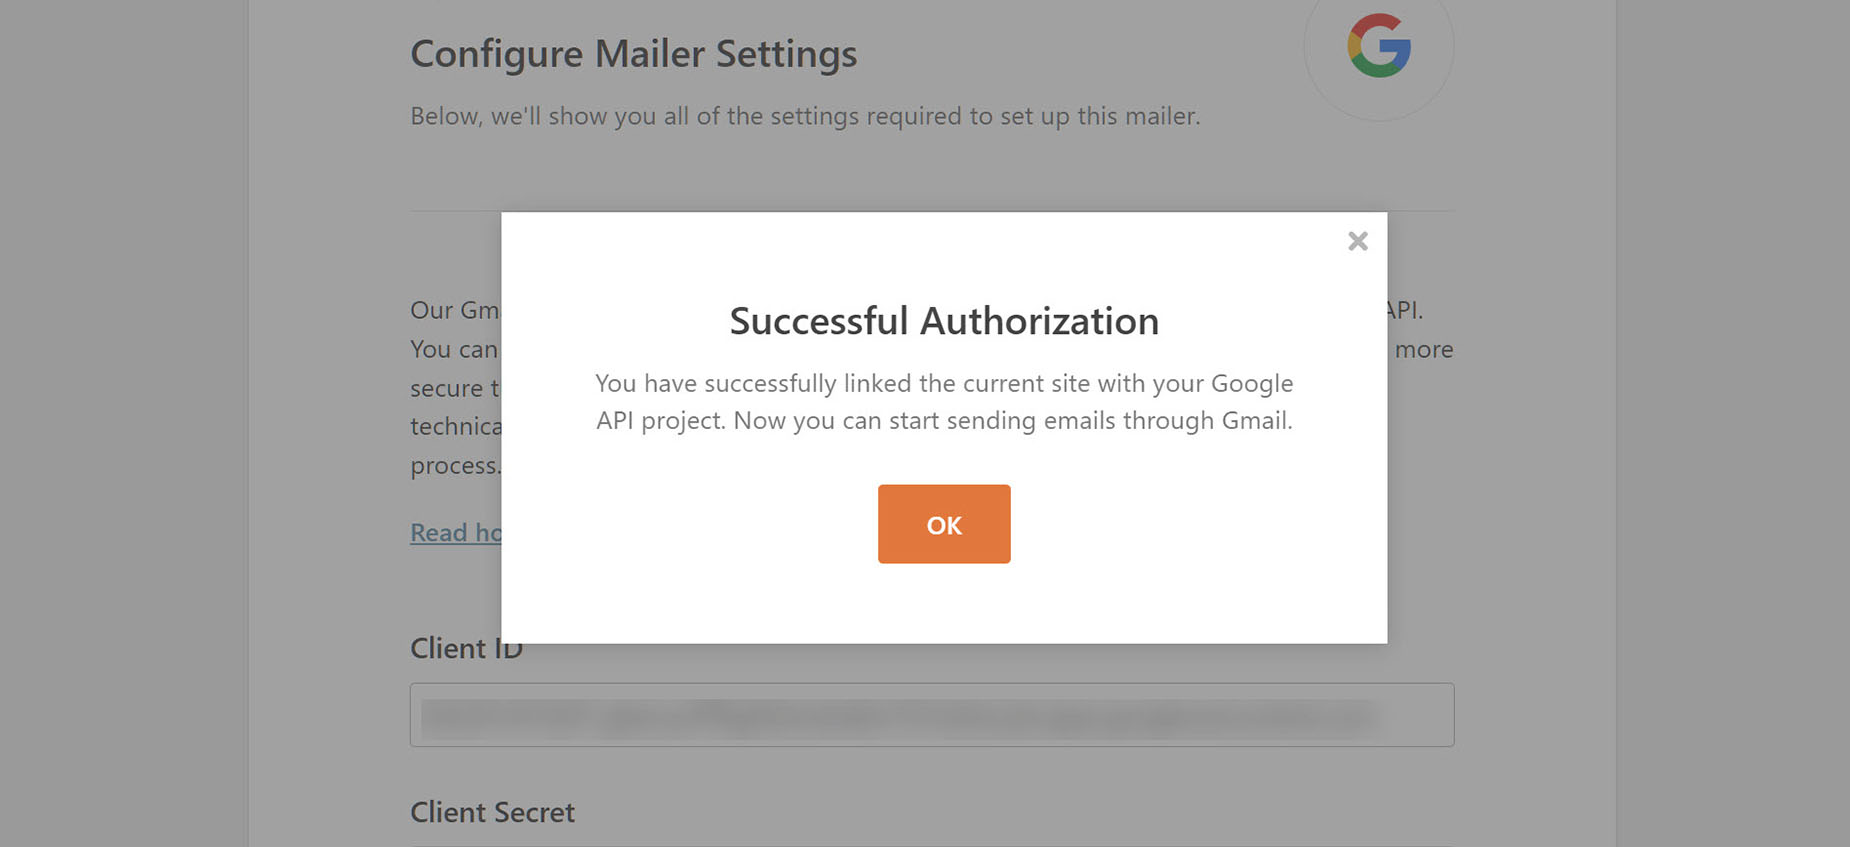
When you OK that, you will see the Authorization section at the bottom of the screen has expanded, and it is here you configure your email address.
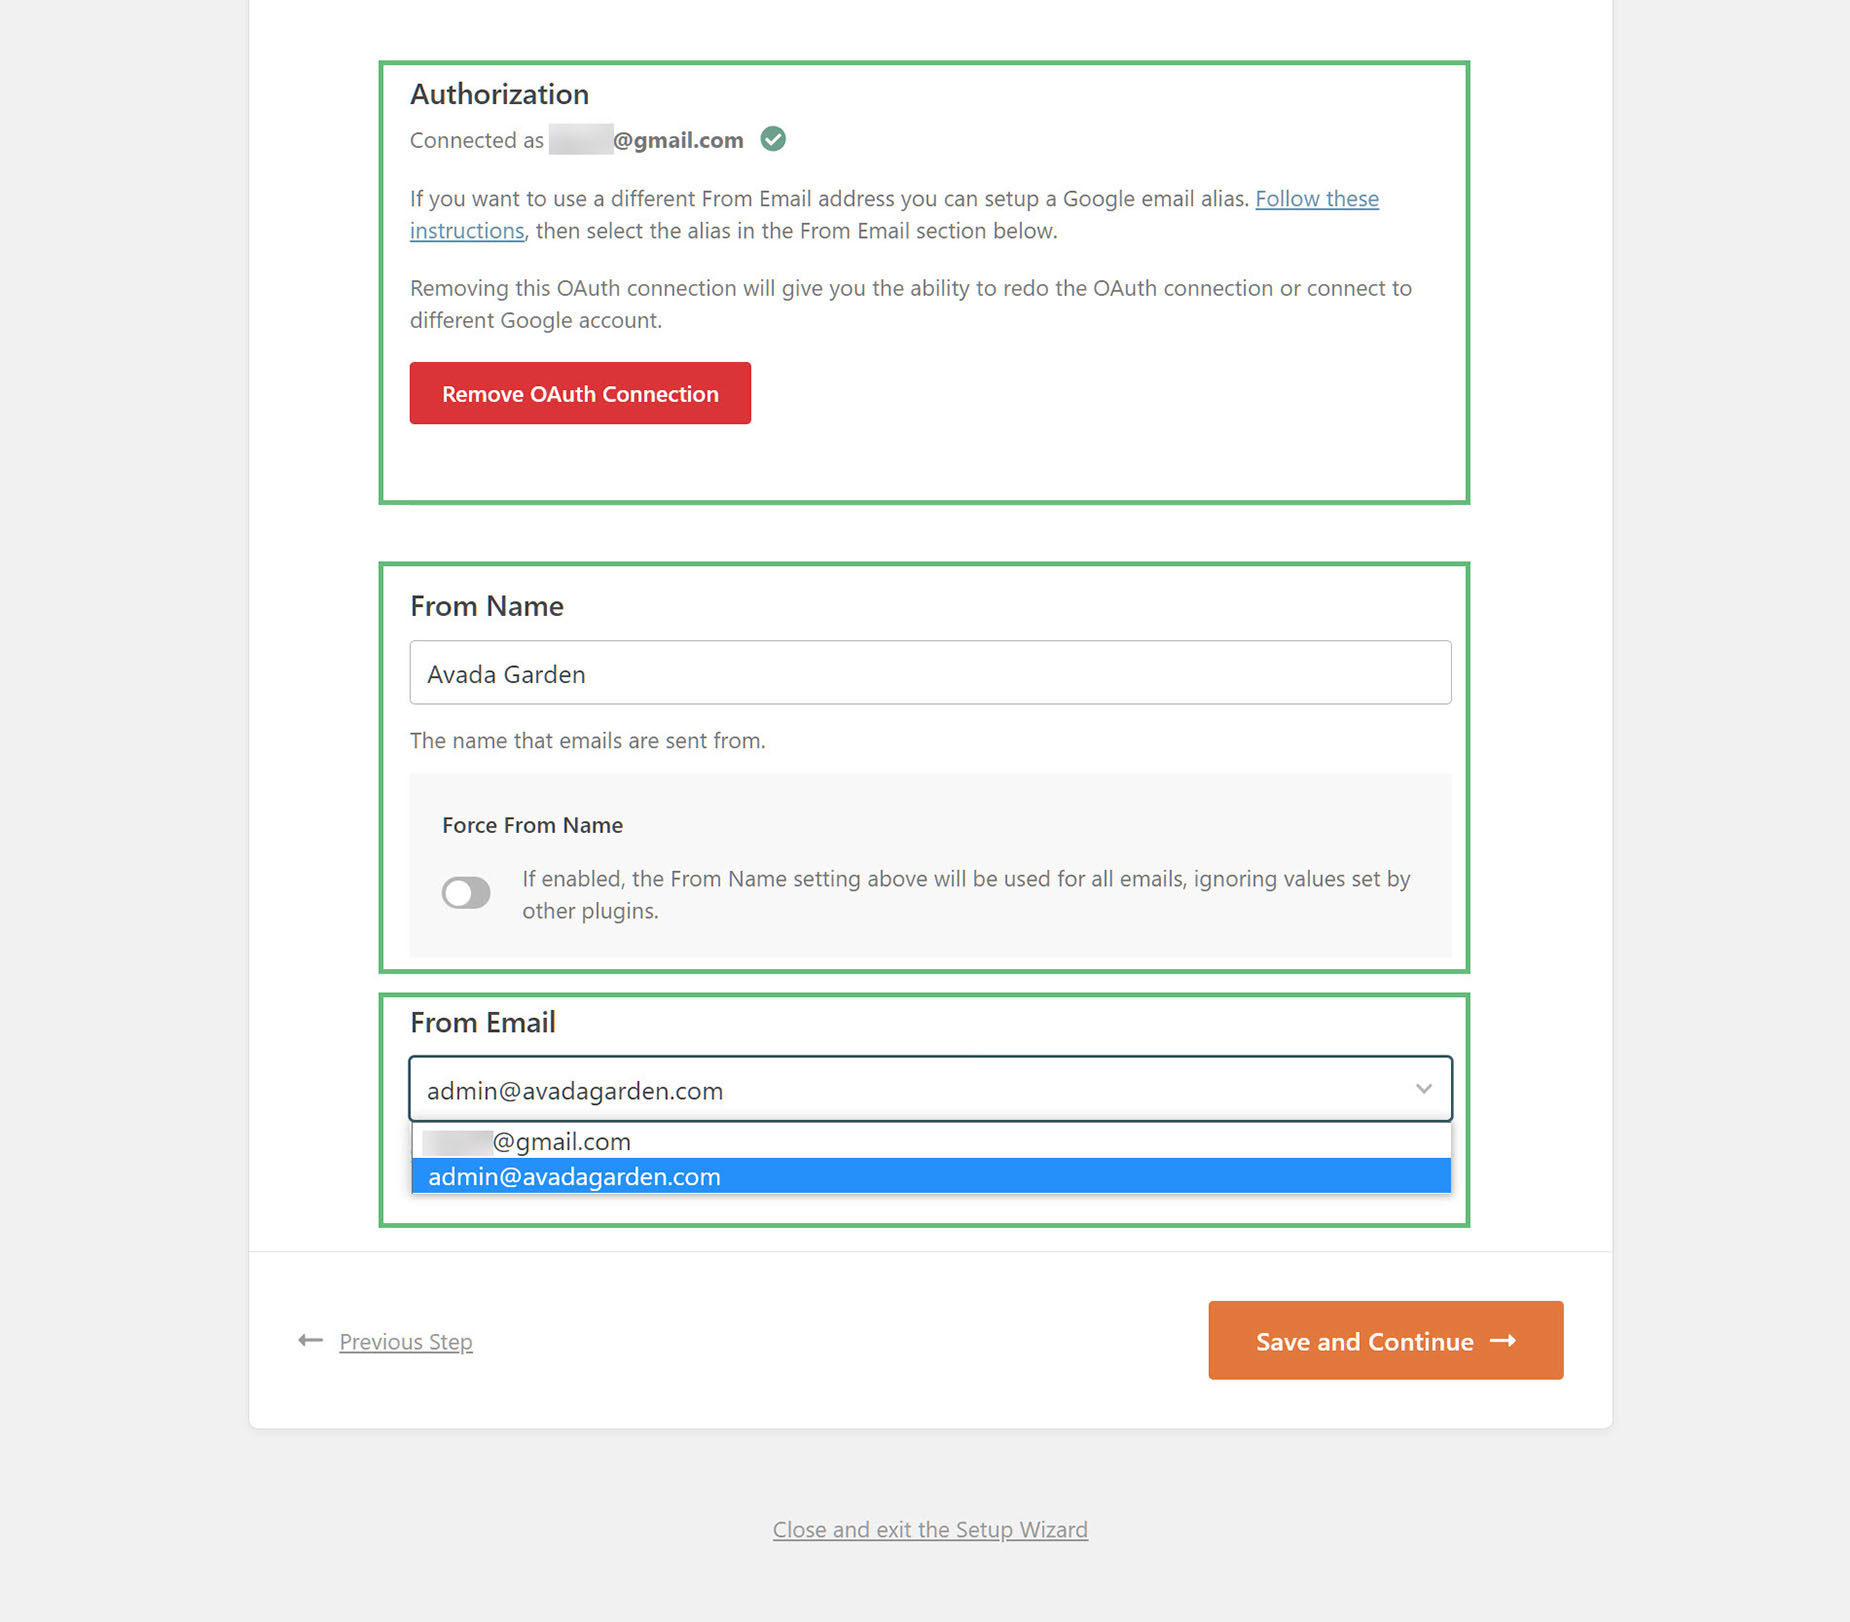
Authorization – Depending on whether you have connected to Gmail or a Google Workspace email, you might need to setup a Google email alias, so you can send emails from the domain email address. Again, you can find instructions on the WP Mail SMTP site on how to do this.
From Name – In the From Name field you can add whatever name you wish. In my example, I’m sending emails from a site called Avada Garden, and so that’s what I will call it here. There is also a Force From Name option to make sure that name is used by all emails leaving the site, regardless of other plugin settings.
From Email – Finally, at the bottom, the From Email field is where you select what email address the emails are coming from. Here, in my example, I would like my emails to be coming from admin@avadagarden.com and so I configured a Google email alias, as mentioned in the top section. Once I have done that, the email will be available to select from the From Email dropdown. Now I can move to the next step of the Wizard.
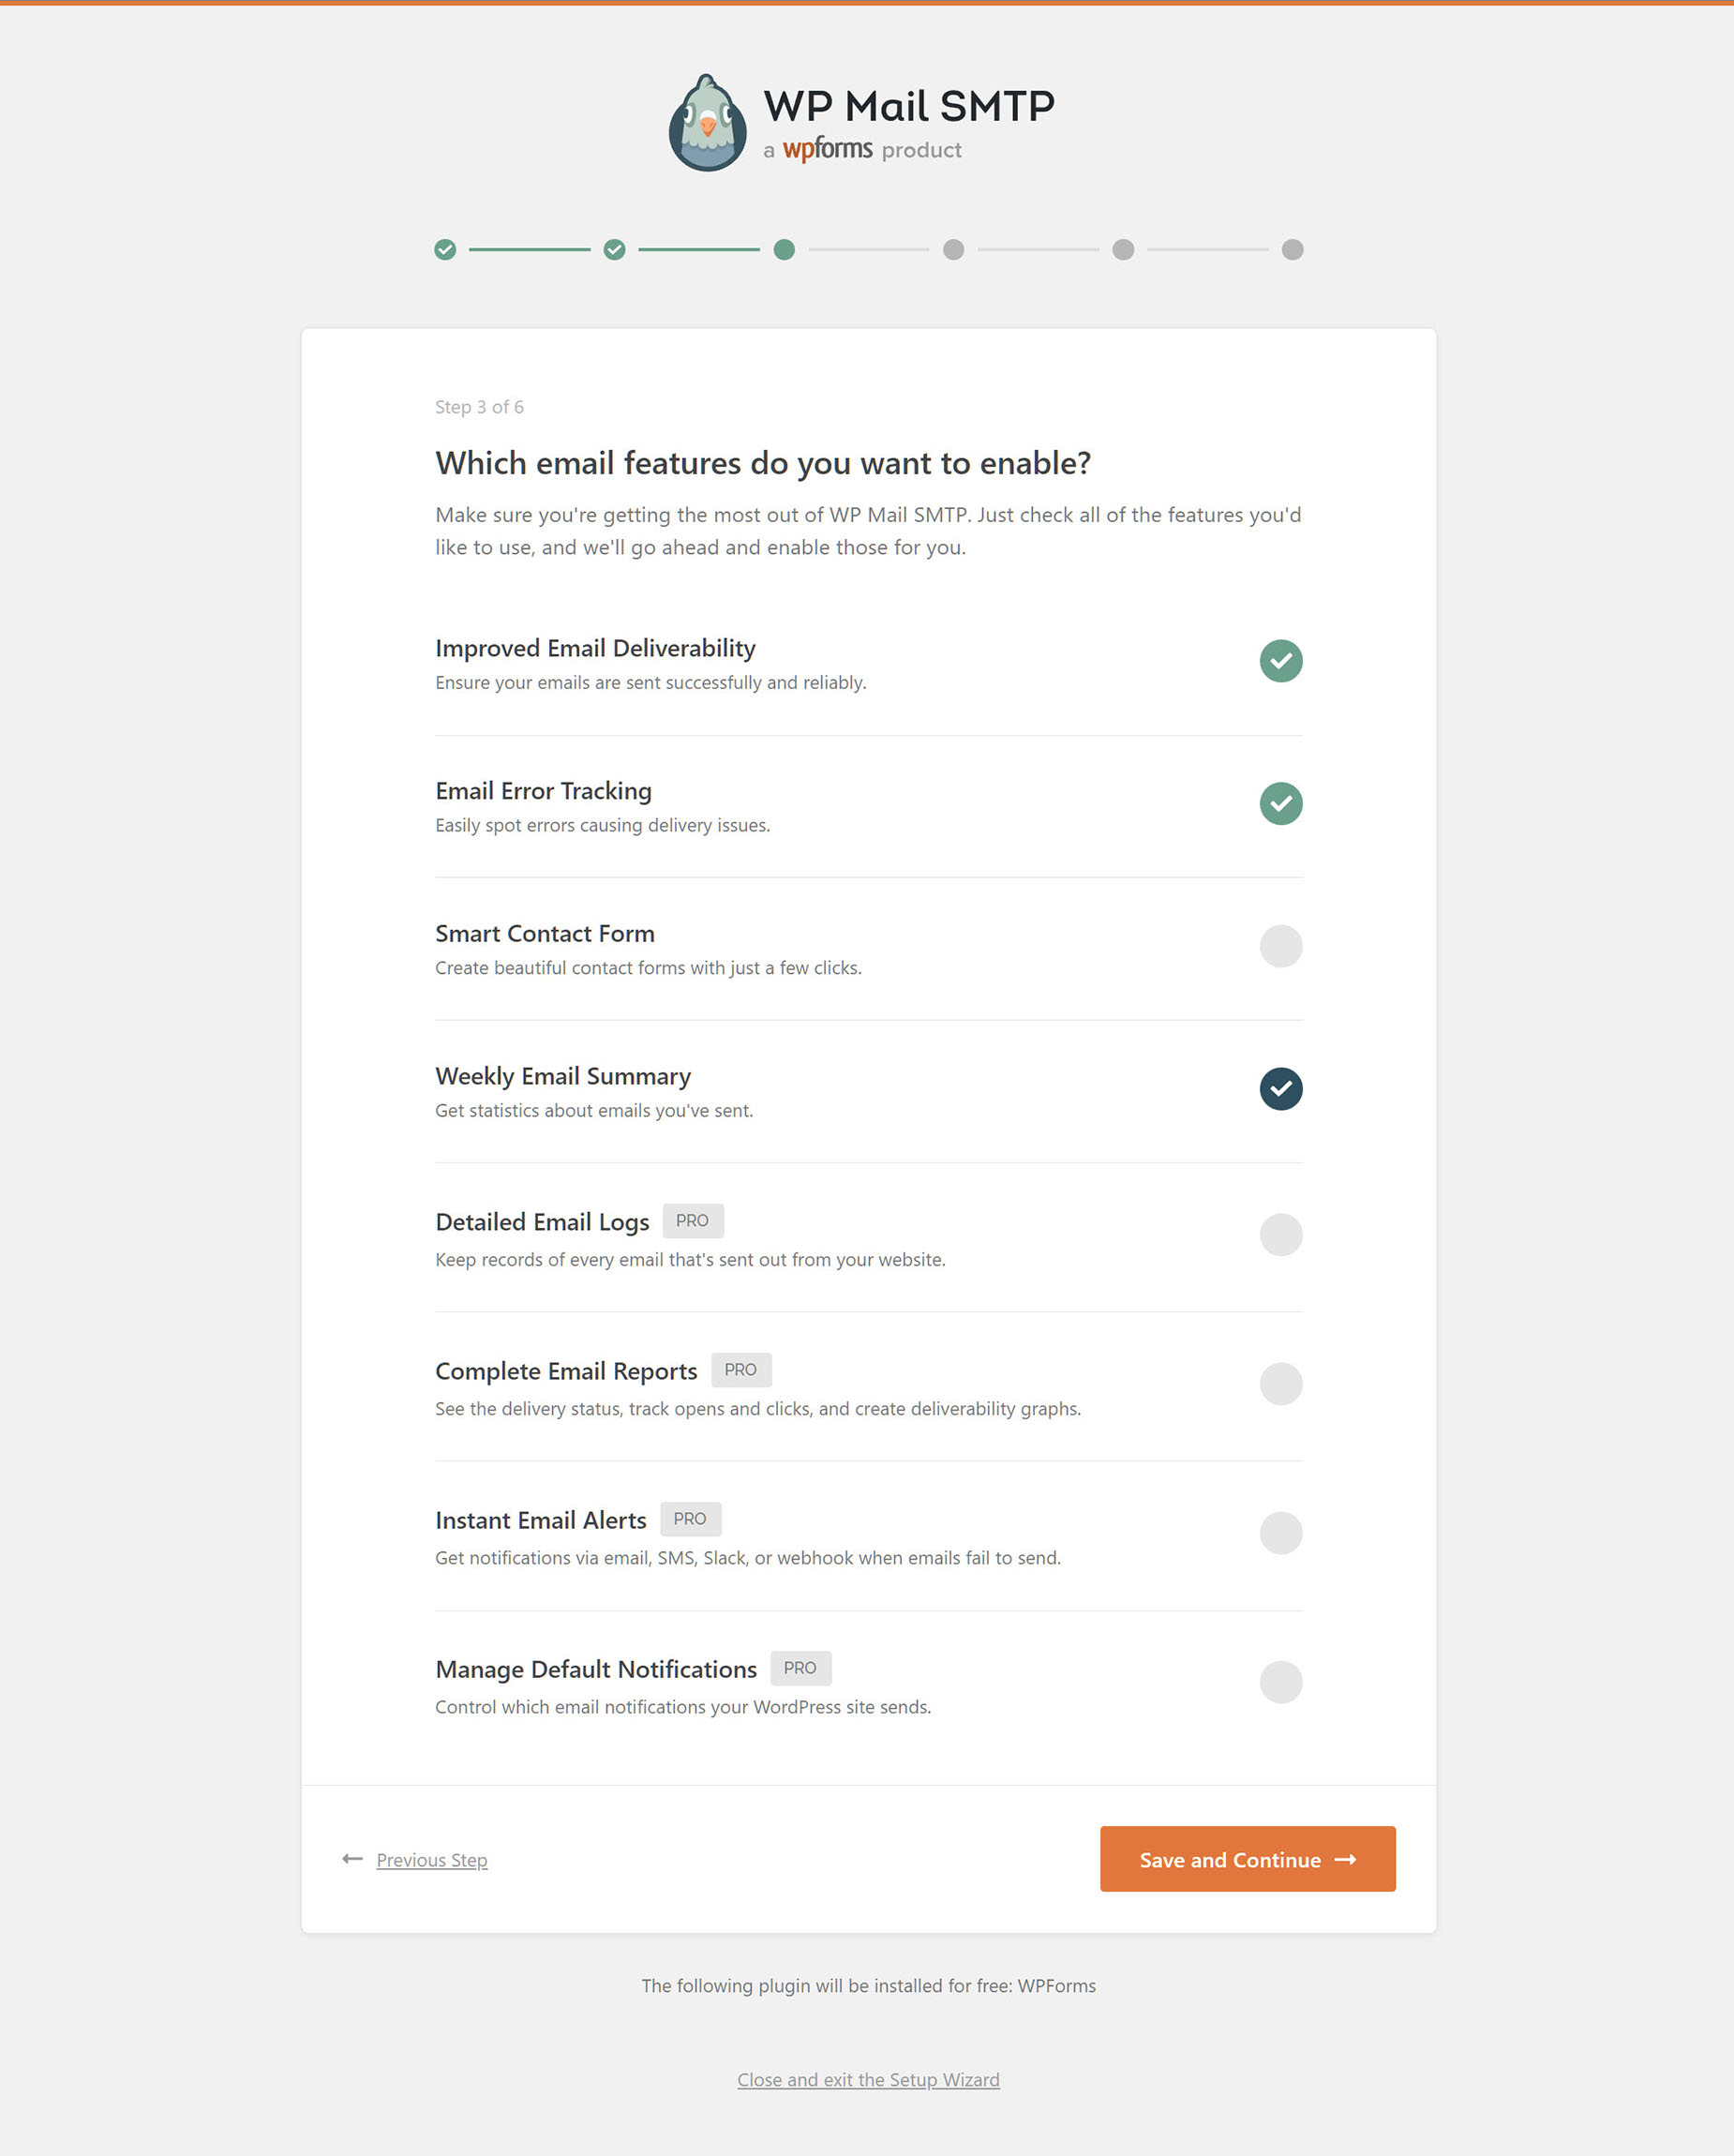
Email Features
The next step in the Wizard asks which email features you want to enable. Some of these are only available in Pro mode. For my example, I turned off Smart Contact Form, as Avada Forms will do the job there.
Promo Screens
The next two steps are basically Promo Screens, with the first on being a Newsletter & Tracking sign up, and the next being an upgrade to Pro promo. Both of these steps can be skipped.
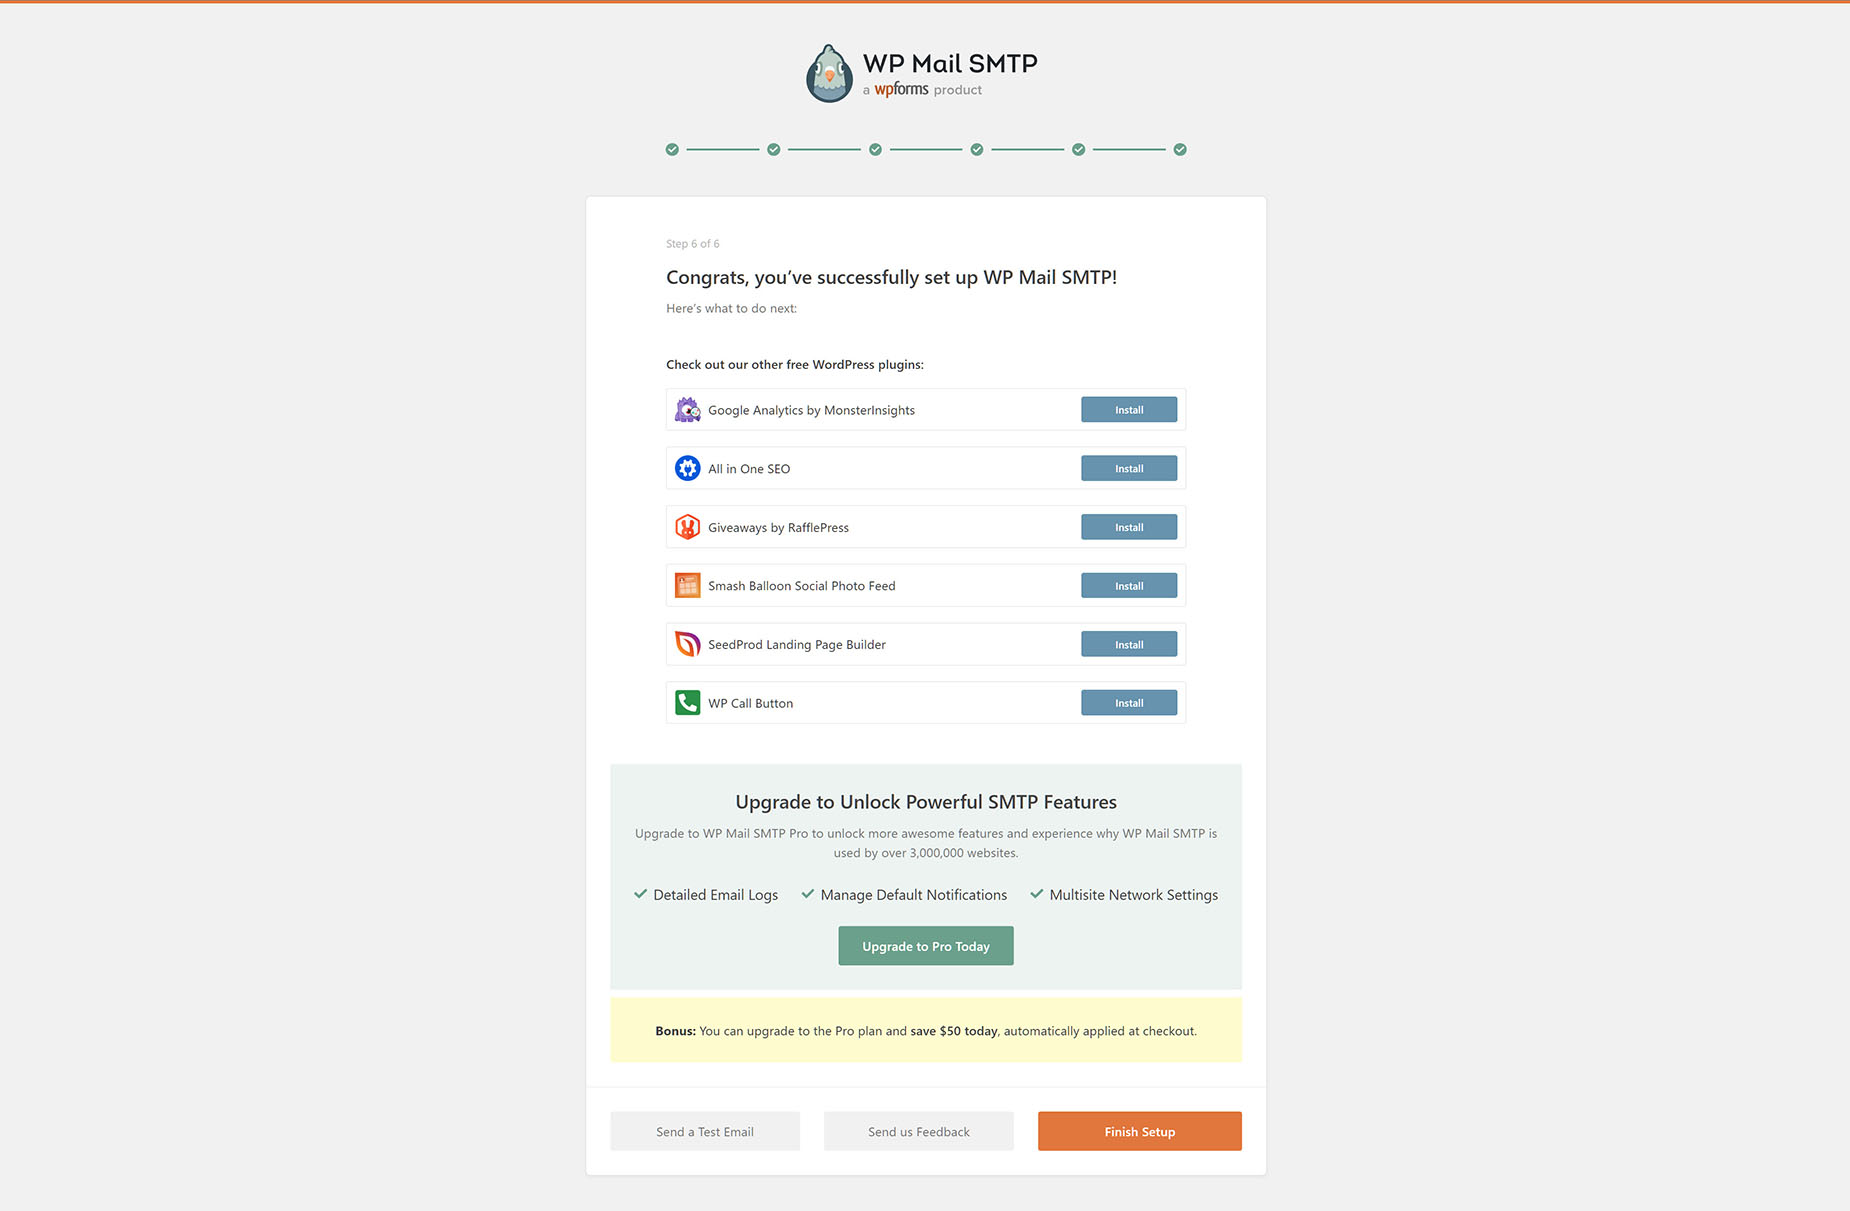
Last Step – Email Check
The final step of the Wizard sends a test email based on your configuration, and lets you know if the plugin has been successfully configured. If there are no configuration issues, you will see a screen like this one, shown below.
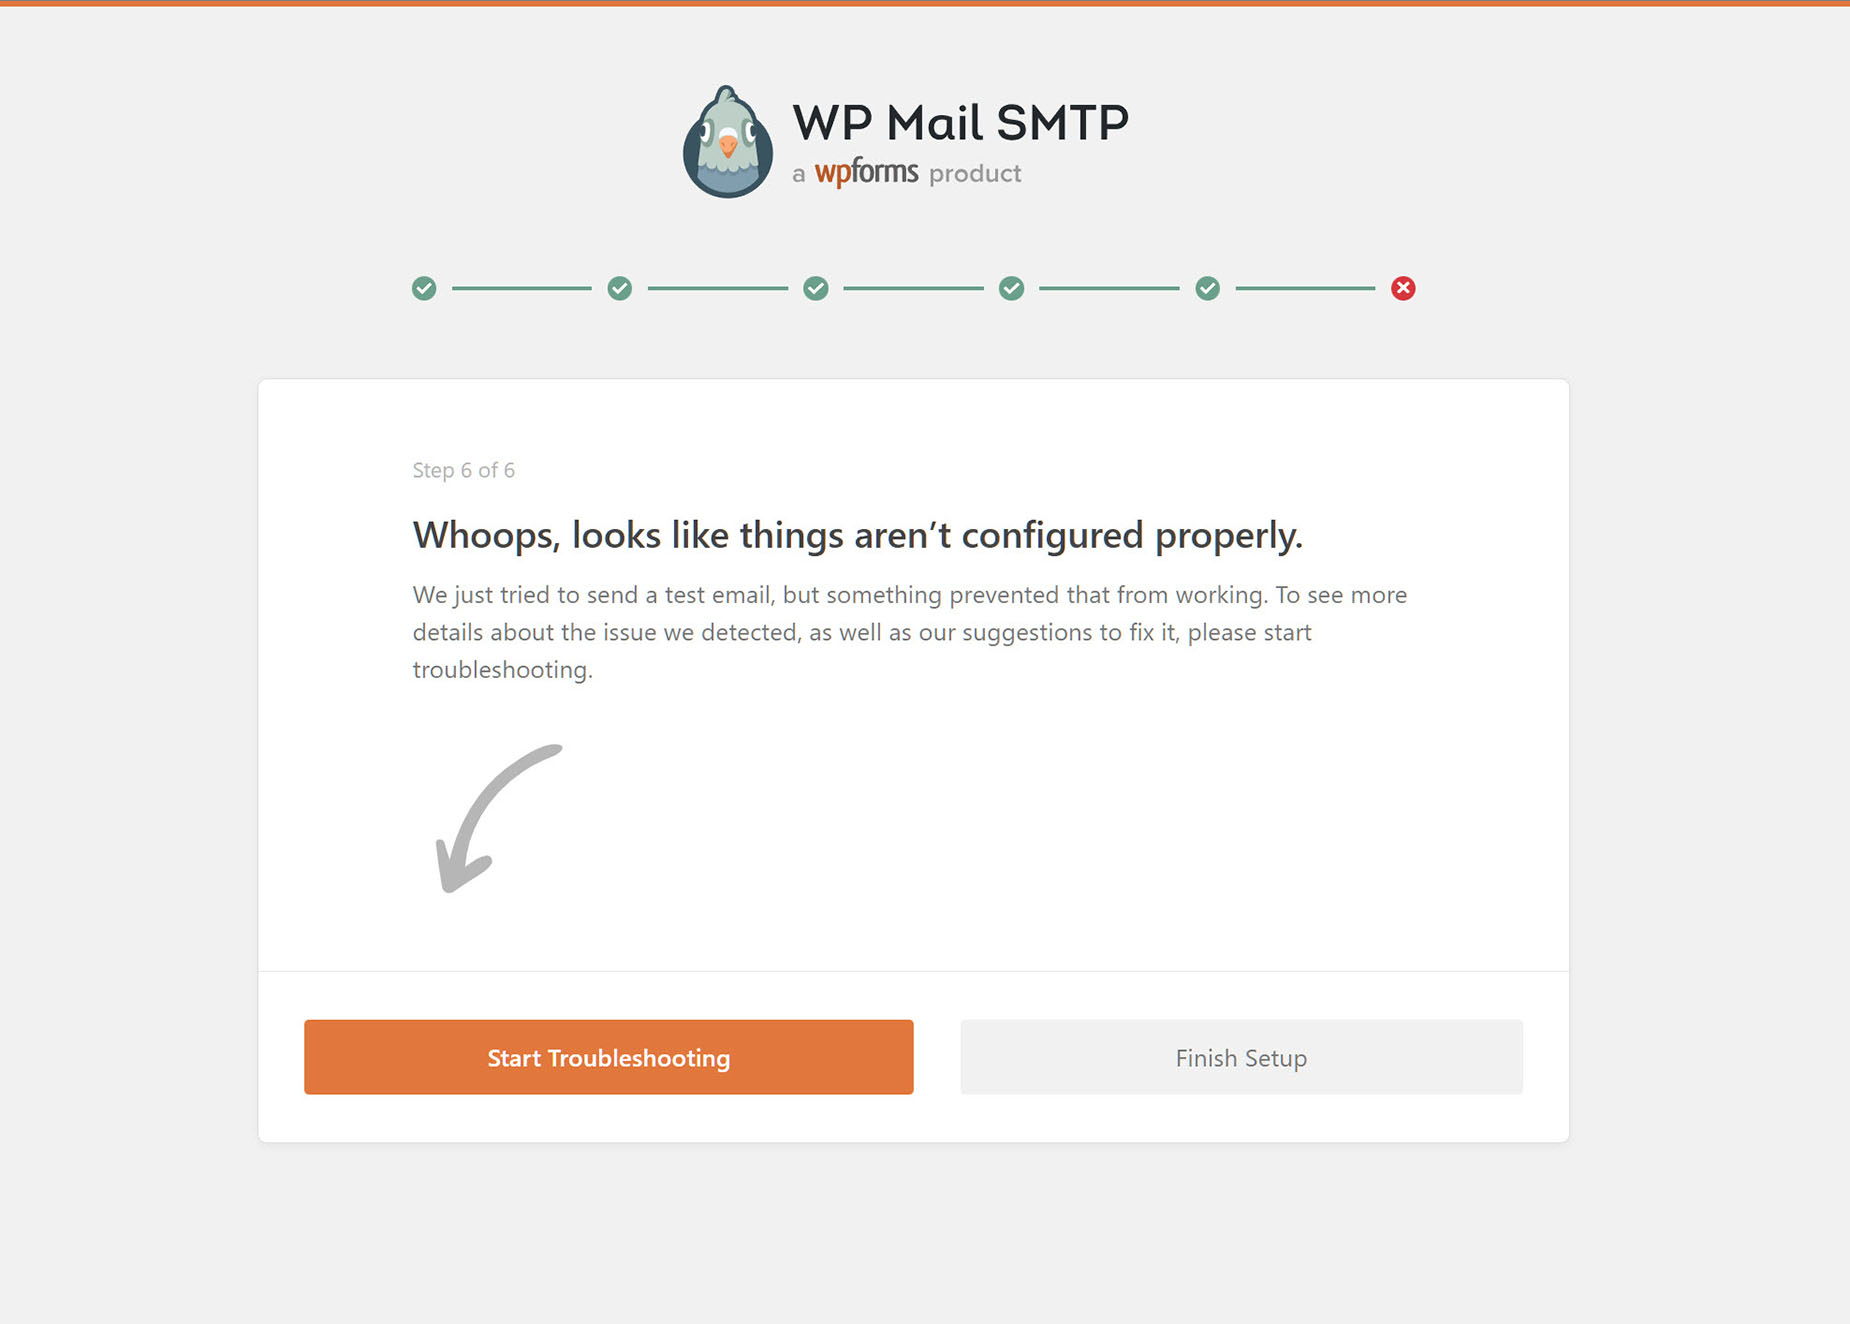
Troubleshooting
If there are configuration issues, you instead see a different screen, from where you can click on a Start Troubleshooting button, to see what the issues are.
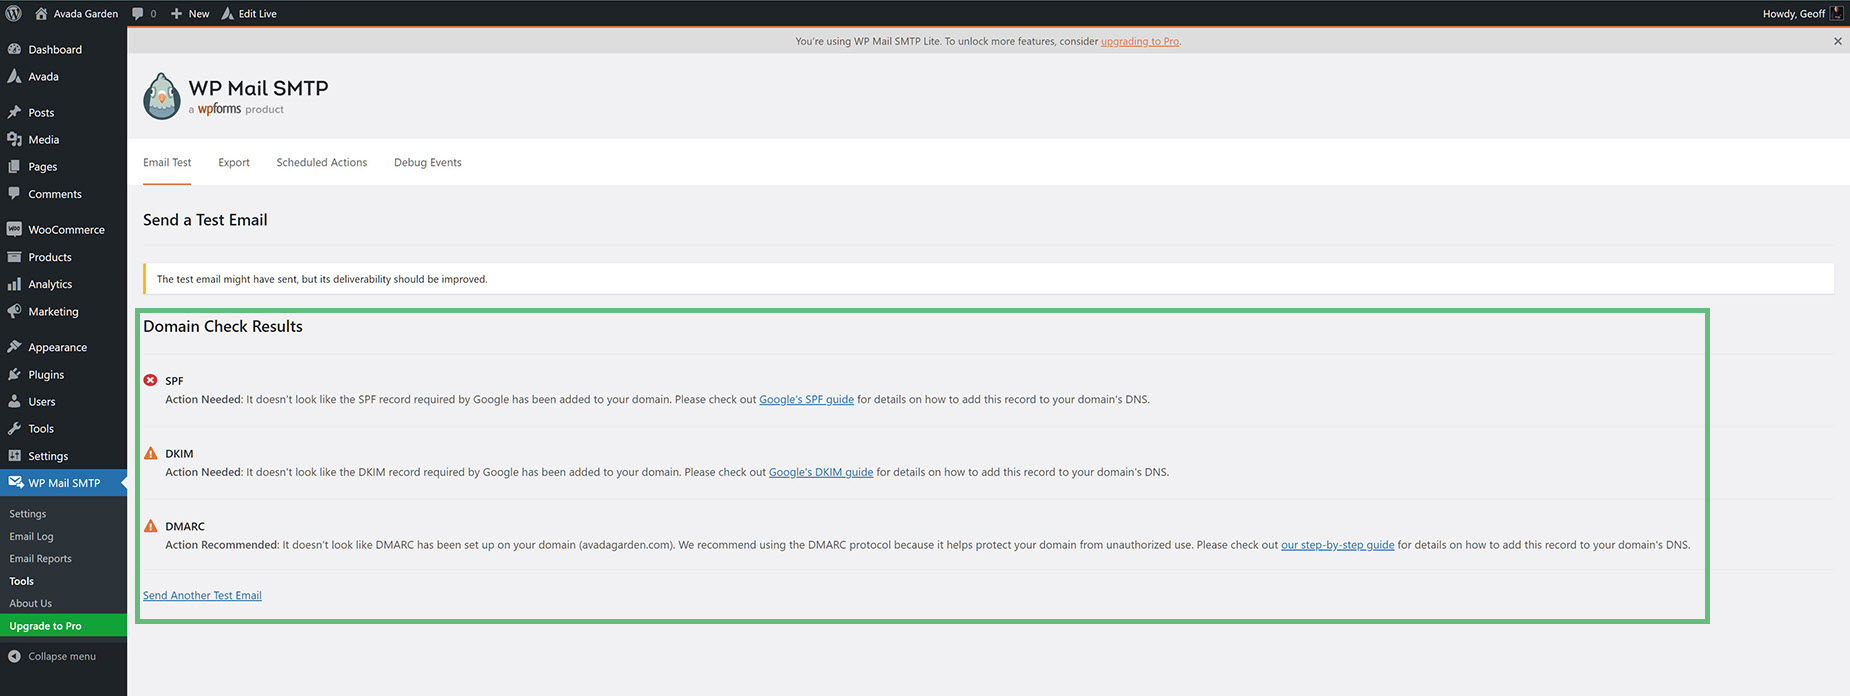
The results of the Troubleshooting appear on the plugin Email Test page, as seen below. In this example, it’s letting me know that the test email might have sent (they did), but its deliverability should be improved.
The Domain Check Results show that here are SPF, DKIM, & DMARC records missing from the domain’s DNS records. Depending on your domain name and hosting situation, you might need to update these records at either your domain registrar or through the Zone Editor on your hosting cPanel. This is unfortunately out of the scope of Avada’s support so please contact your hosting comany or domain registrar for more details.
Once the records have been updated, you will need to wait for them to be propgated. This often takes 12 hours or more. But once they are propgated, you can send another test emai from the link on the bottom of the Email Test tab, and hopefully your domain check results will be looking better!
That’s it. Now you have a properly configured SMTP email solution, and you can be confident that your emails are getting to where they are meant to be going.


