How To Create And Map Custom Data In Mailchimp
Last Update: November 30, 2025
The information you collect through your forms is saved in Mailchimp audience fields and tied to a unique label, called a merge tag. You can then use merge tags to insert personalized or dynamic content into the campaigns you send.
This is somewhat different to Mailchimp Tags, which you can assign to a contact, or Mailchimp Groups, which users join by selecting their preferences. See the How To Use Mailchimp Tags With Avada Forms, and the How To Use Mailchimp Groups With Avada Forms documents for more information on those features.
But in this document, let’s look at how you can use Avada Forms and Mailchimp together to map custom data into your Mailchimp contacts.
Setting Up Your Audience fields and Merge tags
Audience Fields are data added by you or collected from contacts through a form. They are custom fields that you create to store different types of data about each contact. Examples of this include first name, last name, and birthdays. They are a flexible way to store data about contacts. You can then use these fields as Merge Tags in your campaigns, personalising your emails. You can also add your own Merge tags and then add them to your Avada Form to collect any other data you like.
You add audience fields and merge tags from your All Contacts Page in Mailchimp. Just go to Settings > Audience fields and *|MERGE|* tags.
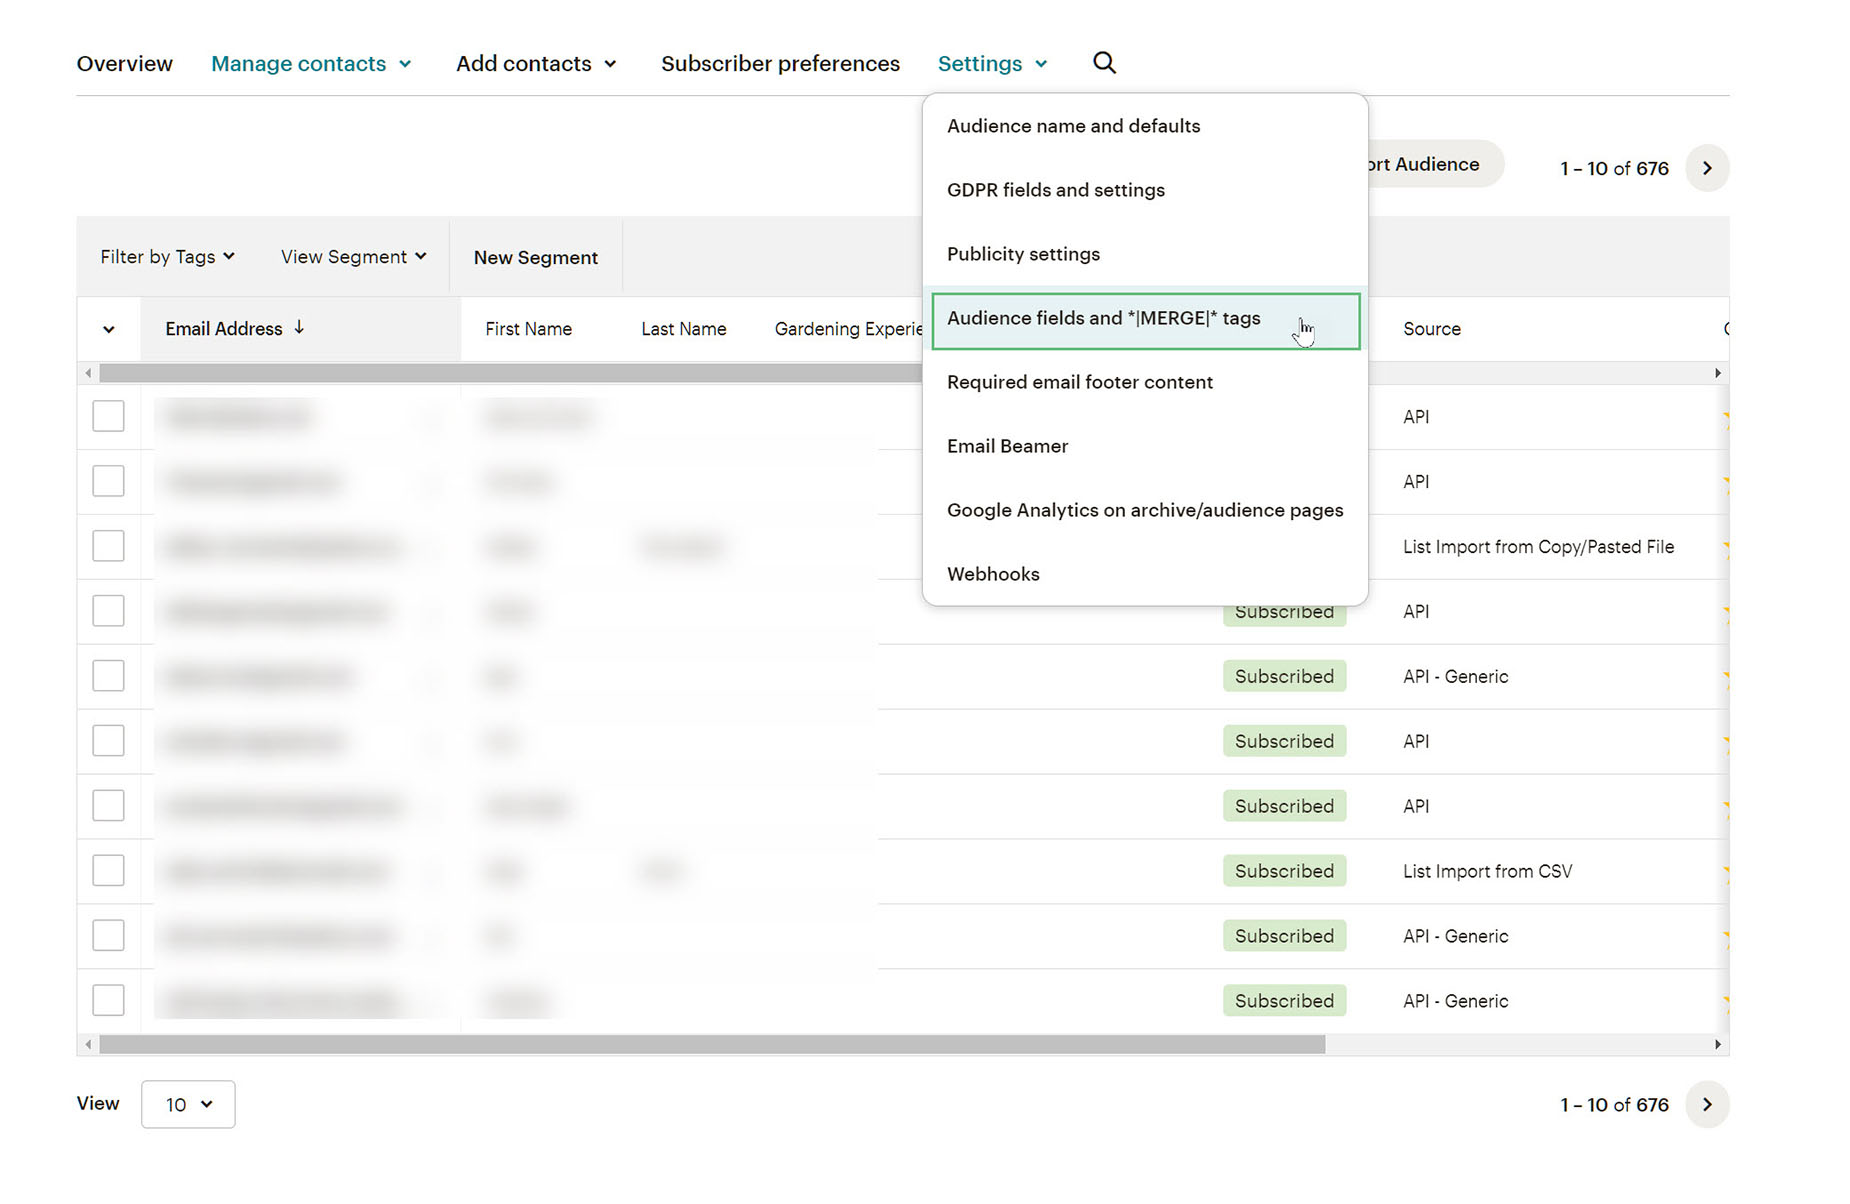
On this page, you can add a range of fields, from Text, Number, Radio Buttons, Drop Downs, Birthday, Address, Zip Code (US Only) Phone, Website, or Image.
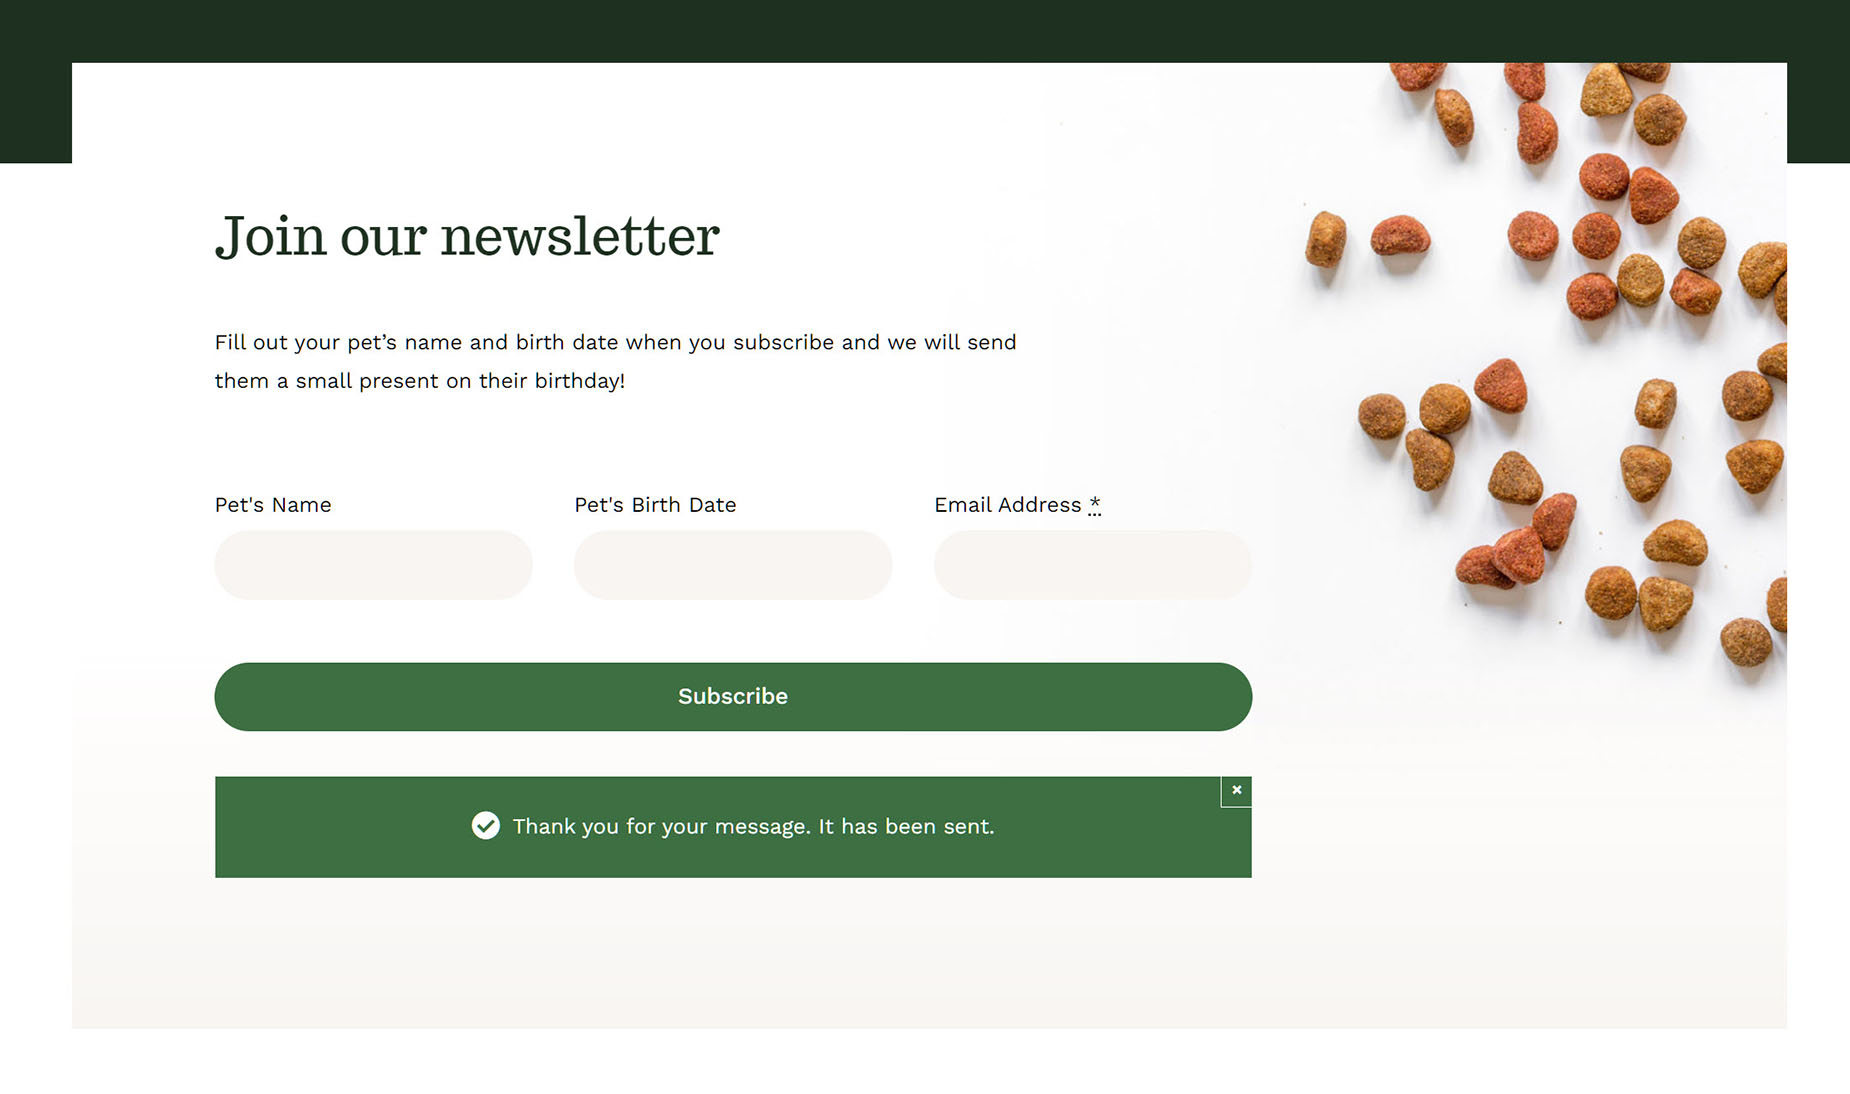
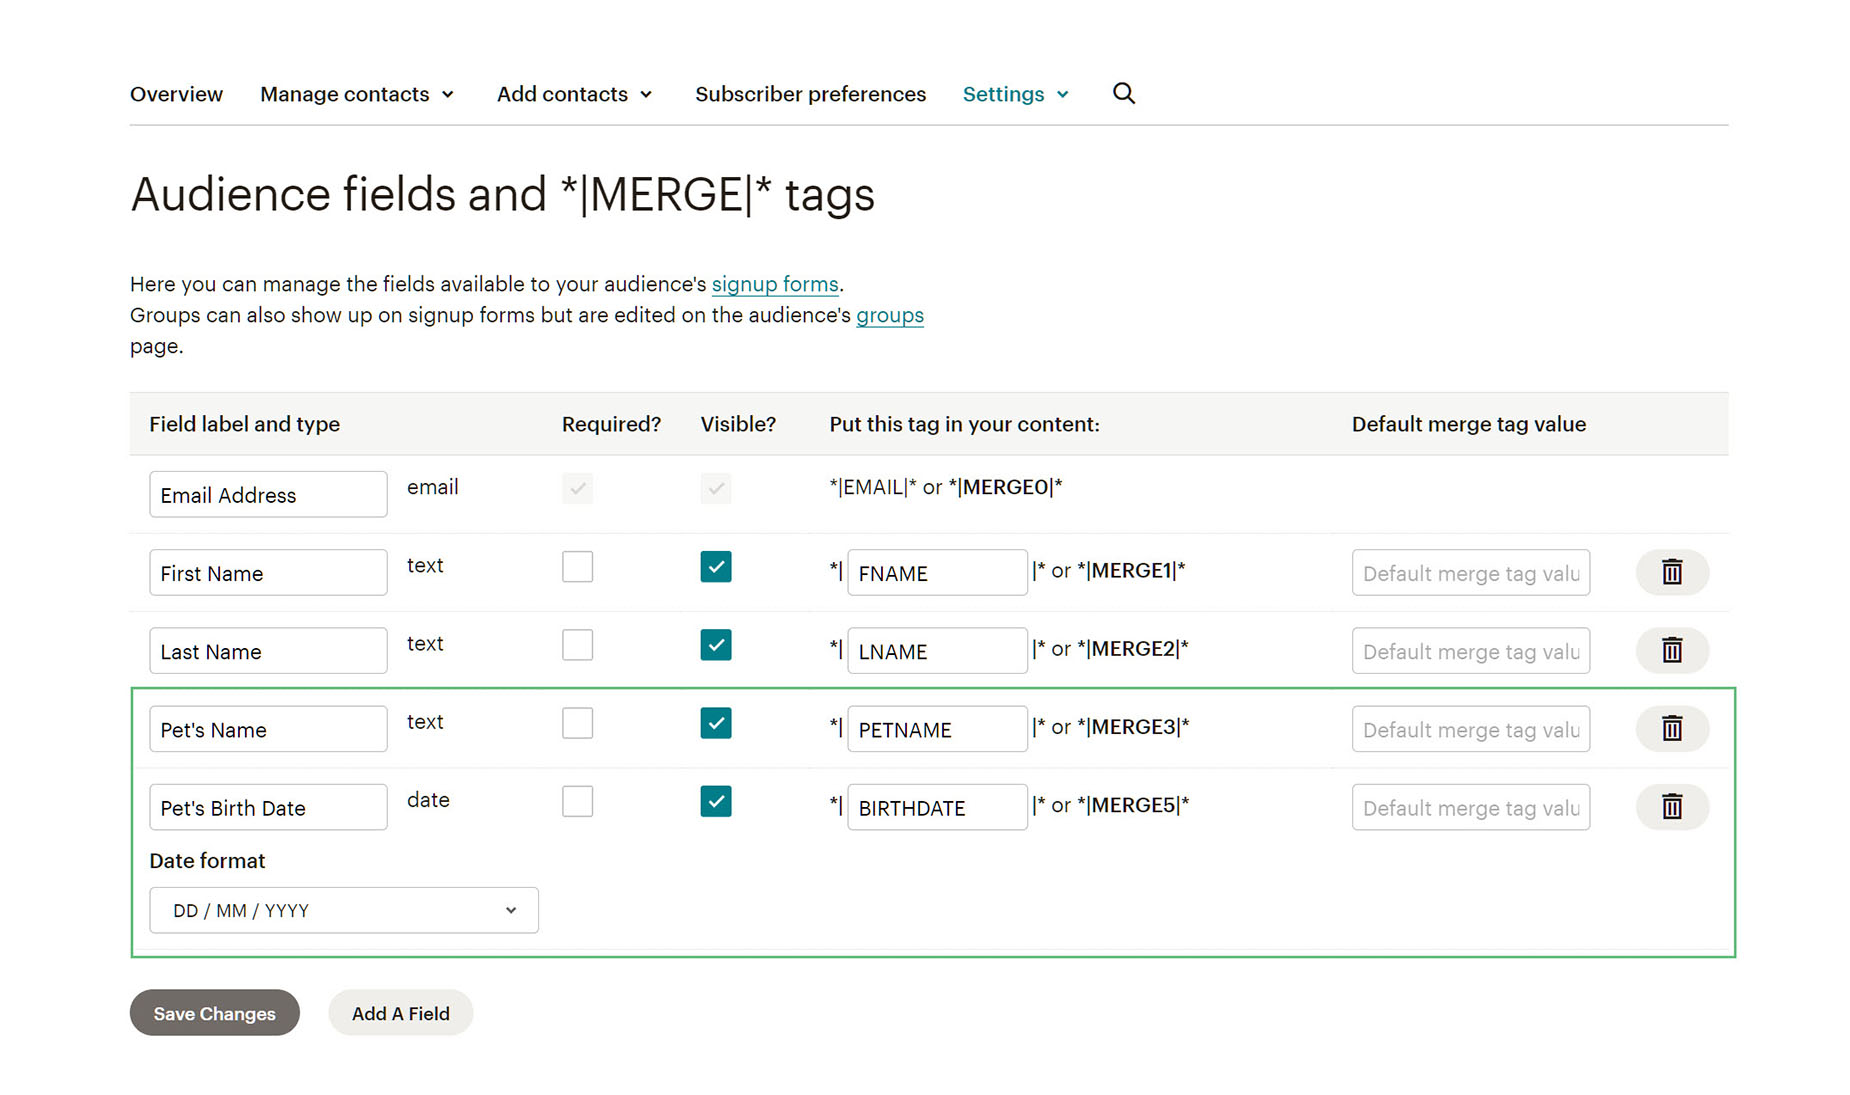
Let’s imagine we are a Pet Store, and we have set up two new fields in Mailchimp (a text field, and a date field) and with our form, we are going to ask or users to add their pet’s name and birth date. We will then use this information to send them a small present on their birthday!
Mapping the Custom Data to Mailchimp
Once we have our fields added in Mailchimp, we can set up our Form and then map the custom data to Mailchimp.
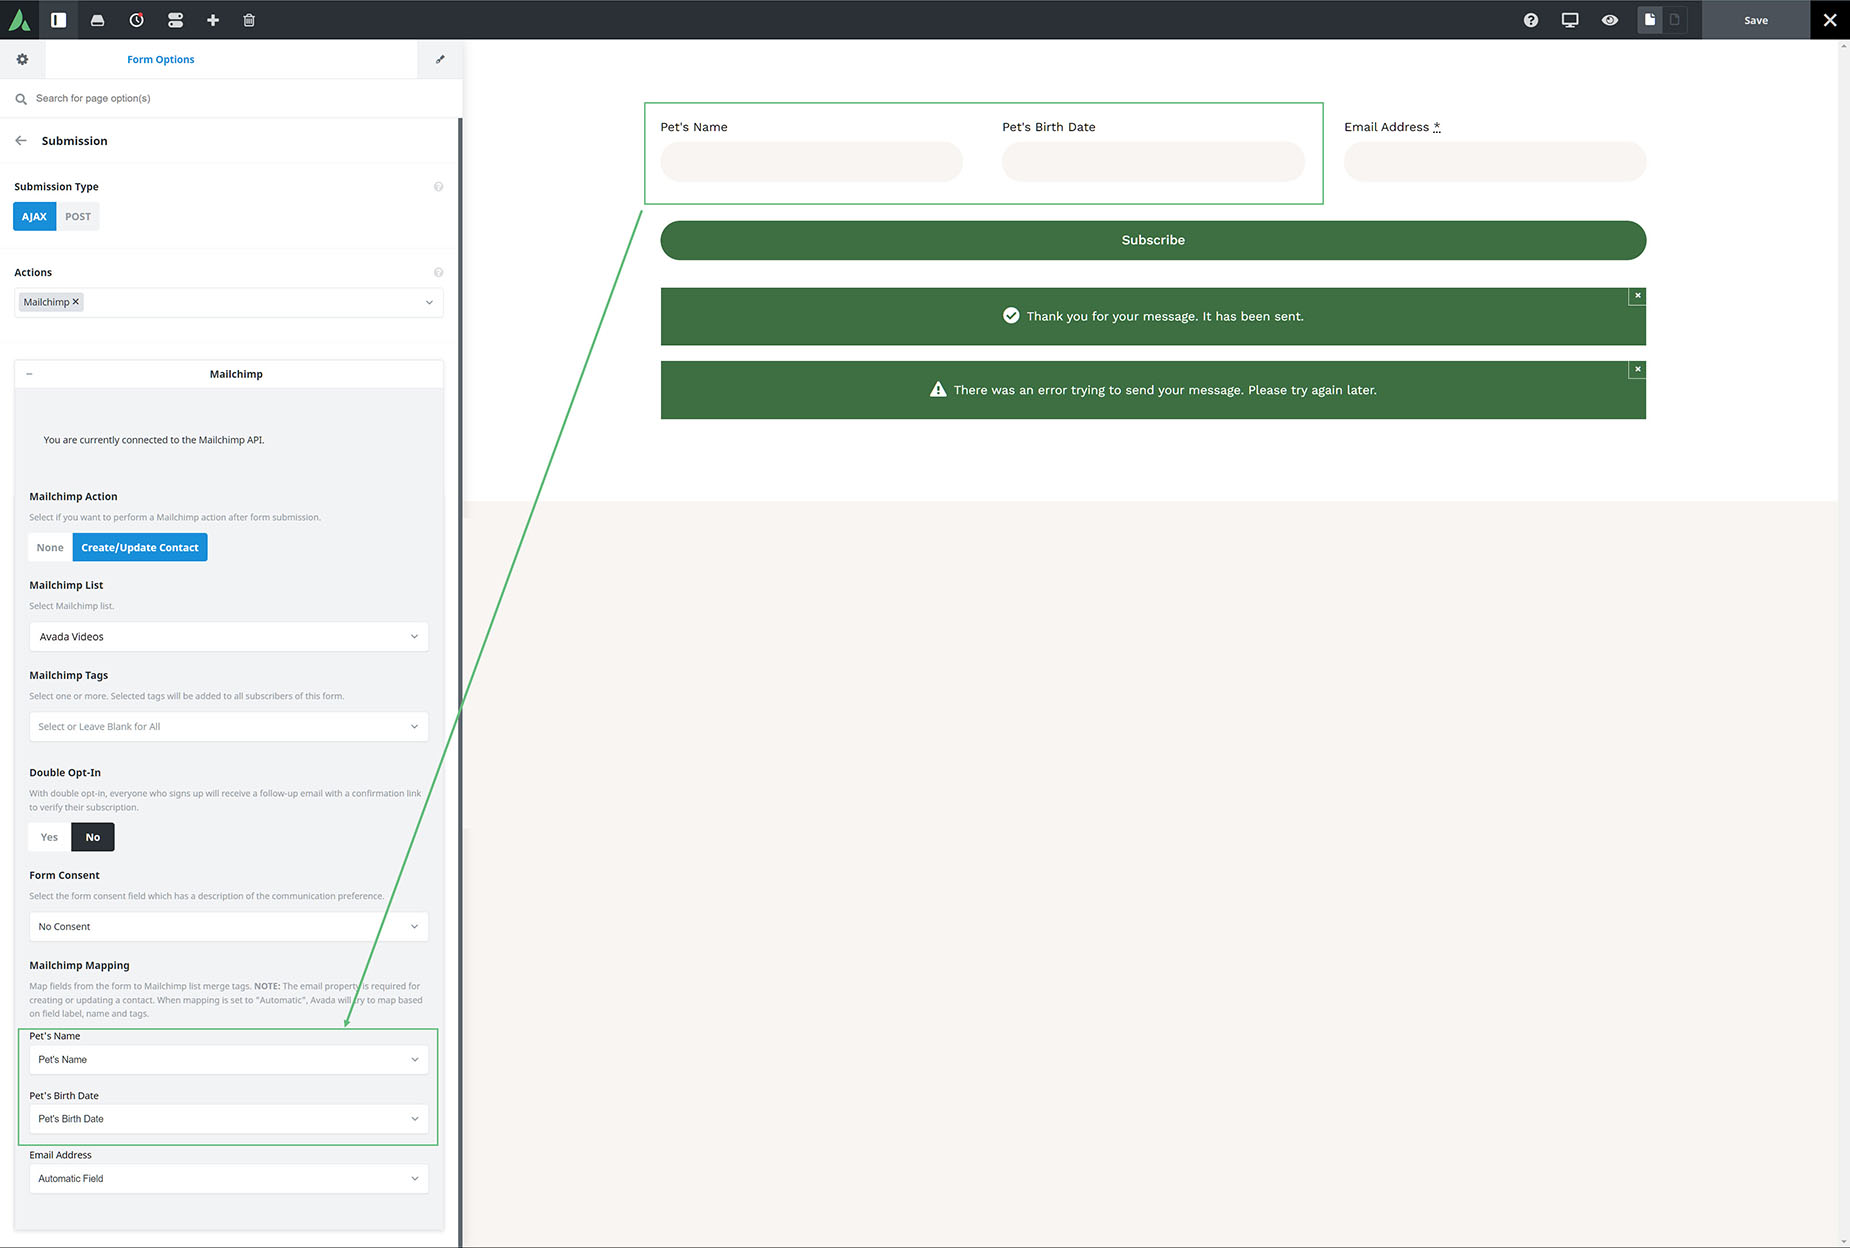
In the screenshot below we have a standard contact form, and I have added two extra fields, a Text Field Element, and a Date Field Element. Now we can map them to our Mailchimp contacts. This is done in the Form Options > Submission tab, as seen below.
The first step here is to make sure Avada Forms is connected with your Mailchimp account. See the How To Integrate Mailchimp With Avada Forms document for more information on how to do that.
Once your account is connected, head to the Form Options tab. Here, under Submission, your will see an Actions option. Select Mailchimp from the dropdown list.
You should then see a Mailchimp option set below this. If you edit this options set, you will see a Mailchimp Action option. Click on Create / Update Contact to continue.
Now, select the Mailchimp list you want to connect to. There are options for Mailchimp Tags, Opt-In preferences, and Form Consent, but the ones we want for this document are in the Mailchimp Mapping section. Note how there is now a Pet’s Name field, and a Pet’s Birth Date field.
These are the two field elements we added to the form. Now we just have to click on the dropdown here, and select the custom Mailchimp fields we added to map them to.
Form On The Front End
When the form is filled out on the front end, the user add’s their pet’s name and birth date as well as their email address, and on submission, these details are added to their contact in Mailchimp. You can then use this information in merge tags in your campaigns.