How To Create A New Page
Last Update: January 21, 2026
Creating pages is the foundation of creating your site. You can create any number of pages for your site and add as much content into them as you’d like. Avada also includes page templates which you can choose from, with each template fulfilling a specific function. Continue reading below to learn how to create a new page.
How To Create A New Page from the WordPress Dashboard
Page Templates
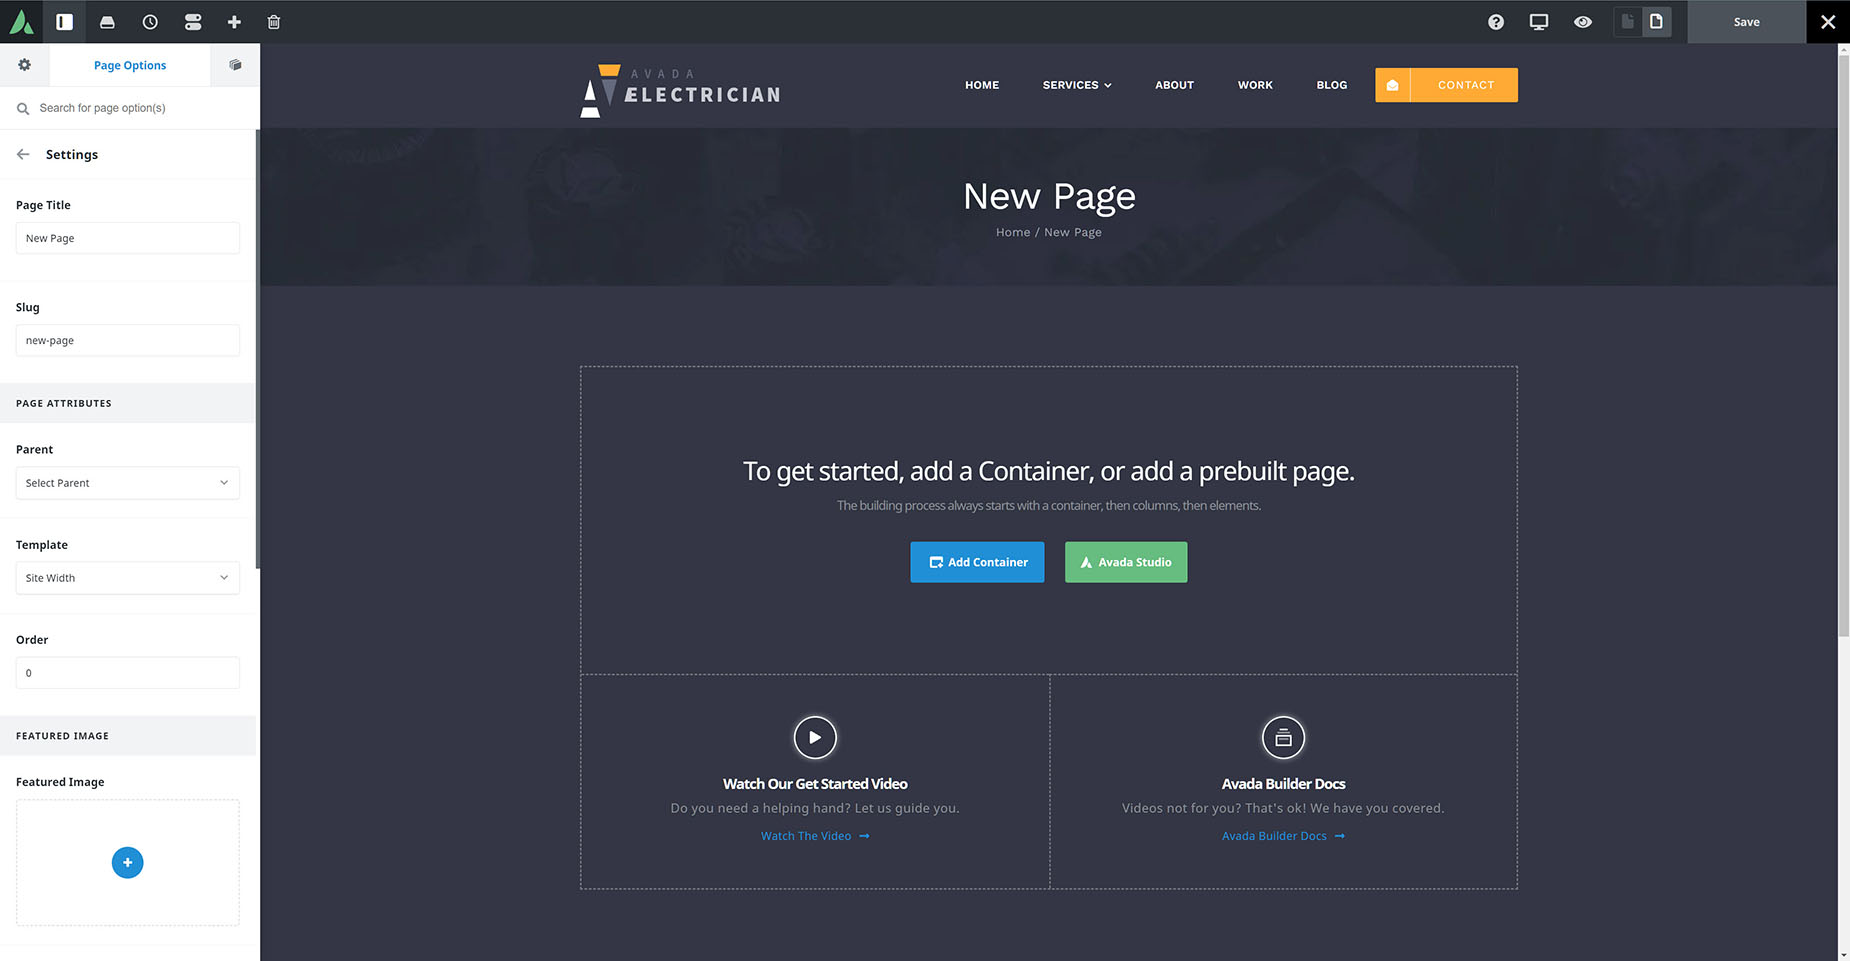
Page templates are templates that you can use to tailor the page according to your needs. For example, if you’d like a certain page to span the 100% of the browser width, then you would want to use the ‘100% Width’ page template. Learn more about each type of page template available and how to set them by clicking the button below.
How To Create A New Page in Avada Live