How To Set Up A Child Theme With Avada
Last Update: February 3, 2026
The main benefit of using a child theme is that it protects your customizations when the parent theme is updated. When Avada receives updates, the parent theme files are replaced, but your child theme files remain untouched. This makes child themes the recommended and safest way to customize WordPress themes, especially when adding custom CSS, PHP functions, or template overrides.
What Is A WordPress Child Theme?
A WordPress child theme is a secondary theme that inherits all the features, styling, and functionality of a parent theme—such as Avada—while allowing you to make custom changes safely. Instead of modifying the parent theme directly, you add your custom code, styles, or template changes to the child theme.
If you modify code directly in a parent theme and then update it, your changes will be lost. Always use a child theme if you intend to modify core code. Child themes can be used for a variety of purposes, such as custom CSS, template modifications, and custom PHP functions and hooks.
There are a couple of methods to modify a child theme. Child themes don’t guarantee that an update of custom code on the parent theme will not require further maintenance. This is especially true if you copy files from the parent theme to your child theme.
How To Download A Child Theme
If you intend to use a child theme to modify Avada, you can download and install the child theme via your Themeforest marketplace account. The “Avada Full Package” includes a WordPress child theme, and installing and activating it is the same as installing Avada. Please follow the detailed steps below on how to download and install the Avada child theme.
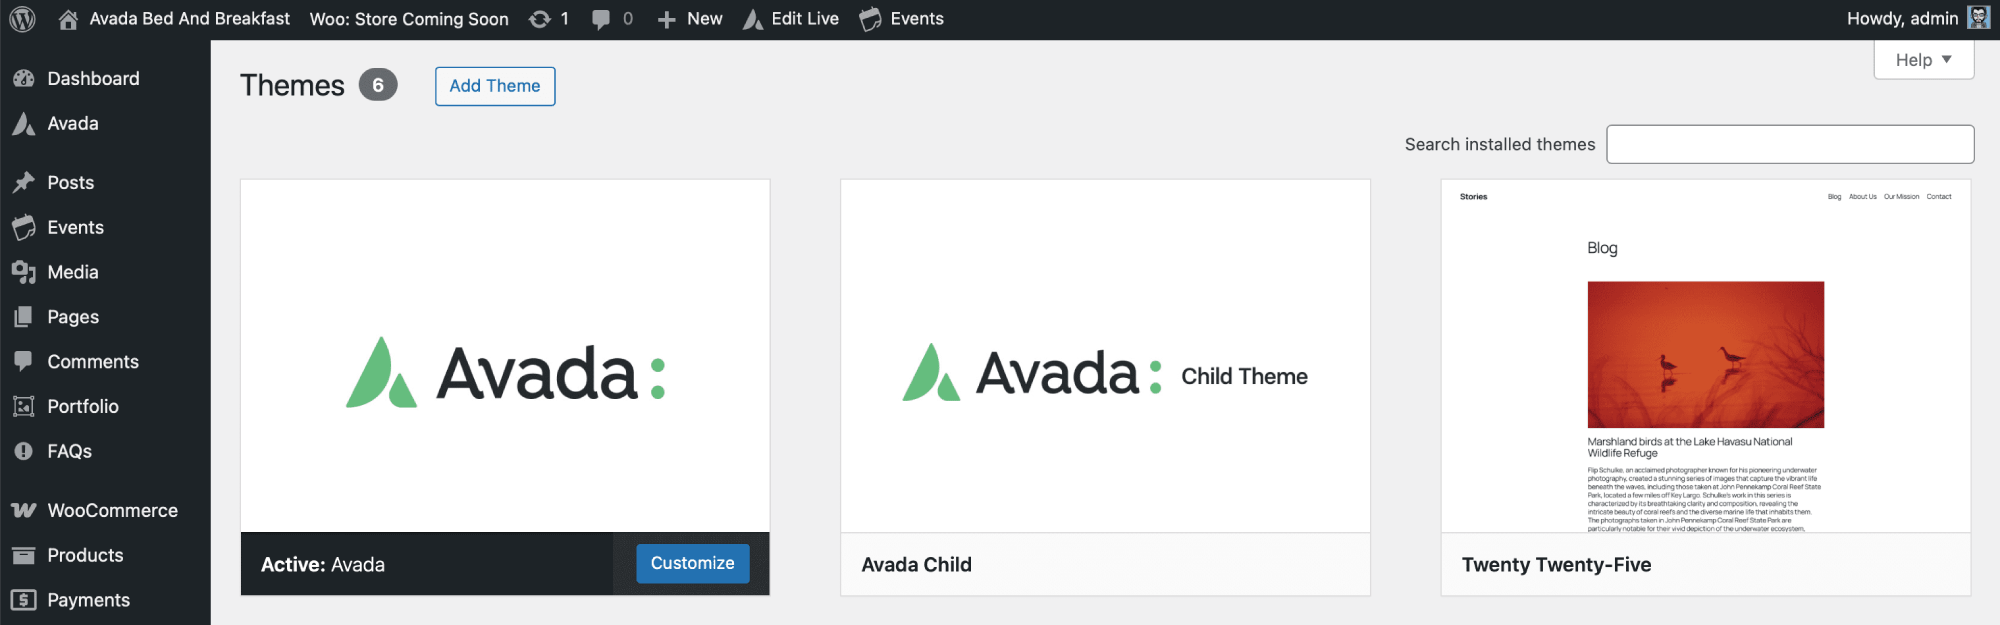
Avada Includes A Child Theme

How to Manually Create a Child Theme
To manually set up a WordPress child theme, the basic idea is to create a small “wrapper” theme that tells WordPress to load the parent theme first, and then apply your custom styles or code on top. This keeps your customizations safe when the parent theme updates.
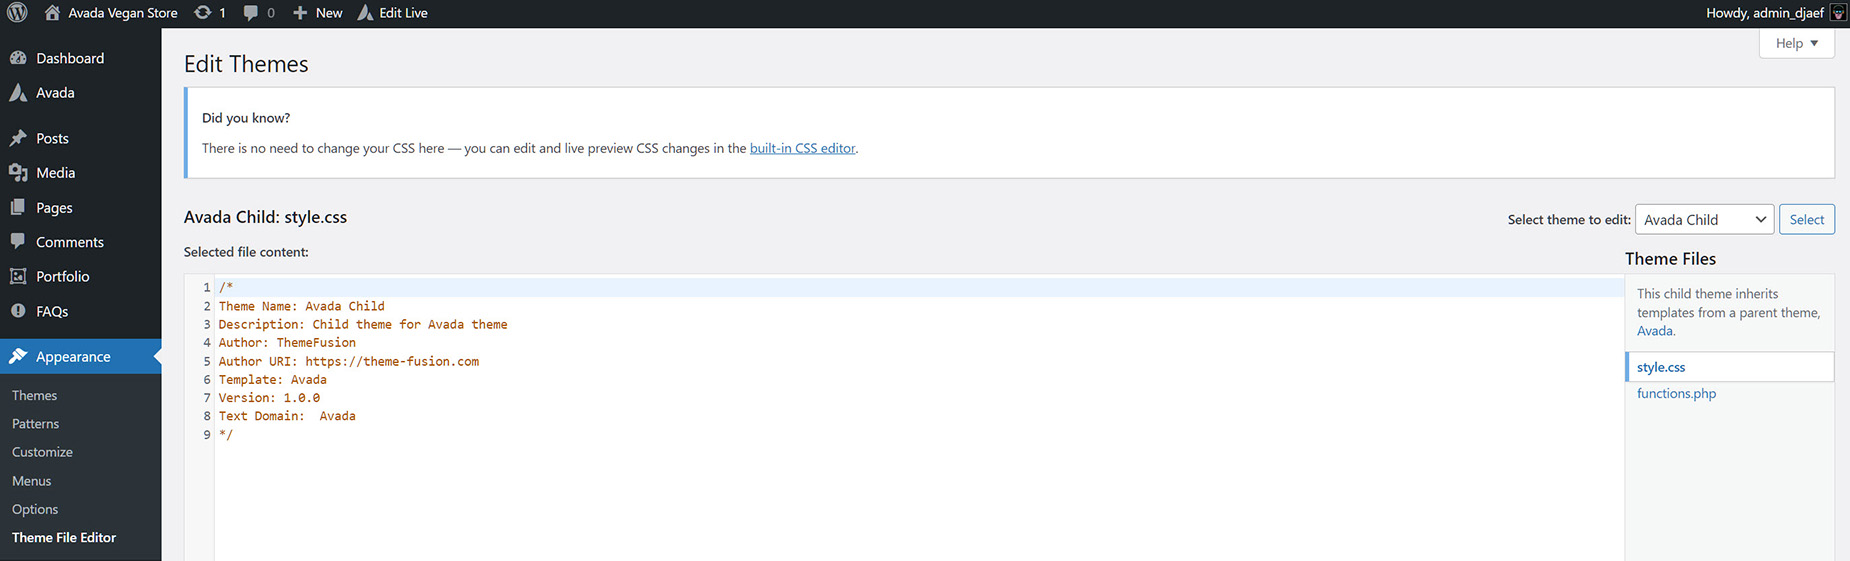
Start by connecting to your site’s files using a file manager in your hosting control panel or an FTP tool such as FileZilla. In the /wp-content/themes/ folder, create a new folder for your child theme with a clear name, such as “avada-child” (words must be lowercase). Inside that folder, create a file called “style.css”. This file must include a special header comment that identifies it as a child theme and points to the parent theme.
For Avada, the parent folder name is typically Avada, so the Template line needs to match that folder name exactly. Here’s what the top of “style.css” file should look like:
Next, create a “functions.php” file (words must be lowercase) in the same child theme folder. This file enqueues the child theme’s stylesheet (and any other scripts you add later). Add the following code:
Once those two files are in place, go to your WordPress Dashboard, navigate to Appearance > Themes, and you should see your child theme listed. Activate it, and your site will continue to use Avada’s design and features, but now any custom CSS you add to the child theme will apply safely.
From there, you can start adding custom styles in style.css, custom functionality in functions.php, or even override specific template files if needed.
How To Edit A Child Theme
Once you have uploaded and activated the child theme, you can make your file edits using the Appearance > Theme File Editor option or a plain-text editor such as Notepad or similar. By default, a child theme has only a style.css (CSS) file and a functions.php (Code) file.
Methods Of Modifying The Child Theme
There are several methods you can use to modify a parent WordPress theme using a child theme, and we’ll be explaining 3 methods below. These methods are copying files from a parent theme, pluggable functions, and actions and filters. To learn more about each one, please continue reading below.
Method 1: Copying Parent Theme Files
Copying parent theme files into a child theme is a common way to make code customizations. This is the easiest method available, but it has limitations. Due to these limitations, we recommend copying only the files in the templates folder from the parent theme into the child theme.
Method 2: Pluggable Functions
WordPress pluggable functions are core WordPress functions that are designed to be safely overridden by themes, child themes, or plugins. They exist so developers can change or extend certain default WordPress behaviors without editing core files, which would otherwise be overwritten during updates.
These functions are loaded conditionally, meaning WordPress first checks whether a function already exists before defining its own version. If a theme or plugin defines the function earlier in the loading process, WordPress will use that version instead of the default one. This is commonly used for authentication, user management, cookies, and email behavior. For example, functions related to user login, password resets, or sending emails can be customized this way.
Pluggable functions provide flexibility while keeping WordPress update-safe. However, because they affect core behavior, they should be used carefully and only when necessary. In many cases, hooks and filters are the preferred approach, but pluggable functions remain an important tool when deeper customization is required.
Example of a function override
Let’s assume that you want to change the rendering of the Avada Page Title Bar. You can override the “avada_get_page_title_bar_contents” function, which is located in → /avada/includes/custom_functions.php file. The function definition looks like this:
Copy the function into the child theme functions.php file. This will override the parent theme’s version. Once done, you can add/modify it to meet your needs.
Method 3: Hooks (Actions and Filters)
WordPress actions and filters are part of WordPress’s hook system, which allows developers to change or extend how WordPress behaves without modifying core files. They are one of the main reasons WordPress is so flexible and update-safe, because they let themes and plugins interact with WordPress at specific points during execution.
Together, actions and filters enable you to customize nearly every aspect of a WordPress site in a clean, controlled way. They are the preferred method for extending WordPress functionality because they keep your changes modular, reusable, and fully compatible with future updates.
A simple example would be changing the image size generated for blog large layout thumbnails in Avada. The correct way to re-register within the child theme is to use “after_setup_theme” action in the child theme functions.php file. Remove the image size, then re-register it as shown in the example below:
Example of an Action
Resources
If you’d like to learn and read even more about child themes, please follow the links below.


