Share
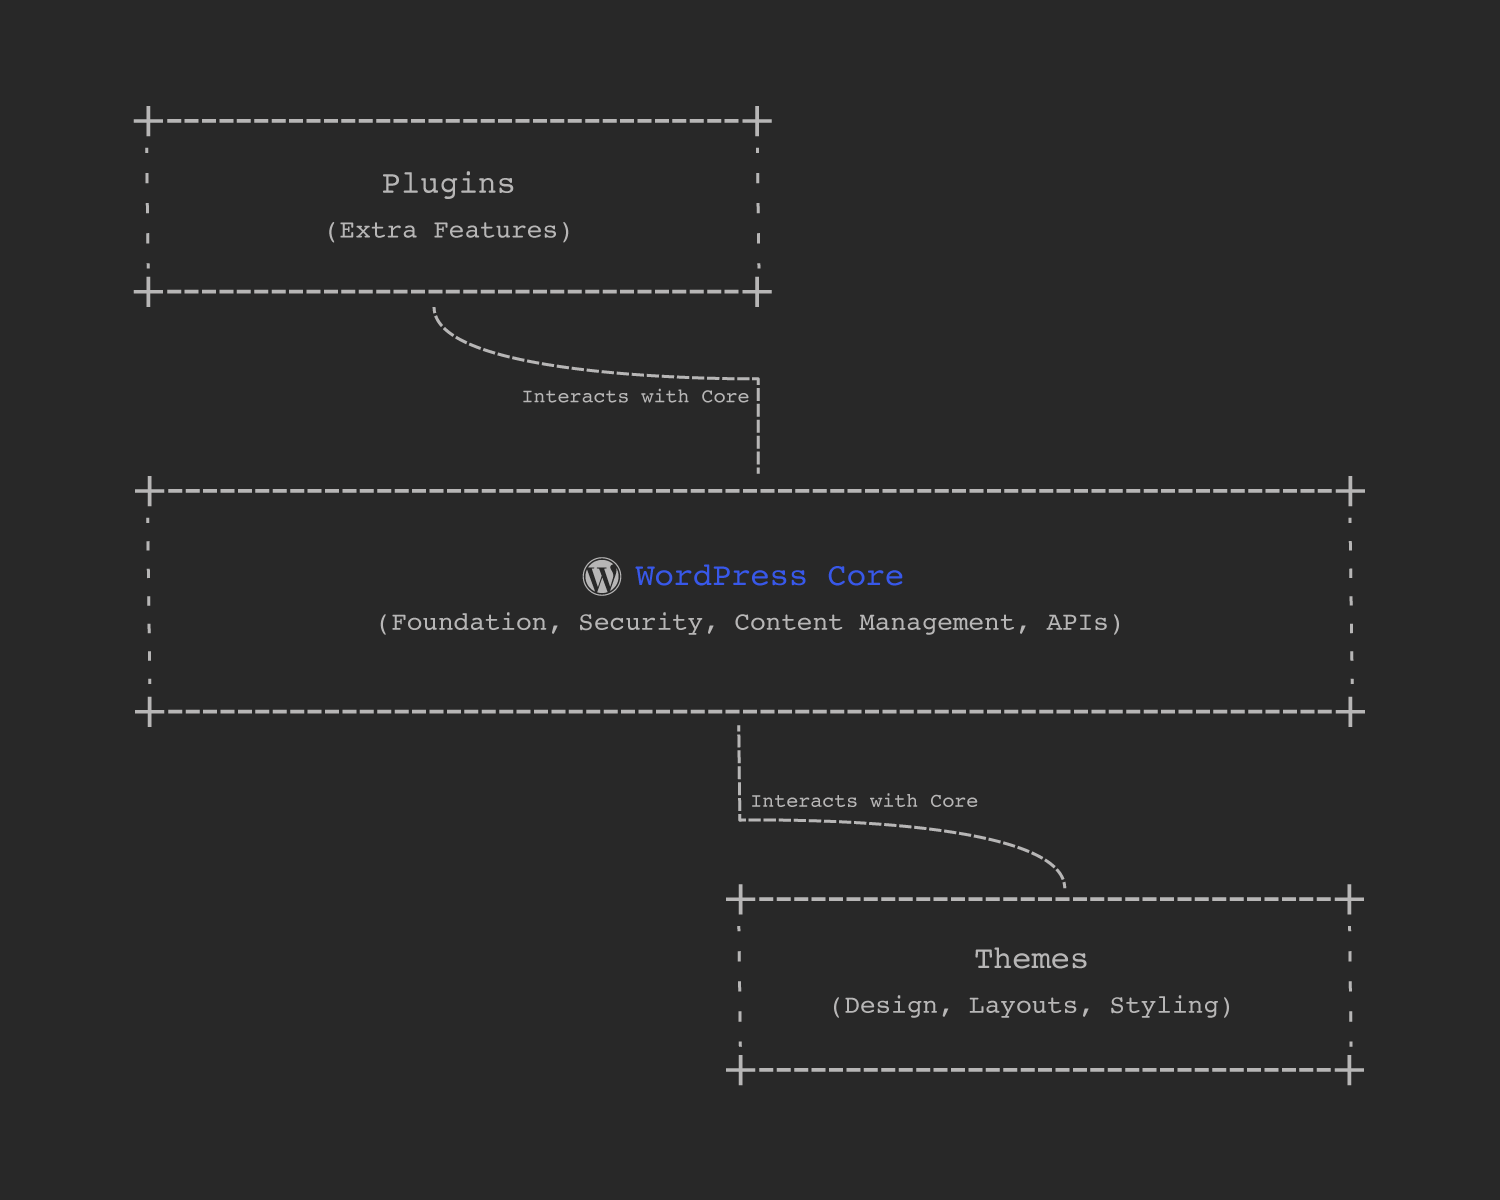
WordPress powers over 43% of all websites for a reason: it’s open source, supported by a vast community, and almost infinitely extensible. However, with great power comes responsibility and potential risk–WordPress is a target for hackers, due mainly to its popularity. Fortunately, WordPress is a highly secure platform for maintaining your installation. Maintaining a regular update schedule – including the WordPress core, themes, and plugins- is a significant security factor.

With the above in mind, this article will cover everything you need to know about updating WordPress core, themes, and plugins. We’ll start by explaining in greater detail why keeping everything updated is so important, then walk you through the best process for updating.
Overview
Why Keeping WordPress Updated Matters
Staying on top of updates is crucial for any WordPress site owner. Updates not only deliver new features or design tweaks; they also fix security vulnerabilities and ensure your site’s compatibility with the latest versions of PHP, plugins, themes, and other industry-related technologies. Ignoring updates can lead to performance issues, display errors, and even security breaches. Key benefits of regular updates include:
Preparing Your Website for Updates
Before you click that “Update” button, taking proactive steps to ensure nothing breaks is a good idea. Here’s how to prepare:
1: Backup Your Website
2: Use a Staging Environment
3: Review The Release Notes And Changelog
How to Update the WordPress Core
WordPress core updates come in two flavors: major (e.g., from 6.1 to 6.2) and minor (e.g., from 6.2.1 to 6.2.2).

1: Automatic Updates for Minor Releases
2: Manual Updates for Major Releases
3: Verify Your Site Post-Update
How To Update WordPress Themes
Your theme controls your site’s layout, design, and overall feel. Keeping your theme updated is just as vital as updating WordPress core. Modern theme updates often deliver:
Steps to Update Your Theme
Proper preparation is key to smooth WordPress theme updates. You can avoid compatibility issues, data loss, and downtime by using a staging site, backing up your site, checking plugin compatibility, and reviewing the update changelog.
This proactive approach keeps your site secure, functional, and optimized after each update. Please check this article for a detailed overview of how to update your theme.
1: Check the Theme’s Release Notes
2: Test The Updates on a Staging Site
3: Implement a Backup Strategy
How To Update WordPress Plugins
Plugins add functionality to your site, whether SEO, forms, eCommerce, or security. Like the core and theme updates, plugins also need attention to ensure everything stays compatible.
Best Practices for Plugin Updates
Regularly checking for updates to maintain security and performance and testing the plugin updates on a staging environment before applying them to the live site is good practice. Updating your WordPress plugins minimizes security vulnerabilities and ensures a seamless experience for your website visitors.
1: Update Plugins Regularly
2: Update Plugins in Small Batches
3: Delete Unused Plugins
4: Review Plugin Compatibility
Troubleshooting Common Update Issues
Even with careful preparation, issues can sometimes pop up. Here’s how to troubleshoot some of the most common ones:
If you’re still stuck, contact your hosting support or theme/plugin developer with the specific error message or steps to reproduce the issue.
Post-Update Maintenance
Once your site is fully updated, it’s good practice to do a quick maintenance round:
Summary
Updating your WordPress core, themes, and plugins keeps your site secure, fast, and user-friendly. You can keep everything running smoothly without risking downtime by following a simple process—backing up, using a staging environment, and updating in small, manageable steps. With these best practices in place, your WordPress site will be ready to grow and adapt to the ever-evolving digital landscape.


