Share
When building websites with Avada and WordPress, it’s common to encounter situations where the same content needs to be displayed in multiple places across the website. Announcements, banners, contact details, or promotional messages often appear outside regular page content but still need to be updated easily. This is where the ACF Pro Options Page feature becomes extremely valuable.
ACF Pro Options Pages provide a central place in the WordPress Dashboard for managing global site content. Instead of editing layouts, headers, or individual pages, content can be updated once and automatically reflected across all uses. For beginner Avada users, this provides a simple, safe way to manage dynamic content without touching code.
Overview
A Brief History of The ACF WordPress Plugin
Advanced Custom Fields (ACF) is a WordPress plugin released in 2011 with the goal of making it easier for developers and website builders to add and manage custom fields in WordPress through a clean, user-friendly interface.
Over time, ACF grew into one of the most widely used WordPress plugins, introducing ACF Pro, which includes powerful features such as repeaters, flexible content fields, and options pages. In 2019, the plugin was acquired by WP Engine, who continue to actively develop and maintain ACF today, including the free and Pro versions.
ACF is a core tool in many professional WordPress workflows. The ACF Pro version of the plugin is included with the purchase of Avada and is commonly used to manage structured and dynamic content.
What Is an ACF Pro Options Page?
An ACF Pro Options Page is a dedicated plugin admin screen in the WordPress Dashboard that holds site-wide settings and content. Once created, it appears as its own menu item in the WordPress Dashboard sidebar. Any fields added to this page can be accessed throughout the site and can be used with the Avada dynamic data system.
This approach is particularly useful when editors or clients need to update information but should not have access to layouts or design tools. The Options Page becomes a controlled content hub, while the site design remains protected.
Real-World Example: A Live Appearances Banner
To see how this works in practice, we will use the Avada Music prebuilt website as the sandbox. The site needs a small banner in the header that displays upcoming live appearances, such as radio interviews or in-store performances. This information changes regularly, and sometimes there may be no appearances at all.
Rather than editing the header each time, the goal is to let an editor manage this information from a single page in the Dashboard, with the ability to turn the banner on or off as needed.
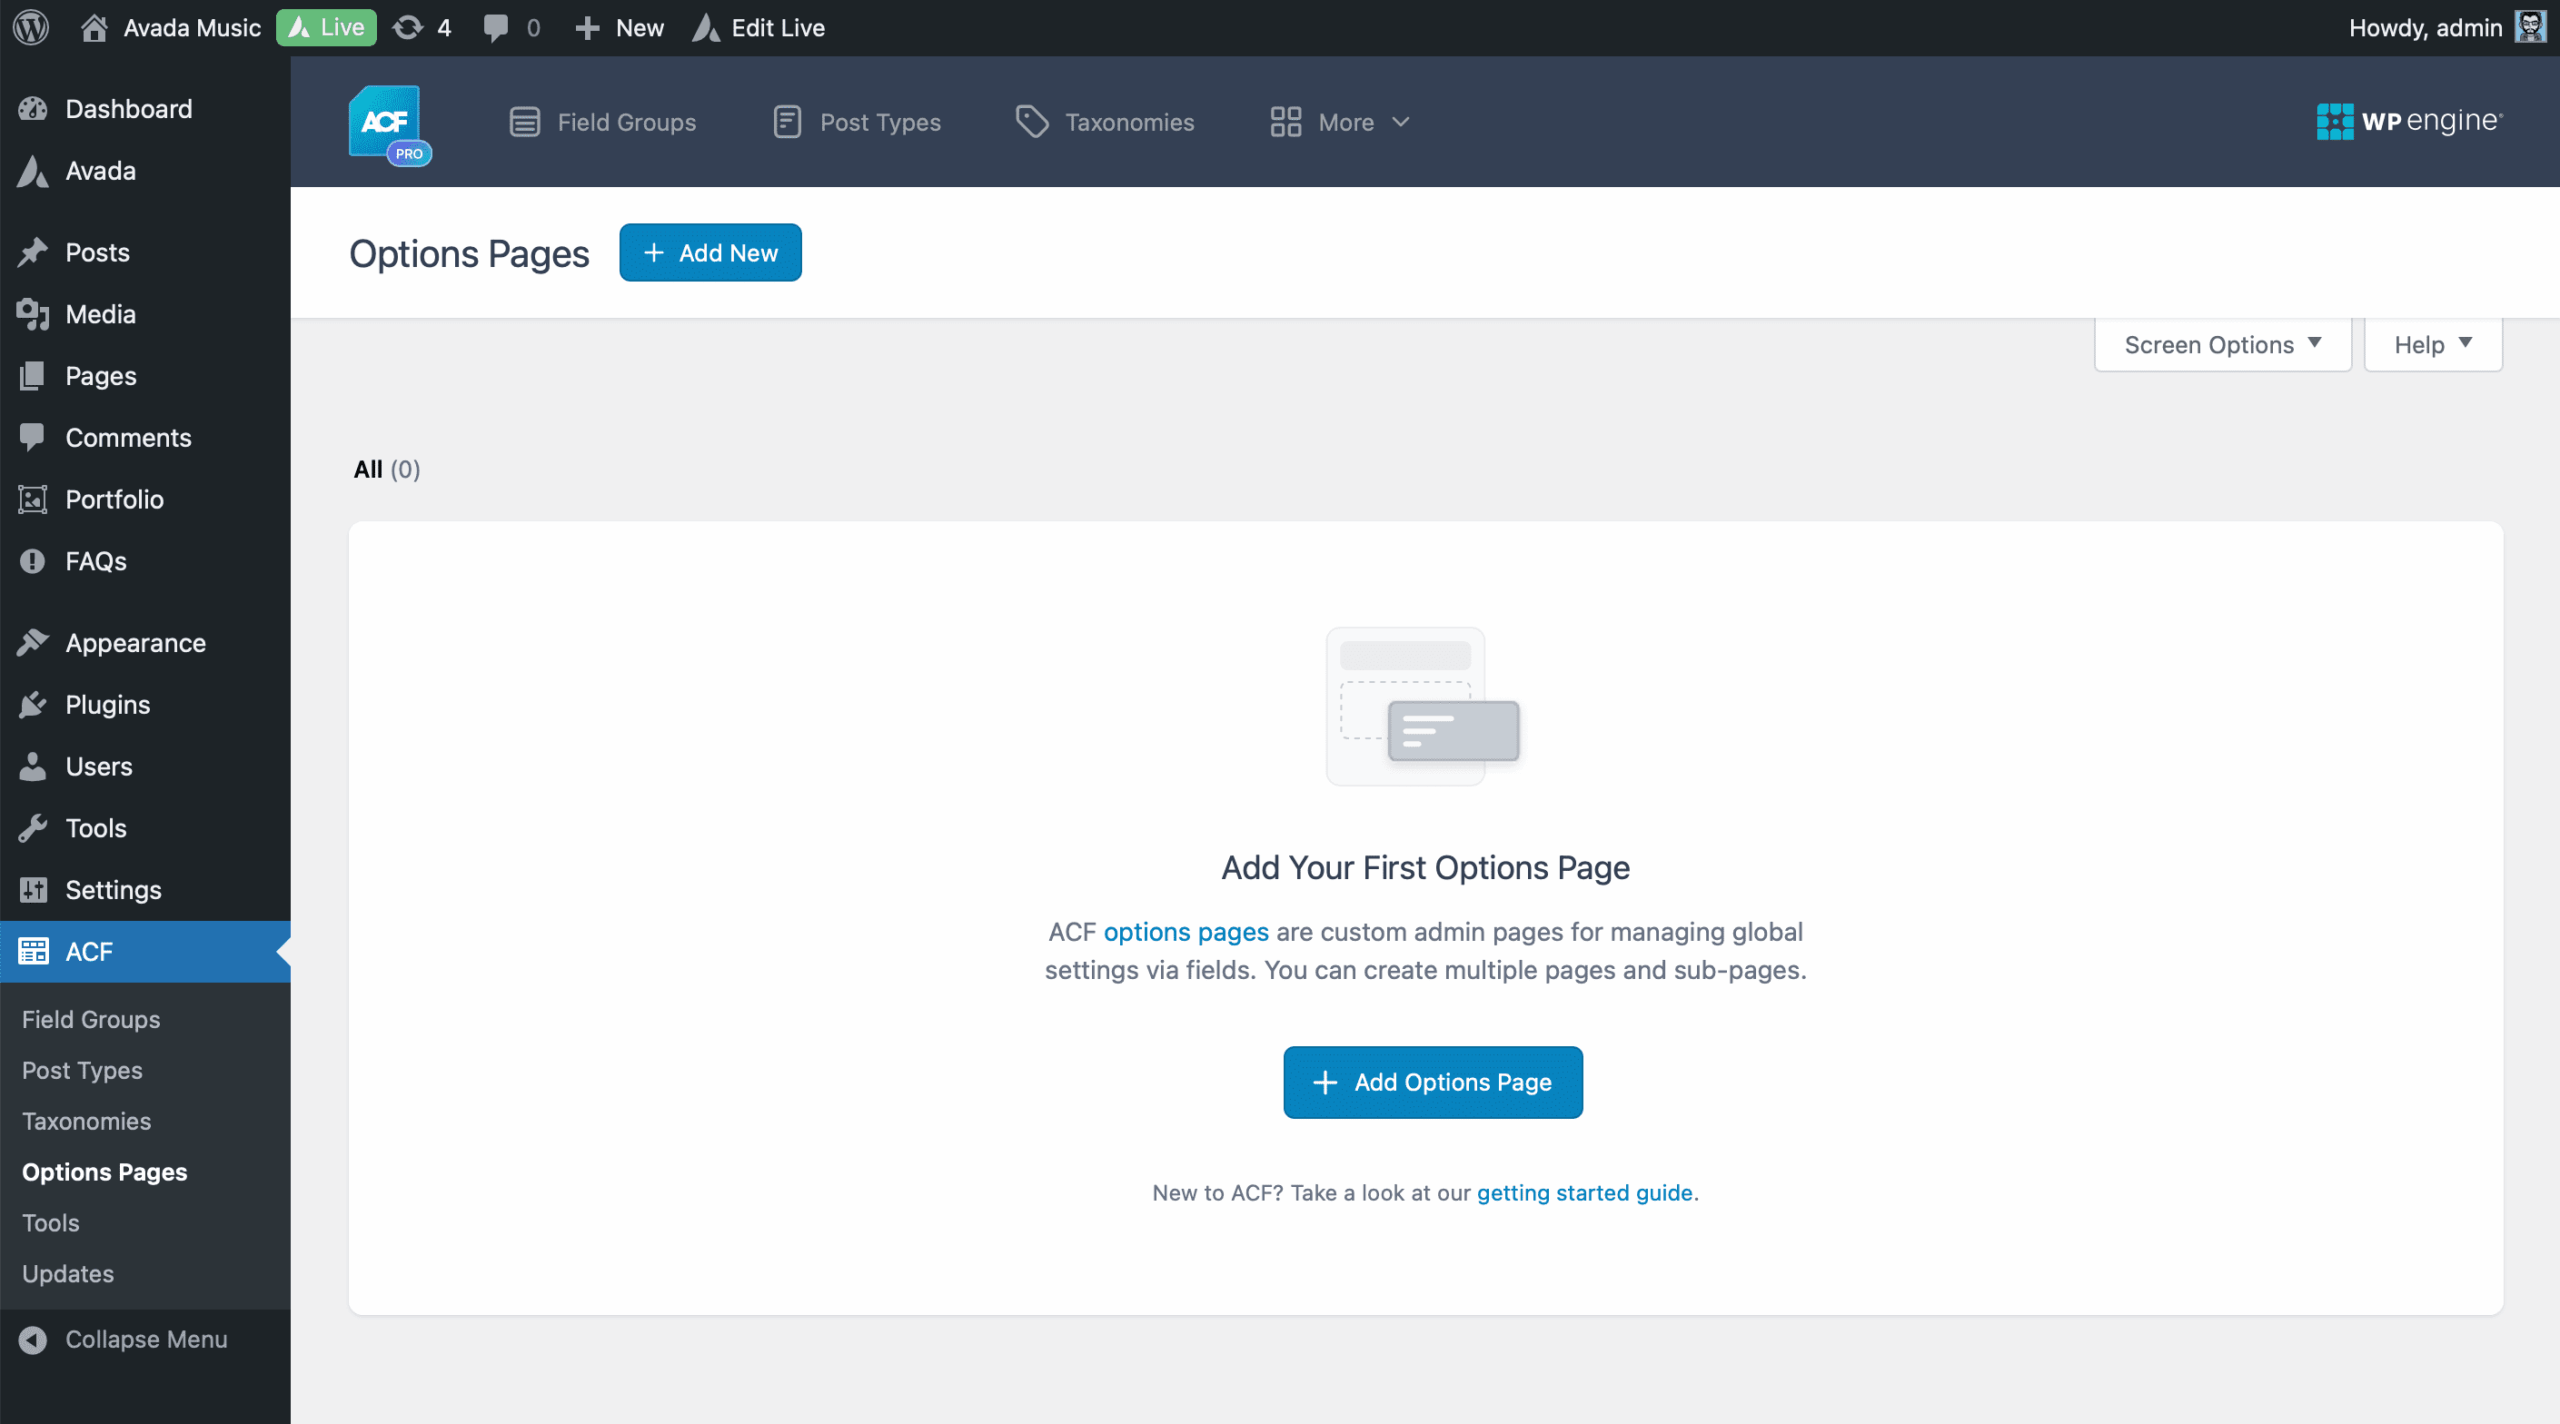
Creating the ACF Pro Options Page
The process starts by creating a new ACF Pro Options Page from the WordPress Dashboard. Giving the page a clear name, such as “Live Appearances,” makes it easy to find later. ACF automatically handles the menu slug, and the page can be positioned anywhere in the admin menu. For example, placing it just under Posts keeps it visible without cluttering the Dashboard.
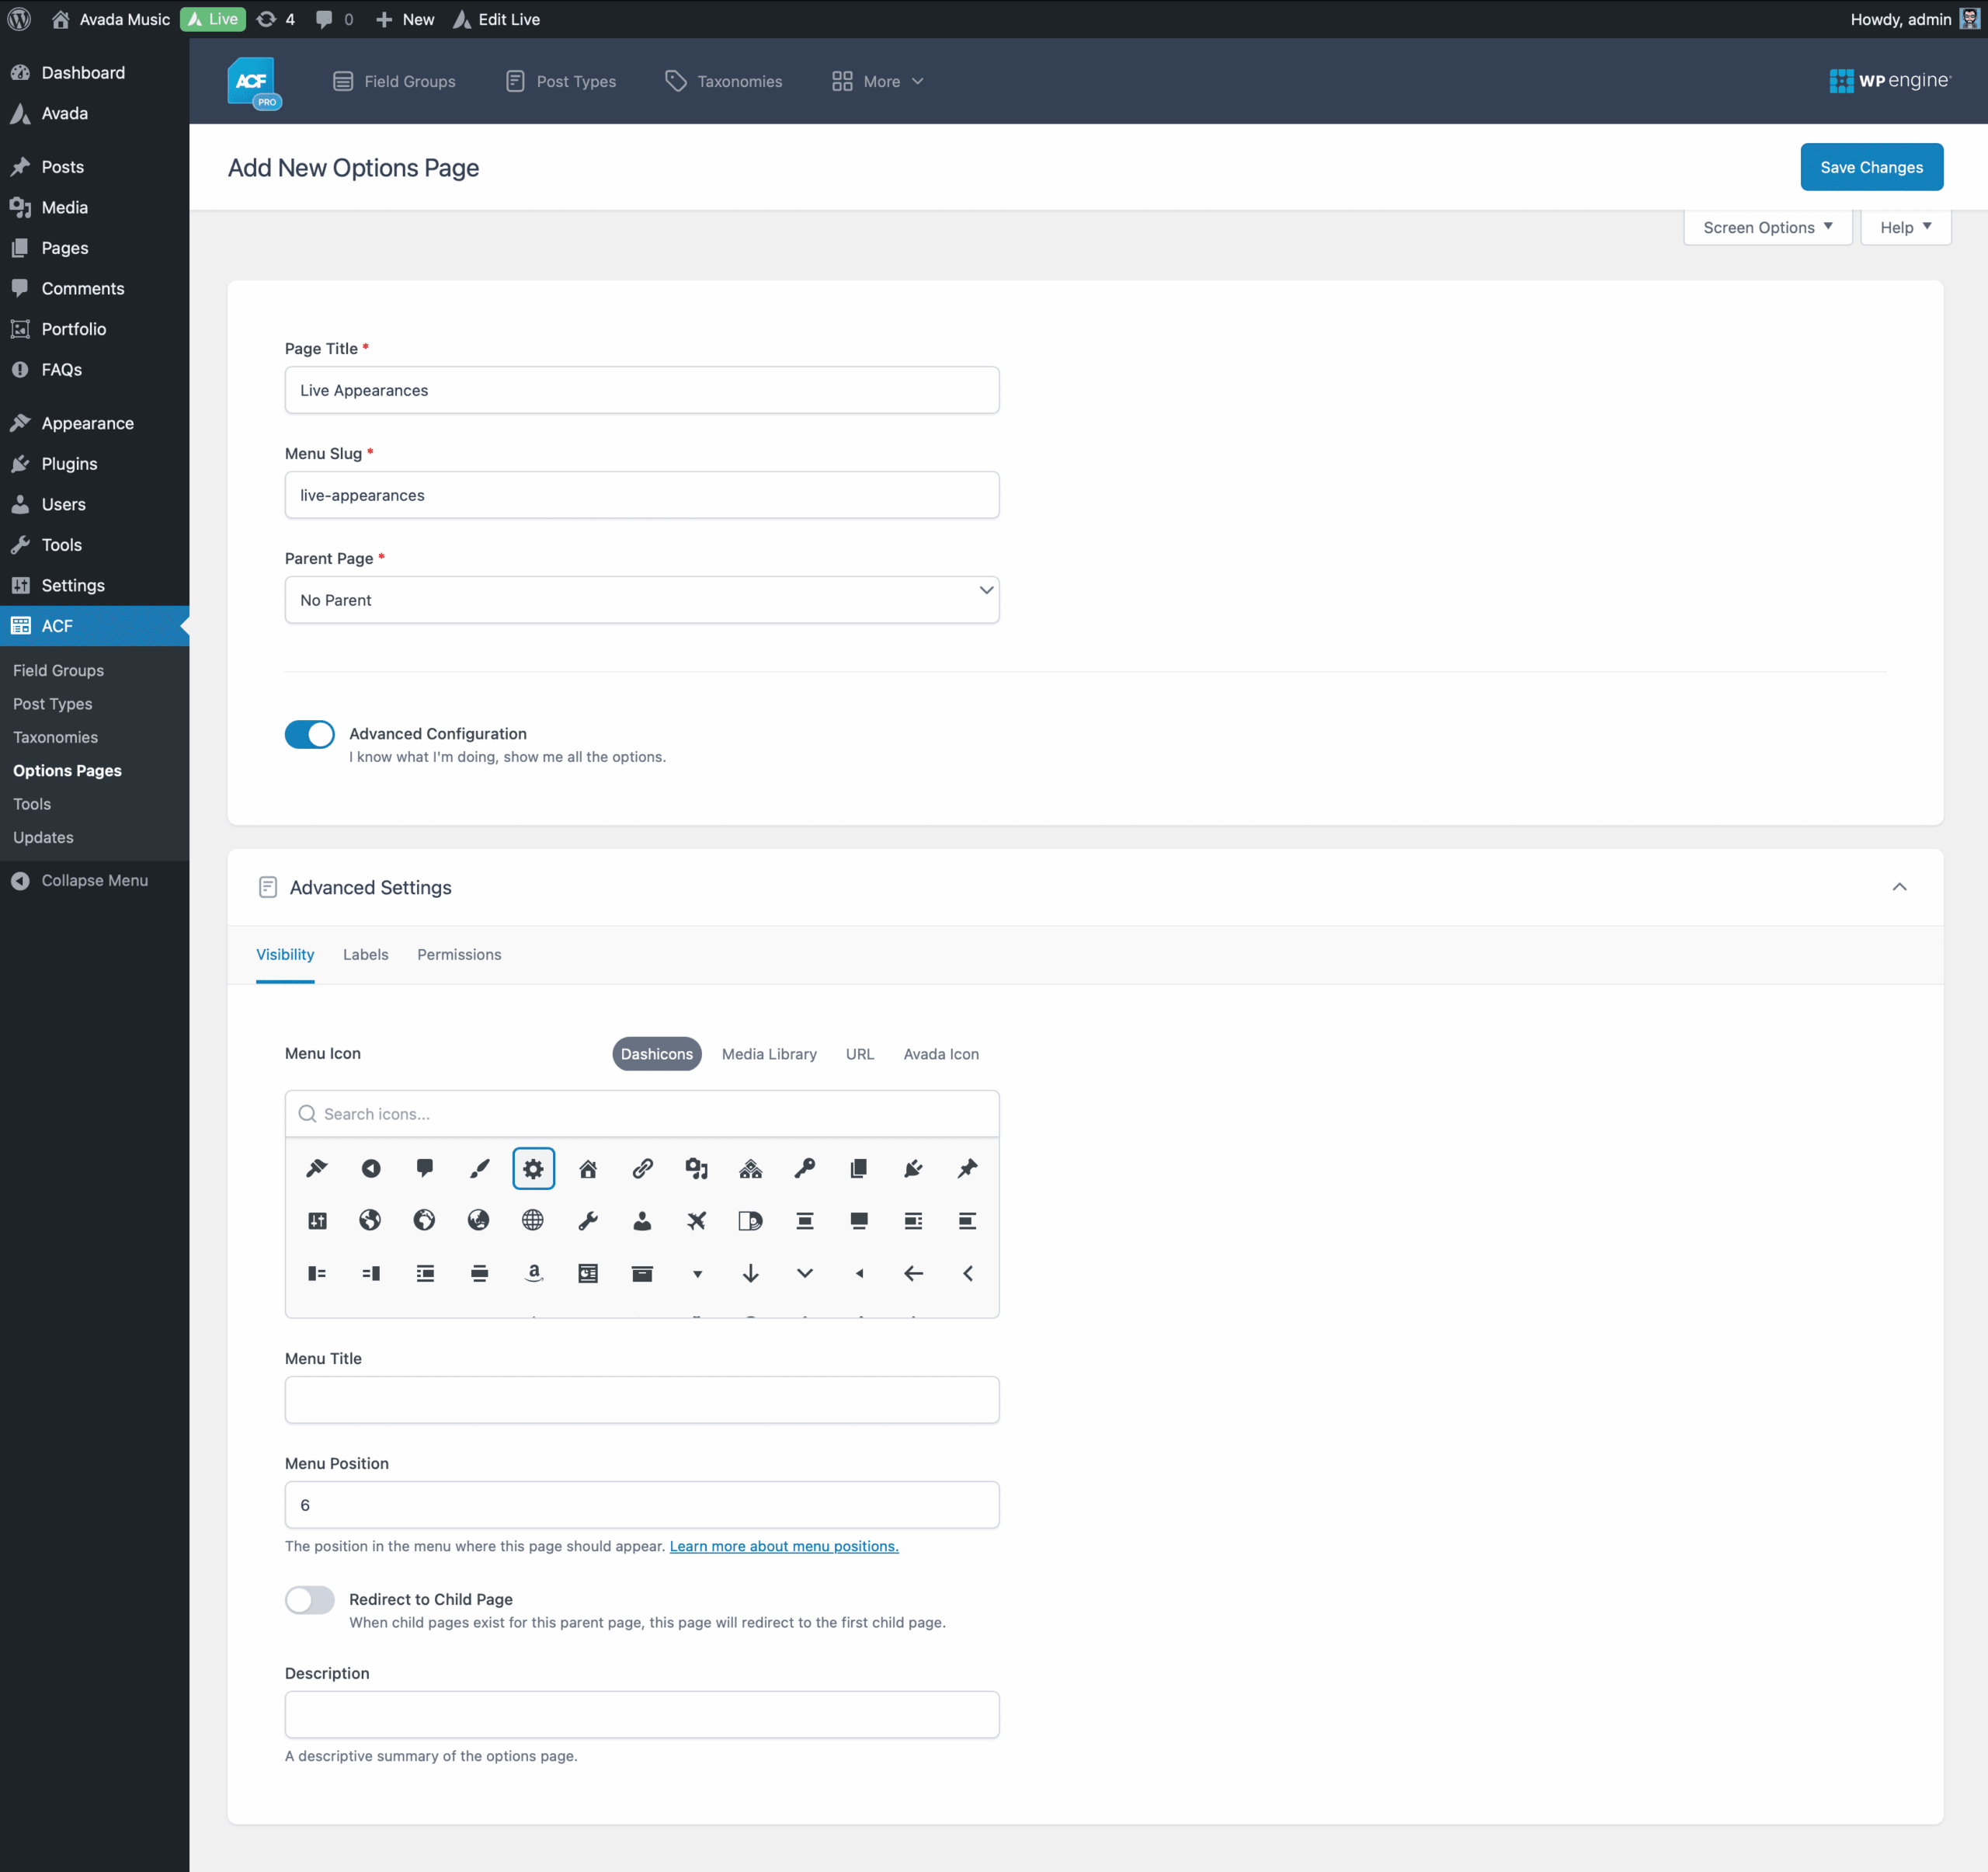
Permissions can also be configured to allow only specific user roles to access the page. This is especially useful when editors need to update content without modifying the site structure. Once saved, the new options page appears in the admin sidebar, ready to be populated with fields.
Adding Fields for the Banner Content
With the options page in place, the next step is to define which data can be entered. This is done by creating an ACF Pro Field Group and assigning it specifically to the “Live Appearances” options page.
An ACF Pro repeater field works perfectly for this use case. It allows multiple appearance entries to be added without any predefined limit. Each row contains a simple text field for the appearance details, such as locations or event names.
In addition to the repeater, a simple on/off control is added using a radio button field. This field determines whether the banner should display at all. Setting the default value to “Off” ensures that the banner remains hidden unless it’s intentionally enabled. Once the fields are saved and assigned to the options page, the content structure is complete.
Building the Banner in the Avada Header
The banner’s visual elements are created in the Avada Header Builder. A new Container Element is added to the top of the header and styled as a slim announcement bar. Its height is kept low, padding is removed, and a background color is applied to make it stand out without being too bold.
To ensure the banner only appears when needed, Avada’s Conditional Rendering Logic is used. The Container Element is displayed only when the on/off field on the ACF Options Page is set to “On.” Because the field comes from an options page, it is referenced using the appropriate prefix, so Avada knows where to retrieve the value.
When the toggle is set to “Off”, the Container Element doesn’t render. There is no empty space and no need for multiple headers or layouts.
Displaying Dynamic Content in the Banner
Inside the banner, an Avada Title Element displays the live appearance details. The title is set to a marquee style so the text scrolls smoothly across the screen. Instead of entering static text, the title pulls its content dynamically from the repeater field on the options page.
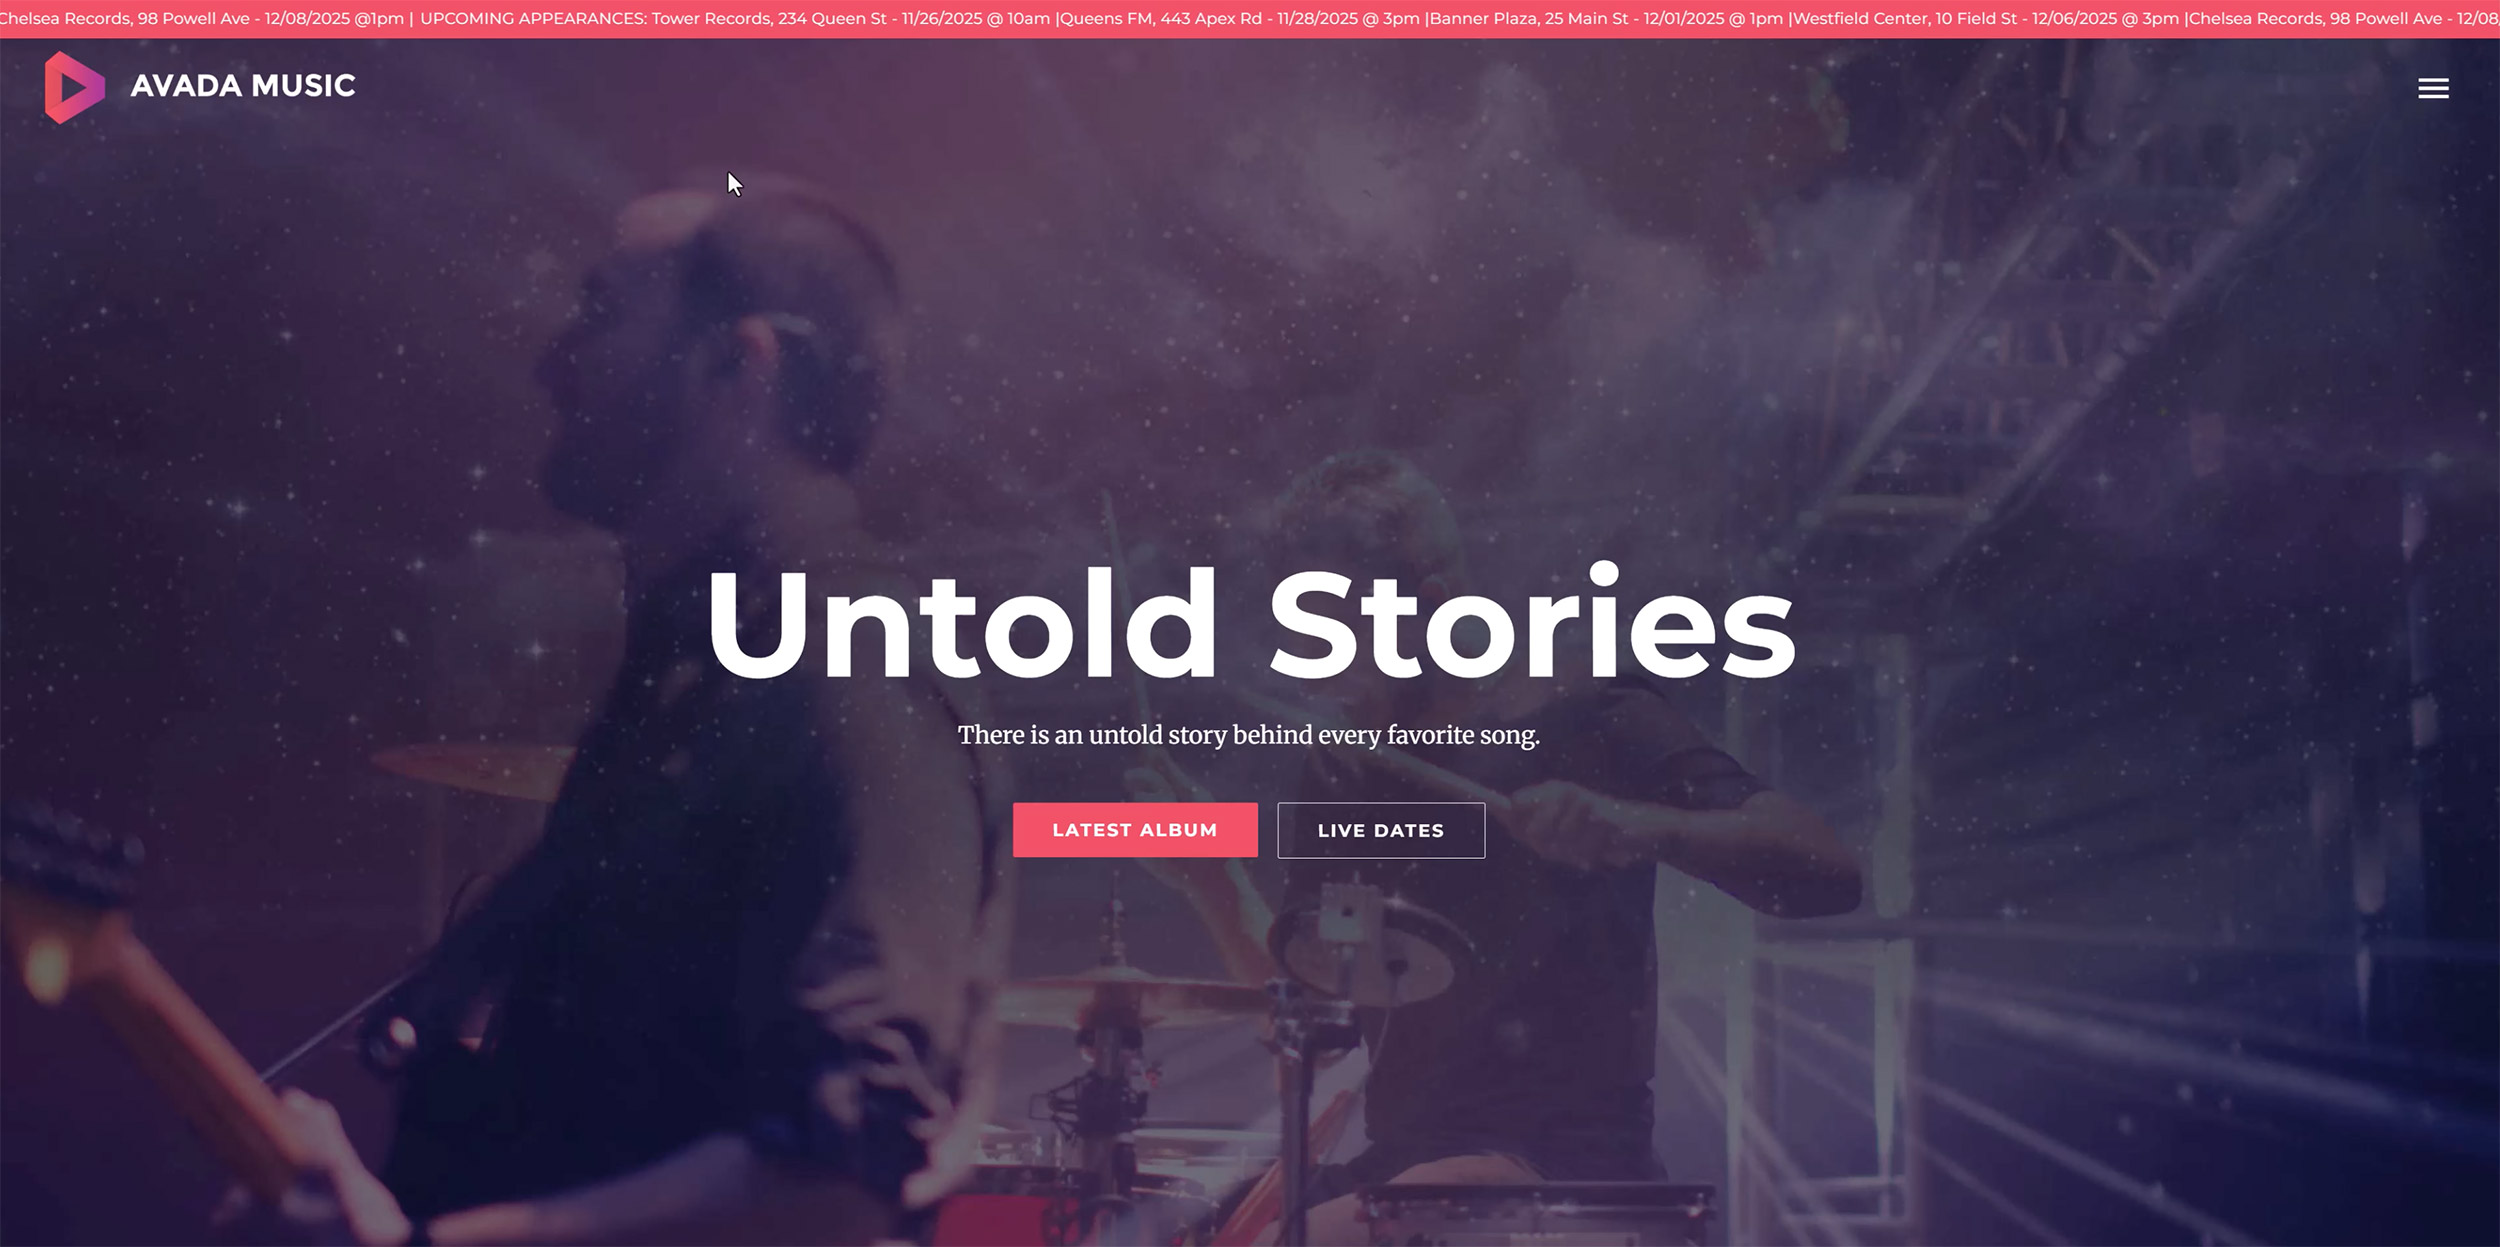
By outputting all repeater rows, the marquee automatically displays every appearance entry in sequence. A short introductory phrase, such as “Upcoming appearances,” can precede the dynamic content to provide context. The marquee speed can also be adjusted to ensure the text remains readable.
Workflow: Updating & Maintaining the Banner
From the editor’s perspective, the workflow is extremely simple. Logging into the Dashboard and opening the “Live Appearances” options page reveals a clean interface with no Design Elements. The banner can be turned on, appearance details can be added or removed, and the page can be updated.
There is no need to open the Avada Live Visual Builder, no risk of altering layouts, and no technical knowledge required. As soon as the page is updated, the banner reflects the changes on the front end.
Summary
This example demonstrates one way ACF Options Pages can be used, but the same approach applies to many other scenarios. Announcement bars, global CTA’s (calls to action), contact details, business hours, or promotional messages can all be managed in the same way.
For beginner Avada users, ACF Pro Options Pages provide a powerful yet approachable way to separate content management from design. They make websites easier to maintain, safer to hand over to clients, and far more flexible in the long run.