Share
Promoting events, whether they are offline or virtual, can take a lot of time and energy. Promoting your events through regular blog posts is an option, but it has limitations. It’s worth investigating whether there’s a more effective way to use your Avada website for event promotion.
Fortunately, WordPress can help you promote events through a variety of event management plugins. Depending on the solution you use, all of your event information—such as location, time, date, and ticket information—is stored in a way that makes it reusable and more versatile.
In this article, we’ll examine how your blog can be a valuable resource for event promotion. We’ll also discuss essential elements to look for in an event management plugin and how to set up an event with WP Event Manager. Let’s get started!
Overview
Why Your Blog Might Can Be the Best Event Promotion Tool
Event hosting can be one of the most effective marketing tools you spend money on. It is consensus that events are more effective than digital marketing, content marketing, or email marketing. Thanks to its core functionality, WordPress is uniquely equipped to manage events. Its evolution as a full-fledged Content Management System (CMS) enables you to turn it into a powerful all-in-one event management system.
Also, companies that use two or more event management systems have difficulty demonstrating an event Return On Investment (ROI) – twice as hard in many cases. Of course, using the Avada is going to benefit you in more ways than one.
How to Choose an Event Plugin For WordPress
Regarding plugins, you’ll likely find more value in looking for one dedicated to event management. It should primarily be focused on the unique needs of event marketing rather than offering a broad set of more general options. We suggest that you keep the features listed below in mind:
While there are many plugins to choose from, WP Event Manager offers all of these features, is optimized for search engines, and developer-friendly. As far as full-functioning solutions go, it’s a front-runner.

Finally, using Avada with WordPress, you can also design how your events will display on the page too. Full customization is usually at your disposal, and matching your event’s design to that of your blog should be straightforward.
How to Set Up an Event on Your Website (In 5 Steps)
To get started, we will install the WP Event Manager plugin inside the WordPress Dashboard (Dashboard > Plugins > Add New Plugin). Then, we’ll inspect the plugin settings, set up a sample event, add event details, and publish the sample event to showcase the styling and placement.
Step 1: Install The WP Event Manager Plugin
To install the plugin, go to Dashboard > Plugins > Add New Plugin and search for WP Event Manager. Once installed, click “Activate.” From there, you will be automatically routed to the plugin’s Setup Wizard.

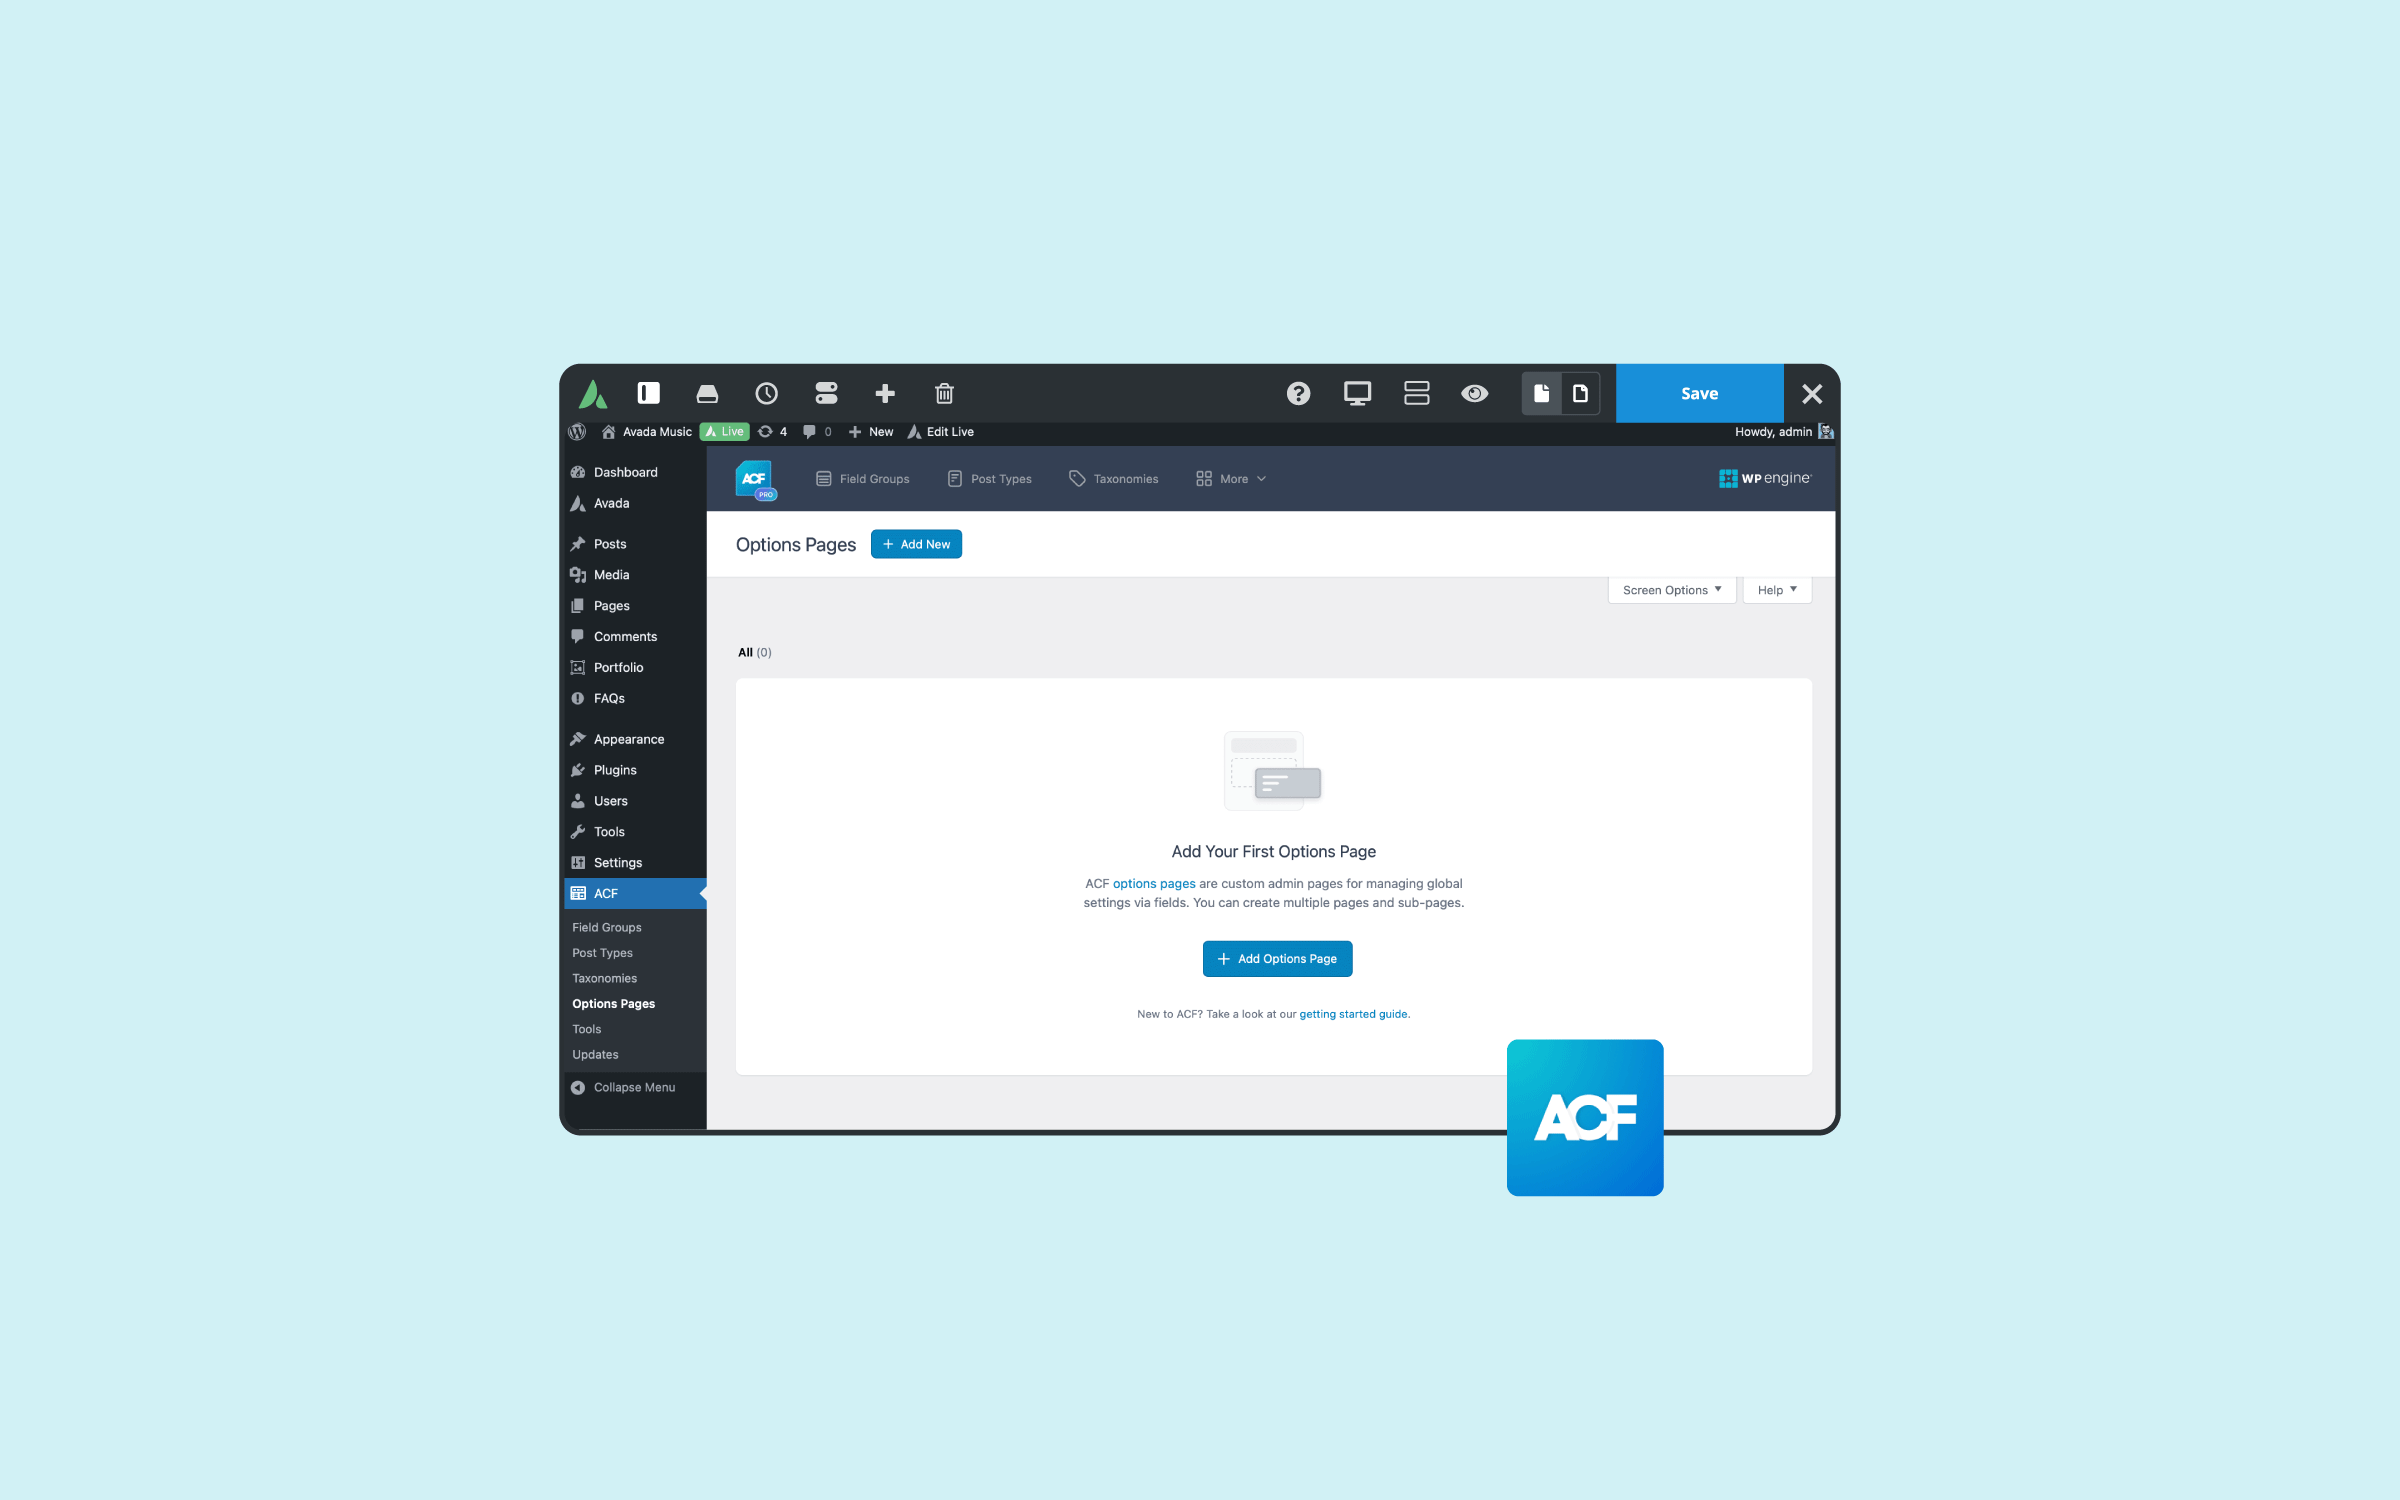
Before setting up events or changing plugin settings, we must ensure the plugin post types are enabled in the Avada Builder. Navigate to Avada > Options > Builder Options > Post Types and check “Event,” “Venue,” and “Organizer“.

Step 2: Event Page Setup And Settings
For an easier workflow, using the setup wizard will be suitable. In step 2, you’ll see the page setup options. Depending on your needs, you can select/deselect whichever pages you will need for your events website. Or you can skip this step and set up the pages manually in the WordPress Dashboard.

Here, you’ll be able to choose the pages you want to create for your events. You can also choose to create a page where users can Post an Event. You’ll then need to place the shortcode provided on the desired page. If you don’t want to use an aspect of the events submission functionality, uncheck the box.
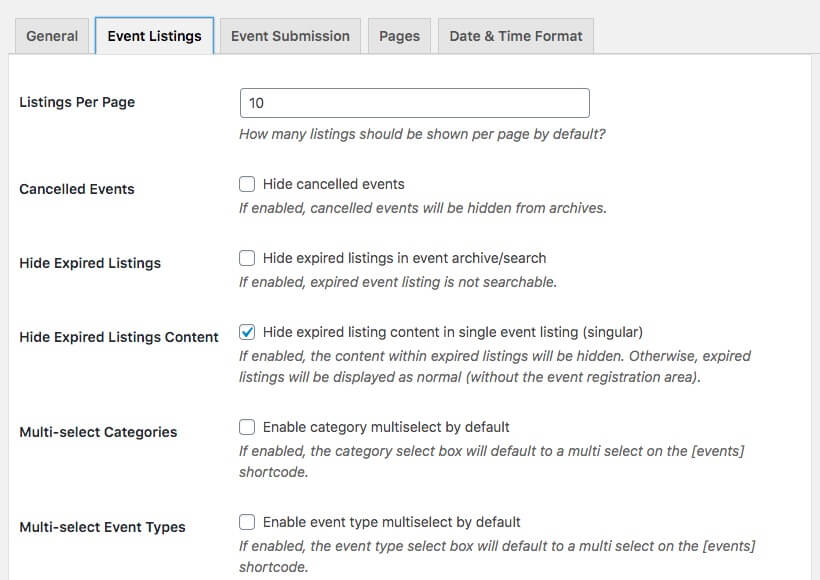
Once you’ve completed this step, you may want to navigate to Event Listings > Settings and explore the Event Listing and Event Submission tabs:
The Pages tab lets you assign new pages to the shortcodes you set up earlier. Before you move on to creating your first event, you might also want to look over the Event fields section. You can navigate to Event Listings > Field Editor to find these:
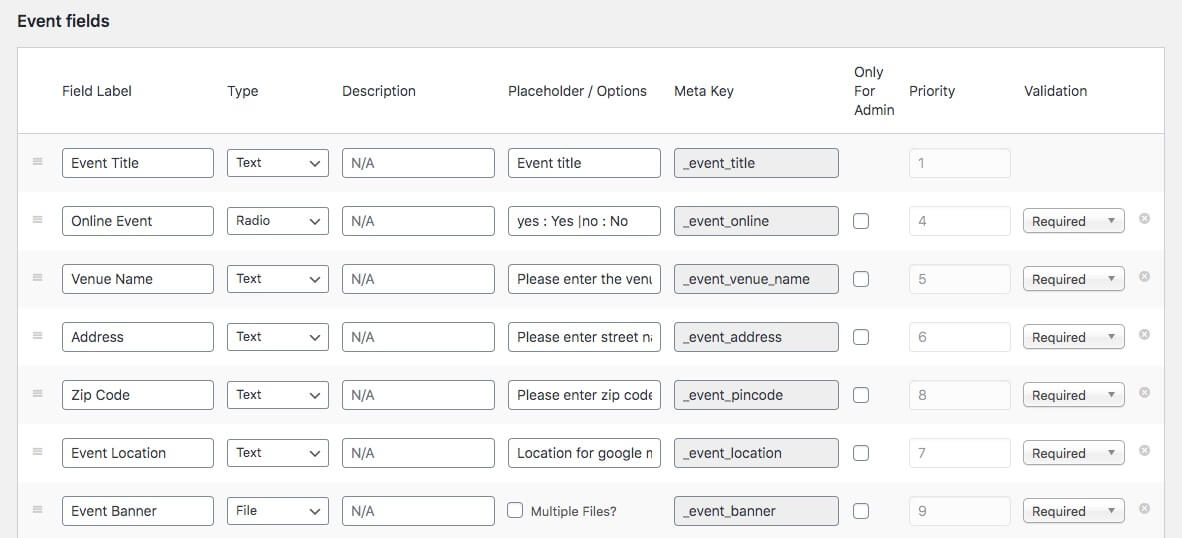
The field editor will display all the custom fields associated with creating an event, and you can edit these to suit your needs. However, the defaults for our purposes will work just fine.
Step 3: Create a New Event
Once you have your essential pages and settings ready to go, you’re prepared to create your first event. To do this, navigate to Event Listings > Add New:

You’ll then be taken directly to a new event page, where you can edit all the details of your event:

You’ll notice it looks like a standard Post edit page, but with a lot more fields. This is where you can fill in the details of your event. You can use all the native options the Fusion Builder has to offer to design your Event listing, too, meaning the whole process should be a snap.
Step 4: Enter Your Event and Organizer Details
Our example requires an image for the event banner – if you don’t specify one, a placeholder image is used. As you may expect, you can remove this using the Field Editor. Once you fill in the details of your event, you can preview it:

Your primary event information will show up at the top of the page with the default settings in place. Underneath, you’ll be able to view registration links, map information, and more:

You can add text and images or videos. You’ll have all the options you would in a regular content post, which makes this particular solution super-flexible.
Step 5: Publish and Promote Your Event
Once you’re happy with your page, you can click Publish as you would with a regular post. Now you’re ready to showcase your event to the world! WP Event Manager also makes it easy to promote your events through social media with several built-in social sharing options:

You have the option to add links to your event-specific social media accounts when you set up your event. Additionally, there are default social sharing icons that appear with your event, so site visitors can easily share it with ease.
Summary
Promoting events on your website is an excellent way to engage your users and build excitement about a product. Over-performing businesses are one and a half times more likely to use event management tools that integrate smoothly into their existing platforms.
To get started with using the WP Event Manager plugin with your Avada website, keep the following steps in mind: