Share
In a few of our most recent posts in this series on getting started with WordPress, we covered how to start publishing your first blog post. So, while you now have all the information you need to begin your blogging journey, there are a few essential details you need to take care of on your new website.
No matter your website’s purpose, you will want to add a handful of pages. In most cases, those pages will educate your visitors about your website’s purpose and share information about how you can be contacted.
If you have yet to start working with WordPress pages or want some advice on creating them correctly, this article on publishing your first WordPress pages will provide you with everything you need to know. By the end of this article, we will have revealed which pages nearly every website should include and some tips and advice on how to create those pages to get the best results from them.
Overview
WordPress Posts vs. Pages
We’ve previously covered the differences between WordPress posts and pages, so if you are still a little unsure of when to use these two publishing options, or you’d like a quick refresher course, be sure to check out this post, before you go any further.
To quickly summarise, the main difference between posts and pages is that pages are generally used to publish timeless content. This is content that won’t go out of date and will always be useful and relevant. On the other hand, posts are better suited to publishing blogs and journal entries, as well as other more time-sensitive content such as news and reviews.
These main differences make pages the ideal choice for publishing important information, such as the details about you, your website, or your company. While this information may change over time, requiring the pages to be updated, those pages will always be important to your visitors. Using the WordPress page feature to publish that information, you can ensure that this content is kept separate from the stream of blog posts published on your website, making them easier to find.
Some Essential Pages Every Website Needs
While this may vary depending on the type of website you are building and its purpose, most websites will want to include the following pages: homepage, about, contact, and services. By including these essential pages, you ensure your website is user-friendly, informative, and accessible, providing a positive experience for your visitors and supporting your business goals.

In this article, we explore how and why to create these pages and give you tips on what to include.
The Homepage
First Impressions
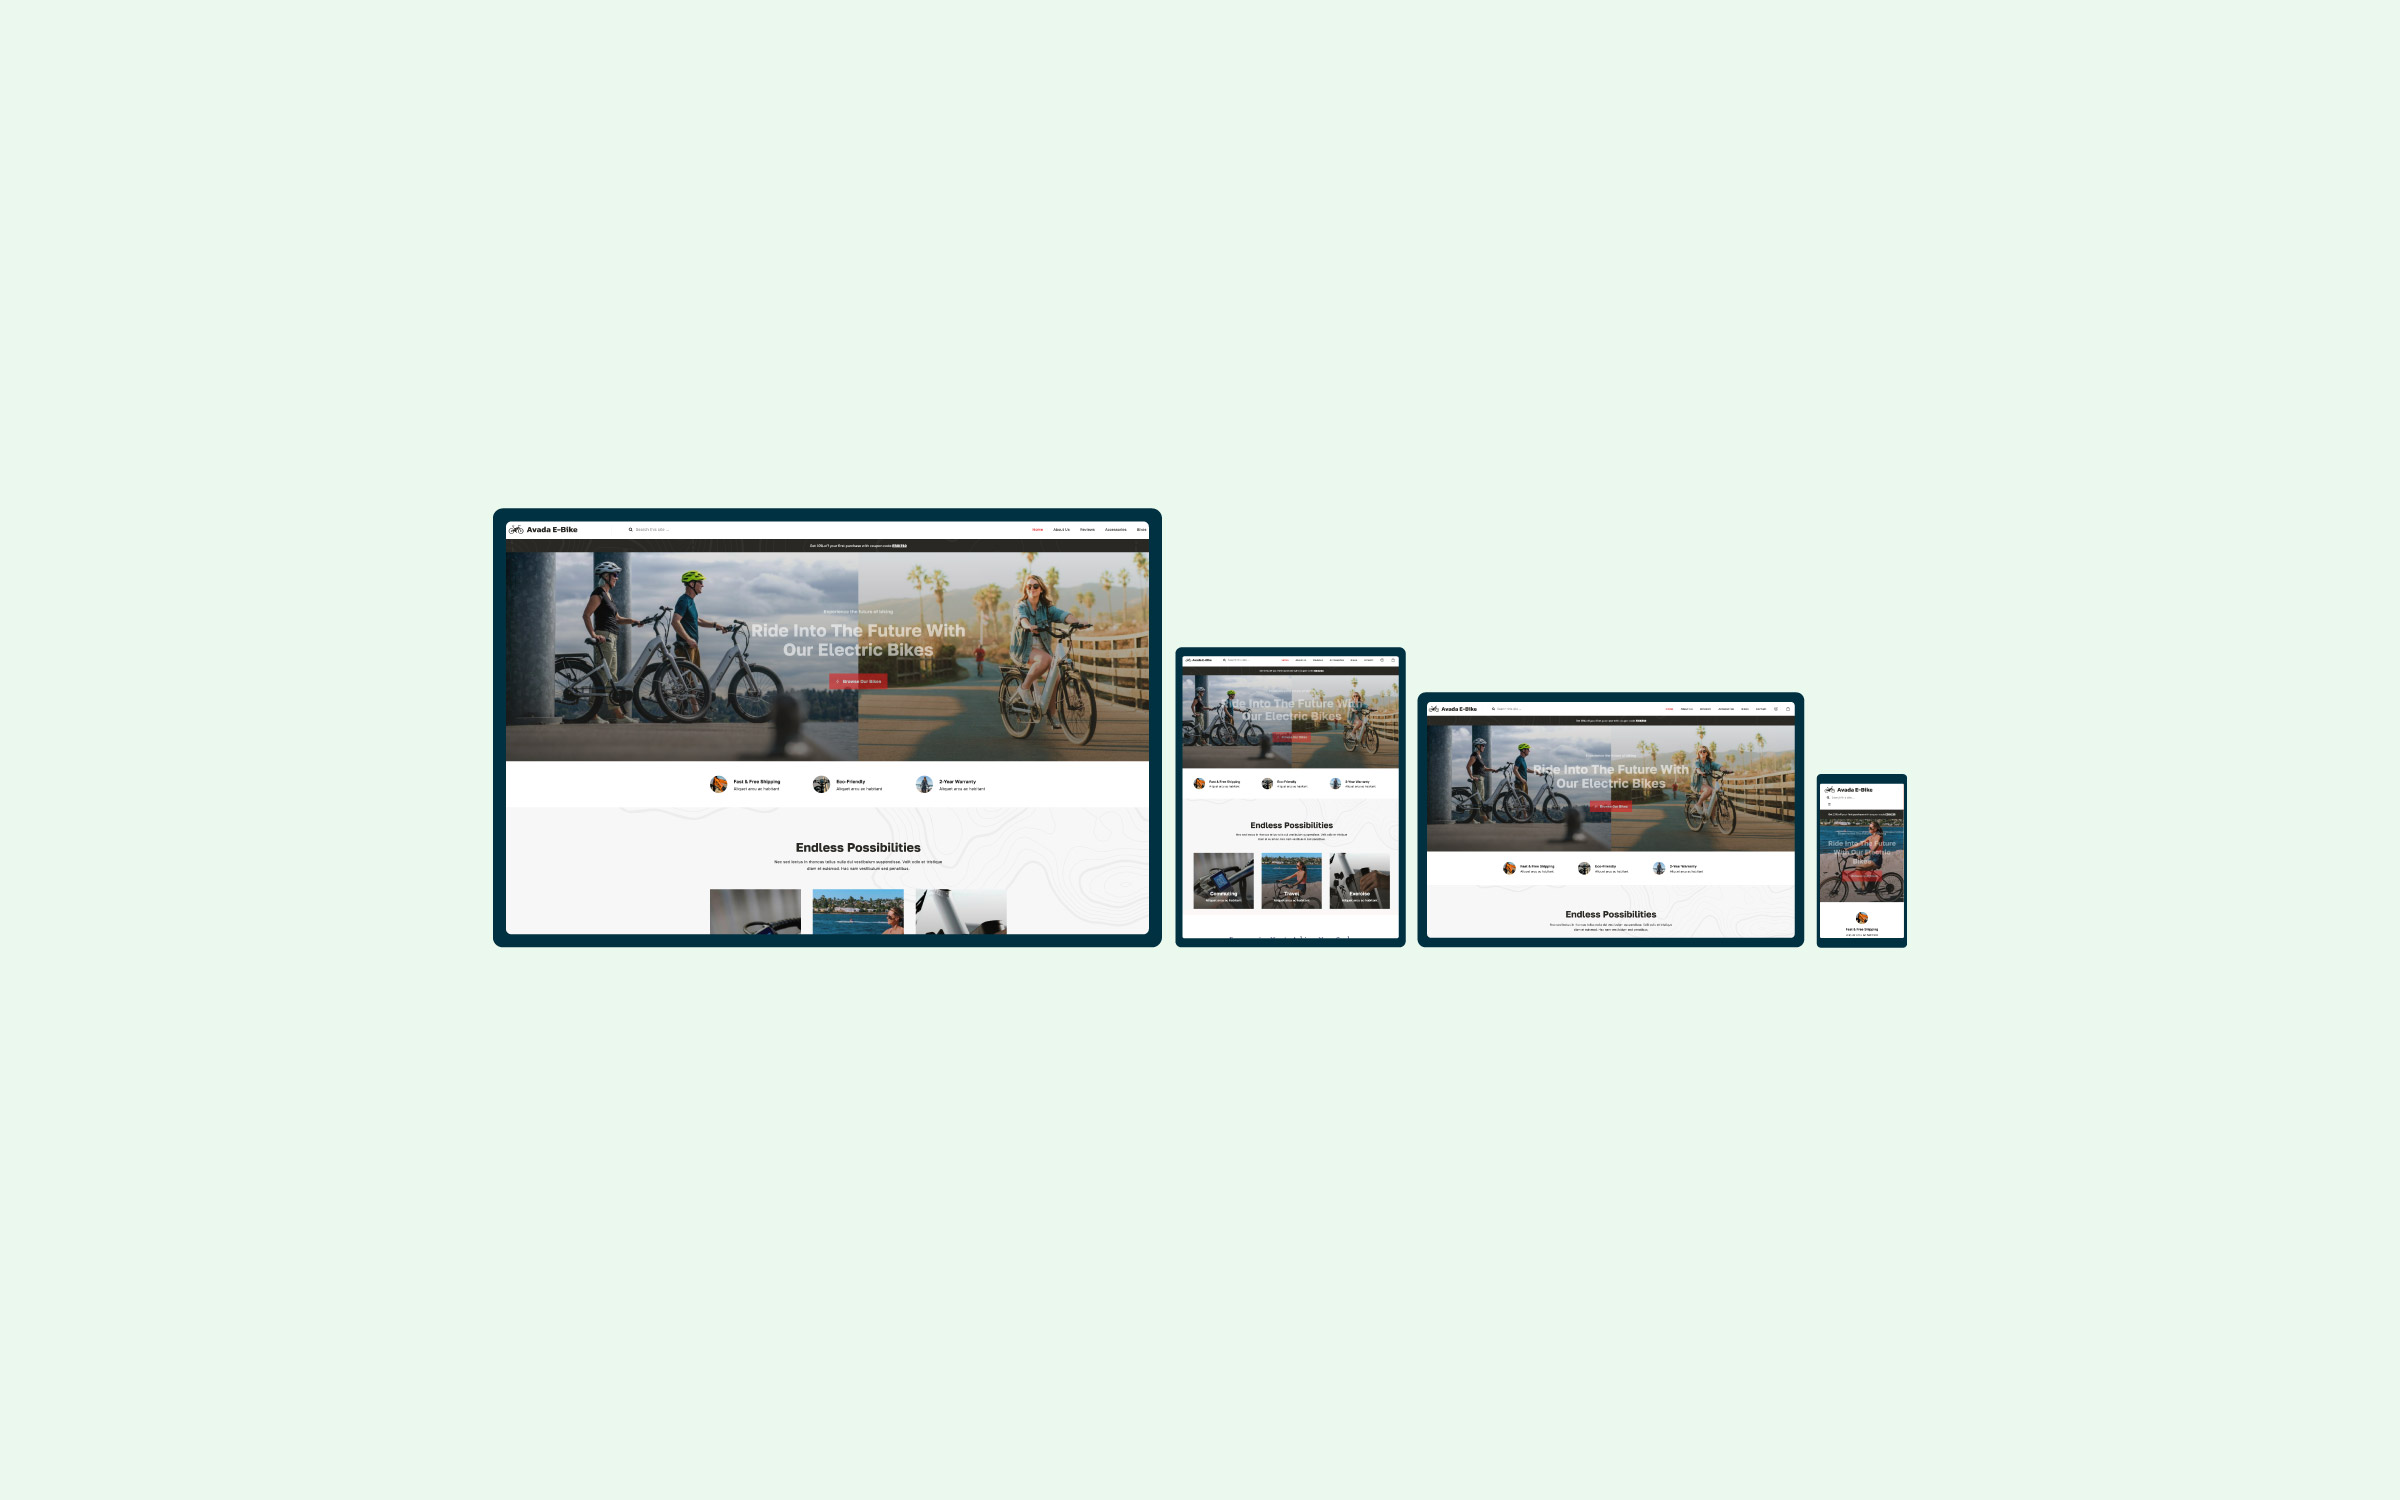
Your home page is the first impression visitors get of your brand, so make it count! With a sleek, engaging design, your home page will captivate your audience and guide them effortlessly through your site. Showcase your unique value proposition, highlight key offerings, and feature compelling calls to action.

When using WordPress to build a website, you have two main options for what will be displayed on its homepage. This could either be a single page or your latest blog posts.
If your website will function as a blog first and foremost, then displaying your latest blog posts on the home or front page is the best option. This is the default setting of a new WordPress website, so if you plan to display your latest blog posts on the home page, your site is ready to go.
However, you can access these controls from the Reading Settings page, which is found under the Settings menu on your WordPress dashboard. You can display your latest blog posts or a static page from there.

If your website won’t be featuring a blog, or the blog won’t be the main component of your website, and you’d rather display a traditional fixed or static page on the front of your website, then you should select the second option. This will allow you to choose which page to display on the front of your website. If you’ve yet to create the page that will become the homepage of your website, you can quickly do so by clicking on the Add New item under the Pages menu.
The Blog Page
Share The Latest News
Keep your audience engaged with a dynamic Blog or Latest News Page. Share industry insights, company updates, and expert advice that position your brand as a thought leader. Regular, high-quality content keeps your site fresh and boosts your website’s SEO, driving more traffic and engagement.
If you display a fixed or static page on the front of your website, you might wonder where the latest blog posts are. Thankfully, WordPress makes this issue very easy to rectify. Simply create a new blank page called Blog and then select it from the drop-down list for the Posts page setting.

Although the above setting is a traditional option for assigning posts to be displayed on a specific page (sans styling), if you use Avada for your WordPress website, you can choose to display the blog posts anywhere on the site and, in multiple instances and boundless customizability, using the Avada Blog Element. There is also the option to display your Blog’s most recent posts anywhere on your site with the Avada Recent Posts Element.

Below are several Blog page examples set up in Avada prebuilt websites:
The About Page
Discover Our Story
Invite visitors to learn more about who you are and what drives your business. The About Page is your chance to build a personal connection by sharing your company’s history, mission, and core values. Introduce your dynamic team, celebrate your milestones, and include testimonials highlighting your credibility. This is where trust begins.
When writing the content for the About page, rather than just explaining the story behind the website and why it was created, highlight why your visitors should stick around and what they can gain from doing so.
The About page is often the most neglected page on any website for new and potential customers, but it is also very popular. It is an excellent opportunity to connect with people, so make sure you use this opportunity wisely. Start by immediately outlining the primary benefits to your target audience.
Save trivial information for later use, such as when the website was founded. Instead, dive straight into why and how your visitors can benefit from exploring the rest of the site. Remember to highlight how you can help the reader and what they stand to learn.

Below are several About Us page examples set up in Avada prebuilt websites:
The Contact Page
Get In Touch
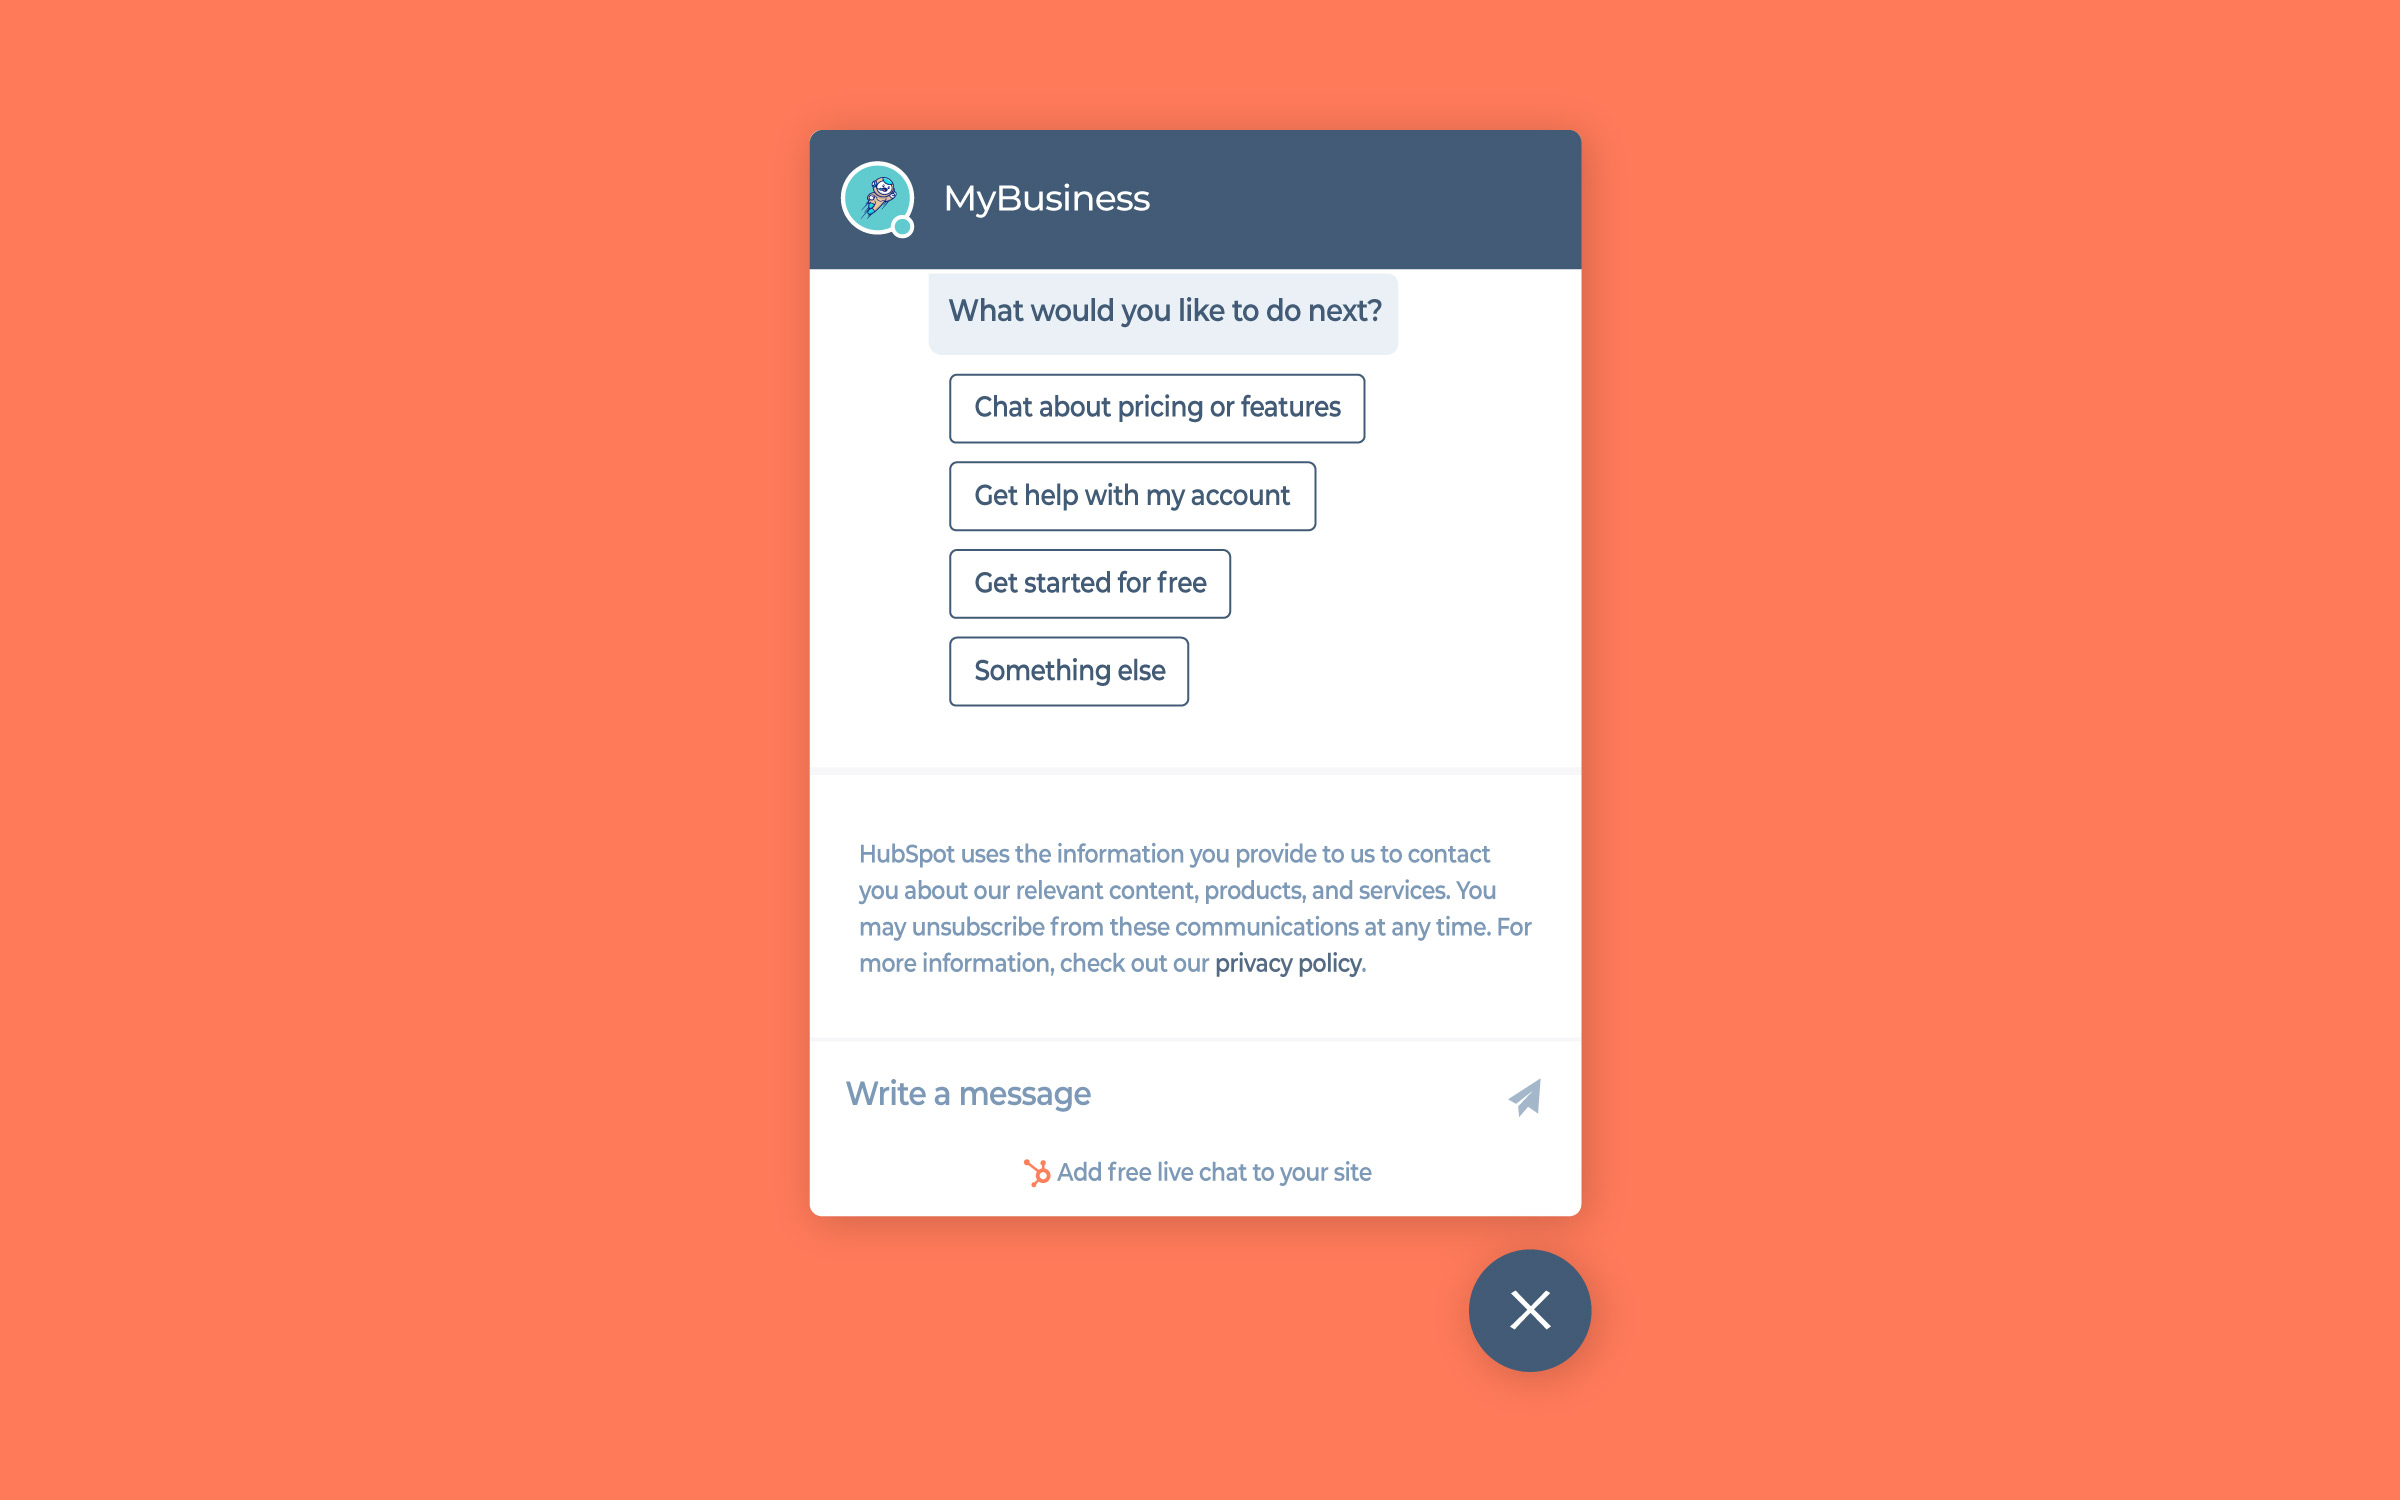
Make it easy for your customers to connect with you. Your Contact Page should be accessible, featuring a user-friendly contact form, multiple communication options, and an inviting message that reassures visitors you’re here to help. Social media links and a Google Map of your location can add extra convenience.
If you use your website to promote yourself, your services, or your products, you will want to give your visitors a way to contact you. This could be as simple as linking to your profiles on social media websites like Facebook or Twitter.
You can also add your email address to the contact page. However, this could result in your inbox being inundated with spam. Alternatively, you can use a WordPress plugin to display a contact form on your website. This form will allow your visitors to email you without risking publishing your email address.

Below are several Contact Us page examples set up in Avada prebuilt websites:
Other Website Pages to Consider
Creating a well-rounded website involves having several essential pages that serve various purposes. Here are some additional web pages every website should consider and why they are needed:
The Shop/e-Commerce Page
Seamless Shopping Experience
Transform your Avada website into a thriving online store with a WooCommerce Shop Page! Seamlessly integrated with WordPress and Avada, WooCommerce offers the ultimate e-commerce solution, combining flexibility, functionality, and a fantastic shopping experience.
Using the Avada WooCommerce Builder you can showcase your products beautifully, offering customers an engaging and intuitive shopping experience. Every element is designed to convert visitors into loyal customers, from product galleries to detailed descriptions and customer reviews.
The Products/Services Page
Explore Our Offerings
Engage your potential customers with a detailed, visually appealing Products or Services Page. Here, you can showcase the benefits and features of your offer with appealing descriptions, high-quality images, and persuasive CTAs (Call to Action). Make it easy for customers to find exactly what they’re looking for, generate leads, and compel them to take action.
The FAQ Page
We’ve Got Answers
Anticipate your customers’ questions and concerns with a comprehensive FAQ Page. This resource will save them time and build confidence in your expertise. Using the Avada FAQ Element you can provide clear, concise answers to common questions, covering everything from product details to shipping policies. Show that you understand their needs and are committed to their satisfaction.
The Testimonials/Reviews Page
What Our Customers Are Saying
Build trust and credibility with a Testimonials or Reviews Page. Showcase glowing reviews and powerful case studies that highlight the positive experiences of your satisfied customers. Real-life success stories are powerful tools that can convert visitors into loyal clients. Let their voices vouch for your excellence.
The Portfolio/Gallery Page
Showcase Your Work
Impress potential clients with a stunning Portfolio or Gallery Page. Display your best work with high-quality images, videos, and detailed descriptions. Whether you’re an artist, designer, or contractor, this page is your chance to shine and demonstrate the value you deliver. Showcasing your skills and successes can turn interest into action.
The Privacy Policy Page
Your Trust, Our Commitment
Reassure your visitors with a transparent Privacy Policy Page. Clearly outline how you collect, use, and protect their data. This page isn’t just about compliance; it’s about building trust. Demonstrate your commitment to safeguarding their privacy and respecting their rights, fostering a sense of security and confidence in your brand.
The Terms of Service Page
Clear Terms, Fair Play
Protect your business and your customers with a well-crafted Terms of Service Page. This essential legal document outlines the rules and guidelines for using your site and services. Setting clear expectations can prevent misunderstandings and ensure a smooth, professional relationship with your audience.
Summary
Understanding the difference between pages and posts will mean that you are ready to publish blog posts and create the essential pages for your WordPress website.
Adding these vital pages to your website can help you provide helpful information to your visitors and make your online presence look more legitimate. This is especially important if the purpose of your website is to promote you as a brand or your services and products.