Share
Having an impressive WordPress website built with Avada is a fantastic starting point. Avada, known for its flexibility, rich features, and ease of use, is one of the most popular themes on the market. However, simply installing Avada and building your basic pages isn’t enough to fully maximize its potential.
You’ll need to go further to truly stand out and ensure your site is engaging and high-performing. Here are five essential steps to take your Avada website to the next level.
Overview
Step 1: Optimize for Performance and Speed
Performance and speed are critical for user experience and SEO (Search Engine Optimization). Avada is feature-rich, but you will not benefit from its true potential if not optimized correctly. Avada offers a dedicated Performance Wizard intended to simplify and remove the guesswork from optimizing your website.
The wizard guides you through a step-by-step optimization process, automatically recommending settings such as CSS and JavaScript minification, lazy loading for images, and Avada Critical CSS. For a detailed help file and video tutorial feel free to check out How To Use The Avada Performance Wizard.

Additionally, complement the wizard’s optimizations by compressing your images with tools like Imagify or Smush and regularly reviewing your site’s performance metrics using Google PageSpeed Insights or GTmetrix.
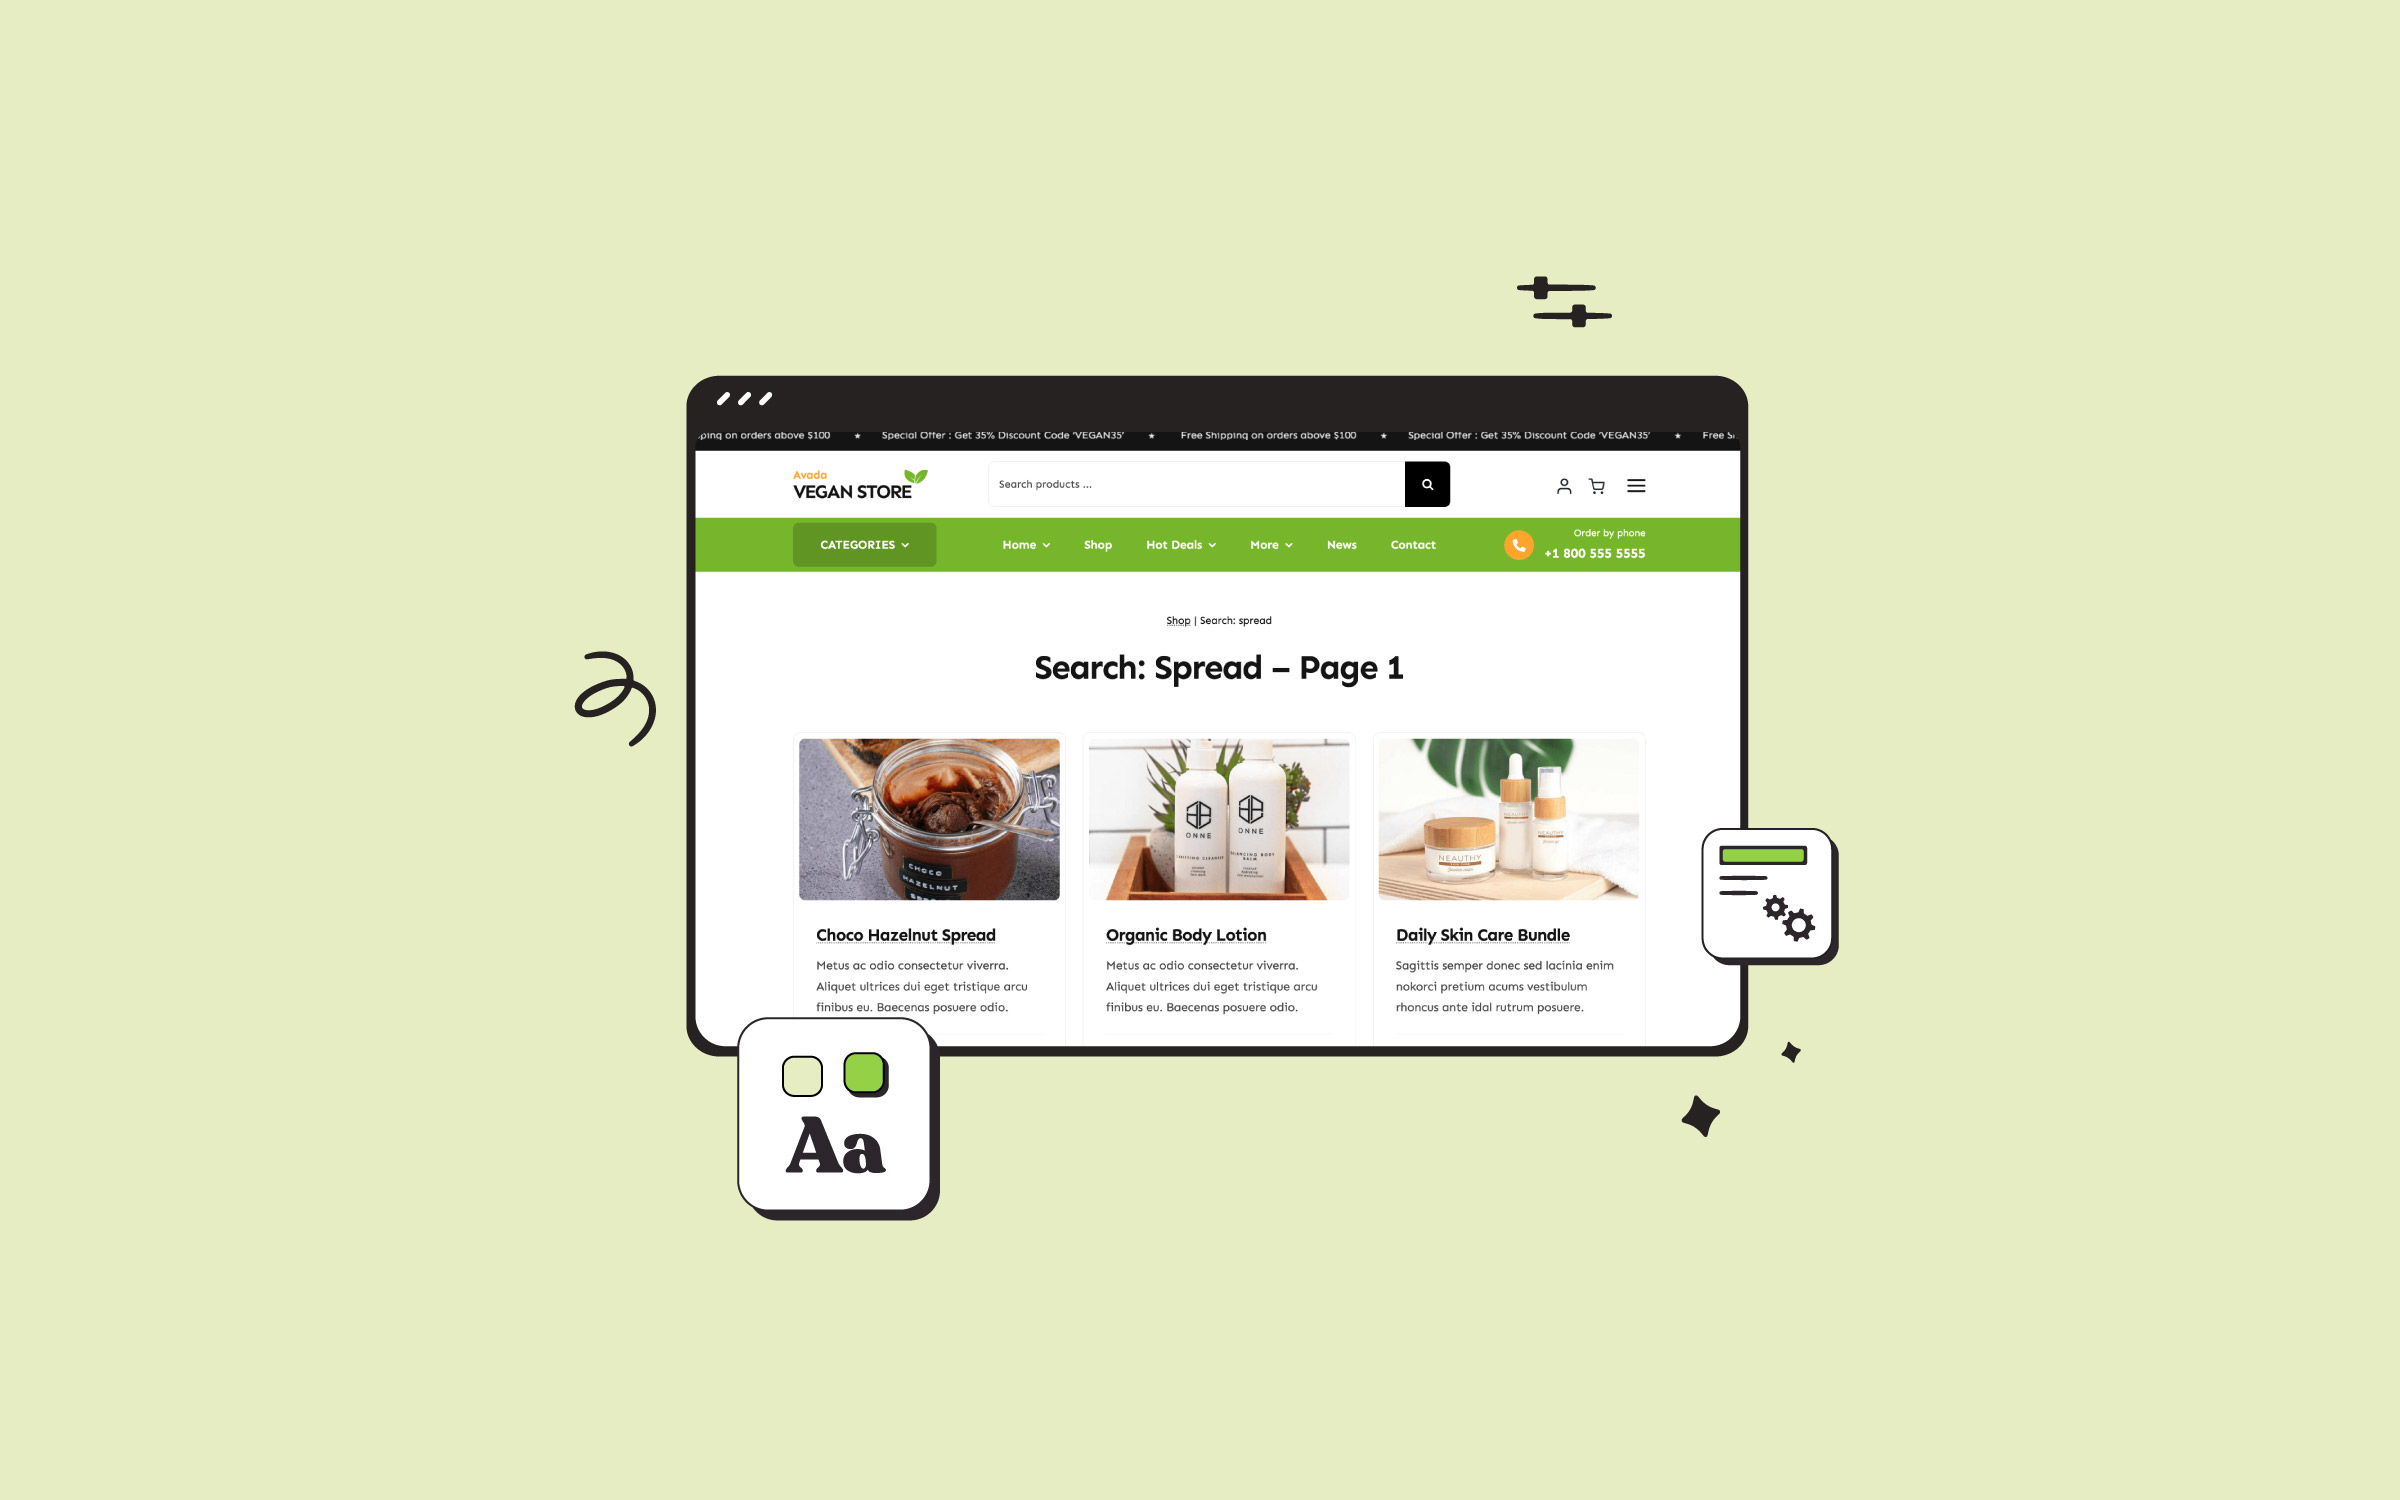
Step 2: Customize Beyond the Basics
One of Avada’s strengths is its customizability, but many users barely scratch the surface. Dive deeper into Avada’s advanced customization settings, including Global Options, to ensure consistency across your site. Experiment with custom layouts, headers, and footers, utilizing the Avada Layout Builder to create unique, visually compelling pages and posts.
Make use of Avada Layouts to customize the style and structure of any Avada website with complete control over the design and positioning of Avada Design Elements anywhere on the site.
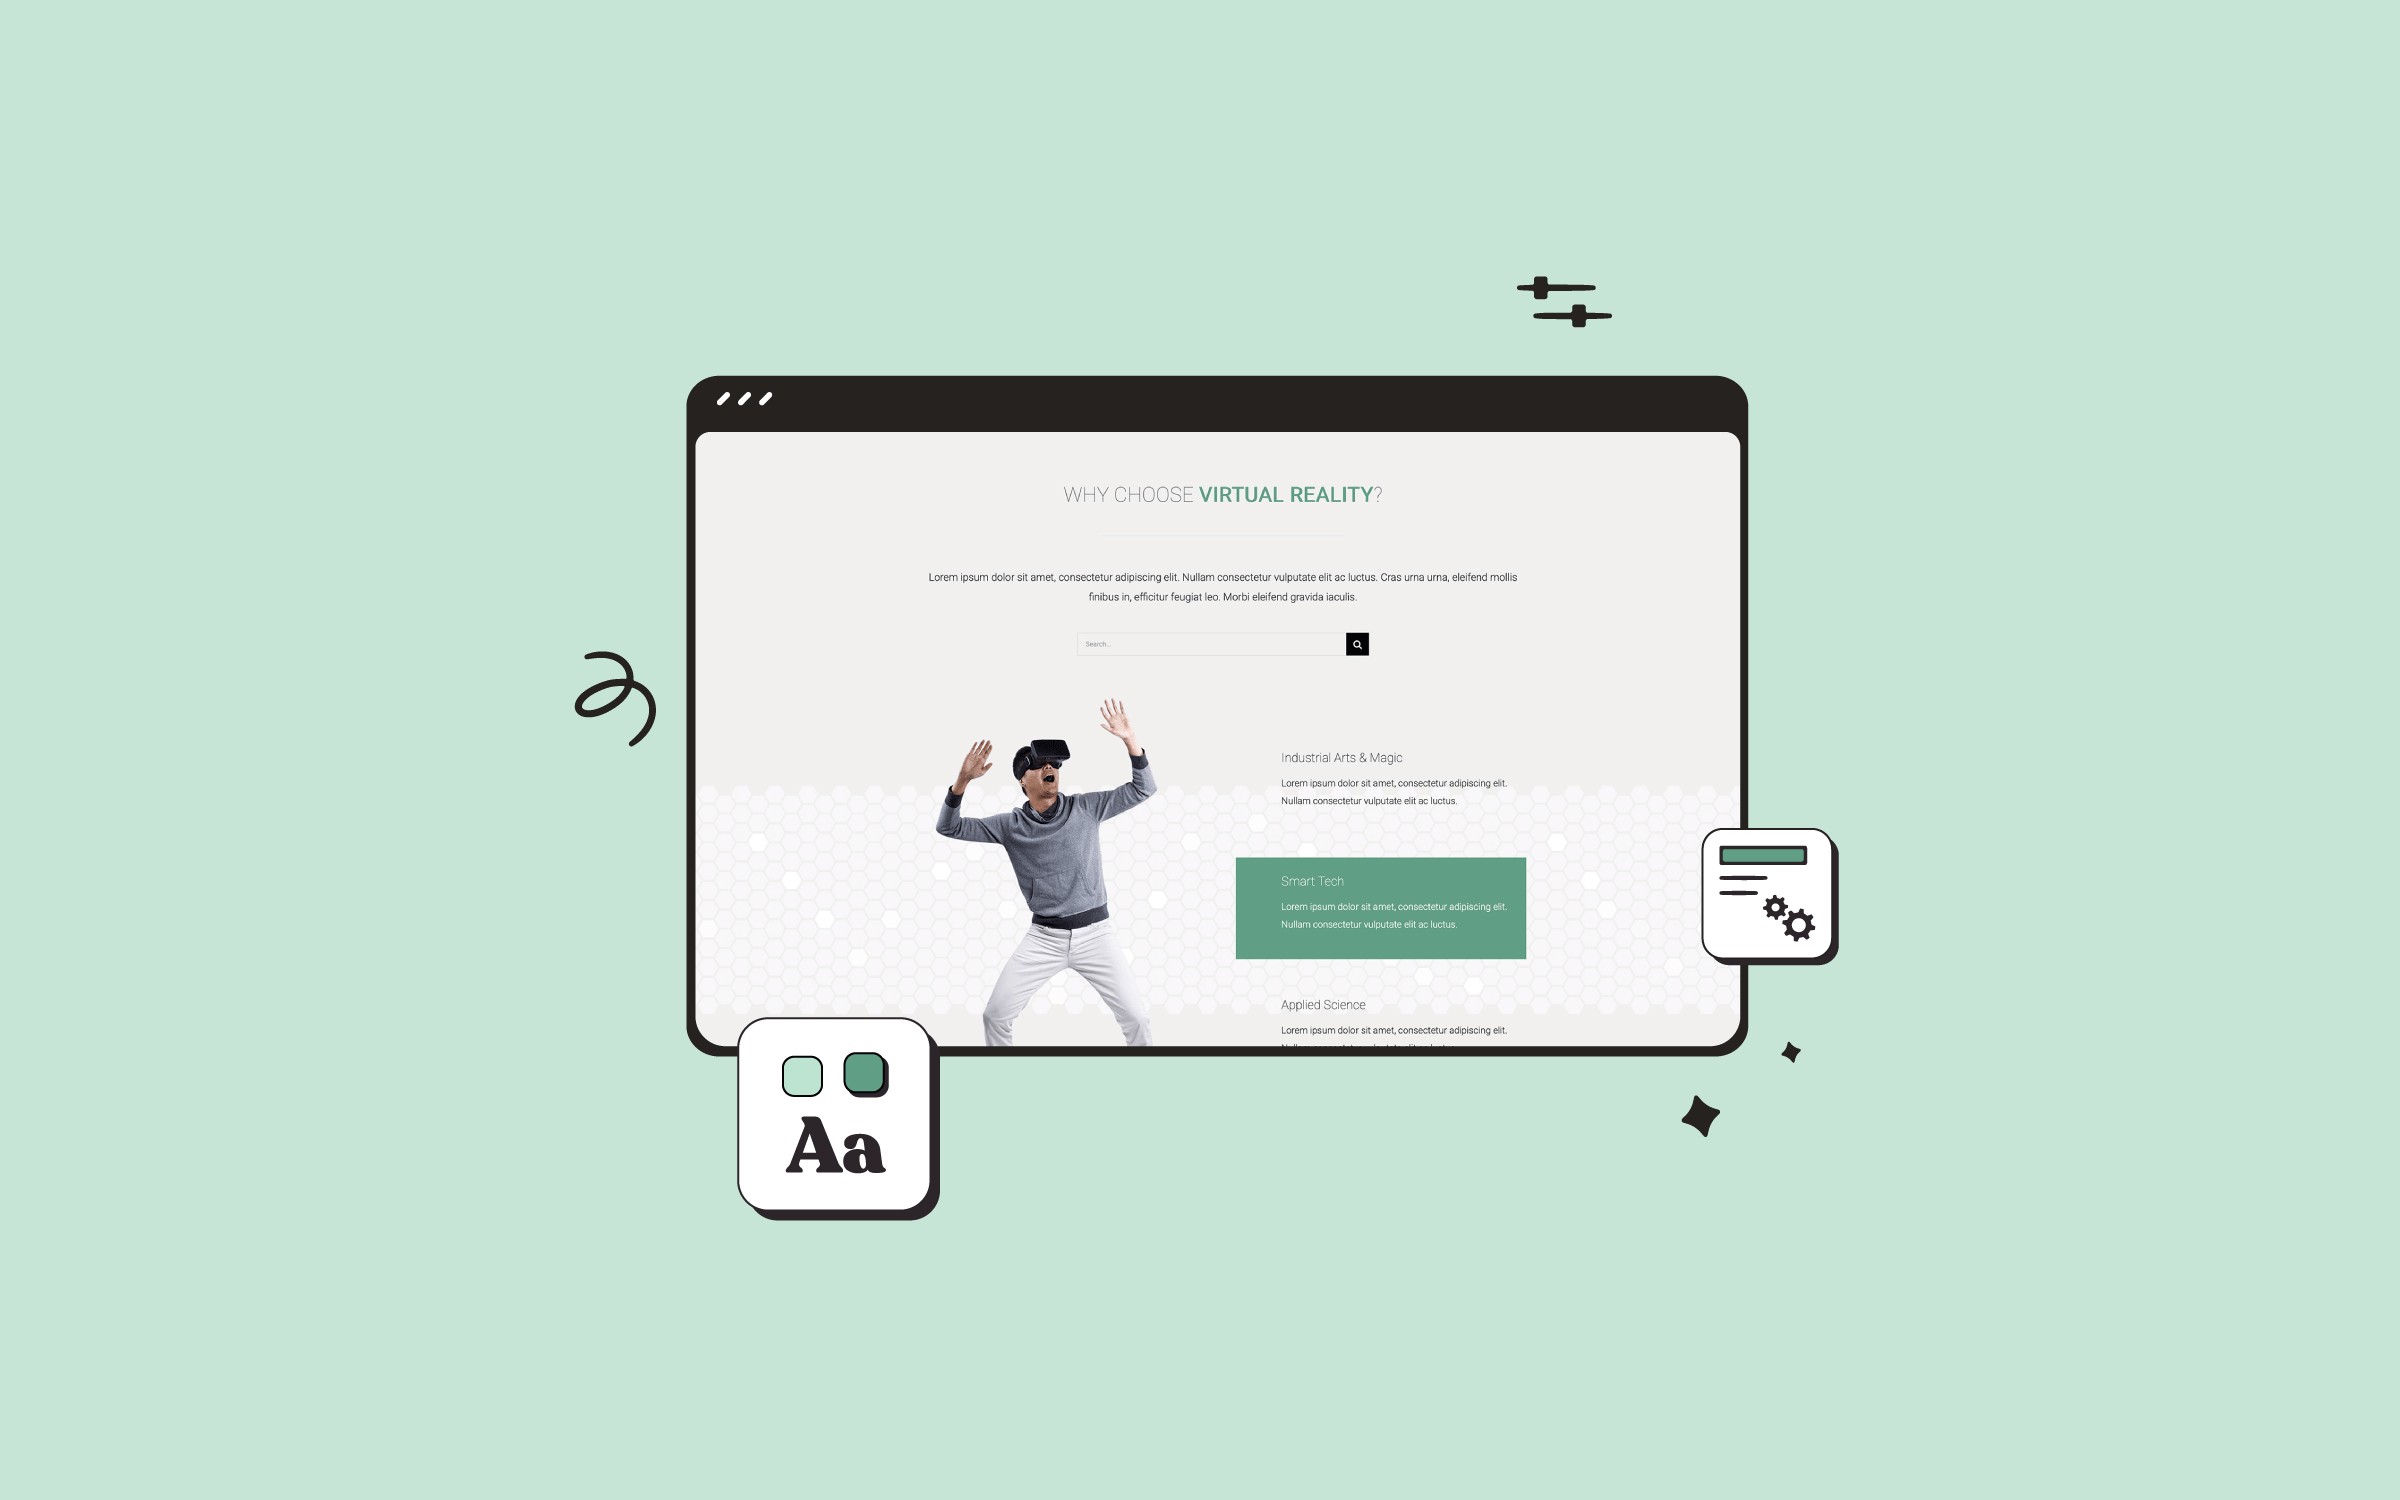
Step 3: Enhance User Experience (UX)
Avada provides the tools, but the ultimate user experience depends on thoughtful implementation. Focus on creating intuitive navigation, clear calls-to-action (CTAs), and responsive designs. Utilize Avada’s Design Elements creatively to enhance interactivity, such as animations, modal pop-ups, sliders, and interactive content sections.
Regularly test your site on various devices and browsers to ensure consistent performance and usability. Pay close attention to mobile responsiveness, which is crucial for user satisfaction and SEO.
Step 4: Leverage SEO Capabilities
To get the most out of your Avada website, leverage its built-in SEO-friendly structure and enhance it further using SEO plugins like Yoast SEO or Rank Math. Focus on optimizing your content with targeted keywords, meta descriptions, structured data, and alt texts for images.
Avada’s theme structure supports clean URL structures and proper heading hierarchies. Still, consistently auditing and refining your content for SEO best practices is essential. Update your site regularly with fresh, relevant, and keyword-focused content to boost search visibility.
Step 5: Implement Analytics and Tracking
Lastly, use advanced analytics to monitor and improve your site and boost online engagement. Integrate Google Analytics, Google Search Console, and heatmapping tools like Hotjar or Crazy Egg to better understand user behavior.
Use these insights to identify areas for improvement, understand user journeys, and refine your content and design strategy accordingly. Regular analytics reviews will empower you to make informed decisions, helping your Avada website consistently evolve and improve over time.
Bonus Tip: Regular Maintenance and Updates
Taking your website to the next level isn’t a one-time effort. Regular maintenance and updates are crucial. Ensure that your WordPress core, Avada theme, and plugins are continually updated to the latest versions. This will protect your site from vulnerabilities, improve performance, and maintain compatibility.
Schedule routine backups and security checks to safeguard your content and user data. Services like UpdraftPlus or VaultPress can automate these processes, providing peace of mind and allowing you to focus on growing your website.
Summary
These five essential steps (plus regular maintenance) ensure your Avada-powered WordPress site will look great and perform exceptionally well, offering visitors an engaging and satisfying experience. By optimizing performance, diving deeper into customization, enhancing UX, maximizing SEO, leveraging analytics, and keeping your site well-maintained, you’ll elevate your website above the competition, driving more traffic, engagement, and, ultimately, conversions.
Remember, continuous improvement is key. Regularly reviewing your site’s performance, staying updated with Avada’s newest features, and adapting to industry trends will ensure sustained success and growth for your website.