Share
When it comes to selling products online with your Avada powered website, the WooCommerce plugin is the best choice available.
The Automattic-owned giant is the most widely used WordPress e-commerce solution according to builtwith.com, currently powering over 3,876,748 online stores. As for Avada, the best-selling WordPress theme on Themeforest, builtwith.com indicates that there are 588,928 active Avada installs. WooCommerce is 100% compatible and design integrated with Avada, making this match the best choice for your online store.
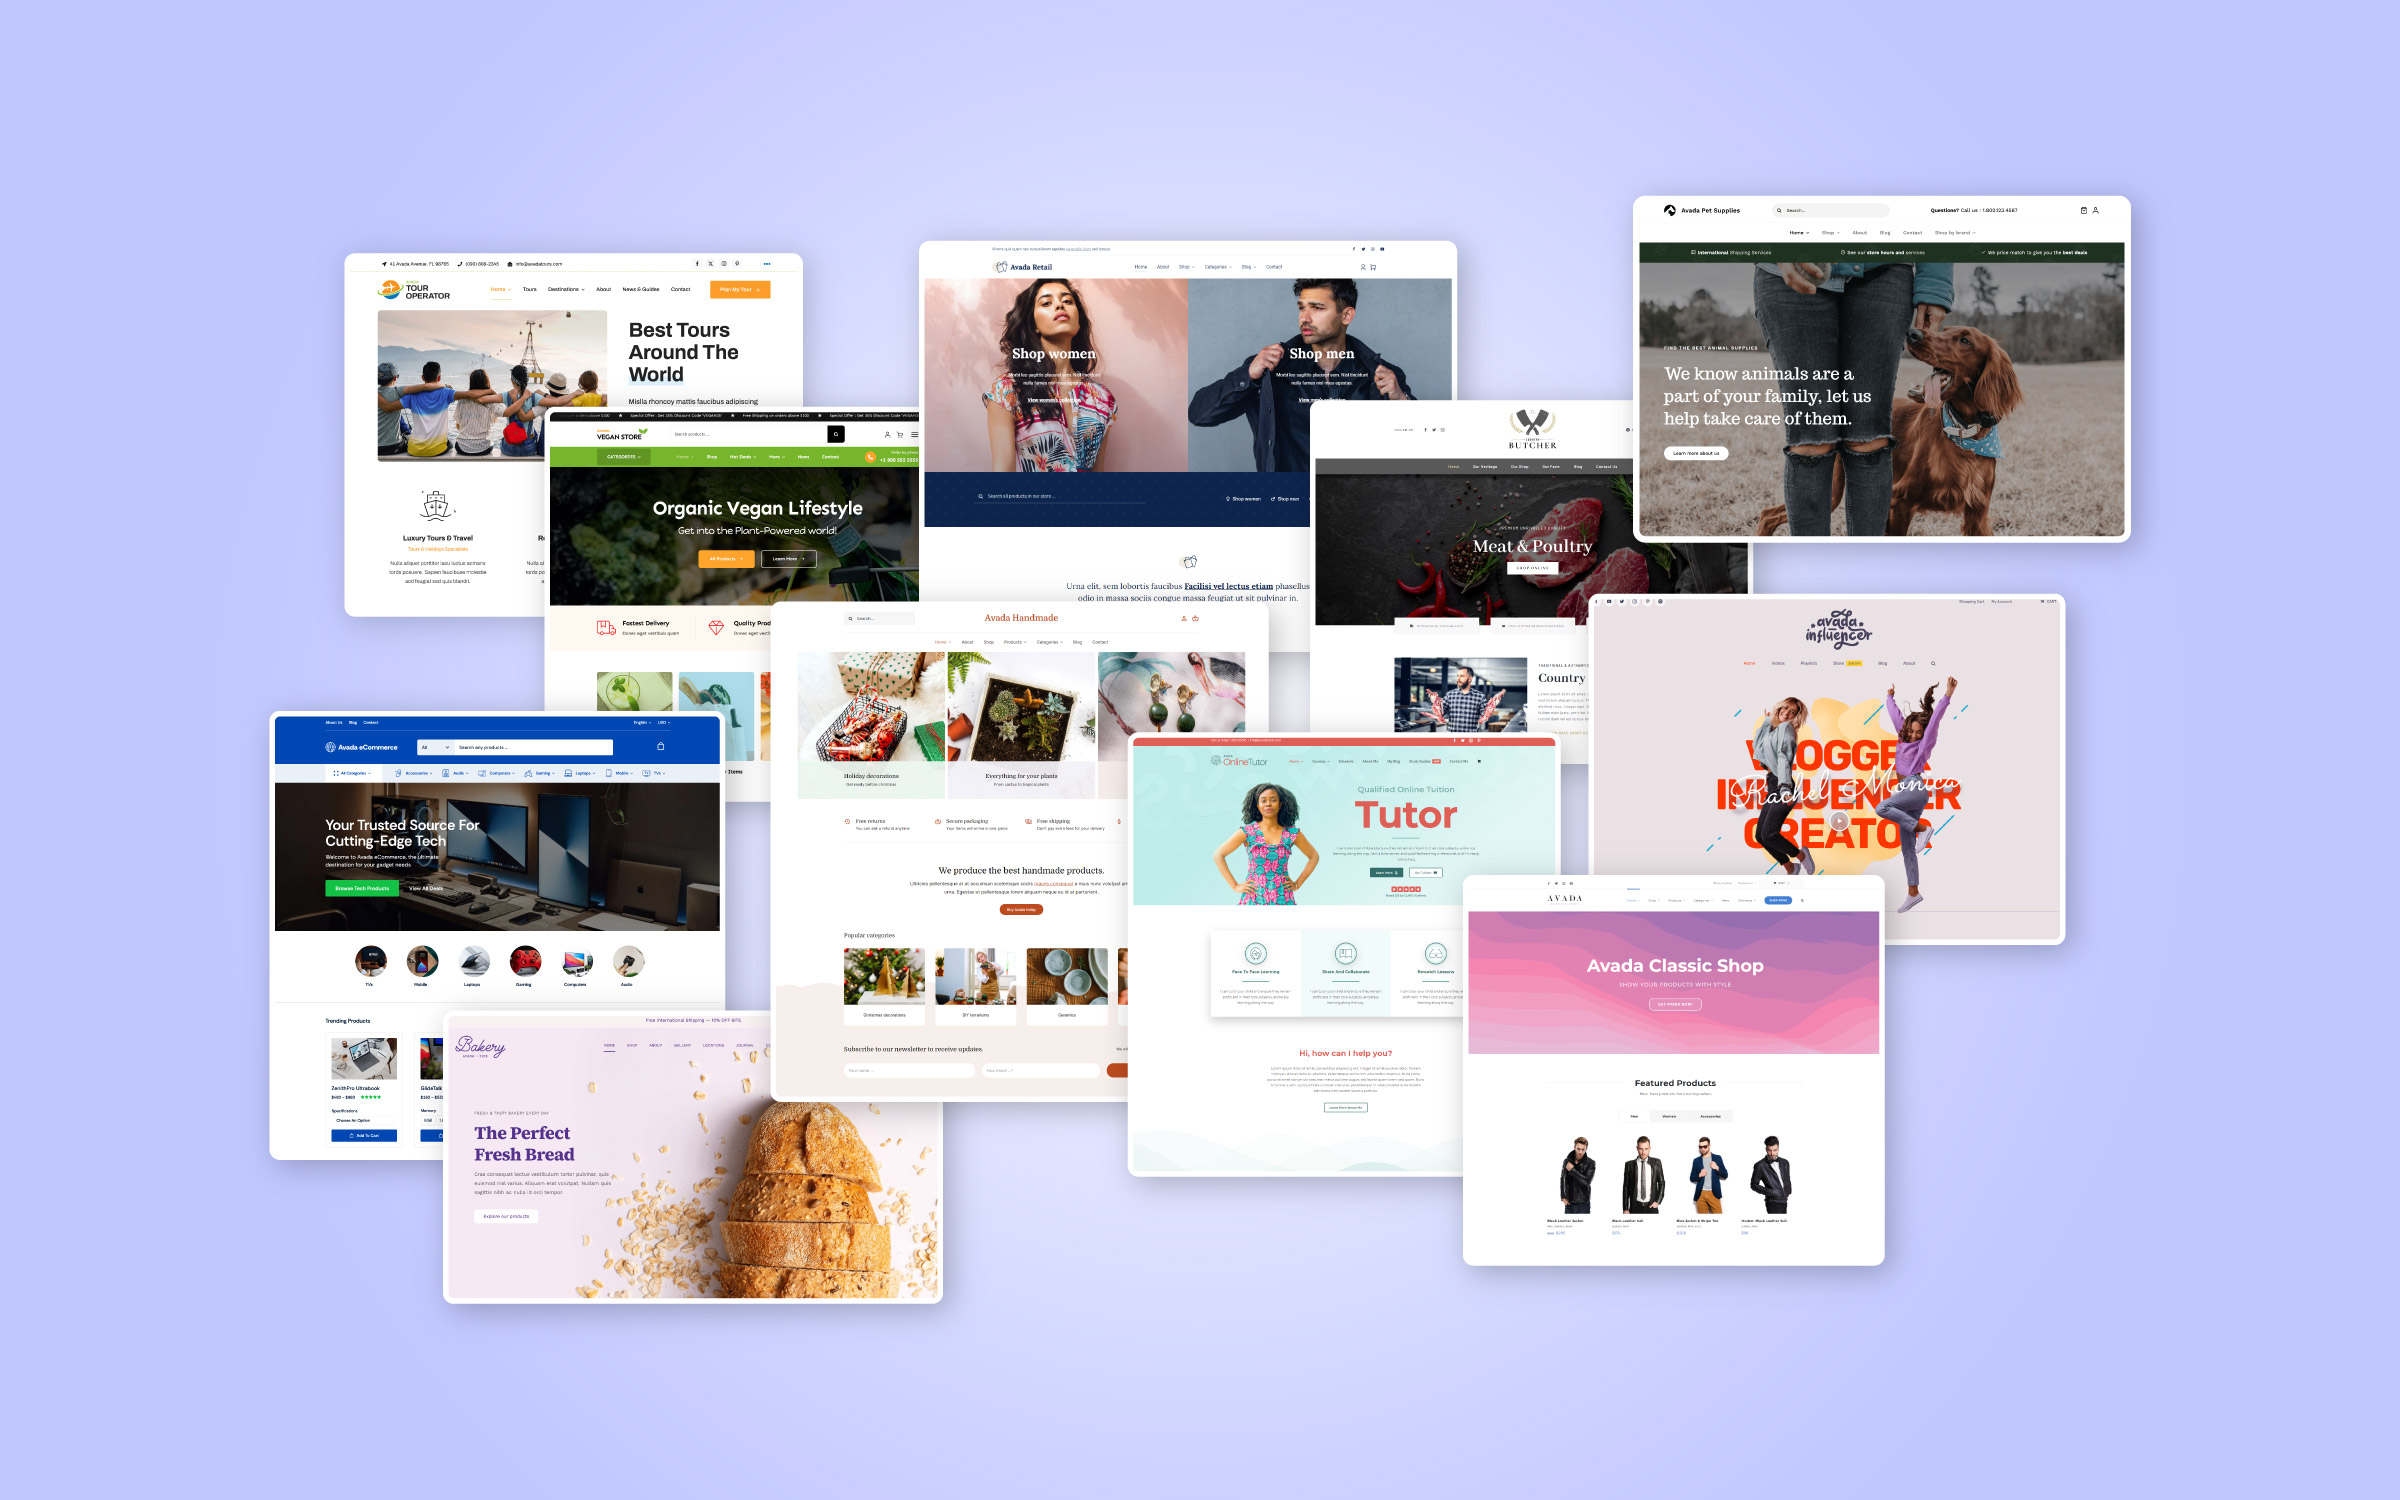
Installing and getting started with Avada is as fast and straightforward as choosing any of the existing 65+ prebuilt websites (all are compatible with WooCommerce). We have also prepared a round-up of the 15 Best Avada prebuilt WooCommerce websites that our design team has created. Installing your chosen site only takes a few minutes to get set up.
Installing the FREE WooCommerce plugin only takes a few clicks to get set up. Out of the gate, you will have the default store display with Avada, and because of how great it looks out of the box, and it’s very tempting to stick with the default display options. However, that would mean your storefront could end up looking similar to the thousands of others plying their trade.
While there’s nothing wrong with the default options, the scope for customizing your WooCommerce storefront can stretch much further with the Avada Website Builder. With the combination of Avada’s features and layout design freedom and WooCommerce’s configurable options and extensions, the only limitation will be your imagination.
In this article, we’ll discuss seven steps that will enhance and grow your online store’s presence. And excellent resources that will improve your chances of attracting new customers and increasing your sales. Let’s get started!
Overview
Step 1: Choose the Best Avada Prebuilt Website
We can recommend that you check out this article, which highlights the top Avada websites that utilize the FREE WooCommerce plugin for an online store. Also note is that there are 113 prebuilt sites in the Avada Website Builder’s library, and each of them is 100% WooCommerce integrated and compatible.
Avada is the best choice if you’re looking for advanced customization options without requiring any coding knowledge. Using the drag-and-drop visual interface to design your website is intuitive and fast.
Step 2: Customize the Store’s Design to Suit Your Business
Avada provides a vast array of options to configure your online store, all located under the Avada > Theme Options > WooCommerce panel in the WordPress dashboard. For a detailed overview of all of the available options please see this document and watch this video playlist for all things WooCommerce and Avada.
Firstly, let’s look at the changes you can make to your store’s layout. At the top of the General WooCommerce tab, you’ll see the first four product display options:

These options make it possible for you to decide how products will display on your page. Let’s take a closer look:
In addition to the above, you can customize the design of the product box and the information tabs on single product pages. To locate these settings, navigate to the top of the WooCommerce > WooCommerce Styling panel.

Changing the product box design to Clean from the default Classic option removes the Add to Cart and Details links beneath each product with a sleek and minimalist look and is presented once you hover over the product.

And, toggling the Product Tab Design button enables either horizontal or vertical tabs on each product page.

At the bottom of the WooCommerce Styling panel you will see WooCommerce Icon Font Size. Entering a value that relates to font size (i.e. px, em, or rem) allows you to change the size of any icons and their related fonts displayed within your single product pages.
The WooCommerce Styling panel also has options for customizing the colors of various elements within your storefront, and with the product display options, provides excellent scope in terms of tweaking the look and feel of your site. Some of the options at your disposal are:
Step 3: Turn on Social Sharing for Products
Social media is well and truly part of our day-to-day lives, with over two billion users active with one service or another. It, therefore, stands to reason that harnessing the power of social media to improve sales should be a high priority.
Fortunately, with the Avada Website Builder, you can enable (or disable) social sharing for individual products. Head to WooCommerce > General WooCommerce, and scroll down until you find the Woocommerce Social Icons option.

By enabling the social bar for all product pages, you create the opportunity for your website visitors to share the product line virally with their followers and subscribers.
And, with social media being so influential, it stands to reason that the more that potential customers are viewing your products, the higher the chance that it could influence sales. In our eyes, enabling this option is a no-brainer.
Step 4: Enhance Your Buyer’s Experience
There are also several adjustments to make within the Theme Options panel that can further enhance the buying experience. Turn on the WooCommerce Product Gallery Zoom option to allow your shoppers to get a close-up view of your product simply by hovering over the product image on the single product page. You can see this in action here.
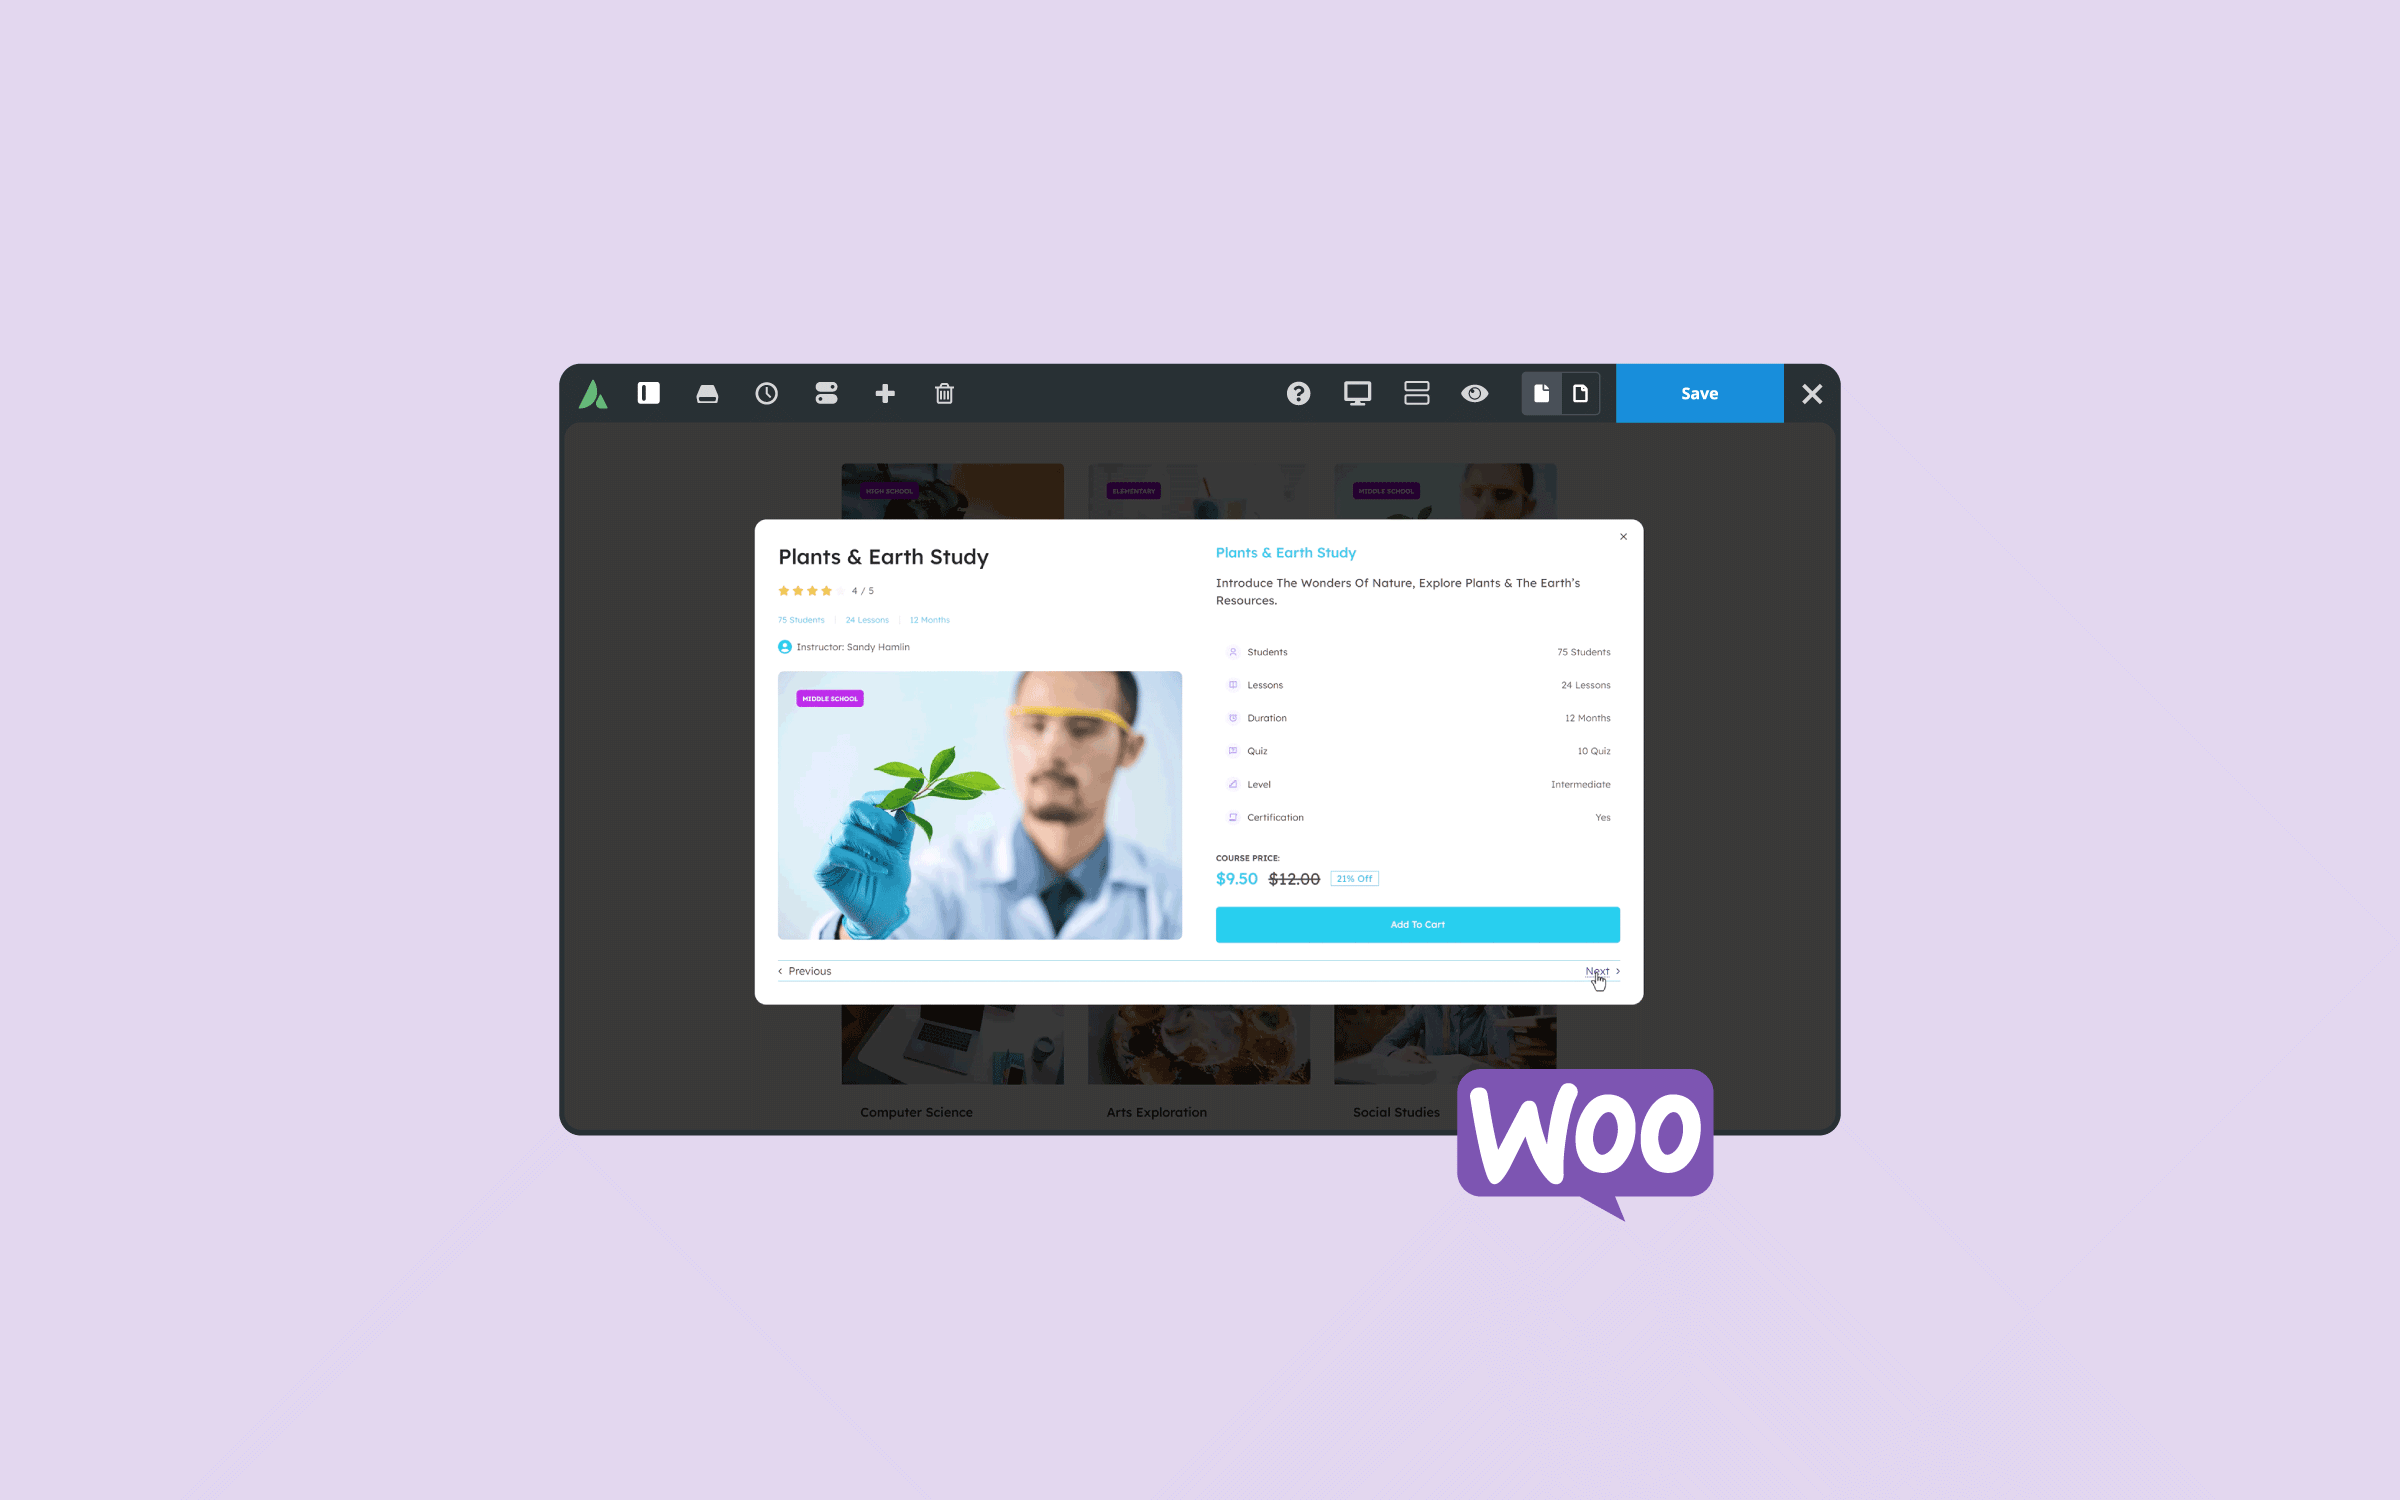
Another great option is the Product Quick View. This option will enhance decision-making by providing vital product information at the customer’s convenience. Using Quick View can eliminate the need to go to the individual product page for further details before purchase.
Step 5: Streamline the Purchasing Process
‘Cart abandonment’ (as it’s called) is a hot topic within the world of e-commerce. Each customer who navigates away from your site represents a lost sale. Here’s an article that outlines some further tips and tricks to mitigate shopping cart abandonment. In addition to that, HubSpot have a great resource article on how to use cart abandonment emails to win back customers.
Once a customer has added their desired products to the shopping cart, the smoother the checkout process can be, the better the overall experience for the end-user. A pleasant experience will lead to a recurring experience.
As WooCommerce default, the buyer is led through three stages for purchasing their item. (A) Entering their billing address, (B) Adding any notes to the seller (I.E., you), and (C) Entering their all-important billing information. With the Avada Website Builder, you can enable the Woocommerce One Page Checkout option that will streamline the purchase process. To enable this, navigate to Avada > Theme Options > WooCommerce > General WooCommerce > Woocommerce One Page Checkout.
Grouping these steps into a one-page checkout process will make it more efficient for your customers. The fewer hoops a person needs to jump through, the more inclined they will be to complete their purchase rather than navigate away from your store.

Something else that you may find necessary for your customers, depending on your business model and requirements, is enabling the WooCommerce customer account option. Doing this provides your customers with the means to view their past orders, manage addresses, and general account information. To enable this feature in your websites header, go to the Woocommerce My Account Link in Main Menu option.
Below is an illustration of the account access when used with Avada. You can also view it in action here, and check out the Configuring WooCommerce Settings help file provided by WooCommerce.

Step 6: Enhance Sales And Marketing Strategies with the FREE HubSpot CRM
We recommend the FREE HubSpot WordPress plugin, which is 100% compatible with your Avada-powered website and is great way grow your business better. The plugin offers various tools that will make your life a lot easier in the long run.

CRM (Contact Relationship Management) Software is not just about contact management; it is a suite of tools to help you get the most out of the data and resources at your disposal. The FREE HubSpot CRM is geared up for sales leaders, marketers, customer service teams, general operations, and business owners.
The following article, 5 Powerful CRM Plugins for WordPress, is definitely worth a read.
Step 7: Sync HubSpot with WooCommerce
Once you have installed WooCommerce with your Avada powered website, growing your online store becomes even easier when you integrate the HubSpot for WooCommerce plugin. You can manage all of your leads, existing and potential customers, track and recover abandoned carts, send out marketing email campaigns, build ads that drive sales, and track everything with detailed analytics.

HubSpot for WooCommerce Key Features:
Conclusion
Just because a WooCommerce store is easy to set up doesn’t mean you have to settle for using the default settings. Likewise, even though others may create solid-looking storefronts using the default options, that doesn’t mean you should not utilize Avada’s WooCommerce Builder for the ultimate design flexibility to make your WooCommerce online store stand out from the competition.
In this post, we have covered seven ways to enhance your visitor’s WooCommerce experience and increase sales with Avada. These options, resources, and plugins are just the tip of the iceberg; there is so much more to explore. Let’s run through the points discussed here: