Share
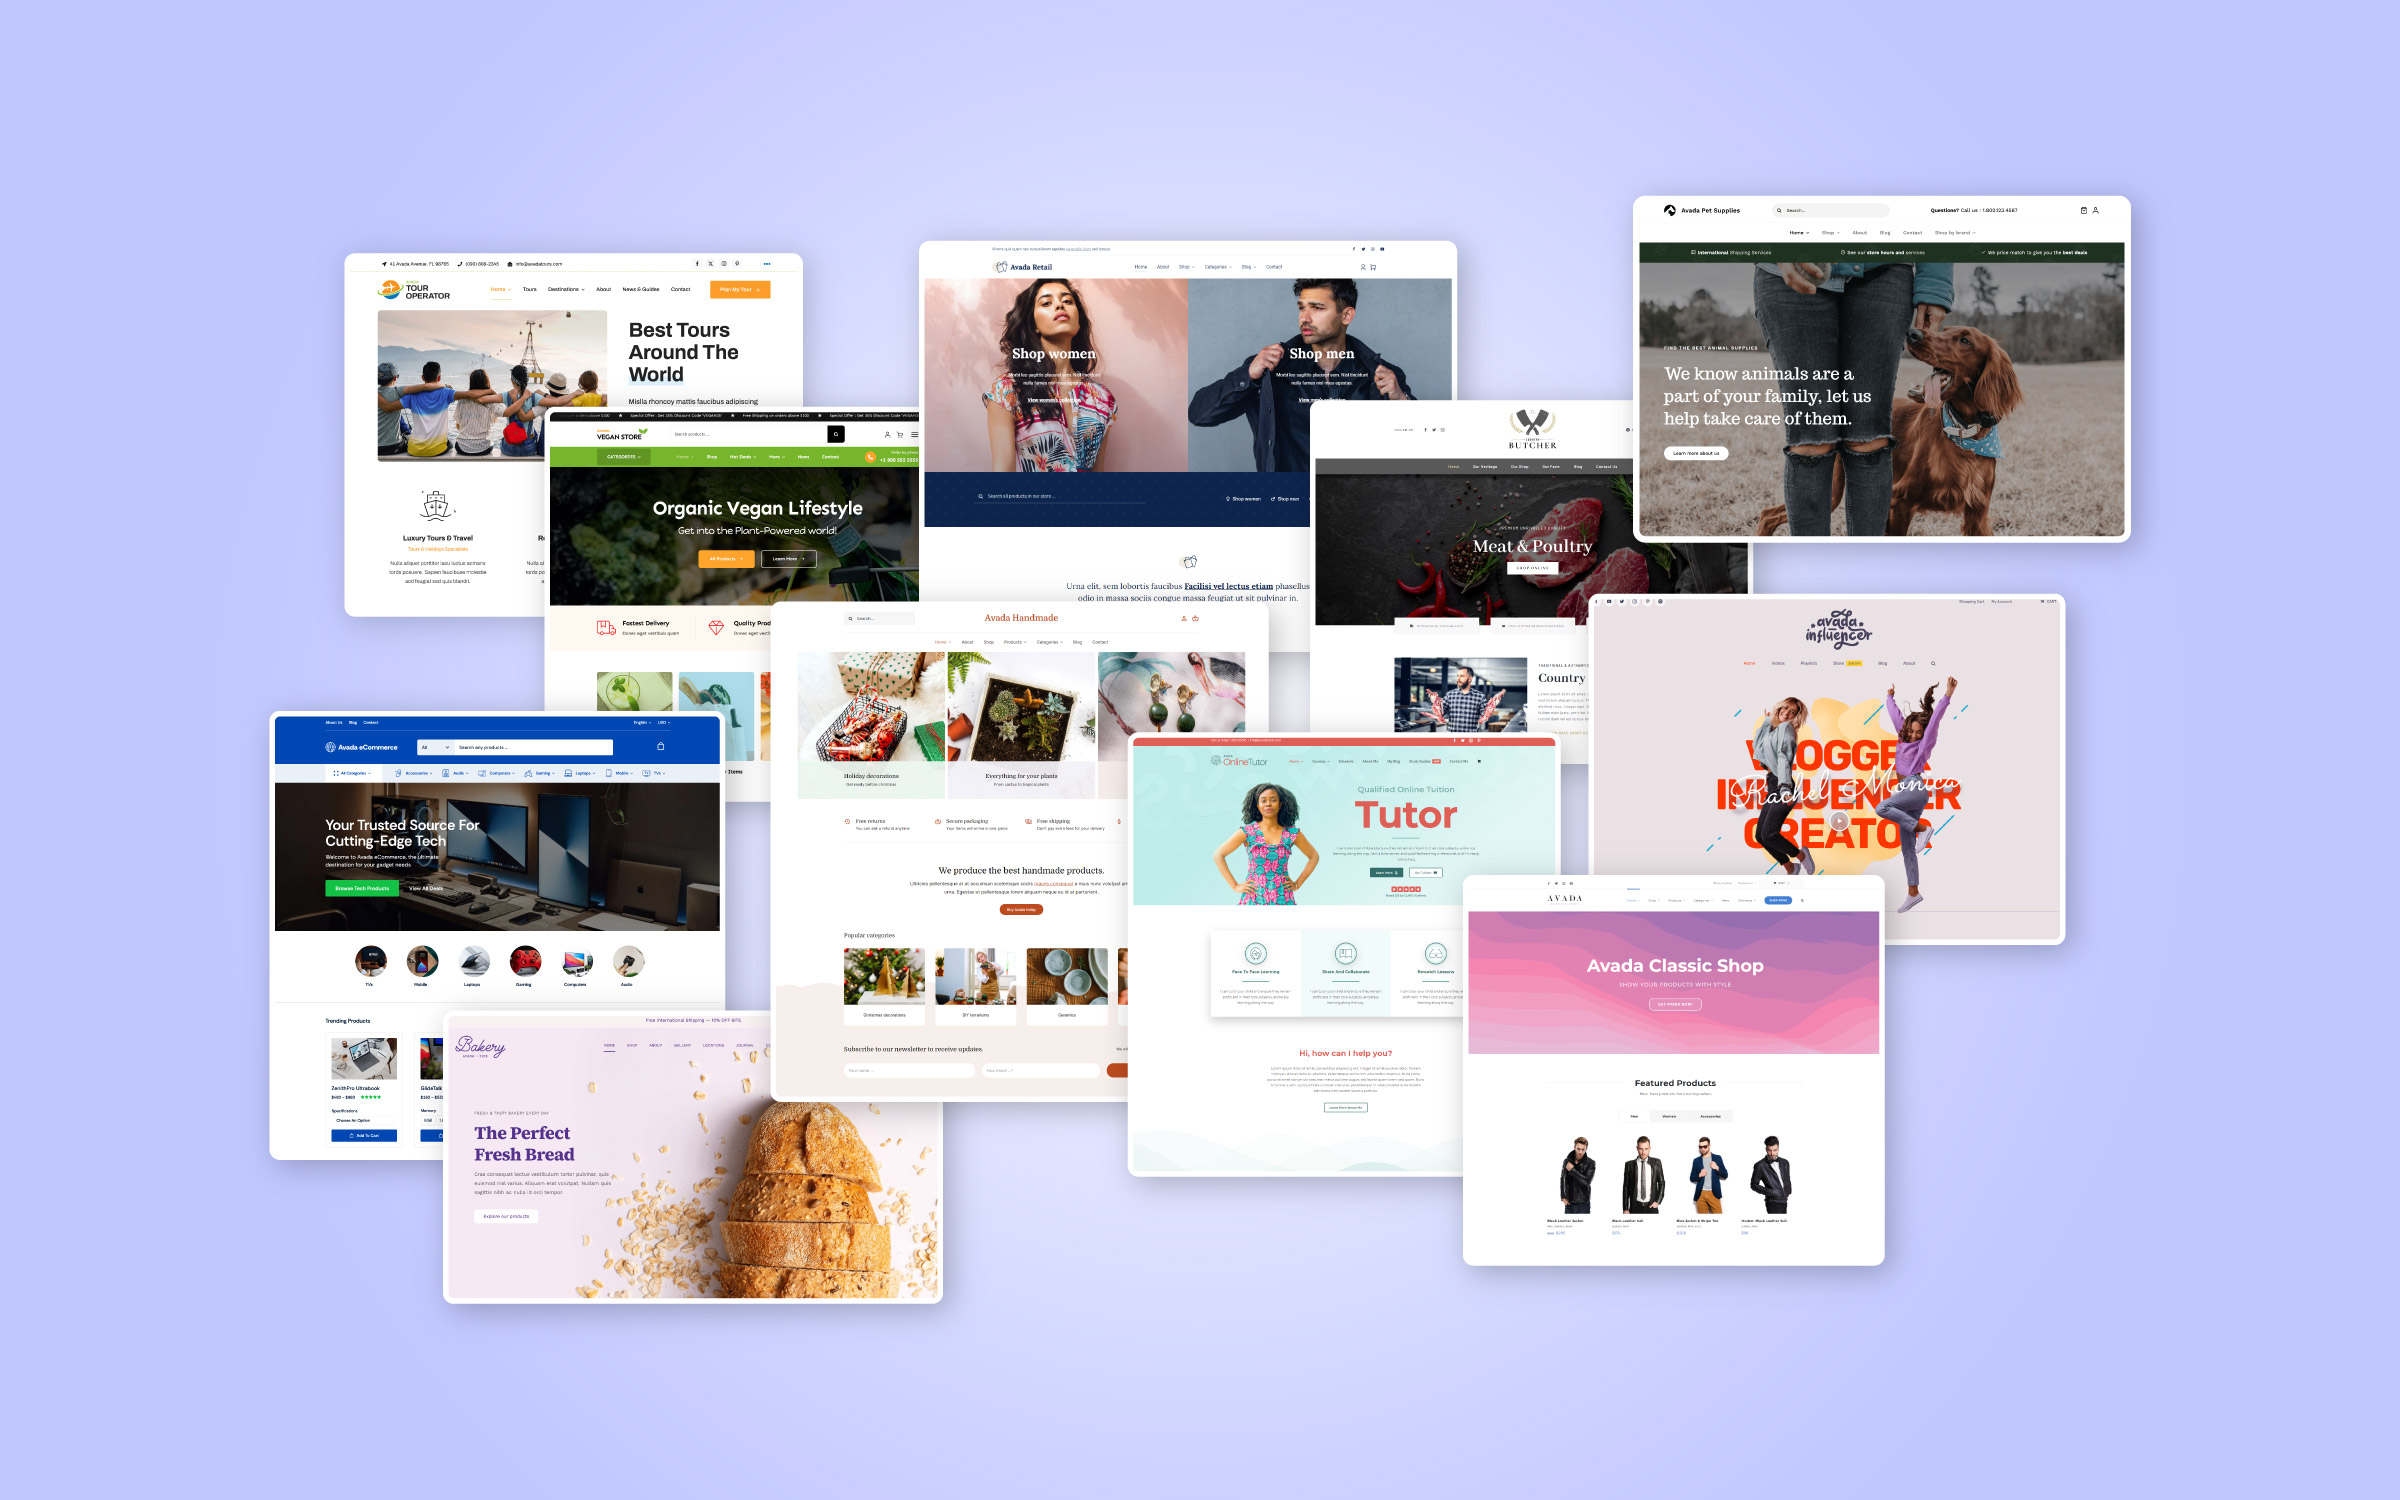
When it comes to selling products with your Avada website, the WooCommerce eCommerce plugin is king.
The Automattic-owned giant is the most widely used WordPress e-commerce solution in existence, currently powering over 30% of all online stores. However, because of how great it looks out of the box, it’s very tempting to stick with the default display options – meaning your storefront could end up looking similar to the thousands of others plying their trade.
While there’s absolutely nothing wrong with the default options, the scope for customizing your WooCommerce storefront can stretch much further. Our own Avada theme includes a number of options for tweaking WooCommerce from your WordPress dashboard, and by browsing its options, you can transform your storefront from an also-ran into a gold medallist.
In this post, we’ll offer you four simple steps for customizing your WooCommerce store from Avada’s Theme Options panel, giving you the very best chance of attracting new buyers and increasing your sales.
Let’s get started!
Step 1: Configure Your Store’s Layout and Design
Avada includes a wealth of options for configuring your WooCommerce store within its Theme Options panel, found under the Avada tab on the WordPress dashboard. Once there, navigate to WooCommerce > General WooCommerce, and you’ll be presented with the options at your disposal:

First of all, let’s look at the changes you can make to your store’s layout. At the top of the General WooCommerce tab, you’ll see four sliders:

The options here enable you to customize how products display on your page. Let’s take a look:
For a comprehensive list of all Avada Woocommerce Options please see this help file.
You can also customize both the design of the product box itself, and the tabs that display on single product pages. To get at these settings, navigate to WooCommerce > WooCommerce Styling, and at the top you’ll see the relevant options:
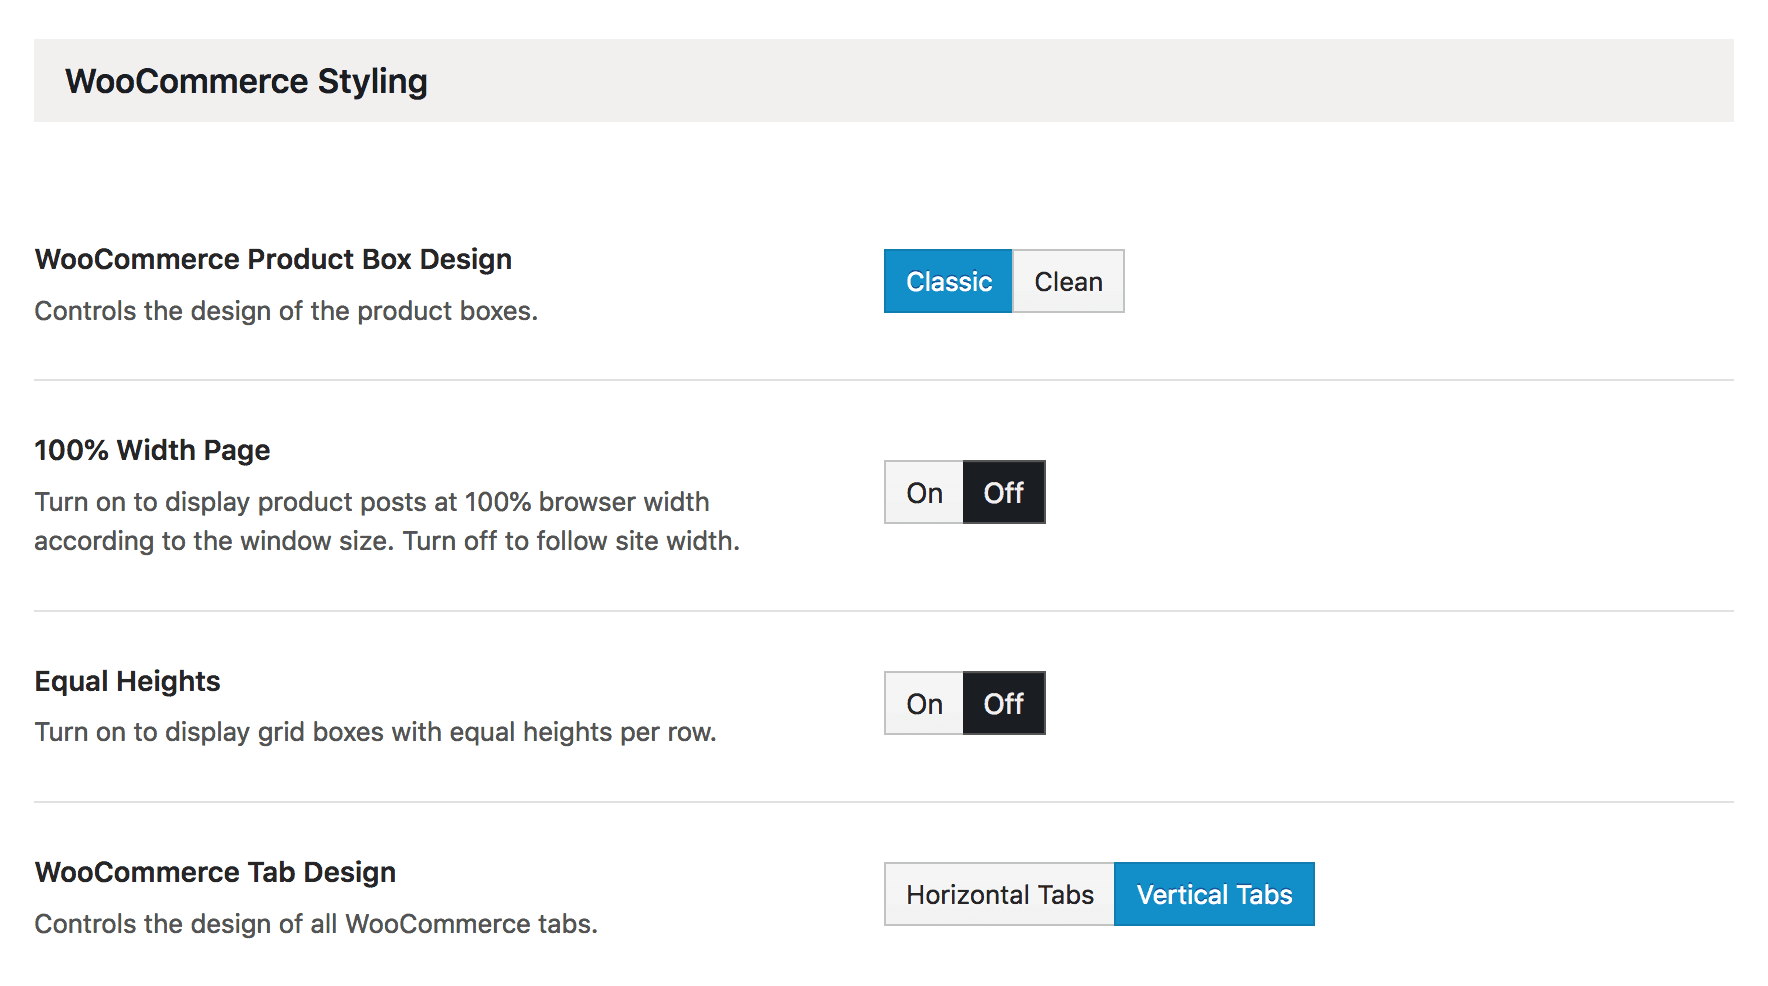
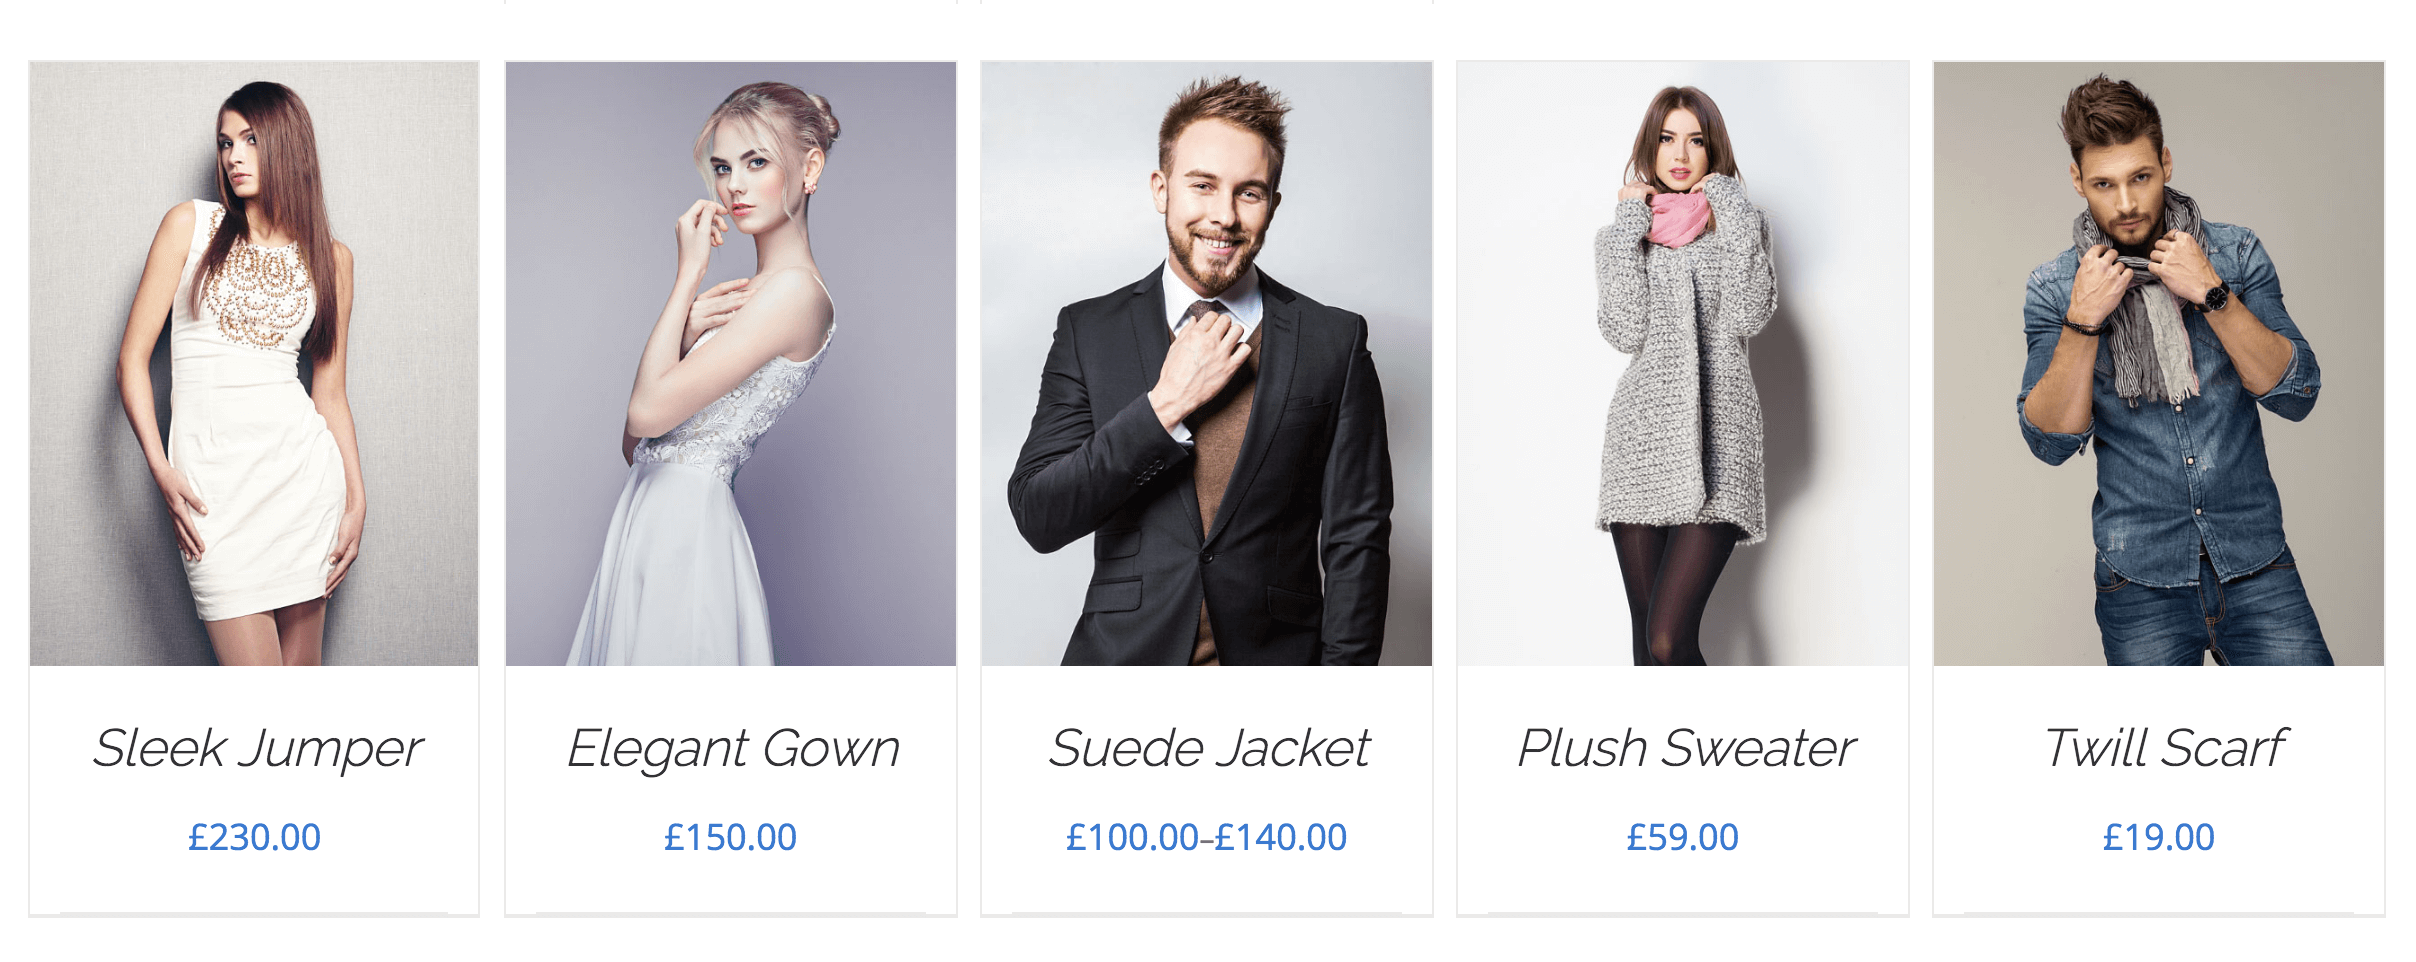
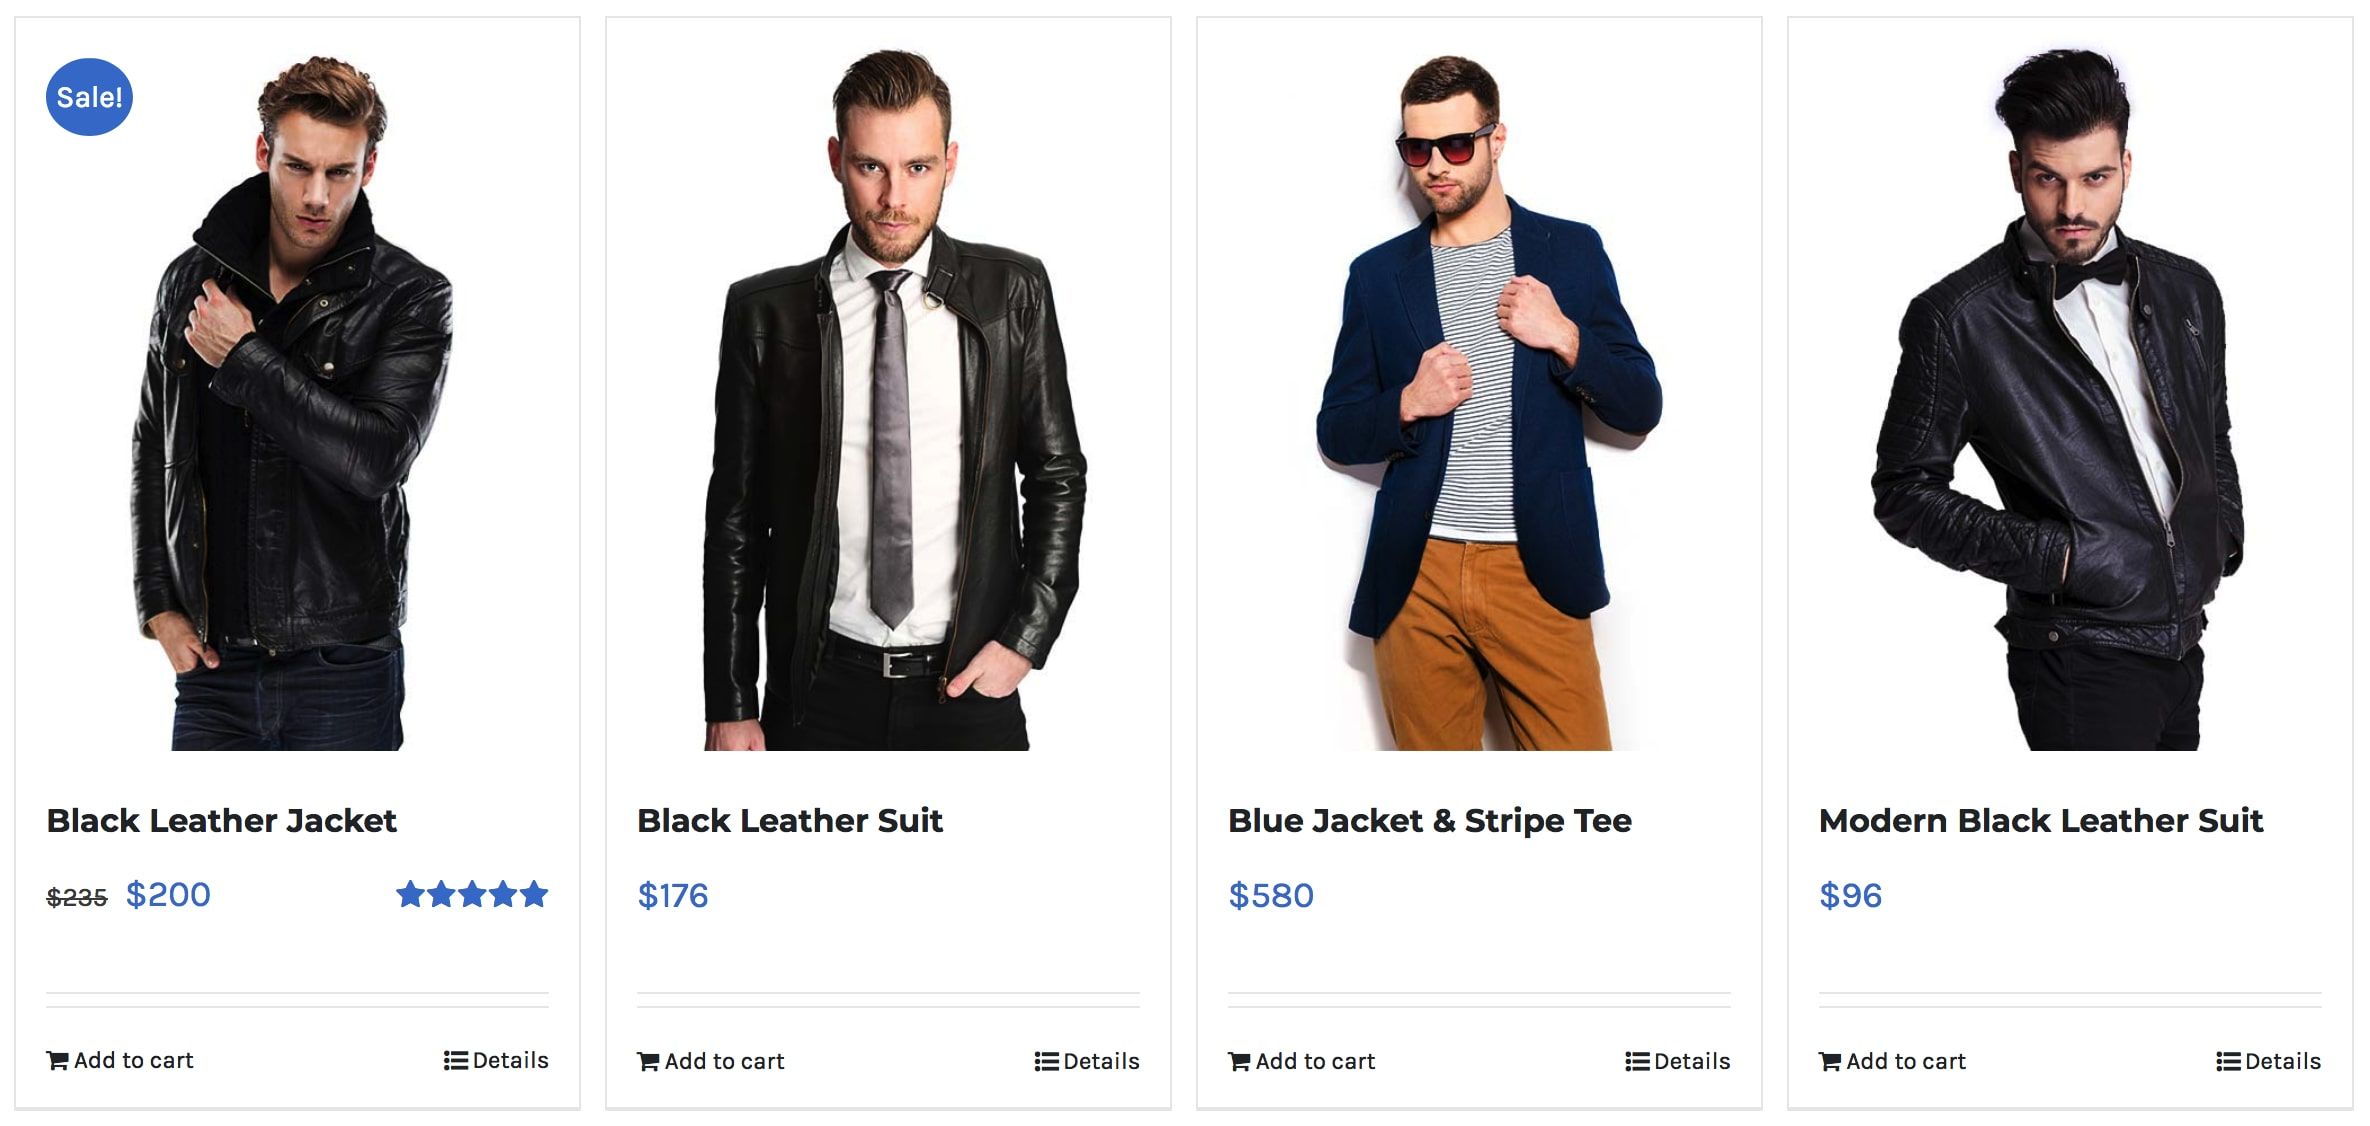
Firstly, changing the product box design to Clean from the default Classic option removes the Add to Cart and Details links beneath each product…
…and toggling the Product Tab Design button enables either horizontal or vertical tabs within each product page:

Finally, at the bottom of the WooCommerce Styling panel you will see > WooCommerce Icon Font Size. Entering a value that relates to font size (i.e. px, em, or rem)…
…you can change the size of any icons and their related fonts displayed within your individual product pages:
Step 2: Customize Your Store’s Colors
The WooCommerce Styling panel also has options for customizing the colors of various elements within your store, and along with the product display options, it offers a lot of scope in terms of tweaking the look and feel of your site. Some of options at your disposal are:
For a comprehensive list of all Avada Woocommerce Options please see this help file.
All of the options here are important, and it’s worth spending the time to investigate a suitable color scheme, as choices can have a big psychological impact on buyer patterns, and could potentially have a big impact on your profit margin.
To this end, companies often carry out ‘split tests’ – comparing different colors, fonts, and more – to ascertain which design choices have a higher buyer conversion rate, and how they impact sales figures. For further reading, check out this article from Kissmetrics.
Step 3: Turn on Social Sharing for Single Products
Social media is well and truly part of our day-to-day lives, with over two billion users having an active account with one service or another. It stands to reason, therefore, that harnessing its power to improve sales should be a high priority.
Fortunately, Avada’s Theme Options can enable (or disable) social sharing on individual products. Head to WooCommerce > General WooCommerce, and scroll down until you find the Woocommerce Social Icons option:

Turning this on displays a section within individual product pages, enabling visitors to post or tweet the item to their followers and subscribers:
With the vast number of people using social media, it stands to reason that the more eyes viewing your products, the further it could increase sales – so in our eyes, enabling this option is a no-brainer.
Step 4: Improve the Buyer’s Experience
There are a number of tweaks to make within the Theme Options panel that can enhance the buying experience. To enable these options, navigate to WooCommerce > General WooCommerce, and scroll down until you find the sections for Woocommerce One Page Checkout and Woocommerce My Account Link in Main Menu:

The first option, Woocommerce One Page Checkout, streamlines the purchase process. By default, the buyer is lead through three stages for purchasing their item – entering their billing address, adding any notes to the seller (i.e. you), and entering their all-important billing information:

Toggling Woocommerce One Page Checkout bundles all of these steps into one page – the idea being that a user who has less hoops to jump through will be more inclined to complete their purchase, rather than navigate away from your store.
‘Cart abandonment’ (as it’s called) is a hot topic within the world of e-commerce, as every user who navigates away from your site represents a lost sale – so it’s worth reading up on. Here’s an article that outlines some further tips and tricks for getting a handle on shopping cart abandonment.
Finally, by default, users have no way to easily access their account from any page on your website. By toggling Woocommerce My Account Link in Main Menu, it places a link to their account within your navigation, enabling easy access to their settings:

Conclusion
Just because a WooCommerce store is easy to set up doesn’t mean you have to plump for using its default settings. Likewise, even though others may create solid-looking storefronts using the default options, that doesn’t mean you can’t utilize Avada’s Theme Options panel to its fullest to make your WooCommerce-powered store shine.
In this post, we’ve given you four ways to tweak Avada to improve your visitors WooCommerce experience and increase sales. These options are just the tip of the iceberg, and there are many more lurking within Avada’s settings. Let’s run through the tweaks featured:
Do you have any questions about customizing WooCommerce with Avada, or do you have a favorite setting we’ve not featured? Let us hear all about it the comments section below!