Share
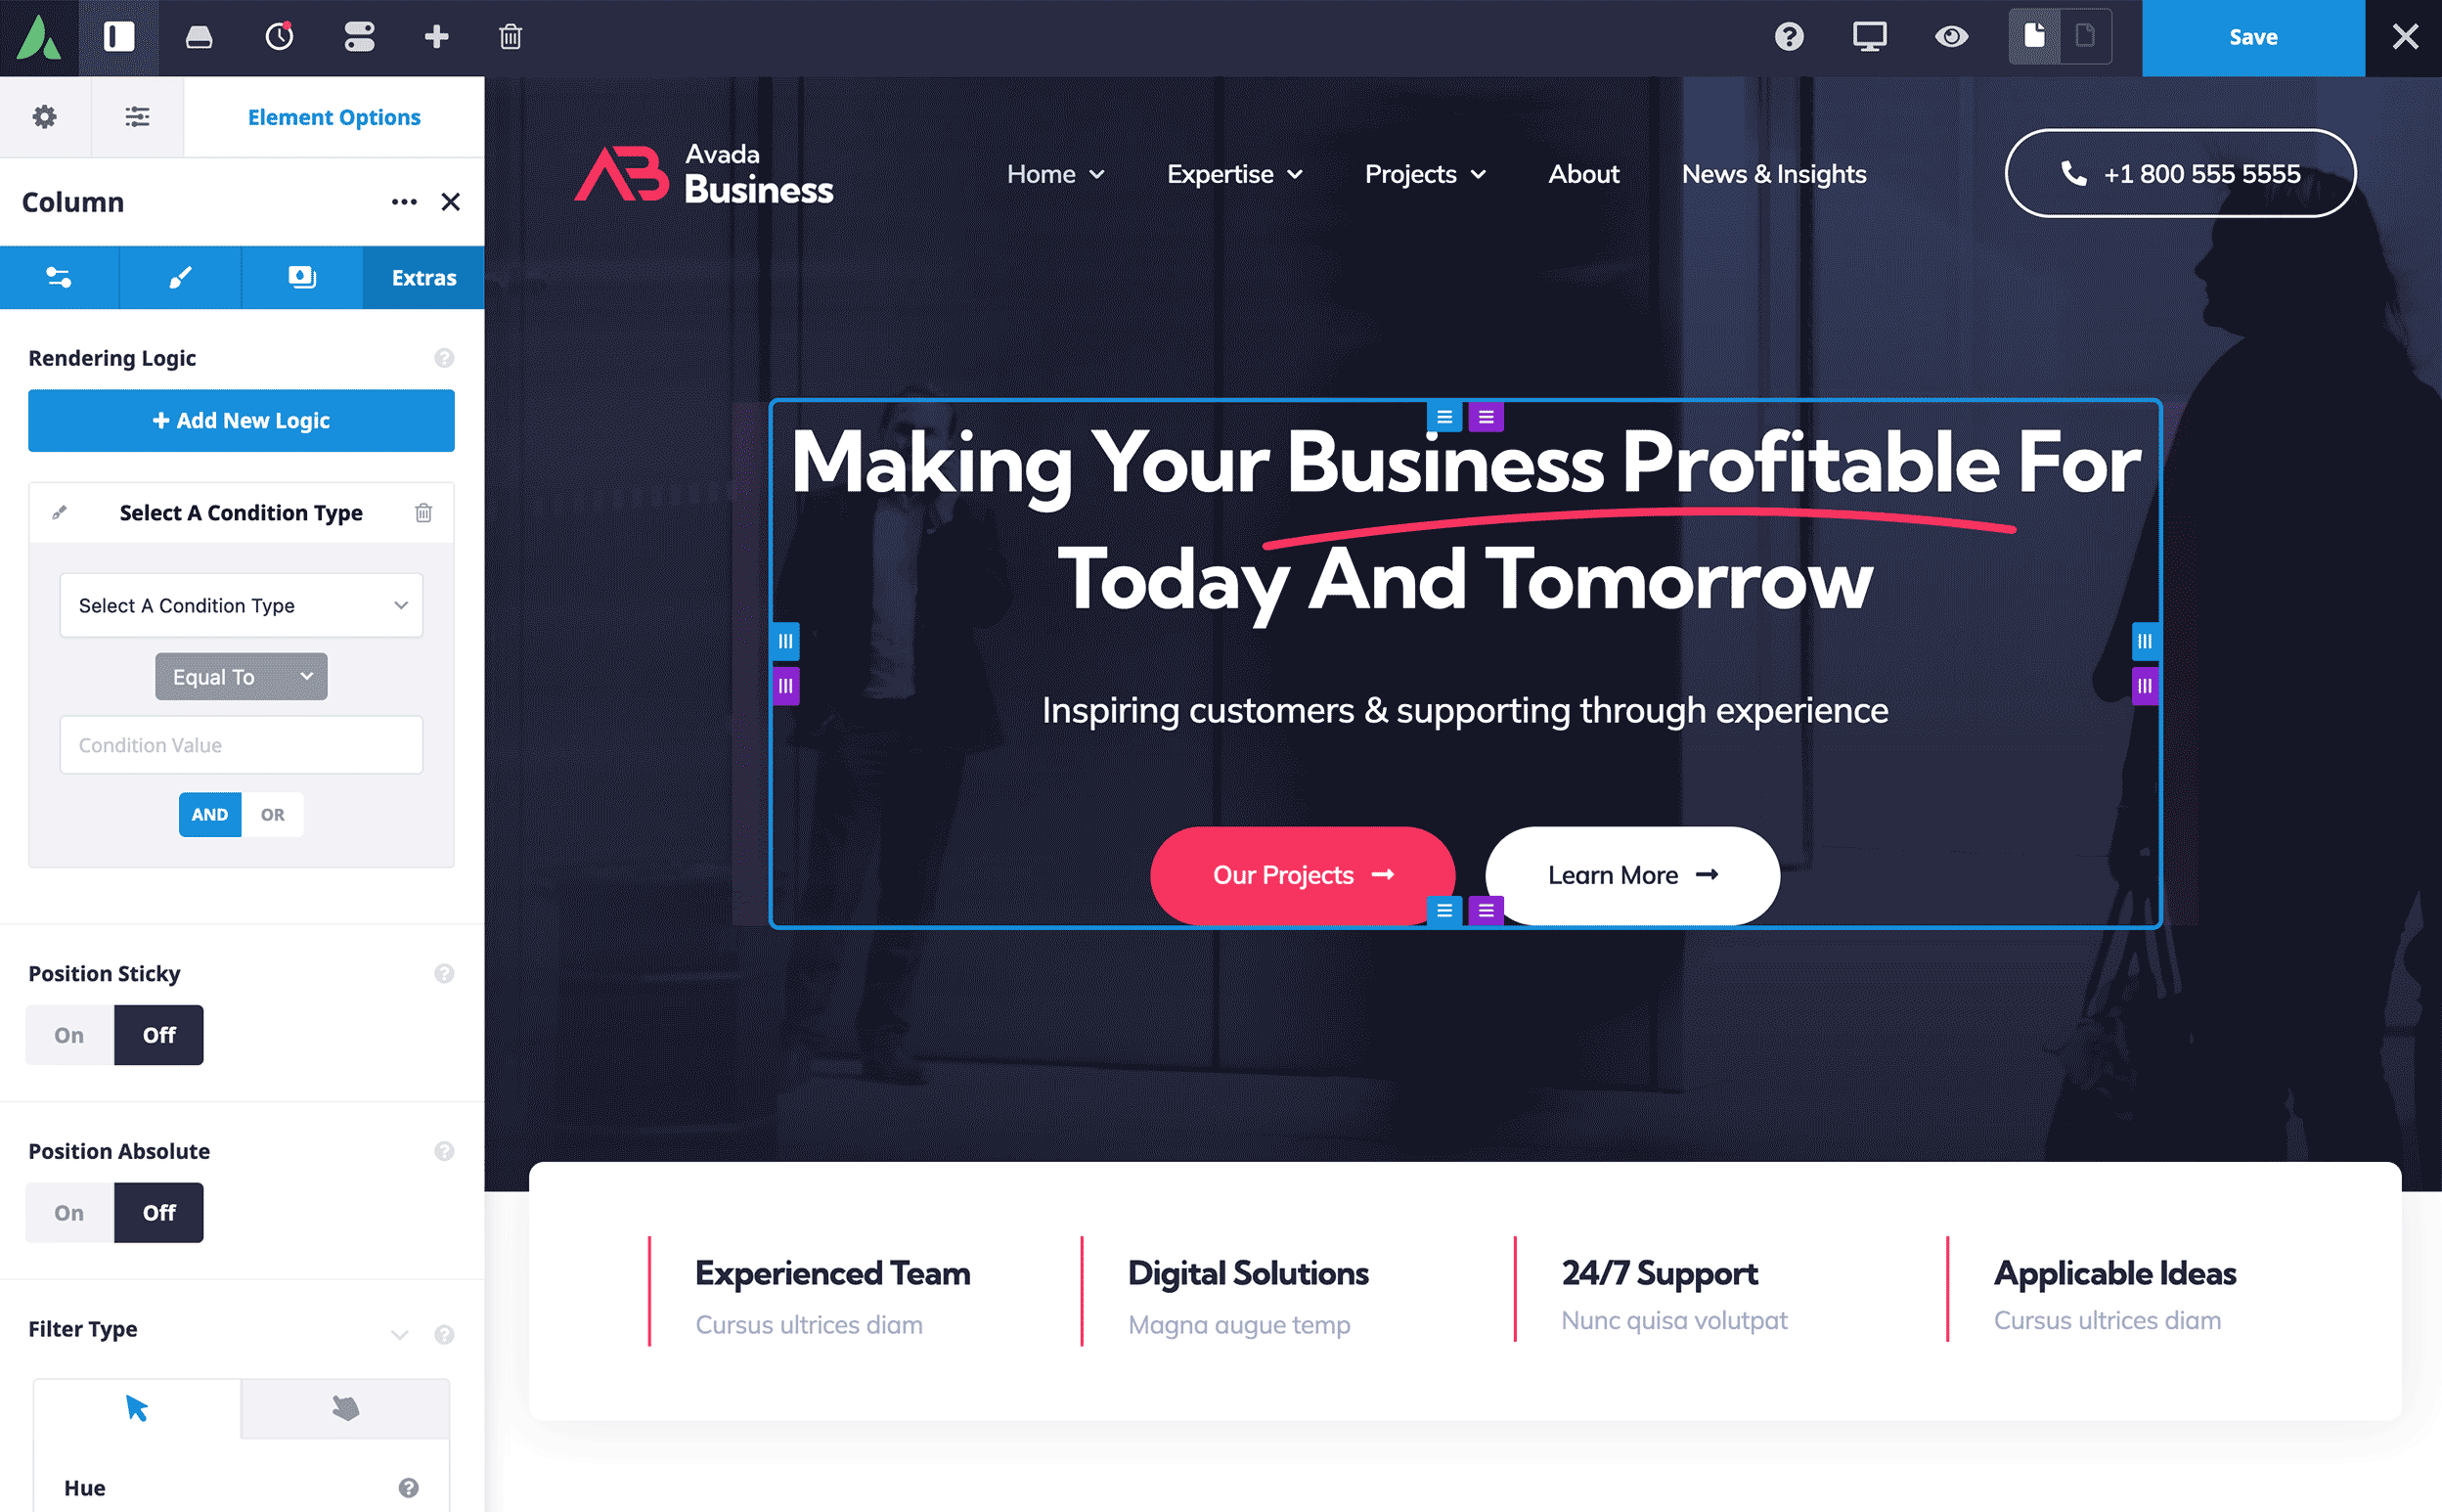
Avada Rendering Logic (not to be confused with the Avada Responsive Options Sets feature) is a powerful feature for WordPress web design, enhancing control over how user content is displayed based on specific conditions. Unlike the Avada Element Visibility options, which hide Avada Elements from users but still load it in the code, Rendering Logic ensures that specified content isn’t rendered in the code, creating a cleaner, faster-loading page. Below is an in-depth guide on using Rendering Logic effectively within Avada, with practical examples illustrating its versatility.
Overview
Where Is Avada Rendering Logic Used?
Avada Rendering Logic is located on the “Extras” tab of the Avada Column and Avada Containers Elements.

Although currently limited to these two Layout Elements, this functionality can be applied creatively across various layouts, enabling almost any usage imaginable.
Benefits of Using Avada Rendering Logic
The examples explained in this beginner’s guide showcase just a few ways Rendering Logic can improve site functionality by controlling the visibility of Containers or Column Layout Elements based on specific user conditions or device types.
This capability can significantly enhance user experience, streamline content management, and reduce unnecessary page load times.
Example 1: Rendering Logic Based on Device Type
To illustrate how Avada Rendering Logic works, consider a Header Layout Section with three Container Elements, each set to display under different conditions based on device type.
Setting Up Device-Based Rendering Logic:
Testing Device-Based Rendering:
Example 2: Rendering Logic Based on User State & Role
Beyond device type, Avada Rendering Logic can customize content based on the user’s login status and role. Here’s how to create content that varies depending on whether users are logged in, logged out, or have made a previous purchase.
Setting Up User State-Based Rendering Logic:
First, create three containers on a homepage layout, each designated for different user states:
Testing User State-Based Rendering:
Summary
With thoughtful configuration, Rendering Logic in Avada allows for a more responsive and adaptive site design, delivering content tailored to different devices and user states. Whether aiming for a seamless cross-device experience or personalized content for different user roles, Rendering Logic makes it easy to fine-tune site visibility precisely.


These rendering logic examples are self-explanatory. What I would like to see is a blog post addressing more confusing rendering logic conditions and their use cases, such as: Get Variable, Session Variable, User Agent, Referrer, Custom Field, Term ID, Number of Titles.
Thanks for your comment. There is a doc explaining the different options: https://avada.com/documentation/how-to-use-rendering-logic-in-avada/.