Adding Widgets To Widget Areas
Last Update: October 28, 2025
In addition to the default widgets WordPress offers, Avada also includes a wide array of custom widgets. Third party plugins, such as WooCommerce, The Events Calendar etc, may also add useful widgets.
All widgets are found in the Appearance > Widgets tab, accessed from the WordPress dashboard. There are various customization options and fields for each individual widget. You can add as many widgets as you want to a widget area. Please read below for information on how to add widgets to widget areas, and watch the video for a visual overview.
How To Add Widgets To Widget Areas
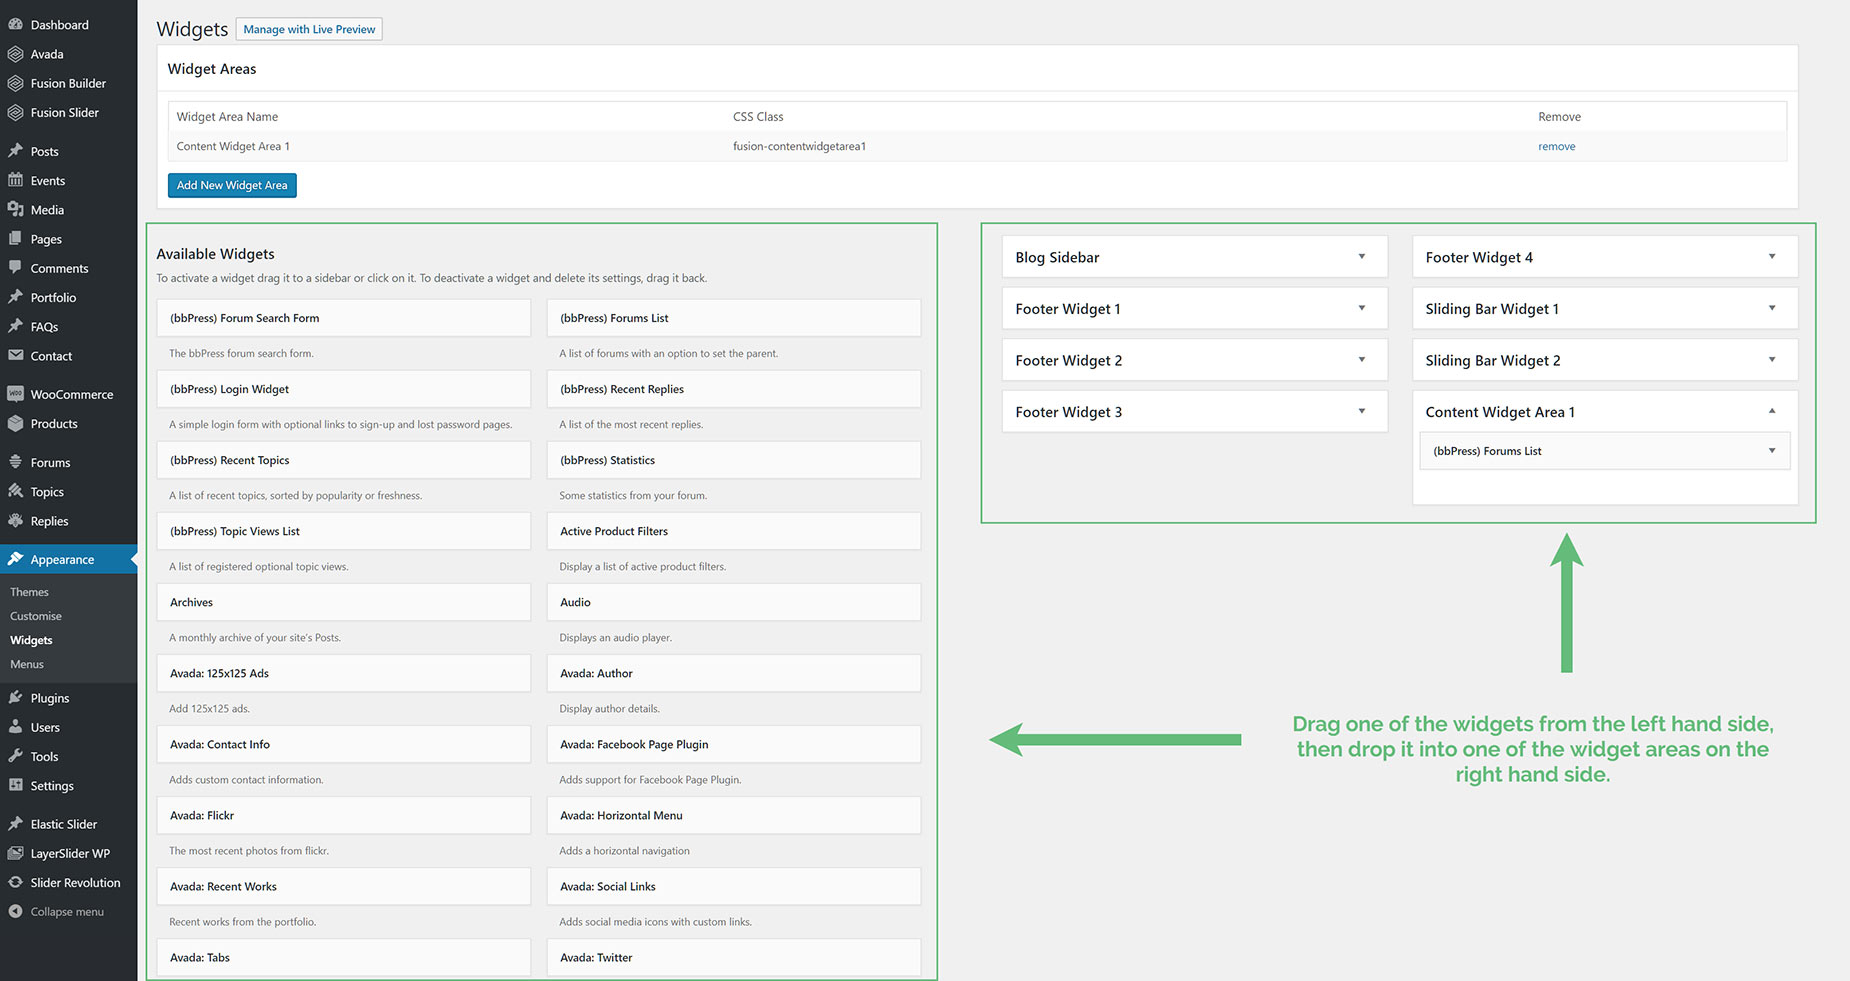
You can add widgets to any widget areas displayed on the right hand side of the Widgets page. Before you can add widgets to custom widget areas, you must, of course, first create the custom widget areas. To learn how to create custom widget areas, please see our Creating Custom Widget Areas article. Once that’s done, you can then assign widgets. Each widget has their own options, which you can customize once you assign them to a widget area.
Widgets Area Overview