How To Use Elastic Slider With Avada
Last Update: October 28, 2025
The Elastic slider allows you to create slideshows with stylish captions and simple animations. It’s fully responsive and can be full width or can have a custom width and height set. Users can also customize other settings on the Elastic Slider tab in the Avada Global Options panel.
How To Create A New Elastic Slider
How To Assign An Elastic Slider
To assign an Elastic Slider, simply head to the Page Options in the Sidebar of the page you want the slider on, and on the Slider tab, select Elastic Slider, and then the Slider you want.
Elastic Slider Avada Global Options
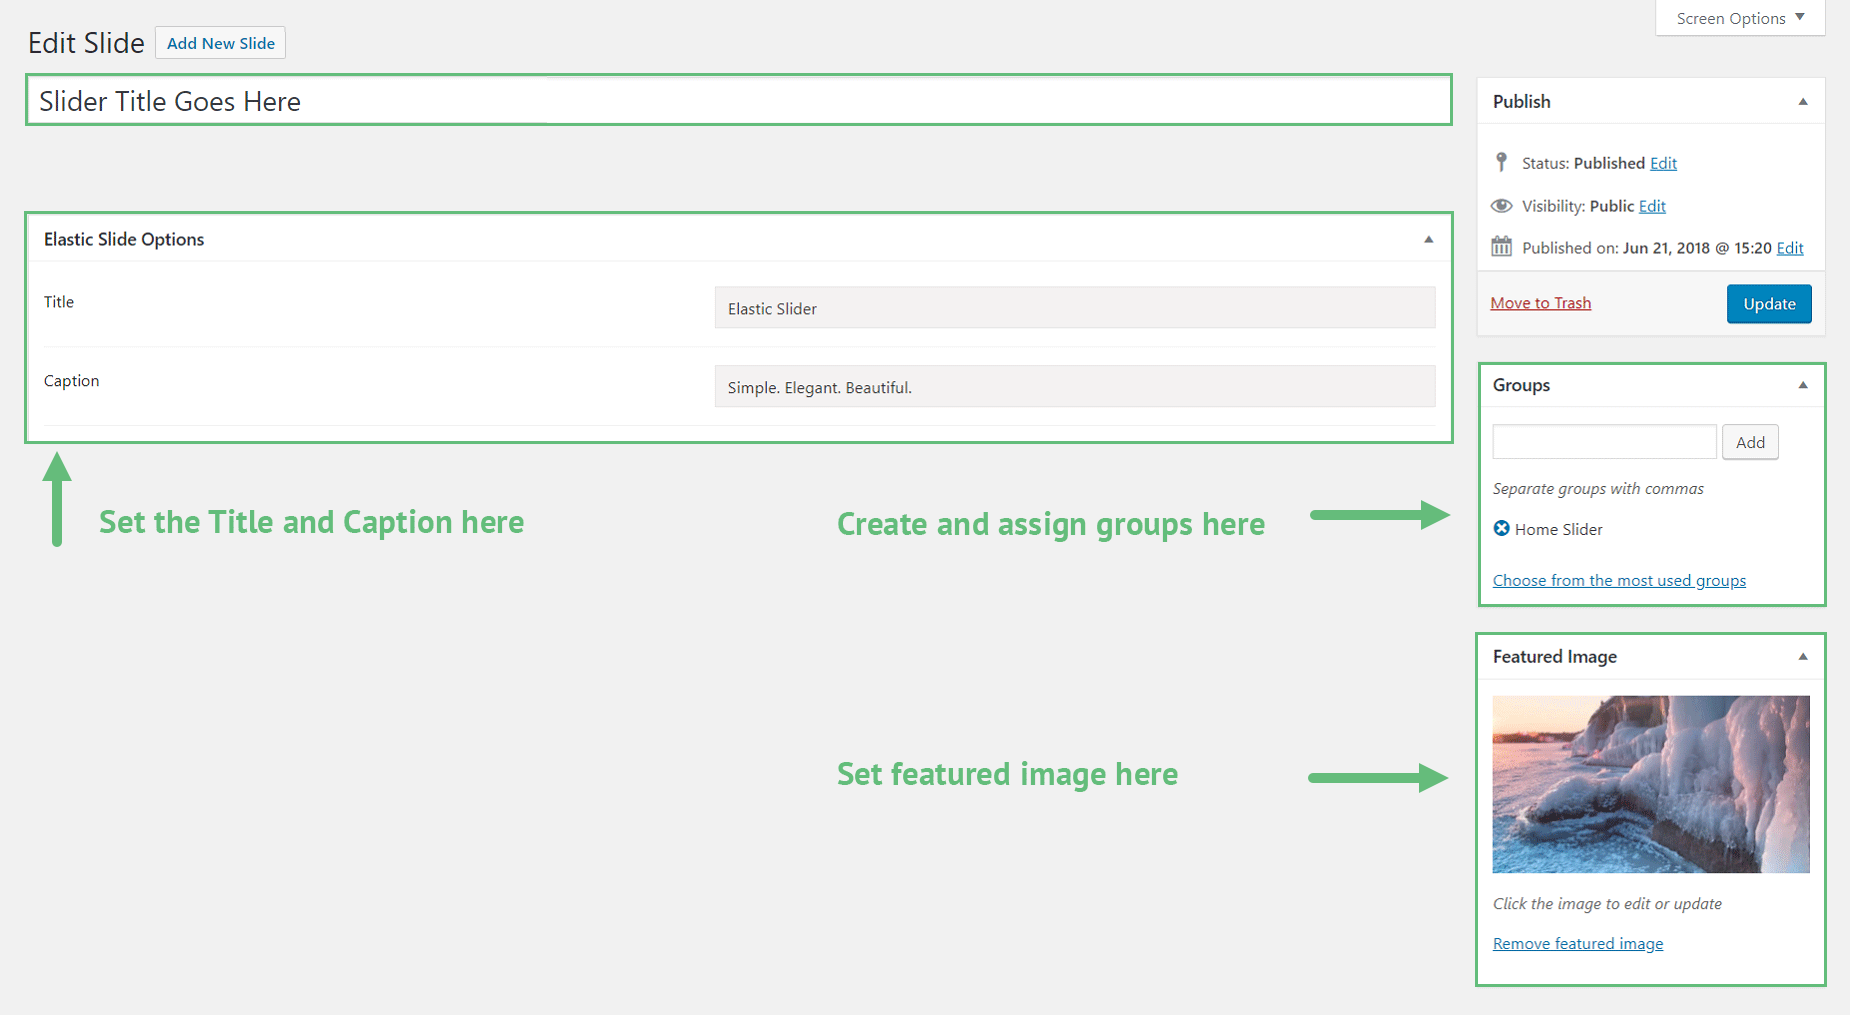
The Elastic Slider also has its own tab in Avada Global Options. Navigate to Avada > Options and click on the Elastic Slider tab to set custom settings such as; width, height, animation, font size, color, etc. All of it is controlled in Avada Global Options. You can create as many elastic sliders you want. Simply create a new “Group” of slides for each slider.


