Share
In the part 1 of creating a new WordPress post, we demonstrated how to quickly create a new WordPress post. Now in this post, we will look at some optional extras which can really help enhance your blog posts.
In that previous post, we looked at the three core components of using WordPress to publish a new blog post: creating the post title, adding the post content including images, and previewing and publishing your work.
While that is more than enough to help you get started, there is more to publishing posts with WordPress. This includes some additional features you probably will want to make use of when creating content for your blog.
So in the second part of this guide to publishing a new blog post, we will be taking a look at some of those features that can not only make your blog posts look better, but also ensure you are making more of the great features of WordPress.
Overview
Creating Blog Posts in WordPress
In that last article on creating your first blog post, we gave you a good overview of the post editor screen in WordPress. This is where new blog posts for your website are created and edited.
Depending on which WordPress theme you are using, and which plugins you’ve installed (more on those in a future post in this series), the post editor can look a little different from website to website. However, in almost all cases, you will find the following elements on the post editor screen:
Each of the above elements are displayed in their own panel, known in WordPress terminology, as a meta box. In the last post in this guide, we looked at working with the post title, post body, and publishing options meta boxes.
Technically, those three aspects are enough to get your blog posts online. However, you can do a lot more with posts in WordPress to ensure your content looks great, while also making your website more user friendly and easier to navigate.
Remember, if you don’t see all of the above meta boxes, click on the Screen Options tab. From the screen options settings you can then control which of the meta boxes are displayed.
How to Create a Post Excerpt
Post excerpts are entirely optional. However, there are a number of good reasons why you might want to add one to each post you publish on your blog.
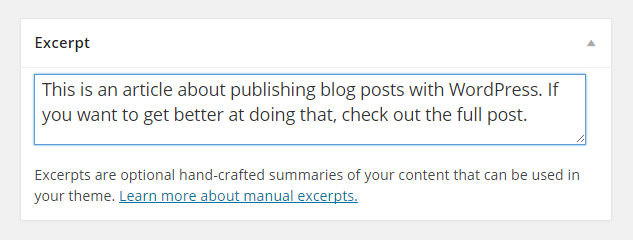
This feature of WordPress can be best described as a summary or description of your post. The excerpt meta box gives you an opportunity to outline the contents of your post, and explain the reasons why someone might want to read it.
The published excerpt can be displayed in a number of locations, both on and off your website. These locations will be controlled by the WordPress theme that you’ve activated on your site. Possible locations where the excerpt might be displayed to your readers include:
Furthermore, when readers subscribe to your website via its RSS feed, using an app like Feedly, this excerpt can be displayed. The excerpt is displayed in the reader, instead of the full post content. This gives you an opportunity to display a compelling introduction, which can then entice your readers to then click though to view the full post on your website.
To add one of these summaries to your post, locate the Excerpt meta box and then enter a short description about your post. It really is as simple as that.
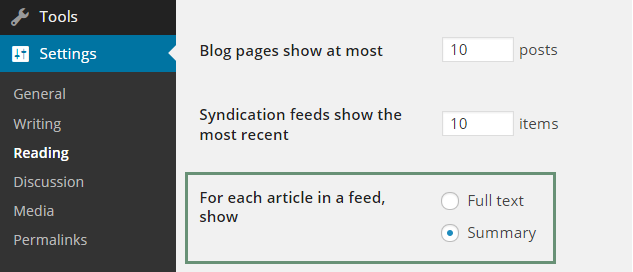
Of course, as when and where the excerpt is displayed is controlled by your WordPress theme of choice, don’t be surprised if you don’t see the excerpt when previewing your posts. If you would like to enable the excerpt for those viewing your posts through an RSS reader, then navigate to the Reading Settings page, which is located under the Settings menu on the admin sidebar.
Then select summary from the available options. Now your RSS subscribers will have a reason to revisit your website and view your latest post.
Adding a Featured Image or Post Thumbnail
Adding a featured image, or post thumbnail, to your content is another optional extra in the process of publishing a WordPress post. However, these images can be a great way to decorate your blog posts and attract more readers to your content. This makes it a very worthwhile feature to make use of when creating new posts.
When it comes to understanding featured images, the best way is to think of them as a single image that represents the post.
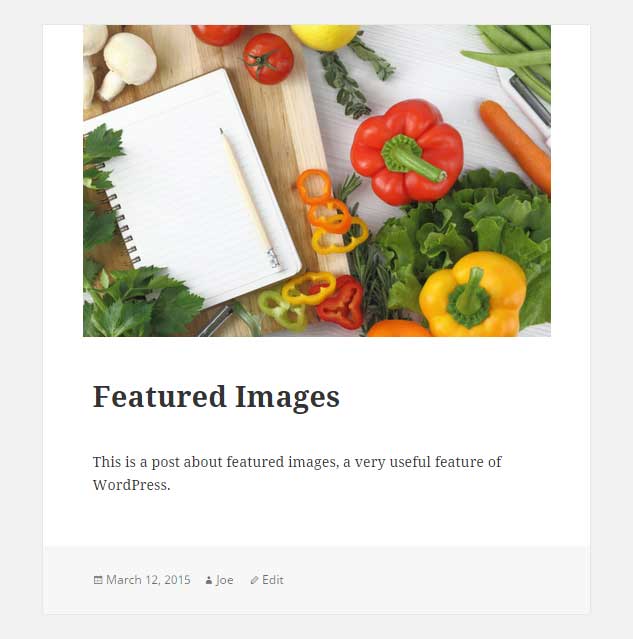
Where that featured image will be displayed, is again controlled by the WordPress theme you are using. Common locations include above the post title; below the post title, but above the post content; on pages where posts are listed, such as the home page of your website; or anywhere else where a post is displayed on your site. The featured image might also be displayed in an RSS reader, to your subscribed who are viewing your content externally from your website. However, some themes don’t even display them at all.
By default, each WordPress post can have only one featured image. However, some themes, such as Avada, allow you to add multiple featured images to each post. These multiple featured images can then be displayed in various locations around your website.
However for the sake of consistency, we will work on the assumption that your theme includes support for just one featured image. So now that we know what they’re for, and why you might want to use then, let’s take a look at how to add a featured image to your posts.
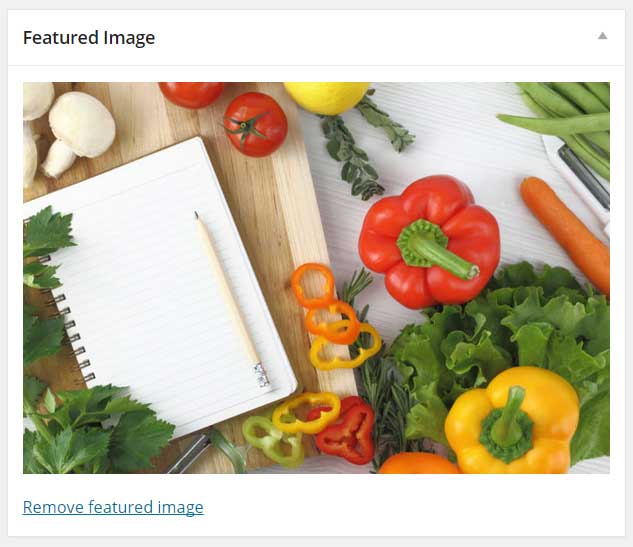
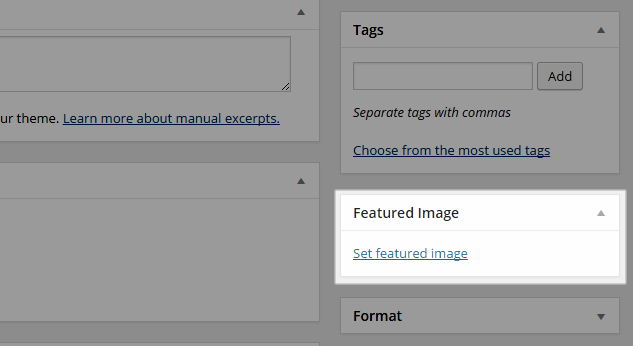
The first step is to locate the Featured Image meta box on the post editor screen. Once you’ve found it, click on the Set featured image text to begin the simple process.
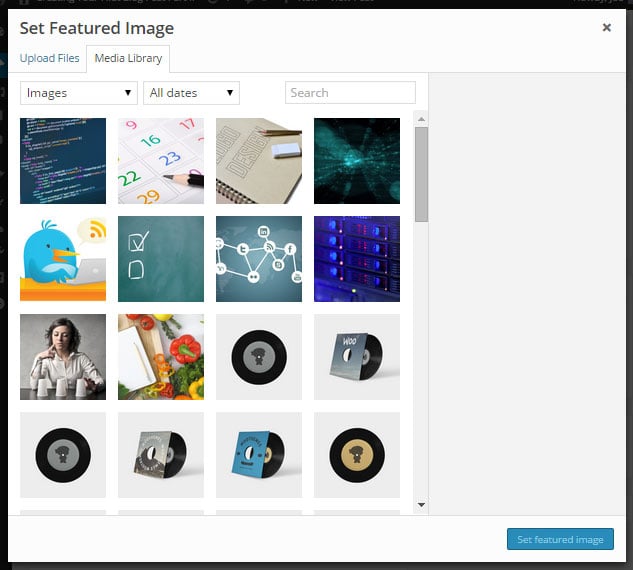
Clicking on the link will open up the WordPress Media Library. This library includes all the media files, such as images, that you’ve used on, or uploaded to your website.
Now, you can either select an existing image from the library, or upload a new file to your website for use as the featured image. Some bloggers choose to use an image that was included in the blog post as the featured image; while others prefer to select a new image that hasn’t been used elsewhere on your site.
If you want to use an image that is already in your media library, it’s simply a case of clicking on it and pressing the set featured image button.
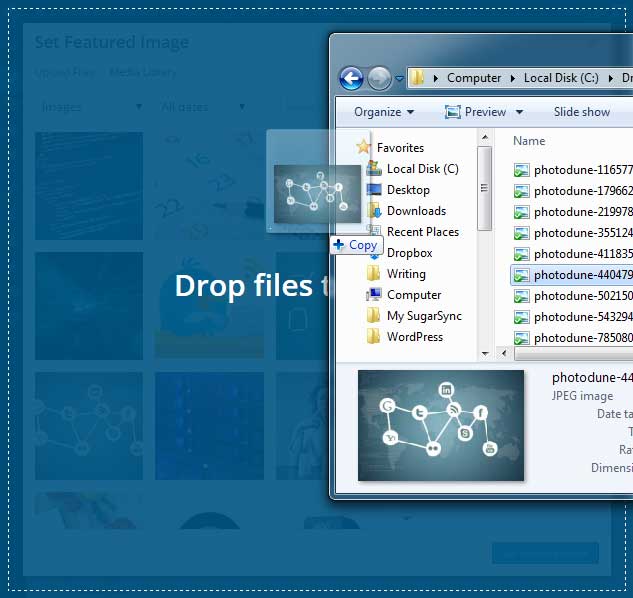
If you’d rather upload a new image, then you can just drag and drop it from your computer, into the media library, and then set it as the featured image.
Now you should see that your chosen image is displayed in the appropriate meta box on your post editor screen. After the post has been published, it will then be displayed as part of the post (depending on your chosen WordPress theme).
Organizing Posts with Categories & Tags
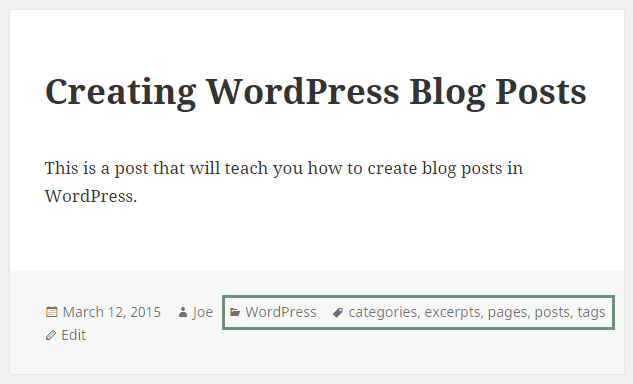
In a previous post we explained how to use categories and tags in detail. This feature of WordPress is a great way to organize your content so that your visitors can find more of what they are interested in. This can have the effect of prolonging the time they spend on your website, and increasing your chances of converting them into a subscriber, customer, or client.
Each post that you publish can have multiple categories and tags applied to it. Your readers can then click on the category or tag links, and then view more related posts. Generally speaking, applying one or two categories to a post, and then selecting, or creating, a handful of appropriate tags, is a good rule to follow.
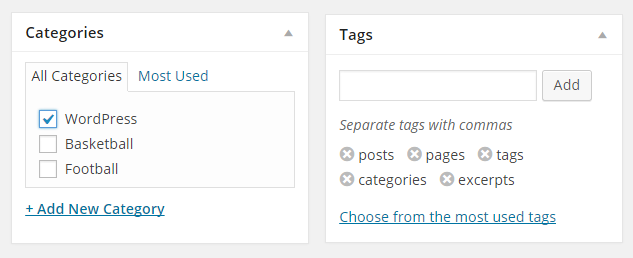
Organizing your content with these categories and tags is very straightforward and takes place through the corresponding meta boxes.
Simply select from the existing categories, or create a new one that describes the topic of your post. Then select from the existing tags, or enter new ones, which relate to the contents of your post.
Now, when your visitors read a post, they will have the option of clicking on the category and tag links to view more related content from your blog.
Summary
You should now know everything you need to know, in order to make full use of the WordPress post editor. Some of the features of the post editor crossover to the WordPress page editor screen. This includes featured images, the content editor area, and the publishing options.
There are other elements and meta boxes that make up the post editor screen. This includes custom fields, choosing a post format, setting the post slug, and sending trackbacks. However, these are the more advanced features or WordPress which we will cover in more detail later on in this beginner’s guide to getting started with WordPress.

