How To Use The Avada Builder Options
Last Update: February 12, 2026
Avada has a vast array of options that allow you to configure the Builder to suit your preferences. These options include activating and deactivating the Avada Builder on custom post types, enabling or disabling any of the Avada Builder Elements to improve performance, a Role Manager to control access, and exporting or importing your Avada Builder settings. Continue reading below to learn more about these options, and watch the video below for a visual overview.
How To Access The Avada Builder Options
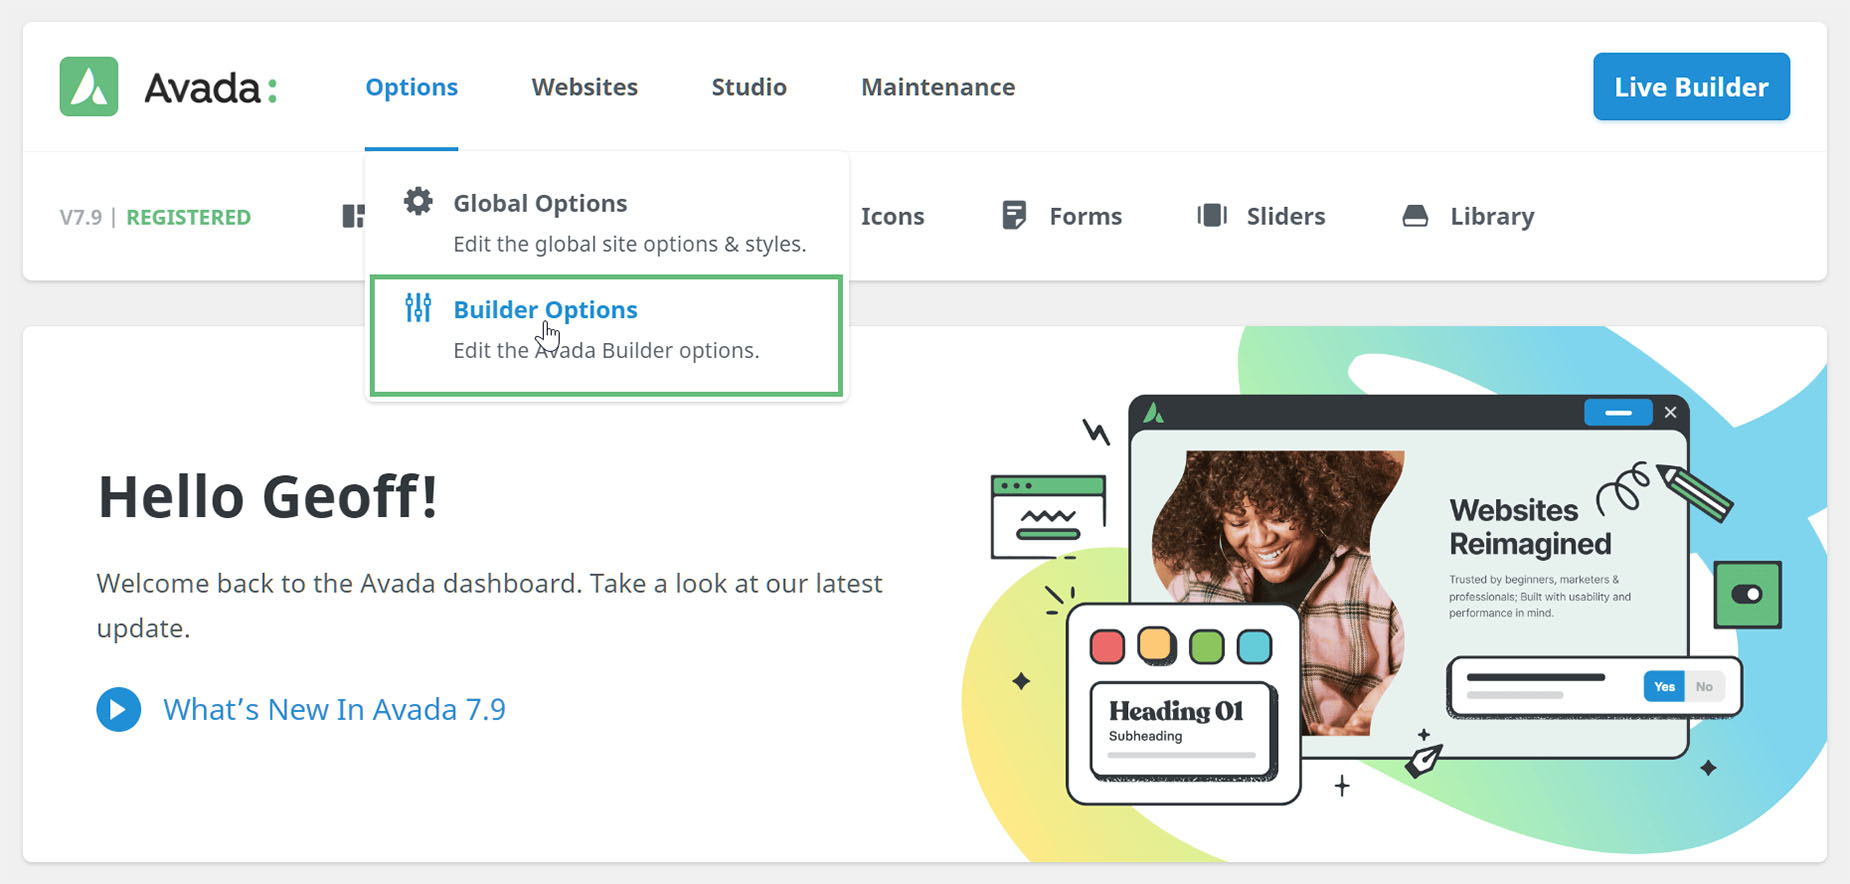
To access the Avada Builder Options, navigate to the Avada Dashboard and head to Options > Builder Options. Here, you will find all of Avada Builder’s available options. Customize these options to your liking, then click ‘Save Settings’ to save your changes.
Builder Auto Activation
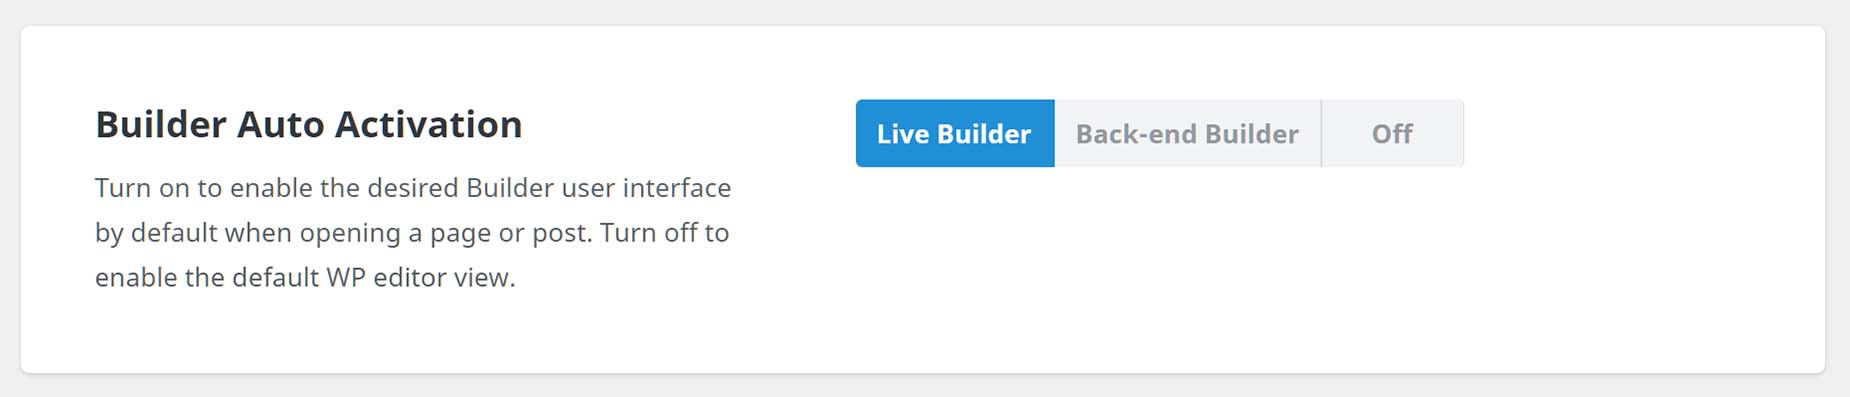
The Builder Auto Activation option allows you to enable or disable the Avada Builder user interface by default when creating or editing a page, or post. You can also choose which interface the Avada Builder will use – the Back-end Builder, or Avada Live. When active, the Avada Builder will automatically load when creating or editing a new page or post. Otherwise, the default WordPress content editor field will be displayed. Simply choose from the Live Builder, Back-end Builder, or Off.
Avada Builder Elements
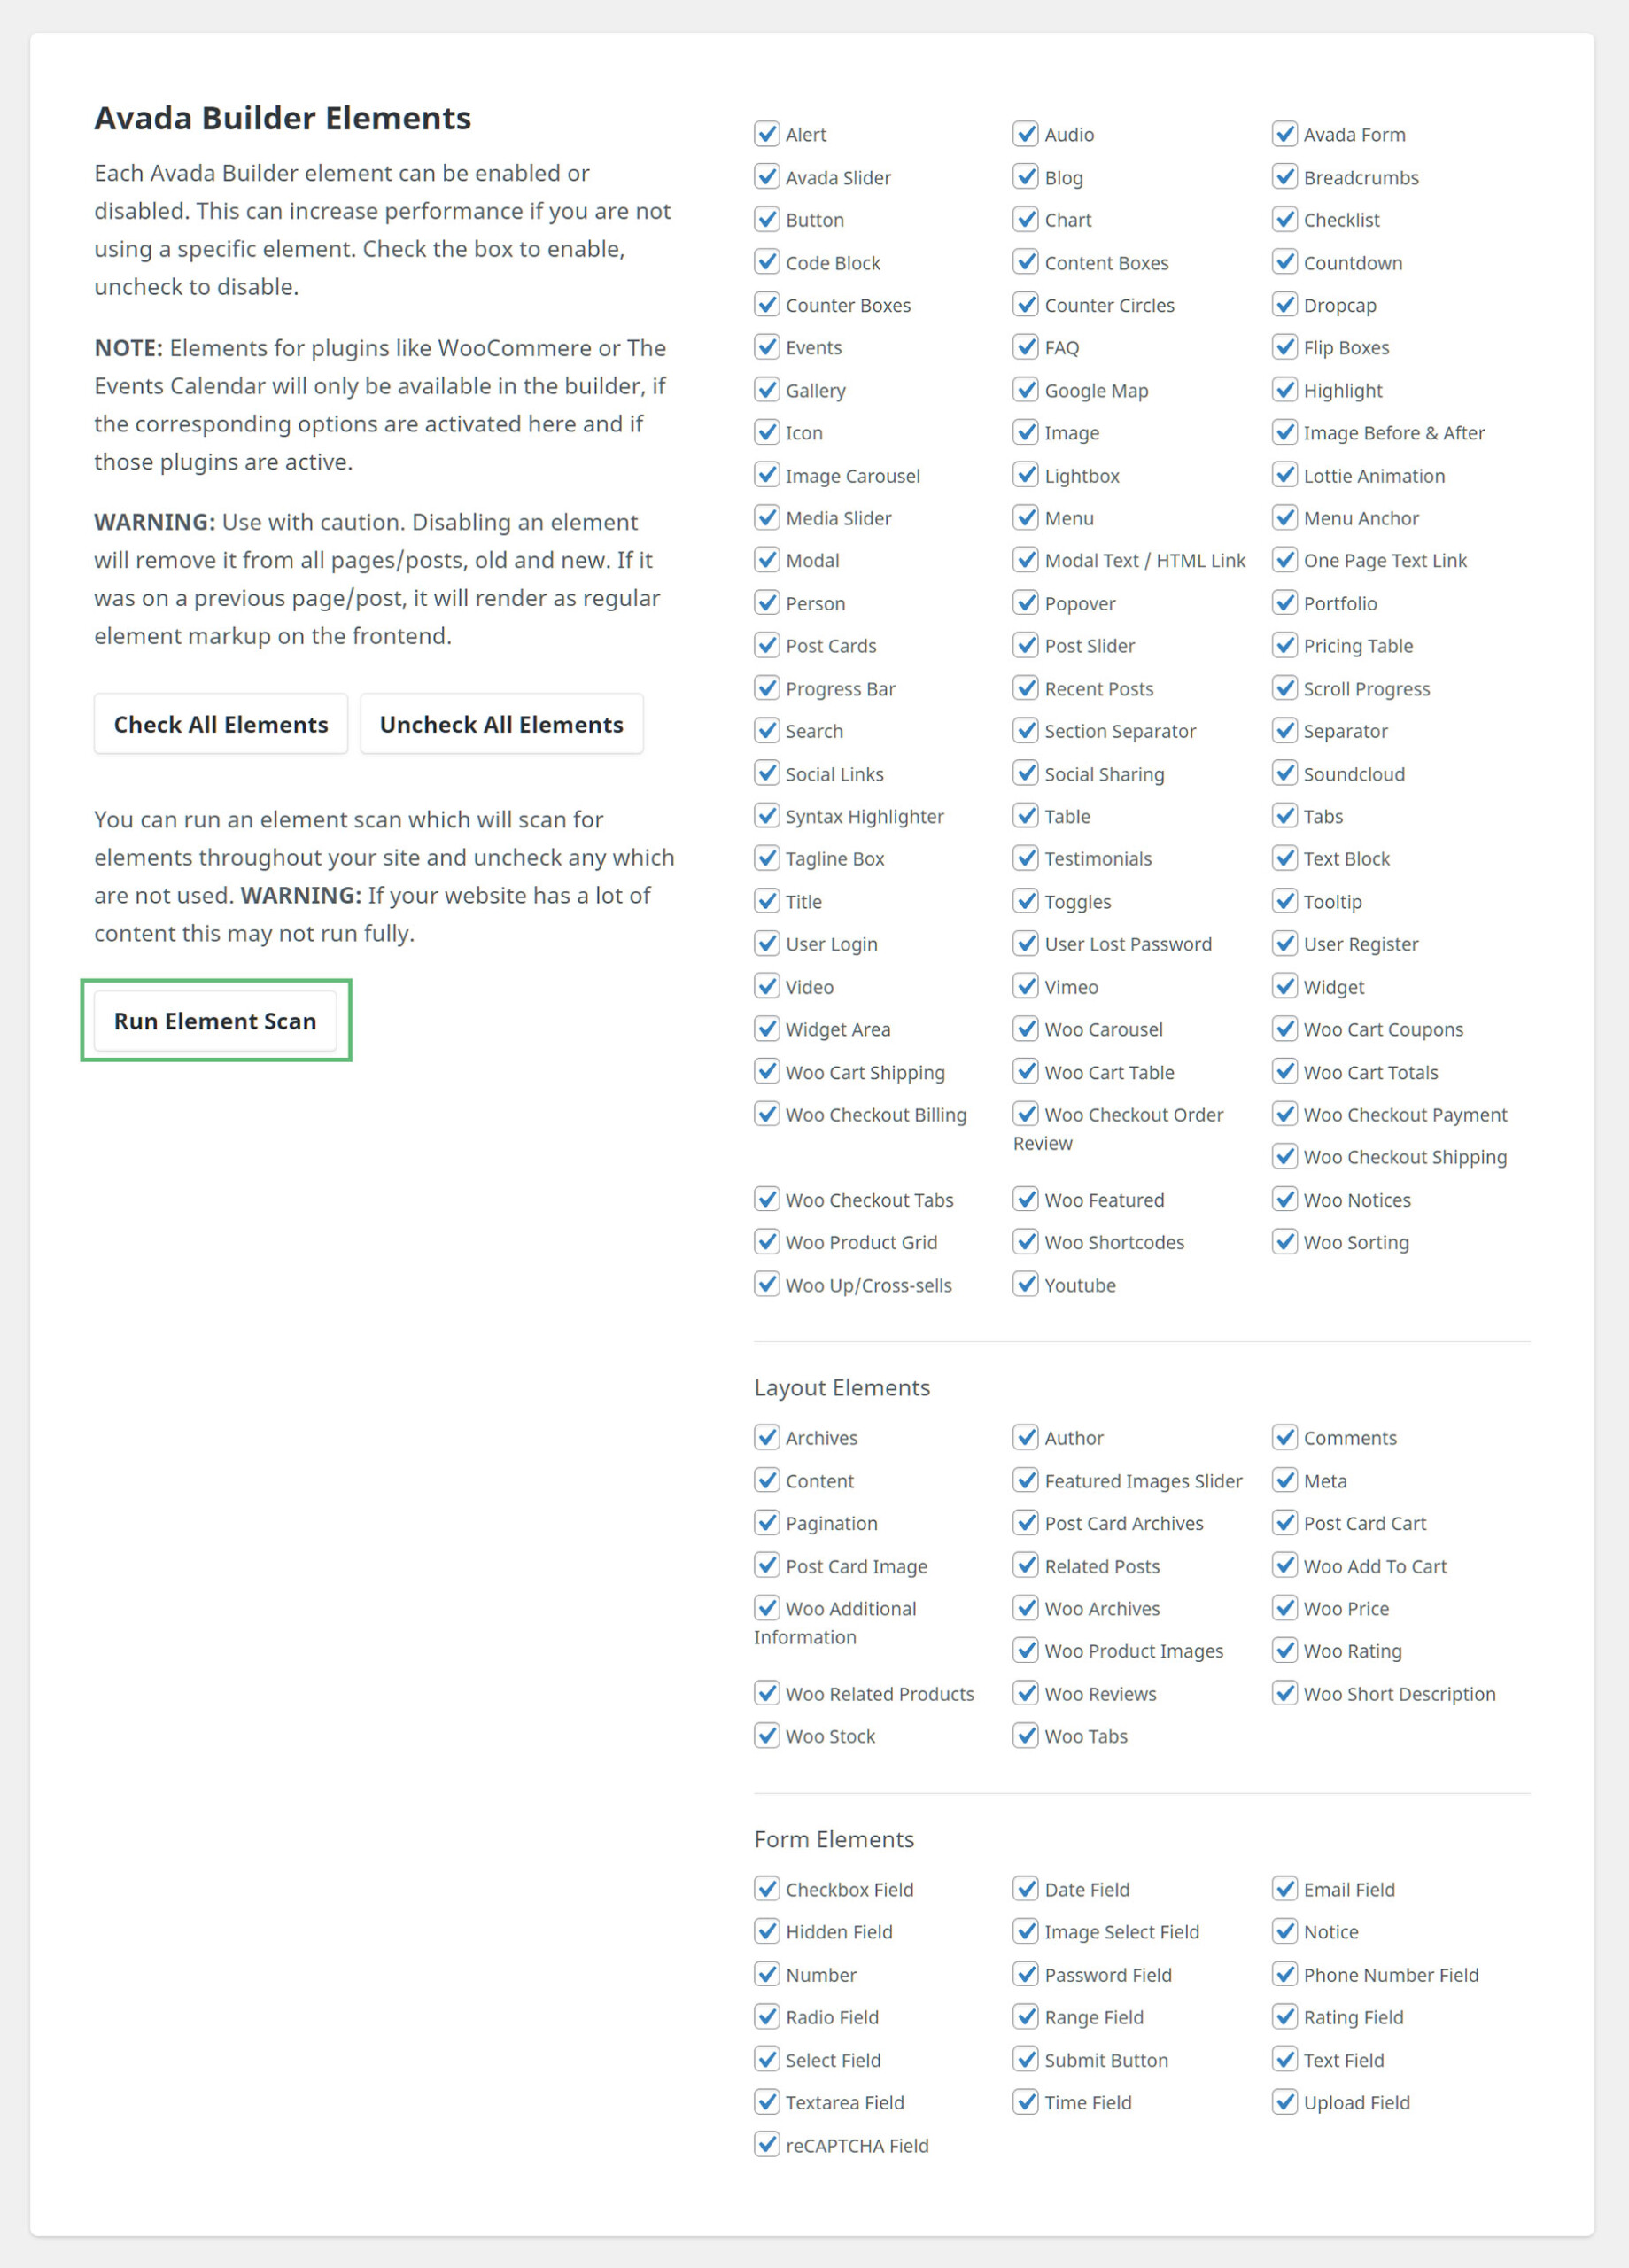
Under the Avada Builder Elements section, you’ll find a checklist of all existing Avada Builder Elements, including Design Elements, Layout Elements and Form Elements. If you are not using a particular Element on your website, you can disable it here. Disabling individual Avada Builder Elements can slightly increase performance and load speed. Please be aware though, that disabling an Element will disable it on all existing pages or posts. Any disabled Elements that have been used across the site will render as code snippets, so make sure you haven’t used it anywhere before disabling it. To help with this, there is the Run Element Scan option.
Run Element Scan
The Run Element Scan button does exactly what it says. It scans the website, and finds and disables the Elements which are not in use. The best time to use this feature is when you are finished with a website, to easily find the disable the Elements you are not using. Just note, that this feature may not fully run on very large websites with a lot of content.
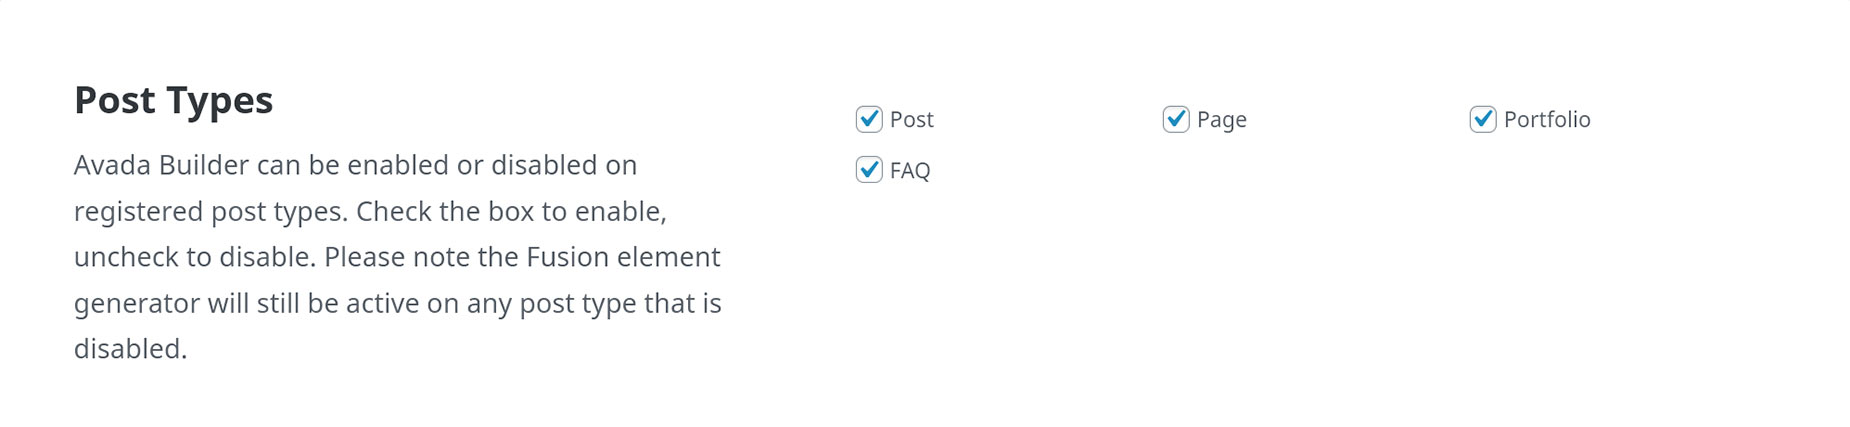
Post Types
Under the ‘Post Types’ section, you’ll find a checklist of all your existing custom post types. What you see here will be depenedant on the plugins you have installed. Using these options, you can activate or deactivate the Avada Builder on any of your custom post types. Simply check the checkbox of the custom post type you’d like to activate the Avada Builder in, or uncheck to disable it.
Import/Export Library Content
You can also export your entire Avada Builder settings and content which you can use as a backup, or import to another Avada installation.
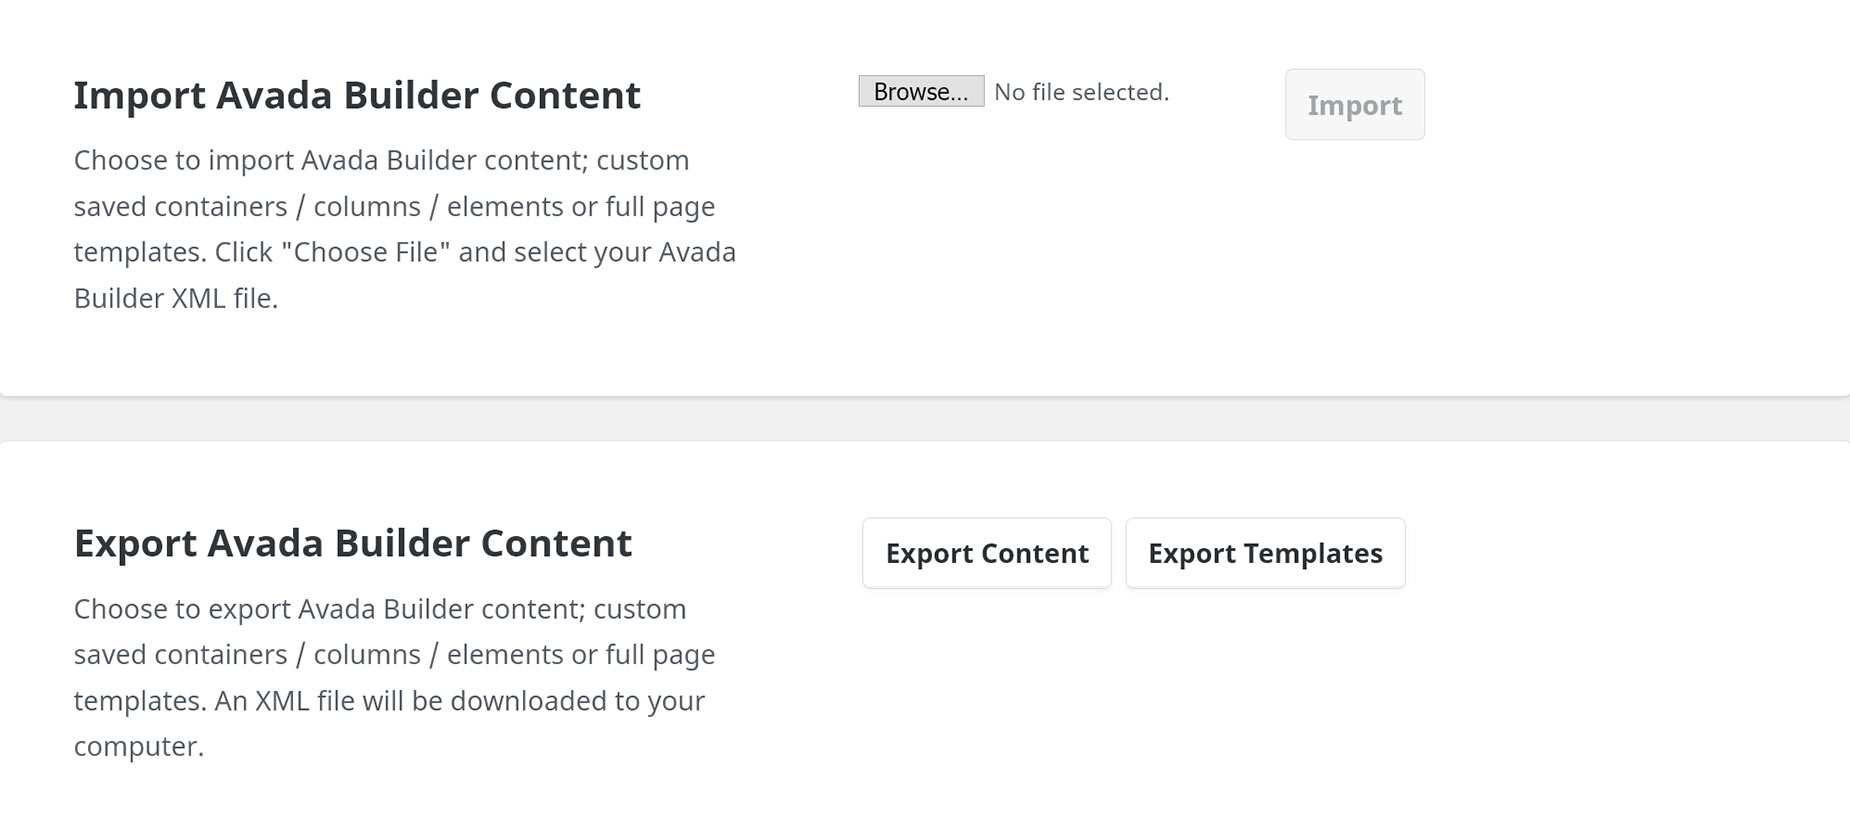
Importing
To import your Avada Builder content, simply browse to and select the XML file with your saved content and click the ‘Import’ button and wait for it to finish loading.
Exporting
You can choose to export your entire Avada Builder content (saved containers, columns, or elements), or just your full page templates. Simply click the appropriate button and an XML file containing your saved content will be downloaded to your computer.
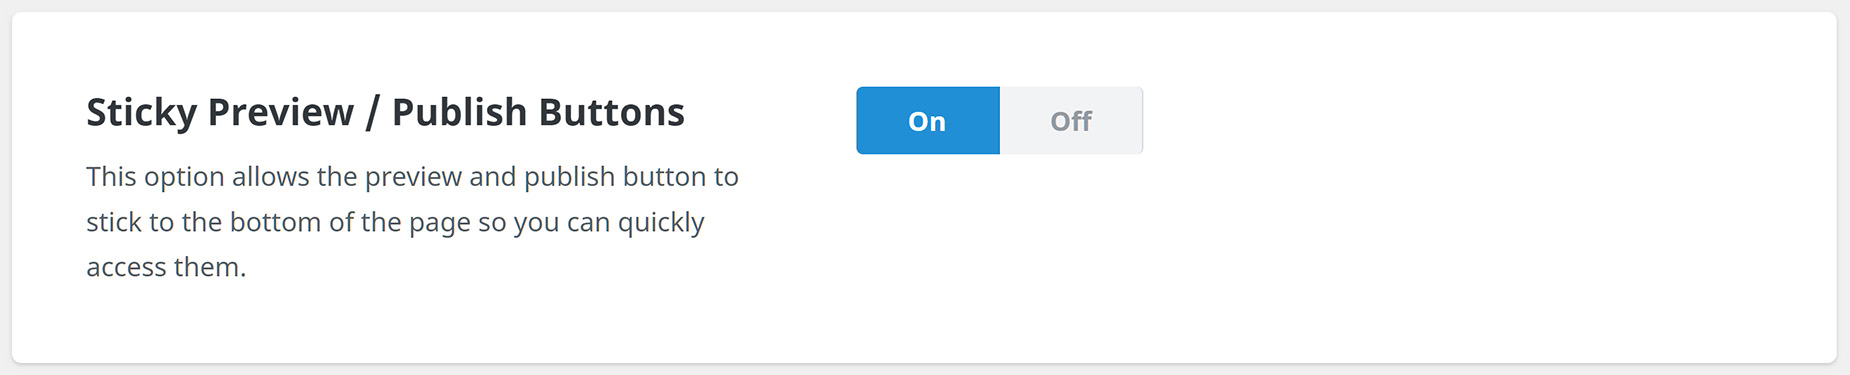
Sticky Preview / Publish Buttons
This option allows the preview and publish button to stick to the bottom of the page in the back end builder, so you can quickly access them.
Remove Empty Attributes
Set to “on” to remove empty attributes from elements when saving post content. This will remove any empty shortcode attributes from the code, resulting in pages with less code. It’s recommended to use this option on new projects.

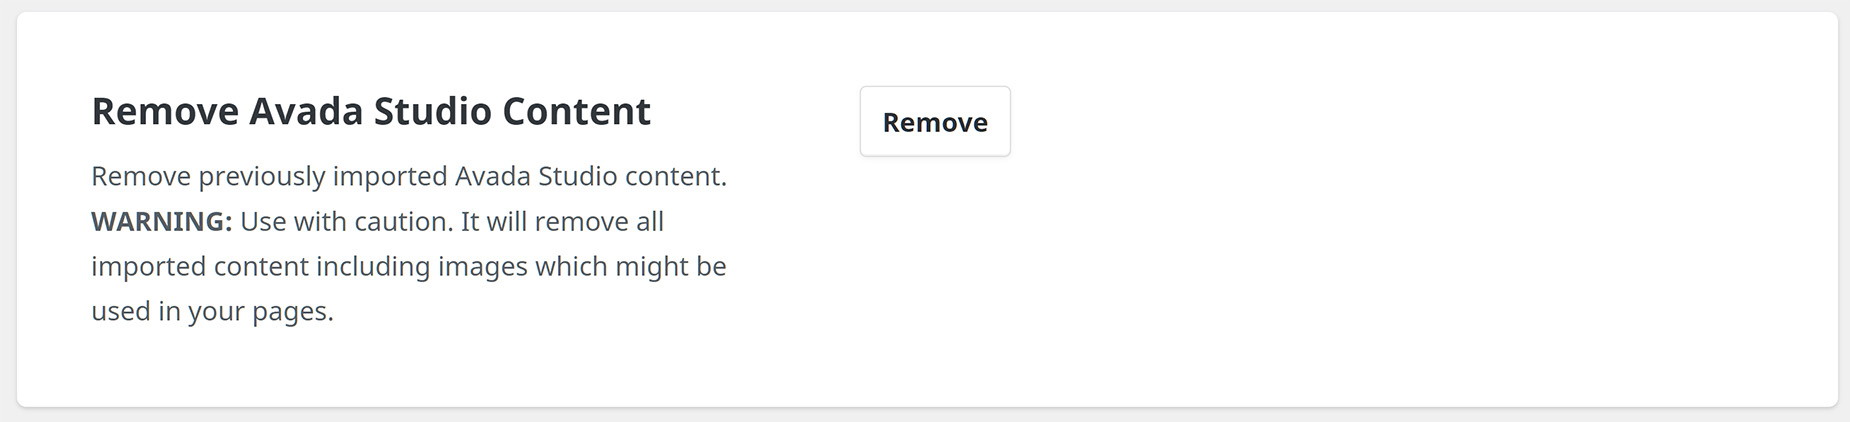
Remove Avada Studio Content
If you want to remove ALL studio content from your site, there is the Avada Studio Content option at the bottom of the Builder Options page. Use this with caution, however, as it will remove all content imported to your site from the Avada Studio page. As well, it will delete any imported content, such as images or videos from the media library. Any content blocks you have added directly to a page, post, or layout section from the builder will remain, however, just with any imported content removed. Note that this option will only appear if Avada Studio is enabled in the Global Options.
Share Usage Data
If you want to help us keep improving Avada, you can share your usage data with us. See the Share Usage Data doc for more information on exactly what is shared, but none of the data we collect includes personal information. Simply set the option to On to help us make Avada even better.

Role Manager
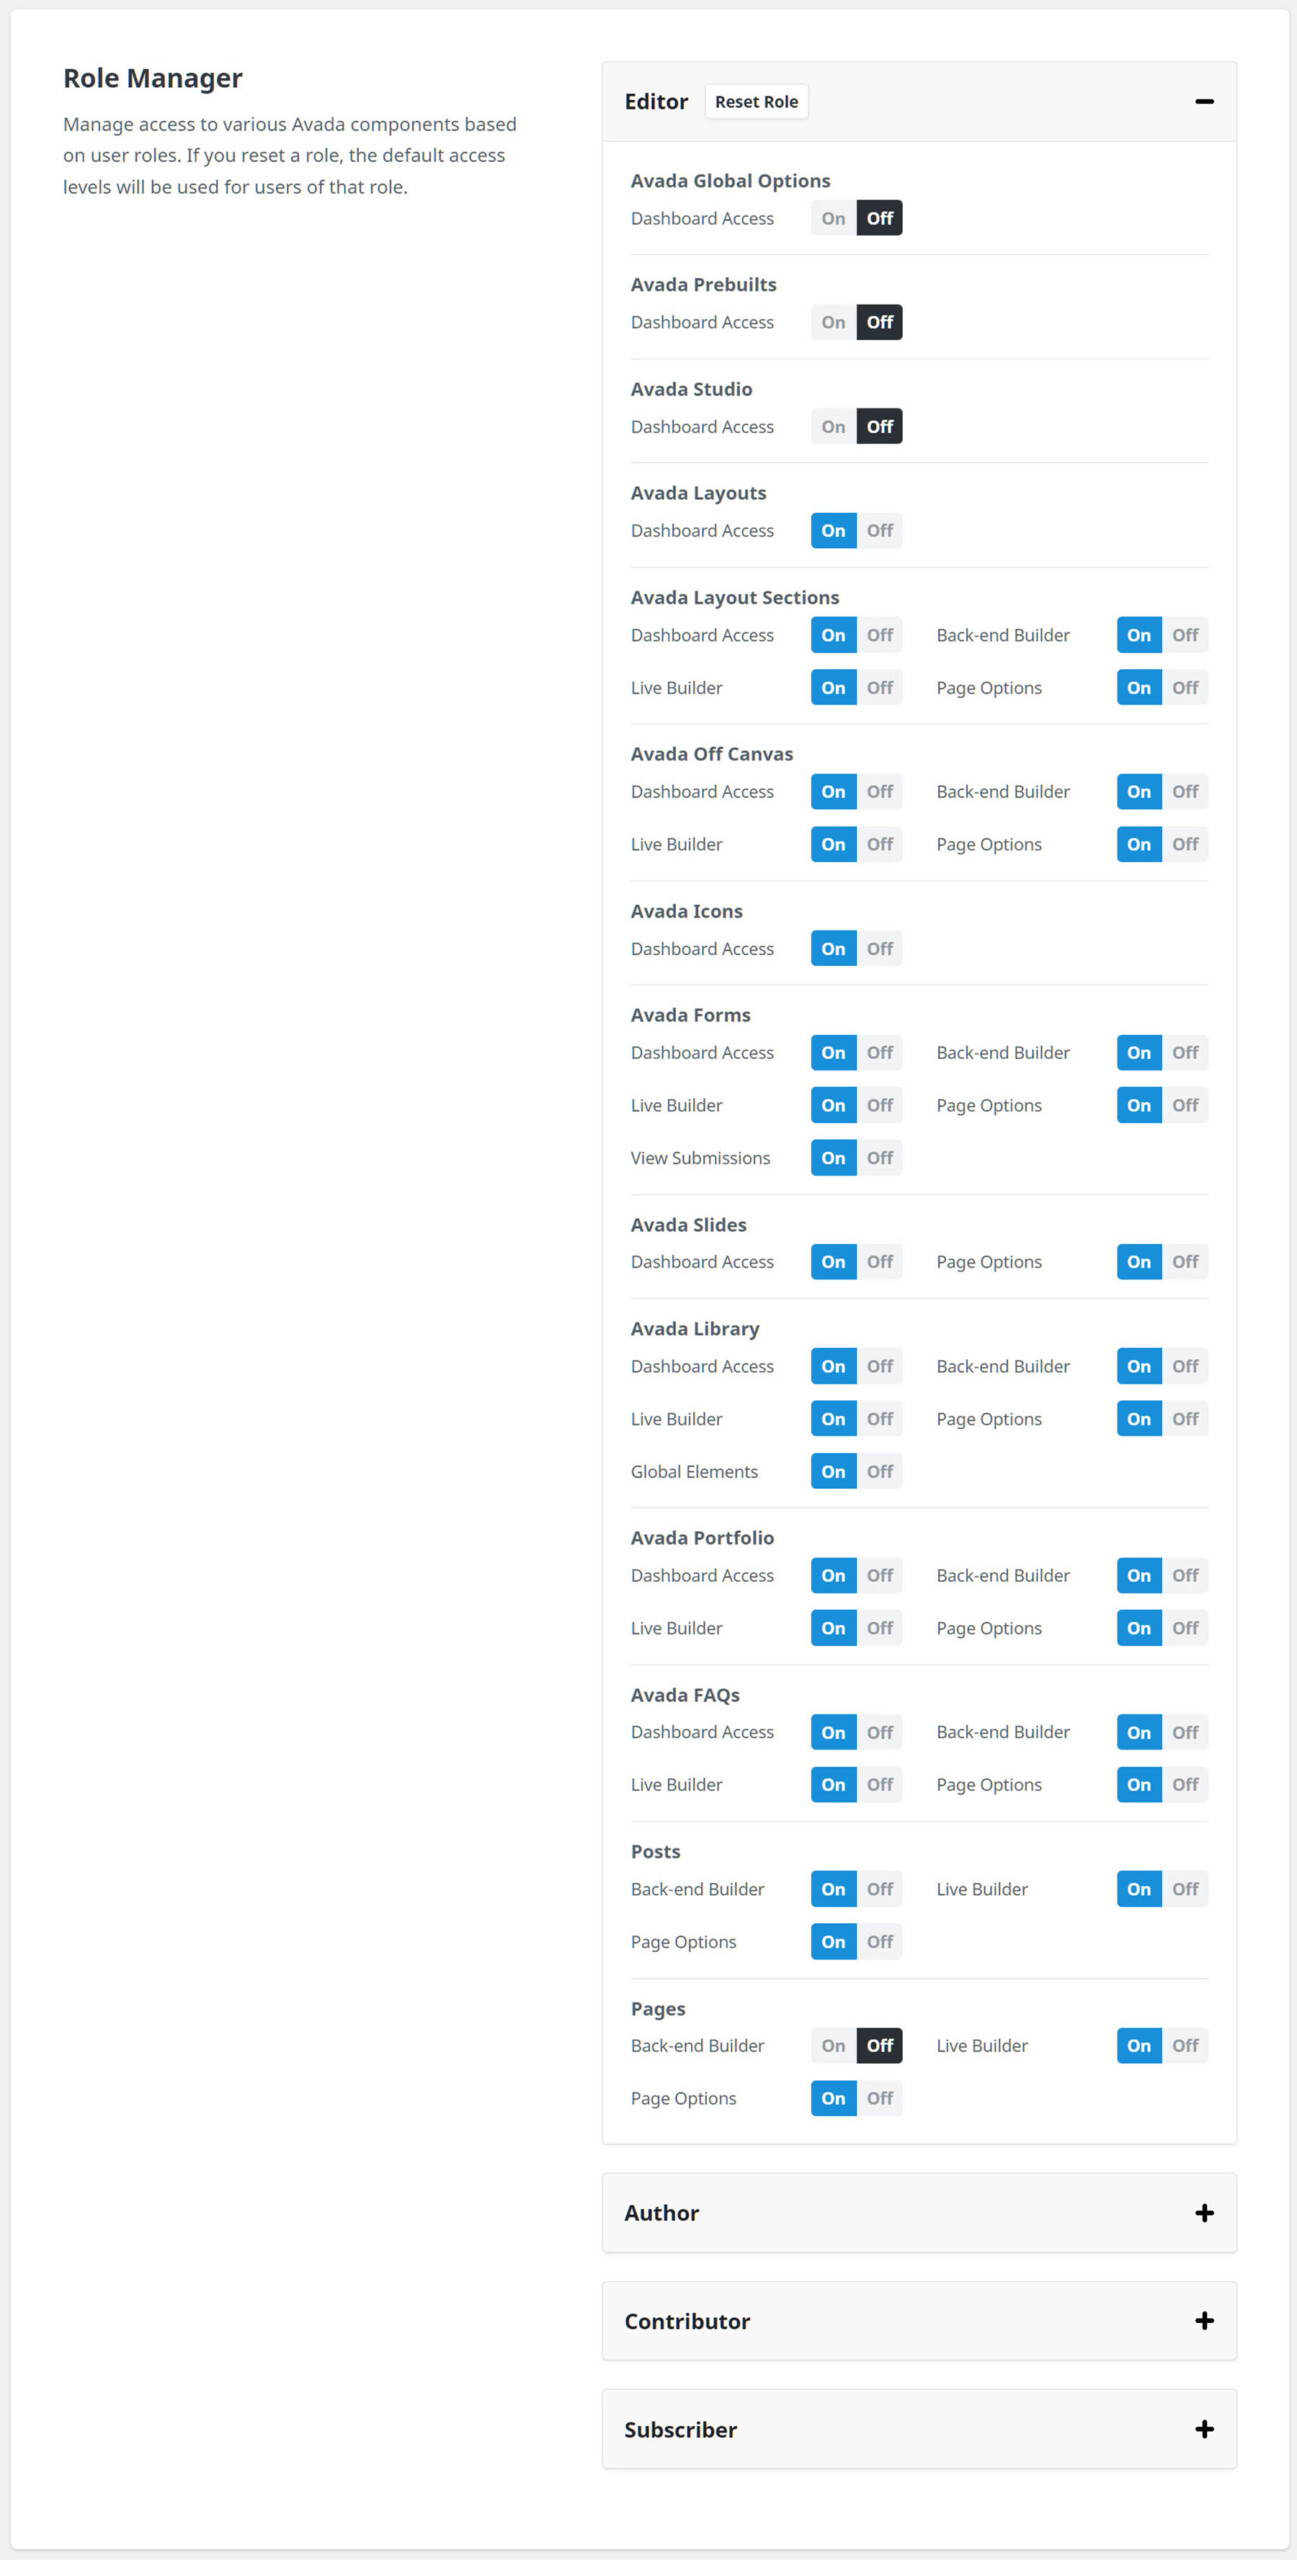
The Role Manager allows you to manage access to various Avada components on your site, based on WordPress user roles. You can enable or disable a range of Avada sections for different User Roles, including Editor, Author, Contributor, Shop Manager, and Customer. Simply set the access you want for the user role you want by turning it on or off, and save your changes.
In the example below, for the Editor User Role, apart from the top three options which are Off by default, the Back-End Builder has also been disabled for pages.
Please see the Avada Role Manager Doc for full details of this powerful tool.
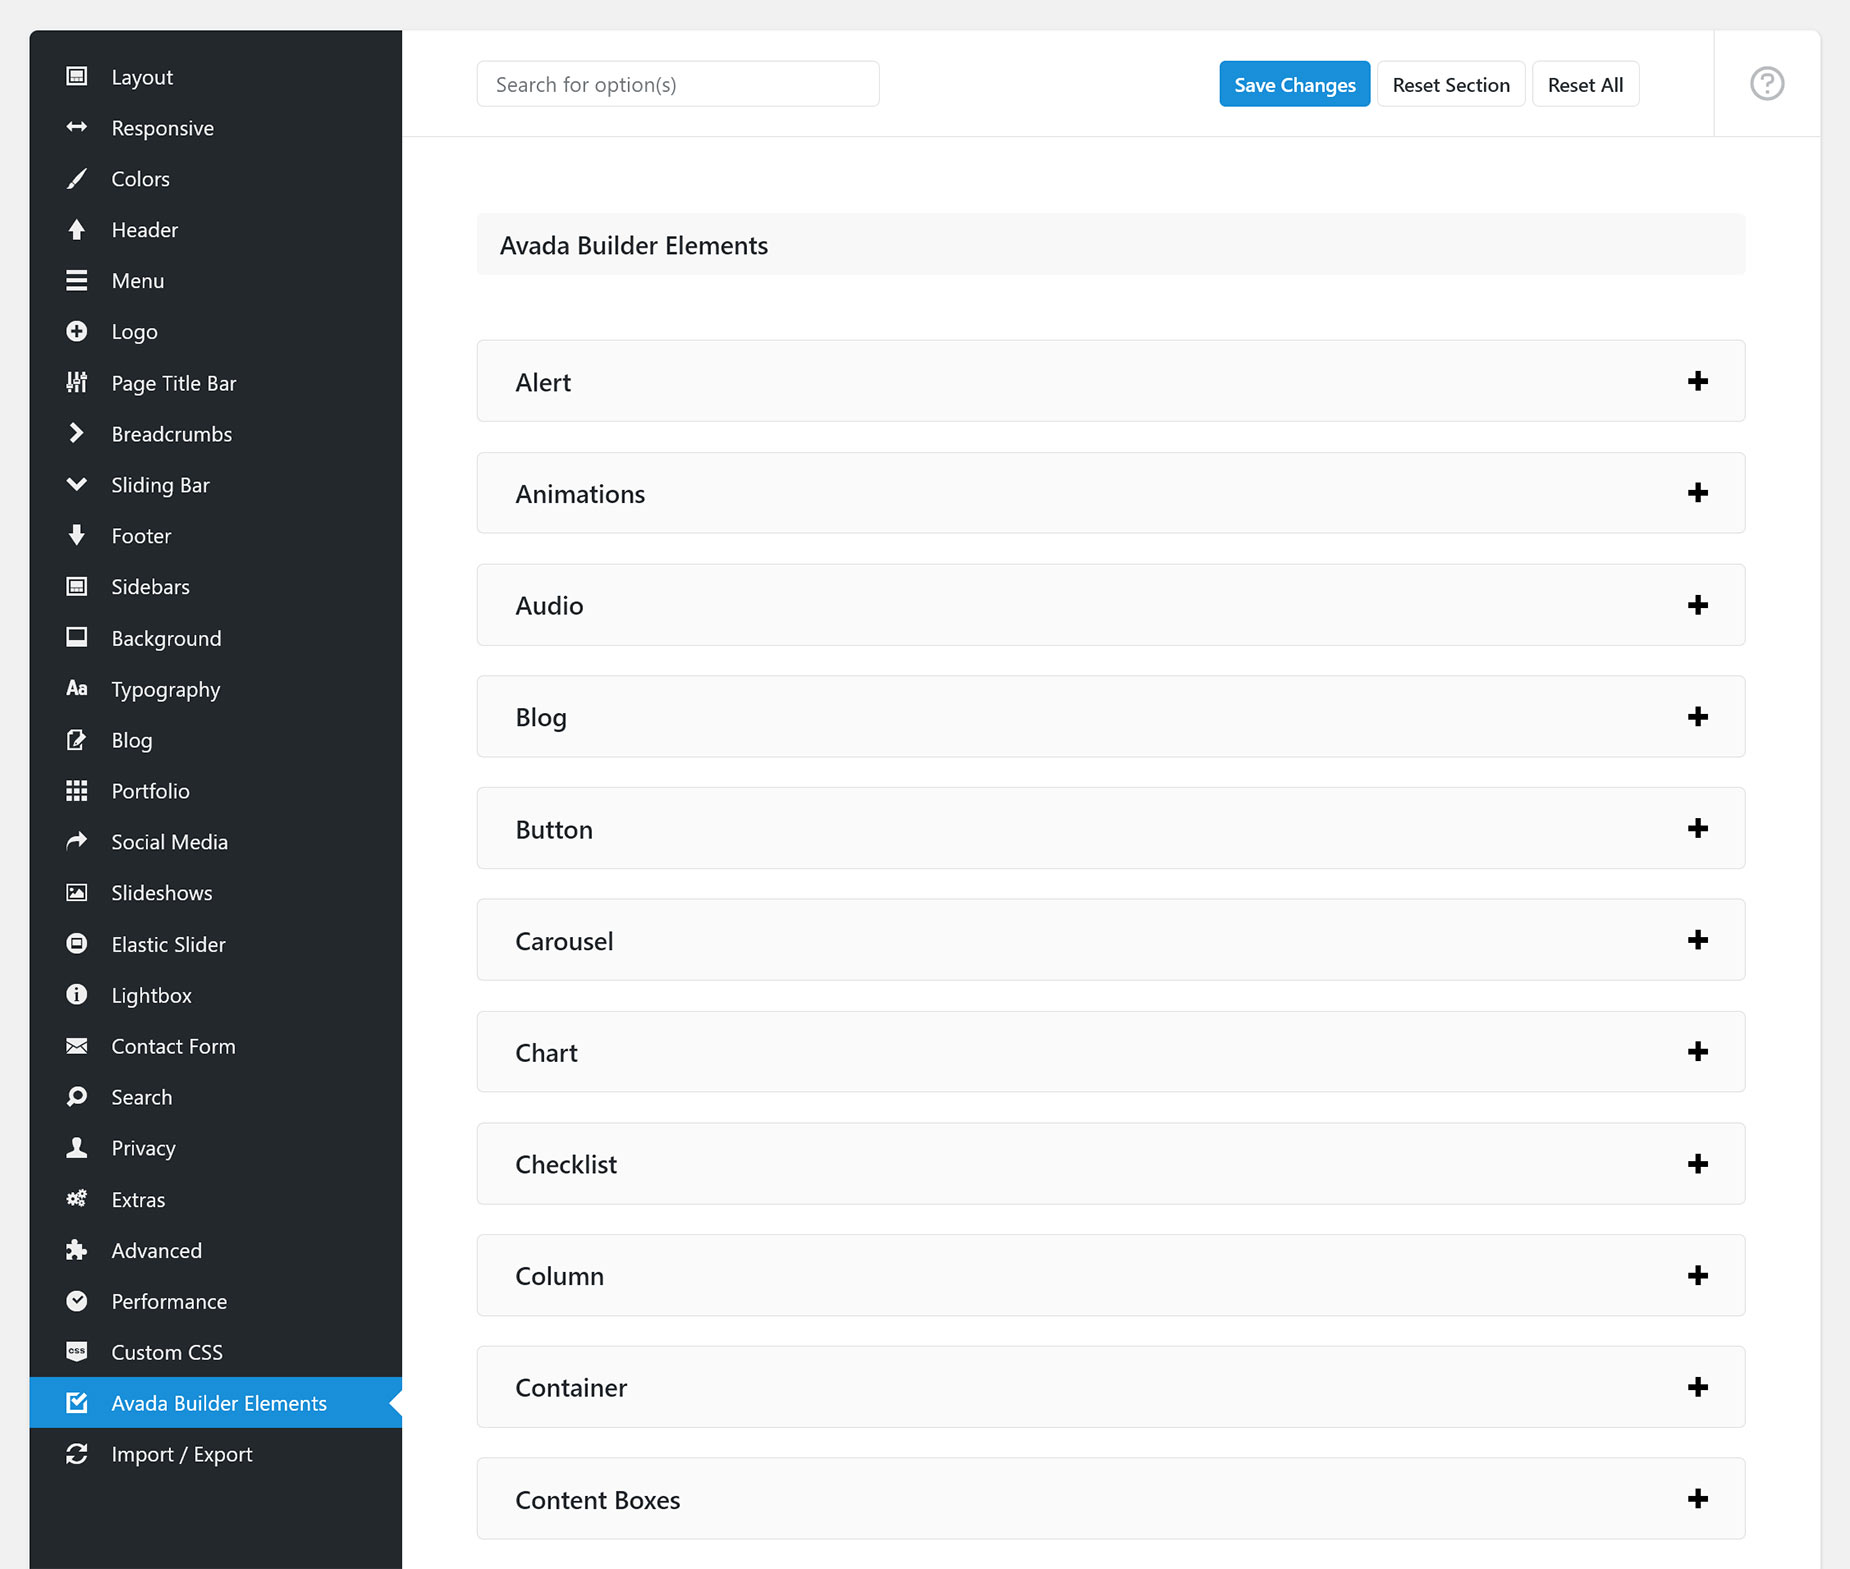
Avada Builder Element Default Values
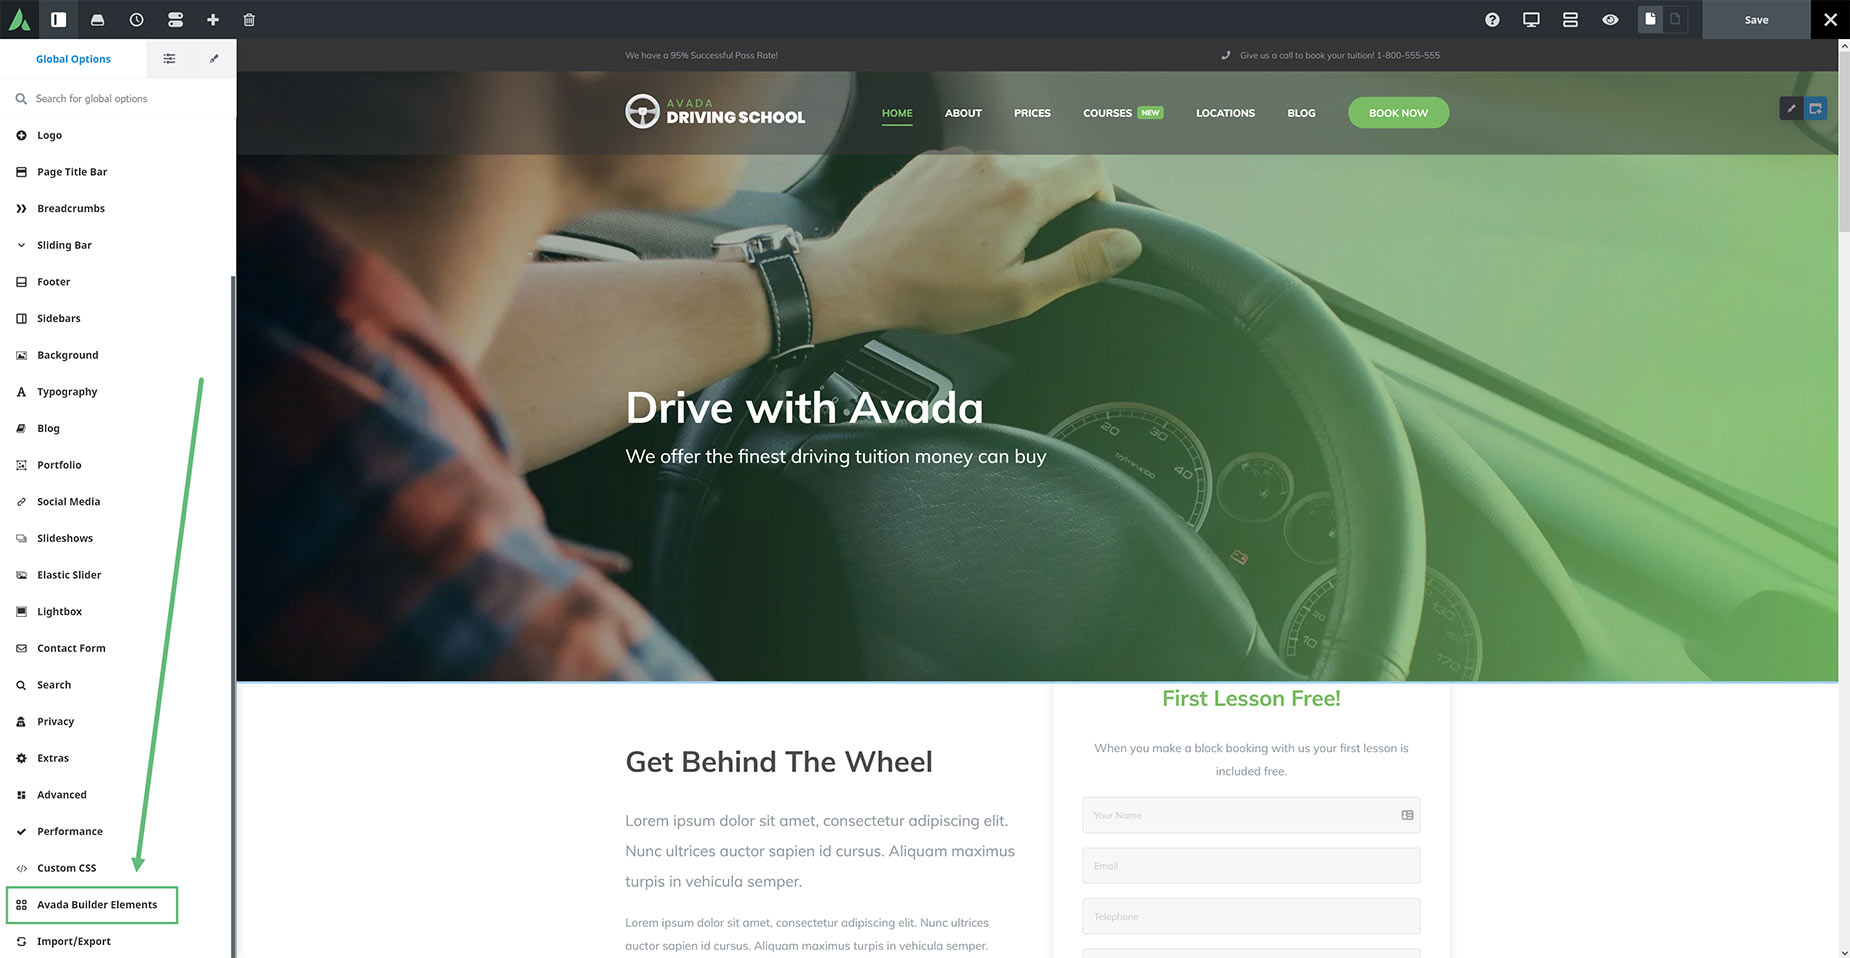
If you’d like to customize each Avada Builder Element globally, you can do so by going to the Avada > Options panel, then switching to the Avada Builder Elements tab. On this tab, you can globally customize each element to your liking. If you’d like to customize each Avada Builder Element individually, then you can do so by editing the individual Element while building your page or post.
You can also access these Element Global Options when you are in Avada Live. Simply click the Toggle Sidebar icon on the Toolbar, and choose the Global Options Tab. Scroll down to the penultimate option, called Avada Builder Elements, and here you can also set the global defaults for the Elements.