How To Create Menus In Avada
Last Update: October 28, 2025
Menus are initially created in Appearance > Menus from the WordPress dashboard. They can then be added anywhere to your Avada website using the Menu Element, or if using legacy methods, they are assigned to certain areas within your website, which are then displayed according to your chosen Header layout. This article looks at the creation of menus through the WordPress interface.
How To Create A New Menu
– Once it’s all done, make sure you click the Save button.
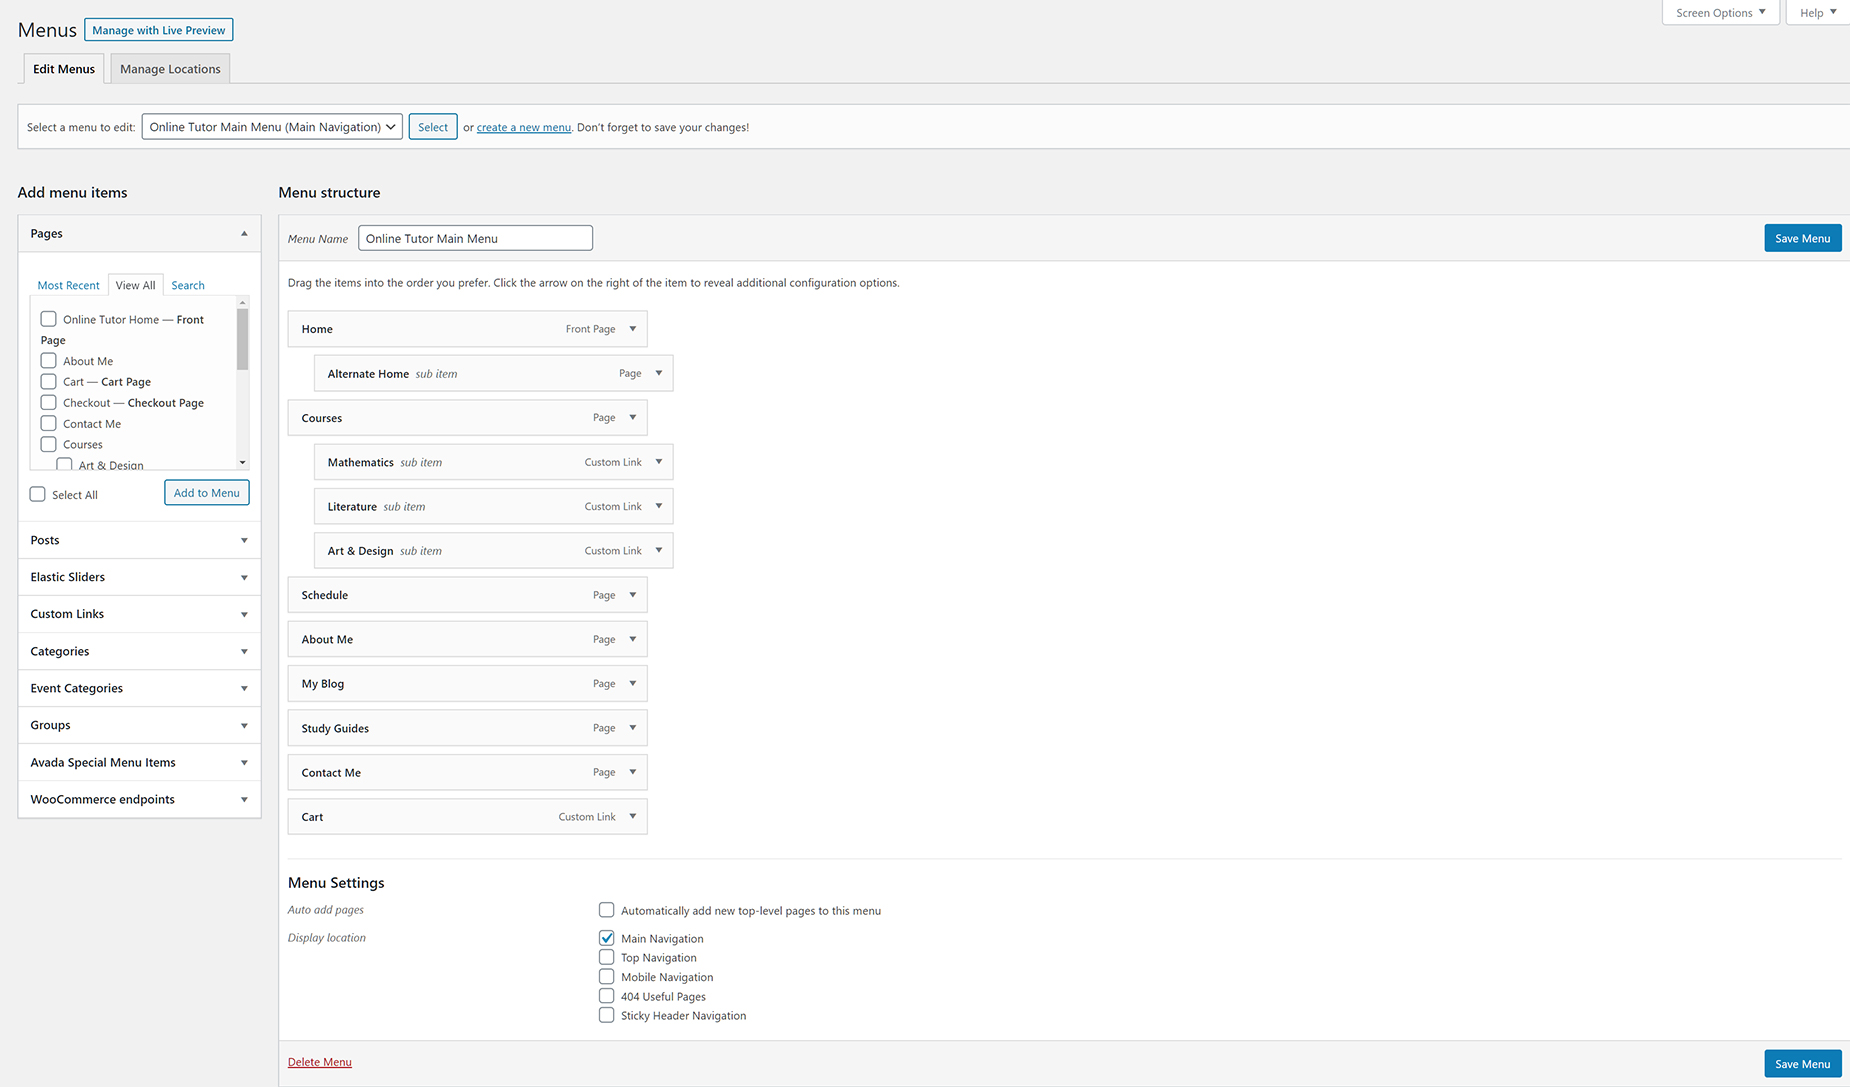
Here is a screenshot that shows you the various areas and descriptions of the menu section described above.
Assigning A Menu
Once you have created you menu, you need to assign it to your site. There are two main ways to do this. Our recommended method is to use the Menu Element in a Header Layout Section (You can also add a Menu anywhere in your page content with the Menu Element). Read more about how this works in the How The Menu Element And Menu Work Together document.
Alternatively, If you are not yet using Avada layouts, and instead using the legacy Headers chosen from the Global Options, then you assign the menu to a specific location in the menu itself. See the Assigning Menus via Global Options document for more information on this.


