How To Add A Logo Into Your Header Layout
Last Update: February 12, 2026
With Avada Layouts, you can create custom Headers for your site using the full power of Avada Builder. One of the most commonly used Elements in a header is the Menu Element. But if you’re looking for a Logo Element, you won’t find one.
Because a logo is essentially just an image, and also because you would typically only use a Logo Element once to add it to a Header Layout, it was decided that the existing Image Element was more than good enough for the job. This document looks at exactly how to use the Image Element to add a logo to a Header Layout, using a variety of image formats directly in the header, or dynamic options, pulling the logo from Global options. Read on to find out all you need to know about logos in Header Layouts, and watch the video for a visual overview of the available methods.
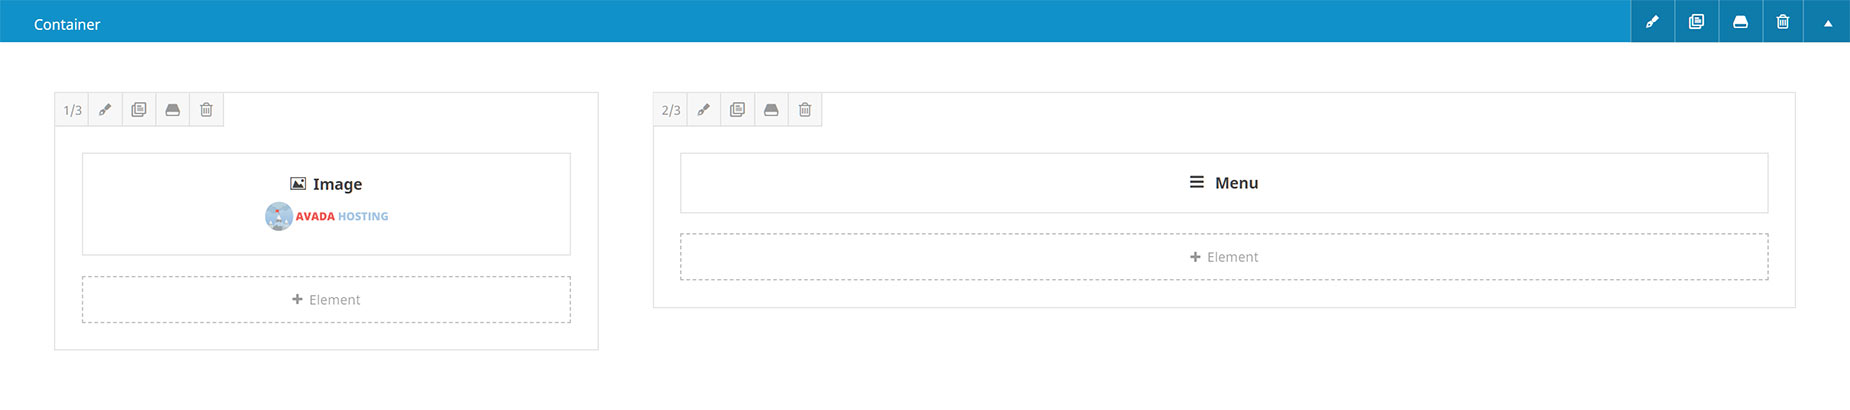
Adding The Logo As An Image
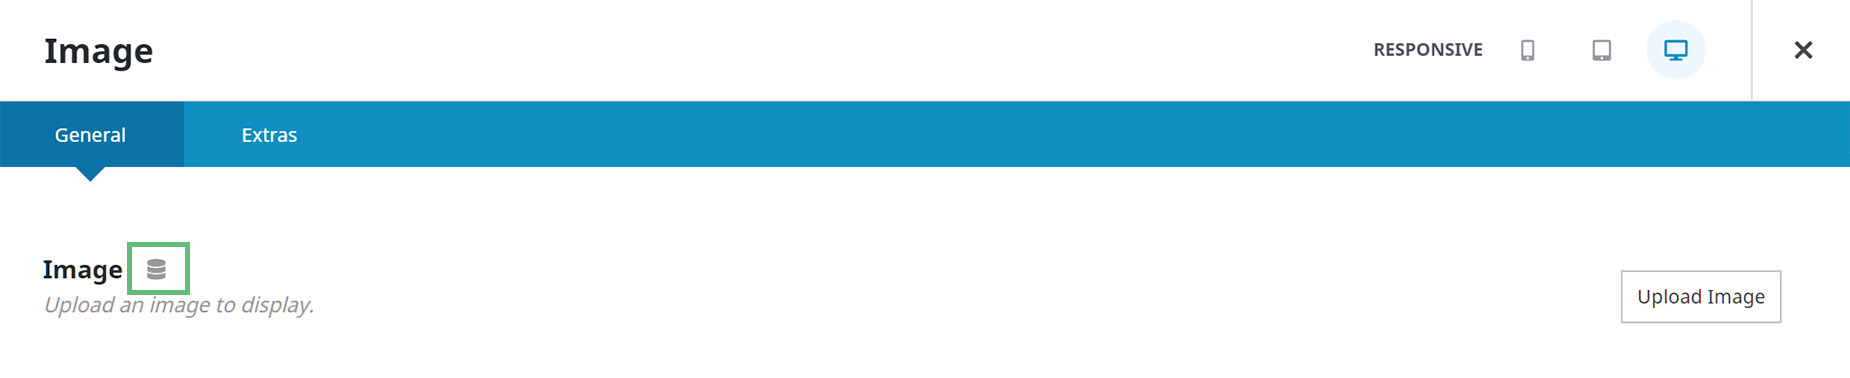
Once you add the Image Element to your Header Layout, have a look at the very first Element option – Image. As we have established, a logo is essentially just an image, and so you can just add the logo as an image from the Media Library, using the Upload Image button on the first option.
Typically, you add your logo in the size you want it to display. So if you wanted your logo to be 300px wide, you could just resize it to that before uploading, and then add it as an image via the Element. But as seen below, you could also upload a Retina sized logo (eg. 600px) and use the Image Max Width option, directly below the Image option, to set a size half of the retina version (300px), thereby setting a Retina ready logo site wide.
As long as other logos were not set in the global options, this logo would be used for all responsive views, as well as a sticky header, if that was enabled.
How Big Should My Logo Be?
There isn’t a single ‘correct’ size for a logo on a website. Instead, it should be designed to work clearly at different sizes. Most websites display logos around 50–80px high on desktop and slightly smaller on mobile. Think in terms of height, not width, as on most websites, logo height matters more than width because the header controls vertical space. The best approach is to use an SVG version (see below) so it stays sharp on all screen sizes. The goal is to keep it clear and recognizable without taking up too much space in the header.
Adding The Logo As An SVG File
Adding an SVG file as your logo has numerous benefits. The primary one of course is that an svg file resizes dynamically, and as such, you can use one file for all circumstances. They are also small files, which is another smll benefit.
To use SVG images on your website, make sure the SVG Media Upload option, found under Performance in the Global Options, is enabled.
If you add your SVG logo during the Avada Setup Wizard, this will automatically allow for the upload of an SVG file.
Adding The Logo Dynamically
Alternatively, you can add the logo dynamically, which will pull the logo(s) uploaded through the Global Options. This can be advantageous in more complex headers, with the need for various logos and sizes, but there will be a small price to pay on page load. To get started with this method of adding your logo to a header layout, click the data icon next to the Option title, as seen directly below.
This will replace the Upload image button with a Select Dynamic Content dropdown. To see the full options for the Logo data type, click on Logo from the dropdown list.
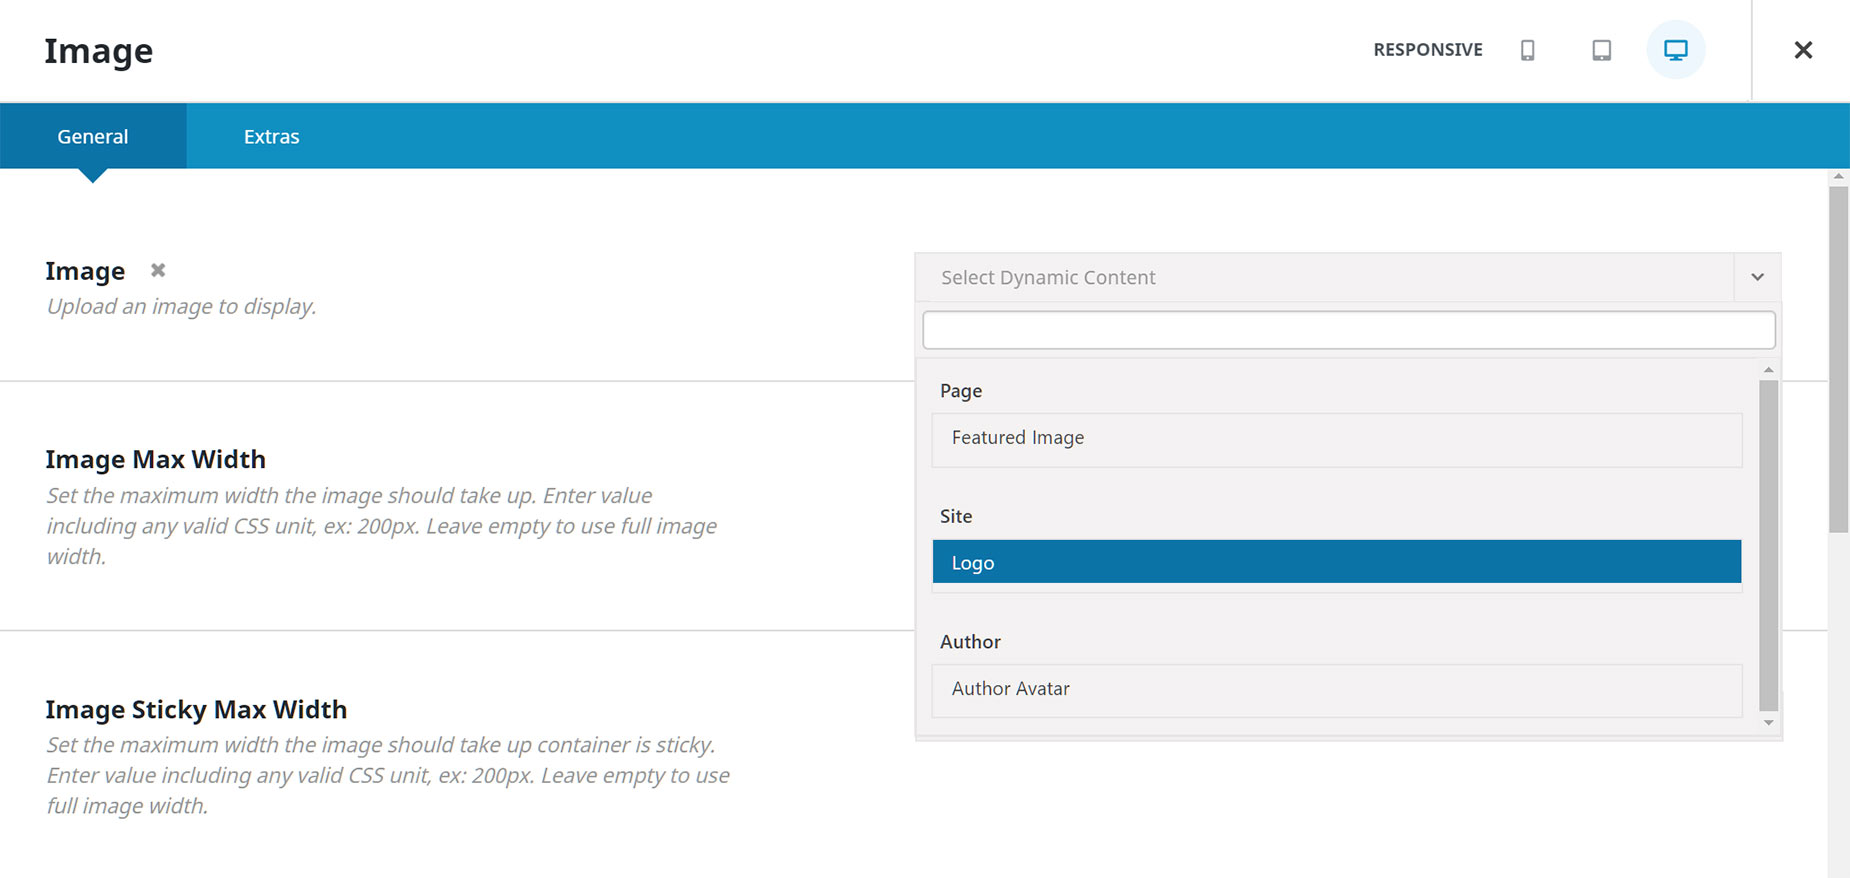
This brings you to this screen, where you can choose exactly what data you’d like to pull into the Element.
You can choose from Default (Normal), Default (Retina), Sticky (Normal), Sticky (Retina), Mobile (Normal), Mobile (Retina), or All. What to choose here will depend on your Layout, and what you are trying to achieve.
So, as you can see, the Image Element is now a powerful tool to help set your logo throughout the theme when using a custom layout.
If you have just one header layout, the best option is either uploading a logo as an image (either normal or retina version as described above) or adding the image via dynamic content, using the ‘All’ dataset, and adding your desired logos in the global options.
If you have multiple headers in your layout, using visibility options to control when they are shown, then the single data set options will be the ones you want, to show the various versions of the logo when the visibility optioins kick in.


