How to Work With Header Transparency in Avada Layouts
Last Update: November 17, 2025
When creating Headers in Avada Layouts, one thing that might not appear obvious is how to make the Header transparent (or semi-transparent). It’s actually quite simple. Keep reading below to look at a few scenarios using the Online Tutor Prebuilt Website, and how to achieve them, and watch the video for a visual overview.
Fully Transparent Header Container
In this scenario, we’re going to recreate the Header of the Online Tutor Prebuilt Website in Avada Layouts. As you can see below, the site header has two containers; the orange top bar, with contact information and social links, and the second container with the logo and the menu. It is this second container we want to be transparent, so that the background image of the top page content container moves up underneath the header.

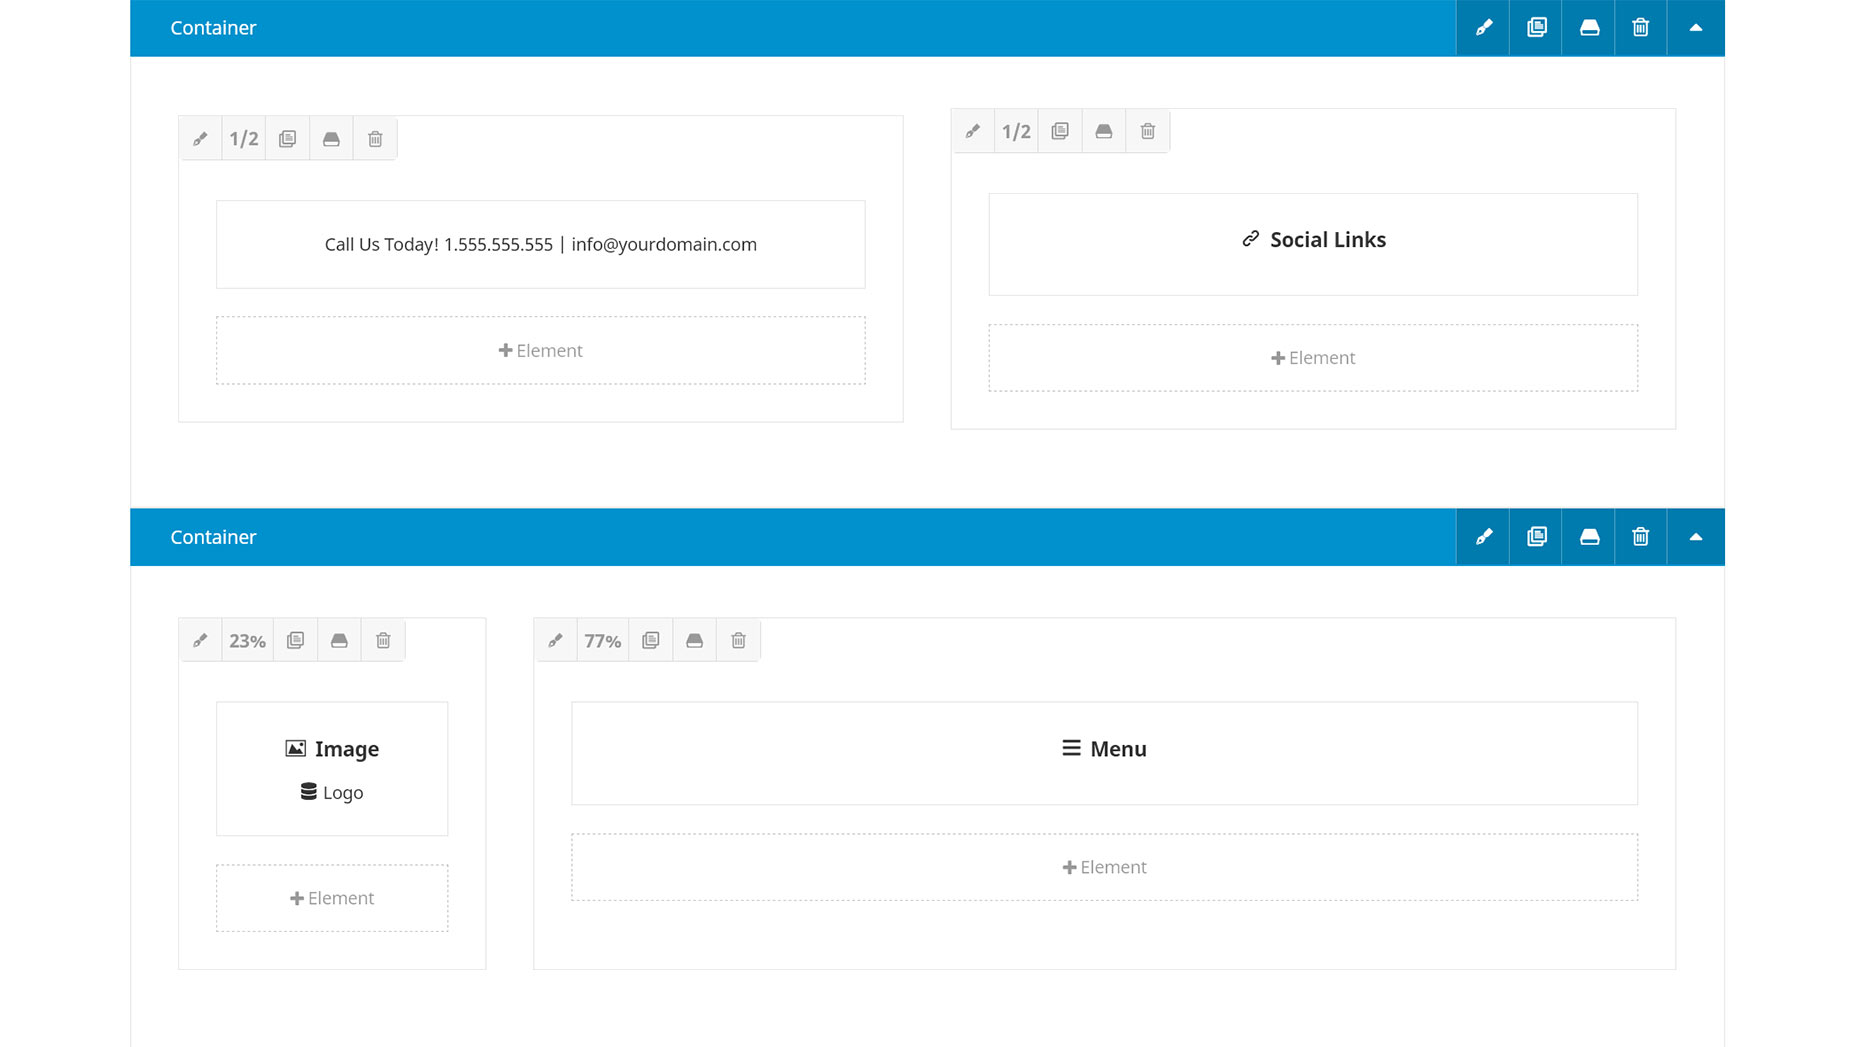
OK, so I’ve started by creating the Header Layout Section. As you can see in the back-end builder view, there are two containers, with two Elements in each.
OK, here’s our site with the new Header Layout Section activated. Identical to the original site.
Transparent Sticky Header
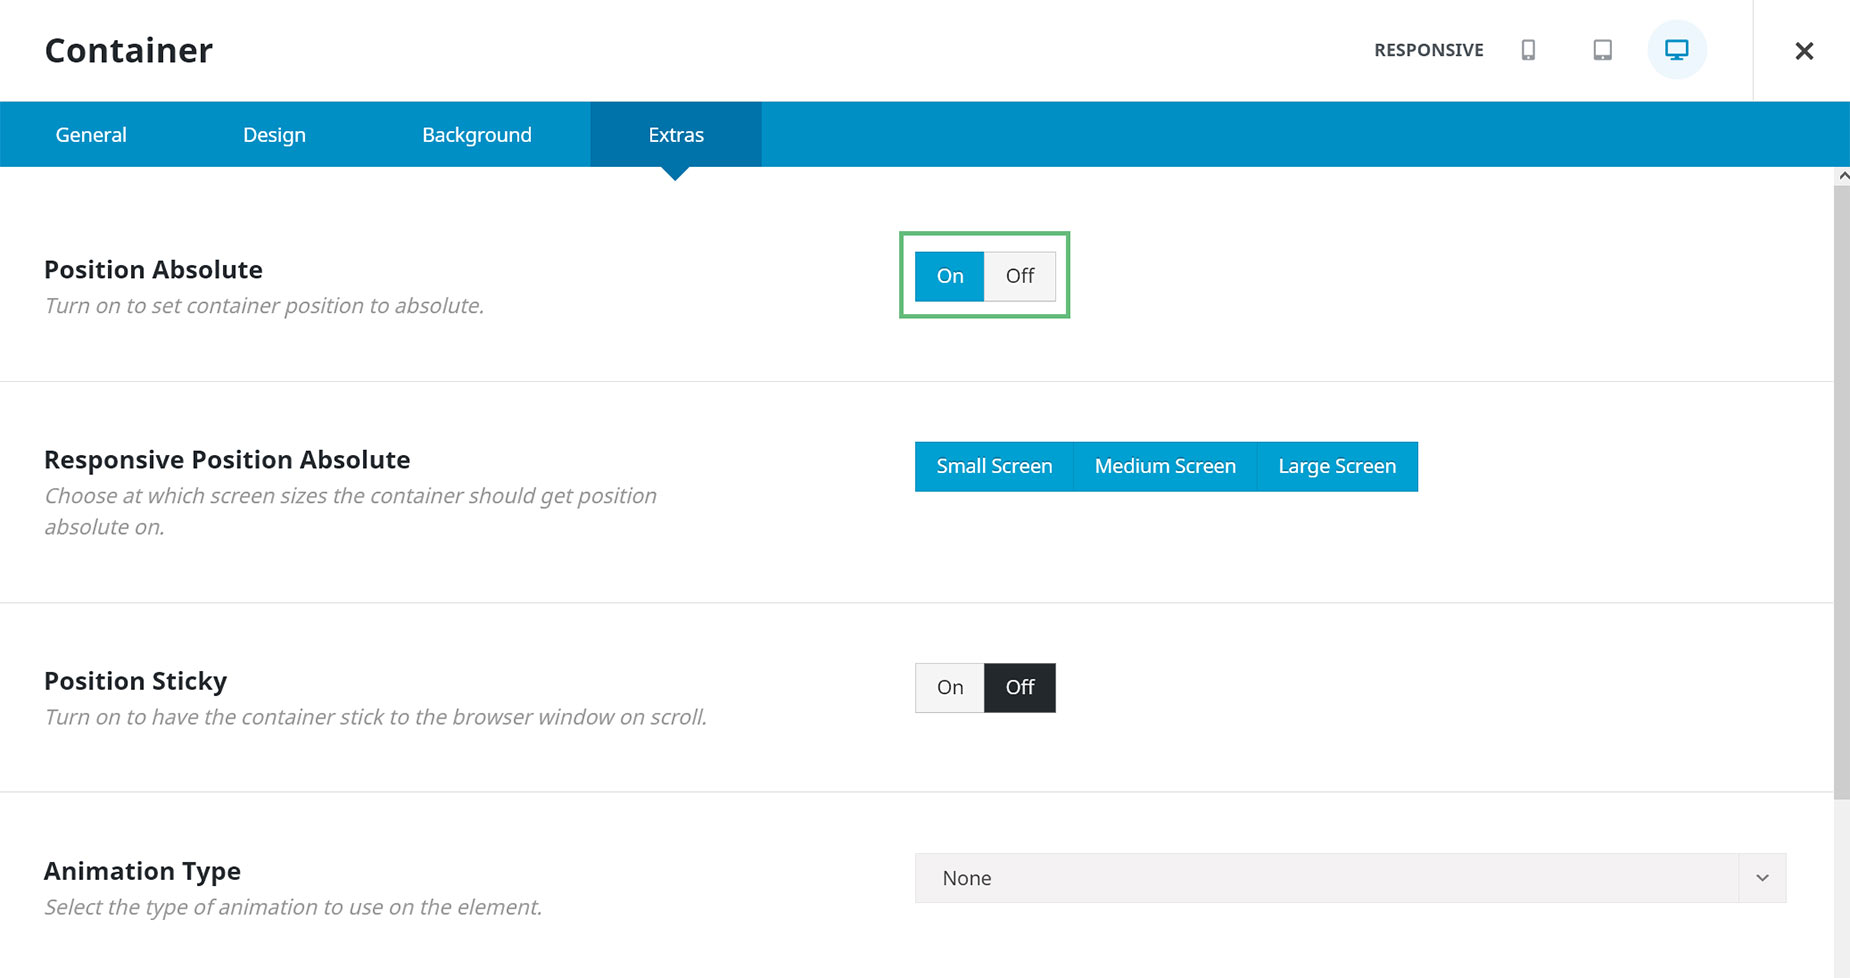
You can also enable any level of transparency for sticky headers, either independently, or in conjunction with the above initial Header.

On the front end, as you scroll, the top bar disappears, but the second header container becomes sticky, and semi-transparent, with the content sliding in behind it as you scroll.

Semi Transparent Header With Gradient
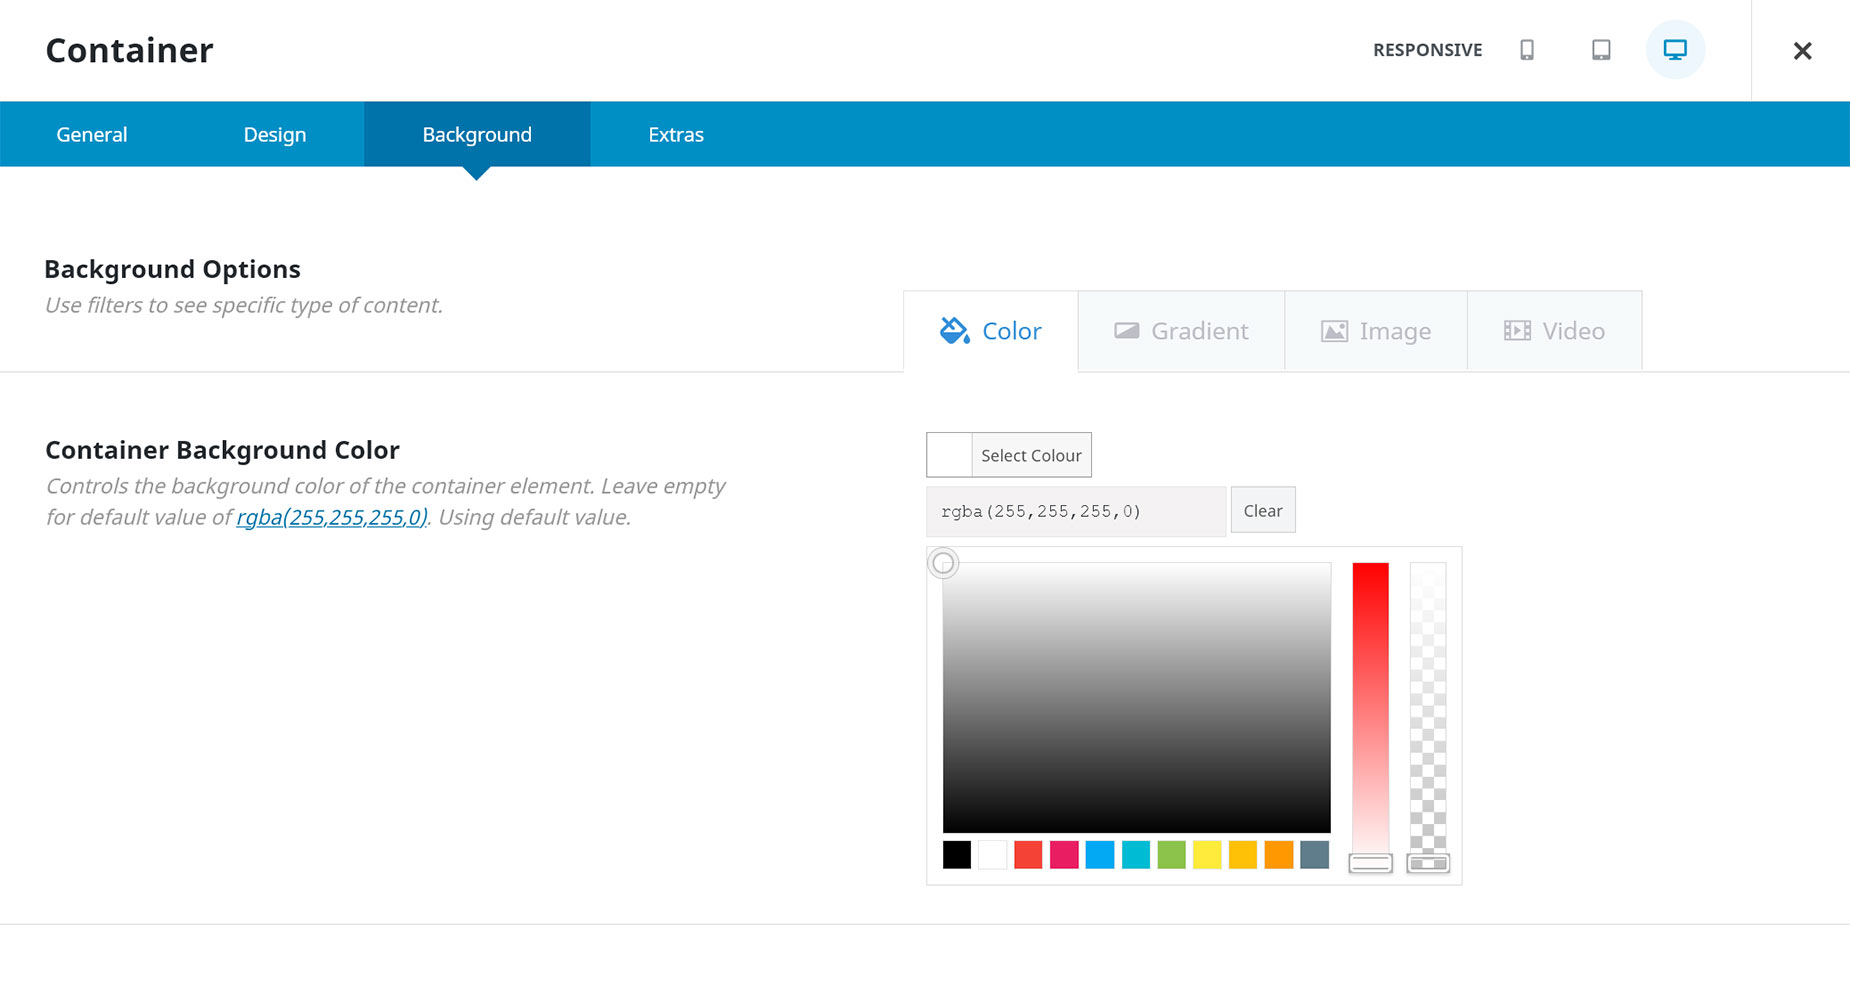
You might also want something a bit more complex. You can also apply any level of transparency to your Header Container Background, or as in the example here, set a gradient background with varying levels of opacity.
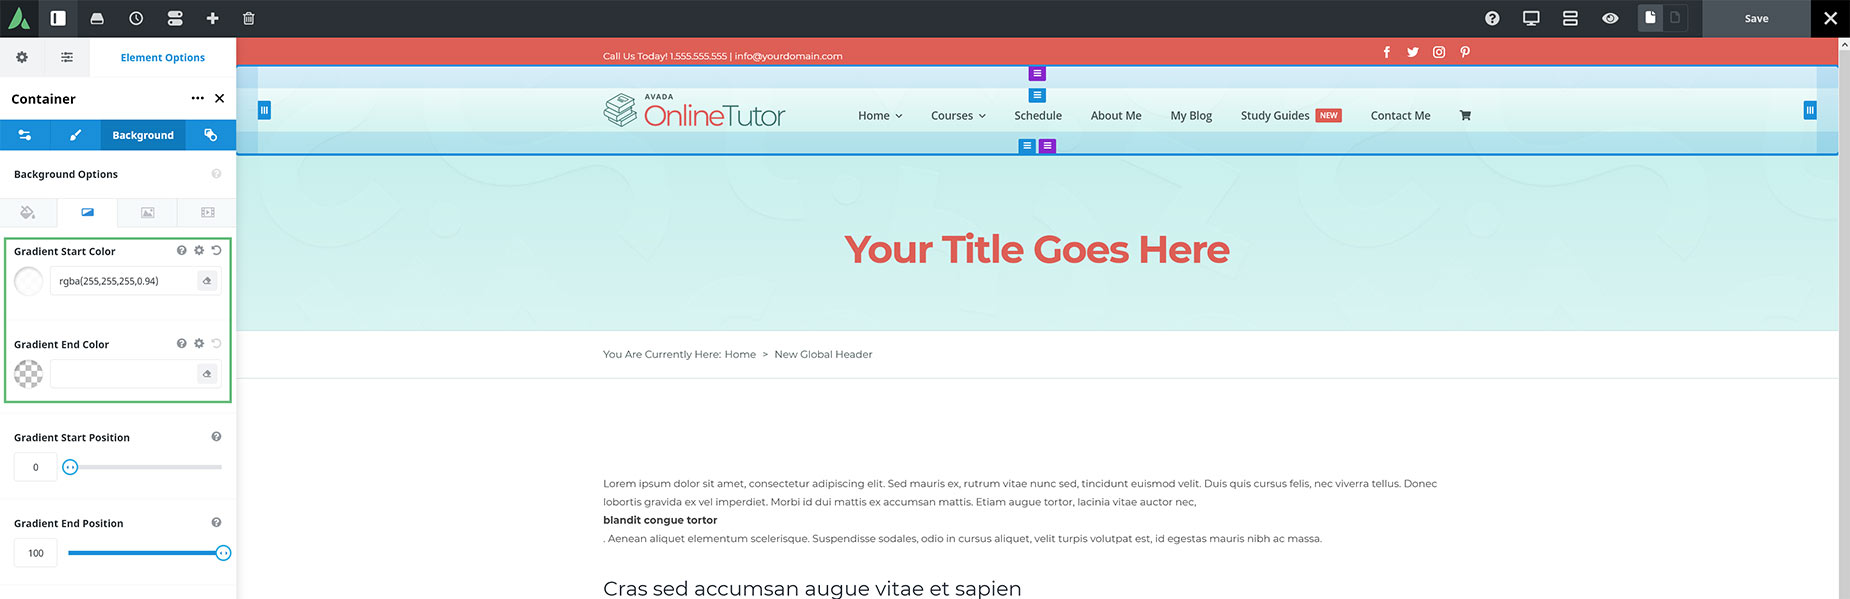
As a result, the second container in the header has an almost solid white at the top of the header, quickly graduating to fully transparent. You can adjust where the opacity starts and ends, and how smoothly it graduates, with the Gradient Start and End Position.

OK, that’s it. There are many ways you can use transparency in your Header Layouts, but this should give you the tools to achieve pretty much any header effect you are thinking of.


