Global Headers Position And Transparency
Last Update: October 28, 2025
When using the Global Options to set a Header in Avada, there are options to position the header to the top, left or right of your website, and set the main assigned slider position above or below the header. You can also choose to make your main header’s background transparent, or your top header too. All of these options can be selected in the Avada Global Options, or individually per page or post with the Avada Page Options, which will override the Global Options.
Header Position
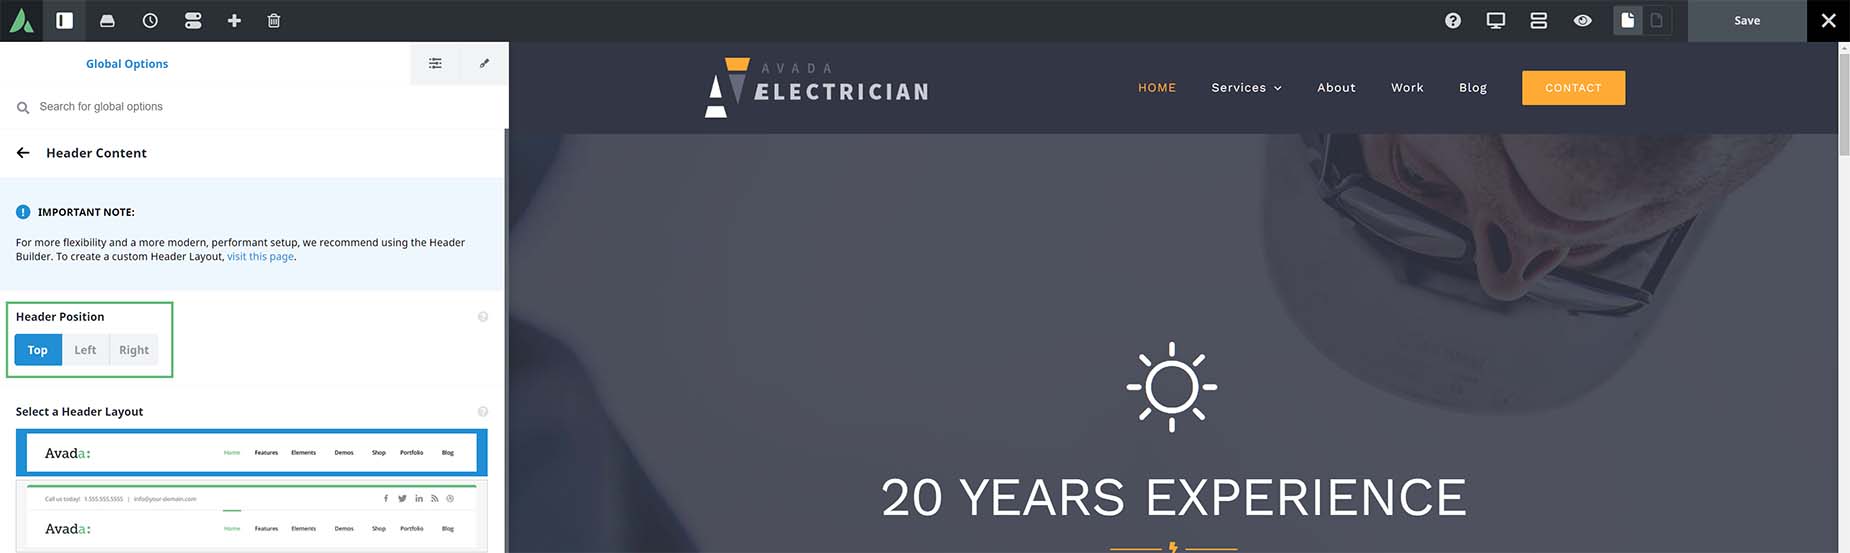
The Avada > Options > Header > Header Content options allows you to set the header position, header layout and other custom options for your header. Choose between Top, Right, or Left. Continue reading below for an explanation on each position.

Top Header Position
Setting your header to the Top position displays it and the menu items horizontally on your site. This also allows you to choose header layouts (6 to choose from) that are available only when you set your header to the Top position.
* Remember you can also change the Header Background Image, Header Styling, and Sticky Header options for your chosen header.
Top Header Content Areas
Avada includes 3 different content areas for top position headers. The corresponding header content areas will load and be accessible based on the header layout you choose.
Top Header Styling
For header styling options please go to Avada > Options > Header > Header Styling. You can add a background image to your top header here Avada > Options > Header > Header Background Image.
For your background image to be visible your header opacity must be set to 1. If the opacity is set to anything less than 1, your background image will no longer be visible and your header height will be removed completely.
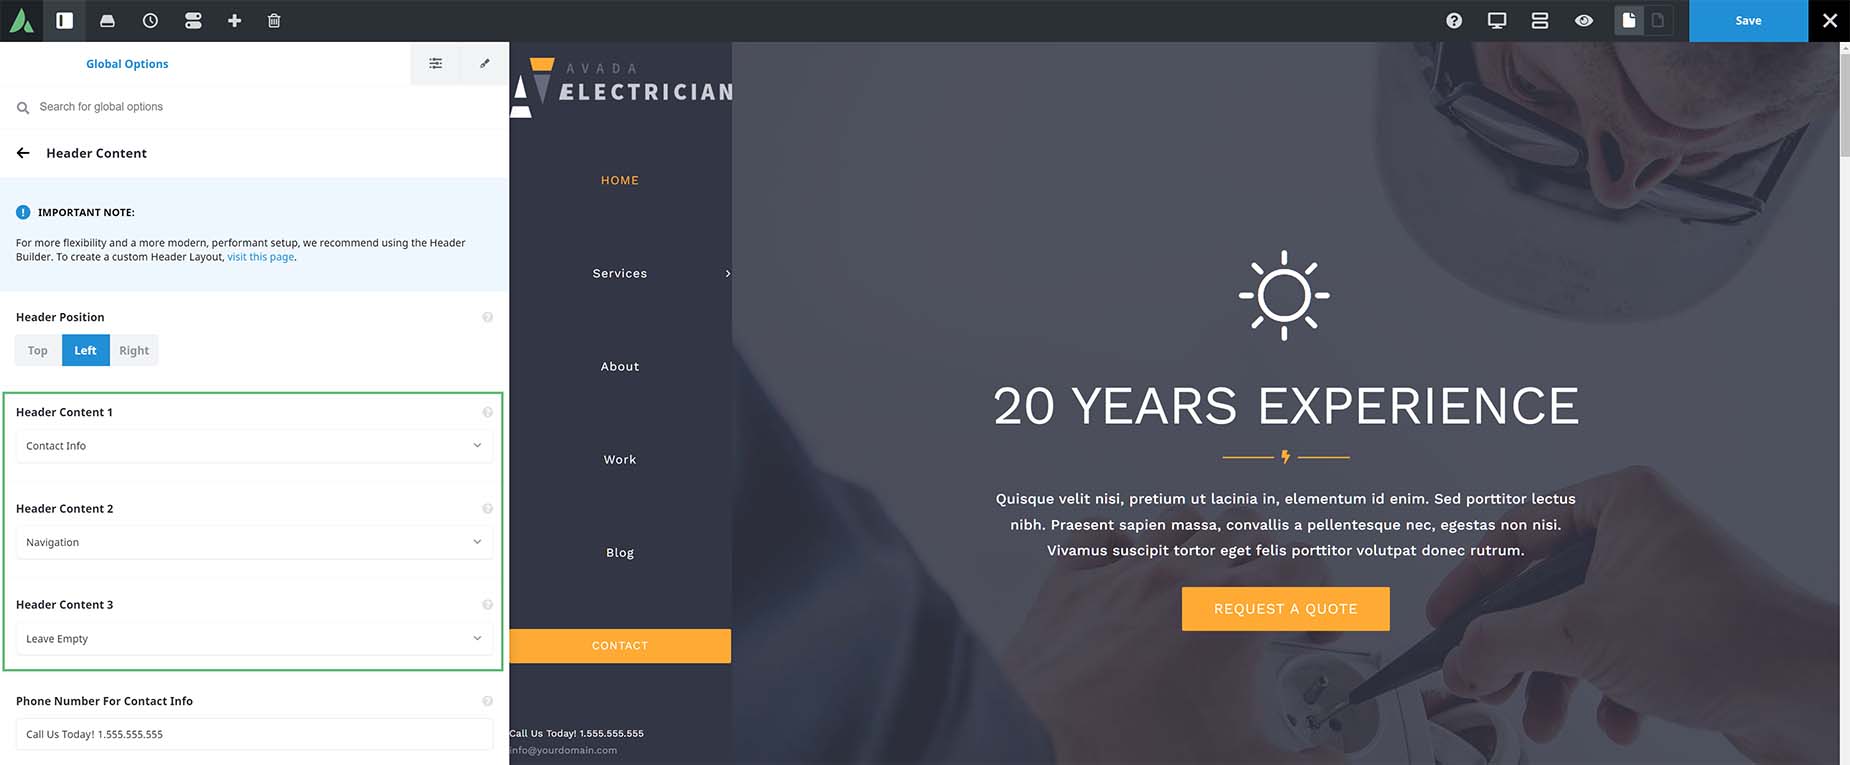
Side Header Position
Setting the header to the Left or Right position displays it and the menu items vertically on your site. You won’t be able to choose any header layouts when your header is set to the side, but you can still add header content and adjust the styling.
Side Header Content Areas
Avada includes 3 different content areas for headers, but access to these content areas depends on which header version you choose. Setting a side header allows you access to all 3 Header Content options. Simply select from the dropdown the content you’d like to display, such as Contact Info, Social Links, Navigation, and the like. If you do not want to display any of the Header Content options, simply select the Leave Empty option. Along with these, there are also fields that allow you to enter your own contact details and tagline to be displayed.
Side Header Styling
You can customize your header’s appearance by going to the Avada > Options > Header > Header Styling sub-panel. If you would like to add a background image to your side header, then you can do so by going to the Avada > Options > Header > Header Background Image sub-panel. For your background image to appear, your header opacity must be transparent or set to below 1. If you set your header opacity to below 1, then your side header will display a color overlay on your background image.
Header Transparency Options
By default, any header layout you choose will have a background color set. Please note that when using top header position and have the opacity set to anything below 1 (0-.9) the header background area height disappears and the slider below it will show behind the header in its place. This option works best with a page slider or large image so it moves up behind the header as illustrated in this prebuilt example. Continue reading below to learn how to change your header’s background color and transparency.
Header Background Color And Transparency

Mobile Header Background Color And Transparency

Header Transparency Per Page/Post
The header transparency for desktop and mobile can be set on a page/post by page/post basis. This is set by going to the Avada Page Options as illustrated below. Note that the Page Options override the Global Options.


