Avada Facebook Page Plugin Widget
Last Update: October 29, 2025
One of the widgets added to the WordPress Widgets page when Avada is installed is the Avada: Facebook Page Plugin widget. This widget allows you to display your Facebook Timeline directly on your site.
Facebook have made some changes to how this is achieved, and now requires each user to create an APP ID, for the Facebook Widget to display correctly on your website. Please continue reading below for more information on how to set this up.
Adding And Configuring The Widget
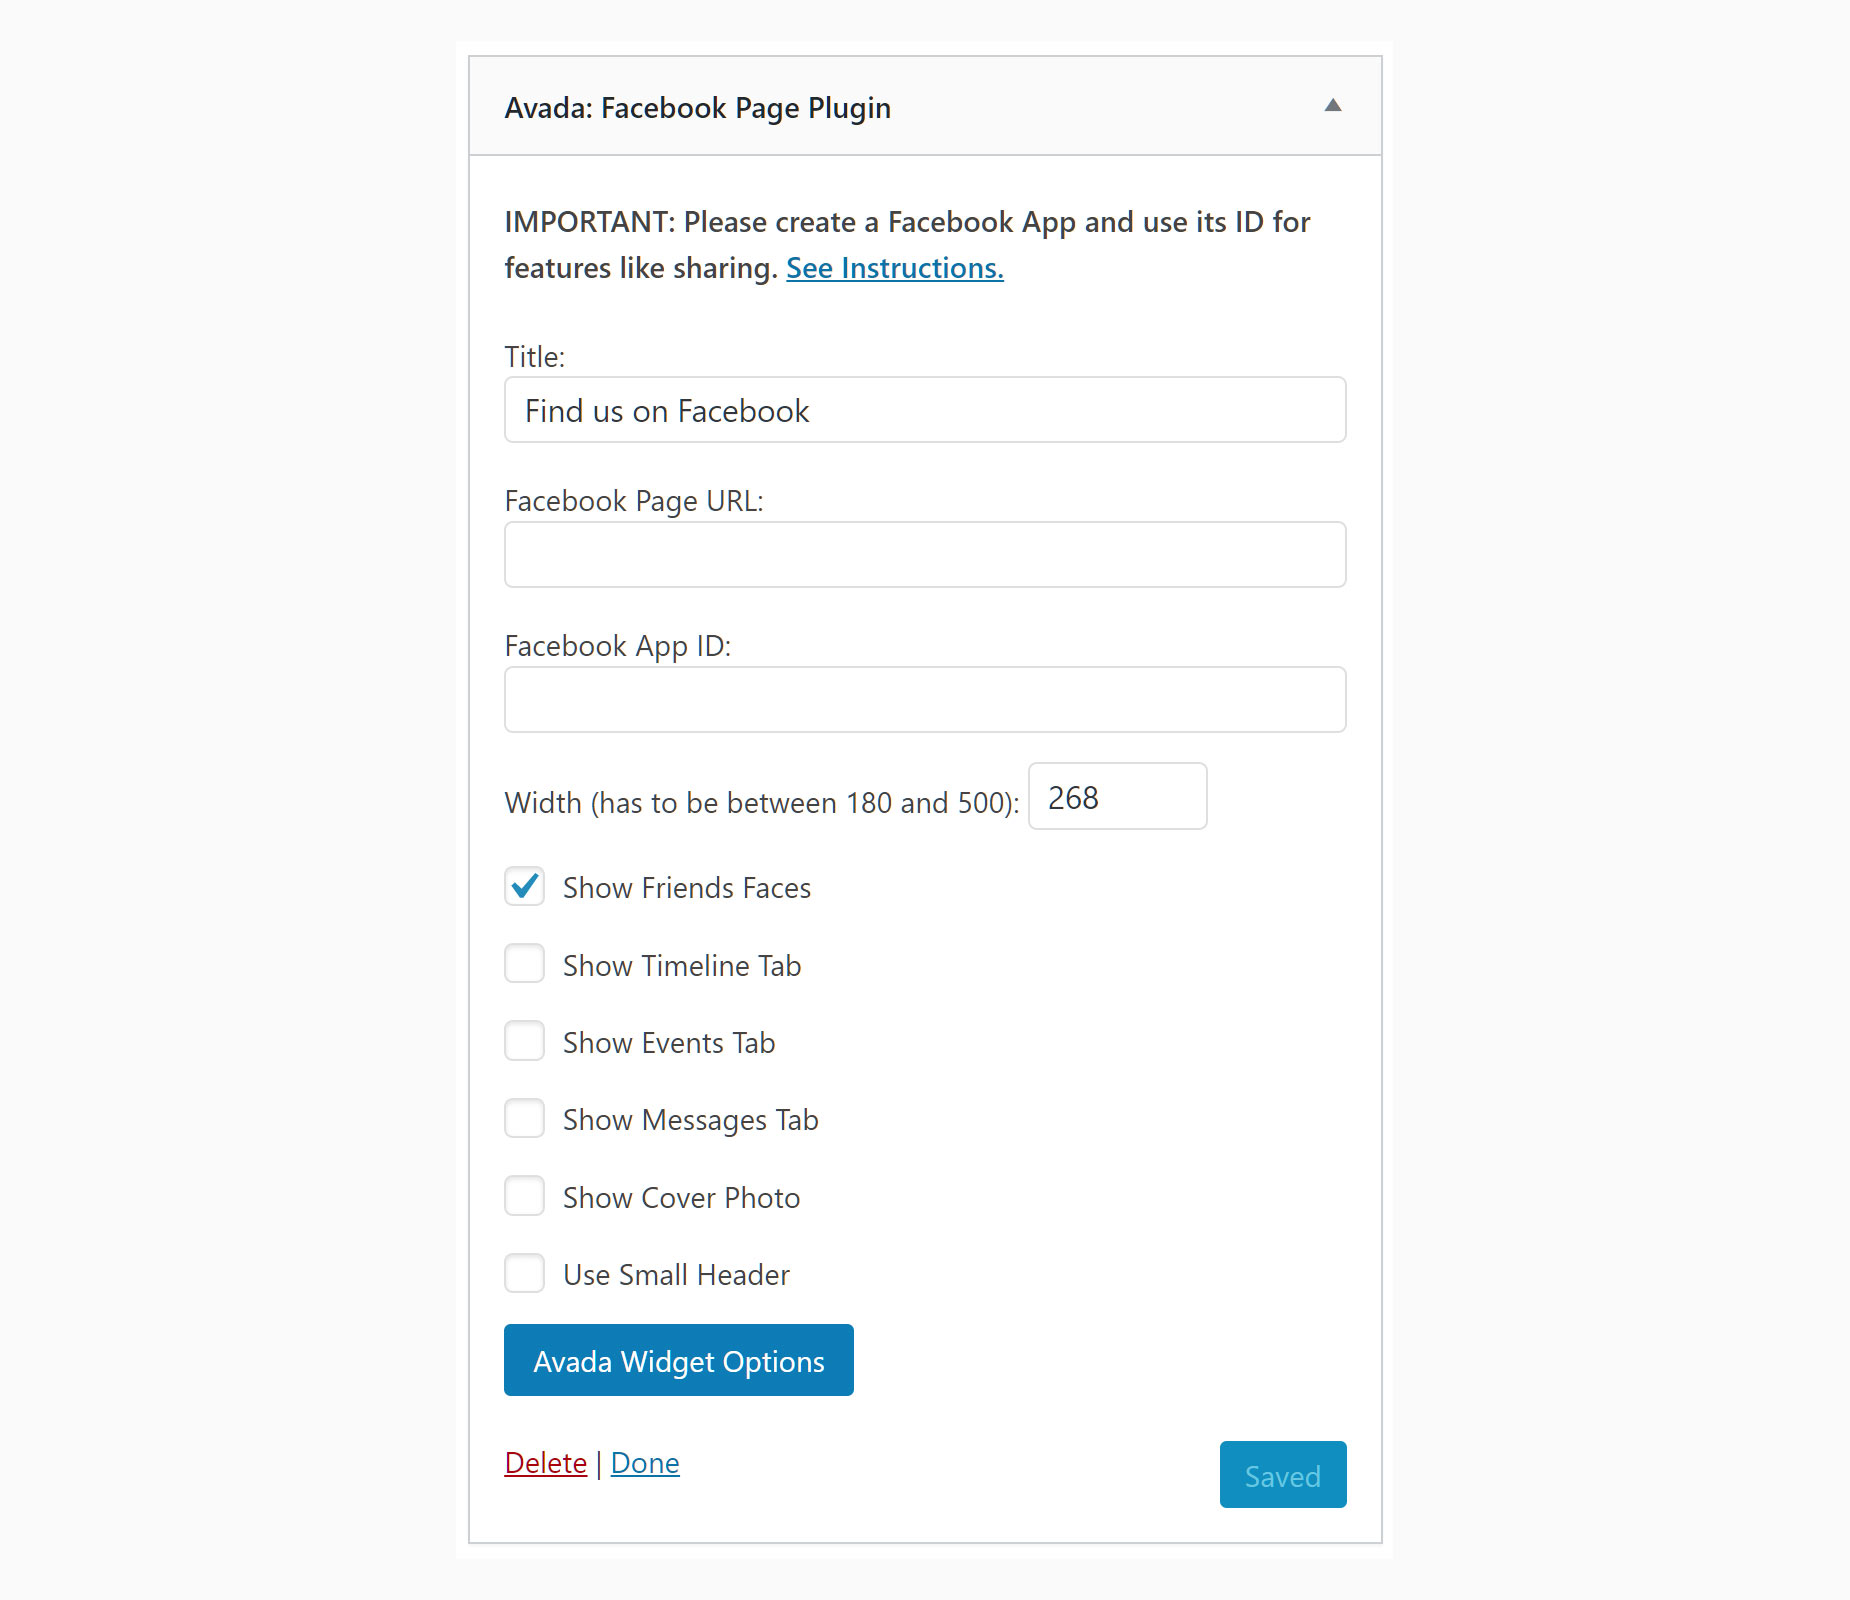
There are two ways to add this widet into your site content. The first is the traditional method, of adding the Widget to a Widget Area, like a Footer, Blog Sidebar etc. Once you add it to the desired Widget Area, you need to configure it for it to appear on the page. The first step is to add the URL for the Facebook page you want to display, and most of the other options are very simple, such as choosing what to display.
But to get the widget to disaply correctly, the most important field to fill out is the Facebook App ID. As can be seen in the screenshot below, there is a link at the top of the widget to some instructions on how to do this.
The second way is adding the Widget directly to the page using the Widget Element. This can be added anywhere in your content, and the configuration options are exactly the same as in method one.
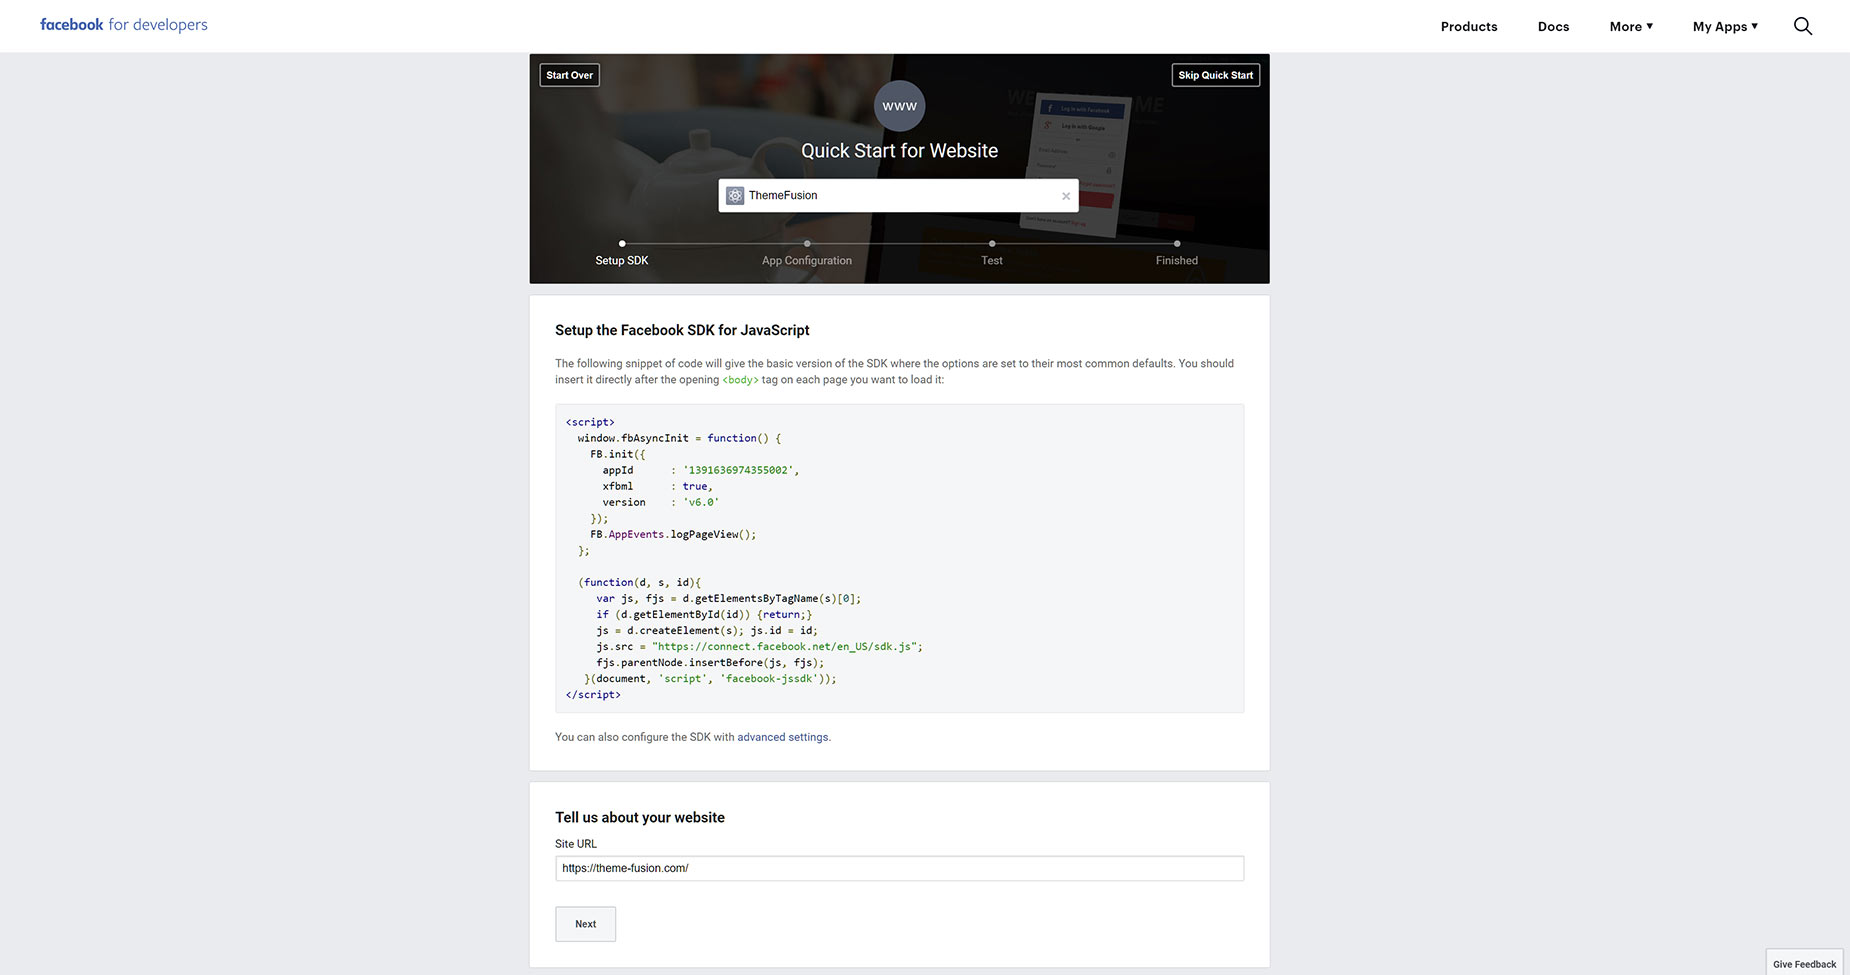
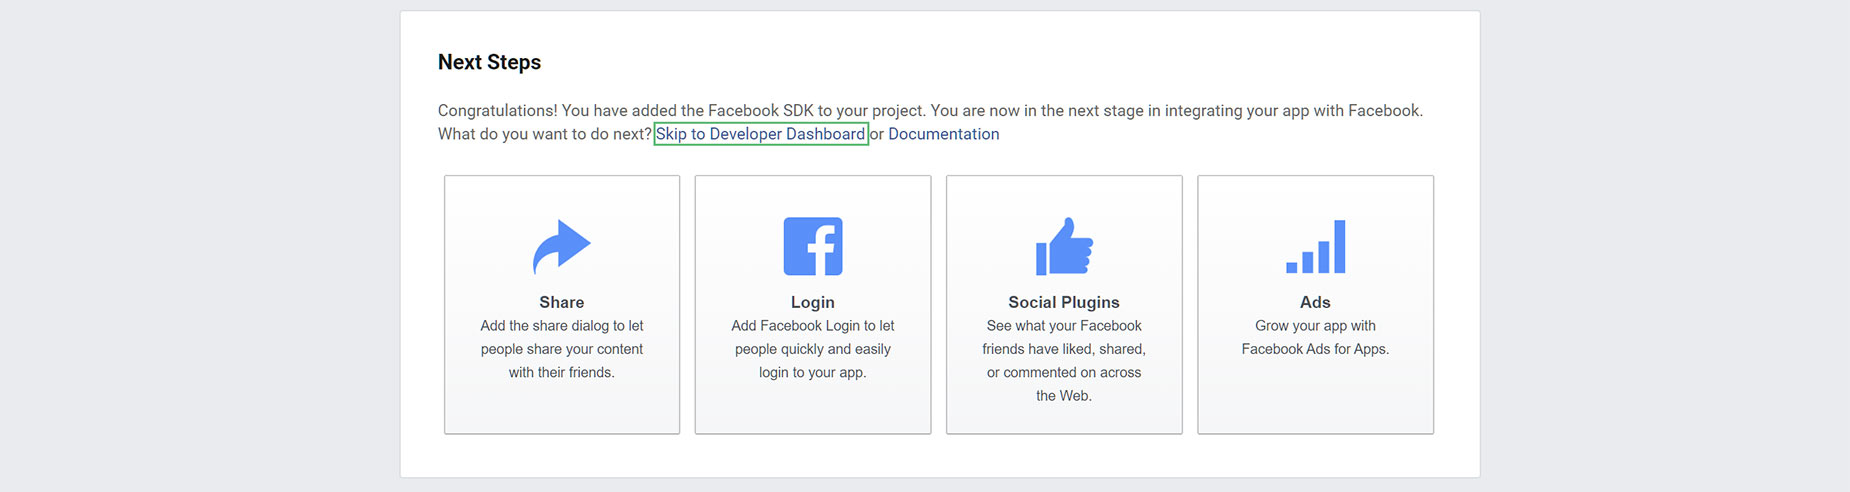
How To Create A Facebook APP ID
The next step is to create a Facebook App ID to add to the widget.