IMPORTANT NOTE: This document covers adding logos to Legacy Headers. For more flexibility, use Avada Layouts for your Headers. If you’re not using Avada Layouts, you can also add your logo into the Global options when using a Legacy Header. You can upload an image file of any size as your website logo in Avada in 3 different areas; the default logo, the sticky header logo and the mobile logo. This gives you the flexibility to adjust your logo depending on where it’s displayed. Avada is also retina ready, so there are additional options to upload a retina 2x logo for high resolution devices. Favicons are only added though the Global options, so see below for details on that.
Available Logo Areas
Default Logo Fields – Upload a default logo that will be displayed in all areas (Default/Sticky/Mobile) unless a unique logo is uploaded to the sticky header and/or the mobile header logo option.
Sticky Header Logo Fields – Upload a unique logo that will only appear on your sticky header. This is optional.
Mobile Header Logo Fields – Upload a unique logo that will only appear on mobile devices. This is optional.
How To Upload A Default Logo
Step 1 – Navigate to Avada > Options > Logo > Default Logo.
Step 2 – Locate the ‘Default Logo’ option and click the ‘Upload’ button to upload your logo image file.
View screenshot here.
Step 3 – This step is optional. You can upload a default retina logo using the ‘Retina Default Logo’ option.
Step 4 – Click ‘Save Changes’.
IMPORTANT NOTE: The retina default logo dimensions must be exactly twice that of your standard logo. For example, if your standard logo is 100px x 100px, the retina version of your logo must be 200px x 200px.
How To Upload A Sticky Header Logo
IMPORTANT NOTE: Uploading a sticky header logo is also optional. If no unique logo for the sticky header is uploaded, the default logo will be displayed instead.
Step 1 – Navigate to Avada > Options > Logo > Sticky Header Logo.
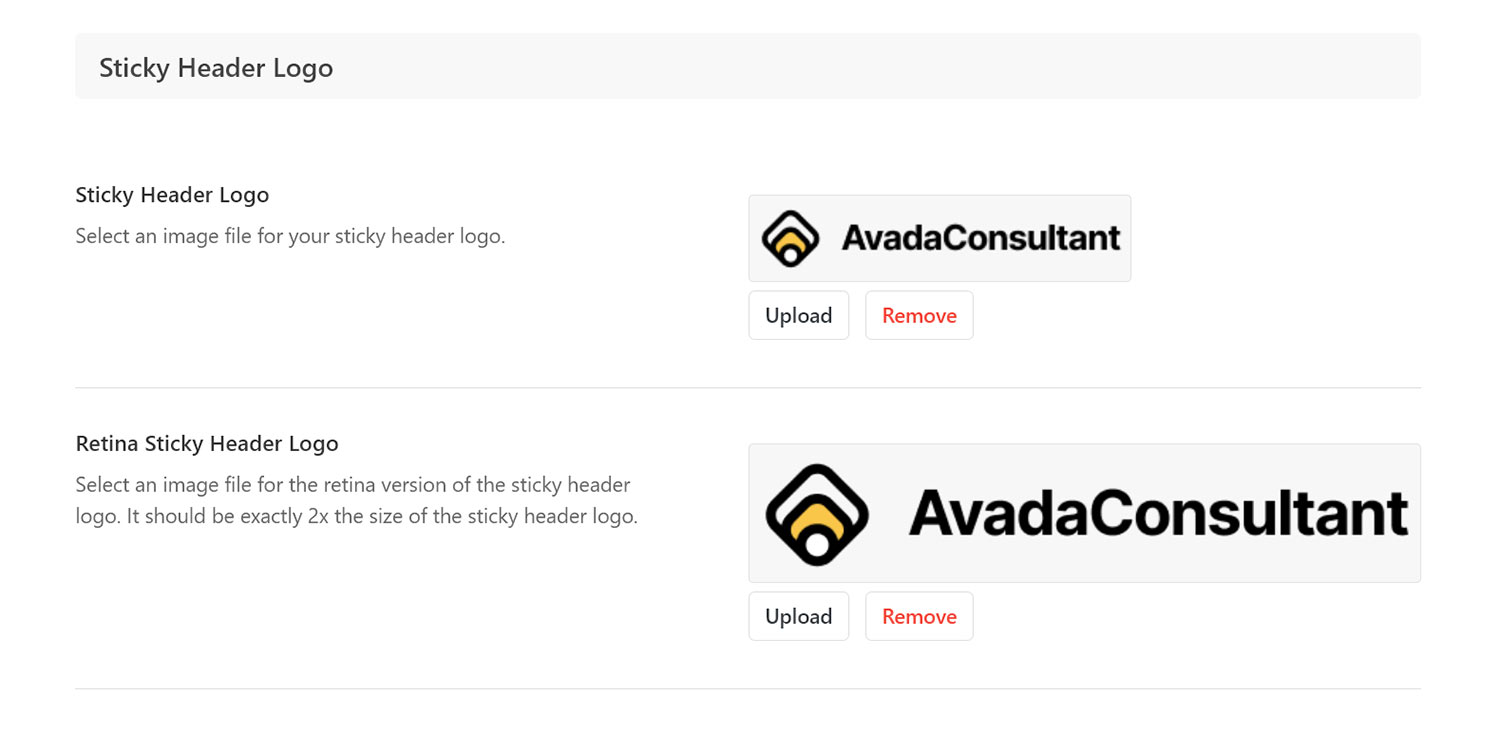
Step 2 – Locate the ‘Sticky Header Logo’ option and click the ‘Upload’ button to upload your logo image file.
View screenshot here.
Step 3 – Once ‘Custom’ is selected, the options on the repeater field will change.
Step 4 – This step is optional. You can upload a sticky header retina logo using the ‘Retina Sticky Header Logo’ option.
IMPORTANT NOTE: The retina sticky header logo dimensions must be exactly twice that of your standard logo. For example, if your standard logo is 100px x 100px, the retina version of your logo must be 200px x 200px.
How To Upload A Mobile Logo
IMPORTANT NOTE: Uploading a mobile logo is also optional. If no unique logo for mobile devices is uploaded, then the default logo will be displayed instead.
Step 1 – Navigate to Avada > Options > Logo > Mobile Logo.
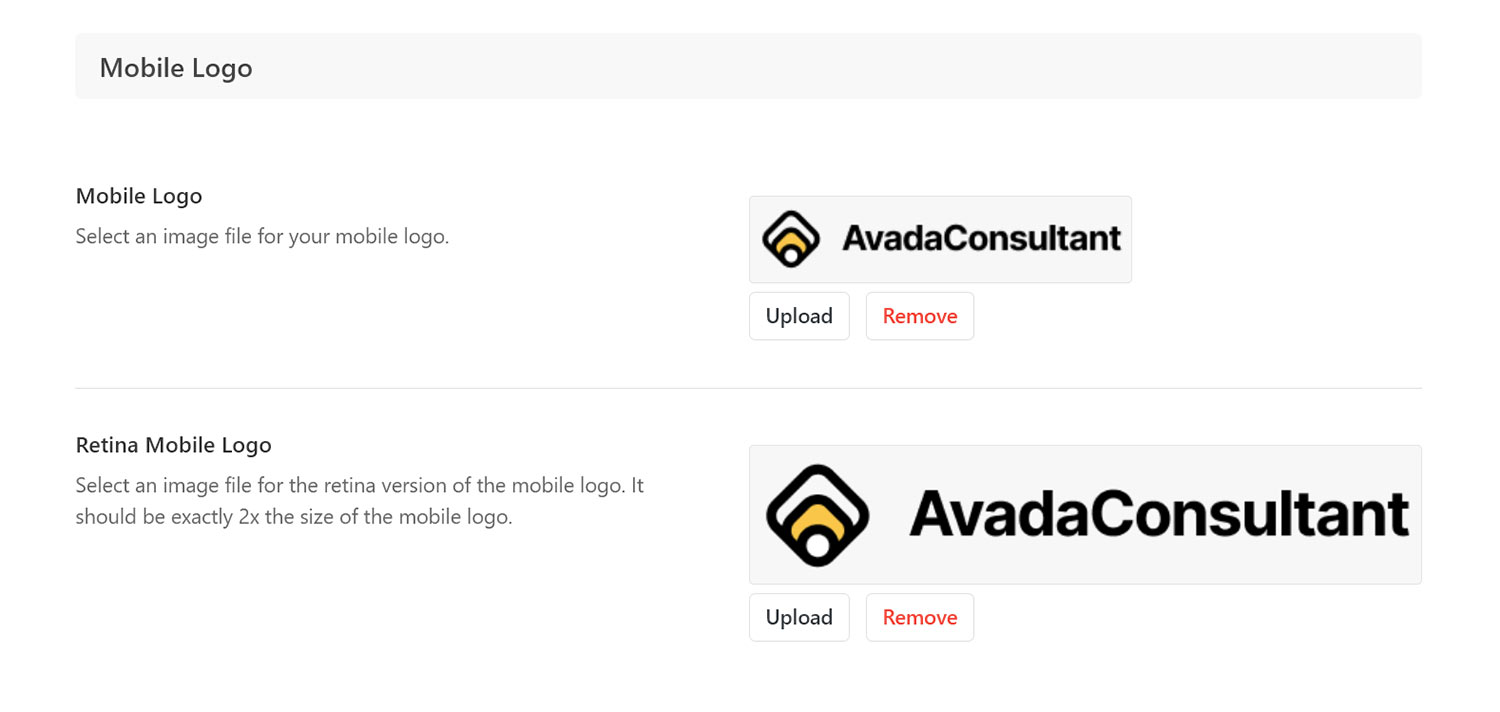
Step 2 – Locate the ‘Mobile Logo’ option and click the ‘Upload’ button to upload your logo image file.
View screenshot here.
Step 3 – This step is optional. You can upload a retina mobile logo using the ‘Retina Mobile Logo’ option.
Step 4 – Click ‘Save Changes’.
IMPORTANT NOTE
The retina mobile logo dimensions must be exactly twice that of your standard logo. For example, if your standard logo is 100px x 100px, the retina version of your logo must be 200px x 200px
Logo Settings
Avada offers various settings to help with the styling and alignment of your logo. These options are located in the Avada > Options > Logo > Logo section and will only affect the default logo that displays in the header on desktop mode.
Logo Alignment – Controls the logo alignment. “Center” only works on Header 5 and Side Headers.
Logo Margins – Controls the top/right/bottom/left margins for the logo. Enter values including any valid CSS unit, for example: 31px, 31px, 0px, 0px
Logo Background Color – You can optionally add a logo background color for header versions v1, v2, v3, v6, v7 and side headers. Note: The logo background is only visible in desktop view and does not apply to the mobile header view.
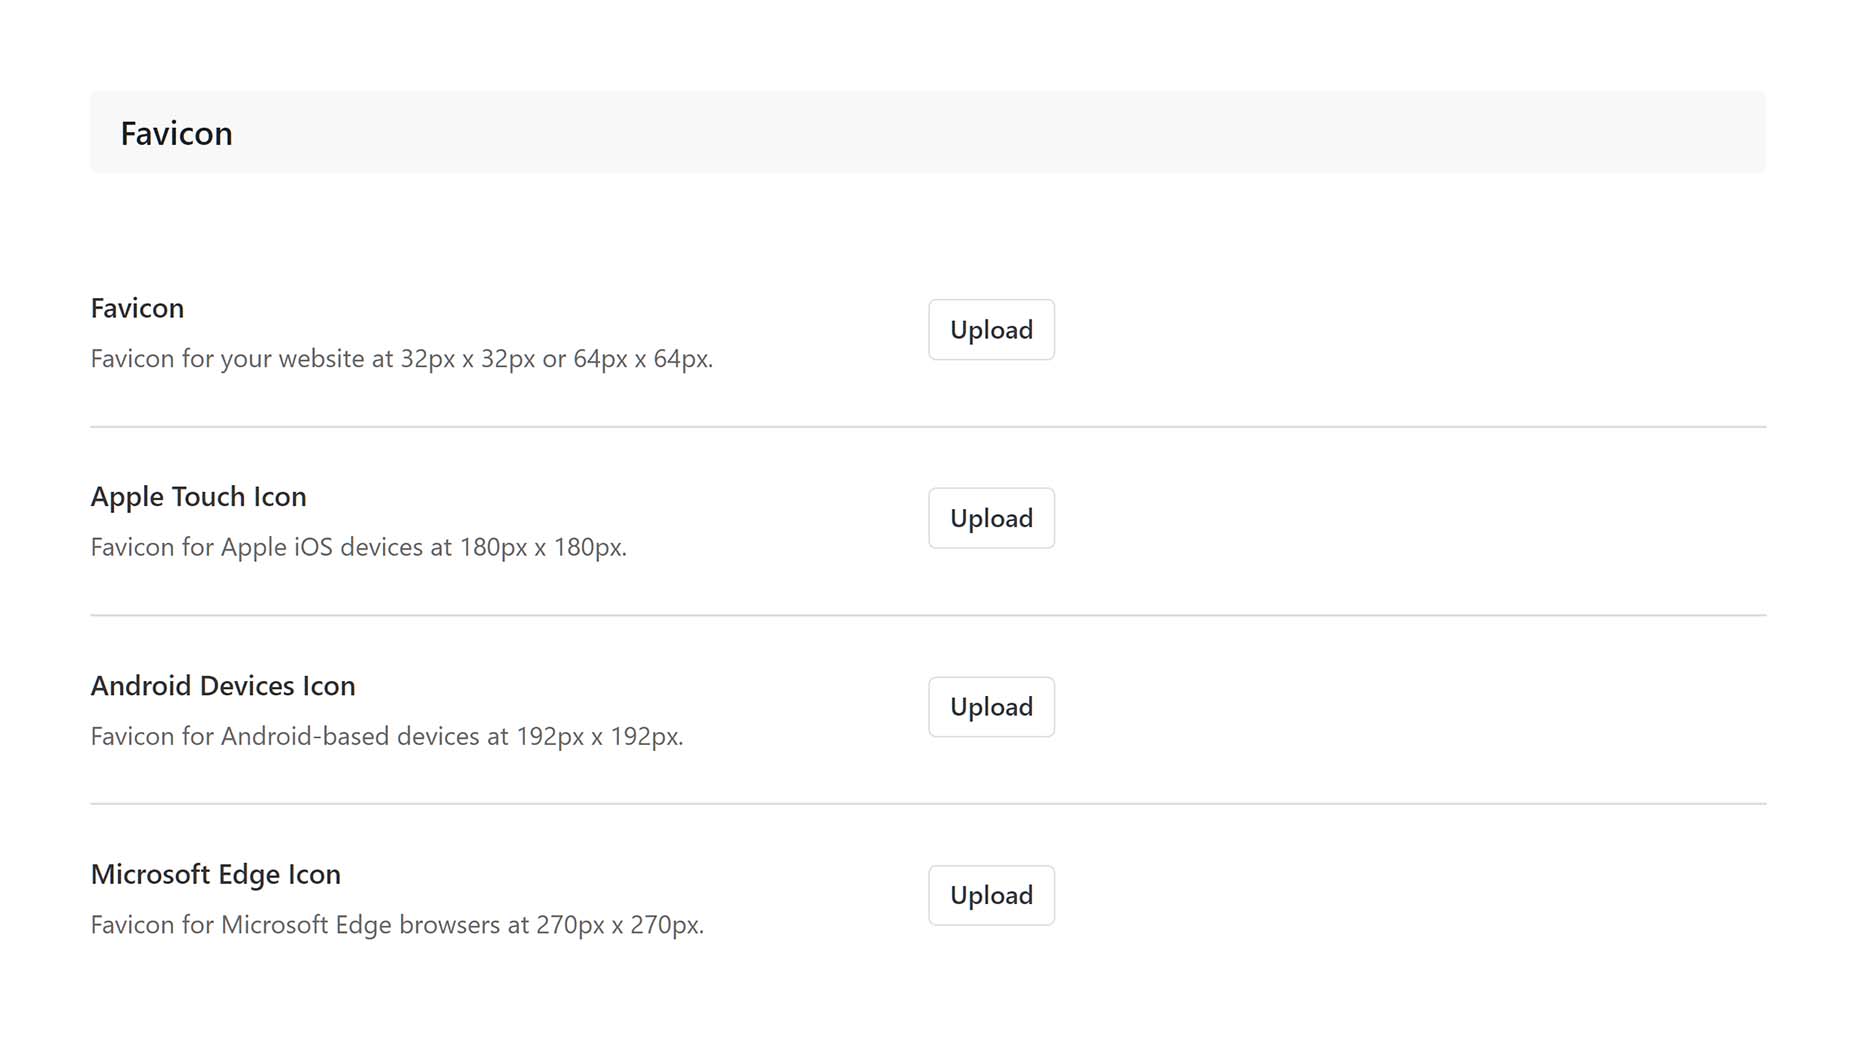
Favicon Options
The Favicon Options are located in the Avada > Options > Logo > Favicons section. A favicon is an icon typically displayed in the address bar of a browser accessing the site or next to the site name in a list of saved bookmarks. Avada offers several fields to upload different types of favicons. Each one has its own unique size listed in the description.
To add favicons, simply click the ‘Upload’ button next to the appropriate field, then select the favicon file you would like to use.
IMPORTANT NOTE: Favicons changed here will only display on the front end of the site. Back end favicons can only be changed in the Customizer.


