If you’ve been using WordPress for any length of time, you’ve almost certainly heard of Jetpack – Automattic’s free plugin that promises to greater functionality to self-hosted websites. However, getting a grip on how Jetpack works is not so simple for some WordPress beginners. With over 30 free and paid features available after you’ve installed it, it can be difficult for many site owners to determine how best to use the plugin and whether it’s worth installing.
In this article, we’ll cover the Jetpack plugin’s core features and why you might want to use them. Along the way, we’ll highlight seven key features of particular interest. Before diving into features and functionality, let’s start with some background.
Overview
Some Background on Jetpack
Jetpack was launched by Automattic back in 2011 to make WordPress.org functionality available to WordPress.com users. Matt Mullenweg summed up the core value proposition rather succinctly in his introductory blog post about the project.
Since the launch of the plugin, the amount of functionality bundled into Jetpack has continually expanded. It includes a wide range of free and paid features.
The project is core to Mullenweg’s vision of WordPress’ future. Still, over the years, it has attracted criticism for alleged feature bloat and blurring the lines between WordPress.com and WordPress.org.
The bloat issue is more or less settled at this stage and the vast majority of users aren’t going to care about the distinction between the two wings of WordPress if the plugin makes their self-hosted sites noticeably faster, safer and easier to use. The latest stats on the Jetpack site suggest it’s doing a pretty decent job in all those departments.
What Are The Benefits Of Using Jetpack?
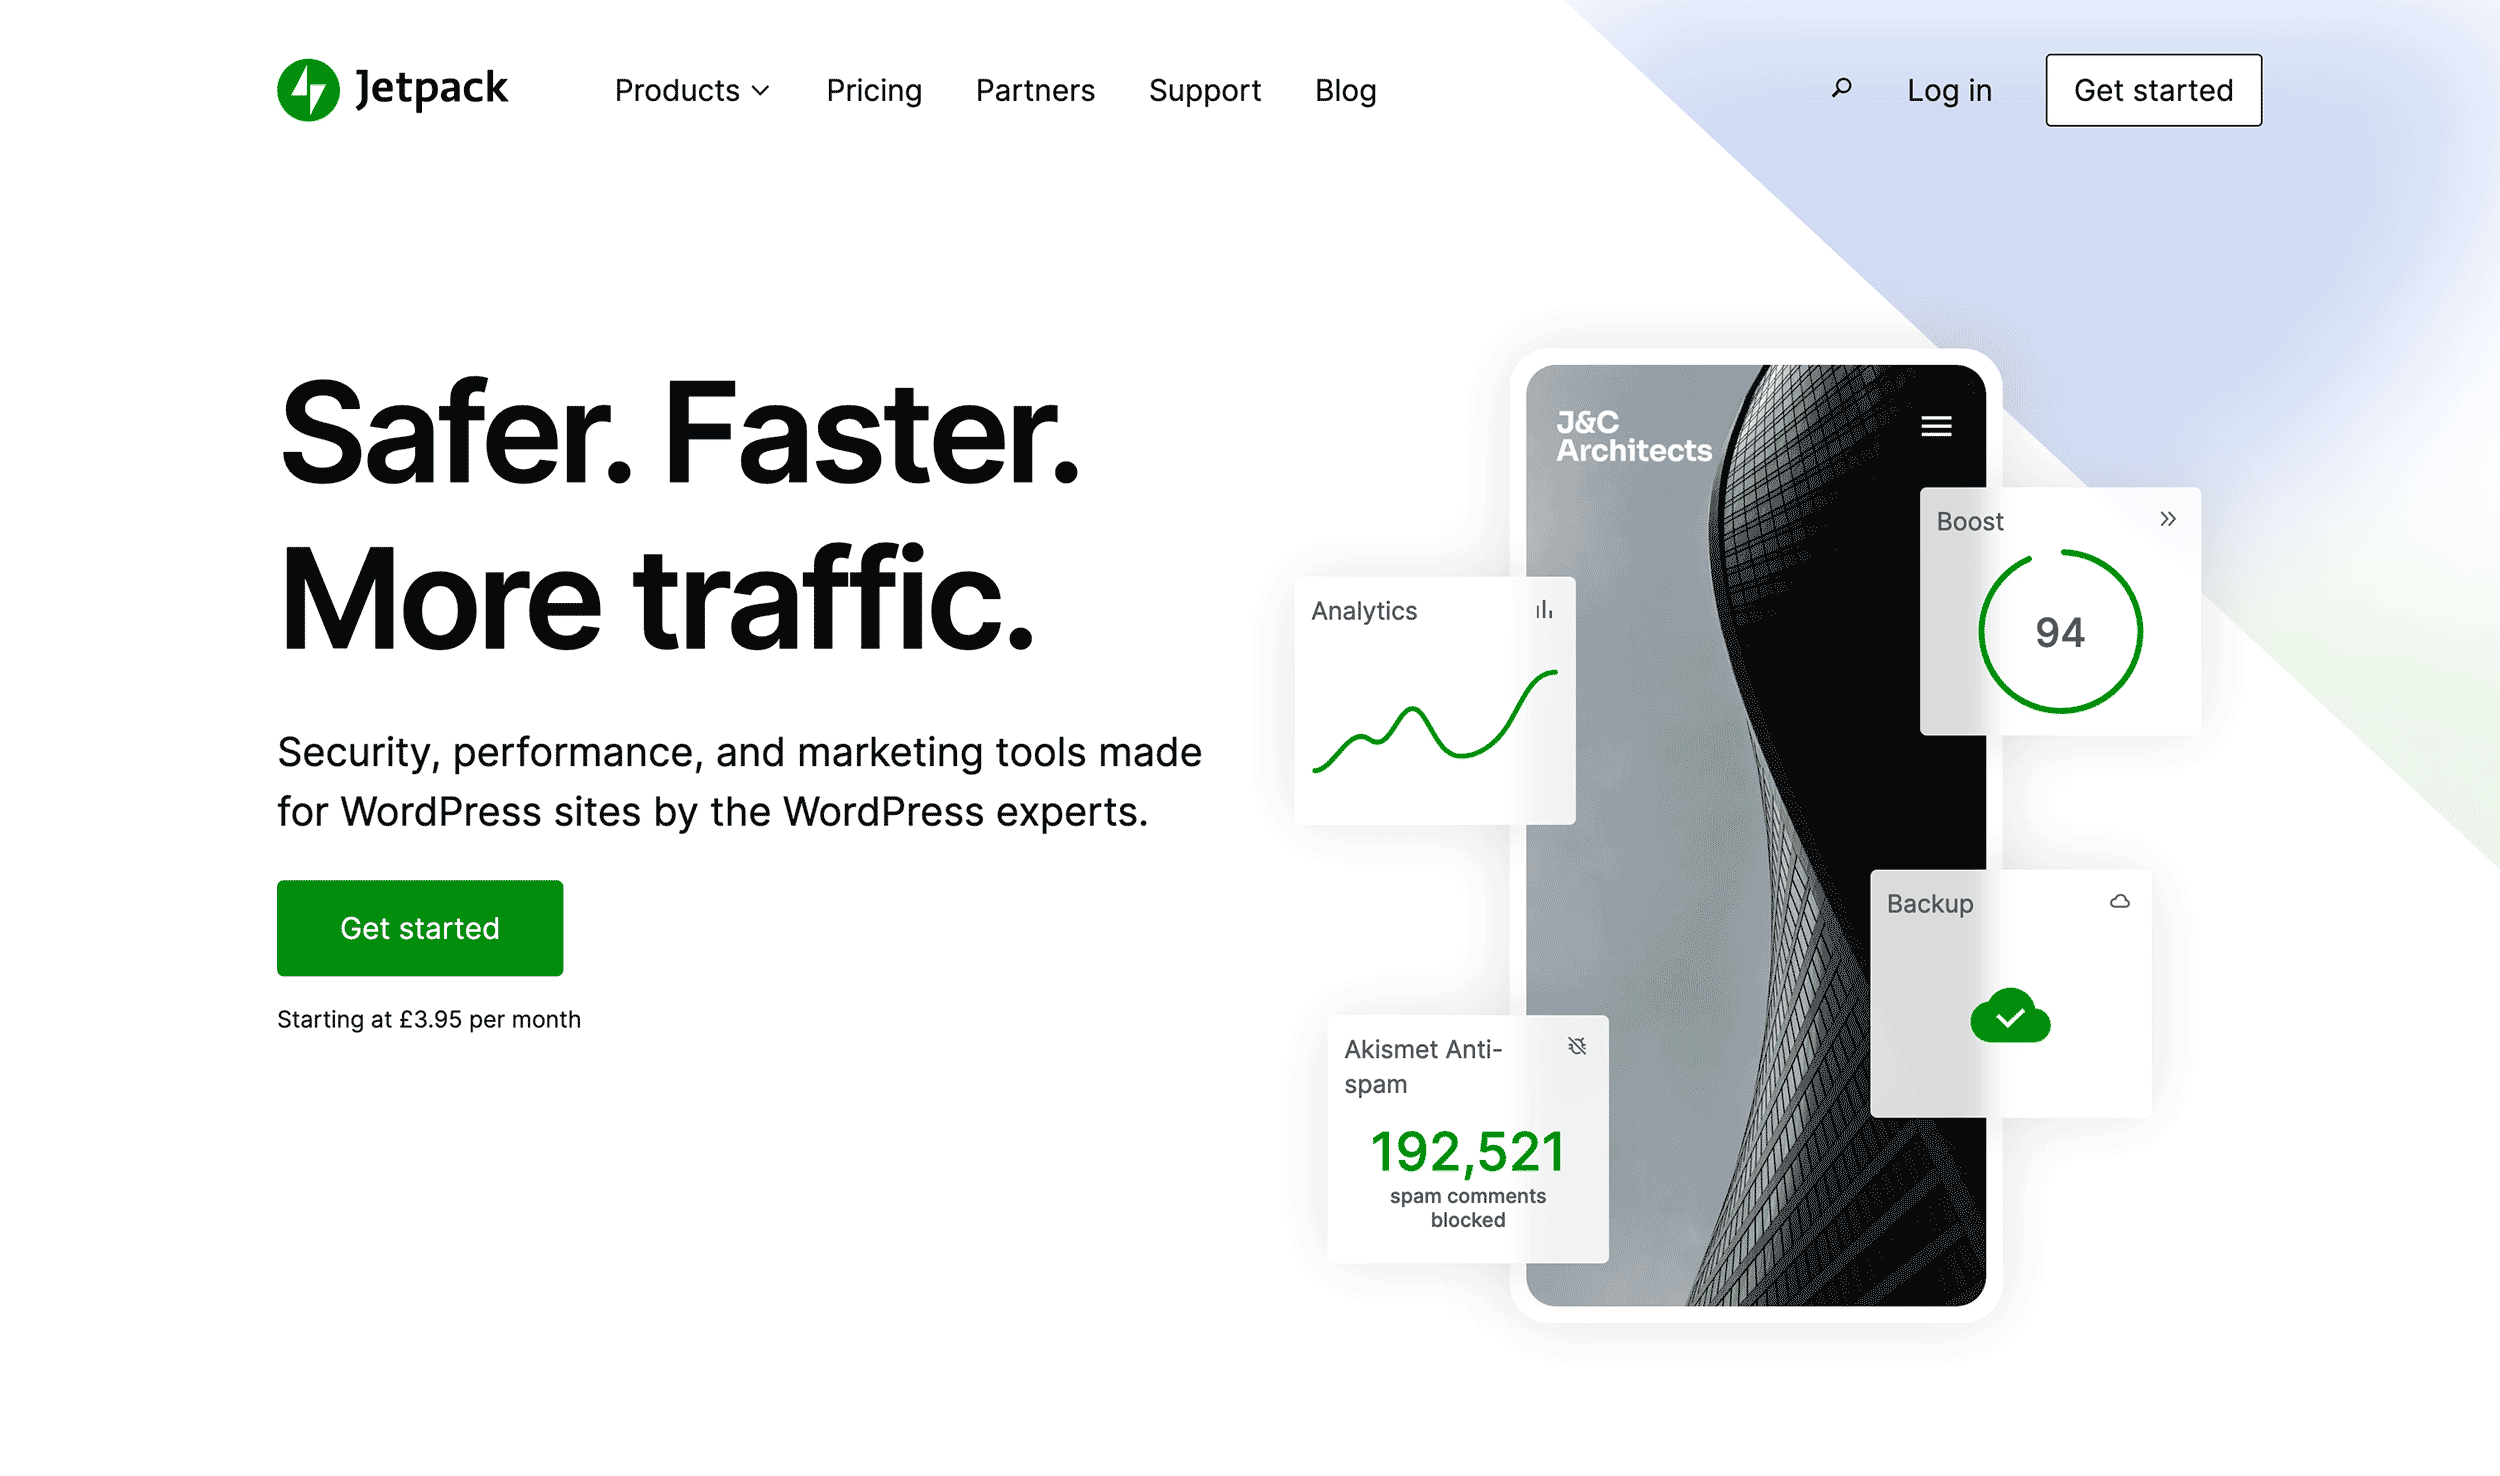
The Jetpack WordPress plugin provides a comprehensive solution for enhancing your website’s security, performance, and user engagement. It offers real-time backups, malware scanning, and spam protection to secure your site. Additionally, it optimizes your site’s speed, improves SEO, and provides tools for audience growth and content management.
Jetpack is ideal for WordPress users of all levels, from beginners seeking an all-in-one solution to advanced users managing multiple sites. It is a versatile tool for anyone looking to enhance their WordPress experience.
Jetpacks’ Four Core Features
Jetpack’s core features include various tools designed to enhance security, performance, and site management for WordPress users. The free features offer protection against brute force attacks, basic performance optimizations like image CDN and lazy loading, and content tools like related posts and social media sharing.
Paid features expand these capabilities with real-time backups, malware scanning, advanced site search, and marketing tools like SEO and ad management. These features provide a comprehensive solution to keep your site secure, fast, and fully functional. Here is an overview:
1. Security
Jetpack security offers a comprehensive and user-friendly solution for safeguarding your WordPress site. It includes real-time backups, a web application firewall, malware scanning, and spam protection to ensure your site remains secure and protected against potential threats.
2. Performance
Jetpack’s performance features optimize your site for speed, enhancing SEO and delivering a better user experience for your visitors.
3. Growth
Jetpack’s growth tools are designed to help you expand your audience, convert leads into customers, and transform customers into loyal advocates.
4. Management
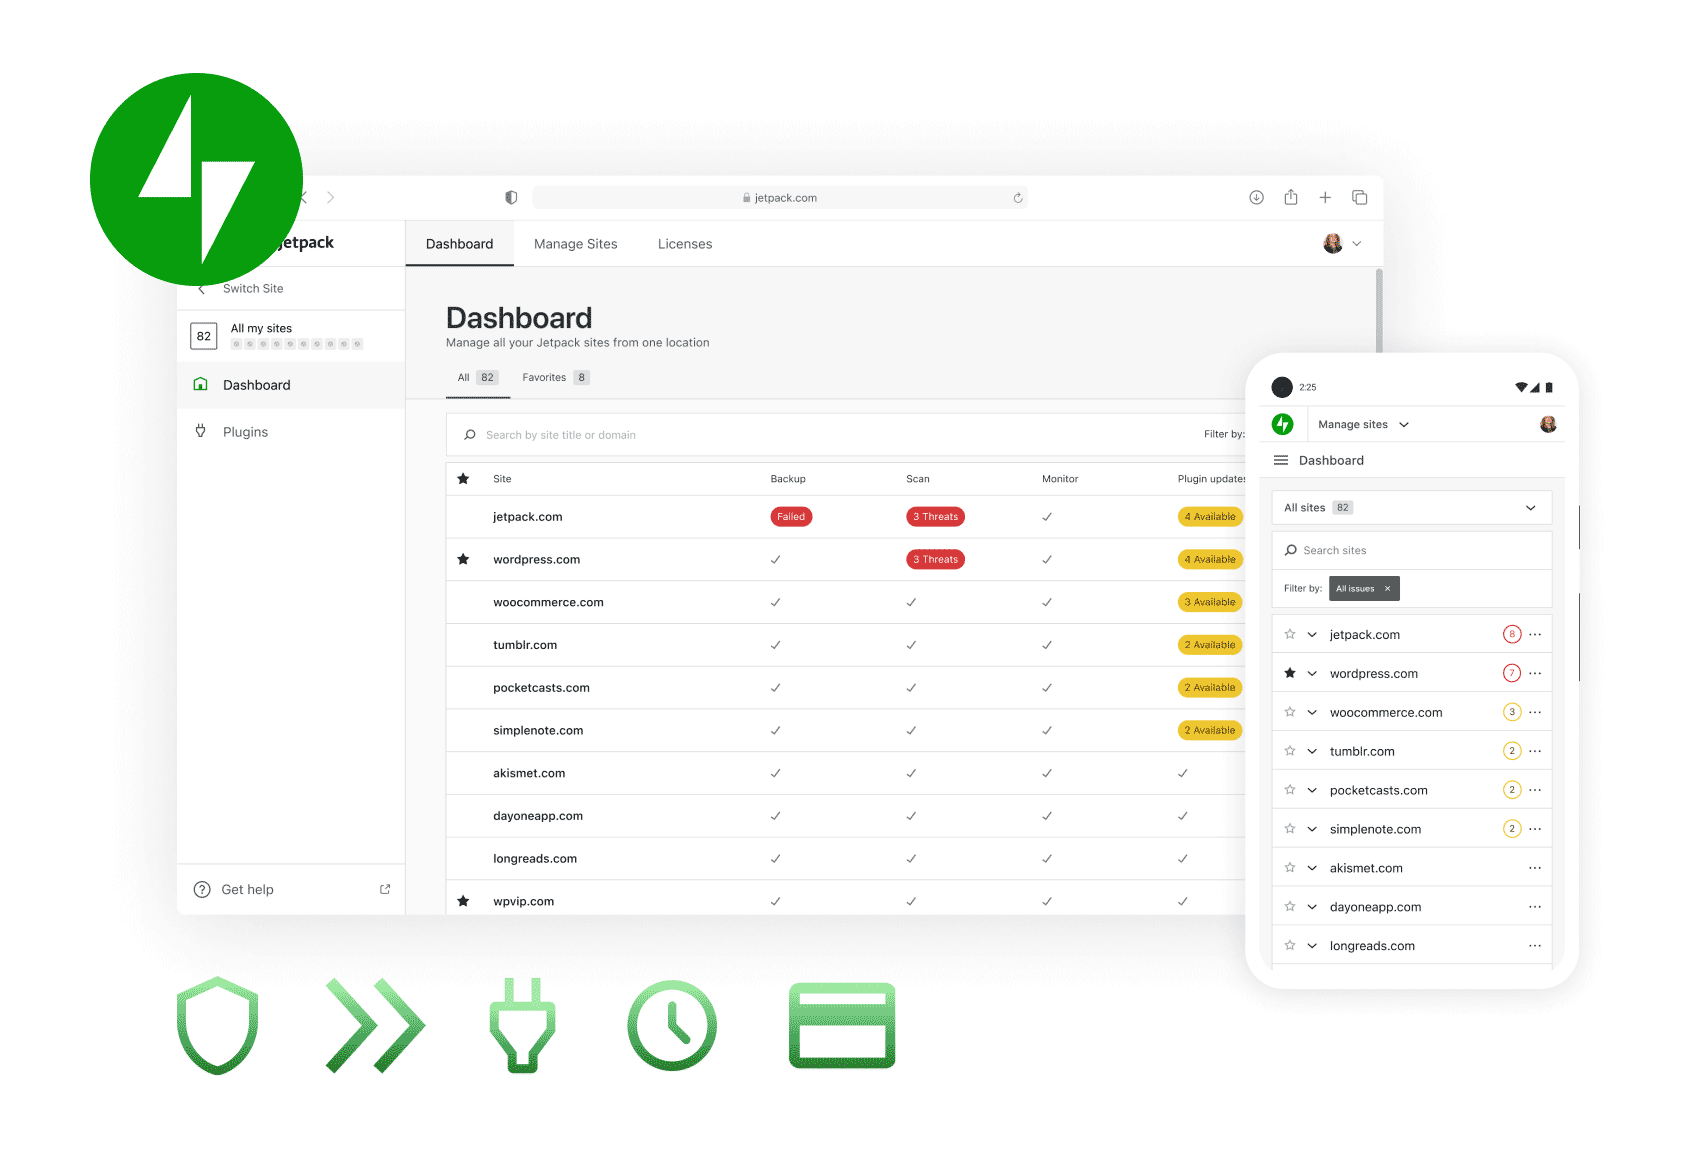
Jetpack’s management tools equip you with the essential tools to oversee multiple WordPress sites efficiently. It allows you to monitor site security, performance, and traffic and provides alerts when a site requires attention.
Free Features Included in the Core Jetpack Plugin
Brute force attack protection — Protect your site from traditional and distributed brute force attacks.
Business Hours Block — Allows you to display your business’s opening hours on your site.
Carousel — Display a gorgeous full-screen photo browsing experience with comments and EXIF metadata.
Comments — Replace your default comment form with an improved system with integrated social media login options.
Comment Likes — Allows readers to like other comments to show their agreement, approval, or appreciation.
Contact Info Block — Lets you add your contact information (email address, physical address, phone number) to any post or page.
Contact Form / Form Block — Offer your readers the ability to get in touch, without giving out your personal email address.
Custom CSS — You can customize the appearance of your theme without creating a child theme or worrying about updates overwriting your customizations.
Deprecation Warning :: From version 13.7 (scheduled for August 2024), Jetpack will no longer include a custom CSS feature.
Custom Content Types — Adds custom post types (CPTs) to your site.
Enhanced Distribution — Allows your content to be included in the WordPress.com “firehose” of public blog content.
Extra Sidebar Widgets — Extra widgets you can add to your blog, including RSS Links, Twitter Timelines, and Facebook Like Boxes.
Gif Block — Allows you to easily search for and embed an animated GIF image from Giphy directly into a post or page on your WordPress site.
Gravatar Hovercards — Make your Gravatar profile visible to those viewing your blog.
Google Analytics — Track your WordPress site statistics thanks to Google Analytics.
Deprecation Warning :: From version 13.7 (scheduled for August 2024), Jetpack will no longer include Google Analytics integration.
Infinite Scroll — Pulls the next posts automatically into view when the reader approaches the bottom of the page.
JSON API — Authorizes applications and services to connect to your blog securely and allows them to use your content or offer you new functionality.
Likes — Allows readers to show their appreciation for your posts with a single click.
Map Block — Allows you to add a map to any post or page on your site.
Markdown / Markdown Block — Allows you to compose posts and comments with links, lists, and other styles using regular characters and punctuation marks. Markdown is used by writers and bloggers who want a quick and easy way to write rich text without having to take their hands off the keyboard.
Monitor — Alerts you via email if your site goes down.
Notifications — Receive notifications for new comments and Likes in your admin bar and mobile device.
Pinterest Block — Allows you to embed boards, profiles, and pins to your site.
Plugin Management — Allows you to choose which plugins update automatically.
Post by Email — Publish posts using any email client.
Related Posts / Related Posts Block — Show contextual posts your visitors might be interested in reading after they’re done with their current post.
Repeat Visitor Block — Enables the author to control the visibility of its nested block(s) depending on how many times a visitor has previously visited the page.
SEO Tools — Optimize your site for search engines by taking advantage of our SEO tools.
Sharing — Adds sharing buttons to your blog posts so readers can easily share your content.
Shortcode Embeds — Embed videos from YouTube, tweets from Twitter, and other media across the web.
Single Sign On — Use your WordPress.com credentials to register for and sign into self-hosted WordPress sites quickly and securely.
Site Accelerator — Helps your pages load faster by allowing Jetpack to optimize your images and serve your images and static files (like CSS and JavaScript) from our global network of servers.
Site Verification — Verify your site for use with Google, Bing, and Pinterest and their tools.
Sitemaps — Generate a list of pages to be indexed by search engines like Google or Bing.
Slideshow Block — Lets you insert an image slideshow into a post or page.
Star Rating Block — Allows any site author to add reviews to the site.
Subscriptions / Subscription Form Block — Allow visitors to receive notifications of your latest posts or comments.
Tiled Galleries / Tiled Galleries Block — Display your image galleries in three different styles: a rectangular mosaic, a square mosaic, and a circular grid.
WP.me Shortlinks — Generate short and simple links to your content using the wp.me domain.
Widget Visibility — Configure widgets to appear only on specific pages.
WordPress.com Toolbar — The WordPress.com Toolbar feature replaces the default admin bar and offers quick links to the Reader, all your sites, your WordPress.com profile, and notifications.
Deprecation Warning :: From version 13.8 (scheduled for September 2024), Jetpack will no longer include the WordPress.com Toolbar feature.
Paid Features Included in the Core Jetpack Plugin
Backups — Save every change and get back online quickly with one‑click backup restores.
AI Assistant — The most powerful AI tool for WordPress.
Jetpack Social — Share new posts on social media networks automatically or schedule future shares with custom messages.
Payments — Add a payment button specifically for recurring donations, using Stripe as the payment gateway.
Security Scanning — Anti-virus, malware, and threat detection for your WordPress site with automated resolution.
Search — A powerful replacement for WordPress’ built-in search, powered by Elasticsearch in the WordPress.com cloud
Simple Payments Block — This lets you add a payment button to any post or page and immediately start accepting PayPal payments for physical products, digital goods, or donations.
Site Stats — View site visits by date and most popular Pages and Posts.
Spam Filtering — Automatically filter out spam comments, product reviews, or contact form submissions.
Video Hosting / VideoPress Block — Upload videos for fast, reliable hosting on WordPress.com.
WordAds — Monetize your site by displaying high-quality ads on your website.
Jetpack Requirements and Installation
Installing Jetpack is as straightforward as any other WordPress plugin. You’ll find comprehensive installation instructions on the Jetpack site. To install Jetpack, your WordPress site must meet a few basic requirements. You’ll need a self-hosted WordPress site running WordPress 5.2 or higher. Your site should be connected to the internet, with XML-RPC enabled.
Jetpack also requires PHP version 5.6 or higher, and your site should have access to the Jetpack servers, which typically require your host to allow outbound connections to a specific set of IP addresses. Additionally, you’ll need a free WordPress.com account to connect Jetpack to your site.
Summary
Jetpack is a powerful and versatile plugin that enhances your WordPress site by providing a wide range of features, including security, performance optimization, and marketing tools. Whether you’re looking to protect your site, boost its speed, or grow your audience, Jetpack offers a comprehensive suite of tools to help you achieve your goals. With free and paid options, it’s suitable for users of all levels, making it an essential addition to any WordPress site.


