Share
Creating custom WordPress registration and login pages has traditionally been one of those website tasks that felt more complicated than it needed to be. However, with Avada, you can design and create registration, login, lost password, and reset password pages with the Avada Form Builder—no custom PHP, no third-party plugins required, and no compromises on design.
This approach is ideal for anyone who wants their login experience to feel like a natural part of their website instead of a jarring jump to the default WordPress screens.
Overview
Starting With Avada Forms
Everything begins with Avada Forms, without requiring any additional third-party plugins. Instead of relying on WordPress’s built-in registration process, users create a form to collect all the information they need up front.
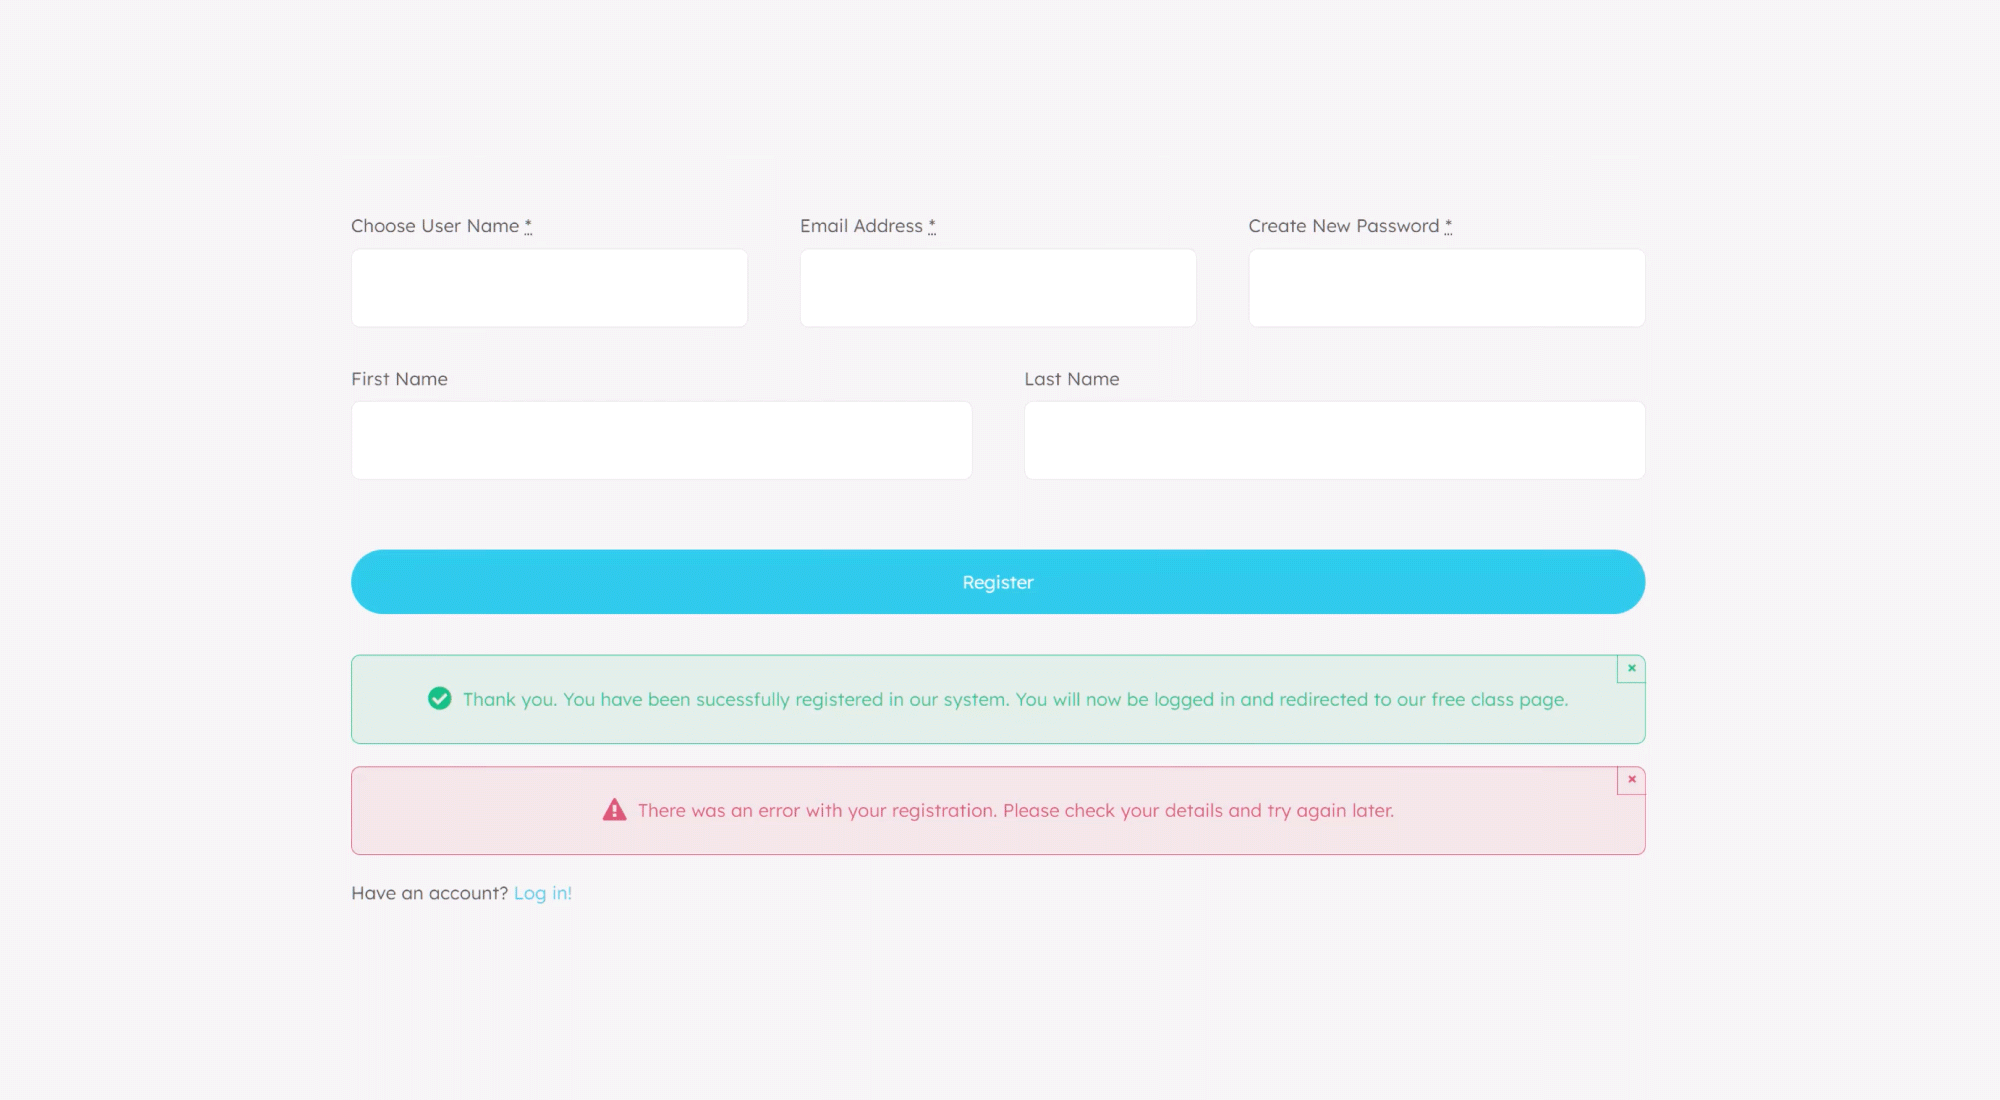
A typical registration form might include fields for username, email address, password, and even first and last name. While WordPress typically auto-generates some of this information, Avada lets site owners consolidate it into a single, seamless experience.
Once the form fields are in place, the real magic happens in the form’s submission actions. This is where the form is connected to WordPress’s user system.
Mapping Form Fields to WordPress User Data
To convert a standard form into a functional registration or login system, the form fields must be mapped to WordPress user fields. Avada provides dedicated submission actions for registration, login, lost password, and password reset, each designed specifically for its purpose.
For a registration form, this means matching the username field to the WordPress username, the email field to the WordPress email, and the password field to the WordPress password. While not every field is mandatory, it is essential that the fields used are mapped correctly—otherwise, the registration process will not work as expected.
From here, additional options let site owners define the role assigned to new users, enforce minimum password length, choose whether usernames or passwords are auto-generated, and decide whether users are automatically logged in after registration. Security-focused options, such as encrypting passwords and sending WordPress notification emails, help ensure the setup follows best practices.
Once configured, the registration form is ready to be placed anywhere on the site, whether that’s a standard page, an Avada Off-Canvas panel, or another Layout Element.
Creating a Custom Login Experience
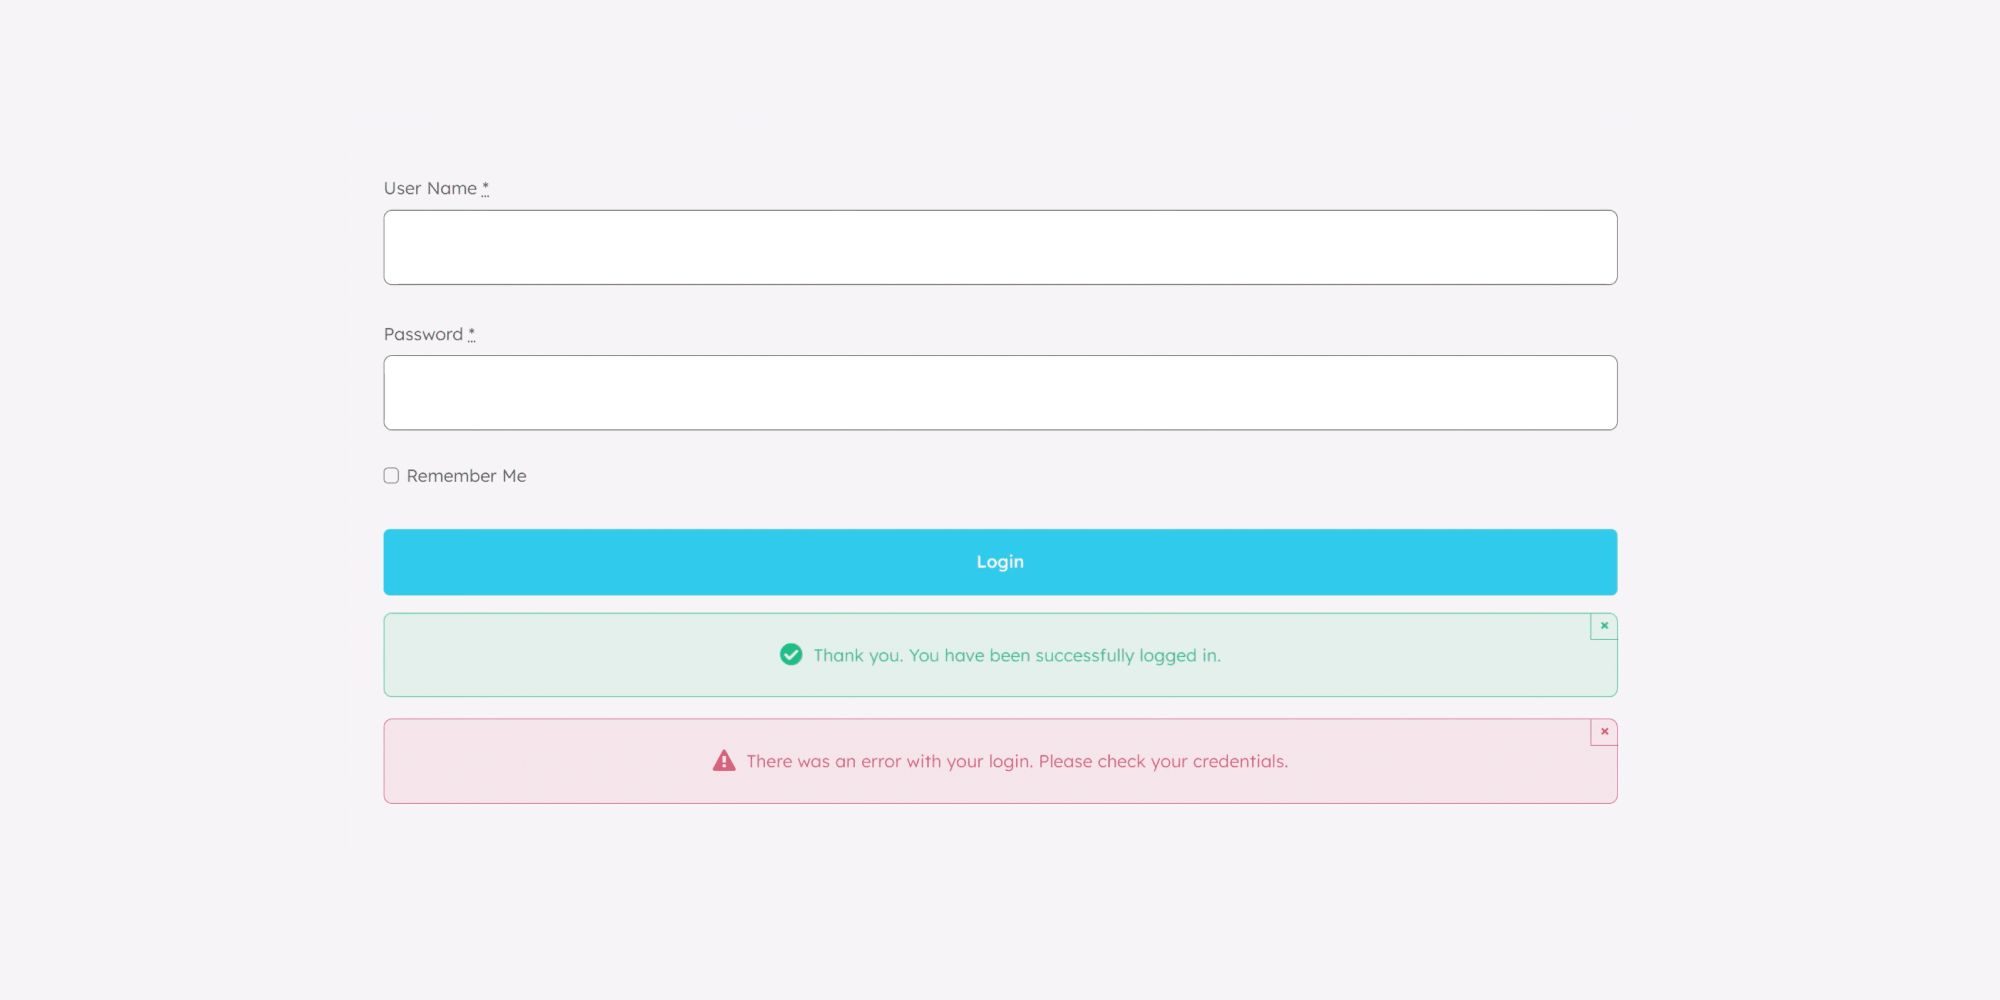
The login form follows a similar setup but is even simpler. It typically requires just three fields: login name, password, and a “Remember Me” option. These are mapped to WordPress’s login fields in the submission action settings.
One particularly useful feature here is support for WordPress’s built-in redirect mechanism. If a logged-out user attempts to access protected content, WordPress stores the original URL and redirects the user back to it after login. Avada’s login form respects this behavior automatically when enabled.
If users are sent directly to a custom login page, no redirect occurs by default. In those cases, a manual redirect can be added using the form’s confirmation settings, giving full control over where users land after logging in.
Handling Lost and Reset Password Pages
Lost password and reset password forms are intentionally straightforward. The lost password form typically requires only a username or email address, whereas the reset password form focuses solely on setting a new password.

The reset password form is accessed through a secure link sent via email, which means it works best when combined with Avada’s Auth Pages feature. Without this, WordPress would fall back to its default reset password screen instead of displaying the custom form.
When used together, these forms complete a fully custom authentication workflow that feels cohesive and on-brand.
Replacing the Default WordPress Workflow
For those who want complete control, Avada’s Auth Pages options allow site owners to replace parts—or all—of WordPress’s default registration and login system. This allows you to use custom forms while still preserving certain WordPress behaviors where needed.
In practice, this means a site can use a custom login form inside an Avada Off-Canvas panel, link out to custom registration and lost password pages, and style everything to match the rest of the site. Whether it’s an online course platform, an e-commerce store, or a membership website, these forms can be placed wherever they make the most sense.
Summary
The biggest advantage of creating custom registration and login pages in Avada is the control they offer. Instead of working around WordPress’s limitations, users can design authentication flows that blend seamlessly into website layouts, menus, and user journeys.
For beginners, the process is surprisingly approachable. Once the forms are created and mapped correctly, everything else behaves just like standard WordPress functionality—only now it looks better, feels smoother, and works exactly as the site owner intended.
Using Avada Forms to build custom WordPress Auth Pages, login, and registration no longer have to feel like a visual or functional afterthought. They become a natural, well-designed part of the overall website experience.