Share
Installing a theme in WordPress is one of the first steps before building your new website. Whether you’re building a blog, business site, or a WooCommerce store, your theme controls how your site appears to visitors and unlocks a wide range of design and layout options to design, build, and maintain your website.
This detailed guide walks you through the process of uploading and activating a premium WordPress theme, such as Avada, directly through the WordPress Dashboard. It also covers essential considerations, such as server requirements, handling upload errors, and next steps after activation.
Overview
Prerequisites Before Installing Avada
Before installing Avada, you will need to ensure the following are in place:
If you need help setting up WordPress in a local environment on Mac or PC, check this article on how to install MAMP (Mac) and XAMPP (PC) to get started. Additionally, make sure your server meets the minimum requirements for Avada to ensure a smooth installation experience and optimal functionality.
The vast majority of web hosting providers will have WordPress preinstalled as a part of your plan. The video above provides a detailed walkthrough on how to install Avada on WordPress with a few clicks.
Step 1: Download The Avada Theme Files
Assuming you’ve already purchased Avada on ThemeForest, follow these steps to download the ZIP theme files:

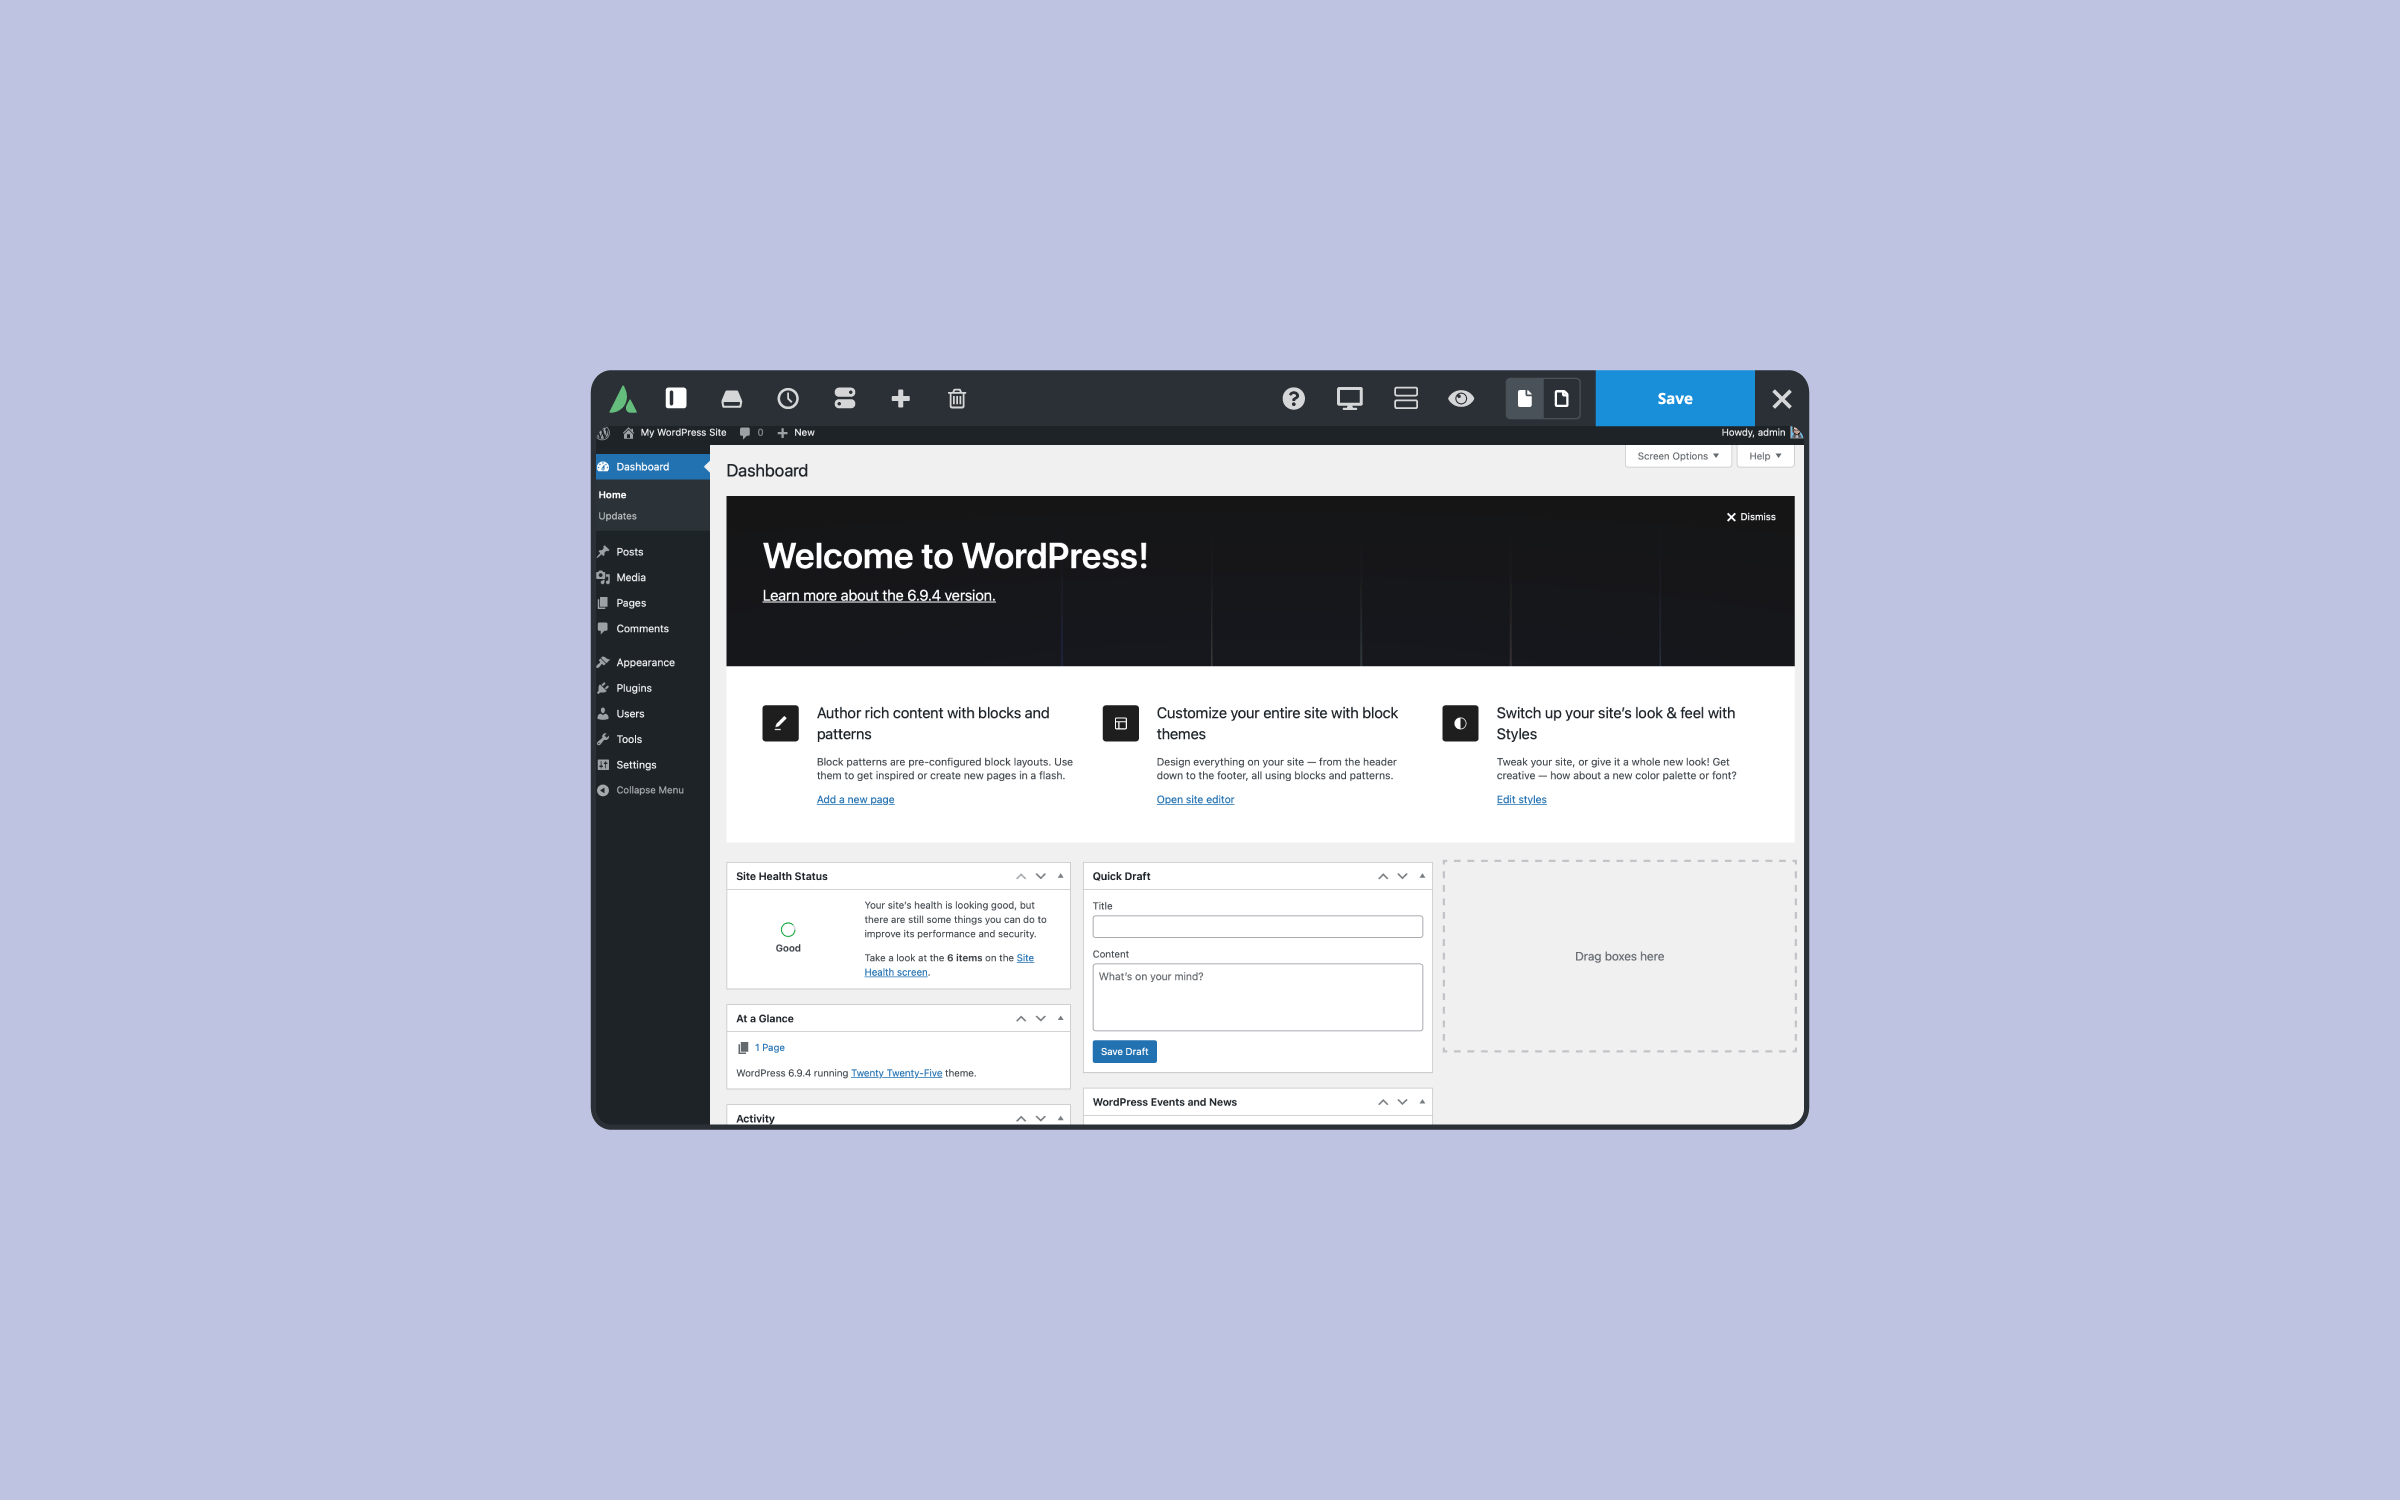
Step 2: Upload Avada to WordPress
Once you’ve downloaded the installable Avada ZIP file, it’s time to upload it to your WordPress site:
If you encounter an upload error, which is rare, it’s likely due to your server’s file upload size limit. You can either:
Step 3: Activate Avada and Register Your License
Once the theme uploads and installs successfully, do the following:
Detailed instructions for license registration are available in the How to Register Avada documentation. Upon registration, the two required plugins will be installed and activated automatically.
Step 4 (Optional): Run the Avada Setup Wizard
After registration, you’ll be redirected to the Avada Setup Wizard, which helps you complete your website setup quickly and efficiently. This step is optional but highly recommended. Through the wizard, you can:
Summary
Installing a WordPress theme via the WordPress Dashboard is a straightforward process. After ensuring your hosting environment meets WordPress requirements, download the theme’s installable ZIP file, upload it via the WordPress Dashboard, and activate it.
Registering the theme (if required) and running any setup wizards will help streamline your configuration and get your site ready for content. Once the theme is activated, you’re ready to start designing and customizing your new WordPress website.