Share
In a previous post, we looked at how to combat the dreaded White Screen of Death (WSoD) – but that’s not the only error that can ravage your WordPress website and leave you tearing your hair out. The 500 Internal Server error is just as damaging (and potentially confusing) to fix. With the WSoD, we had nothing to go on with, but with this error, we at least have its name. Just like the WSoD, there’s a logical process you can go through to put it in its place.
This post examines five logical steps to diagnose and fix the error and get your site back online. If you are looking for general WordPress troubleshooting steps, take a look at this article. Let’s examine the 500 Internal Server error and potential causes.
Overview
What Causes the 500 Internal Server Error?
While it may seem confusing on the surface, the 500 Internal Server error is simply your site’s equivalent of telling a doctor “I’m sick”. There are many potential causes, but you’ll usually find that the error is down to one of the following three reasons:

Now that we know the likely causes, we can begin formulating a plan to eliminate the 500 Internal Server error for good. Let’s take a look!
5 Steps to Fix the 500 Internal Server Error on Your WordPress Website
While there are five steps outlined below, you may not need to carry out every one. You can tackle them in any order you choose – we’ve just presented them from most to least likely – so feel free to go ‘off-piste’ if you suspect a certain reason for the error.
Also, before you begin to carry out these steps, make sure your website is backed up, and you’re up to speed on using a File Transfer Protocol (FTP) manager. Throughout this post, we’ll be using FileZilla – which is free and open-source – although other solutions are available. With the above housekeeping out of the way, let’s now look at the five steps.
Step 1: Modify Your Memory Limit
Your hosting provider allocates memory to various parts of your WordPress installation. If it’s too low, it can potentially cause the 500 Internal Server error. To start, open your FTP client, connect to your server using the credentials found within your host’s admin panel, and click “Quickconnect”:
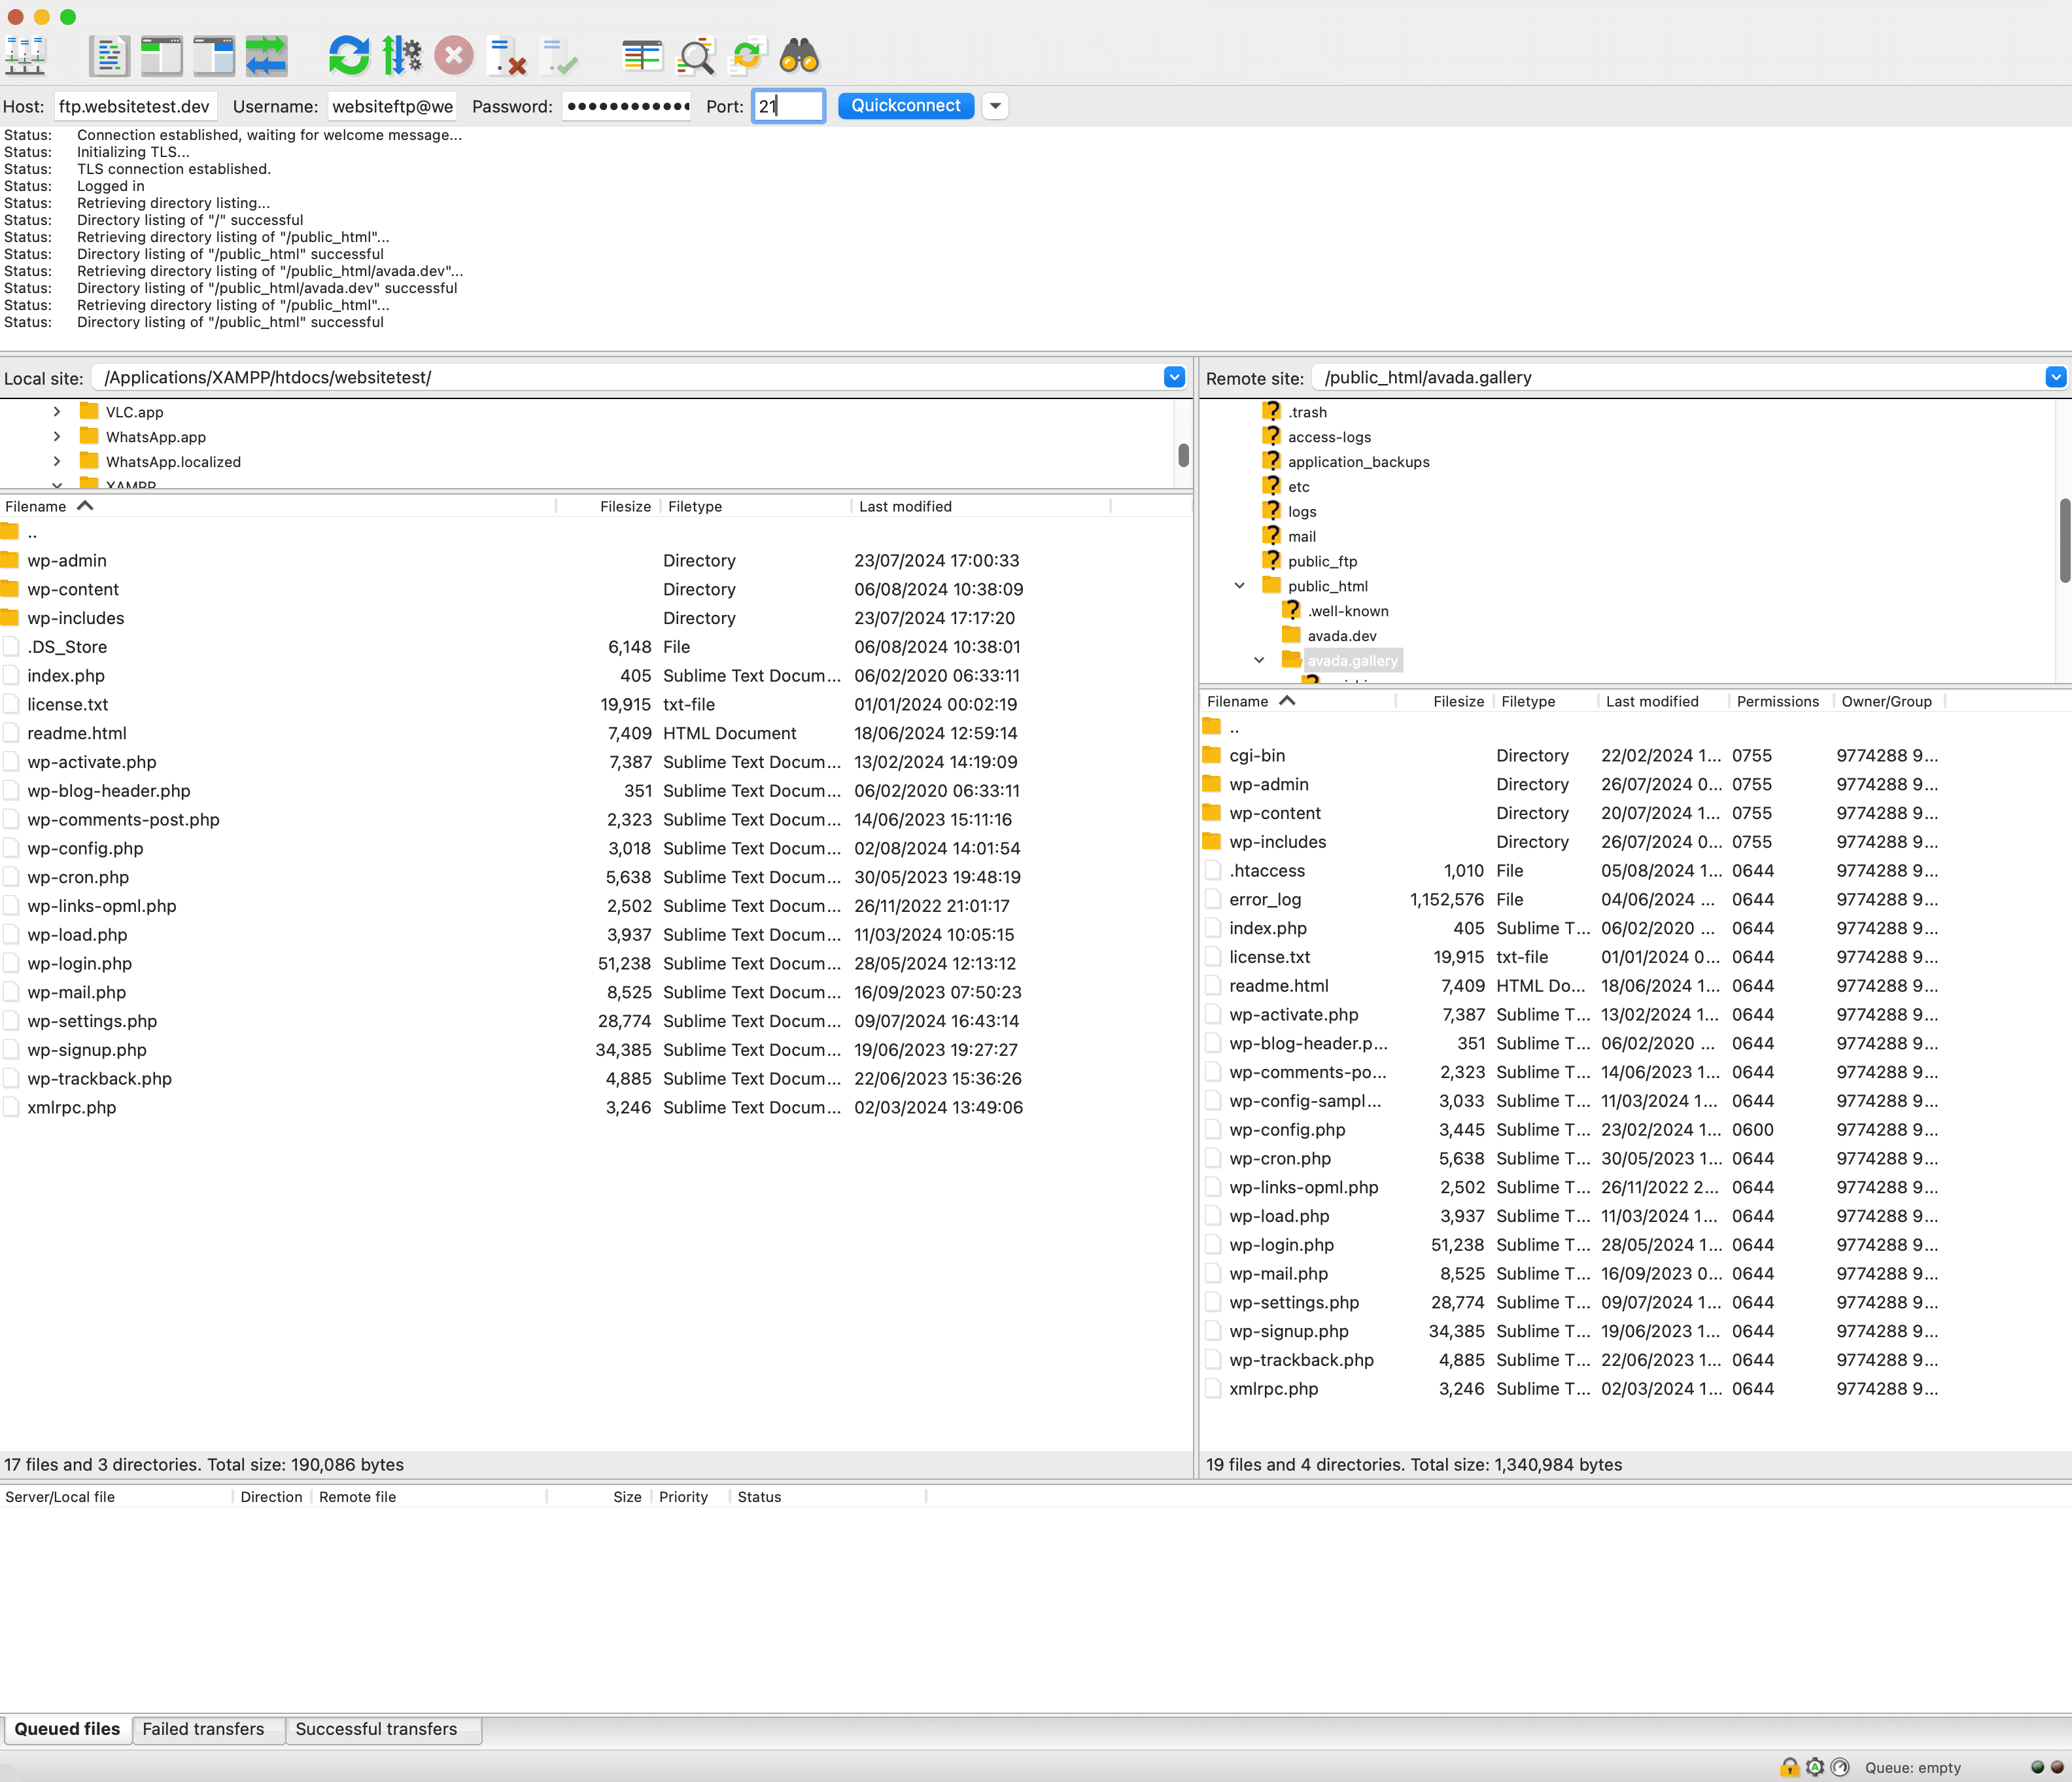
Your files and folders are displayed on the right-hand side. Navigate to your “Home” folder called /public_html/ or /www/, find the “wp-config.php” file, then right-click and select “View/Edit”, choosing the default text editor if prompted:

Edit the file and add this single line of code on the next line after the opening <?php tag.
This allocates more memory to your WordPress installation, so save the file and navigate to your site to check if it’s back online. If not, move onto the next step.
Step 2: Check The .htaccess File For Corrupt Data
Your .htaccess file is a configuration file for your website’s host server, and any number of site changes can easily corrupt it. Fortunately, it’s pretty straightforward to troubleshoot.
Navigate to your home folder using your FTP client and look for the “.htaccess” file. If you don’t see it, you’ll need to select Server > Force showing hidden files in your FTP clients’s toolbar to show hidden files on the server.
Once you’ve found it, right-click and rename it to .htaccess_bak, which effectively removes the file from your WordPress installation, so we’ll need to create a new file.

Head to your WordPress Dashboard, and navigate to Settings > Permalinks. Then scroll to the bottom of the page and click “Save Changes”. This will trigger WordPress to create a new .htaccessfile on the server. Now check out your site. If you still get the error, let’s move to the next step!
Step 3: Check for Corrupt Plugins or Theme
Plugins and themes go hand in hand with WordPress but can also cause the 500 Internal Server error for a wide variety of reasons. That being said, the process you take to troubleshoot them depends on whether you can access your WordPress Dashboard.
If you can’t, you’ll need to troubleshoot your themes and plugins via FTP – our previous article on the White Screen of Death has the full instructions to do just that. However, your job will be a little easier if you can access the dashboard.
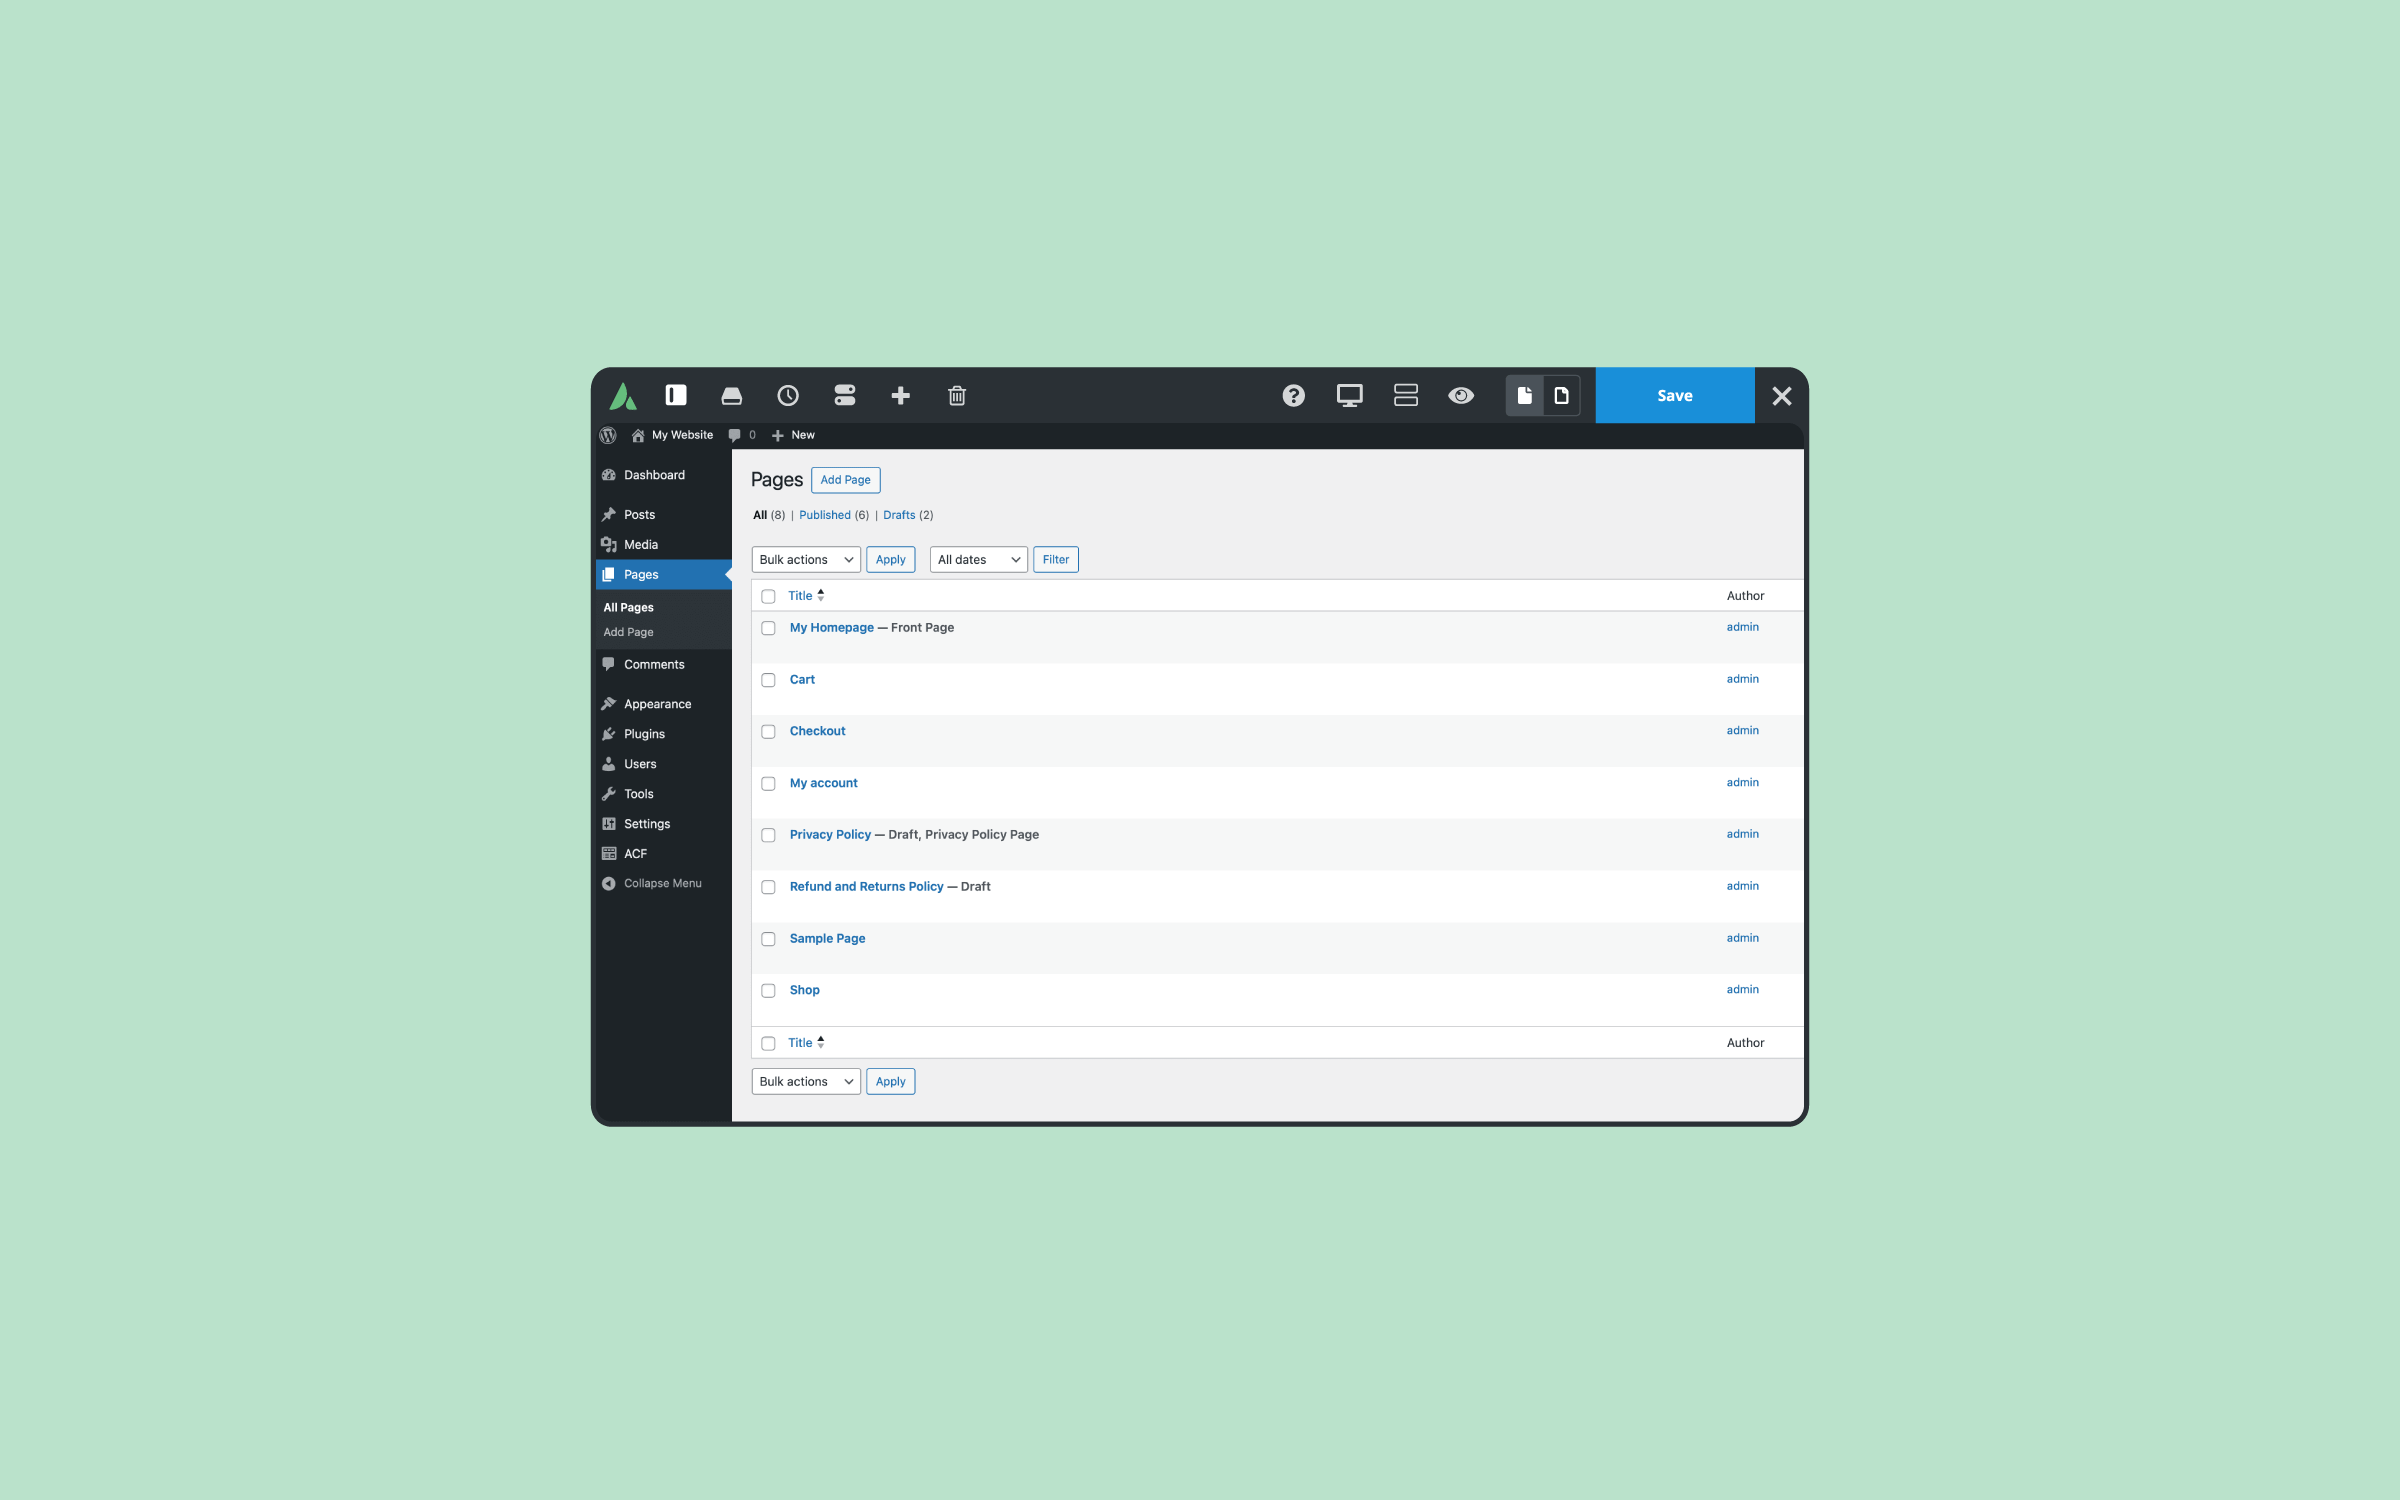
First, navigate to Plugins > Installed Plugins, where you’ll see the list of currently installed plugins. Here, click the checkbox underneath the “Bulk Actions” drop-down to select every plugin, choose “Deactivate” from the drop-down list, and click “Apply” to deactivate them all.

Recheck your site. If the error has disappeared, a plugin was the root cause. At this point, activate each plugin one at a time and check your site until you root out the troublemaker.
If the problem plugin is vital to your workflow, you have a few options. You could try updating to the latest version, contacting the developer for advice, or finding an alternative. If the plugin isn’t vital, we advise you to delete it. If you still have the error after checking your plugins, you must check the active WordPress theme.
Navigate to WordPress Dashboard > Appearance > Themes, and activate a default WordPress theme. Recheck your site, and if the error has gone, your current theme was at fault. As with plugins, you could try updating the theme or contacting the developer for advice – but if that was fruitless, you’ll likely need a new theme. The Avada WordPress theme is our first choice (naturally!) and comes with regular updates and world-class support.
Step 4: Upload Fresh Core WordPress Folders
Files and folders can easily become corrupted from the numerous data transfers when running WordPress, but fortunately, they’re easily fixed. First of all, download the latest version of WordPress, and extract the resulting ZIP file into its uncompressed form.
Open your FTP client from here and connect to your web server. Navigate to your website’s root folder on the right-hand side, and from the left, locate your fresh WordPress folder on your computer and upload the files. Once complete, check your site again. If you’re still experiencing the error, move on to the next step.
Step 5: Check Your File Permissions
Finally, your WordPress file permissions may be set incorrectly – and while rare, this has been known to cause the error. While getting in-depth on server folder and file permissions is outside the scope of this post; we can at least show you how files and folders are meant to look.
You can view permissions by right-clicking “File permissions” on any file or folder within your FTP client.

You’ll notice a three-digit number, which represents the permission in question. Folders should be set to 755.

And, files should be set to 644.

Summary
The 500 Internal Server error can play havoc with your sanity and have you waving the white flag in defeat if you don’t know how to fix it. However, with our guide and a few logical steps, you can ensure that the error is resolved correctly. Let’s recap the steps you should take: