Share
If you are looking to take your Avada website design to the next level, there is a powerful feature you need to know about: Avada Conditional Rendering. While it might sound technical, it is actually a surprisingly logical tool that gives you incredible control over who sees what on your website, and when they see it.
Whether you are building complex headers or personalized membership pages, Conditional Rendering is the key to a dynamic user experience. Here is a breakdown of how it works and how you can start using it today.
Overview
What is Avada Conditional Rendering?
The option is located in the “Extras” tab of all Avada Design & Layout Elements in the Avada Live Visual Builder. Conditional Rendering allows you to set specific rules for when an Element should appear.
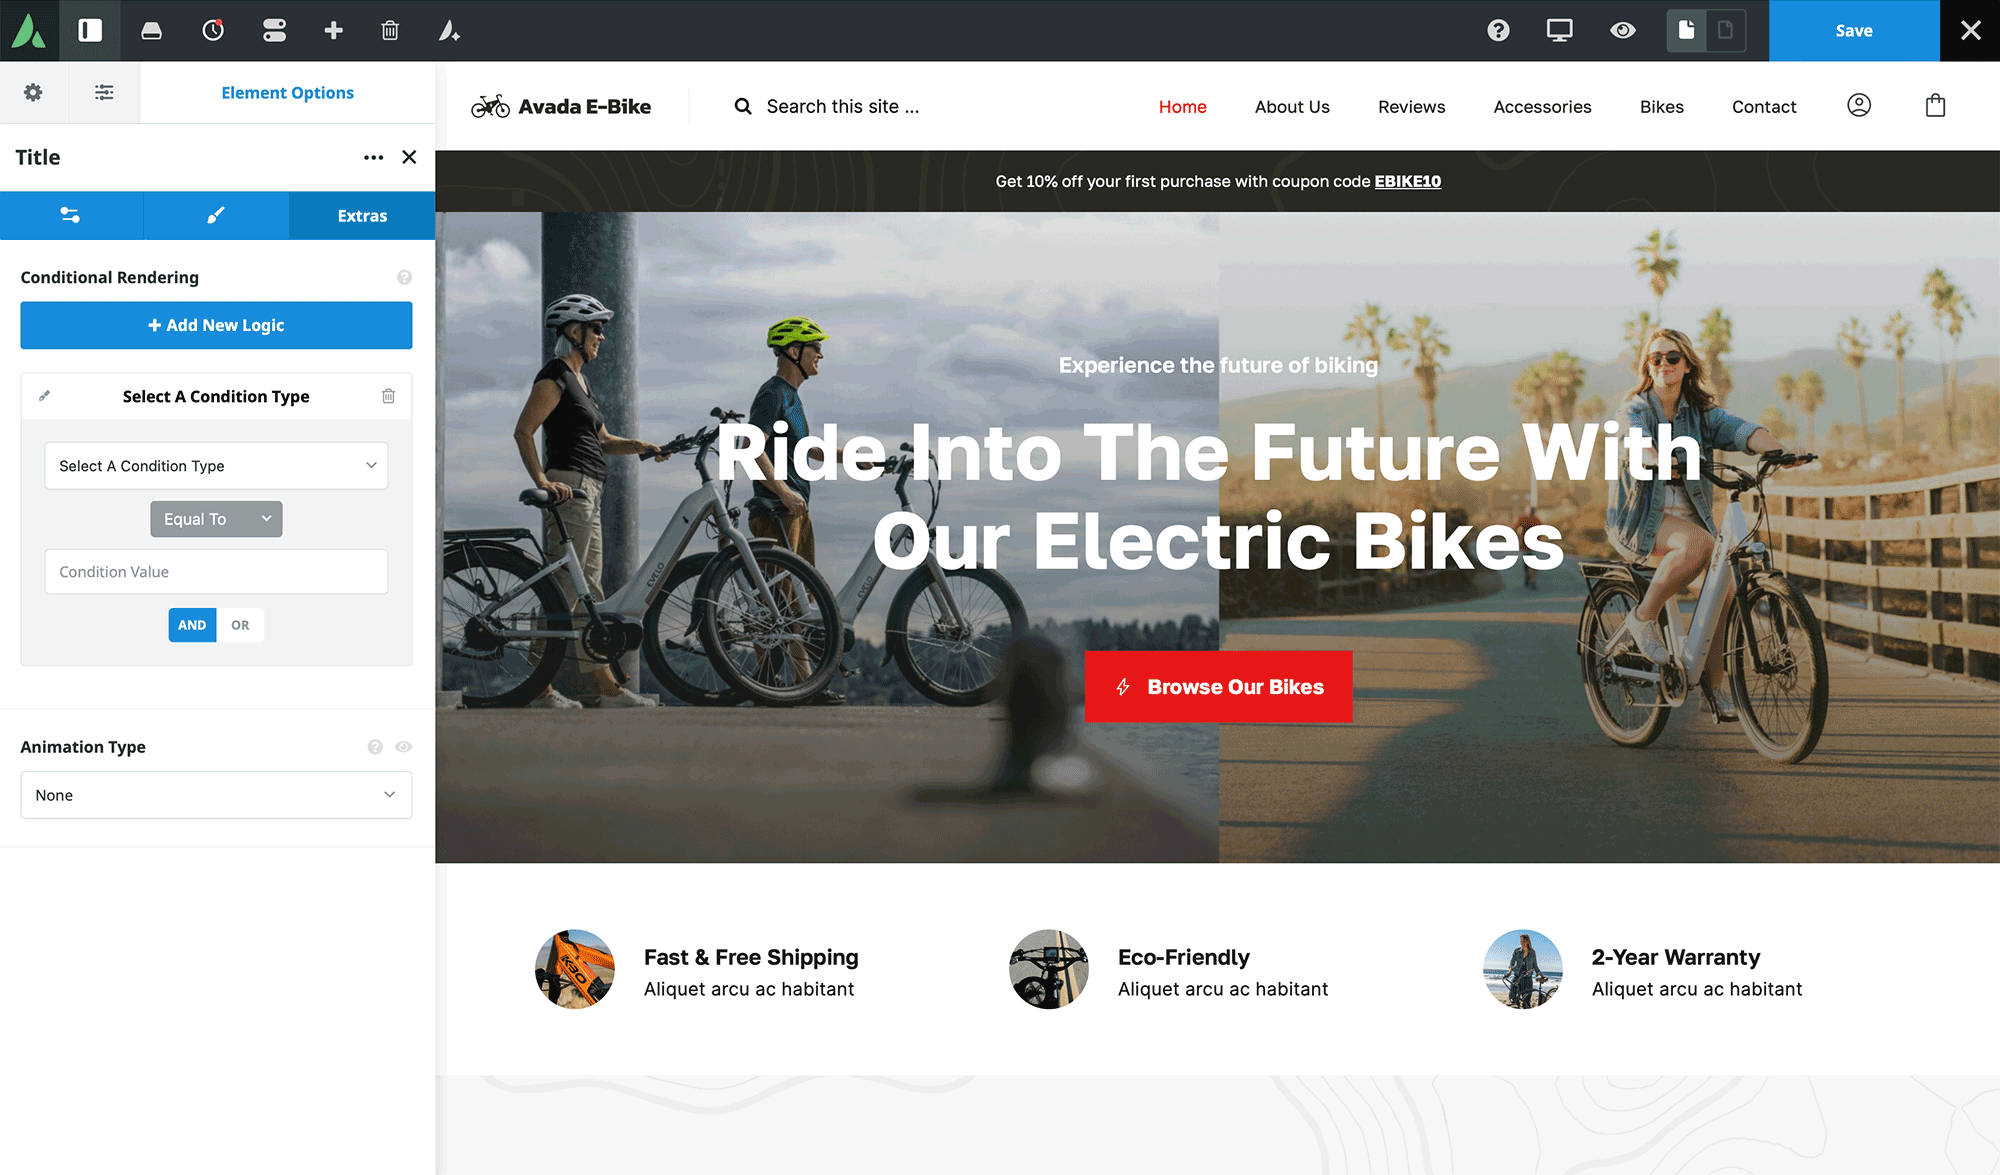
It is important to note that this is quite different from the standard Element Visibility options you might be used to.
This distinction can be crucial because it means your WordPress website isn’t just hiding content; it is ignoring it completely when it’s not needed, making for a much leaner and faster codebase.
Example 1: Creating A Smart Header
One of the most common uses for this feature is responsive design. Let’s look at how Conditional Rendering handles the header in the Avada eBike prebuilt website.
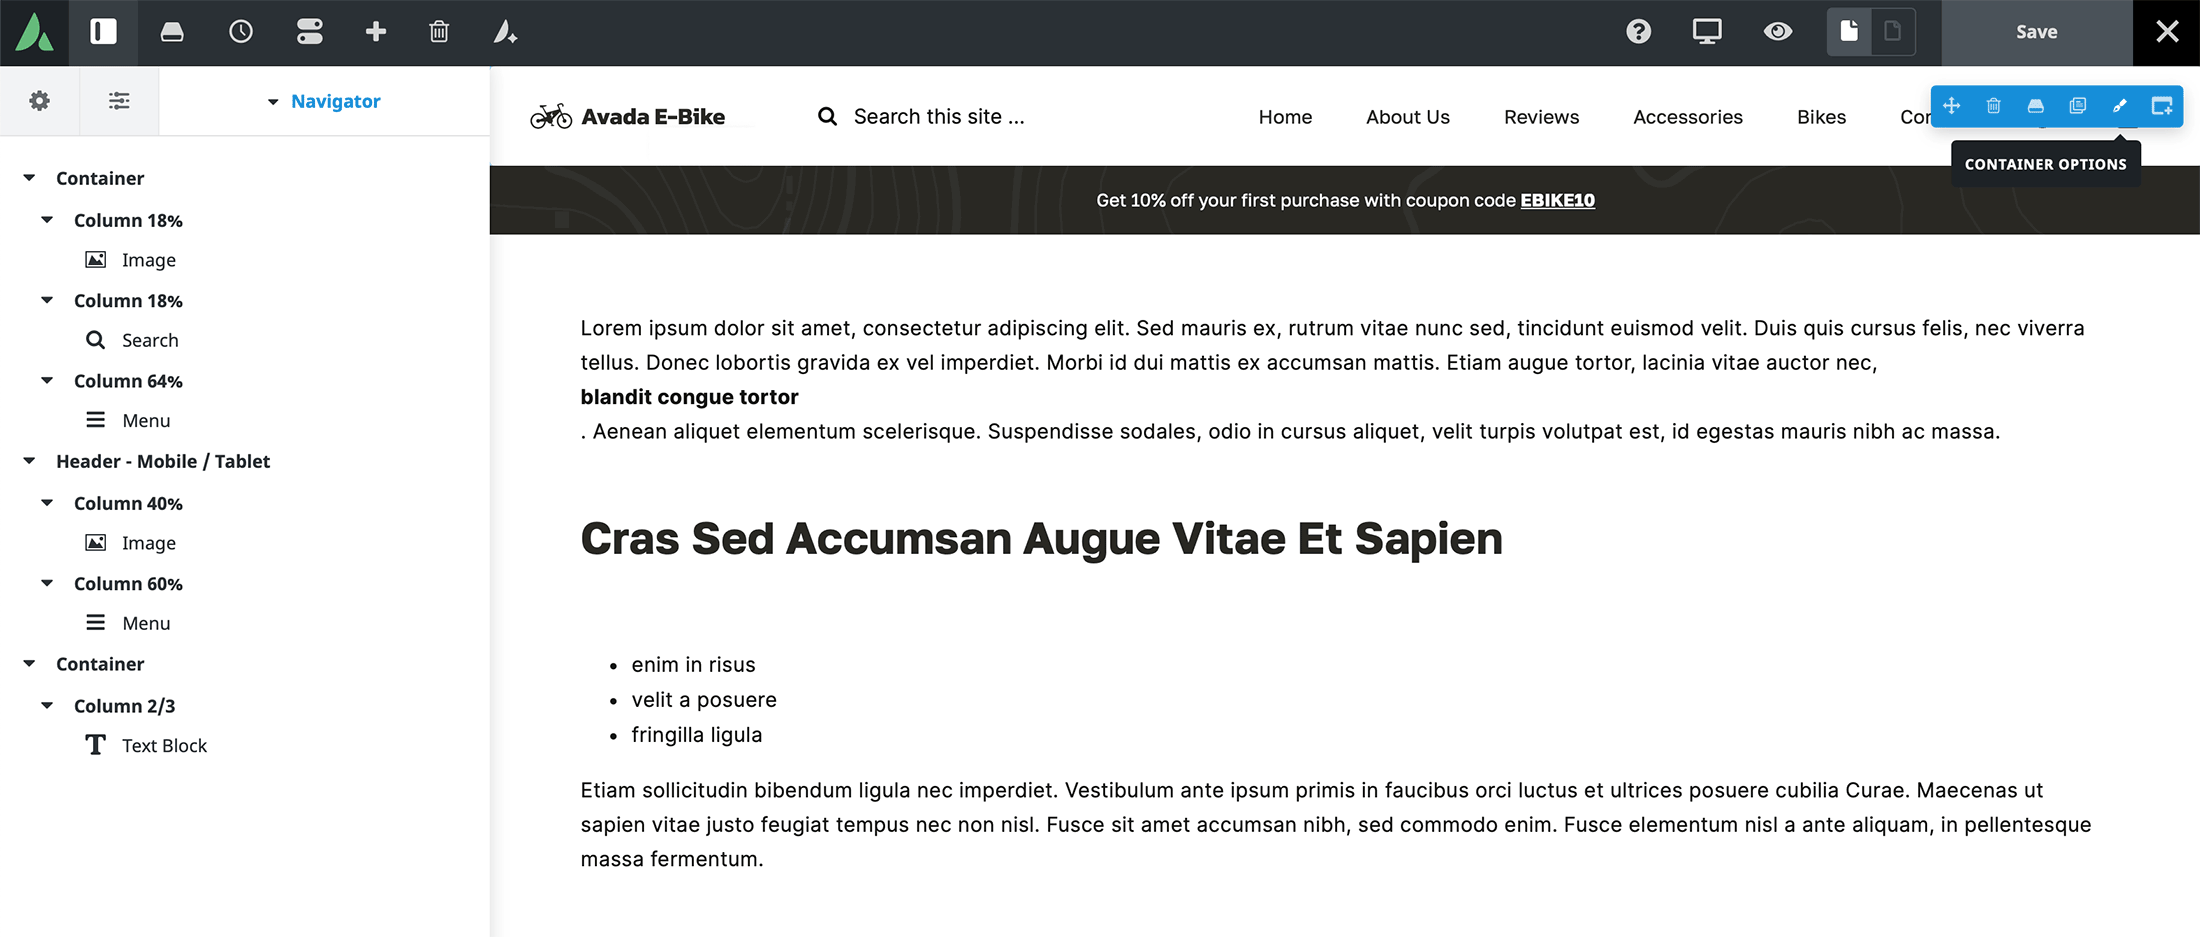
In this layout, there are three distinct Avada Container Elements. To the naked eye, in the Live Builder, it might look cluttered, but each Container has specific logic applied so they never overlap on the live site:
The upshot? A desktop user sees a layout perfectly optimized for a mouse and a large screen, while mobile users get a layout designed specifically for touch. Because the unused Avada Containers aren’t rendered in the code, the mobile version remains lightweight and fast.
Example 2: Personalizing Content Based on User Activity
Where Conditional Rendering truly shines is in creating personalized journeys. Let’s imagine a scenario on the homepage where you want to show three different messages depending on who is visiting:
Here is how you would set that up using Container logic:
The “Guest” Container
For the first Container, target people who aren’t logged in. You would go to the Extras tab, click Add New Logic, and set:
The “New User” Container
If a user registers but hasn’t made a purchase, you want to show them the second Container. This requires two logical statements joined together:
This ensures that only logged-in users who aren’t yet customers see this specific content.
The “Recurring” Container
Finally, for your VIPs, offer a coupon code. You set the logic to:
You don’t even need to check if they are logged in, because a visitor cannot have the “Customer” user role unless they are logged in. The logic sorts itself out!
Summary
The examples above barely scratch the surface. Avada includes condition types for almost everything, including:
By using Avada Conditional Rendering, you aren’t just designing a page; you are designing an intelligent site that reacts to your user.


How can Avada Conditional Rendering be leveraged to create a fully customized user journey for different visitor types on a website?
If you need assistance, please submit a support ticket here, and a member of our team will gladly assist you.